This post may contain affiliate links. Please see our disclosure policy.
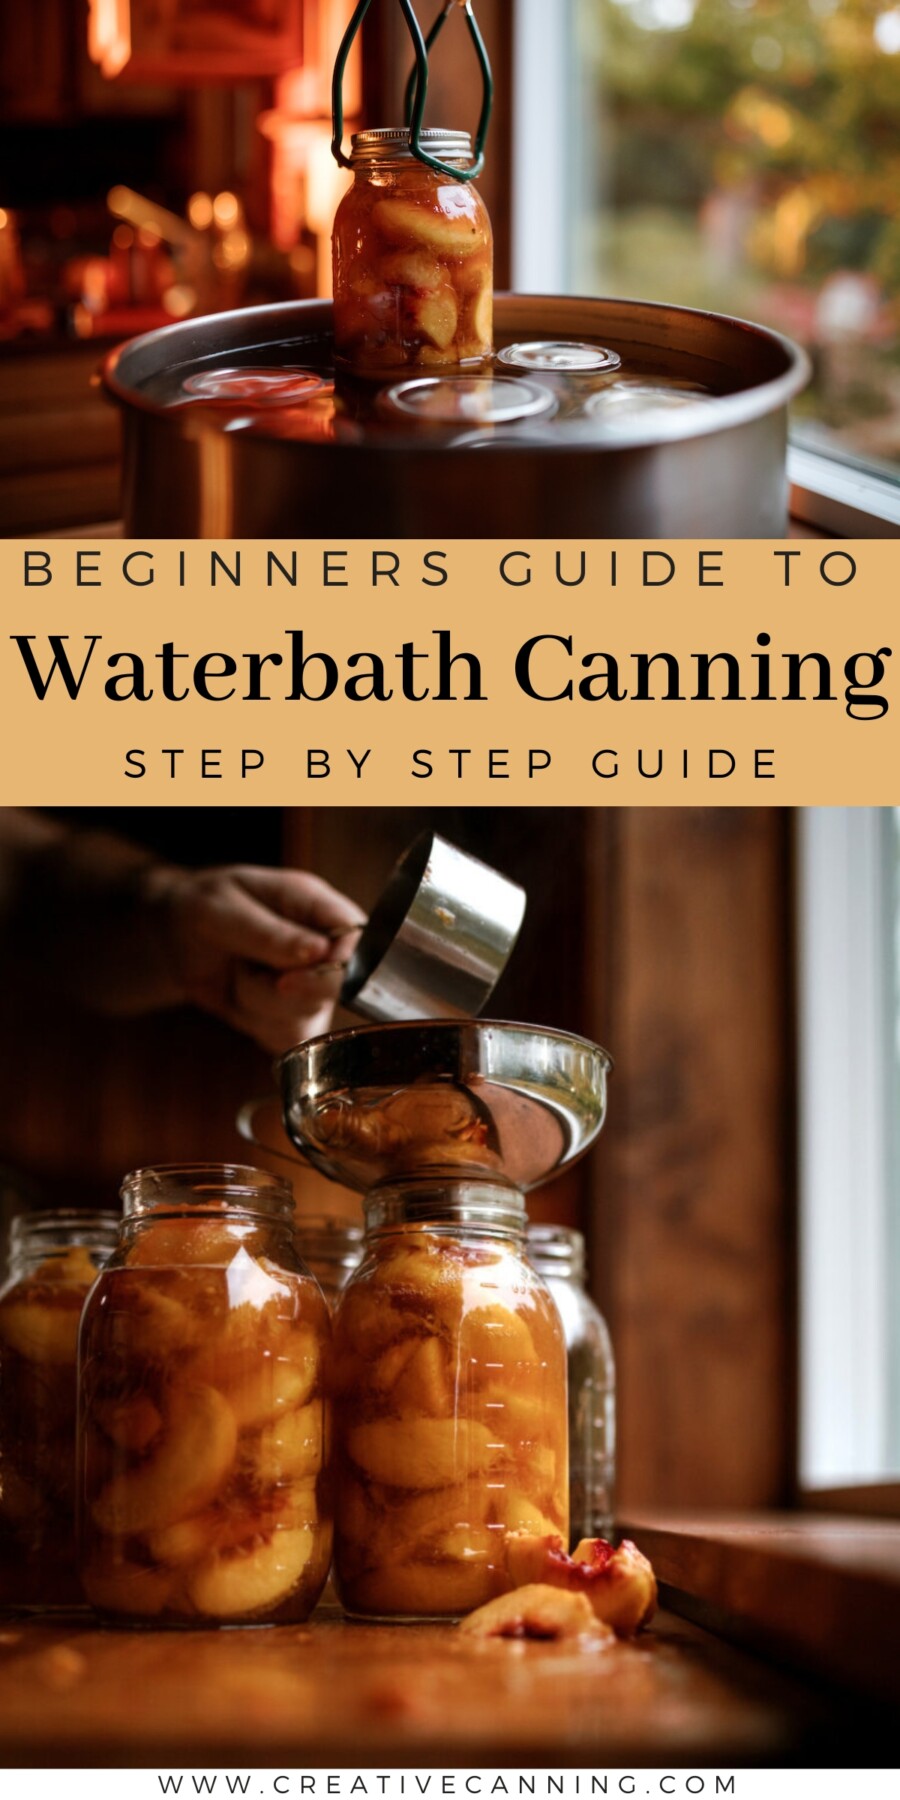
Water bath canning is the gateway to home food preservation, and it’s simpler than you might think. Once you understand the basics, you can fill your pantry with homemade jams, pickles, salsas, and fruit preserves that taste better than anything from the store.
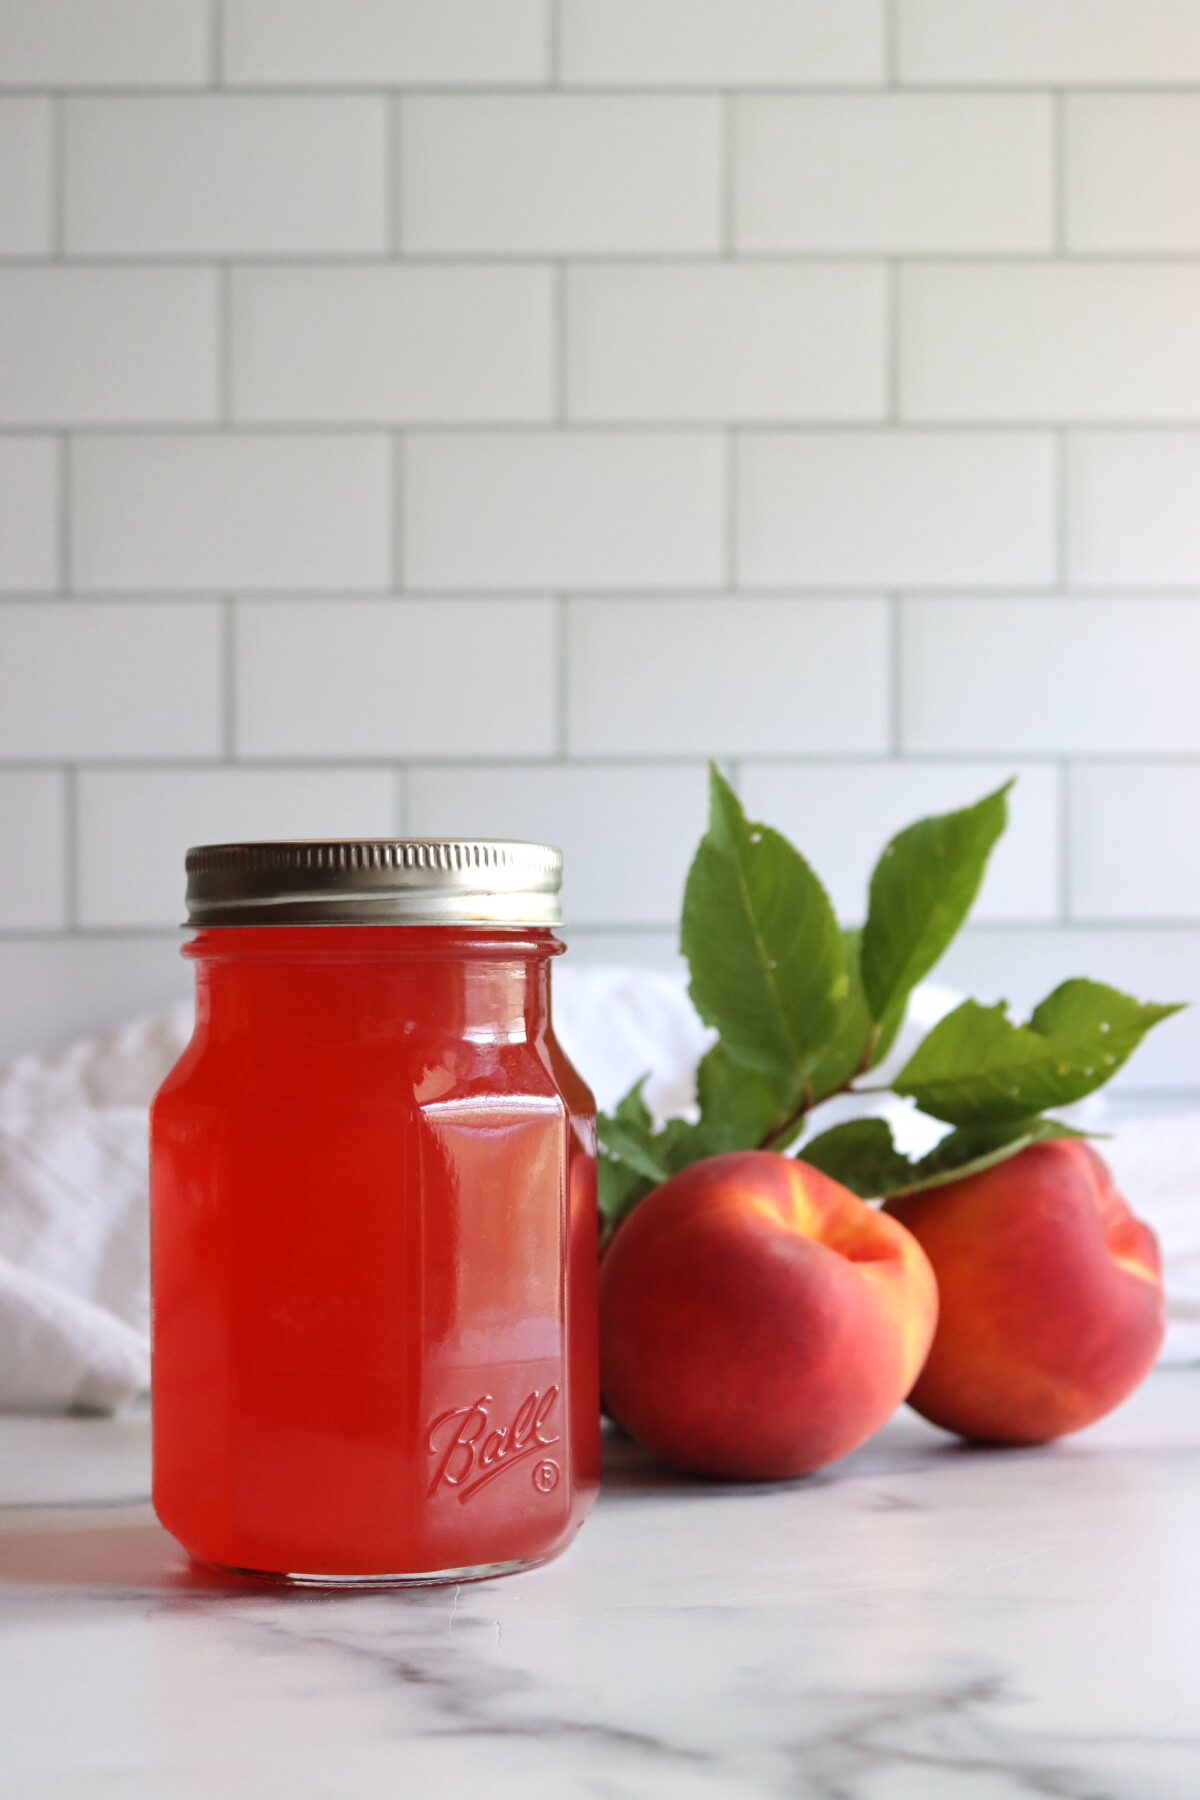
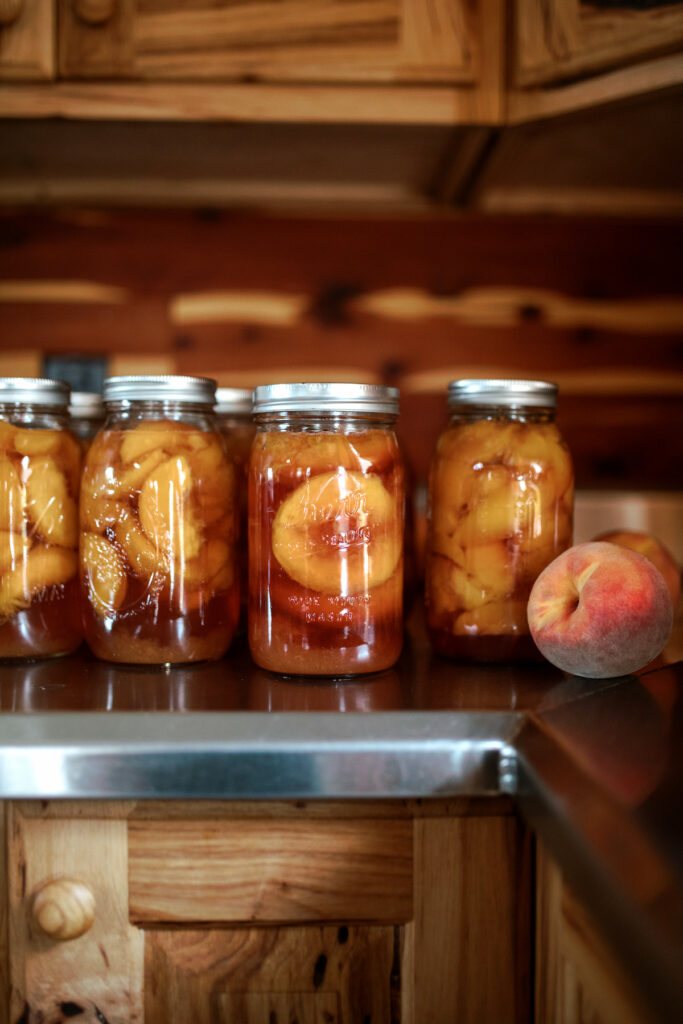
There’s something deeply satisfying about lining up jars of summer peaches in January, knowing you made them yourself.

Table of Contents
- What is Water Bath Canning?
- Why pH Matters in Canning
- Equipment Needed for Water Bath Canning
- Foods Safe for Water Bath Canning
- Foods NOT Safe for Water Bath Canning
- Step by Step: How to Water Bath Can
- Altitude Adjustments for Water Bath Canning
- Common Water Bath Canning Mistakes to Avoid
- Troubleshooting Common Problems
- Advice from My Canning Kitchen
- Water Bath Canning FAQs
- Recommended Canning Resources
- Water Bath Canning Recipes to Get You Started
- Canning Tutorials
This guide has been reviewed for accuracy by a Master Food Preserver certified through the University of Cornell Cooperative Extension.
If you’ve ever watched someone can and thought it looked complicated, I get it. I felt the same way before I tried it myself. But water bath canning is really just boiling water with a few specific steps, and those steps exist for good reasons. This guide will walk you through everything you need to know to get started safely and confidently.
The principles here apply to all water bath canning recipes, from homemade jams to silky fruit butters to pickled vegetables. Once you understand why each step matters, you’ll feel comfortable tackling any water bath canning recipe that comes your way.
What is Water Bath Canning?
Water bath canning is a heat processing method used to preserve high-acid foods in sealed jars. Filled jars are submerged in boiling water for a specific amount of time, which kills spoilage microorganisms and creates a vacuum seal that keeps the food shelf-stable for 12 to 18 months.
The process works because the combination of heat and natural acidity creates an environment where bacteria, yeasts, and molds cannot survive. As the jars cool after processing, the two-piece lids form an airtight seal that prevents recontamination.
Water bath canning is suitable for acidic foods with a pH below 4.6, including most fruits, fruit juices, jams, jellies, pickles, relishes, salsas (when made with enough acid), and certain tomato products. Foods with higher pH levels require pressure canning, which reaches higher temperatures needed to destroy heat-resistant bacterial spores.
Why pH Matters in Canning
Understanding acidity is fundamental to safe canning, because the acidity level of food determines which canning method you must use. The pH scale measures acidity, running from 0 (most acidic) to 14 (most alkaline), with 7 being neutral.
For canning purposes, foods fall into two categories based on their pH level:
High-acid foods (pH 4.6 or below): These include most fruits, fruit juices, jams, jellies, pickles made with vinegar, fermented foods like sauerkraut, and properly acidified tomatoes. High-acid foods can be safely processed in a boiling water bath because the acid itself inhibits the growth of Clostridium botulinum, the bacterium that causes botulism.
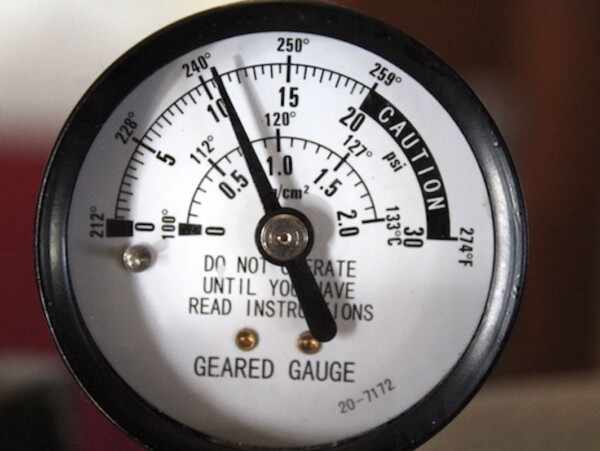
Low-acid foods (pH above 4.6): Vegetables, meats, poultry, seafood, beans, and soups fall into this category. These foods require pressure canning, which reaches temperatures of 240-250°F (much higher than boiling water’s 212°F) to destroy bacterial spores.
Some foods sit right on the borderline. Tomatoes, for example, have a pH that hovers around 4.6, which is why all tomato canning recipes require added acid (lemon juice or citric acid) regardless of whether you water bath or pressure can them. Figs are similar and also need added acidity to be safe for water bath canning.
When in doubt, always follow a tested recipe from a reliable source. The recipe developer has already done the pH testing to ensure the food is safe for the recommended canning method.
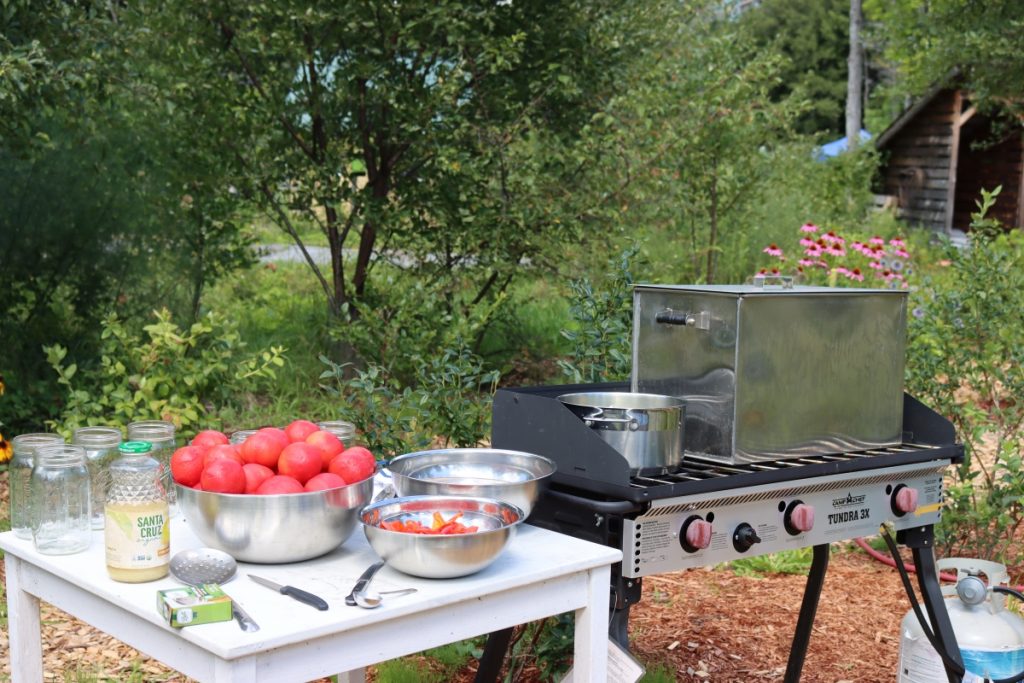
Equipment Needed for Water Bath Canning
You don’t need a lot of specialized equipment to start water bath canning. Most of what you need is probably already in your kitchen, and the few specialized items are inexpensive and widely available.
Essential Equipment
Water Bath Canner or Large Pot: The pot needs to be deep enough for jars to be covered by at least 1 inch of water, with a few extra inches of space above that to prevent boil-over. A standard 21-quart water bath canner holds seven quart jars or eight to nine pints. If you don’t have a dedicated canner, any large stockpot will work as long as it’s tall enough. You’ll also need a rack to keep jars off the bottom of the pot.
Glass Canning Jars: Use proper Mason jars designed for home canning. They’re tempered to withstand repeated heating and cooling, and their threaded necks are designed to work with two-piece canning lids. Check jars for chips or cracks before each use, especially around the rim where the seal forms. Half pints, pints, and quarts are the most common sizes for water bath canning.
Two-Piece Canning Lids: Each lid consists of a flat metal disc with a rubber sealing compound and a threaded metal band that holds it in place. The flat lids should be new each time you can (the sealing compound only works once), but the bands can be reused as long as they’re not rusted or bent.
Jar Lifter: These specialized tongs are designed to grip hot jars securely and lift them in and out of boiling water. This is not optional equipment. Regular kitchen tongs can slip, and you’ll be working with jars that are over 200°F. They’re just a few dollars and well worth the investment.
Canning Funnel: A wide-mouth canning funnel makes it much easier to fill jars without spilling food on the rims. The wide opening fits inside the jar mouth, directing food right where it needs to go. Some funnels include headspace measurements on the handle, which is convenient.
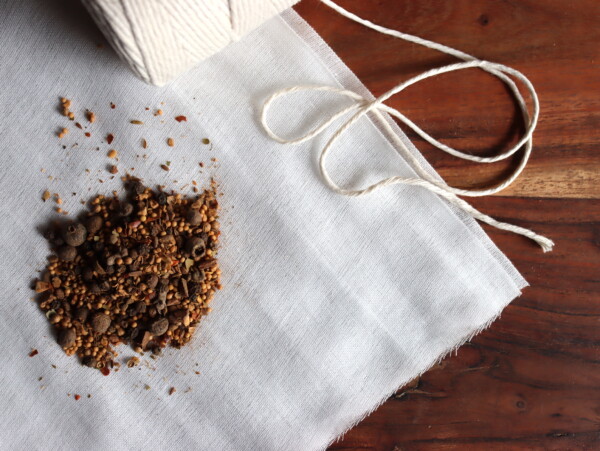
Bubble Remover and Headspace Tool: This flat plastic tool slides between the food and jar wall to release trapped air bubbles. The stepped end measures headspace (the empty space between the food and jar rim). A thin silicone spatula or wooden chopstick works for removing bubbles, but don’t use metal tools that could scratch the jar interior.
Helpful But Not Essential
Lid Lifter (Magnetic Wand): A magnetized wand makes it easy to lift lids out of hot water without touching them with your fingers. These days, the NCHFP no longer recommends boiling lids before canning, so it’s not really necessary anymore.
Timer: Any timer works, including your phone. Just make sure you can hear it from wherever you are.
Large Ladle: For transferring hot food into jars.
Clean Towels: For wiping jar rims and for placing under hot jars as they cool.
Instant-Read Thermometer: Useful for checking water temperature when preheating the canner.
Foods Safe for Water Bath Canning
Water bath canning works for high-acid foods, which includes a wide range of preserves. Here’s what you can safely put up using this method:
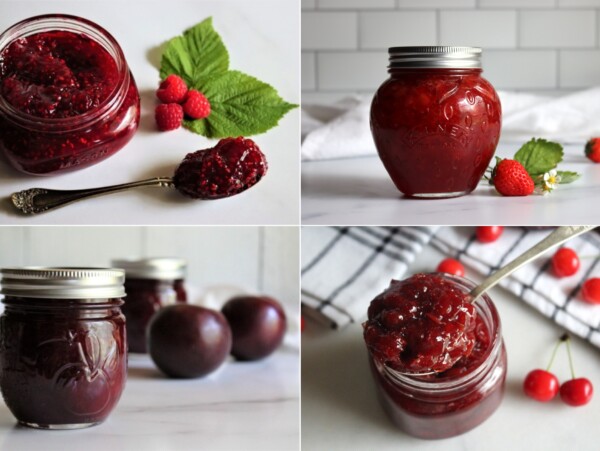
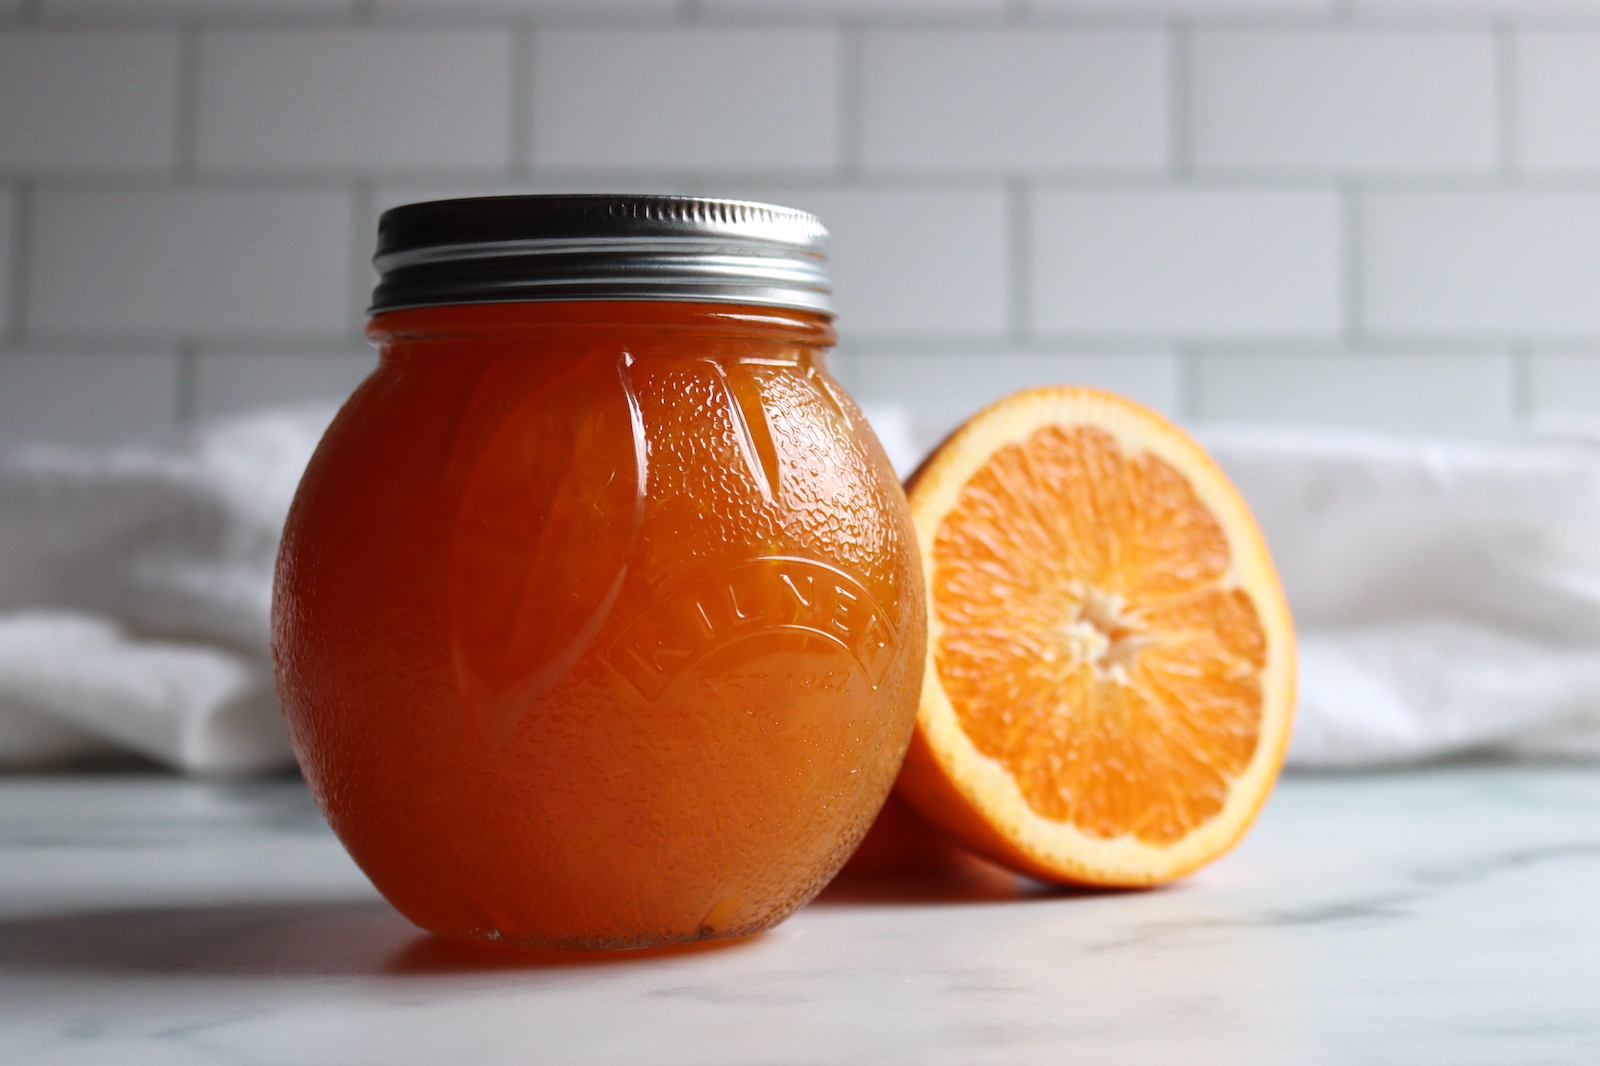
Jams, Jellies, and Marmalades
All types of fruit spreads, whether made with added pectin or without pectin. The natural acidity of the fruit combined with the sugar content makes these safe for water bath processing. Browse jam recipes and jelly recipes for inspiration.
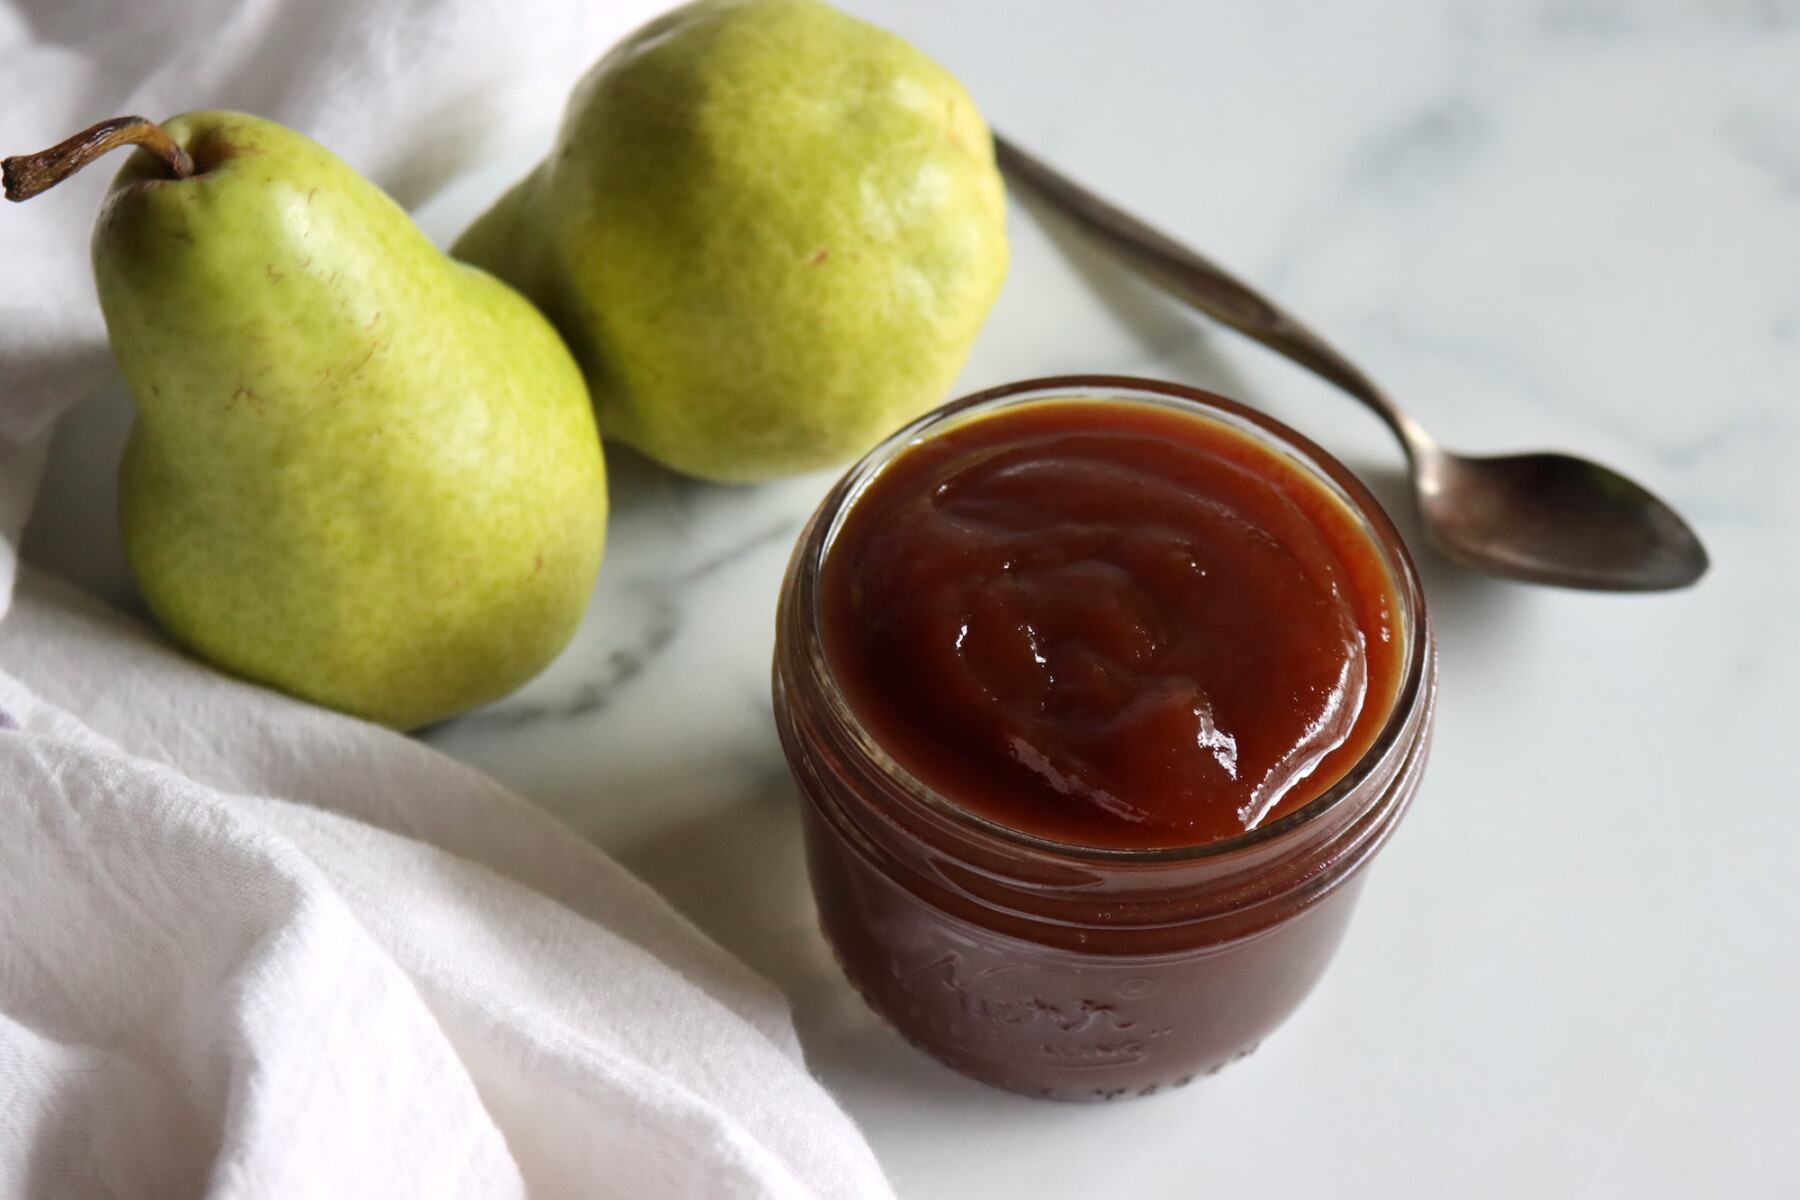
Fruit Butters
Concentrated fruit spreads like apple butter, pear butter, and peach butter are all appropriate for water bath canning. The basic method for making fruit butter works with nearly any fruit.
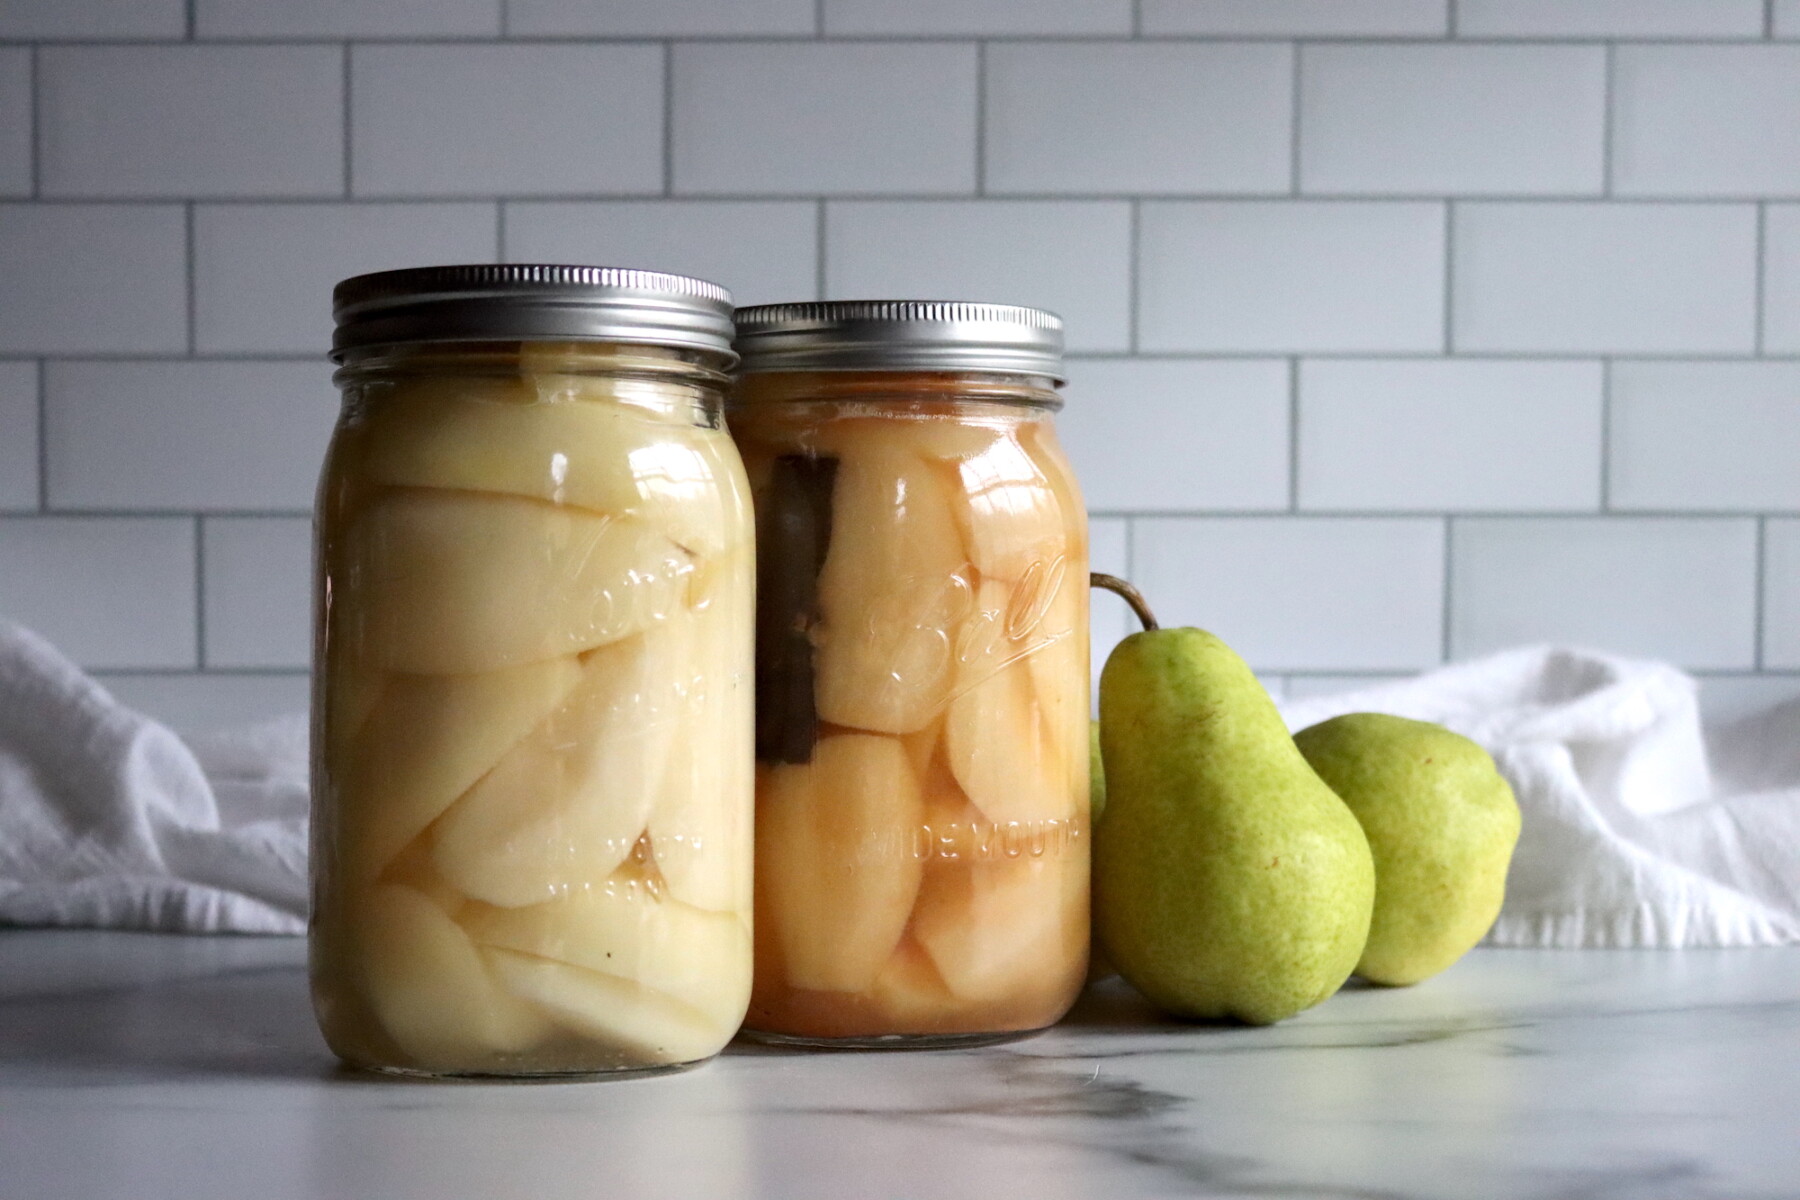
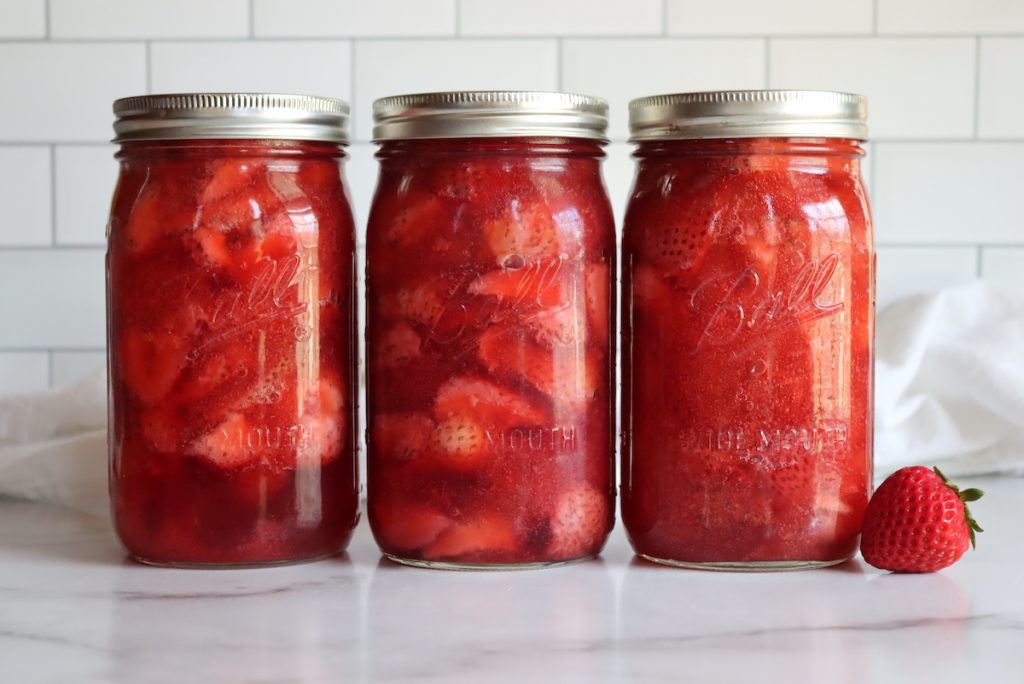
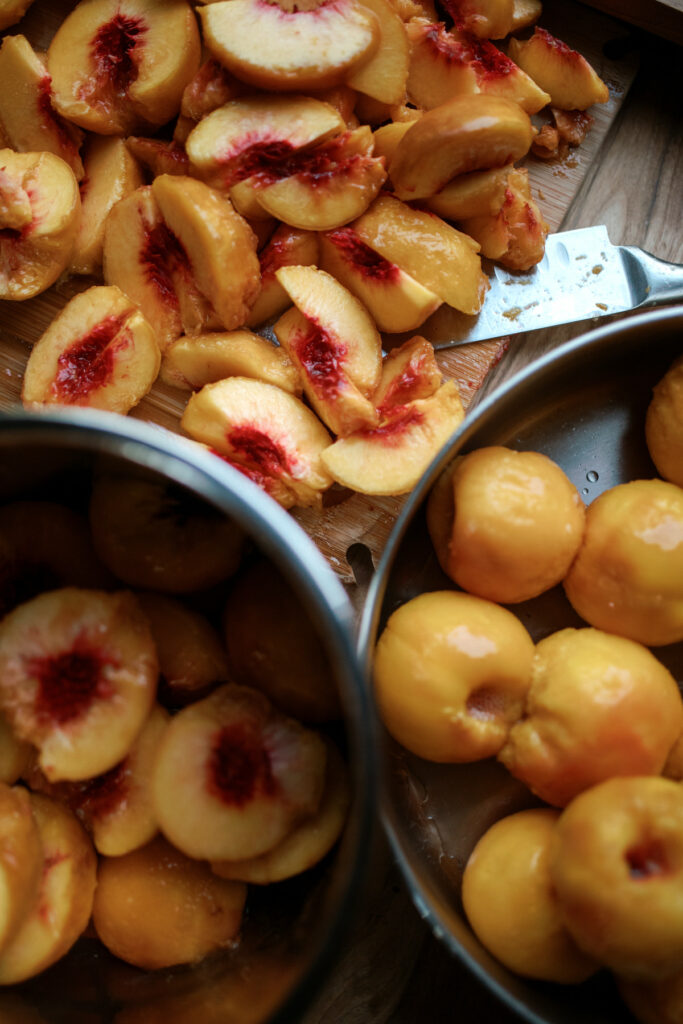
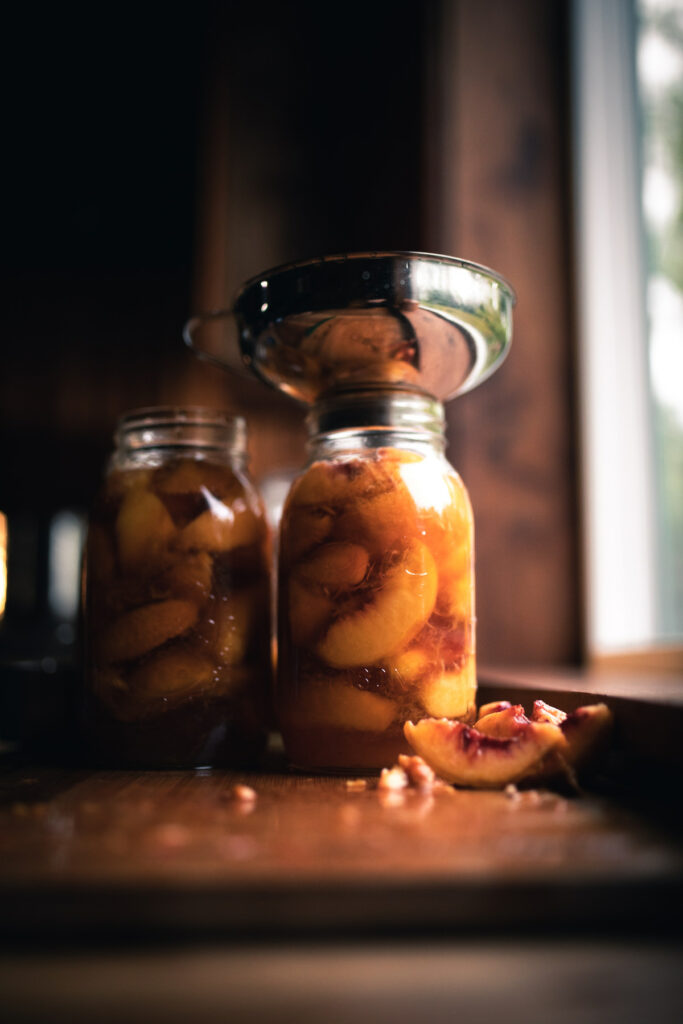
Whole, Halved, or Sliced Fruits
Peaches, pears, apples, cherries, berries, and other fruits can be canned in syrup, juice, or water. The natural acidity of fruit makes it safe for water bath processing.
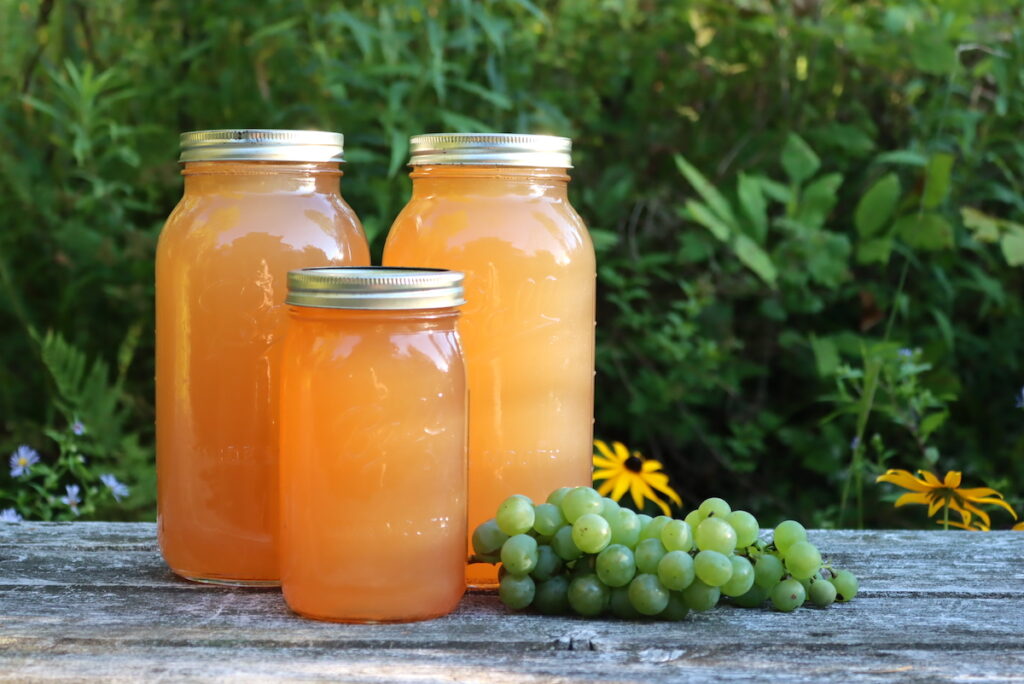
Fruit Juices and Concentrates
Apple juice, grape juice, berry juices, and lemonade concentrates are all water bath safe.
Syrups
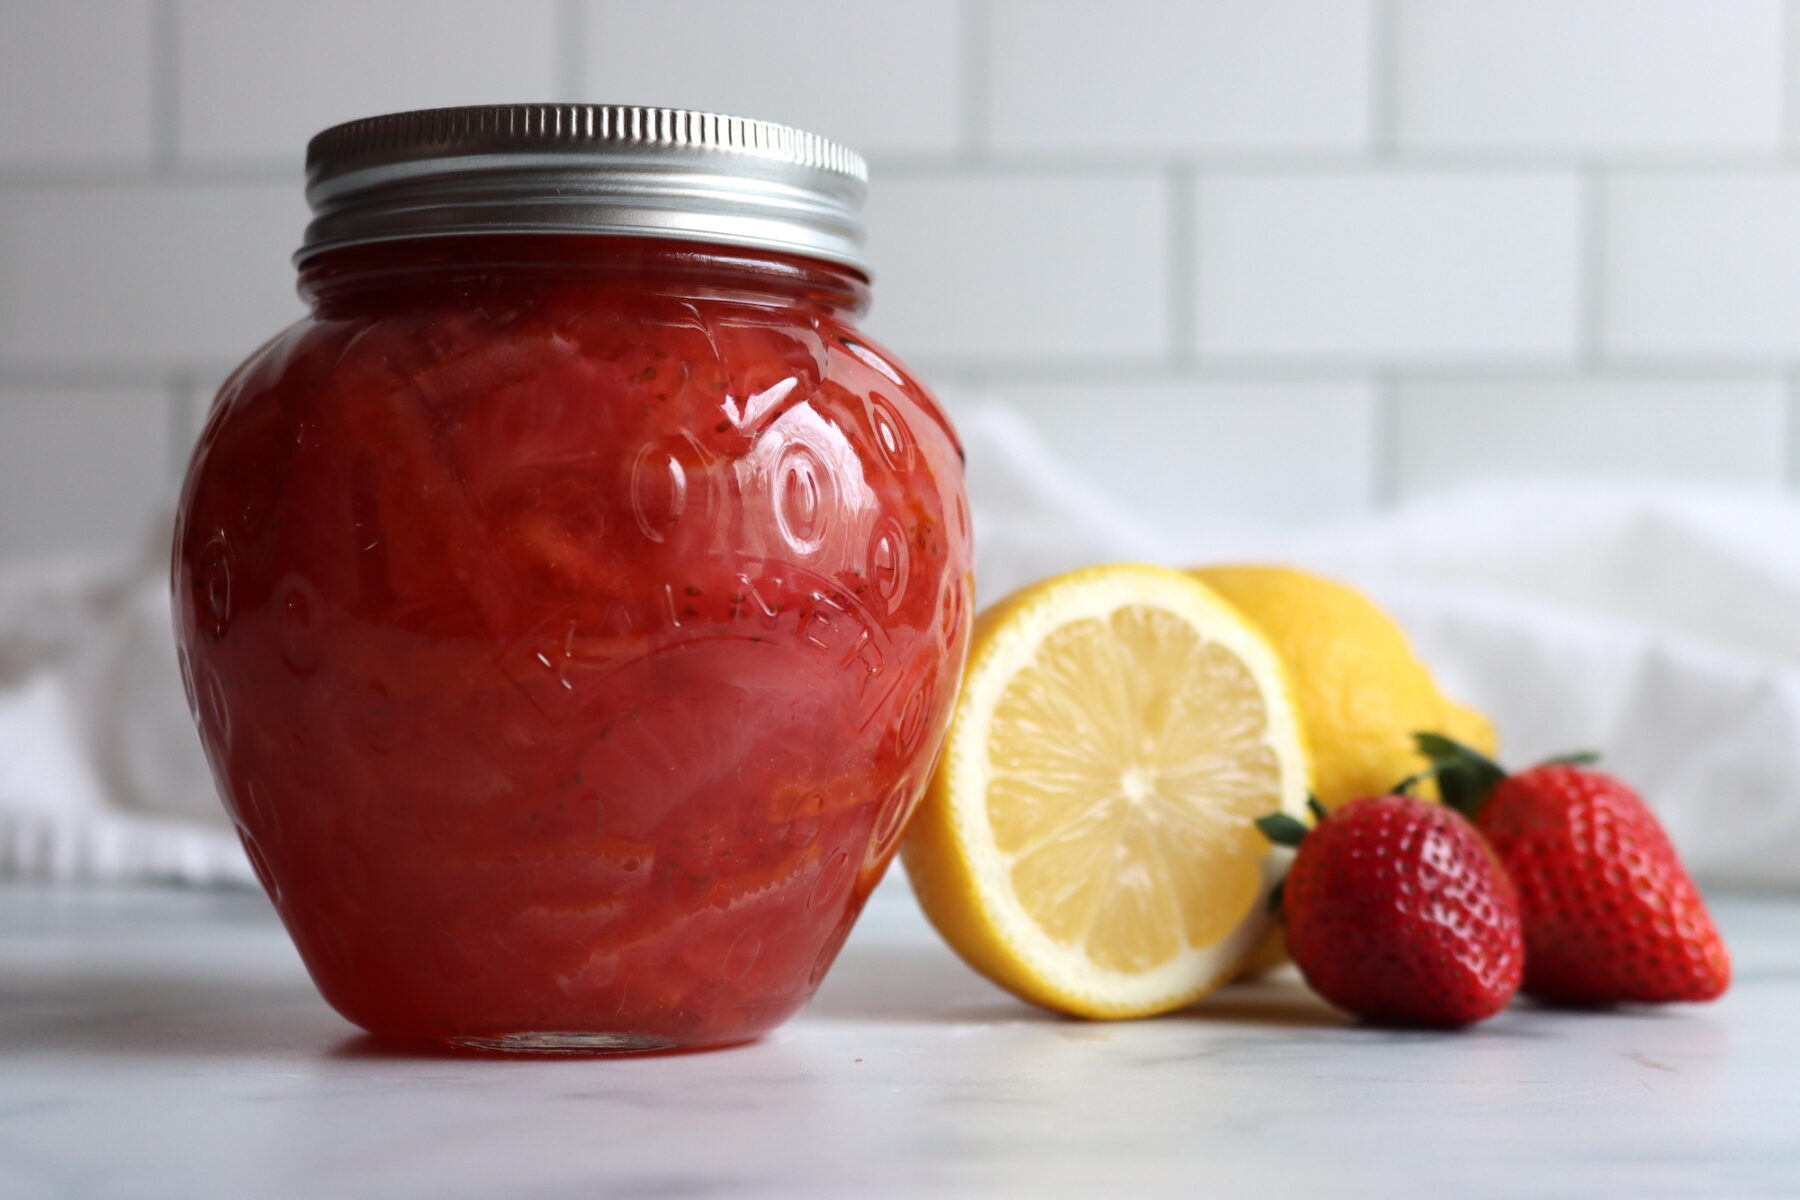
Fruit syrups like strawberry syrup or blueberry syrup for pancakes, waffles, or cocktails can be water bath processed.
Pie Fillings
Cherry, apple, blueberry, and other fruit pie fillings thickened with Clear Jel can be water bath canned. Be sure to use canning safe clear jel, and not other thickeners like corn starch or flour.
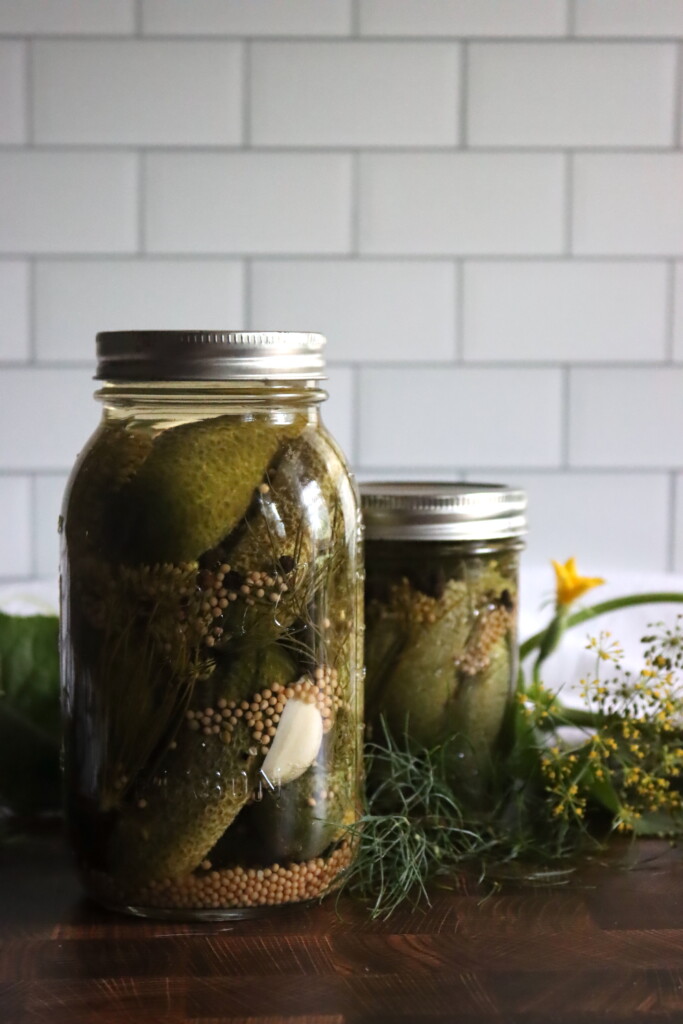
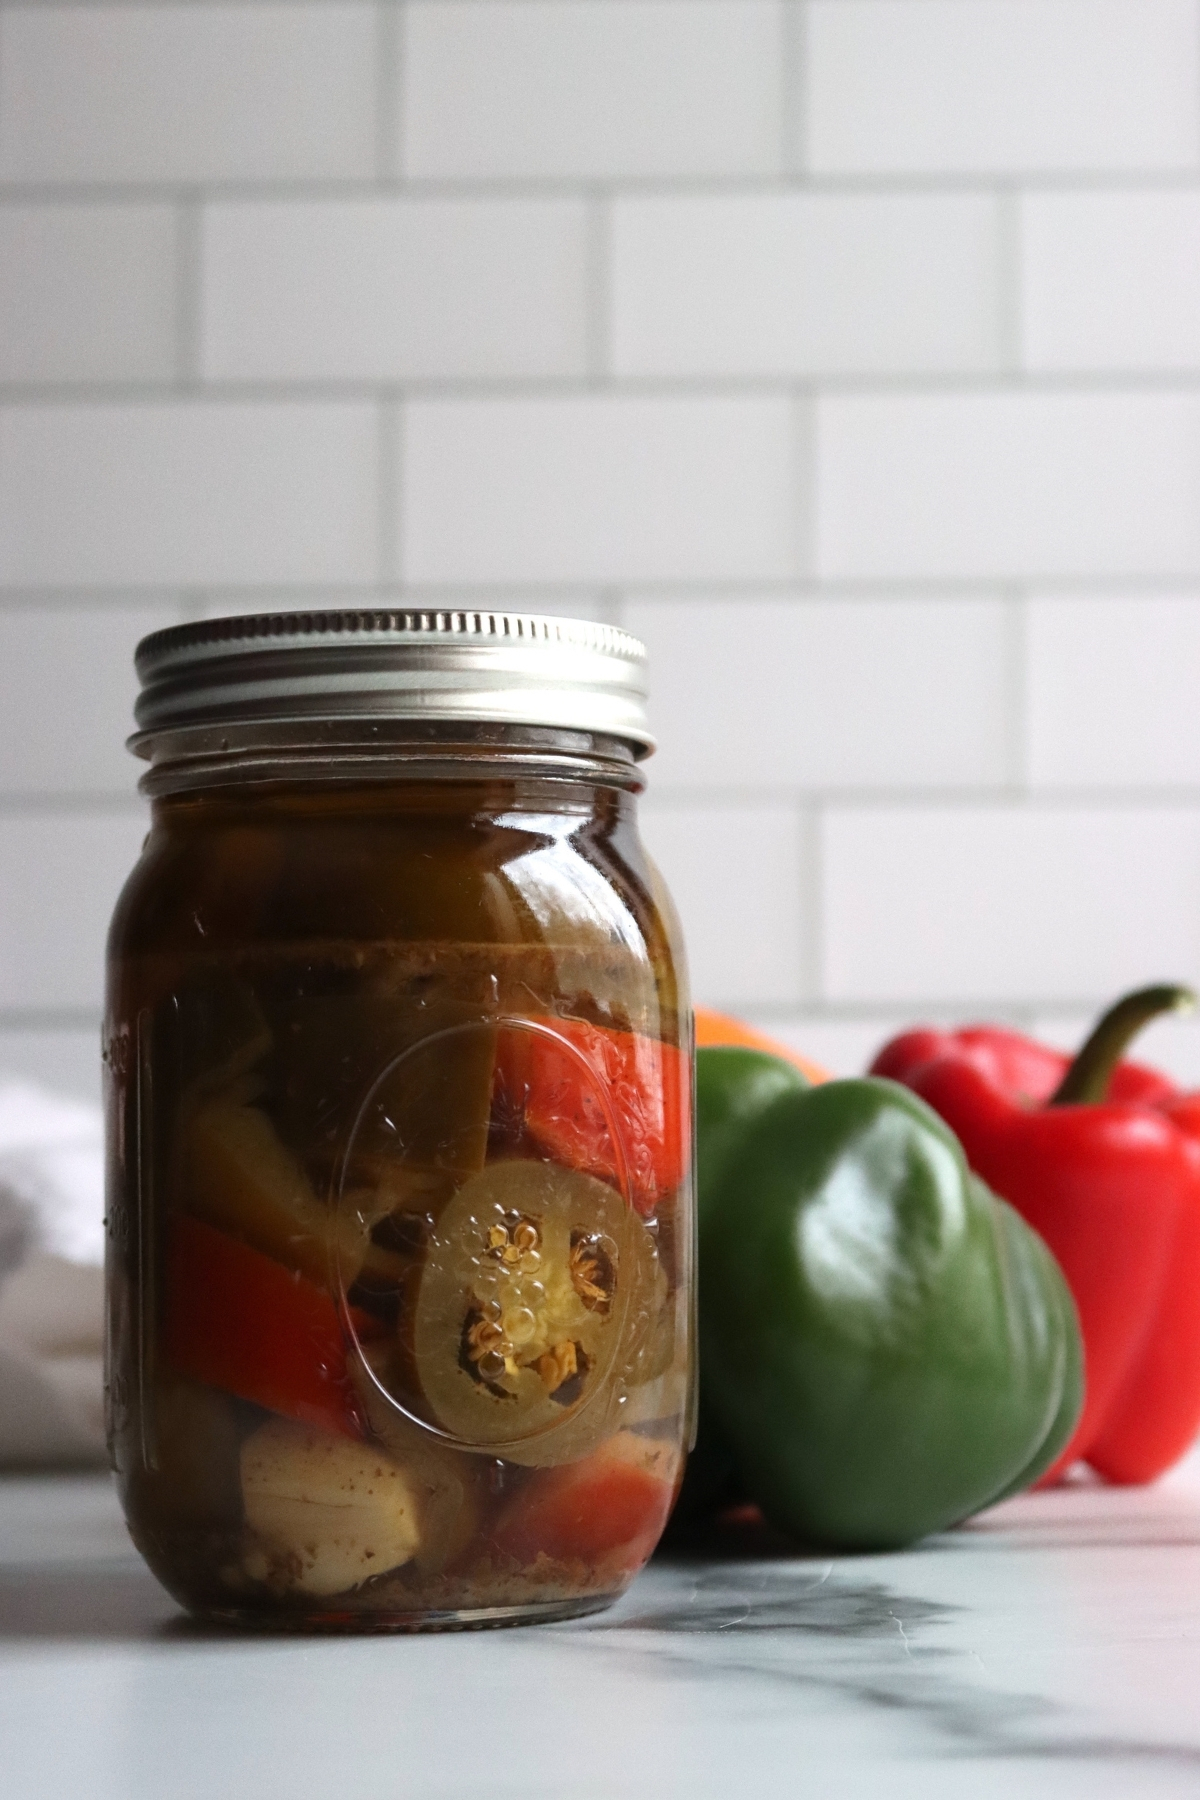
Pickles
All types of pickled vegetables, from cucumbers to green beans to asparagus to peppers. The vinegar provides the acidity needed for safe water bath canning. There are even some recipes for pickled three bean salad, which uses green beans and cooked dry beans. And other specific recipes for marinated mushrooms or marinated peppers, which include oil and vinegar.
Relishes and Chutneys
These vinegar-based condiments with vegetables and/or fruits are water bath safe when following tested recipes. Try zucchini relish or corn relish to get started.
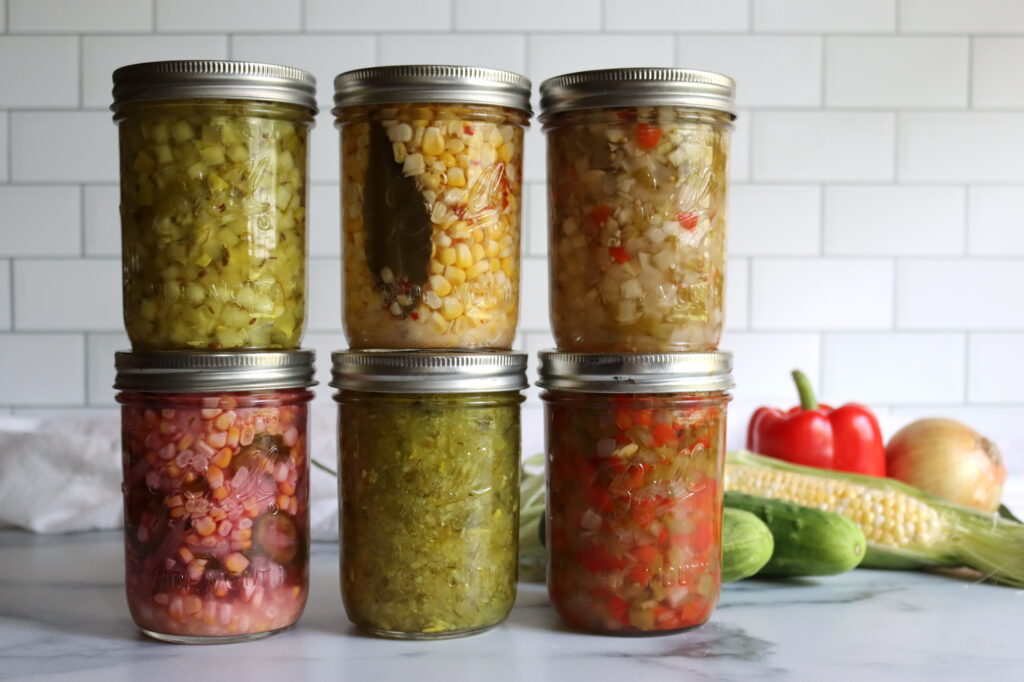
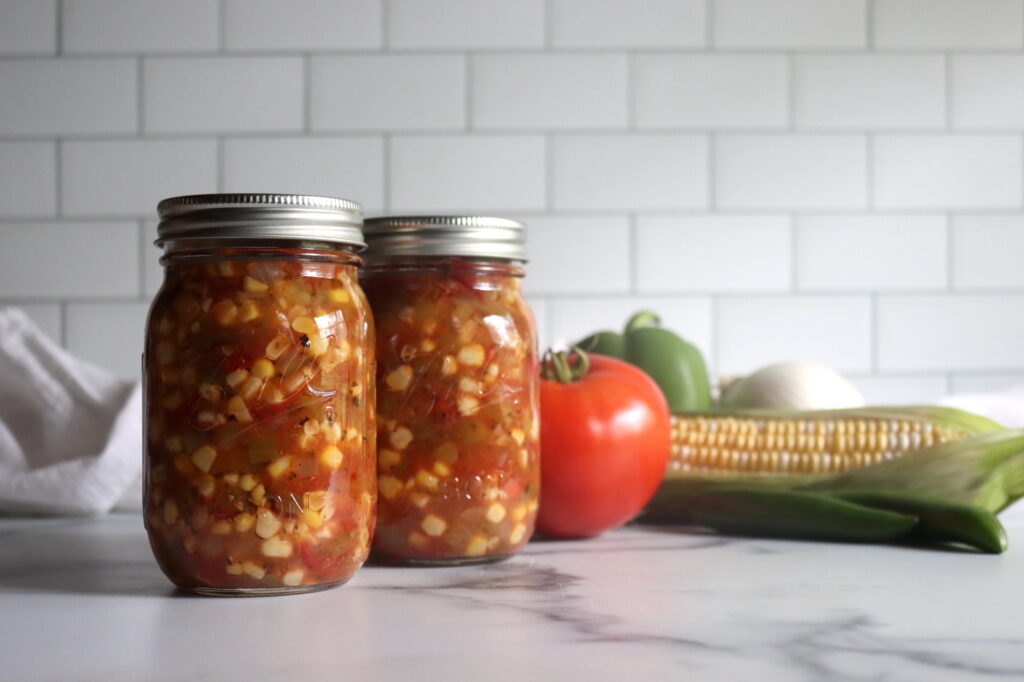
Salsas
When made according to tested salsa recipes with proper proportions of tomatoes, peppers, onions, and acid. Corn salsa is a popular option, but requires quite a bit of added acidity to drop the pH to safe levels. Always use tested recipes, but this is especially important when working with things like salsa that have a mix of low acid ingredients (onions, peppers, etc).
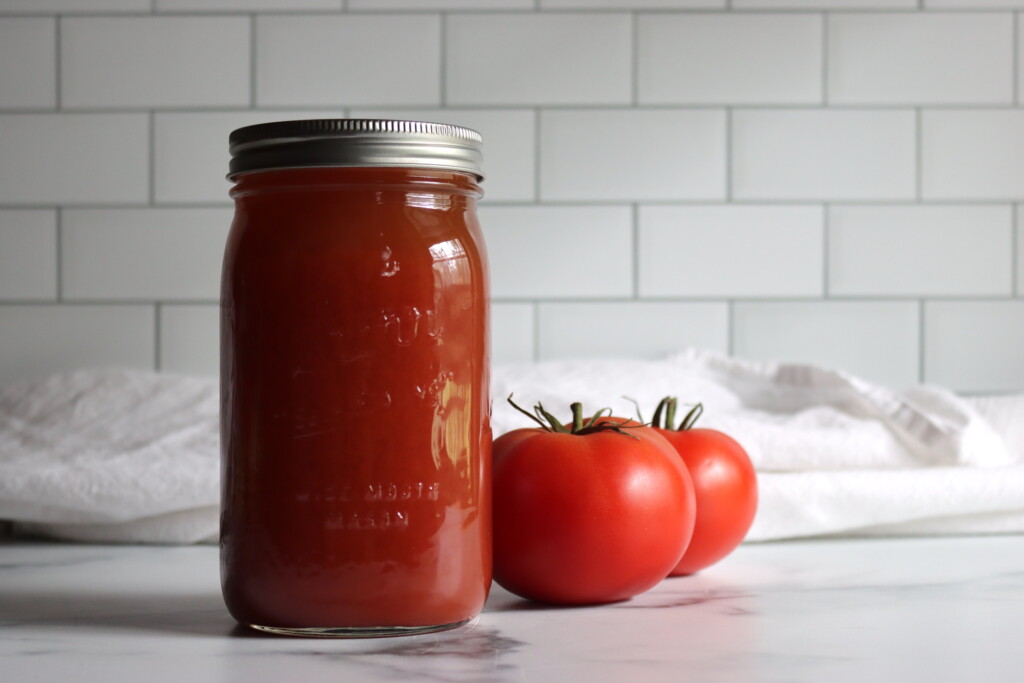
Acidified Tomatoes
Whole, crushed, or juiced tomatoes with added lemon juice or citric acid. The added acid is required because modern tomato varieties can be borderline for safe water bath canning without it.
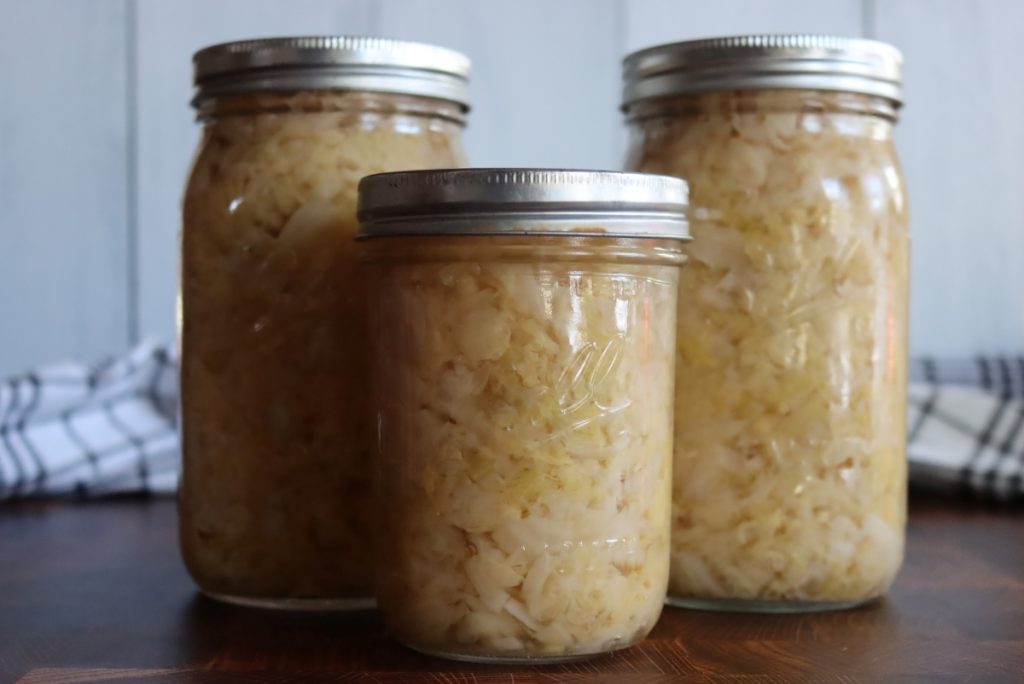
Fermented Foods
Sauerkraut and fermented pickles develop their own lactic acid during fermentation, making them safe for water bath processing.
Foods NOT Safe for Water Bath Canning
Some foods cannot be safely preserved in a water bath canner, no matter what recipes you might find online or what your grandmother did. These foods require pressure canning or other preservation methods:
Plain Vegetables: Green beans, corn, peas, carrots, potatoes, and all other vegetables without added acid. These are low-acid foods that must be pressure canned.
Meat, Poultry, and Seafood: All proteins require pressure canning. See canning chicken, canning ground beef, and canning pork for proper methods.
Soups, Stews, and Broths: Any combination of low-acid ingredients requires pressure canning. This includes beef broth, chicken soup, and beef stew.
Dry Beans: Black beans, pinto beans, navy beans, and other legumes require pressure canning. See canning baked beans for an example.
Some Low-Acid Fruits: Certain fruits like melons, bananas, mangoes, persimmons, and coconut are not acidic enough for safe water bath canning without specific tested recipes that add sufficient acid.
Dairy and Eggs: There are no tested recipes for home canning dairy products or eggs.
Step by Step: How to Water Bath Can
The water bath canning process follows the same basic steps regardless of what you’re preserving. Once you’ve done it a few times, it becomes second nature.
Step 1: Prepare Your Equipment
Start by filling your water bath canner about halfway with water and setting it over heat. The water needs to be at around 180°F (simmering but not boiling) by the time you’re ready to load the jars. This preheating prevents thermal shock when you lower hot jars into the canner.
While the canner heats, inspect your jars for chips, cracks, or any damage around the rim. Run your finger around the top edge to feel for any irregularities that could prevent a good seal. Wash jars in hot soapy water or run them through the dishwasher. Keep them hot until you’re ready to fill them. You can place clean jars in the warming canner water to keep them hot.
Wash your lids according to the manufacturer’s instructions. Most modern lids just need to be washed in hot soapy water, though some brands recommend keeping them in hot (not boiling) water until use. Check the box for specific guidance.
Step 2: Prepare Your Recipe
While your equipment heats, prepare your recipe according to the instructions. For most water bath canning recipes, you’ll be working with hot food that goes into hot jars (this is called hot packing). Some recipes, particularly for whole fruits and pickles, allow raw packing, where unheated food goes into jars and hot liquid is poured over it.
Follow your recipe carefully. Canning recipes have been tested to ensure food safety, and changes to ingredients or proportions can affect the acidity and safety of the final product. This is especially important for tomato products, salsas, and any recipe that relies on precise ratios of acid to low-acid ingredients.
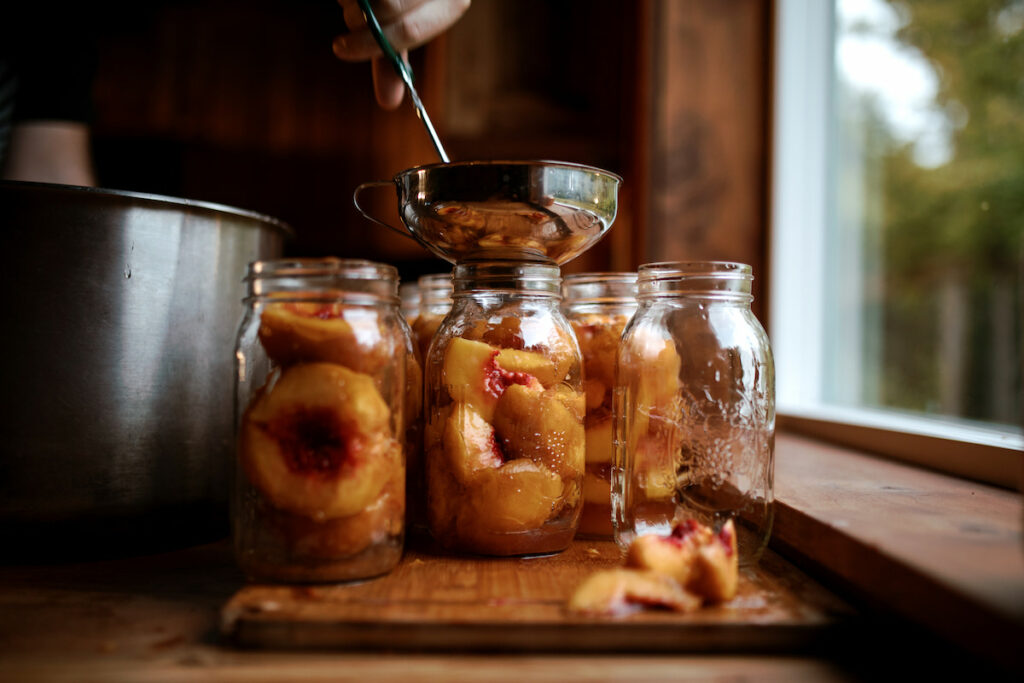
Step 3: Fill Jars
Remove hot jars from the canner (or dishwasher) one at a time and place them on a towel or cutting board. Using a canning funnel, ladle the hot food into the jar, leaving the headspace specified in your recipe. Headspace is the empty space between the top of the food and the rim of the jar. Different foods require different amounts of headspace, typically ranging from 1/4 inch to 1 inch.
Run a bubble remover or thin spatula around the inside edge of the jar to release any trapped air bubbles. Air pockets can interfere with heat penetration and seal formation. After removing bubbles, check the headspace again and add more food or liquid if needed.
Wipe the rim of the jar with a clean, damp cloth to remove any food residue. Even a small bit of food on the rim can prevent a proper seal. This step is especially important with sticky foods like jams and syrups.
Step 4: Apply Lids and Bands
Center a flat lid on the jar, making sure the sealing compound is touching the clean rim. Place a band over the lid and screw it down to fingertip tight. This means you tighten it until you feel resistance, then stop. Don’t overtighten, as air needs to be able to escape during processing to create the vacuum seal.
A common way to think about fingertip tight is to tighten the band using only your fingertips, not your whole hand. If you’re using your palm or really gripping the band, it’s probably too tight.
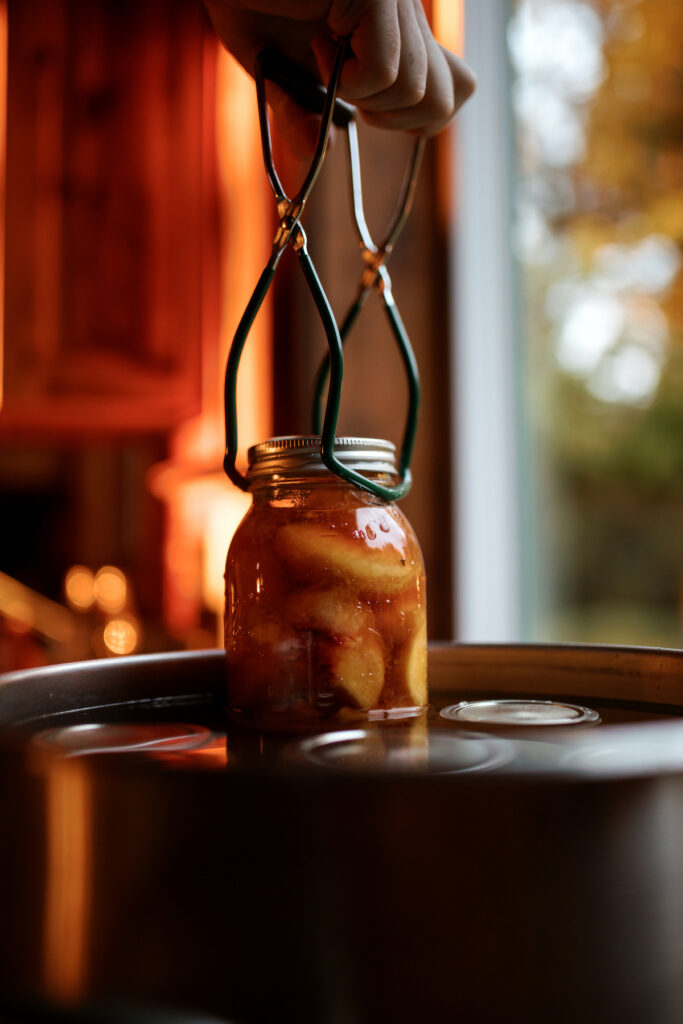
Step 5: Process the Jars
Use a jar lifter to carefully lower filled jars onto the rack in your canner. Make sure jars don’t touch each other or the sides of the pot. Add more hot water if needed so the jars are covered by at least 1 inch of water, but preferably 1 to 2 inches.
Place the lid on the canner and bring the water to a full rolling boil. A rolling boil means large bubbles that don’t stop when you stir the water. Don’t start timing until you reach this full boil.
Once the water is at a full boil, set your timer for the processing time specified in your recipe. Keep the water at a full boil for the entire processing time, adjusting the heat as needed to maintain the boil without causing excessive splashing. If the boil stops during processing, bring it back to a full boil and restart the timer.
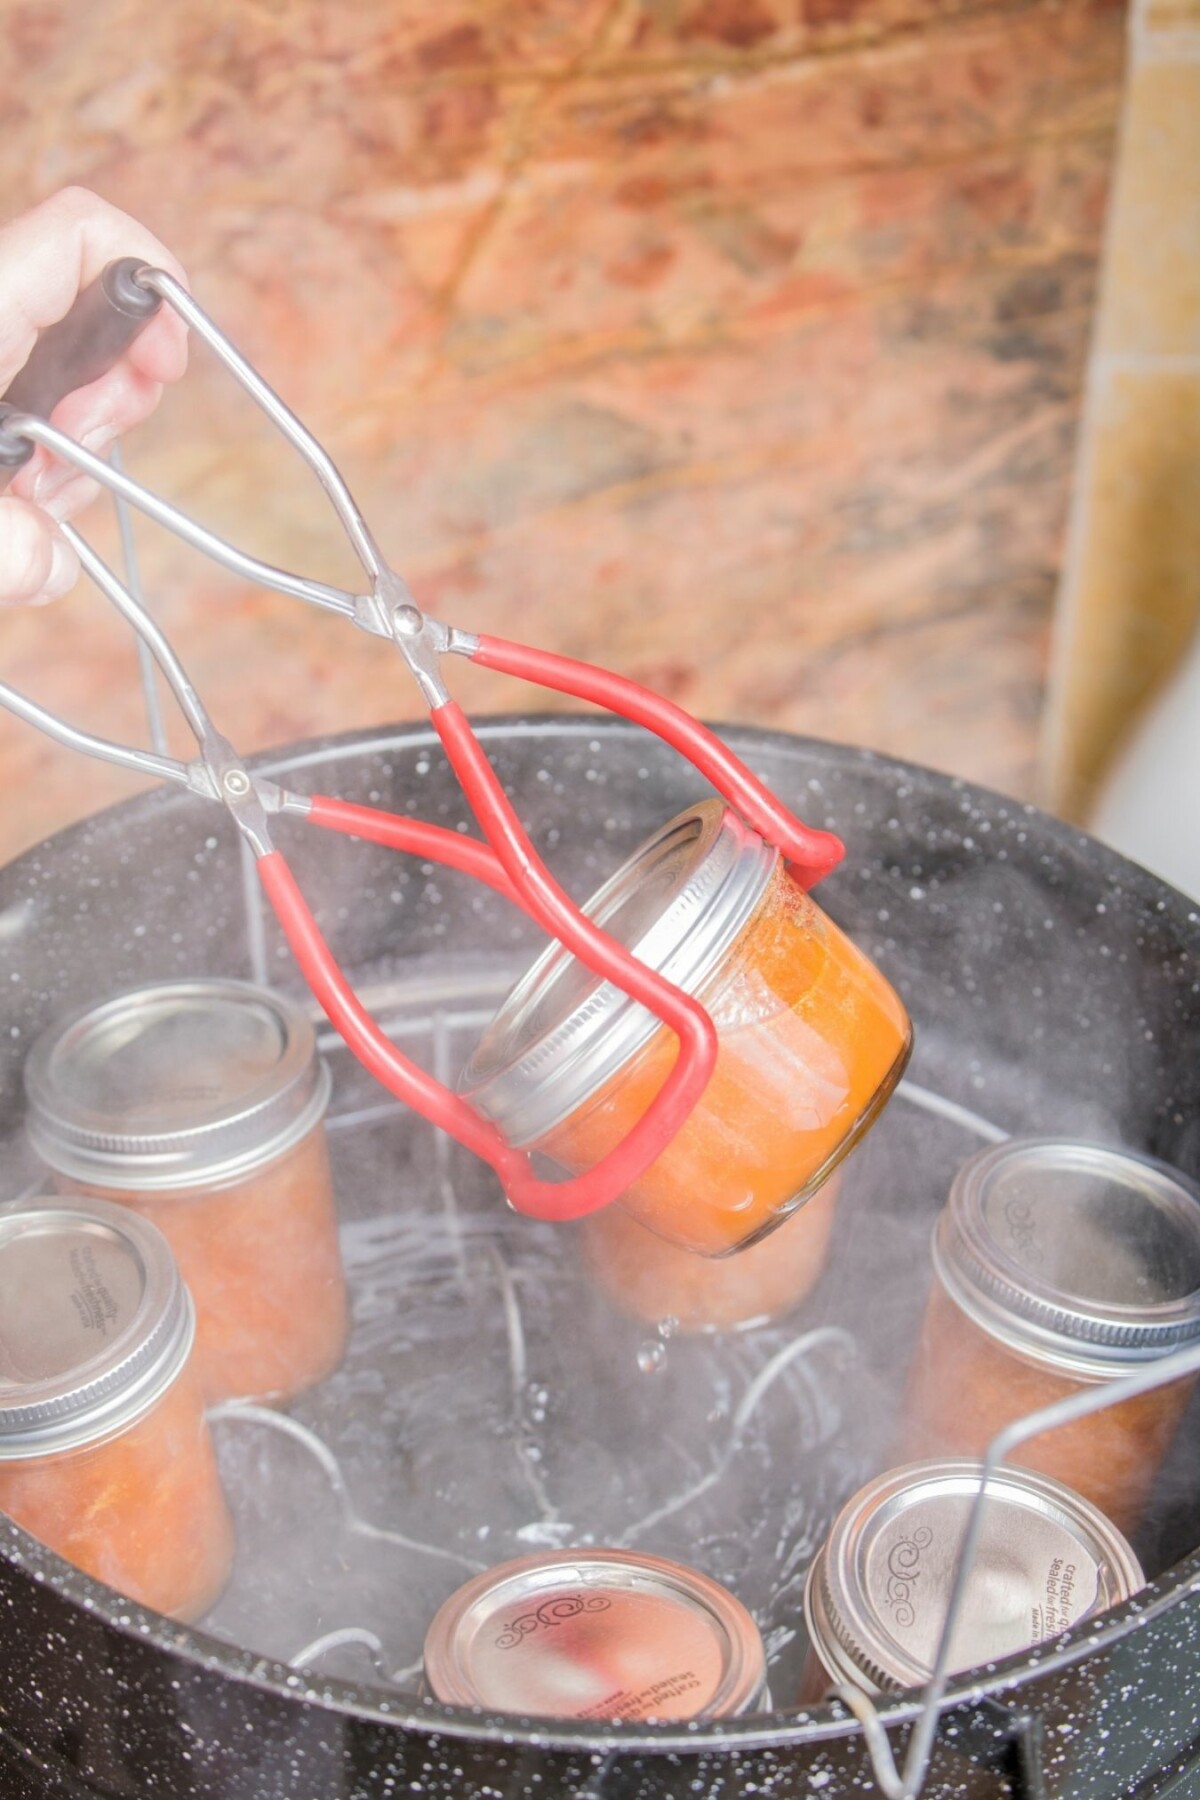
Step 6: Remove and Cool Jars
When the processing time is complete, turn off the heat and remove the canner lid. Let the jars stand in the water for 5 minutes. This rest period allows the pressure inside the jars to equalize gradually, which helps prevent siphoning, where liquid is forced out of the jars during cooling.
Using a jar lifter, carefully remove the jars from the canner and place them on a towel-lined counter. Leave at least 1 inch of space between jars for air circulation. Don’t tilt the jars or try to wipe water off the lids.
Let the jars cool undisturbed for 12 to 24 hours. As they cool, you’ll likely hear the satisfying “ping” or “pop” of lids sealing. Don’t press on the lids or move the jars during this time, as the seal is still forming.
Step 7: Check Seals and Store
After 12 to 24 hours, check that each jar has sealed properly. Press the center of the lid. If it’s concave (curved downward) and doesn’t flex when pressed, the jar is sealed. A sealed lid will also make a clear ringing sound when tapped with a spoon.
Remove the bands from sealed jars before storing. This allows you to easily spot any seal failures during storage (a lid that’s no longer concave or that has sticky residue around the edges). Wash the outside of jars to remove any sticky residue. Label jars with the contents and date.
Store jars in a cool, dark place. A pantry, closet, or basement works well. Avoid storing jars in direct sunlight or in areas with extreme temperature fluctuations. Properly sealed water bath canned foods will keep for 12 to 18 months, though they’re safe to eat indefinitely as long as the seal remains intact. Quality may decline after a year or two.
Any jars that didn’t seal should be refrigerated and used within a few weeks, or you can reprocess them within 24 hours using a new lid.
Altitude Adjustments for Water Bath Canning
Water boils at lower temperatures at higher elevations, which means less heat is transferred to the food during processing. If you live above 1,000 feet elevation, you need to increase your processing time to compensate.
Most canning recipes list processing times for sea level (0 to 1,000 feet). If you’re at a higher elevation, use the adjustments below. If you’re not sure of your elevation, contact your local extension office or search online for your city’s elevation.
Default Altitude Adjustments
If your recipe doesn’t specify altitude adjustments, you should use these adjustments as a default:
- 0 to 1,000 feet: Use time specified in recipe
- 1,001 to 3,000 feet: Add 5 minutes
- 3,001 to 6,000 feet: Add 10 minutes
- Above 6,000 feet: Add 15 minutes
Many waterbath canning recipes have their own tested altitude adjustments. Jams, for example, are generally canned for 10 minutes below 6,000 feet and 15 minutes above 6,000 feet. Always check the specific recipe for altitude guidance, as adjustments can vary based on the food being canned.
Common Water Bath Canning Mistakes to Avoid
Everyone makes mistakes when they’re learning to can, and most of them are easily fixable. Here are some common issues and how to avoid them:
Using untested recipes: Canning recipes from reliable sources have been laboratory tested to ensure they’re safe. Recipes from blogs, social media, or old family cookbooks may not have proper acidity levels. Stick to tested recipes from the USDA, Ball/Bernardin, the National Center for Home Food Preservation, university extension offices, or trusted canning cookbooks like So Easy to Preserve.
Modifying recipes: It can be tempting to reduce sugar, add extra vegetables, or substitute ingredients, but changes can affect both the acidity and heat penetration of the final product. Small modifications like adjusting spices are usually fine, but don’t change the proportions of acidic to low-acid ingredients.
Not checking jars before use: A tiny chip or crack in the rim can prevent sealing or cause the jar to break during processing. Always run your finger around the rim of each jar before filling.
Using cold jars with hot food: The temperature difference can cause thermal shock, cracking the jar. Keep jars hot until you’re ready to fill them.
Incorrect headspace: Too little headspace can cause food to bubble out and prevent sealing. Too much headspace can result in discoloration at the top of the jar and weak seals. Use the headspace specified in your recipe.
Over tightening bands: Air needs to escape during processing for the vacuum seal to form. Tighten bands to fingertip tight only.
Not covering jars with water: Jars must be covered by at least 1 inch of water throughout processing. Add more water if needed, but be careful not to pour cold water directly onto hot jars.
Starting the timer before a full boil: The water must be at a rolling boil before you start timing. A gentle simmer is not hot enough.
Removing jars too quickly: Let jars rest in the canner for 5 minutes after processing ends, then cool undisturbed for 12 to 24 hours. Moving jars too soon can cause seal failure or siphoning.
Using outdated methods: Open kettle canning (pouring hot food into jars without processing), paraffin wax sealing, and oven canning are not safe methods. Always use proper water bath or pressure canning techniques.
Troubleshooting Common Problems
Jars didn’t seal: Check for food residue on the rim, chips in the jar, or old lids. You can reprocess within 24 hours using a new lid, or refrigerate and use the contents within a few weeks.
Liquid loss (siphoning): Common causes include removing jars from the canner too quickly, temperature shock, overpacking jars, or trapped air bubbles. As long as the jar sealed, the food is safe. The exposed food at the top may discolor but is still safe to eat. See What Causes Liquid Loss in Canning for more details.
Jelly didn’t set: This is usually due to incorrect measurements, not reaching gel point, or humidity issues. See Troubleshooting Jelly That Didn’t Set for solutions.
Fruit floated to the top: This is common with whole or halved fruits. It’s a cosmetic issue, not a safety problem. Hot packing (heating fruit before packing) reduces floating.
Color changes: Some color change is normal during storage. Fruits may darken slightly, especially at the top of the jar where they’re exposed to more light. Use dark storage and avoid excessive headspace to minimize discoloration. See Preventing Browning in Fruits for Canning for tips.
Advice from My Canning Kitchen

Water bath canning was my entry point into home preserving, and it’s still what I reach for most often. There’s something grounding about the rhythm of canning season: the steam from the canner, the ping of sealing lids, the satisfaction of a full pantry. I’ve tried to share everything I wish I’d known when I started, because the biggest barrier to canning is usually just uncertainty about whether you’re doing it right.
Start with something simple like a basic jam or pickles. Don’t worry about filling a whole canner your first time. Make a small batch, pay attention to each step, and before you know it, the process will feel natural. Every canner I know has a few stories of jars that didn’t seal or jelly that didn’t set. Those early mistakes are how you learn.
Water Bath Canning FAQs
Yes, as long as it’s deep enough for jars to be covered by at least 1 inch of water with a few inches of extra space to prevent boil-over. You’ll need a rack to keep jars off the bottom of the pot. You can improvise a rack by tying extra canning bands together with twist ties or using a silicone trivet.
If your processing time is 10 minutes or longer, pre-sterilizing is not required. The processing time sterilizes both the jars and their contents. For recipes with processing times under 10 minutes, jars should be sterilized by boiling them for 10 minutes (adjusted for altitude). Most standard jam, jelly, and pickle recipes have processing times of 10 minutes or more.
The flat lid portion should not be reused for canning because the sealing compound is designed to work once. Bands can be reused as long as they’re not rusted, bent, or damaged. Some people save used lids for non-canning purposes like dry storage.
Properly canned and sealed foods are safe indefinitely, but quality declines over time. For peak flavor and texture, use within 12 to 18 months. Store in a cool, dark place and check seals before opening.
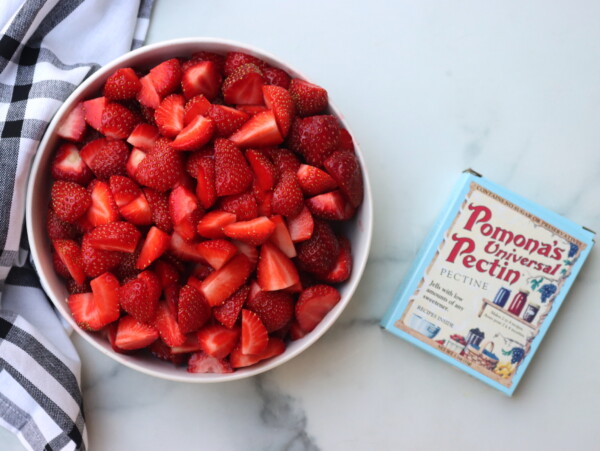
Sugar is not a preservative in water bath canning. The preservation comes from the combination of heat processing and acidity. Sugar affects texture, set (in jams and jellies), and flavor, but you can safely reduce or replace it in most fruit canning recipes. Jams and jellies are different since sugar affects the gel.
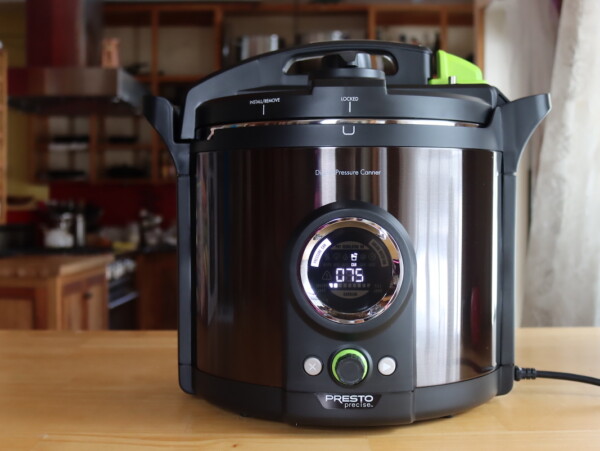
Yes, you can process water bath canning recipes in a pressure canner, treating it as a boiling water canner with the vent left open (no pressure). This keeps your kitchen cooler since less steam escapes. However, you cannot safely convert pressure canning recipes to water bath canning since the temperatures reached are not high enough.
Jar breakage is usually caused by temperature shock (putting cold jars in hot water or hot jars in cold water), using jars with hairline cracks, or jars hitting each other during processing. Always preheat jars, inspect them before use, and make sure they don’t touch in the canner.
No. Processing times are scientifically determined to ensure food safety. Shorter times may not kill all spoilage organisms or create a proper vacuum seal. Always use the time specified in your tested recipe, adjusted for your altitude.
For more answers to common canning questions, see the complete Canning FAQ section, including detailed posts on sugar in canning recipes, liquid loss and siphoning, and troubleshooting jelly that didn’t set.
Recommended Canning Resources
When you’re learning to can, reliable information is essential. Here are the resources I recommend:
The Ball Complete Book of Home Preserving is probably the most comprehensive canning cookbook available, with over 400 tested recipes and detailed instructions for both water bath and pressure canning.
So Easy to Preserve from the University of Georgia Extension is another excellent resource with science-based recipes and preservation methods.
The National Center for Home Food Preservation (nchfp.uga.edu) is the gold standard for free canning information online, with USDA-tested recipes and detailed guidance on all aspects of home food preservation.
Water Bath Canning Recipes to Get You Started
Ready to start canning? Browse these recipe collections for inspiration:
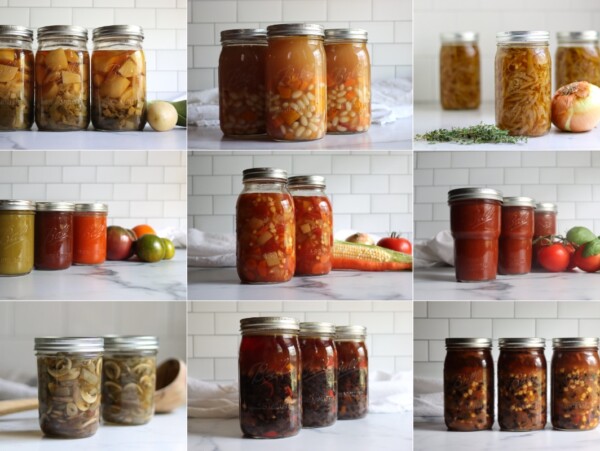
- 300+ Water Bath Canning Recipes is the complete collection of every water bath safe recipe on the site, from jams and jellies to pickles and salsas.
- 100+ Fruit Canning Recipes covers everything from canning whole fruits in syrup to jams, jellies, pie fillings, and fruit butters.
- 50+ Pickle Recipes has pickled vegetables of every kind, from classic cucumber dills to pickled asparagus, green beans, and peppers.
- 50+ Salsa Recipes for Canning includes tomato salsas, fruit salsas, and everything in between.
- 20+ Pie Filling Canning Recipes walks you through canning apple, cherry, blueberry, peach, and other fruit pie fillings.
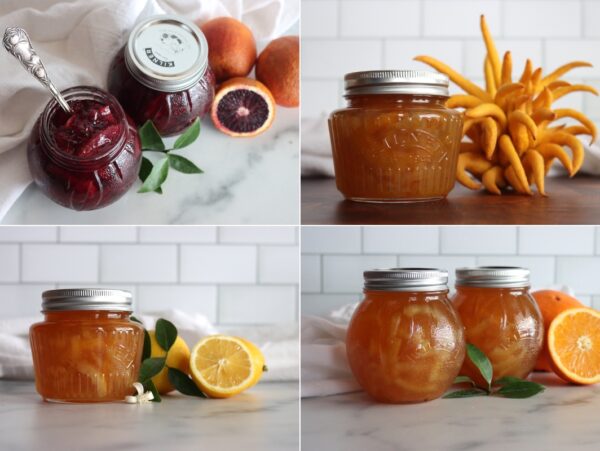
- 50+ Marmalade Recipes covers citrus marmalades of all kinds, from classic orange to lime, grapefruit, and mixed citrus.
- How to Make Fruit Butter teaches the basic method that works with apples, pears, peaches, and nearly any other fruit.
- How to Make Flower Jelly (with 20+ Recipes) is a fun place to start if you want to try something a little different.
Canning Tutorials
Find the perfect recipe
Searching for something else? Enter keywords to find the perfect recipe!