
This post may contain affiliate links. Please see our disclosure policy.
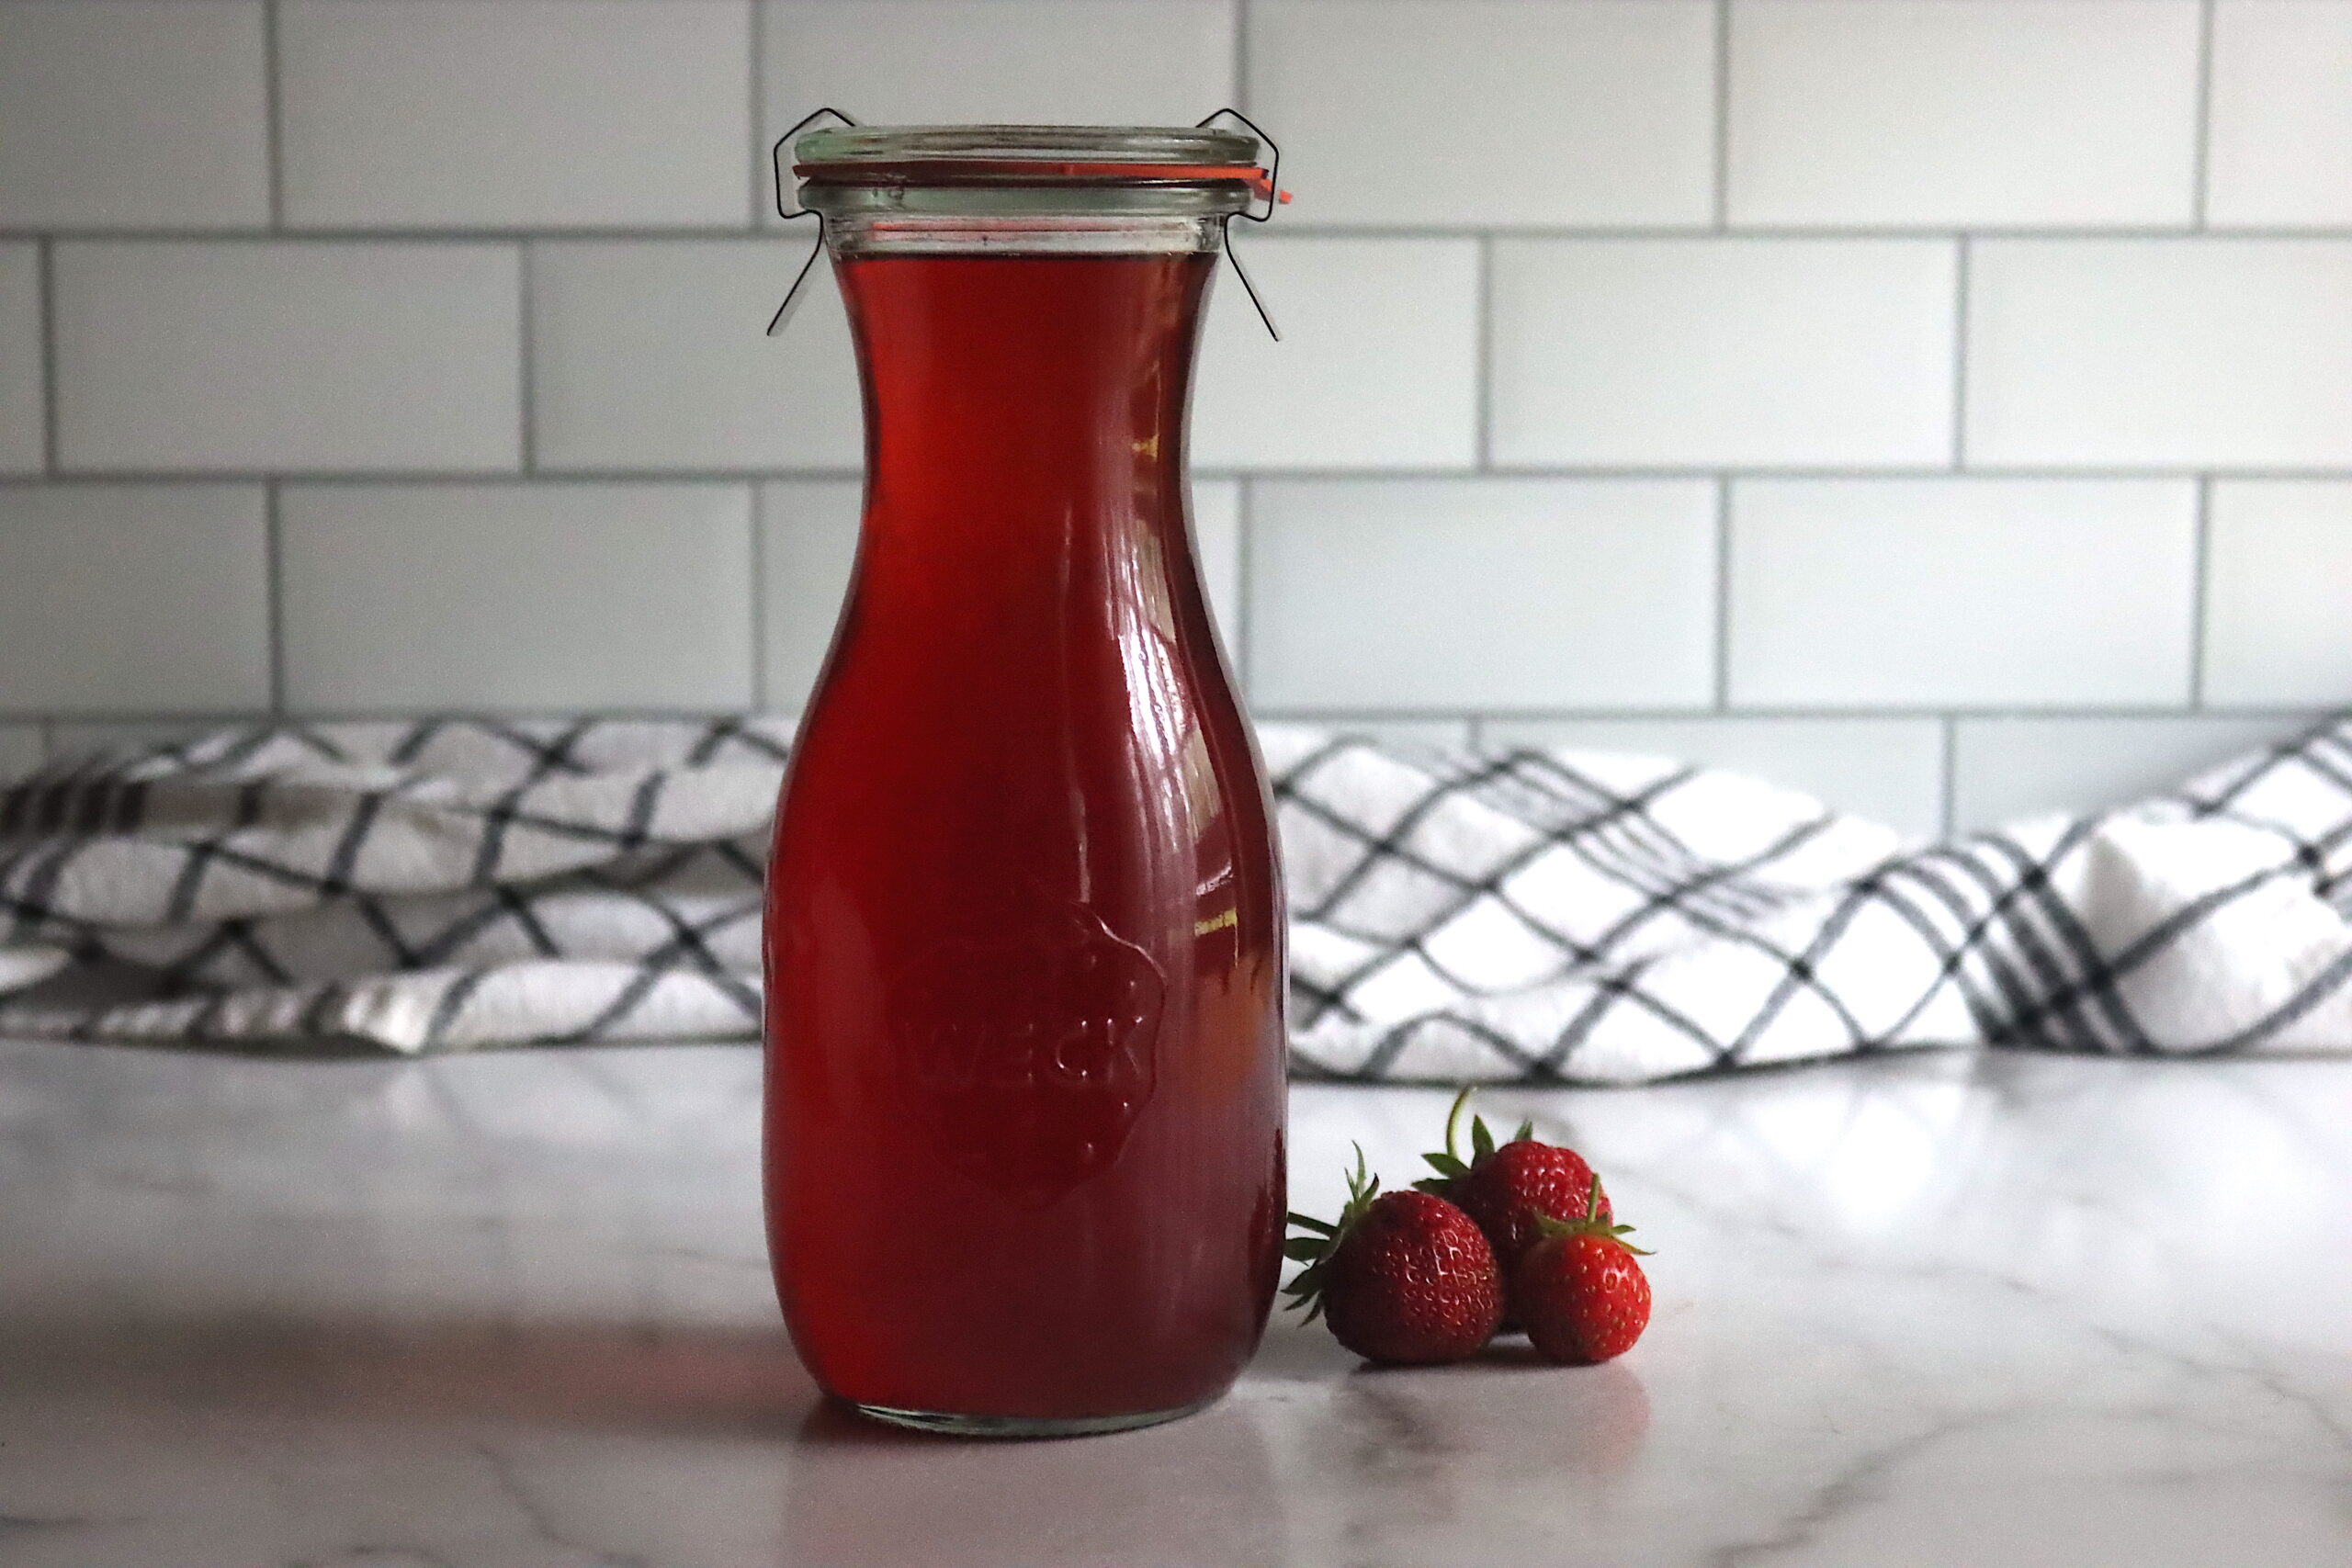
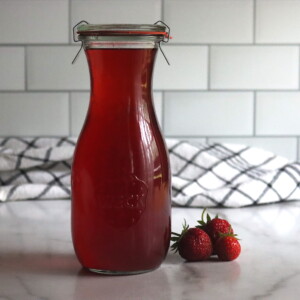
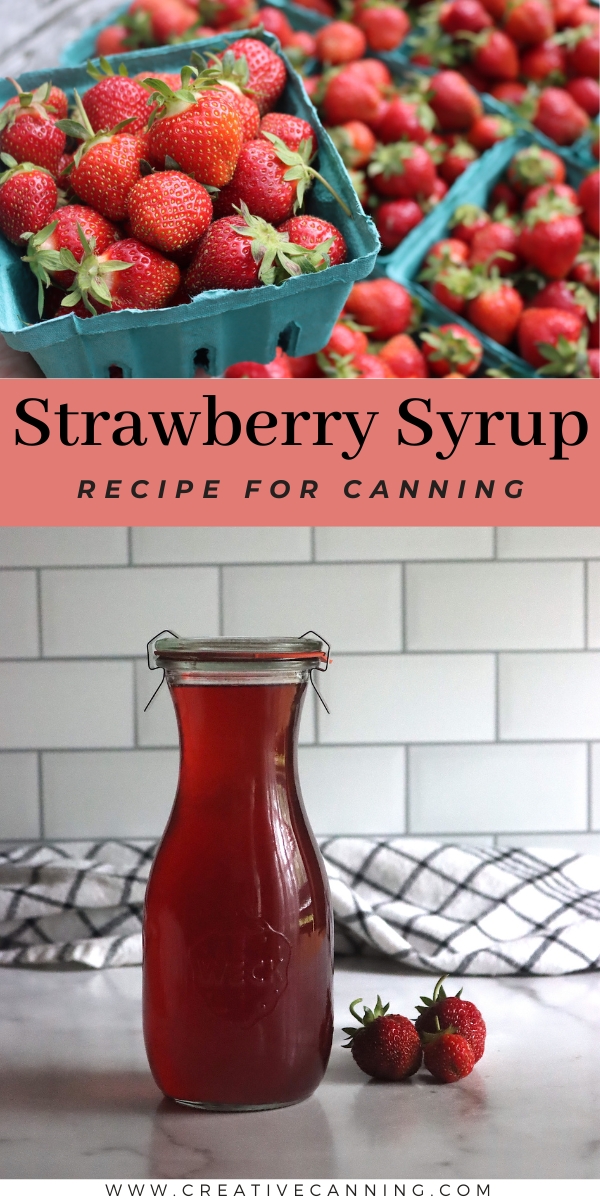
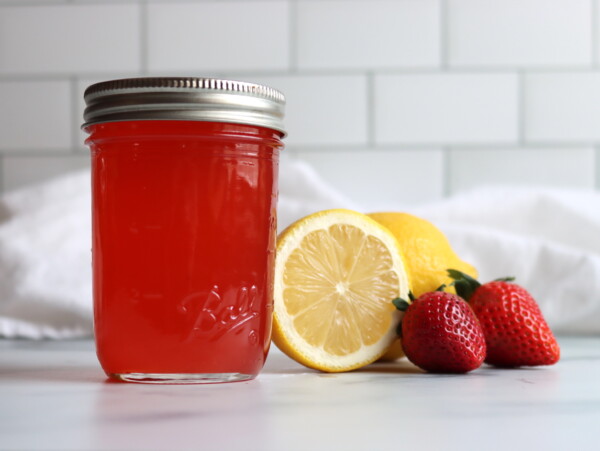
Strawberry syrup captures the flavor of fresh spring strawberries in a pourable form that’s wonderful over pancakes, stirred into milkshakes and lemonade, or spooned onto yogurt and ice cream.
This recipe has been reviewed for safety and accuracy by a Master Food Preserver certified through the University of Cornell Cooperative Extension.
Strawberry jam is a spring canning classic, but syrup goes places a chunky jam can’t, especially into cold drinks. Since you strain out the seeds and pulp, you end up with pure strawberry flavor in a smooth, pourable syrup, with no pectin or set testing involved. If you’d rather put up a spreadable batch, there’s always old fashioned strawberry jam.
This recipe follows the Berry Syrup guidance from the National Center for Home Food Preservation, using a 1:1 ratio of juice to sugar for a true simple syrup with good body that dissolves instantly in cold drinks.
Canning is optional. The syrup keeps in the refrigerator for weeks, so you can make a small batch for drinks or put up a larger quantity for the pantry. The batch below makes about 3 pints or 6 half pints, and doubling or tripling is easy since the processing time stays the same regardless of how many jars you’re canning.
Notes from My Kitchen

Strawberry season is short here in Vermont, so I put up a few jars of syrup every spring to stretch that flavor through the year. The berries that are a little too soft for the jam pot are fine for syrup, since you’re straining everything out anyway.
We use most of ours in drinks. A spoonful in a glass of lemonade or sparkling water is how the kids drink it, and it’s good over pancakes and ice cream too. A little adds a lot of flavor, so a small batch goes a long way.
Quick Look at the Recipe
- Recipe Name: Strawberry Syrup
- Recipe Type: Fruit Syrup
- Canning Method: Water Bath Canning
- Prep Time: About 30 minutes active, plus straining time
- Cook Time: About 15 minutes
- Canning Time: 10 minutes for pints or half pints
- Yield: About 3 pints or 6 half pints
- Jar Sizes: Pints or half pints
- Headspace: 1/4 inch
- Ingredients Overview: Strawberries, water, and sugar in a 1:1 juice to sugar ratio, with optional lemon juice
- Safe Canning Recipe Source: NCHFP Berry Syrup
- Difficulty: Easy (the straining takes time but requires no attention)
- Similar Recipes: Making strawberry syrup is similar to other fruit syrups, like Raspberry Syrup, Blueberry Syrup, or Rhubarb Syrup. For other ways to put up the harvest, try more strawberry canning recipes like strawberry jam or strawberry lemonade concentrate.
Ingredients
Strawberry syrup comes together with strawberries, a little water, and sugar, plus an optional splash of lemon. The process is forgiving enough that you can adjust based on how much fruit you have.
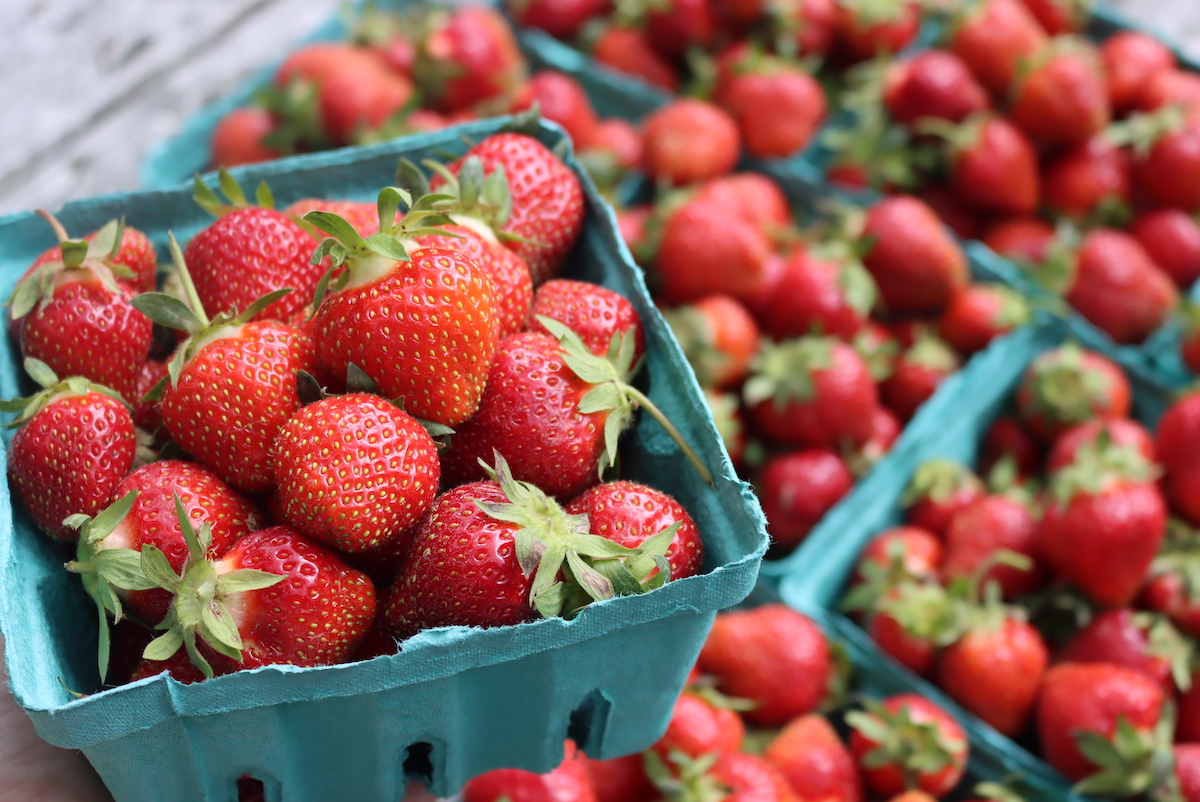
- Strawberries: Fresh, ripe berries give the most flavor and juice. Underripe berries produce less sweet juice, and very overripe ones can turn a batch. Soft berries that are a little past their prime for fresh eating are fine here, since you’re straining out all the solids anyway.
- Water: A small amount of water gets the extraction started and keeps the berries from scorching before they release their juice. The water becomes part of the final juice, so don’t add more than needed.
- Lemon Juice (optional): Strawberries are naturally high in acid, so lemon juice isn’t needed for safe canning here. It’s strictly for flavor, adding a little brightness that balances the sweetness. Fresh or bottled both work, though fresh gives a slightly better finished flavor.
- Sugar: Standard granulated sugar in a 1:1 ratio with the extracted juice. This ratio gives you a true simple syrup with good body and pourability. You can reduce the sugar for a thinner, less sweet syrup, but it won’t have the same consistency.
This recipe scales easily. For every cup of strawberry juice, use 1 cup of sugar.
Step by Step Instructions
This recipe takes a few steps, but none of them are difficult. You cook the berries down with a little water, strain the juice, then add sugar and simmer before ladling everything into jars.
The straining is the longest part, and it’s hands-off. If you’re canning, prepare your water bath canner and jars while the juice works its way through.
Cook the Berries
Rinse the strawberries under cool water, remove the green stems, and cut away any soft or brown spots. Cut the berries into quarters or smaller, then crush them well with a potato masher or a sturdy spoon, working in batches if needed.
Combine the crushed strawberries in a large pot with 1 cup of water. Bring to a boil over medium-high heat, then reduce the heat, cover, and simmer gently for 10 minutes. Remove from the heat, skim off any foam, and let the mixture sit uncovered for about 15 minutes.
Strain the Juice
Set a fine-mesh sieve over a large bowl and ladle in the cooked berries in batches, letting the juice run through. For a clearer syrup, strain again through 3 to 4 layers of dampened cheesecloth, and then once more through a paper coffee filter if you want it crystal clear. Don’t press on the solids if you’re after a clear syrup, though a slightly cloudy one tastes just as good.
Measure out 4 cups of strawberry juice. If you’re a little short, top it up with a splash of water or a mild juice like apple or white grape. If you’re well short, cook down another round of berries the same way.
Make the Syrup
Pour the 4 cups of strawberry juice into a clean saucepan and add the optional lemon juice and 4 cups of sugar. Heat over medium-high, stirring, until the sugar is completely dissolved. Bring to a boil, then reduce the heat and simmer for 5 minutes, stirring occasionally.
Remove from the heat and skim off any foam for a smooth, clear finish. The syrup will look thin while it’s hot and thicken slightly as it cools, so there’s no need to cook it down further.
Fill Jars
Ladle the hot syrup into prepared jars, leaving 1/4 inch headspace. Wipe the rims clean with a damp cloth, apply lids and bands, and tighten to fingertip tight.
A canning funnel keeps the rims clean and makes filling easier, which helps the jars seal. Either pint or half pint jars work for this syrup.
Canning Strawberry Syrup
Without canning, strawberry syrup will keep in the refrigerator for up to a month or in the freezer for up to 6 months, leaving 1 inch of headspace if you’re freezing. For shelf-stable storage, process the filled jars in a boiling water bath.
Prepare your water bath canner before you start making the syrup. Lower the filled jars into the canner, making sure they’re covered by at least 1 inch of water, and process for 10 minutes for either pints or half pints, adjusting for altitude as noted below.
After processing, turn off the heat and let the jars stand in the canner for 5 minutes before removing them. Place the jars on a towel-lined counter and let them cool undisturbed for 12 to 24 hours. Check seals before storing, and refrigerate any jars that didn’t seal for immediate use. Properly sealed jars keep at room temperature for 12 to 18 months.
Altitude Adjustments
For water bath canning, processing times increase at higher elevations:
- 0 to 1,000 feet: 10 minutes
- 1,001 to 6,000 feet: 15 minutes
- Above 6,000 feet: 20 minutes
Serving Ideas
Strawberry syrup shines in drinks. Stir a spoonful into lemonade or sparkling water, blend it into milkshakes, or use it to sweeten cocktails and mocktails. Start with a small pour and adjust to taste.
At the table, pour it over pancakes, waffles, or French toast, or spoon it over ice cream and into yogurt. It’s also good over angel food or sponge cake, served with fresh strawberries and a dollop of whipped cream.
For breakfast, pile fresh strawberries on a waffle and top the whole thing with syrup. The bright berry flavor carries well against rich, creamy foods, so don’t be shy about pairing it with cream and cake.
Yield Notes
This recipe starts with 3 quarts of strawberries and 1 cup of water, and yields about 4 cups of strained juice. Combined with 4 cups of sugar, that makes about 6 cups of finished syrup, which fills 3 pint jars or 6 half pint jars.
Juice yield depends on how ripe and juicy your berries are. If you come up a little short of 4 cups, top it up with water or a mild juice like apple or white grape, and keep the 1:1 ratio of sugar to juice.
Strawberry Syrup FAQs
No. Strawberries are naturally high in acid, so lemon juice isn’t needed for safe water bath canning. It’s optional and strictly for flavor, adding a little brightness that balances the sweetness. Fresh or bottled both work, though fresh gives a slightly better finished flavor.
If you’re a little short, top it up with a splash of water or a mild juice like apple or white grape. If you’re well short, cook down another batch of strawberries the same way. Whatever amount of juice you end up with, keep the sugar at a 1:1 ratio.
Yes. For a tarter syrup, add a handful of cranberries or tart cherries to the strawberries as they cook, smashing them so they pop open. To mellow the flavor, use 3 cups of strawberry juice and 1 cup of apple or mild white grape juice. A vanilla bean or a little pure vanilla extract is another nice addition.
Properly canned and sealed jars keep at room temperature for 12 to 18 months. Once opened, store in the refrigerator and use within about a month. Without canning, the syrup keeps in the refrigerator for up to a month or in the freezer for up to 6 months.
Strawberries are one of the most rewarding fruits to preserve, and there are plenty of other ways to put up a harvest beyond syrup.
Strawberry Canning Recipes
If you tried this Strawberry Syrup recipe, or any other recipe on Creative Canning, leave a ⭐ star rating and let me know what you think in the 📝 comments below!
And make sure you stay in touch with me by following on social media!
Strawberry Syrup
Equipment
- Canning Jars, Lids and Bands
Ingredients
For the Juice:
- 3 quarts strawberries
- 1 cup water
For the Syrup:
- 4 cups strawberry juice, extracted from strawberries
- 4 cups sugar
- 1/4 cup lemon juice, optional, fresh or bottled, for flavor
Instructions
- Rinse the strawberries, remove the stems and any soft or brown spots, and cut into quarters. Working in batches, crush them well with a masher or sturdy spoon.
- Combine the crushed strawberries in a large pot with the water. Bring to a boil over medium-high heat, then reduce heat, cover, and simmer 10 minutes. Remove from heat, skim off any foam, and let sit uncovered for 15 minutes.
- Set a fine-mesh sieve over a large bowl and strain the cooked berries in batches. For a clearer syrup, strain again through 3 to 4 layers of dampened cheesecloth, then once more through a paper coffee filter. Discard the pulp.
- Measure the strawberry juice into a clean saucepan. If short, top up with a splash of water or mild juice like apple or white grape.
- Add the optional lemon juice and the sugar. Heat over medium-high, stirring, until the sugar dissolves. Bring to a boil, then reduce heat and simmer 5 minutes. Remove from heat and skim off any foam.
- Ladle the hot syrup into prepared jars, leaving 1/4 inch headspace. Wipe the rims, apply lids and bands, and tighten to fingertip tight.
- Lower the filled jars into a prepared water bath canner, covered by at least 1 inch of water. Process for 10 minutes for pints or half pints, adjusting for altitude. If not canning, cool and then refrigerate or freeze.
- Turn off the heat and let the jars stand in the canner for 5 minutes before removing them. Cool undisturbed for 12 to 24 hours, check seals, and store. Refrigerate any jars that didn’t seal for immediate use.
Notes
Nutrition
Nutrition information is automatically calculated, so should only be used as an approximation.
Once you’ve made one fruit syrup, the same juice-and-sugar method opens up a whole shelf of others worth trying.
Fruit Syrup Canning Recipes
Find the perfect recipe
Searching for something else? Enter keywords to find the perfect recipe!

Could I put the berries in a chopper or blender to mash them?
Yes, that’s perfectly fine. Just break them up however works best for you so they release all their juices. Enjoy!
Thank you! I have a bunch of blackberry juice left and couldn’t remember the sugar to juice ratio. It seems most of the recipes are for coffee and tea syrups. The strawberry looks delicious, saving for next season
It’s yummy & not terribly hard to make!
Wonderful, so glad you enjoyed it!
Since strawberry syrup can be made from strawberry tops, it really doesn’t make sense to cut them off here. Just mash and cook everything since you’re discarding the used pulp.
You can use the pulp to make fruit leather. In that case of course remove the tops. Otherwise I wouldn’t (and haven’t when I’ve made this) bother. 🙂