
This post may contain affiliate links. Please see our disclosure policy.
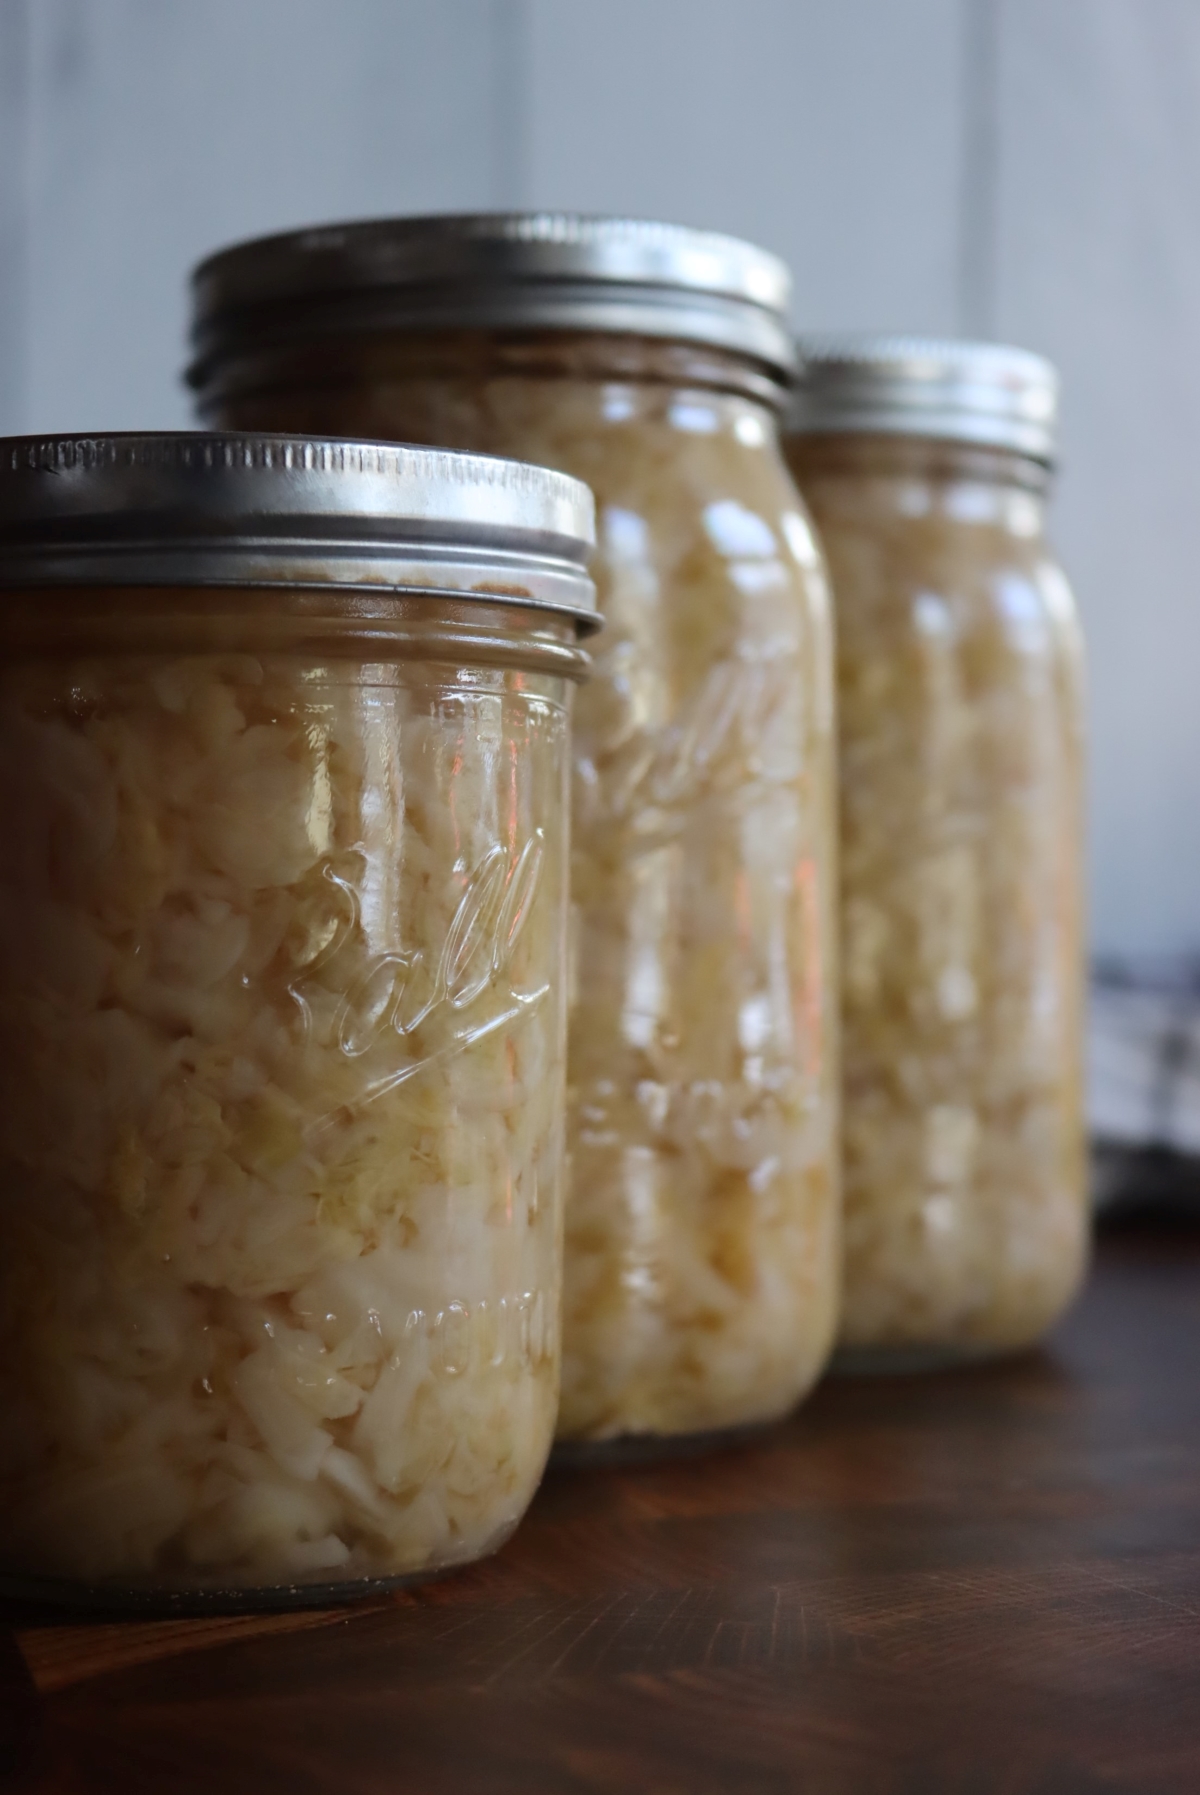
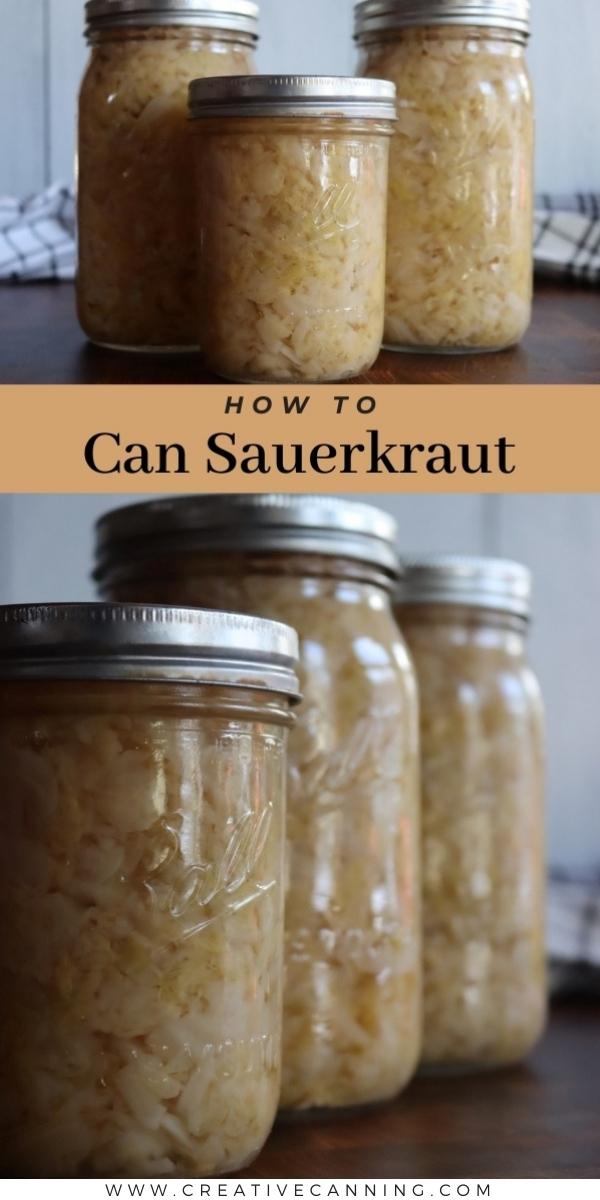
Canning sauerkraut is an easy way to preserve cabbage right on the pantry shelf. While plain cabbage is not approved for canning, it can be put up in a simple water bath canner once it’s fermented into sauerkraut.
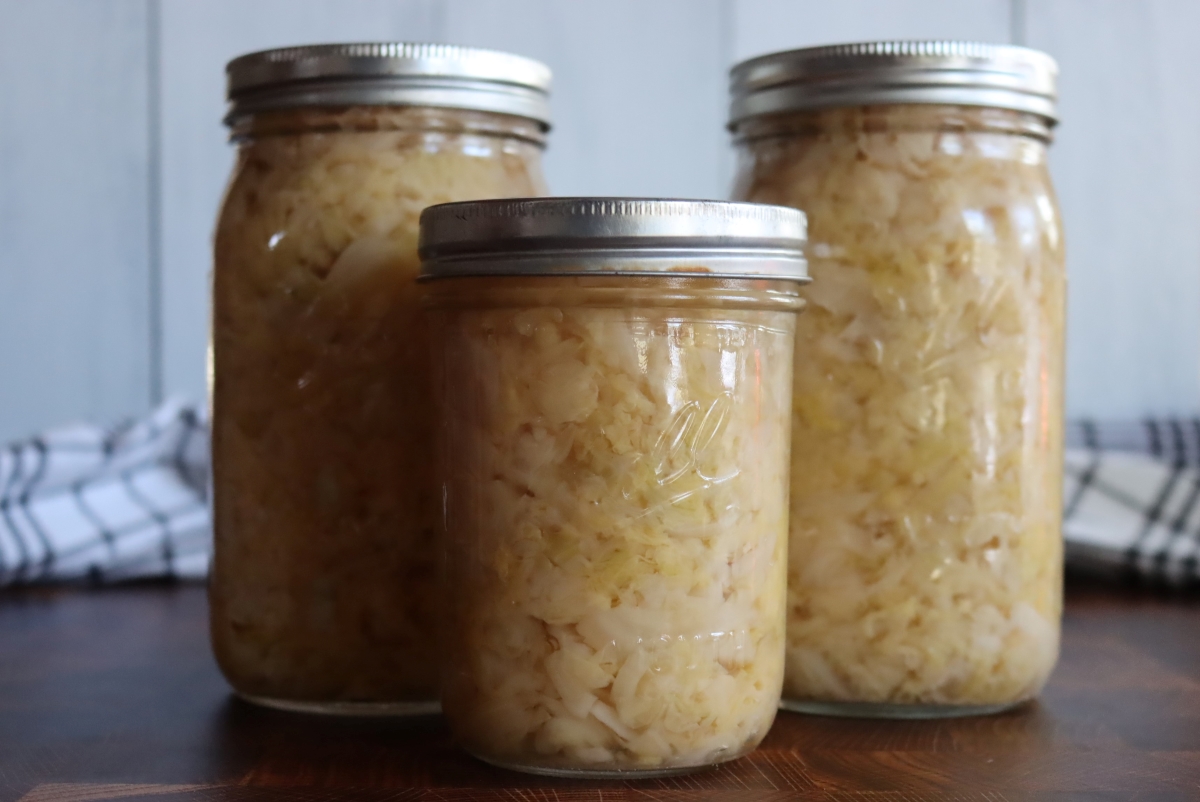
Table of Contents
- Reasons for Canning Sauerkraut
- Reasons Not to Can Sauerkraut
- Making Sauerkraut for Canning
- Best Type of Cabbage for Canning Sauerkraut
- Ingredients for Canning Sauerkraut
- How to Make Sauerkraut for Canning
- How to Can Sauerkraut
- Altitude Adjustments
- Using Canned Sauerkraut
- Other Ways to Store Sauerkraut
- Canning Sauerkraut FAQ
- Cabbage Canning Recipes
- Canning Sauerkraut Recipe
- Old Fashioned Pantry Staples
Canning sauerkraut is a great way to store cabbage for the long term. When cabbage is fermented into sauerkraut, it becomes acidic enough for water bath canning, and it also becomes more digestible and nourishing along the way.
I know the die-hard fermentation lovers out there are thinking, but doesn’t canning kill the probiotics?!?!?
Yes, it does.
Once canned, sauerkraut no longer contains live cultures, but believe it or not, the “probiotics” aren’t the only good reason to make sauerkraut. Fresh probiotic sauerkraut has its place, but so does home canned sauerkraut.
This recipe follows the process for fermented sauerkraut in the Complete Guide to Home Canning, which is the USDA publication maintained by the National Center for Home Food Preservation. It’s a two-part process: first the cabbage ferments in a crock for 3 to 6 weeks, and then the finished kraut is canned in a water bath canner.
Reasons for Canning Sauerkraut
Home-canned sauerkraut may not be probiotic anymore, but it still has plenty of benefits.
Turning cabbage into sauerkraut makes it more digestible, and it also increases protein and vitamin content. Sauerkraut, believe it or not, actually has more protein than the cabbage started with, as the Lactobacillus work to convert the sugars within the cabbage into more nutrition.
Most historical recipes for sauerkraut first preserved the cabbage through fermentation, then cooked it before serving. These days, we tend to use it as a condiment on top of hot dogs, but back in the day, it was part of the cooked main course.
Think sausage and sauerkraut hash, or a full-on sauerkraut soup.
Neither of those uses are probiotic, but they’re still incredibly nourishing, and they allow you to enjoy nutrient-dense sauerkraut all winter long, and in much larger portions than you’d get when using it as a mere condiment.
If you live in a hot climate, canning sauerkraut is one of the most practical ways to store cabbage, as you likely don’t have a cool basement root cellar and refrigerator space is always limited. Sauerkraut will keep quite a while if kept cool, but that’s not exactly an option in the heat of summer in Texas.
Reasons Not to Can Sauerkraut
Of course, while canning has its place, be aware that the canning process is a sterilization process. The sauerkraut will no longer be probiotic, and if that’s your main goal in making sauerkraut, then I’d suggest storing it in the refrigerator for long-term use.
Sauerkraut will keep for months in the refrigerator, and quite a long time if just kept in a cool place like a basement.
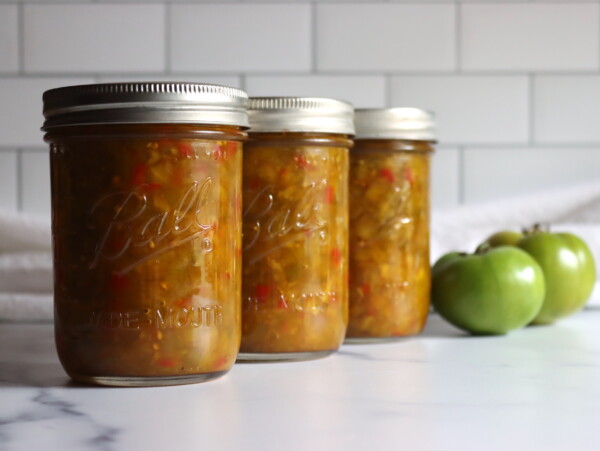
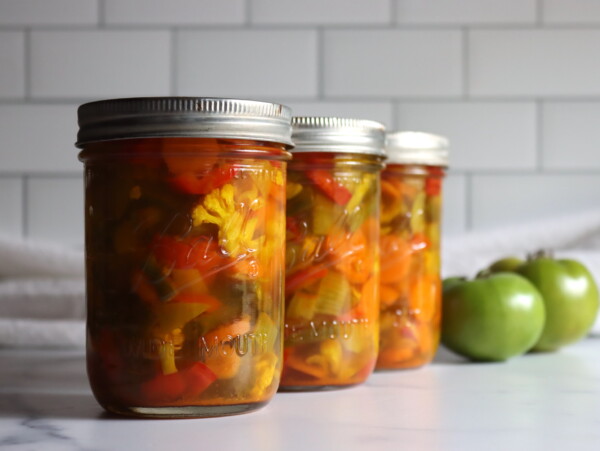
(There are a number of other non-probiotic recipes for canning cabbage in traditional relish recipes that are most commonly called chow chow or piccalilli, like Southern Chow Chow or New England Piccalilli. They’re great options if you’re looking for a way to preserve cabbage on your pantry shelf.)
Making Sauerkraut for Canning
If you’re planning on making your own sauerkraut with the intention of canning it, there are two main things to consider beyond the actual ingredients: the amount of space and the amount of time needed for the cabbage to ferment.
Just the other day I saw someone excitedly post to a food preservation group that they’d acquired 5 cases of cabbage for a few dollars, and that they planned to spend the day canning sauerkraut. The thing is, you can’t buy cabbage today and can sauerkraut tomorrow.
Before the canning stage, you’ll need to prepare the cabbage for sauerkraut and then let it ferment, a process that takes 3 to 6 weeks depending on the ambient temperature surrounding the fermentation container. Basically, the cooler the temperature, the longer it takes for adequate fermentation to occur.
According to the Complete Guide to Home Canning from the National Center for Home Food Preservation, “Sauerkraut fermentation can take place under variable temperature and time combinations. For obtaining a good quality sauerkraut at home, the USDA recommendation is to store at 70º to 75ºF while fermenting. At temperatures between 70º and 75ºF, kraut will be fully fermented in about 3 to 4 weeks; at 60º to 65ºF, fermentation may take 5 to 6 weeks. At temperatures lower than 60ºF, kraut may not ferment. Above 75ºF, kraut may become soft.”
Be sure that your sauerkraut is fully fermented before canning. The acidity developed in the fermentation process is what makes the sauerkraut safe for canning, so this process can’t be rushed.
Best Type of Cabbage for Canning Sauerkraut
But first things first! Choosing the type of cabbage for your sauerkraut. Start with firm, disease-free, mature heads, ideally processed within 24 to 48 hours of harvest. There are several types that can be used to make fermented sauerkraut, with the most popular and readily available varieties being:
- Green cabbage (also called white cabbage) has a pleasant texture that will stay crunchy even after being fermented and canned. Green cabbage has a “clean” taste and is a good variety to use when it’s your first time making fermented sauerkraut.
- Red cabbage (also called purple cabbage) has an earthier flavor and contains more nutrients than green cabbage, particularly vitamin A, C, and iron. Red cabbage has also been found to contain more antioxidants than other types of cabbage.
- Napa cabbage is typically used for kimchi, another type of fermented cabbage preparation, and has a softer texture and milder flavor than other varieties of cabbage.
- Savoy cabbage tastes similar to green cabbage, but the green leaves are textured and softer. While it’s possible to ferment and can sauerkraut made from Savoy cabbage leaves, there’s a higher risk that the leaves will turn overly soft (and even mushy) during the fermentation process and canning stage. I’d recommend choosing Savoy cabbage if you already have experience making fermented sauerkraut.
Ingredients for Canning Sauerkraut
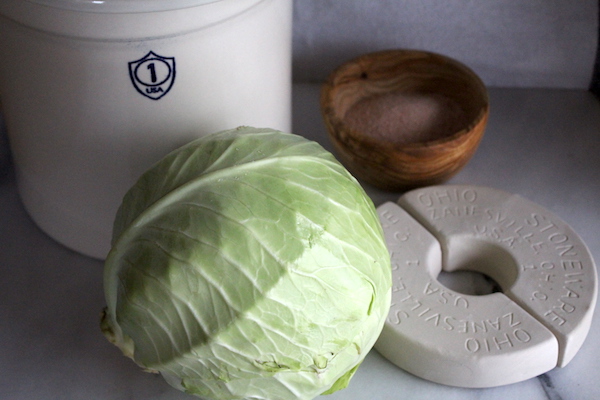
Beyond the cabbage itself, the only other ingredient you’ll need to make fermented sauerkraut is pickling salt (also called canning salt). Pickling salt is unique in that it doesn’t contain anti-caking agents, which means it dissolves easily and results in a clear, non-cloudy brine.
The salt isn’t optional here, and it’s not just for flavor. The ratio of 3 tablespoons of pickling salt to every 5 pounds of shredded cabbage is what allows the right bacteria to thrive while keeping spoilage organisms in check, so don’t reduce it.
For this recipe, which yields about 9 finished quarts of fermented sauerkraut, I’m going to use roughly 25 pounds of whole cabbages and 3/4 cup of pickling salt in total. Instead of attacking all 25 pounds at once and being surrounded by a mountain of shredded cabbage, I like to work with 5 pounds at a time.
You’ll also need a fermentation vessel large enough to hold everything. I like to use a fermentation crock, and as a general rule, you’ll need about 1 gallon of crock capacity for every 5 pounds of cabbage, plus a bit of extra headroom. A food-grade plastic bucket or large glass container works too, along with weights to keep the cabbage submerged.
How to Make Sauerkraut for Canning
Discard the outer leaves first and rinse the cabbage heads under cool water. Using a sharp chef’s knife, cut each cabbage head into quarters and carefully remove the woody core. To thinly shred the cabbage into ribbons the thickness of a quarter, you can use a sharp knife, a food processor with a shredding attachment, or an inexpensive kitchen mandoline (but please, watch those fingers!).
Fill a fermentation container of your choice with 5 pounds of the shredded cabbage (bonus points if your crock comes with its own wooden pounder, and if not, you can use a wooden spoon with similar results). Add 3 tablespoons of pickling salt to every 5 lbs of shredded cabbage in the crock and mix thoroughly with clean hands. Using a wooden fermentation pounder or wooden spoon, pound the salted cabbage until the salt begins to draw juice from the cabbage.
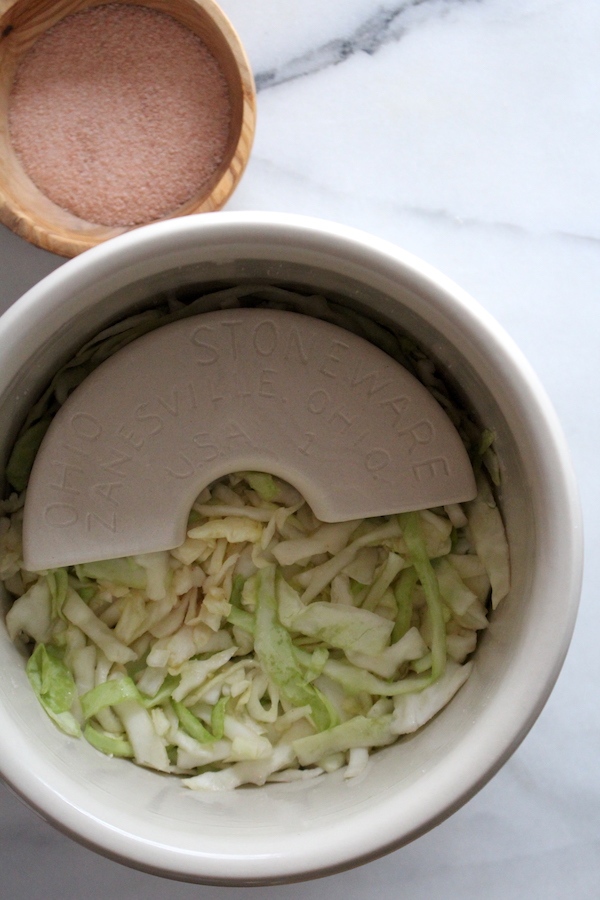
Keep repeating these steps, working in 5 pound batches, until the crock is packed with all the salted cabbage. The fermentation container should be deep enough that there are 4 to 5 inches of the container left above the cabbage. The shredded, salted, and pounded cabbage should release enough juice to completely cover the cabbage in its own natural brine.
If the juice doesn’t completely cover the cabbage, top it off with a weak brine made by dissolving 1 1/2 tablespoons of pickling salt in a quart of boiled water, cooled to room temperature. Weight the cabbage down with fermentation weights (or a plate topped with sealed jars of water) so that everything stays submerged, and cover the whole container with a clean towel.
If you’re confused at all about the process, I’d suggest reading my guide that covers how to make sauerkraut, or more specifically, how to make sauerkraut in a crock.
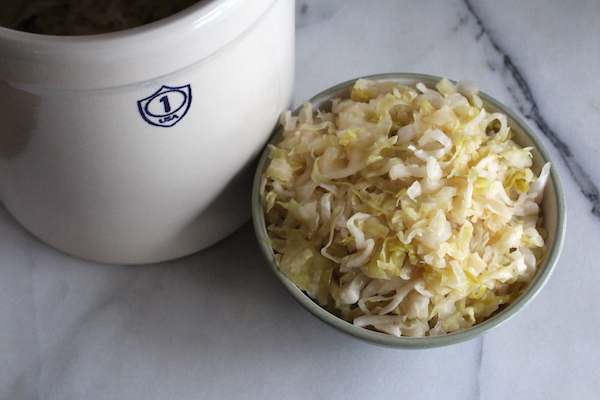
Depending on the size of your fermentation vessel, there’s a good chance you’ll need more than one crock, which means you’ll need more space, so keep this in mind during the initial planning stages.
How Long to Ferment Sauerkraut?
If sauerkraut is left to ferment at warmer temperatures (between 70° and 75°F, which is what the USDA recommends), it will take about 3 to 4 weeks for the cabbage to ferment. If the temperatures are slightly lower, between 60° and 65°F, the fermentation process will likely take 5 to 6 weeks.
Avoid fermenting the cabbage at temperatures higher than 75°F, as this will result in mushy, inedible “sauerkraut.” On the other hand, temperatures lower than 60°F are too cold for proper fermentation to occur.
Why are these temperatures so important? In order for sauerkraut to be safely canned, it must be acidic enough, which naturally happens during fermentation.
On the topic of acid: While it’s technically possible to can pickled cabbage in white or cider vinegar, it wouldn’t have any of the amazing nutritional benefits from fermentation, and the taste would likely be pretty unpleasant.
You can expect to see signs of fermentation at around one week. Look for small bubbles, as they’re easy to miss, and if the temperature is on the lower end, you might not see them at all. If the brine level drops below the cabbage at any point, top it off with more of the weak brine (1 1/2 tablespoons of pickling salt per quart of boiled, cooled water) so everything stays submerged.
If you’re weighing the cabbage down with fermentation weights or a plate and jars, check the kraut 2 to 3 times each week and skim off any scum that forms on the surface. (If you’re using a brine-filled bag as both weight and seal, leave the crock undisturbed until the bubbling stops.) Keep the container covered with a clean towel the whole time.
When is Sauerkraut Done?
Begin sampling the sauerkraut fairly early on. There are no hard-and-fast rules about when sauerkraut is finished, as it mostly comes down to personal preference. Generally speaking, the longer the cabbage is allowed to ferment, the more complex the flavor. As mentioned above, depending on the ambient temperature, the sauerkraut is ready for canning after 3 to 6 weeks of fermentation.
You’ll know fermentation is complete when the bubbling has stopped, and the kraut has a pleasantly tangy, sour flavor throughout. Once the fermented sauerkraut is to your taste, it’s time for canning. Of course, you can always tightly cover the sauerkraut and store it in the refrigerator for several months in lieu of canning.
If you’re not familiar with fermenting tools and equipment, I’d suggest reading this beginner’s guide to lacto-fermentation. You can find more information specific to sauerkraut in this post on how to make sauerkraut as well as this one on making large batches of sauerkraut in a crock.
How to Can Sauerkraut
Sauerkraut is ready to be canned in a water bath canner using either a raw pack or a hot pack once the fermentation process is complete (in other words, to your particular liking).
Start by preparing a water bath canner, filling it about half full of water and bringing it up to a simmer. Wash your jars, lids, and rings in hot soapy water and keep the jars hot until you’re ready to fill them. Since every processing time for sauerkraut is 10 minutes or longer, there’s no need to sterilize the jars first, they just need to be clean and hot.
Canning Sauerkraut with Raw Pack
To use the raw pack method, firmly fill the prepared jars with the unheated sauerkraut, leaving 1/2 inch headspace at the top. Cover the contents of the jar with brine from the fermentation crock, maintaining that same 1/2 inch headspace.
Canning Sauerkraut with Hot Pack
For canning sauerkraut using a hot pack, slowly warm the cabbage and the brine in a large, heavy-bottomed stock pot, stirring frequently until the contents come to a boil. Remove the pot from the heat. Again, firmly fill each jar with the sauerkraut and cover with hot brine, leaving 1/2 inch headspace.
The hot pack method has a shorter processing time, and I find it also packs more kraut into each jar, so it’s the method I usually reach for.
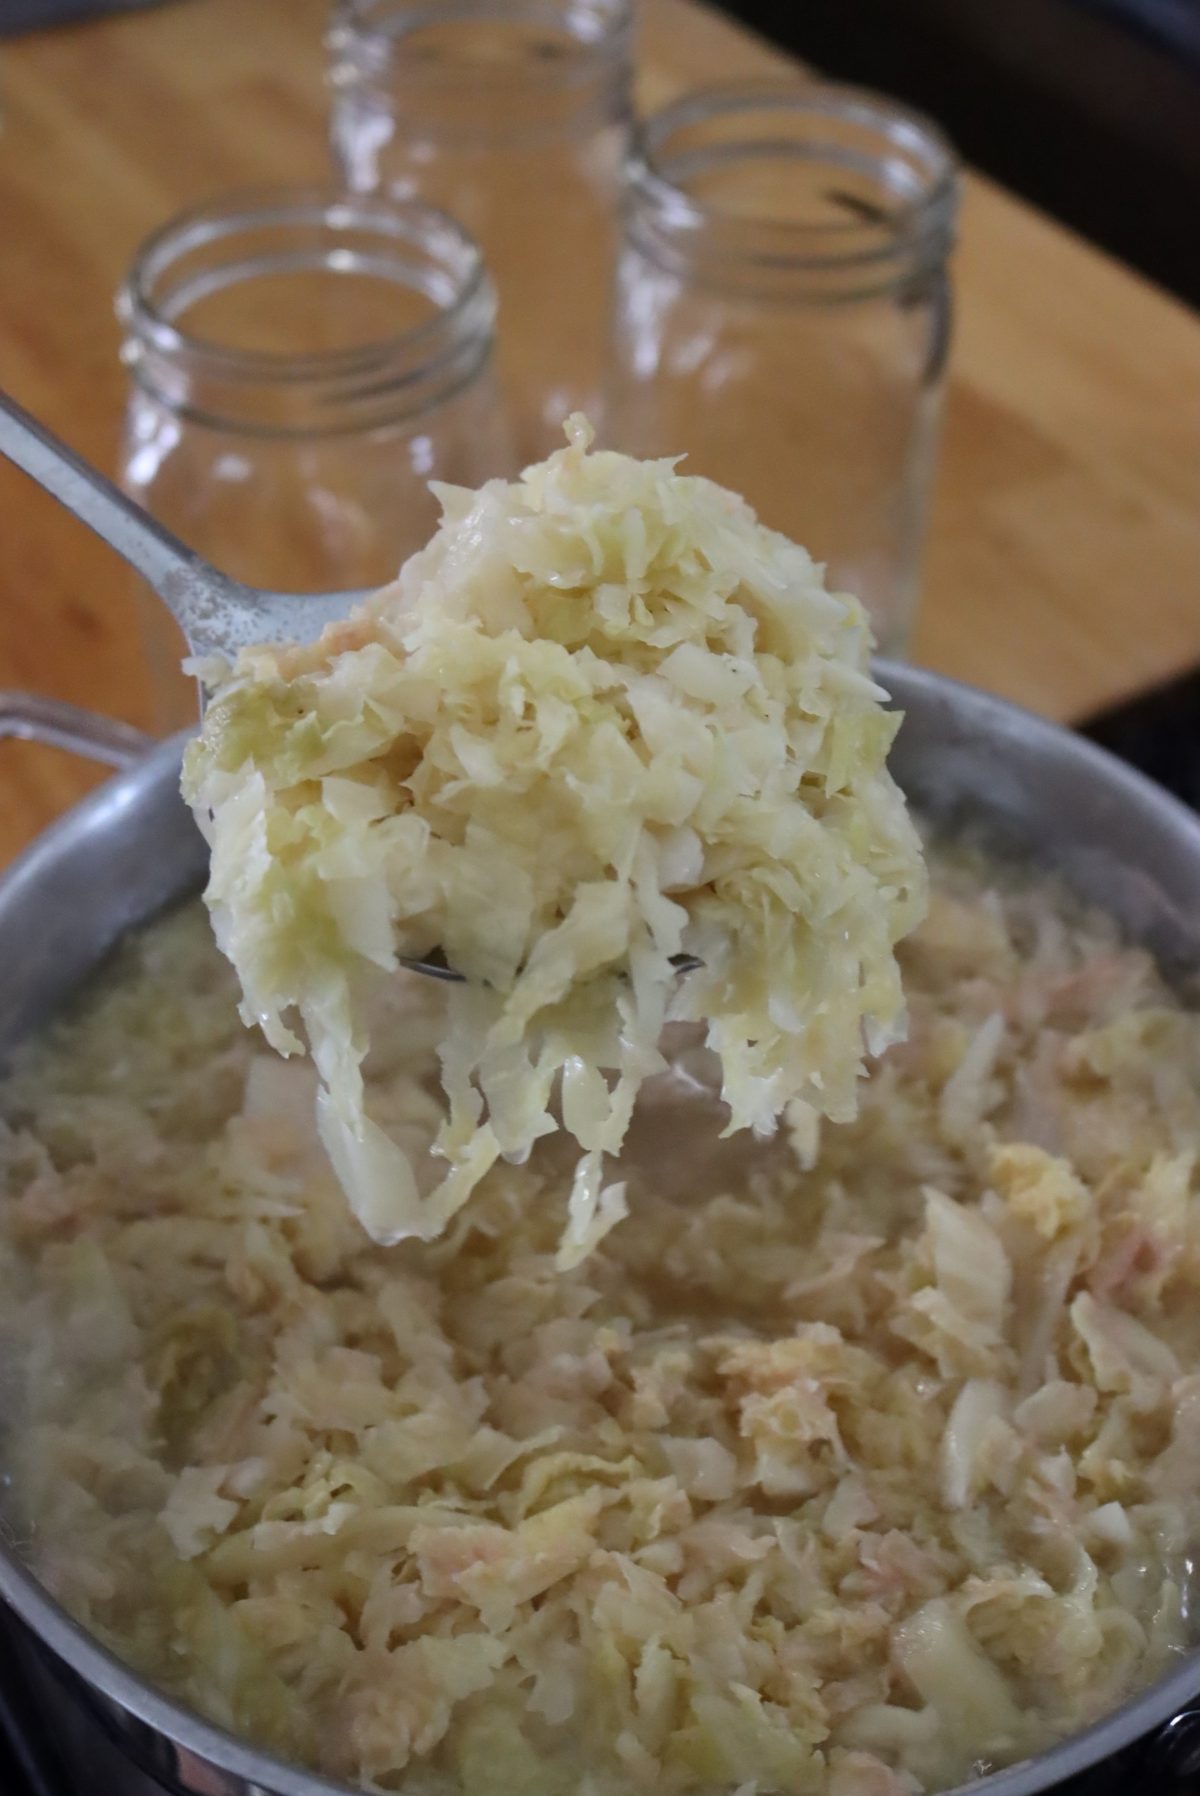
Regardless of the method used, remove any air bubbles with a chopstick or bubble tool, wipe the rims, and seal each jar with two-piece canning lids until fingertip tight. Load the jars into a prepared water bath canner, making sure they’re covered by 1 to 2 inches of water, and process for the time indicated below. Make sure to consider the altitude you’ll be canning at, as this can affect processing times.
When the timer goes off, turn off the heat and let the jars sit in the still-hot water for another 5 minutes. Using a jar lifter, carefully remove each jar from the canner. Place the jars on a clean towel, leaving at least an inch of space between each jar, and let the sauerkraut come to room temperature (this usually takes anywhere from 12 to 24 hours).
At this point, you can check the seals on each jar, storing any unsealed jars in the fridge, where they’ll keep for up to 3 weeks. Remove the bands from the sealed jars and store the canned sauerkraut in a cool, dry location away from direct light.
Altitude Adjustments
Higher altitudes need longer processing times, and larger jars (quarts) and raw pack also need longer processing times. Be sure to choose your altitude, jar size, and pack style to determine the correct processing time.
For Raw Pack:
- 0 to 1,000 feet elevation: 20 minutes for pints and 25 minutes for quarts
- 1,001 to 3,000 feet elevation: 25 minutes for pints and 30 minutes for quarts
- 3,001 to 6,000 feet elevation: 30 minutes for pints and 35 minutes for quarts
- Above 6,000 feet elevation: 35 minutes for pints and 40 minutes for quarts
For Hot Pack:
- 0 to 1,000 feet elevation: 10 minutes for pints and 15 minutes for quarts
- 1,001 to 6,000 feet elevation: 15 minutes for pints and 20 minutes for quarts
- Above 6,000 feet elevation: 20 minutes for pints and 25 minutes for quarts
How Long Does Canned Sauerkraut Last?
Unopened canned sauerkraut will easily last for 18 months if stored away from light, dampness, and heat. Once opened, it should be stored in the refrigerator and eaten within 1 week. Of course, you’ll find that canned sauerkraut can often last much longer than that, as long as it doesn’t change color or develop any offensive smells.
Using Canned Sauerkraut
Beyond a topping for hot dogs and hamburgers, there are plenty of ways to make use of canned sauerkraut.
You can use it as a base for this Polish casserole, which also contains pasta, kielbasa, and shredded Swiss cheese. For a warming winter bowl of comfort, why not make a traditional sauerkraut soup recipe?
Bratwurst and sauerkraut are a natural pairing, so try serving it with your favorite spicy mustard and a side of pickles. Last but not least, a homemade reuben sandwich doesn’t get much better than when it’s been made with canned sauerkraut from your own pantry.
Other Ways to Store Sauerkraut
If you’re looking for other ideas for storing fermented sauerkraut that don’t involve canning, you can always try keeping it in a cool back closet, in the refrigerator, or in a not-too-damp basement. It’ll continue to ferment slowly, and it’ll get more acidic over time, but it should last many months so long as it’s kept in a cool, dark place.
If you live in a hot area, like much of the American West, it’s better to either keep your sauerkraut in the refrigerator or can it so you can keep it on the pantry shelf.
No matter which method you choose, the most important thing to remember is that the sauerkraut must be submerged under its liquid at all times. When any part of the sauerkraut is exposed to air, it will begin to mold and spoil. Be sure to keep the brine topped off if you’re storing fresh sauerkraut.
(This isn’t an issue when canning sauerkraut, as the jars are sealed and they won’t lose liquid over time.)
Canning Sauerkraut FAQ
Yes, sauerkraut can be safely canned in a water bath canner once it’s fully fermented. The fermentation process naturally acidifies the cabbage, bringing it well below the pH threshold required for water bath canning. Process hot pack jars for 10 minutes (pints) or 15 minutes (quarts), and raw pack jars for 20 minutes (pints) or 25 minutes (quarts), adjusting for altitude above 1,000 feet.
Plain cabbage is a low-acid vegetable, and there is no safe tested process for canning it, either in a water bath or a pressure canner. Fermenting cabbage into sauerkraut adds enough natural acidity to make it safe for water bath canning, which is why kraut can go on the pantry shelf while fresh cabbage cannot.
Yes, the heat of the canning process kills the live cultures in sauerkraut. Canned sauerkraut is still more digestible and more nutritious than fresh cabbage, though, and it’s a good option for cooked dishes like sauerkraut soup or sausage and kraut. If probiotics are your main goal, store fully fermented sauerkraut in the refrigerator instead, where it will keep for several months.
Sauerkraut needs 3 to 6 weeks of fermentation before canning, depending on temperature. At 70 to 75 degrees F, it will be fully fermented in about 3 to 4 weeks, while at 60 to 65 degrees F it may take 5 to 6 weeks. The kraut must be fully fermented before canning, since the acidity developed during fermentation is what makes it safe for a water bath canner.
Cabbage Canning Recipes

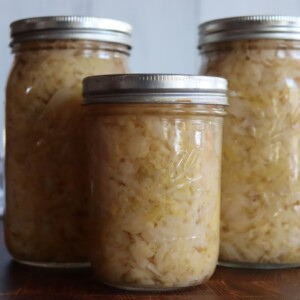
Canning Sauerkraut
Equipment
- Fermentation Crock
- Canning Jars, Lids and Bands
Ingredients
Sauerkraut
- 25 lbs cabbage, about 10 to 12 medium heads
- 3/4 cup canning and pickling salt, 3 tablespoons per 5 pounds of shredded cabbage
Extra Brine (only if needed):
- 1 1/2 tbsp canning and pickling salt per quart of water, boiled and cooled
Instructions
Preparation
- Work with about 5 pounds of cabbage at a time. Remove the outer leaves, rinse the heads under cold running water, and drain.
- Cut each head into quarters and remove the cores. Shred or slice the cabbage to the thickness of a quarter.
- Place 5 pounds of shredded cabbage in the fermentation container and add 3 tablespoons of canning salt. Mix thoroughly with clean hands.
- Pack the salted cabbage firmly, pounding with a wooden pounder or spoon until the salt draws juice from the cabbage.
- Repeat shredding, salting, and packing in 5 pound batches until all the cabbage is in the container. Leave at least 4 to 5 inches of space between the cabbage and the rim of the container.
- If the juice does not completely cover the cabbage, add boiled and cooled brine made with 1 1/2 tablespoons of canning salt per quart of water.
- Weight the cabbage so it stays fully submerged under the brine, then cover the container with a clean bath towel.
Fermenting
- Store the container at 70 to 75 degrees F while fermenting. At this temperature, the kraut will be fully fermented in about 3 to 4 weeks. At 60 to 65 degrees F, fermentation may take 5 to 6 weeks. Below 60 degrees F, kraut may not ferment, and above 75 degrees F, it may become soft.
- If using jar weights or a plate, check the kraut 2 to 3 times each week and remove any scum that forms. If using a brine-filled bag as a weight, do not disturb the crock until fermentation is complete.
- The sauerkraut is fully fermented when the bubbling has stopped and it tastes pleasantly tangy. Fully fermented kraut may be canned, or kept tightly covered in the refrigerator for several months.
Canning (Hot Pack Option)
- Prepare a water bath canner and keep jars hot until filling. Slowly bring the kraut and its brine to a boil in a large stockpot, stirring frequently, then remove from the heat.
- Fill hot jars firmly with kraut and cover with the hot juices, leaving 1/2 inch headspace. Remove air bubbles, wipe the rims, and apply two-piece lids to fingertip tight.
Canning (Raw Pack Option)
- Alternately, fill jars firmly with unheated kraut straight from the crock and cover with its brine, leaving 1/2 inch headspace. Remove air bubbles, wipe the rims, and apply two-piece lids to fingertip tight.
Processing
- Load the jars into the water bath canner, ensuring they are covered by 1 to 2 inches of water. Bring to a full rolling boil and process hot pack jars for 10 minutes (pints) or 15 minutes (quarts), and raw pack jars for 20 minutes (pints) or 25 minutes (quarts). Adjust for altitude if above 1,000 feet (see notes).
- When the processing time is complete, turn off the heat and let the jars rest in the canner for 5 minutes. Remove the jars to a towel-lined counter and cool for 12 to 24 hours.
- Check the seals. Store any unsealed jars in the refrigerator and use within a few weeks. Remove the rings from sealed jars and store in a cool, dark, dry place.
Notes
- 0 to 1,000 feet elevation: 20 minutes for pints and 25 minutes for quarts
- 1,001 to 3,000 feet elevation: 25 minutes for pints and 30 minutes for quarts
- 3,001 to 6,000 feet elevation: 30 minutes for pints and 35 minutes for quarts
- Above 6,000 feet elevation: 35 minutes for pints and 40 minutes for quarts
- 0 to 1,000 feet elevation: 10 minutes for pints and 15 minutes for quarts
- 1,001 to 6,000 feet elevation: 15 minutes for pints and 20 minutes for quarts
- Above 6,001 feet elevation: 20 minutes for pints and 25 minutes for quarts
Nutrition
Nutrition information is automatically calculated, so should only be used as an approximation.
Old Fashioned Pantry Staples

Step 14 is confusing . When do you start timing ? Is it as soon as you start the water bath or when it starts boiling ?
I’ve clarified the instructions. When canning, you always wait until the canner is at a full rolling boil before you start the timer. This is true for all waterbath canning recipes.
Ashley, I am trying your kraut directions. I started it 3 weeks ago and it is fermenting. Should I take the moldy stuff off the top each week? I did today and then added more salted water to keep it covered. Is that OK?
If you see small amounts of mold, yes you should scoop that off. If it’s going crazy in there, then that’s a sign that something’s off. Make sure you keep every little bit covered by brine, and if anything’s floating (like pieces of cabbage), make sure you pull those out. Keep topping it off with brine as you go.
Hi I hot bathed my fermented Kraft but it seems there is very little juice left in jars they are sealed but the top of Kraft is not covered. Will it keep or should I put it in the fridge
It sounds like they siphoned, which can happen sometimes. It’s usually not a safety issue so long as they’re sealed, but anything above the liquid line may discolor over time and it’s a good idea to use those up first. You can read more about siphoning here: https://creativecanning.com/canning-liquid-loss-siphoning/
Your knowledge on this topic really shows. The real-life examples were my favorite part. The way you explained the topic was very clear.
Wonderful! I’m so glad it’s helpful to you.
Love this recipe.
So glad you like it!
If I don’t have enough brine to cover the sauerkraut in each jar can I use boiled water to completely cover the sauerkraut?
You should use vinegar (white or cider) to cover he balance. Water will reduce the acidity, and it’s the acidity from fermentation that makes this safe for canning.
I used food grade 5 gallon buckets and it worked the same as a crock.
Yup, those work great! All you have to do is come up with a way to keep everything submerged under the brine, but there are plenty of options for that if you’re creative. Even water in a gallon ziploc bag works to keep everything weighed down. Glad it worked for you, and hope your canning project went just as well!
Hi! I’m interested in trying this recipe. Do you process this in a hot water bath or a pressure cooker? I’ve only used the oven method to can preserves. Thanks.
P.S. I like the idea of using a food-grade 5 gallon bucket. That would really simplify things!
This recipe is for a waterbath canner. The cabbage becomes acidic during fermentation, so you can safely waterbath can it even though it’s a vegetable. Enjoy!
So after the fermentation is finished and I would like to can the sauerkraut, would the heating from water baths kill the probiotics? I really want to keep the probiotics 😀
If you can it, then yes, it does kill the probiotics. There’s no way to can it without killing off the probiotics, but that said, much of their benefit is in the fermentation itself, rendering the cabbage more nutritious and digestible. I talk about this a good bit in the article, and there are many traditional recipes that use cooked sauerkraut, and this canned version is great in those. If your primary goal is the probiotics though, you should refrigerate the kraut instead of canning and use it within a few months.
Hi Ashley,
We’re Jeff and Michelle Van Pelt from Churubusco, Indiana.
We do “alot” of cooking and a ton of Canning/Pressure Canning/preserving foods.
We’ve always been intrigued by fermentation, but never took the step until a friend of mine at work was telling me how really easy is to make Sauerkraut. So we took the leap.
I checked out a dozen sites and kept coming back to yours. “Very” thorough. Thank you.
So… we converted some measurements of yours, and did a smaller batch of about 8 pounds. We didn’t have a crock and didn’t want to invest in one until we found out if it was worth it, so actually, we used our crock and it worked like a charm.
3 weeks??? Sauerkraut was perfect. Thanks again.
So we kept some fresh in the refrigerator and canned the rest in pint jars. We both loved the benefits of the the Probiotics.
Then we broke into the canned stuff and sure enough, the Probiotics are dead, so I have another batch fermenting as I write this.
I got to thinking, I wonder if I could crack open a seal on one of my pint jars with the canned Sauerkraut and just let it set on the counter with the lid loose… Would it referment? 🤔
I Googled this subject in several ways and came up with nothing, so I came back here to see if you’ve ever tried this.
I want to thank you again for that awesome recipe. My Wife has never like Sauerkraut in her life. She’s only had store bought. She loves it.
So you could get it to re-ferment, but you’d have to add a culture to get some live lactobacillus back into the jar. To do that, you’d crack the jar, add a tablespoon or two of yogurt whey (or brine from another active lacto ferment, like a live batch of sauerkraut) and give it a few days. That will bring it back to life. Great idea!
Do you have to use a crock to ferment the sauerkraut? I don’t have one so I’m wondering if I can ferment it in the mason jars?
Yup, you can ferment it in mason jars, that’s fine. Half gallon ones work really well for it, but quarts are fine too. Be sure to take it out of the jars and heat it before canning so it’s a hot pack.