
This post may contain affiliate links. Please see our disclosure policy.
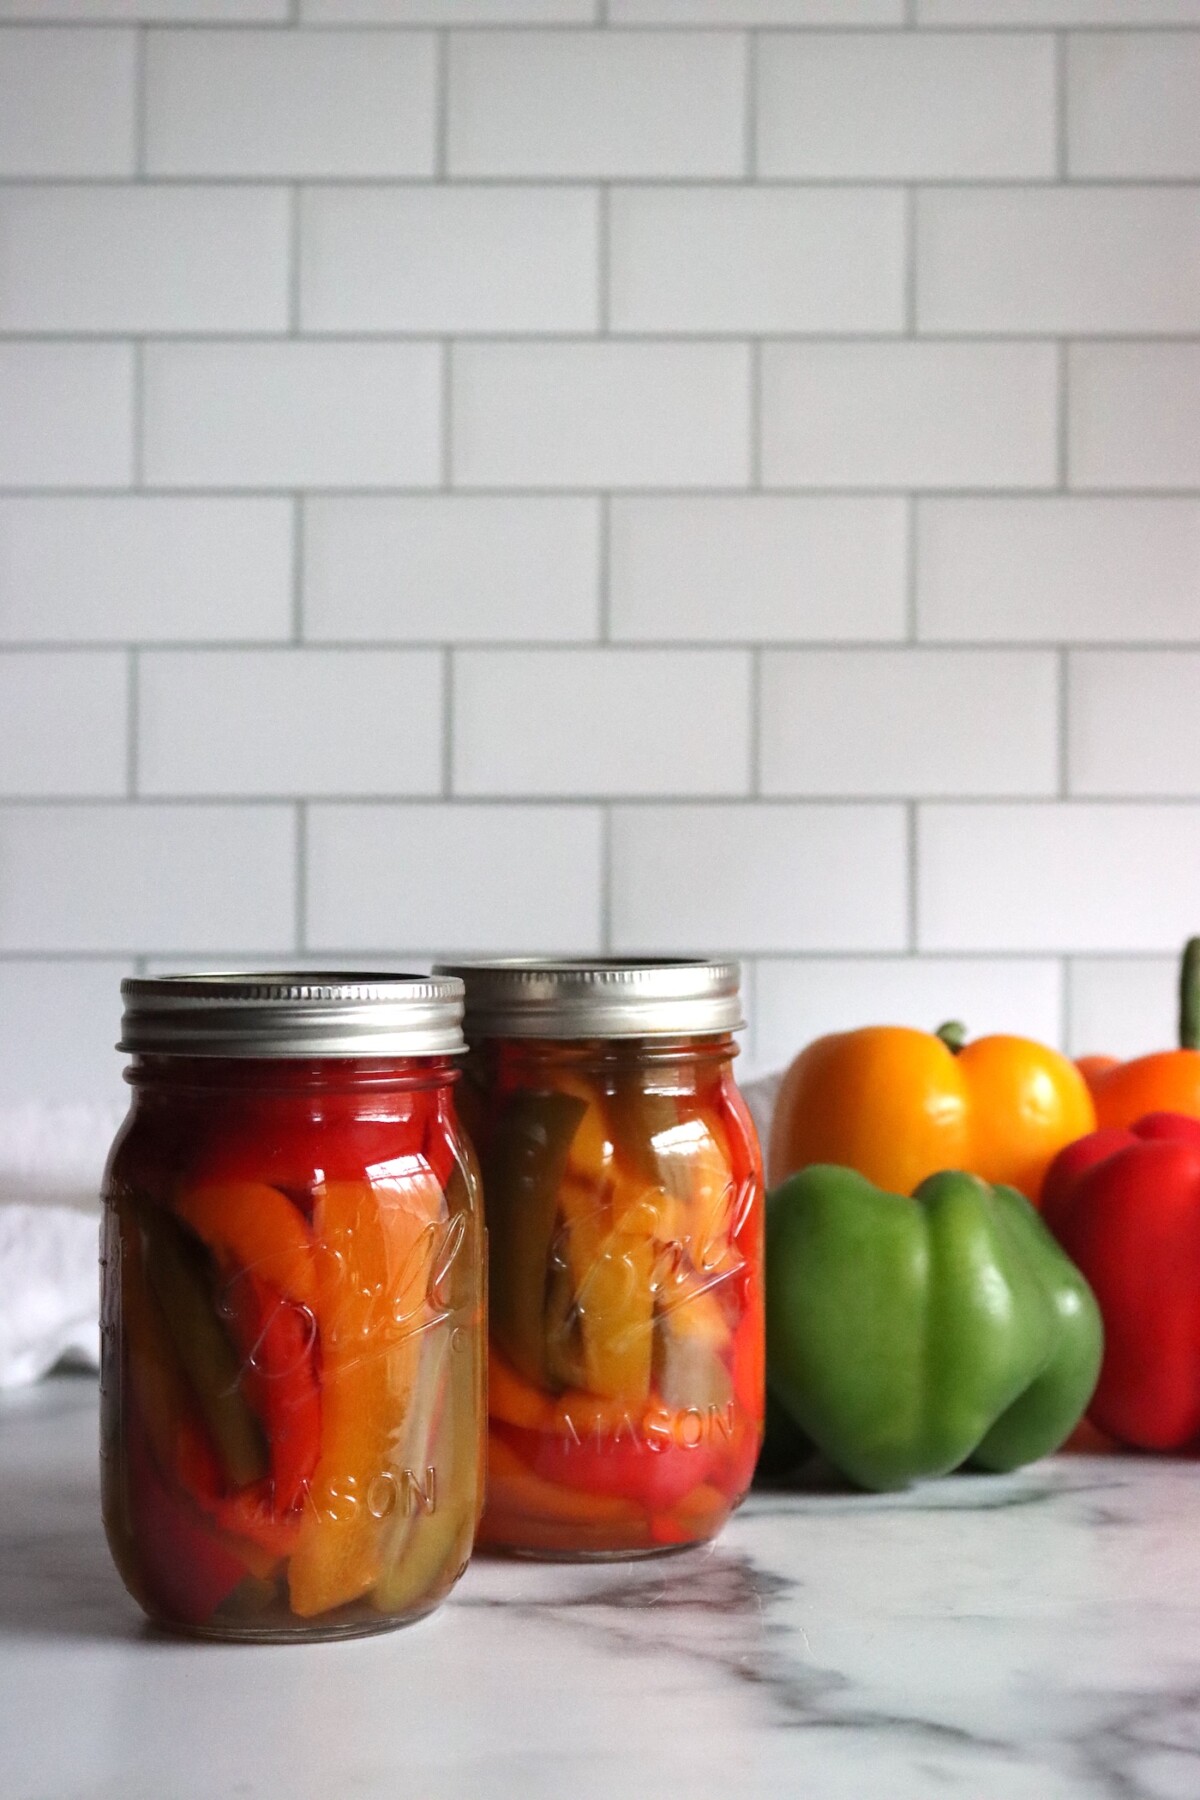
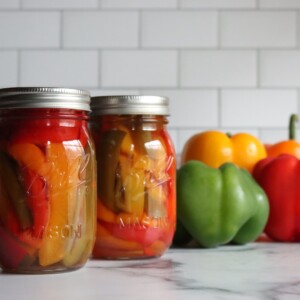
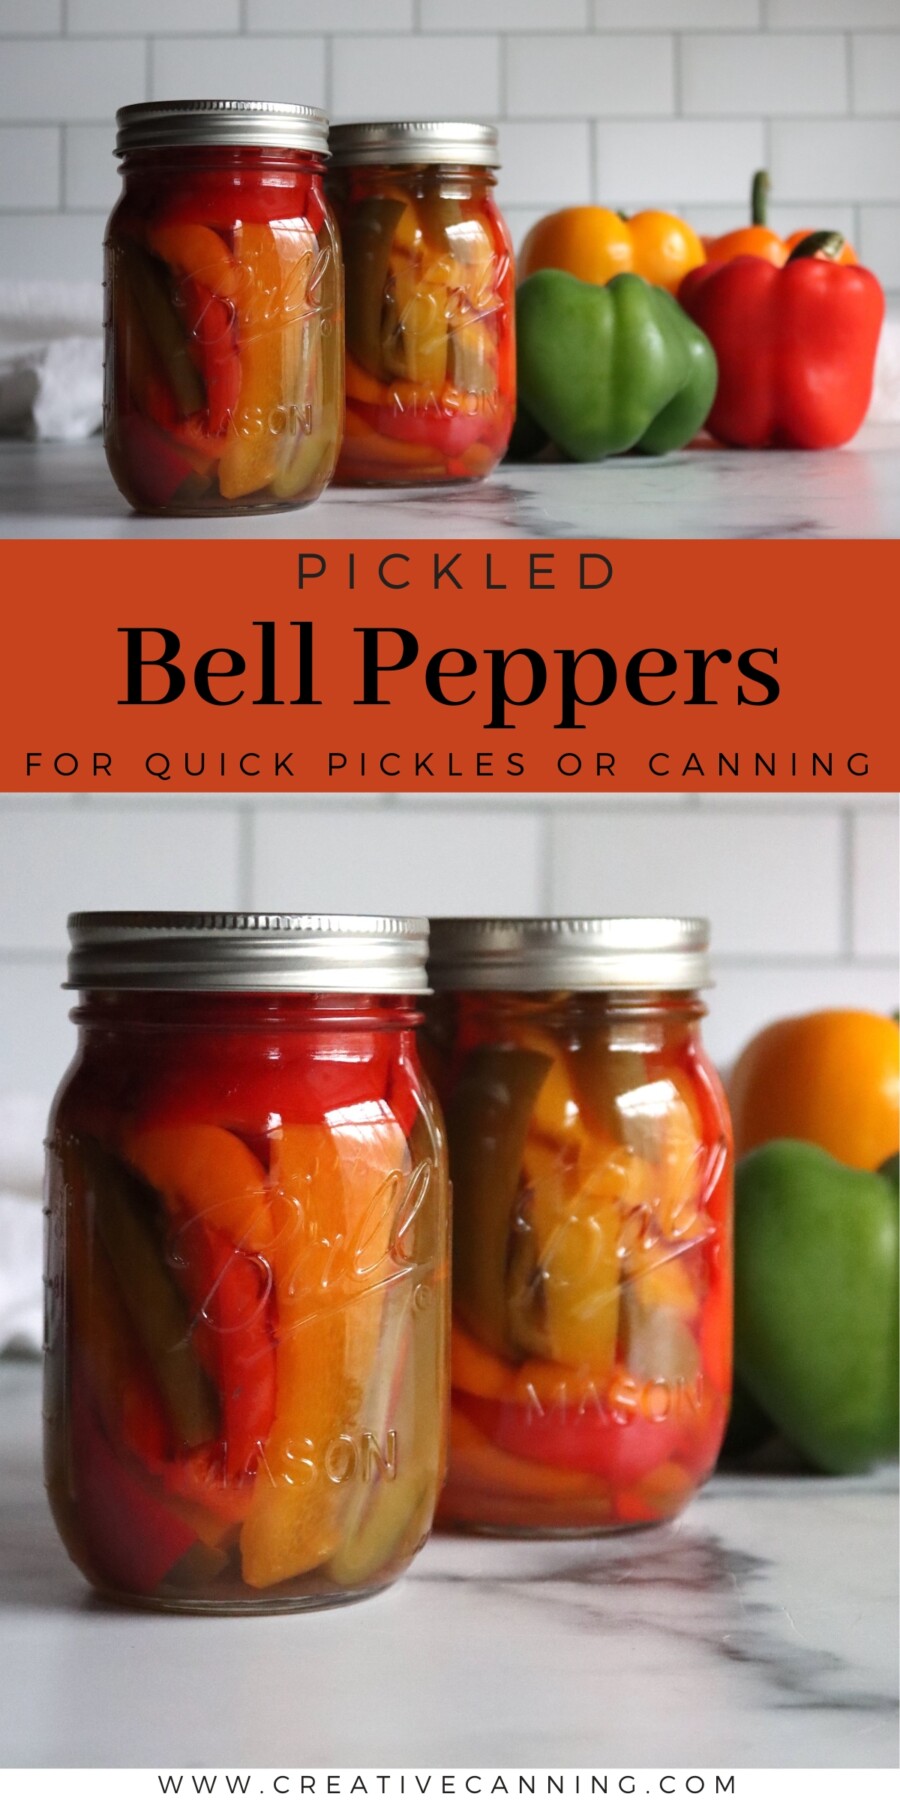
Pickled bell peppers turn an end of season pepper glut into sweet and tangy strips that you can pull off the pantry shelf all winter, and a batch comes together in about an hour of hands on time. They land somewhere between a bread and butter pickle and a marinated antipasto pepper, which means they go on sandwiches, into grain bowls, and straight onto a cheese board right from the jar.
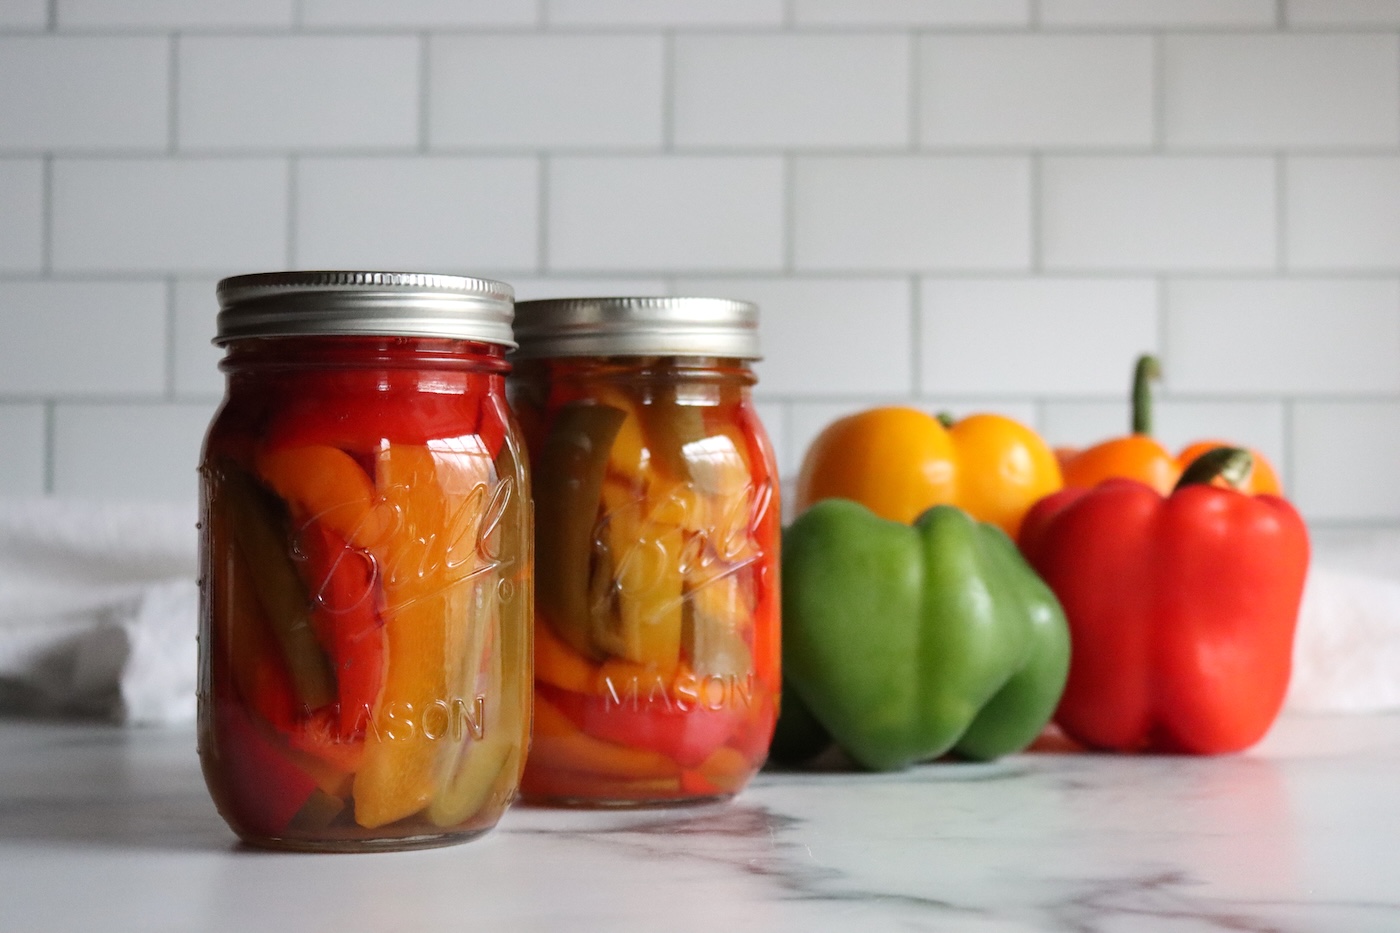
Table of Contents
- Notes from My Kitchen
- Quick Look at the Recipe
- Choosing Bell Peppers
- Ingredients for Pickled Bell Peppers
- Brine Strength and Substitutions
- How to Make Pickled Bell Peppers
- Canning Pickled Bell Peppers
- Altitude Adjustments
- Tips for Crisp Pickled Peppers
- Ways to Use Pickled Bell Peppers
- Yield Notes
- Pickled Bell Peppers FAQs
- Vegetable Pickling
- Pickled Bell Peppers Recipe
- Pickling
This recipe has been reviewed for safety and accuracy by a Master Food Preserver certified through the University of Cornell Cooperative Extension.
This recipe comes straight from the National Center for Home Food Preservation, and it’s published in the USDA Complete Guide to Home Canning. The pickling liquid is the standard 1:1 vinegar to water ratio, with sugar boiled in to round out the sharpness, so it tastes closer to the sweet pepper strips you buy in a jar at the deli counter than to anything you would call a dill pickle.
Its similar to my other pepper pickling recipes, like marinated peppers and pickled banana peppers, though the sugar here makes it noticeably sweeter than either one.
If you want more peppers put up while you have the canner out, the pepper canning recipes roundup has the rest of what I make each fall.
Notes from My Kitchen

Bell peppers always catch me off guard up here. They sulk through a cold June doing basically nothing, and then one stretch of real heat hits and every plant loads up at once. It’s usually the same week the first frost warning shows up in the forecast, which feels like a joke the garden plays on me every year.
The slicing is the slow part. I set a cutting board on the counter, put on something to listen to, and work through the pile. Cut the strips somewhere between half an inch and an inch wide. Go thinner and they turn to mush in the jar.
I can these in pints. My family goes through a jar fast, so a half pint wouldn’t last one dinner around here. Most people are better off with half pints though, since that’s about what you’ll actually finish before an open jar sits too long in the fridge. A seven pound batch gives me around nine pints, and that is a real afternoon of slicing. If you’d rather not give up a whole afternoon, cut it in half. Works fine.
One thing before you dig in: leave them alone for two weeks. The vinegar and sugar need that long to work all the way into the strips. Crack a jar early and you’ll wonder what the fuss was about.
Quick Look at the Recipe
- Recipe Name: Pickled Bell Peppers
- Recipe Type: Pickles
- Canning Method: Water Bath Canning
- Prep Time: About 40 minutes
- Cook Time: About 10 minutes for the pickling syrup
- Canning Time: 5 minutes for half pints or pints
- Yield: About 9 pints
- Jar Sizes: Half pints or pints
- Headspace: 1/2 inch
- Ingredients Overview: Bell peppers, vinegar, water, sugar, garlic, and pickling salt
- Safe Canning Recipe Source: National Center for Home Food Preservation
- Difficulty: Easy
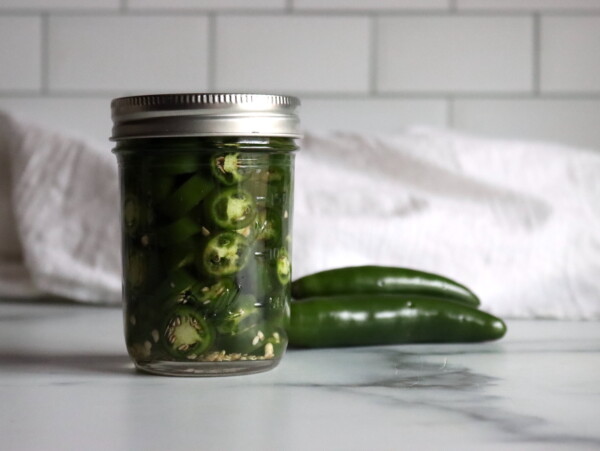
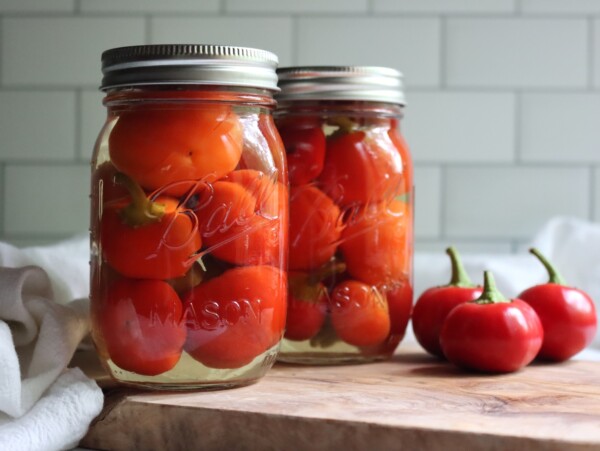
- Similar Recipes: These are packed and processed the same way as other sweet vegetable pickles, including Bread and Butter Pickled Onions and Pickled Carrots. If you have peppers coming in faster than you can use them, try Pickled Jalapenos, Pickled Habanero Peppers, Pickled Cherry Peppers, or Pepper Onion Relish.
Choosing Bell Peppers
Look for peppers with thick walls, taut skin, and no soft spots, because a pepper that has started to wrinkle at the shoulders will collapse in the jar. Any color works and the recipe does not care which you pick, so green, red, yellow, orange, and purple bells can all go into the same batch.
Red and orange peppers are fully ripe and taste sweeter, while green peppers hold their shape a little better and keep a grassier, sharper edge that stands up to the sugar in the syrup.
Blocky, boxy peppers are easier to cut into even strips than the long tapered ones, though tapered peppers work perfectly well if that is what the garden gave you. Use them within a day or two of picking if you can, and store them in the crisper drawer rather than on the counter in the meantime.
Trim away any blemishes or bruised patches as you cut, since those spots turn mushy during processing and there is no reason to put them in a jar you plan to keep for a year.
Ingredients for Pickled Bell Peppers
This is a short ingredient list, and every item on it is doing a specific job. The exact amounts live in the recipe card at the bottom of the post, but here is what each one contributes and where you have room to make changes.
- Bell Peppers: Firm, fresh peppers with thick walls, any color, cored and seeded and cut into strips. Weigh them after trimming if you can, since stems and cores add up.
- Vinegar: White or apple cider vinegar at 5 percent acidity. The acidity is what makes these safe to can, so use the full amount and never dilute it with extra water. White vinegar keeps the pepper colors cleaner, while cider vinegar adds a mellow, fruity note and tints the syrup slightly.
- Sugar: Plain granulated sugar, boiled into the vinegar and water. It balances the acid and gives the syrup body. Sugar is optional, and is not the safety control in this recipe, but the ratio was tested as written and it is what makes these taste the way they do.
- Pickling Salt: Use pickling or canning salt, not table salt, since iodine and anti caking agents cloud the syrup and dull the pepper color. It goes into the jars rather than into the pot.
- Garlic: Fresh cloves, divided among the jars. Garlic is a flavoring here and you can leave it out based on your tastes.
- Pickle Crisp: Optional. Calcium chloride firms up the pepper strips without affecting the acidity or the process time.
Have the garlic peeled and the salt measured out before the syrup goes on the stove, because the peppers only spend a minute or two in the boiling liquid and you want to be filling jars, not hunting for a teaspoon.
If you like a little more going on in the jar, a pinch of pickling spice or a few peppercorns per jar is a safe addition, since dry spices in small amounts do not change the acidity of the pickling liquid.
Brine Strength and Substitutions
The pickling liquid has to stay at the tested ratio of one part vinegar to one part water, because the acidity is what keeps these peppers safe on the shelf. You can use white or apple cider vinegar as long as the label reads 5 percent acidity, but do not cut the vinegar back or stretch it with extra water. Bottled lemon or lime juice can stand in for the vinegar measure for measure if you want a different flavor, and you can always substitute lemon juice in place of vinegar as a safe canning substitution (but not the other way around, since lemon juice is more acidic than vinegar.)
The salt is there for flavor rather than safety in a fresh pack pickle like this one, so you can reduce it or leave it out entirely without changing how the jars keep. The sugar is not required for safety either, though it is doing real work on flavor and texture, and I make these at the tested amount rather than trimming it. The garlic and any dry spices you add are flavor only, and small changes there are safe.
How to Make Pickled Bell Peppers
The whole process runs in three parts. You cut the peppers and get jars waiting, you boil the pickling syrup and give the peppers a quick blanch in it, and then you pack, fill, and process. Read through once before you start, because the peppers move from pot to jar quickly and the syrup should still be boiling hot when it goes in.
Everything below is written for the full seven pound batch, which fills about nine pints. Halving the recipe works without any change to the process time or the headspace, and so does doubling it if you have the counter space and a big enough pot for the syrup.
Prepare the Peppers
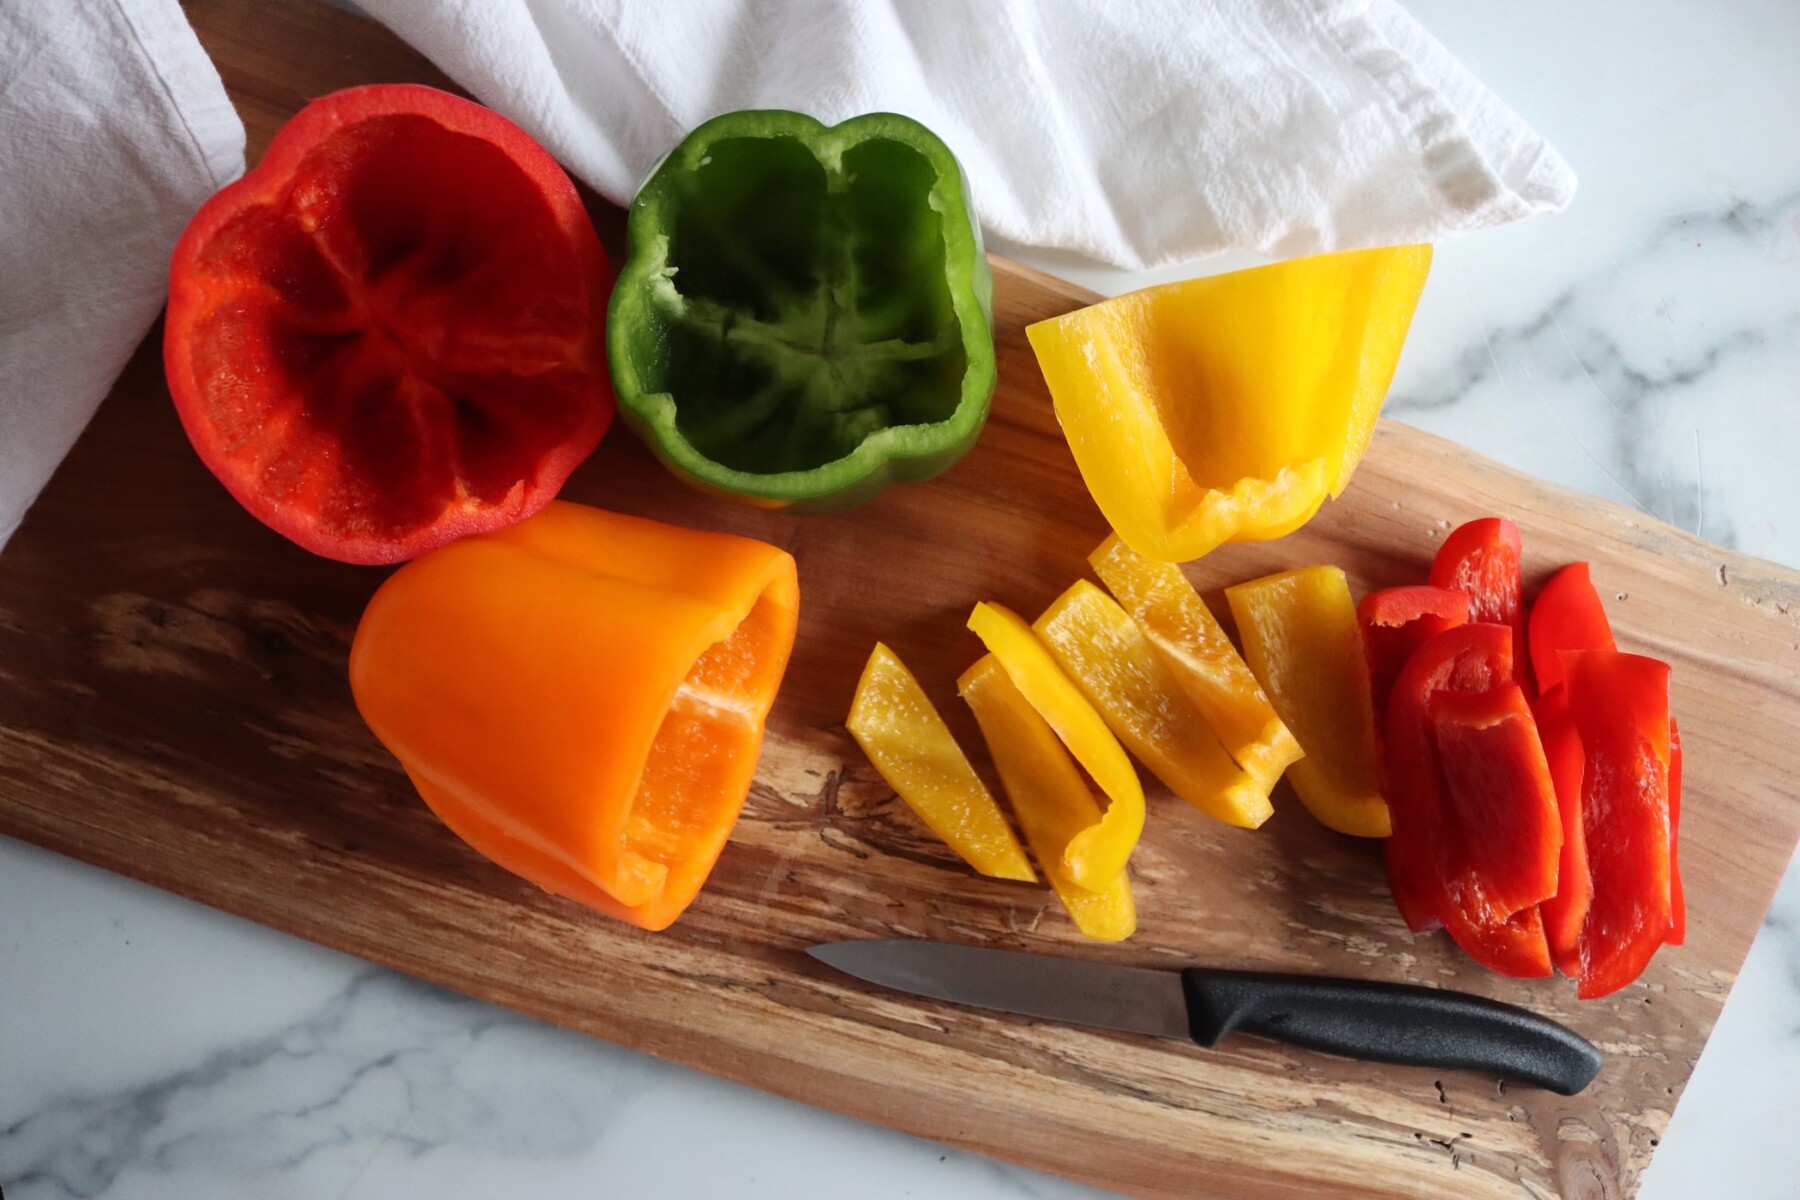
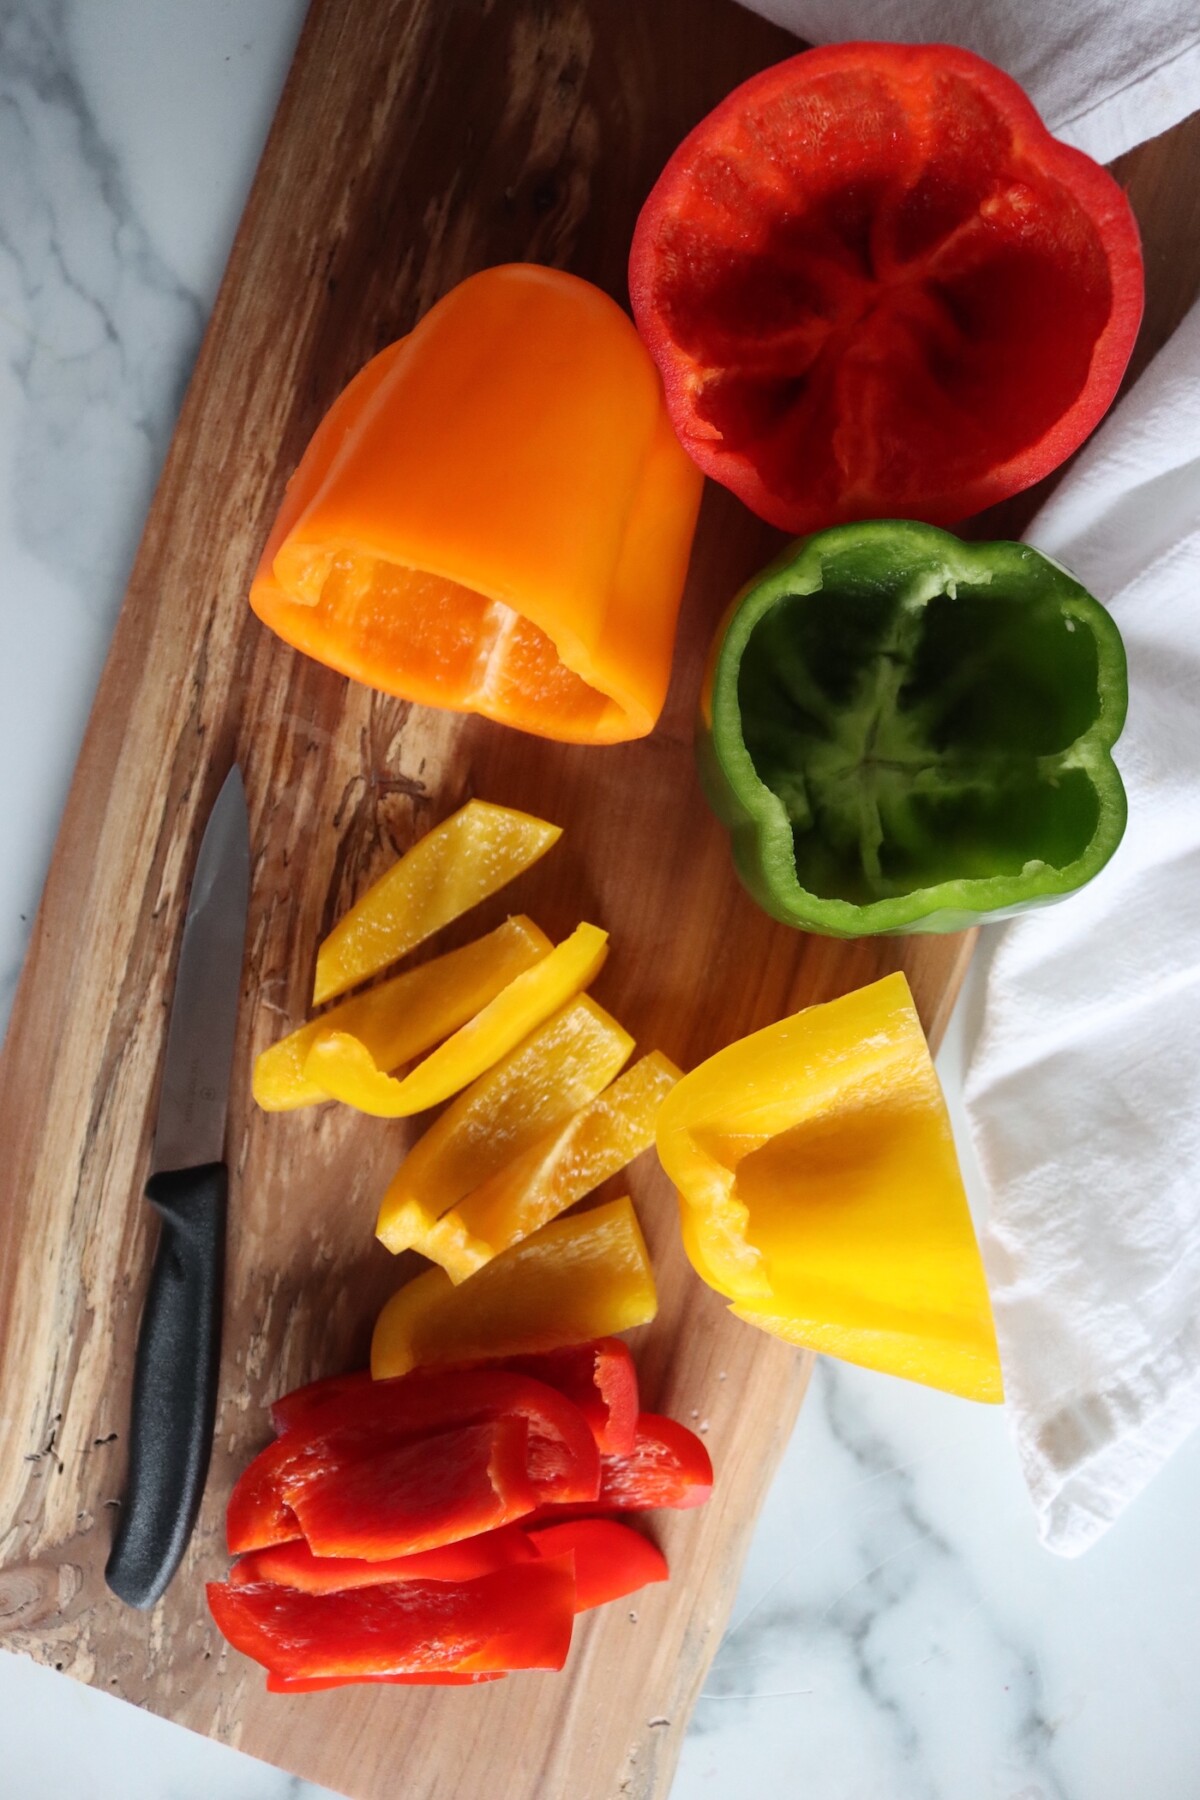
Wash 7 pounds of bell peppers and cut each one into quarters. Pull out the core and seeds, cut away any blemishes, and slice the quarters lengthwise into strips roughly half an inch to an inch wide.
A mandoline slicer speeds this up if you have one, though a sharp knife is perfectly adequate and gives you more control over strip thickness. Peel 9 cloves of garlic and measure out 4 1/2 teaspoons of pickling salt so both are ready to go into the jars.
Make the Pickling Syrup
Combine 3 1/2 cups of sugar, 3 cups of 5 percent vinegar, and 3 cups of water in a large non reactive pot and bring it to a boil, stirring until the sugar dissolves. Let it boil for a full minute. Stainless steel or enameled cast iron both work here, while bare aluminum or copper will react with the vinegar and give the syrup a metallic taste.
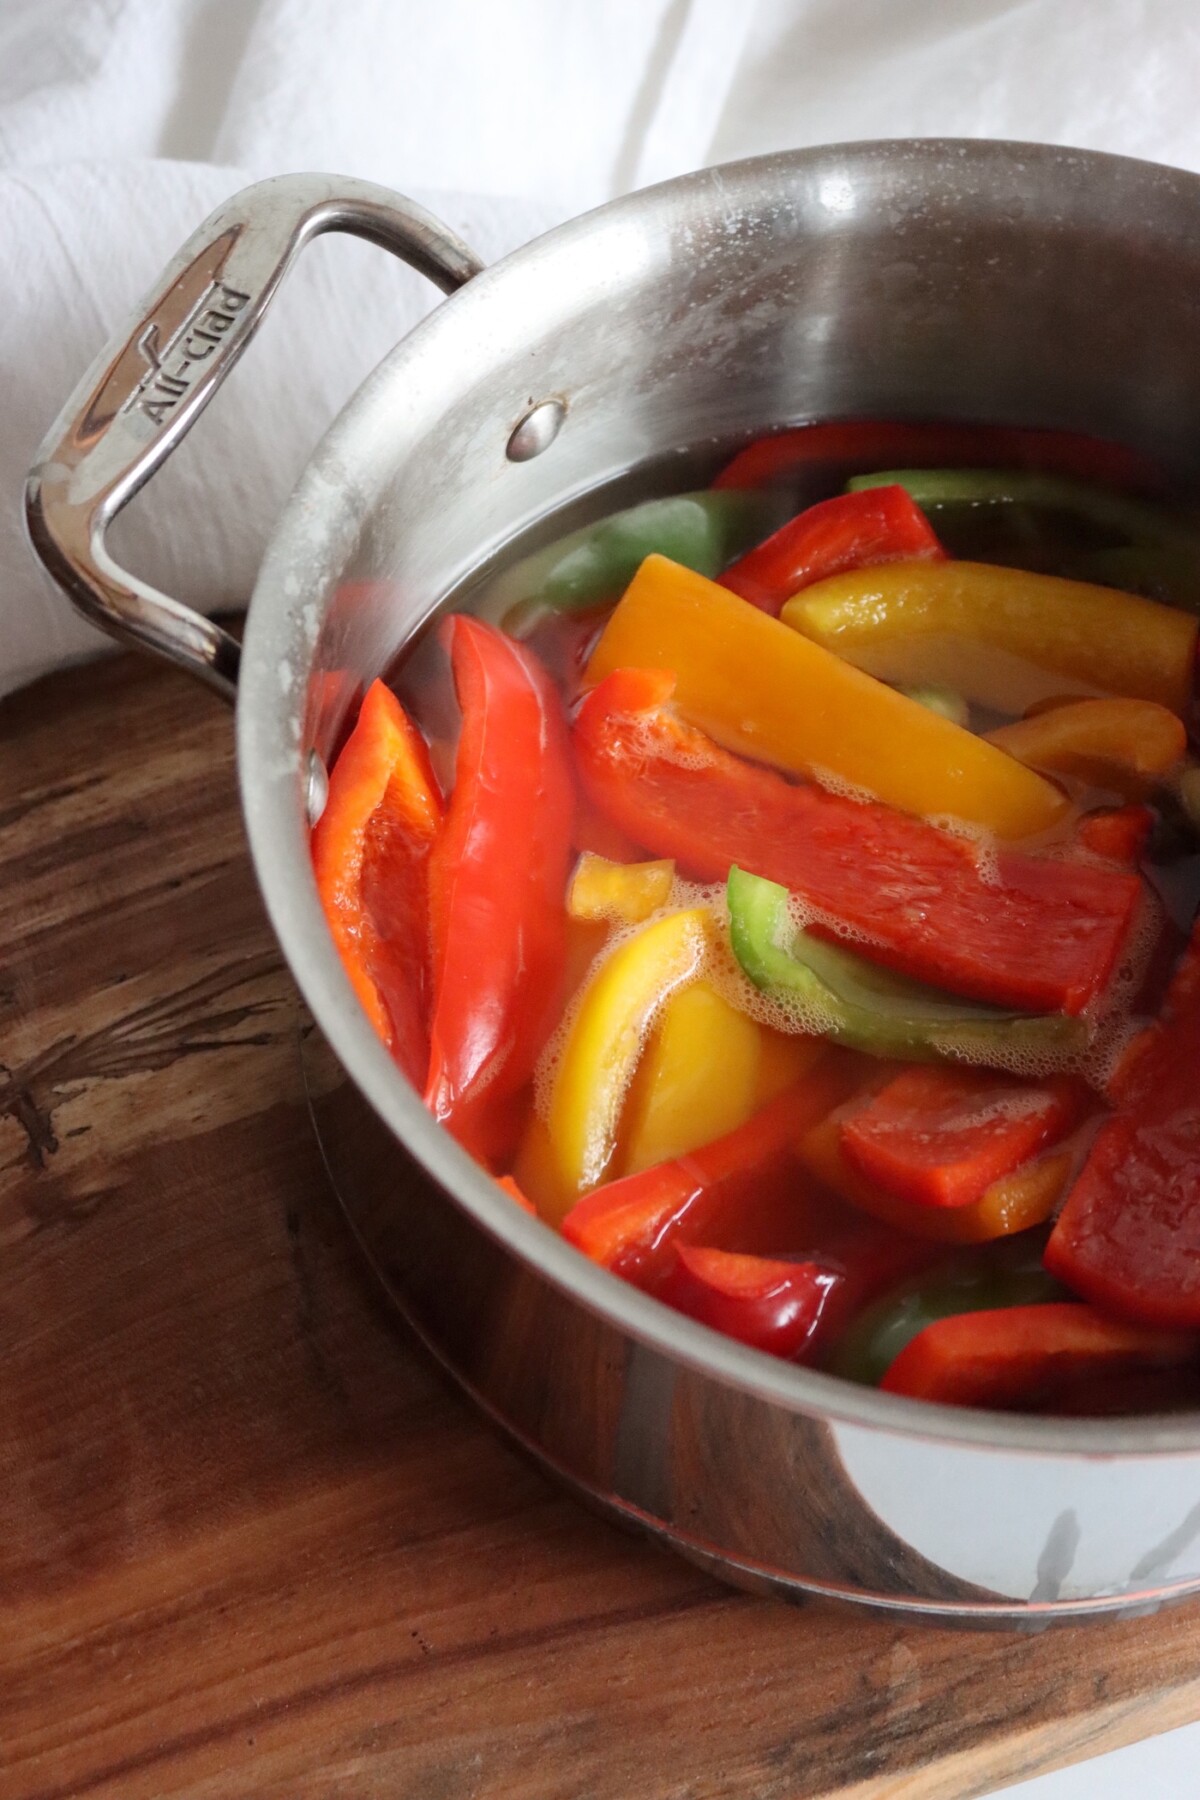
Add all the pepper strips to the boiling syrup and bring the pot back up to a boil. This happens fast, since the peppers release water as soon as they hit the hot liquid, and you want to catch it right as it returns to a boil rather than letting the peppers simmer away.
They should still have some resistance when you lift a strip out with a spoon.
Pack and Fill the Jars
Put half a clove of garlic and 1/4 teaspoon of pickling salt into each half pint jar, or a full clove and 1/2 teaspoon into each pint. Add Pickle Crisp now if you are using it, at 1/8 teaspoon per pint or 1/16th for a half pint.
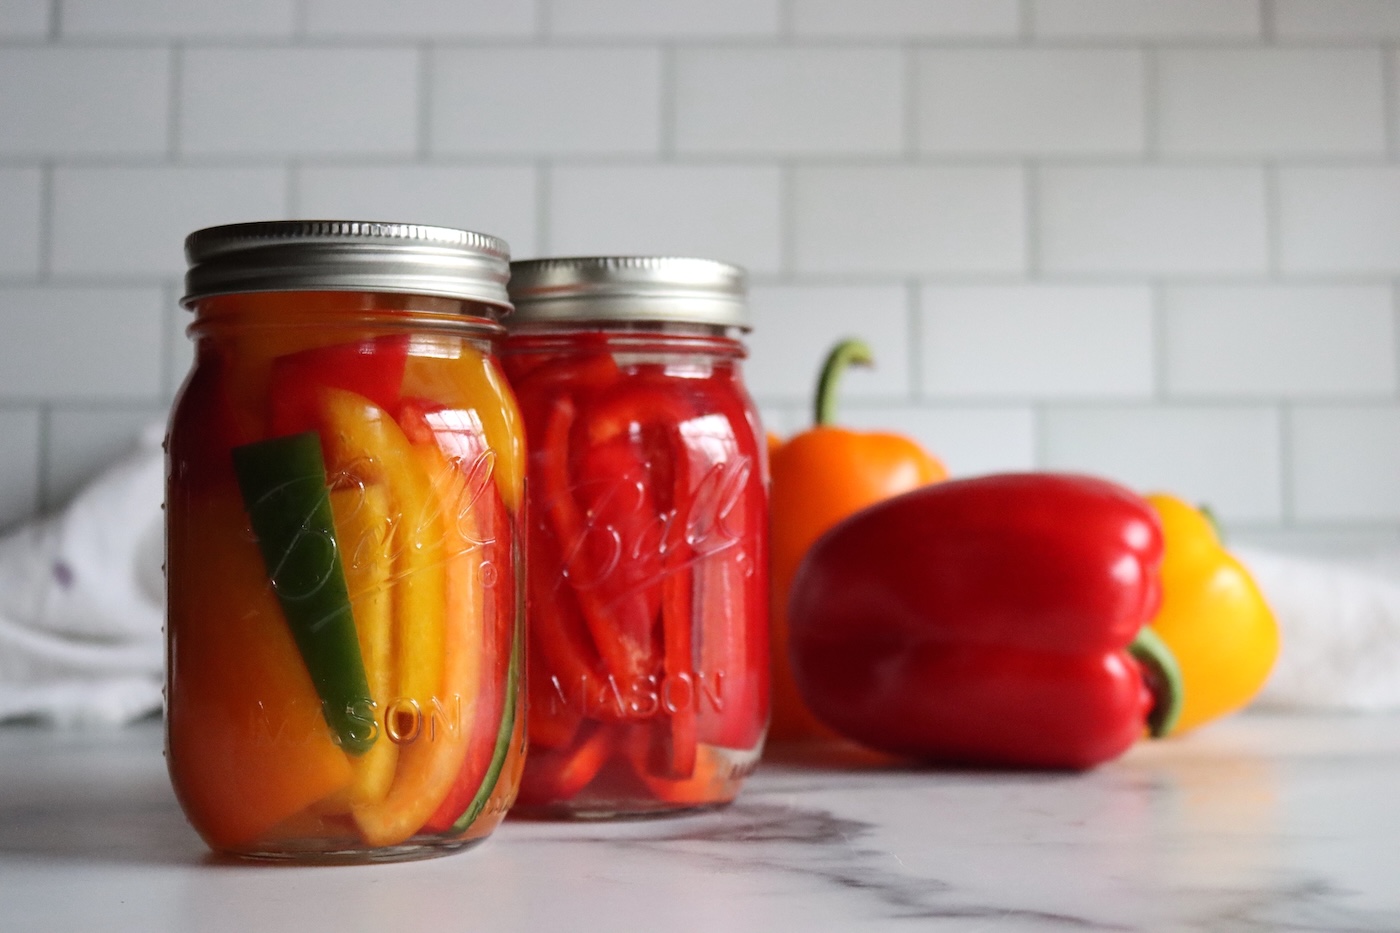
Pack the hot pepper strips in on top, standing them upright so they slide in tightly, then ladle the boiling syrup over them through a canning funnel to leave 1/2 inch of headspace.
Run a bubble tool or a chopstick down the sides of the jar to release trapped air, then check the headspace again and top up with more syrup if it dropped. Every strip needs to be under the liquid. Wipe each rim with a clean damp cloth, center the lid, and screw the band down fingertip tight, which means snug but not cranked.
Canning Pickled Bell Peppers
You can skip the canner entirely and keep the filled jars in the refrigerator, where they will hold for about a month or two and stay crisper than the processed version. Water bath processing is what makes them shelf stable, and it is what lets you open a jar of summer peppers in February.
Lower the filled jars into the simmering water bath canner using a jar lifter, making sure they are covered by at least an inch of water. Bring the canner to a full rolling boil before you start the timer, since the process time only begins once the water is genuinely boiling.
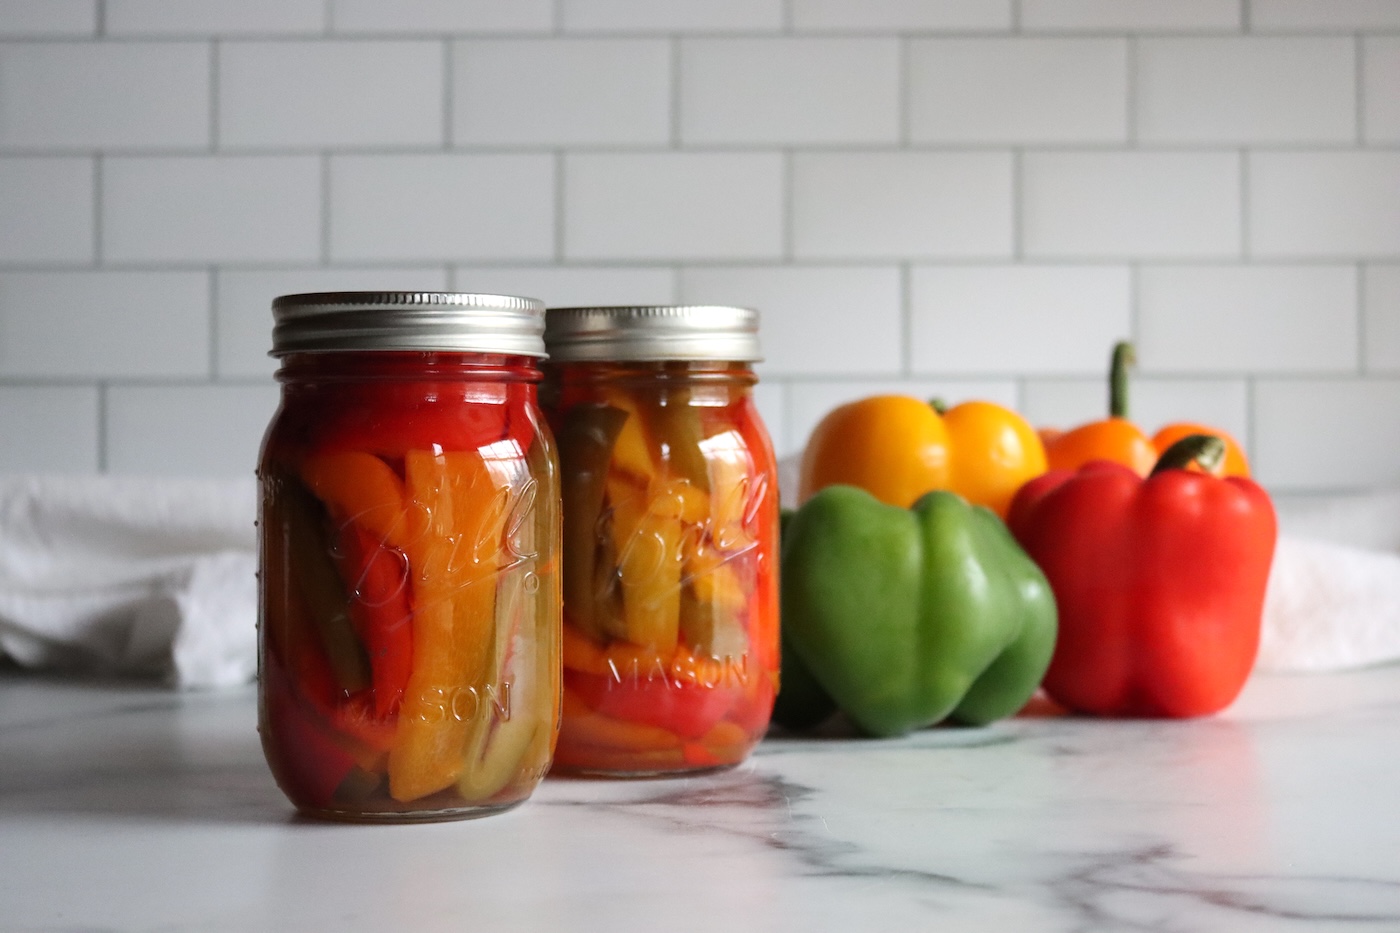
Process half pints or pints for 10 minutes, adjusting for altitude using the table below. Turn off the heat, remove the canner lid, and let the jars sit 5 minutes before you lift them out onto a towel. Leave them undisturbed for 12 to 24 hours, then check the seals, label the jars, and tuck them away.
Give them two weeks before opening so the syrup has time to penetrate the strips. This is one of the quicker water bath canning recipes once the peppers are cut.
Altitude Adjustments
For water bath canning, processing times increase at higher elevations. Half pints and pints process for the same length of time:
- 0 to 6,000 feet: 10 minutes
- Above 6,000 feet: 15 minutes
Tips for Crisp Pickled Peppers
Texture starts at the cutting board. Thick walled peppers picked within a day or two hold up far better than ones that have been sitting in the crisper for a week, and strips cut about half an inch wide keep some body where thin ribbons go slack. Cut away every soft or bruised patch, because those spots are already breaking down and they will not improve in a hot jar.
The other lever is heat. The peppers only need to come back to a boil in the syrup, not cook in it, and the canner timer starts when the water boils rather than when the jars go in. Adding Pickle Crisp at 1/8 teaspoon per pint firms the strips noticeably and it does not touch the acidity, so it is a safe addition to a tested recipe. Skip the old lime and alum soaks, which this method does not need.
Ways to Use Pickled Bell Peppers
These go on sandwiches first in my house, layered into anything with melted cheese, and they do the same job on a burger that a pickled banana pepper does at a pizza place. Drained and chopped, they fold into tuna salad, egg salad, and potato salad, and they turn a plain pot of beans into something with a little edge to it. A jar on an antipasto board next to olives and hard cheese does not need any help from you.
Do not throw out the syrup when the peppers are gone. It makes a decent base for a salad dressing whisked with olive oil and a spoonful of mustard, and it deglazes a pan of sausage or pork chops nicely. Just do not reuse it to can another batch of pickles, since the peppers have already diluted it and there is no way to know where how acidic the brine ended up after pickling the first batch.
Chopped fine, and that’ll give you something closer to pepper onion relish if you want something for hot dogs.
Yield Notes
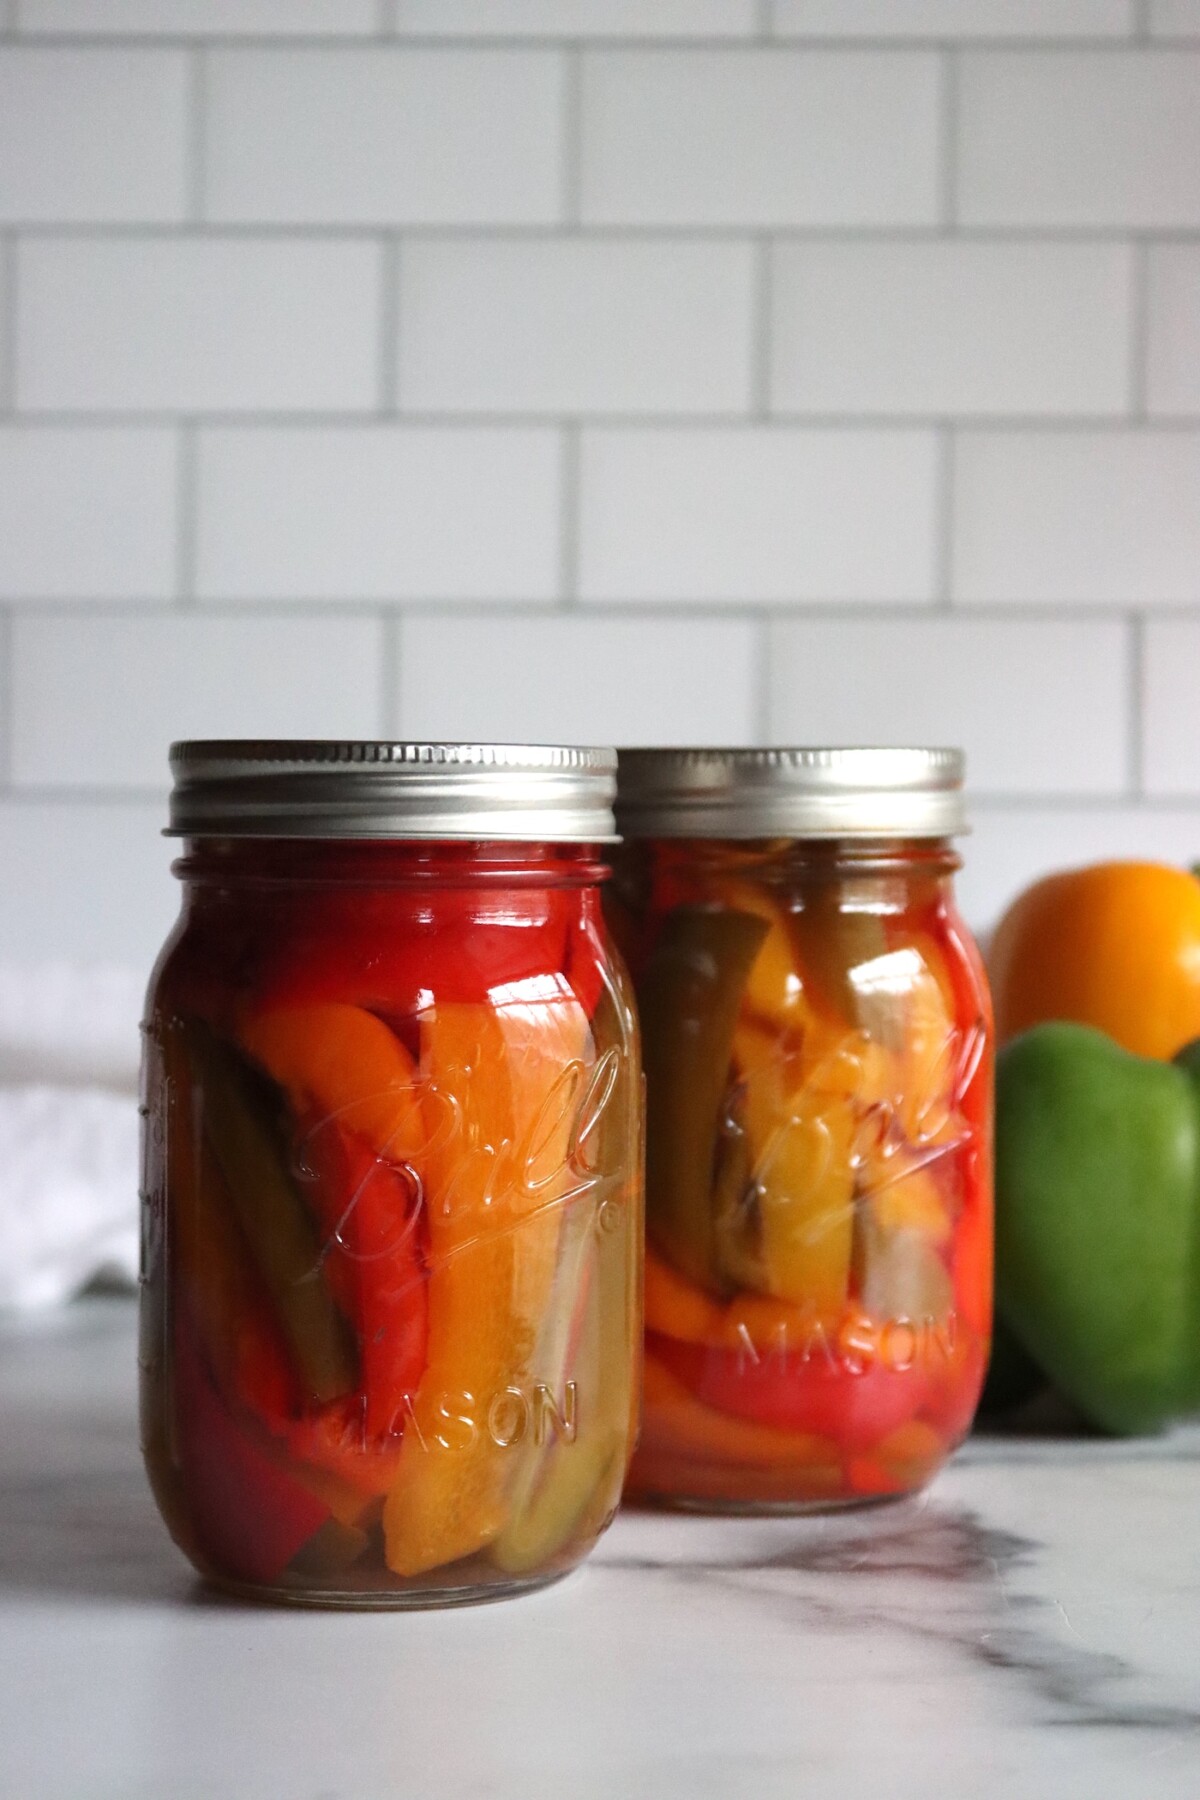
Seven pounds of bell peppers yields about 9 pints, or roughly 18 half pints, and the tested amounts of garlic and salt are built to divide across that many jars. The actual count moves around more than you would expect, because a load of thick walled red peppers packs denser than the same weight of thin green ones, and how tightly you stand the strips up in the jar makes a real difference. Plan on nine pints and have a tenth jar washed and waiting.
The recipe halves cleanly, which is what I do when the peppers trickle in rather than arrive all at once. Doubling works too, though the syrup pot gets unwieldy and the peppers at the bottom overcook while you are ladling from the top. If you have more than fourteen pounds of peppers, run two separate batches rather than one enormous one. Headspace, jar sizes, and process times stay exactly the same no matter how you scale it.
A few questions come up every year when I write about pickling peppers, so here are the ones I hear most often.
Pickled Bell Peppers FAQs
No. The vinegar at 5 percent acidity is what makes these peppers safe to can, so the one to one ratio of vinegar to water cannot be cut and the vinegar cannot be stretched with extra water. You can reduce the salt for flavor, since salt is not the safety control in a fresh pack pickle, but the acid stays as written.
Any color of bell pepper works, and you can mix colors in the same batch or the same jar. Red, orange, and yellow peppers are fully ripe and taste sweeter, while green peppers keep a sharper flavor and hold their shape slightly better. Hot peppers also work in terms of safety, but they might end up sweeter than you’d like and I’d suggest going with a specific pickled hot pepper recipe.
Properly processed and sealed jars keep about 12 to 18 months in a cool, dark place. Let them sit two weeks before opening so the syrup works into the strips. Once a jar is opened, store it in the refrigerator and use it within a couple of months.
If the pepper harvest keeps coming, here are more vegetable pickles worth putting up while the canner is already out.
Vegetable Pickling
If you tried this Pickled Bell Peppers recipe, or any other recipe on Creative Canning, leave a ⭐ star rating and let me know what you think in the 📝 comments below!
And make sure you stay in touch with me by following on social media!
Pickled Bell Peppers
Equipment
- Canning Jars, Lids and Bands
Ingredients
For the Jars
- 7 lbs firm bell peppers
- 9 cloves garlic, 1 clove per pint
- 4 1/2 tsp canning or pickling salt, 1/2 tsp per pint
- 1 1/8 tsp Pickle Crisp, optional, 1/8 tsp per pint
For the Pickling Brine
- 3 1/2 cups sugar
- 3 cups vinegar, 5% acidity
- 3 cups water
Instructions
- Wash the bell peppers and cut them into quarters. Remove the cores and seeds, cut away any blemishes, and slice the quarters lengthwise into strips about half an inch wide.
- Combine the sugar, vinegar, and water in a large non reactive pot. Bring to a boil, stirring until the sugar dissolves, and boil for 1 minute.
- Add the pepper strips to the boiling syrup and bring the pot back up to a boil.
- Place half a clove of garlic and 1/4 teaspoon of pickling salt in each sterilized half pint jar, or a full clove and 1/2 teaspoon in each pint jar. Add Pickle Crisp now if using.
- Pack the hot pepper strips into the jars and cover with the hot syrup, leaving 1/2 inch headspace. Remove air bubbles, adjust the headspace, wipe the rims, and apply the lids fingertip tight.
- Process in a boiling water bath for 10 minutes, adjusting for altitude. Turn off the heat, remove the canner lid, and let the jars rest 5 minutes before removing them. Cool undisturbed 12 to 24 hours, then check the seals.
Notes
Nutrition
Nutrition information is automatically calculated, so should only be used as an approximation.
And if you are new to putting up pickles, these are the recipes I would start with.
Pickling
Find the perfect recipe
Searching for something else? Enter keywords to find the perfect recipe!

These are so good on sandwiches!
Can I use frozen peppers
You can, but I’d set your expectations on texture. Freezing ruptures the cell walls in peppers, so they come out of the freezer soft and limp, and pickling won’t firm them back up. You’ll end up with very soft pickled peppers, closer to marinated roasted peppers than crisp pickle strips. The safety side is fine since the vinegar brine does the preserving work either way, just thaw and drain them well before packing so extra water doesn’t dilute the brine, and don’t cram the limp pieces in tighter than you would fresh ones.
Honestly though, frozen peppers really shine in cooked recipes like soups, fajitas, and sauces where softness doesn’t matter. If you have the choice, I’d save the pickling for fresh peppers and cook with the frozen ones. Hope this helps!