This post may contain affiliate links. Please see our disclosure policy.
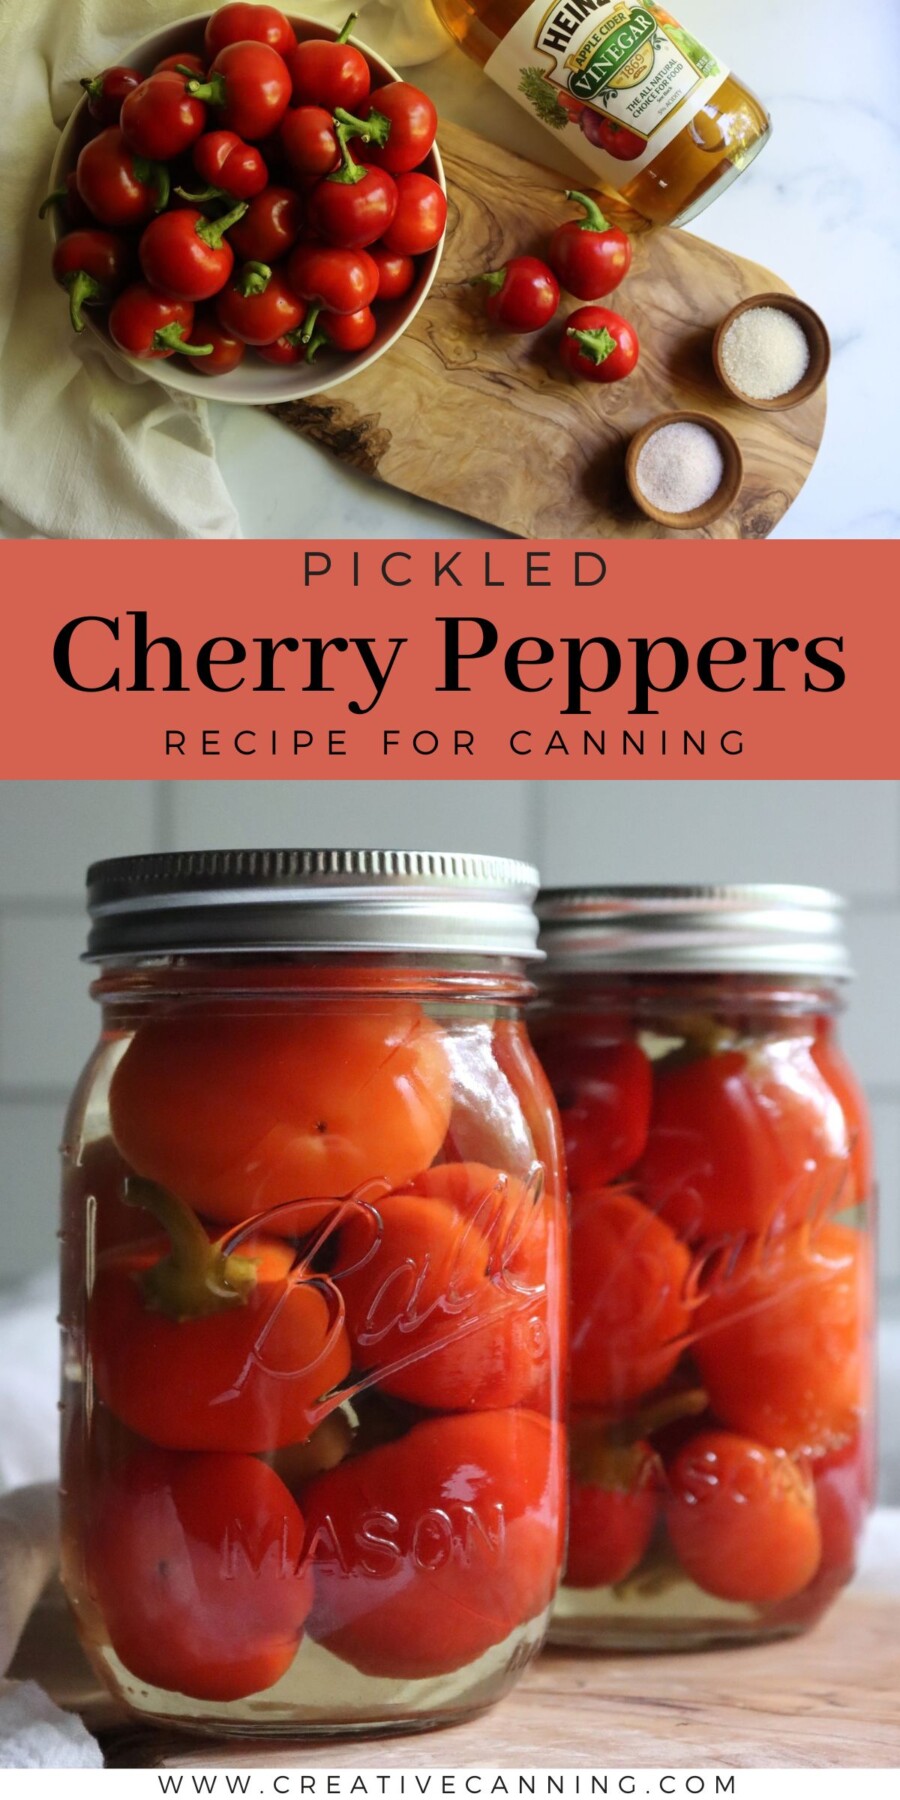
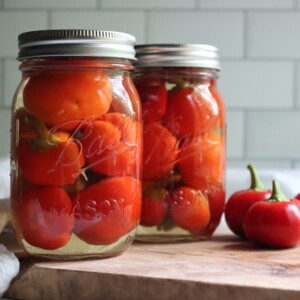
Pickled cherry peppers go into the jars whole, so every pepper comes out round and full of tangy brine. They’re easy to put up in a water bath canner. You end up with a pantry shelf of hot cherry peppers ready to stuff, slice onto a sandwich, or eat straight from the jar.
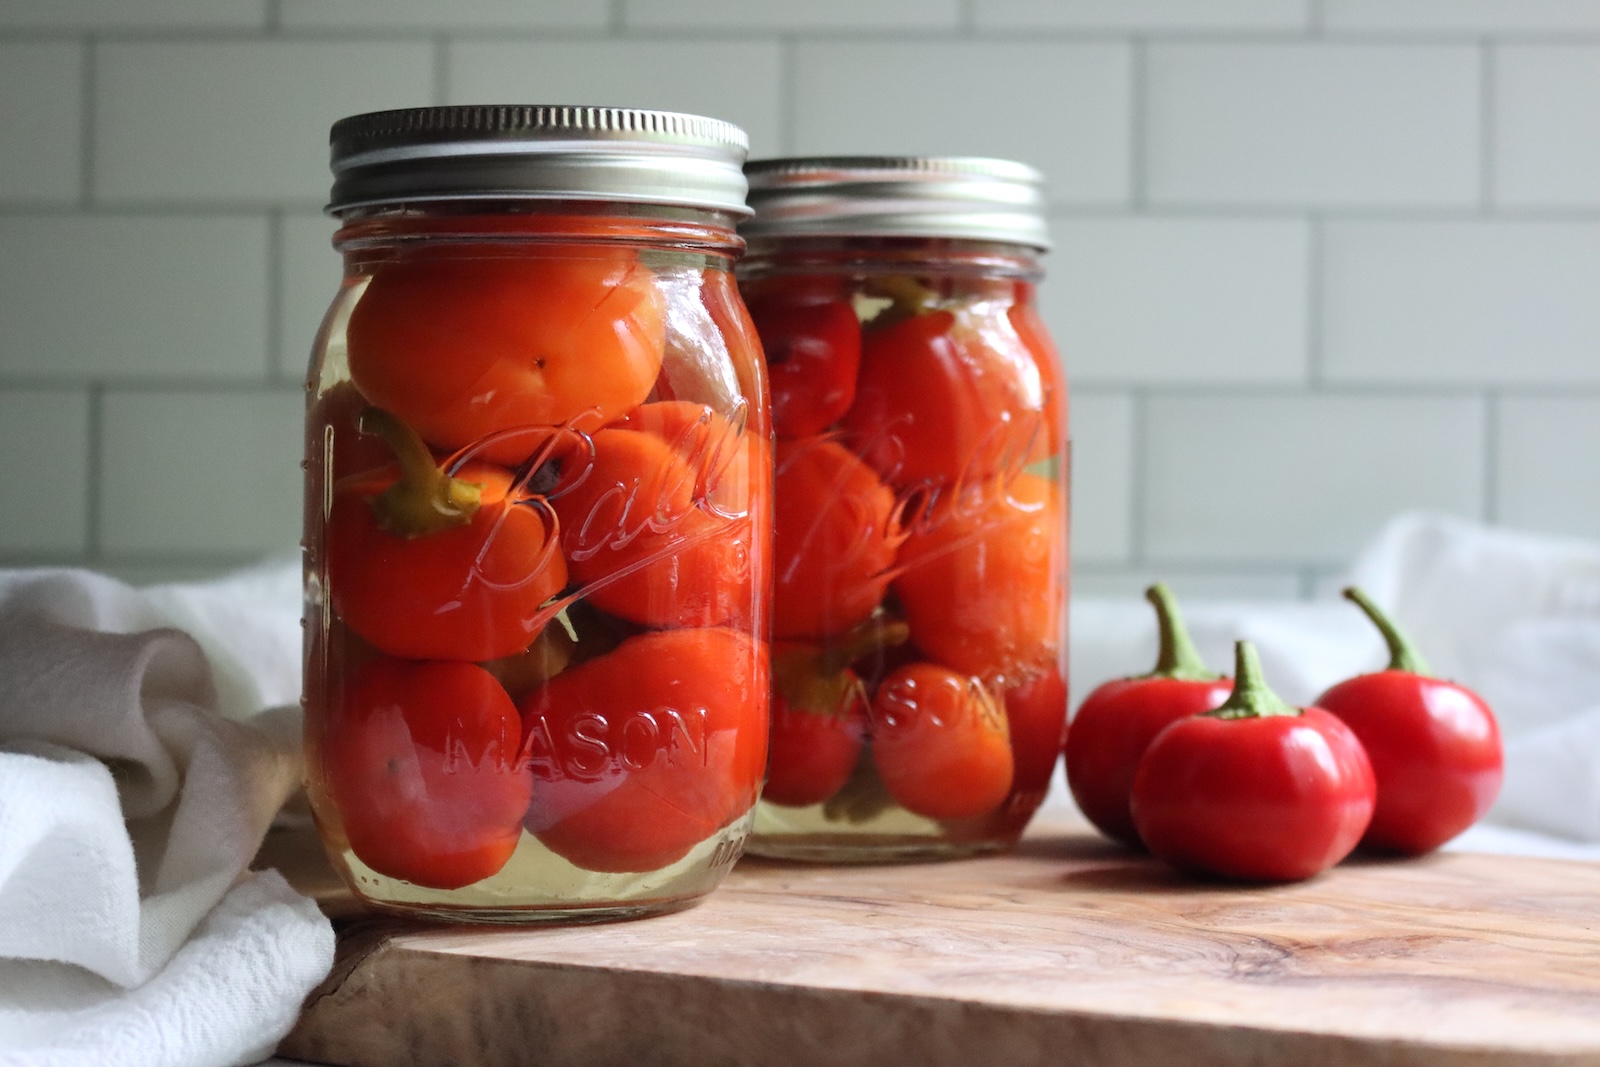
Table of Contents
- Notes from My Kitchen
- Quick Look at the Recipe
- Choosing Cherry Peppers for Pickling
- Ingredients for Pickled Cherry Peppers
- Brine Strength and Substitutions
- Optional Add-Ins for Pickled Cherry Peppers
- Step-by-Step Instructions
- Canning Pickled Cherry Peppers
- Altitude Adjustments
- Tips for Crisp Pickled Cherry Peppers
- Ways to Use Pickled Cherry Peppers
- Storage and Shelf Life
- Yield Notes
- Pickled Cherry Peppers FAQs
- Pepper Pickling Recipes
- Pickled Cherry Peppers Recipe
- Vegetable Pickling Recipes
This recipe has been reviewed for safety and accuracy by a Master Food Preserver certified through the University of Cornell Cooperative Extension.
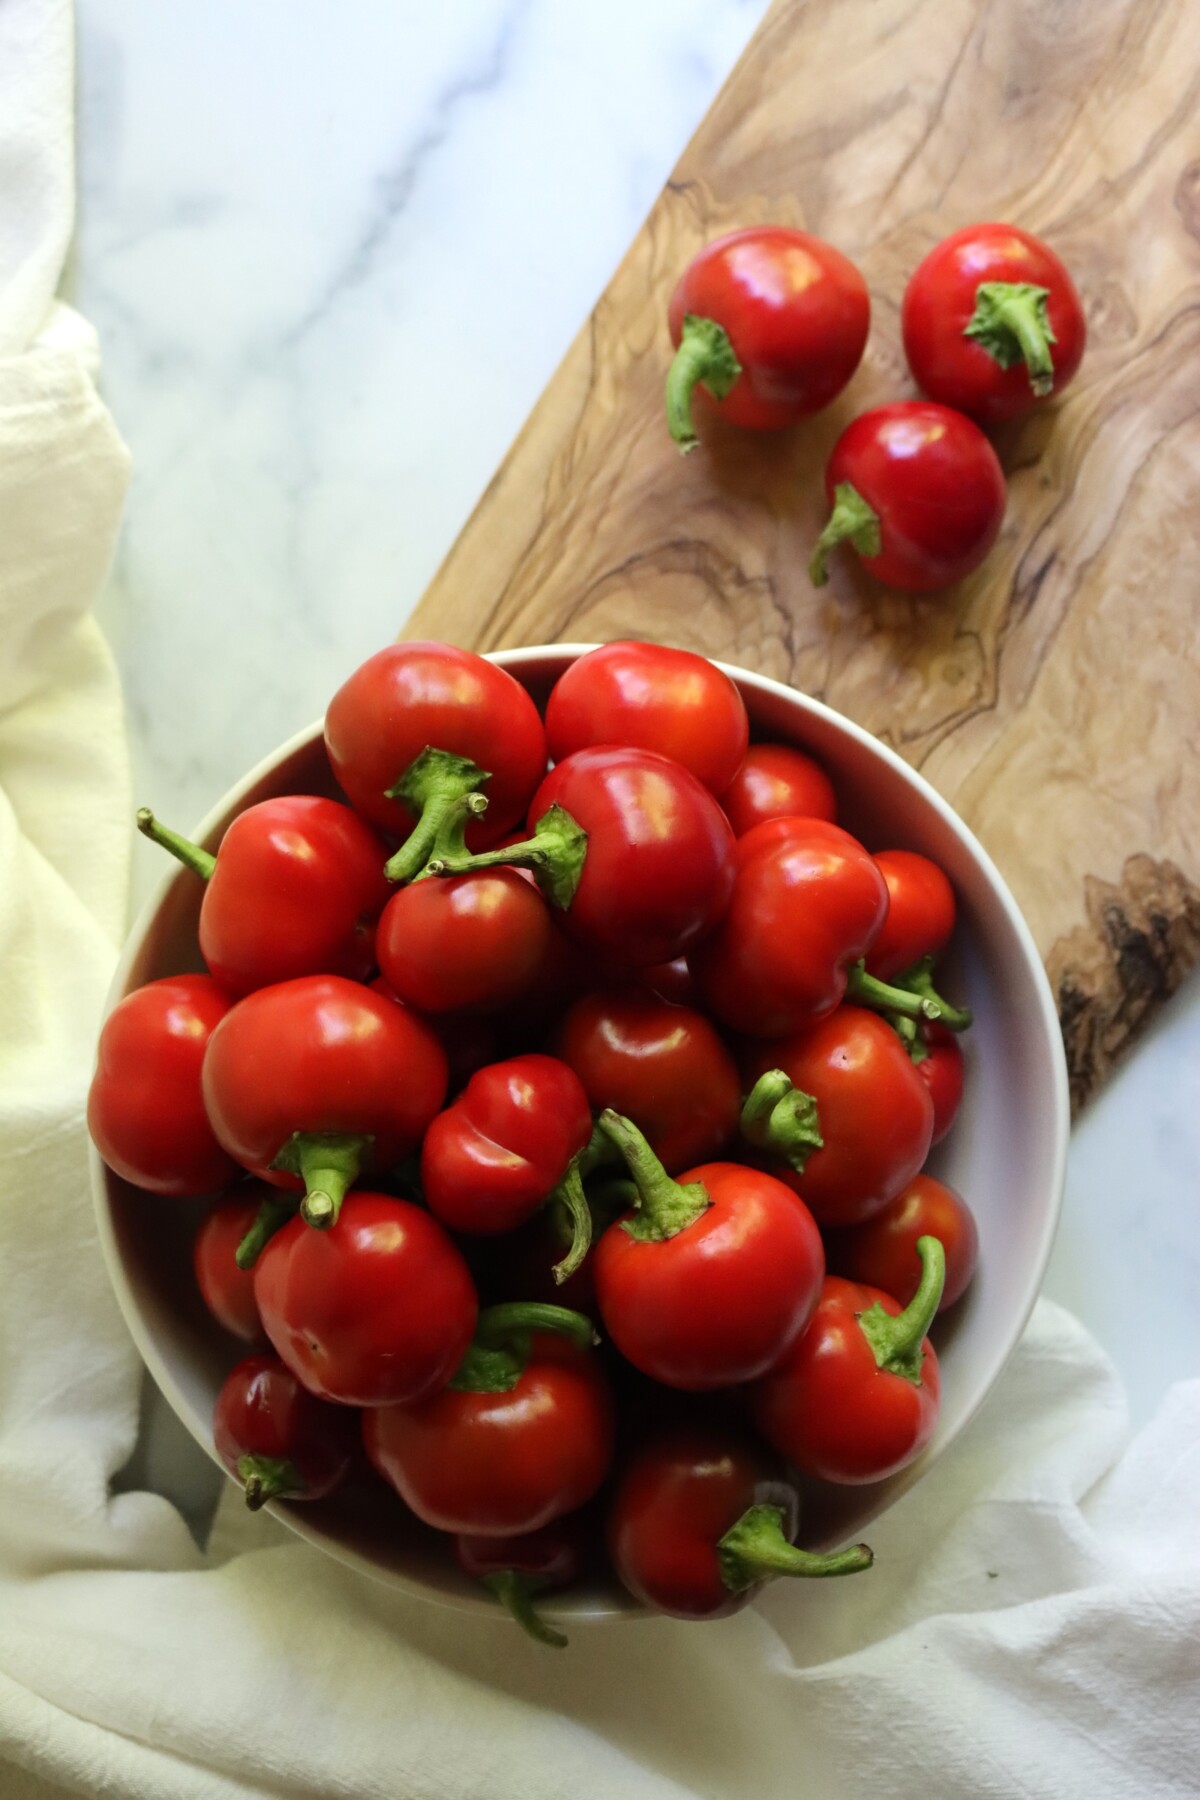
Cherry peppers are small, round, and hollow, about the size of a walnut. The hot ones are what most people mean by cherry peppers, and stores sometimes sell the sweet ones as pimiento cherry peppers.
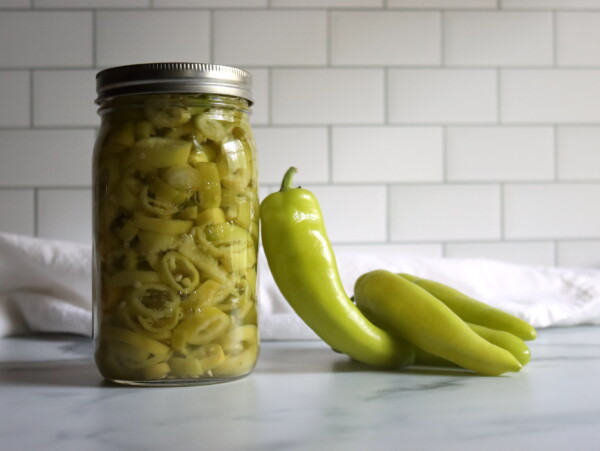
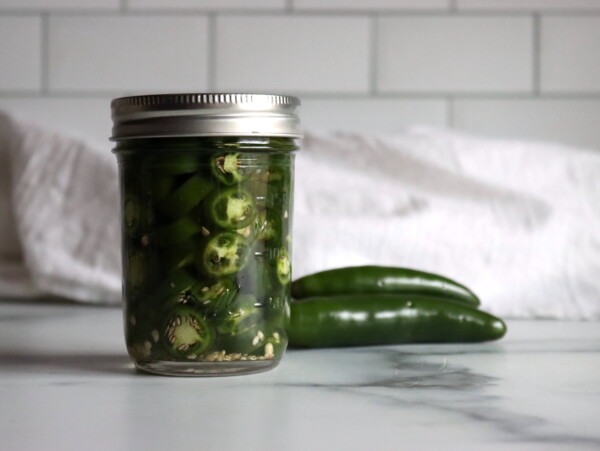
I slice most peppers into rings before pickling them, which is how I put up my pickled banana peppers and pickled jalapeños. Cherry peppers are a different shape, though. Slice it into rings, and you lose the whole point of growing it.
Left whole, each one is a little cup that’s ready to fill with cheese once the jar is open. They’re a classic on an antipasto platter, and the heat is usually pretty mild, so they’re easy to snack on.
I followed Colorado State University Extension and the Ball Blue Book Guide to Preserving for this one, and both pack small peppers raw and whole, with just a couple of slits.
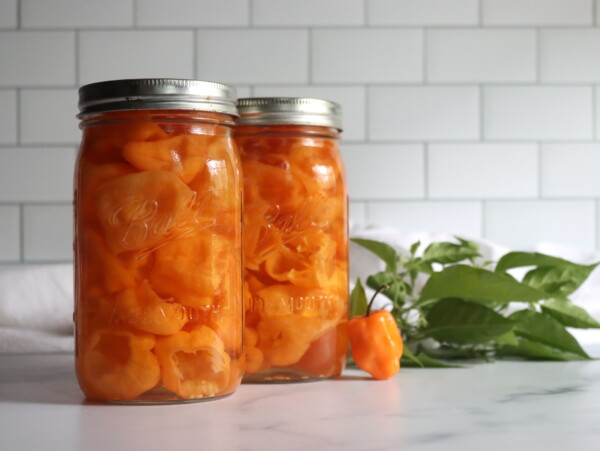
If you’re after real heat, my pickled habanero peppers are a better fit. There are more than fifty pepper canning recipes to try if your plants are still producing.
For the rest of the garden, there’s a long list of pickling recipes. For plain peppers with no vinegar, you’ll need to pressure can them instead.
Notes from My Kitchen

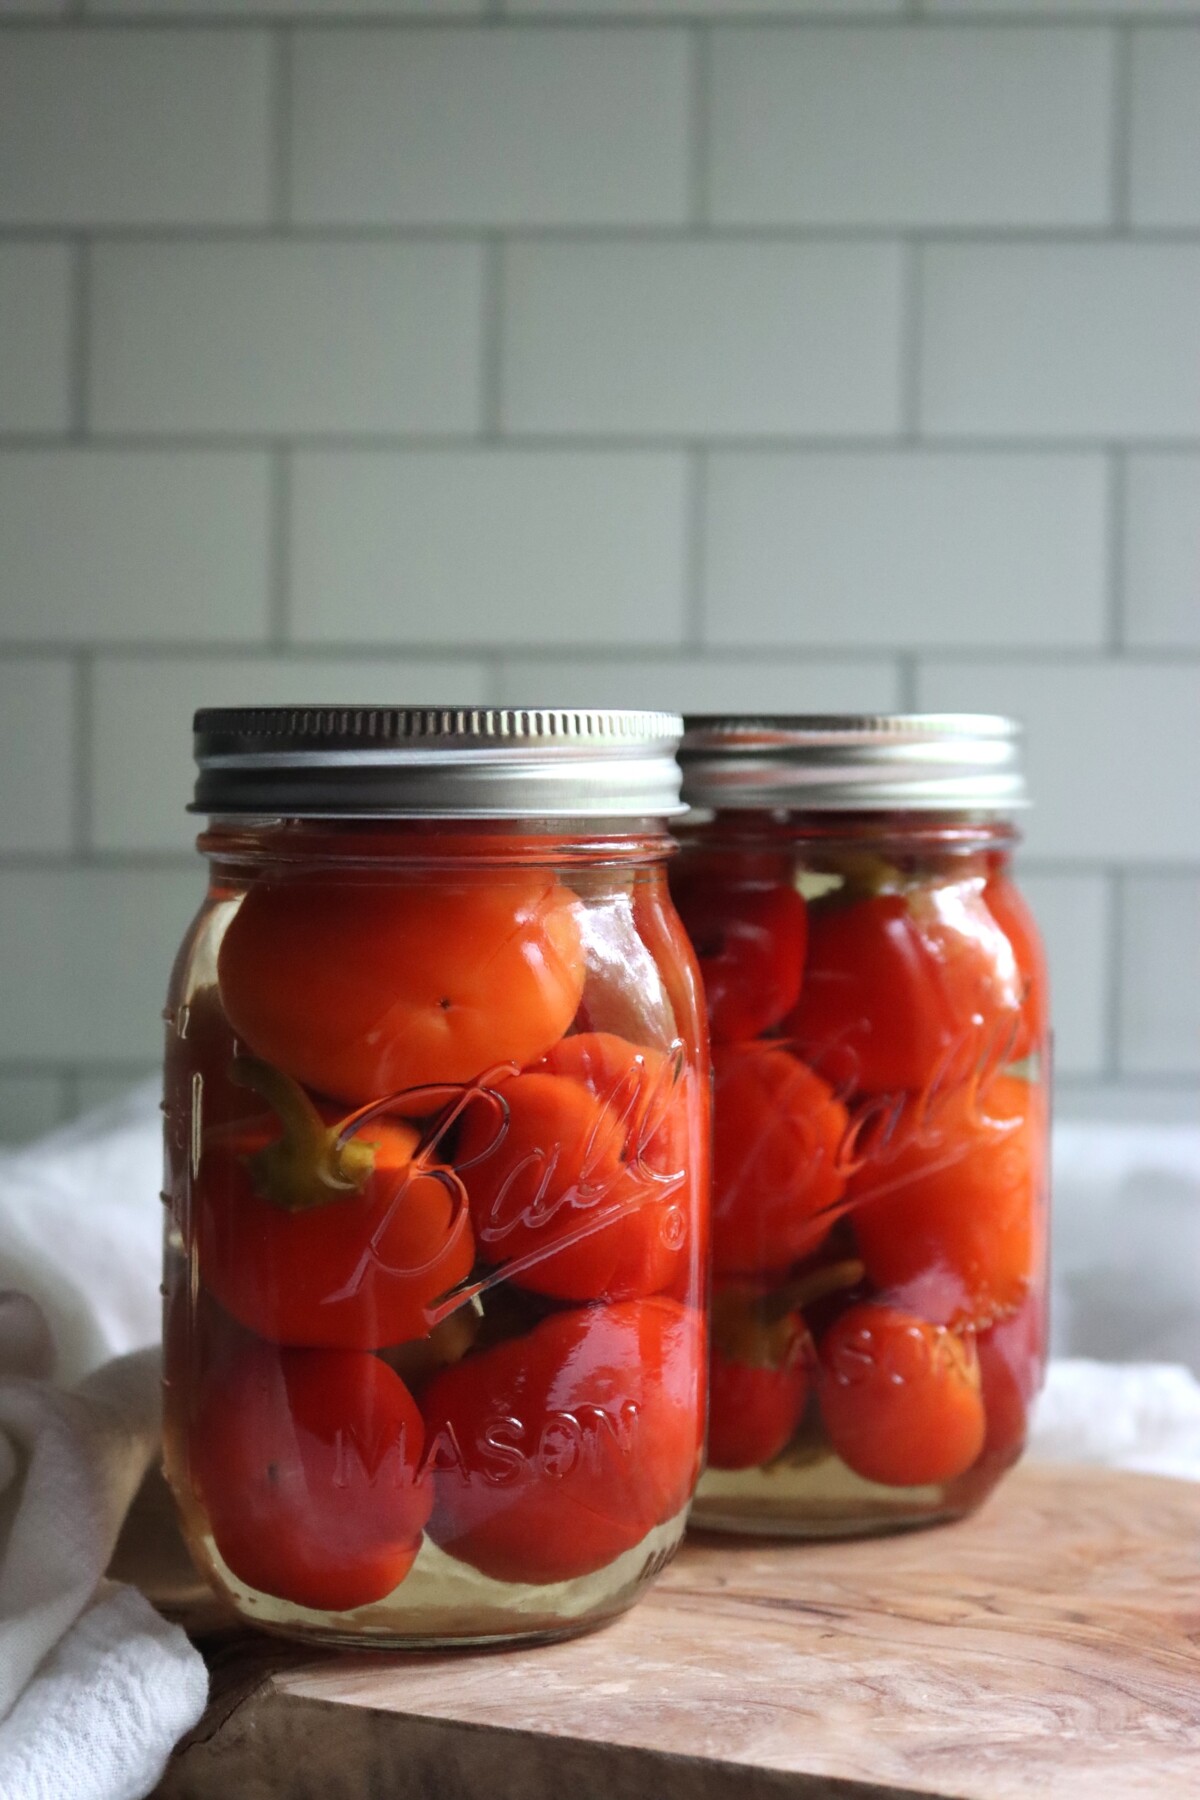
I used cider vinegar for these. It gives a better flavor, and it helps the color, since cherry peppers lose some of their red into the brine in the canner. I left the stems on too. Commercial jars keep them for looks, so I did the same.
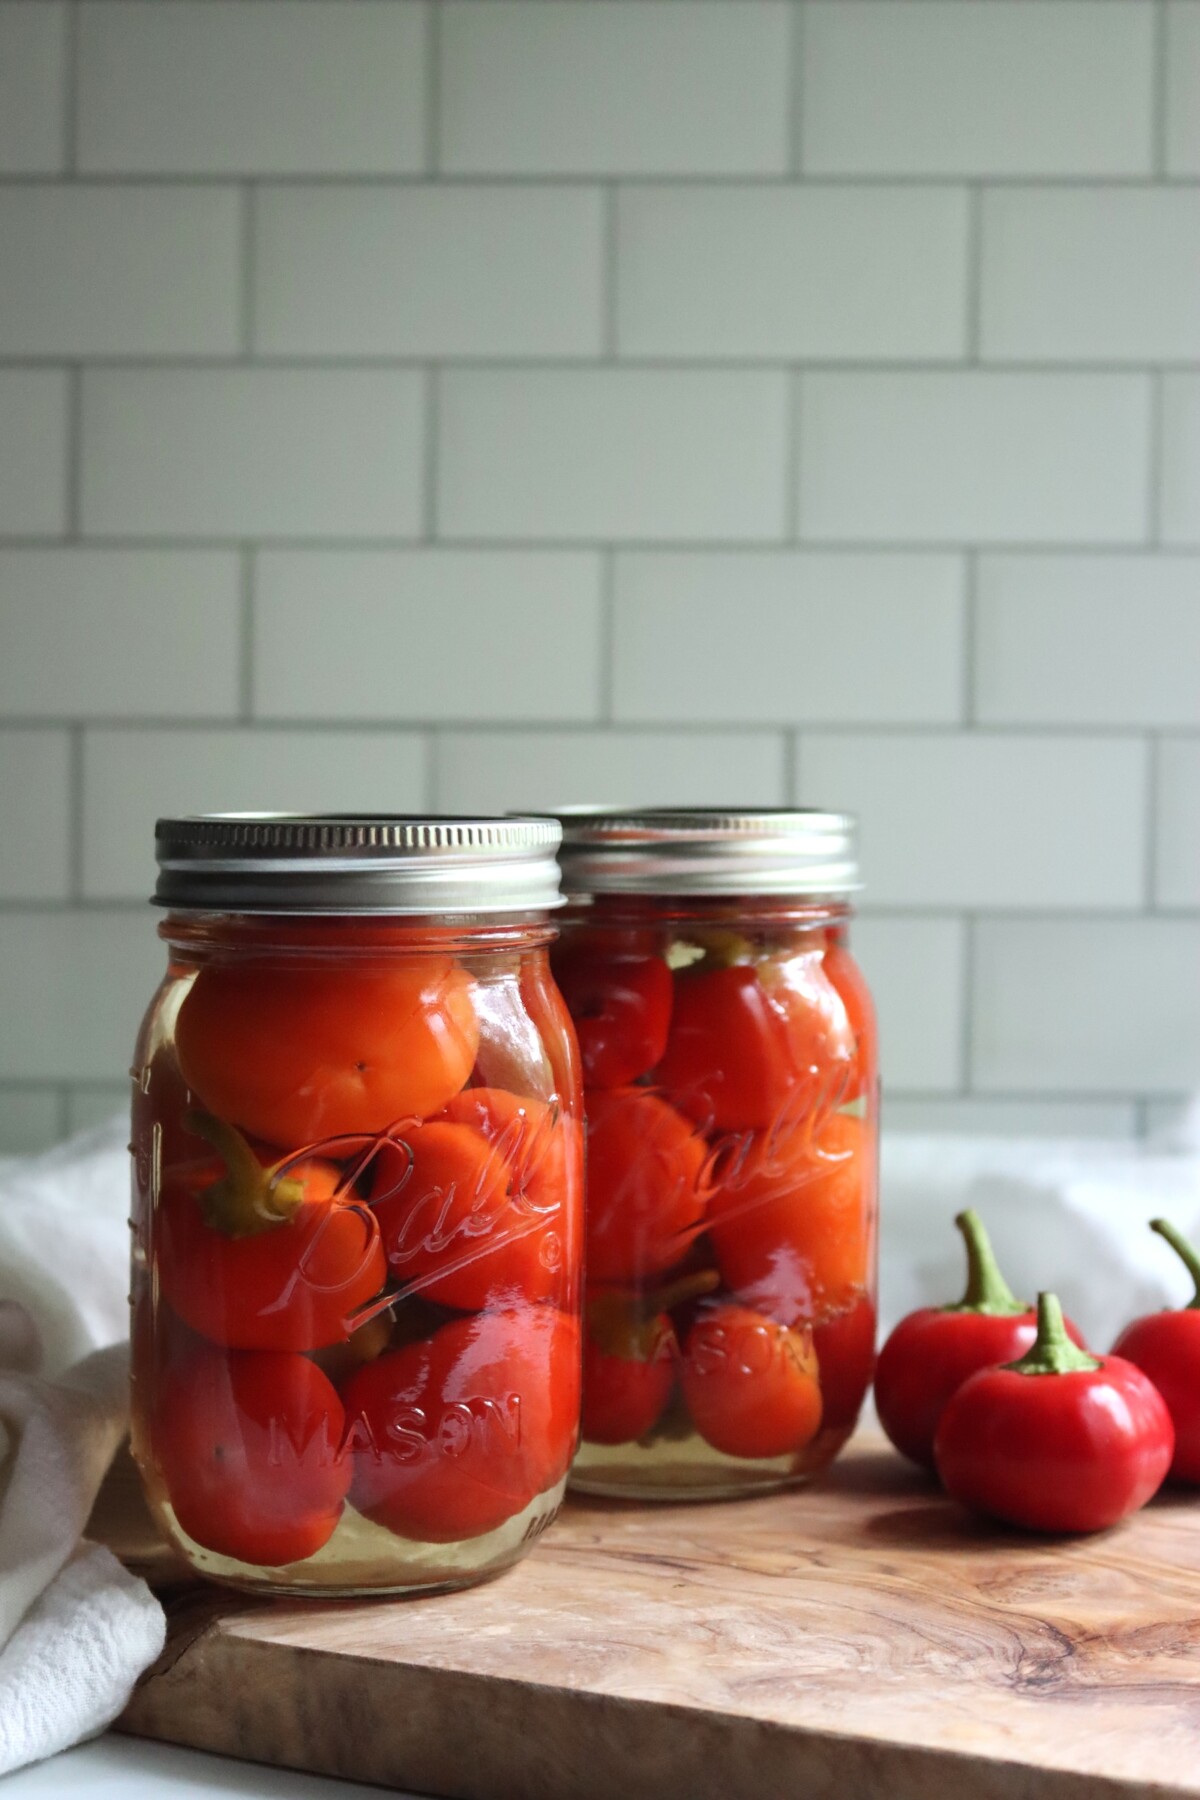
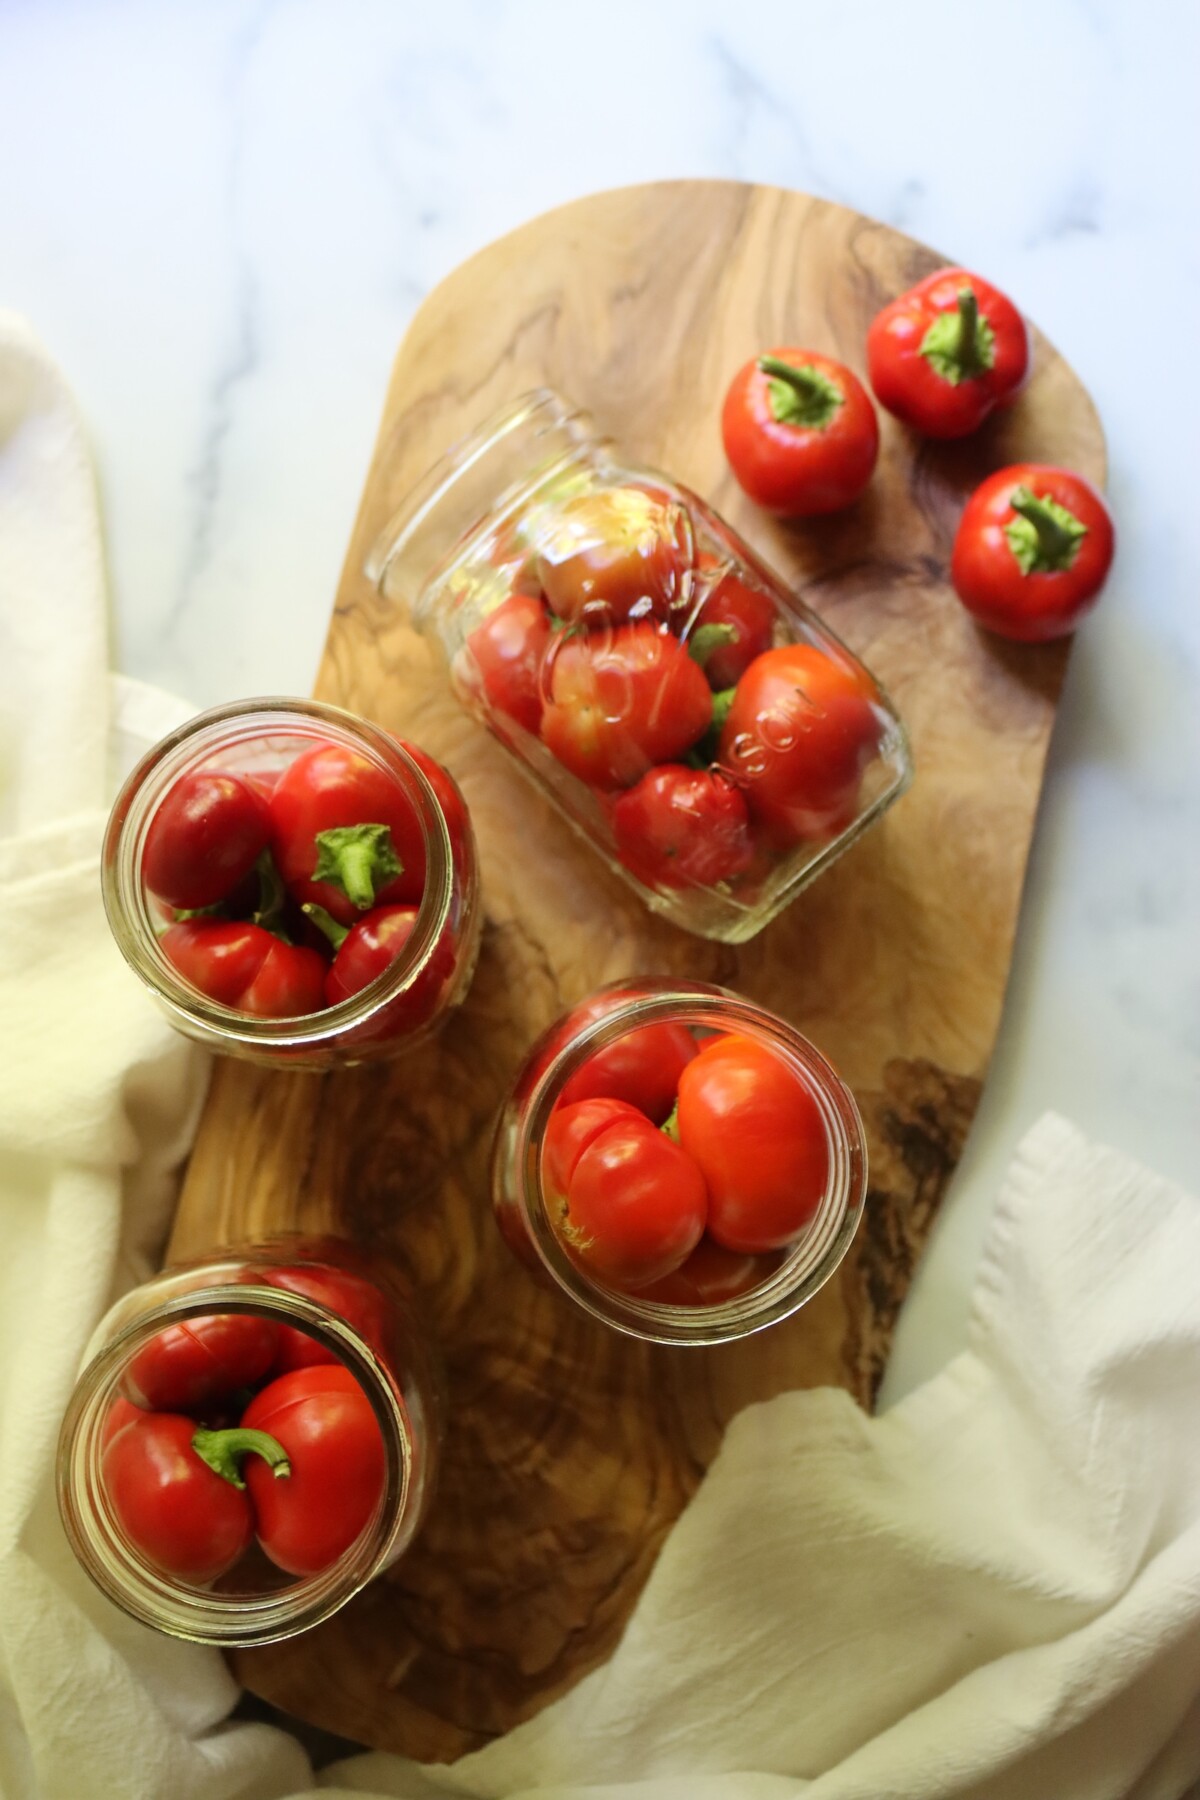
I packed mine into regular-mouth pints, and the shoulders made a real difference. I could press the peppers down under the shoulder, and they stayed put instead of floating. Two pounds filled four pints, with the brine coming out almost exactly even.
Quick Look at the Recipe
- Recipe Name: Pickled Cherry Peppers
- Recipe Type: Pickle Canning Recipe
- Canning Method: Water Bath Canning
- Prep Time: About 25 minutes
- Cook Time: About 10 minutes for the brine
- Canning Time: 10 minutes for half pints and pints, 15 minutes for quarts
- Yield: About 4 pints, well packed
- Jar Sizes: Half pints, pints, or quarts, ideally regular-mouth pints so the shoulders hold the peppers down
- Headspace: 1 inch for the peppers, then 1/2 inch once you add the brine
- Ingredients Overview: Cherry peppers, cider vinegar, water, pickling salt, sugar, and Pickle Crisp, with optional garlic, bay leaf, peppercorns, or red pepper flakes
- Safe Canning Recipe Source: Follows Colorado State University Extension, Making Pickled Peppers, and the Ball Blue Book Guide to Preserving, which both pack small peppers raw and whole with two slits in each
- Difficulty: Easy
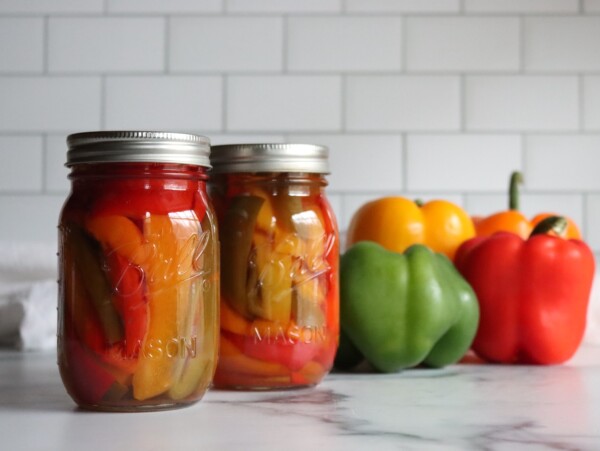
- Similar Recipes: For sliced pepper pickles, try Pickled Banana Peppers, Pickled Jalapeños, or Pickled Bell Peppers. For a jar with more heat, there’s Pickled Habanero Peppers.
Choosing Cherry Peppers for Pickling
Cherry peppers come in a hot type and a sweet type that look nearly identical in the bin. Ask or read the tag before you buy a bushel. The heat in hot cherry peppers is usually pretty mild, and occasionally medium.
Heat varies from plant to plant, and even from pepper to pepper. Taste a sliver of a fresh one before you start, and you’ll have a better idea of the flavor and heat you’re working with.
Size matters more here than it does with sliced pickles. Peppers the size of a golf ball or smaller pack neatly into a pint. Bigger ones leave gaps in the jar, and you may not fit the whole batch into four jars.
Pick peppers that are firm all the way around, with no soft spots at the shoulders, and skip any that have started to wrinkle. Fully red cherry peppers are a little sweeter than green ones.
Can the peppers within a day of picking, and they’ll hold their crunch better. If you’re working with the hot type, put gloves on before you start cutting.
Ingredients for Pickled Cherry Peppers
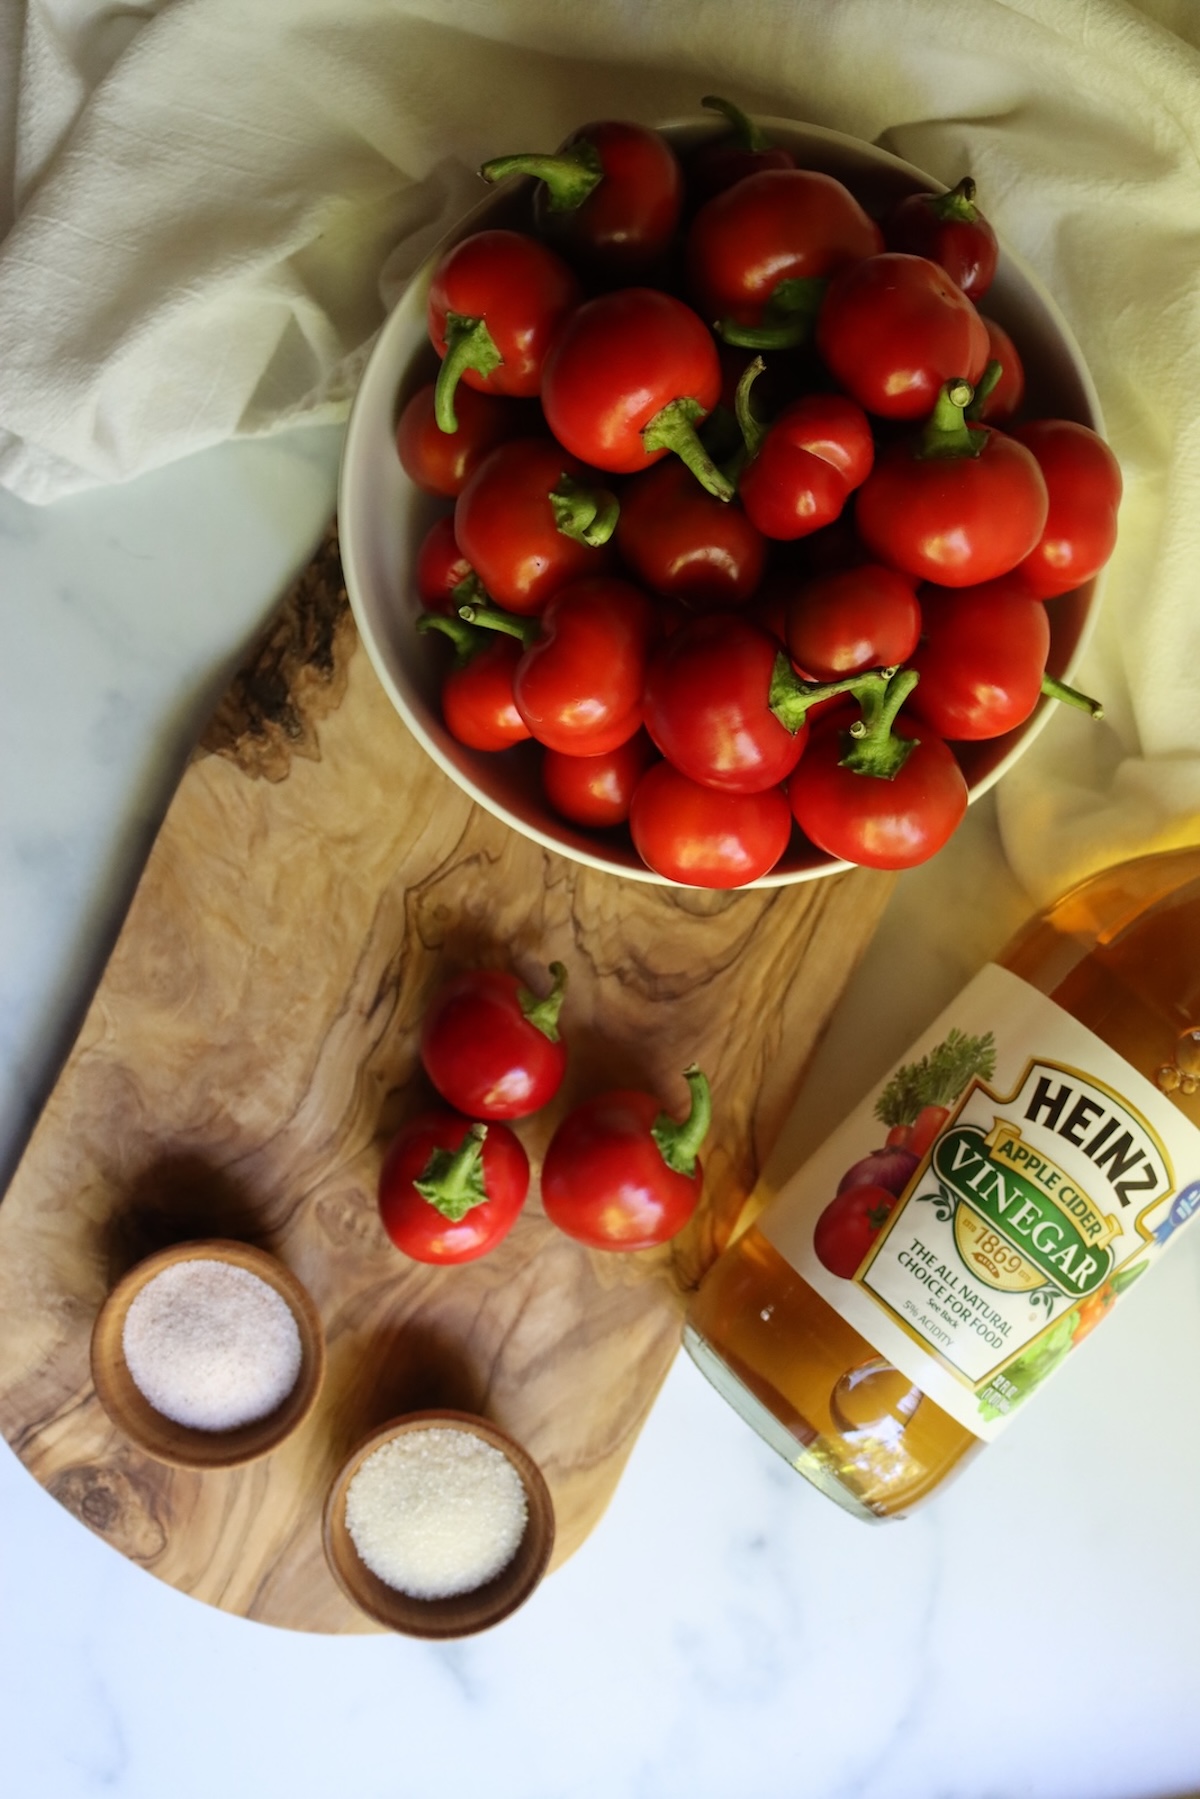
The ingredient list is short, and most of it is the brine.
The vinegar and water have to stay as written. The salt and sugar are yours to adjust, and every add-in is optional.
- Cherry Peppers: Hot, sweet, or a mix of both. Small peppers stay whole, with two slits in each one. Core anything much larger than a golf ball and cut it into strips, which is how the source recipe handles big peppers.
- Vinegar: I use apple cider vinegar here. It gives a better flavor, and it helps the color, since the peppers lose a bit of their red into the brine in the canner. Distilled white vinegar is fine too, and it keeps the brine clearer. Either one has to say 5 percent acidity on the label.
- Water: Plain tap water is fine unless yours is very hard. Filtered water keeps a hard-water brine from turning cloudy.
- Pickling Salt: Use pickling or canning salt rather than table salt, since iodine and anti-caking agents cloud the brine and can darken the peppers. Morton canning and pickling salt is easy to find. Salt is here for flavor and texture, not safety, so you can cut it back or leave it out.
- Sugar: Just enough to take the edge off the vinegar, not enough to sweeten anything. It’s optional, and leaving it out doesn’t change the safety of the recipe.
- Pickle Crisp: I recommend it. Ball Pickle Crisp is calcium chloride, and it keeps the peppers crisp. That crunch is what makes these really nice, and it keeps a whole pepper firm enough to stuff later. Add 1/8 teaspoon per pint. It doesn’t change the acidity of the brine.
Brine Strength and Substitutions
The brine is three parts vinegar to one part water, and that acidity is what keeps these peppers safe on a pantry shelf. Don’t cut the vinegar, and don’t stretch it with extra water. White or cider vinegar both work, whichever flavor you want, as long as the label reads 5 percent acidity.
If you need more brine to finish the jars, mix a fresh batch at the same three-to-one ratio. Salt and sugar are for flavor here, not safety, so adjust them or leave them out.
The add-ins are flavor only too, so change them or skip them.
Just don’t reduce the vinegar!
Optional Add-Ins for Pickled Cherry Peppers
None of these change the acidity, so add them, swap them, or leave them out. Dry spices in reasonable amounts are one of the few things you can adjust freely in a tested pickle recipe.
If you’re canning several jars at once, season them differently. Next year you’ll know which jar you actually want to make again.
- Garlic: One peeled clove per jar. Garlic often turns blue or green in an acidic brine. It looks alarming, but it’s harmless and doesn’t change the pickles.
- Bay Leaf: One per jar, for a little background warmth.
- Black Peppercorns: A few per jar. Use whole ones, not ground, so the brine stays clear.
- Red Pepper Flakes: This is how you make them spicy. Cherry peppers are usually pretty mild, and only occasionally medium, so add flakes to the brine if you want them hotter. Adding them to the brine instead of the jars gives every jar the same heat. The recipe card lists the starting amount.
- Other Whole Spices: Mustard seed, dill seed, coriander, or a pinch of pickling spice per jar all work the same way.
Step-by-Step Instructions
The peppers go into the jars raw, and the only thing you heat is the brine, in a small saucepan. It moves fast once you’ve cut the peppers, so get the canner heating before you start.
I’d suggest leaving 1 inch of headspace when you pack the peppers, then filling with brine to the required 1/2 inch. This gives you fuller, well-packed jars and much less floating. The recipe card below has the brine amounts.
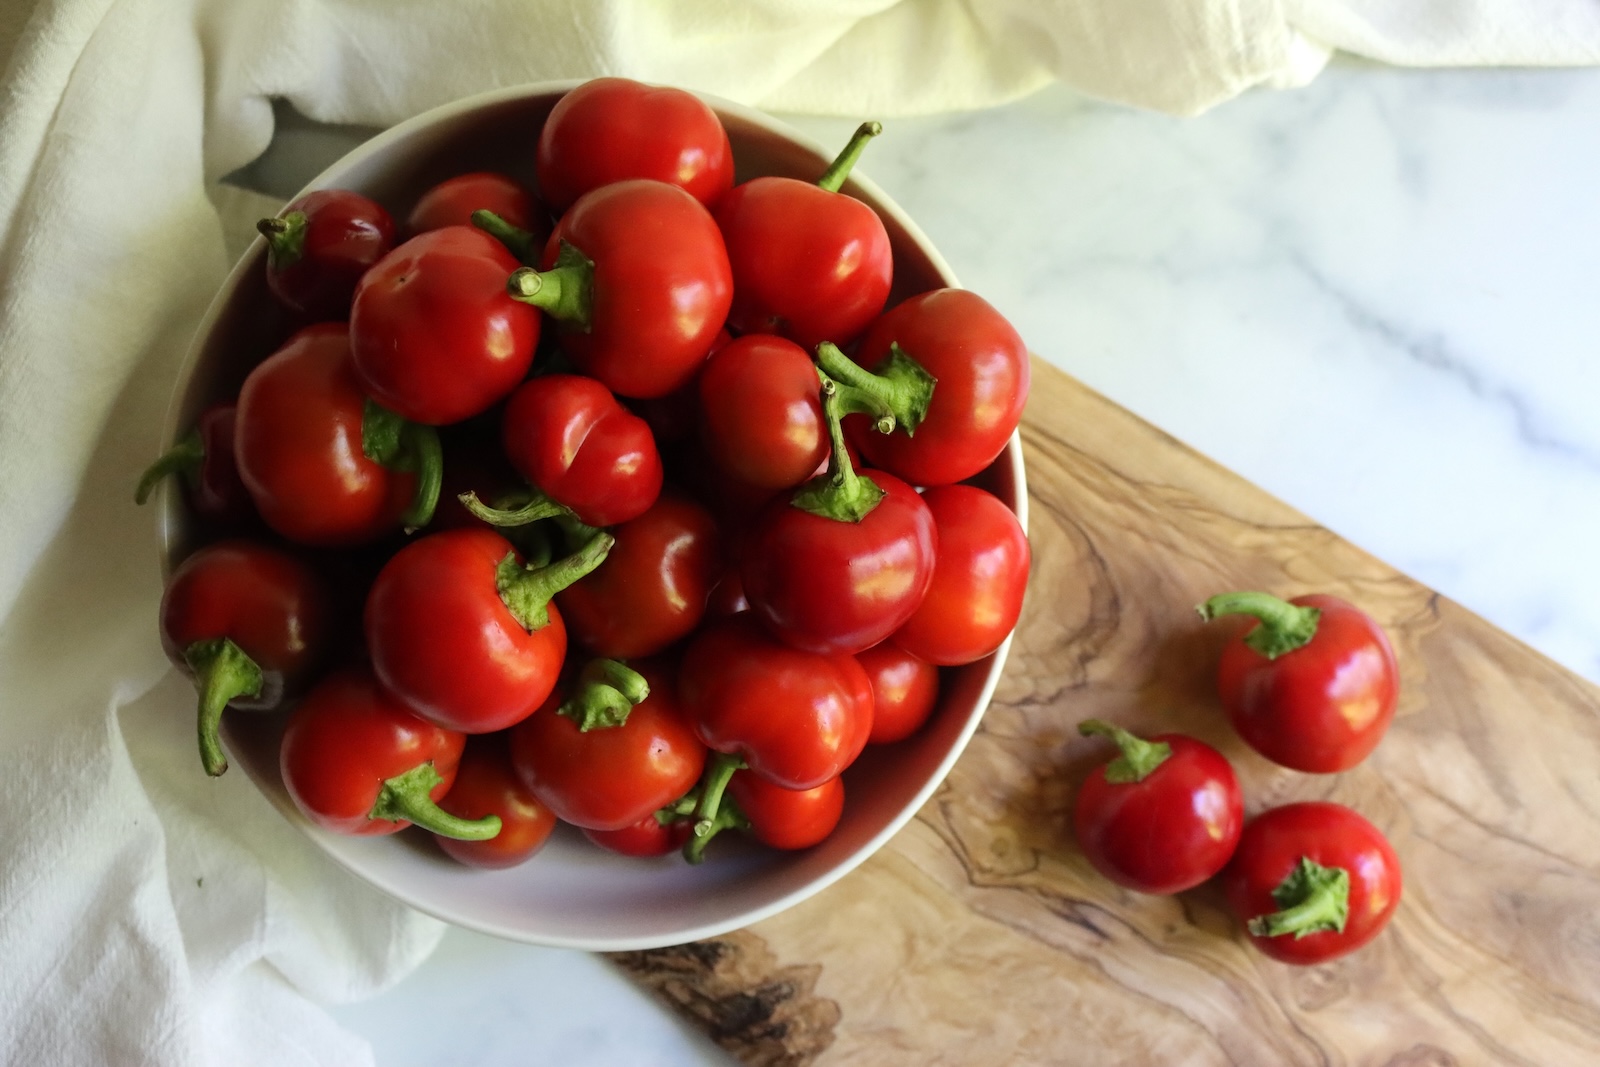
- Sort through the cherry peppers and set aside any with soft spots. Wash them under cold running water and drain. Taste a sliver of one so you know what heat level you’re working with.
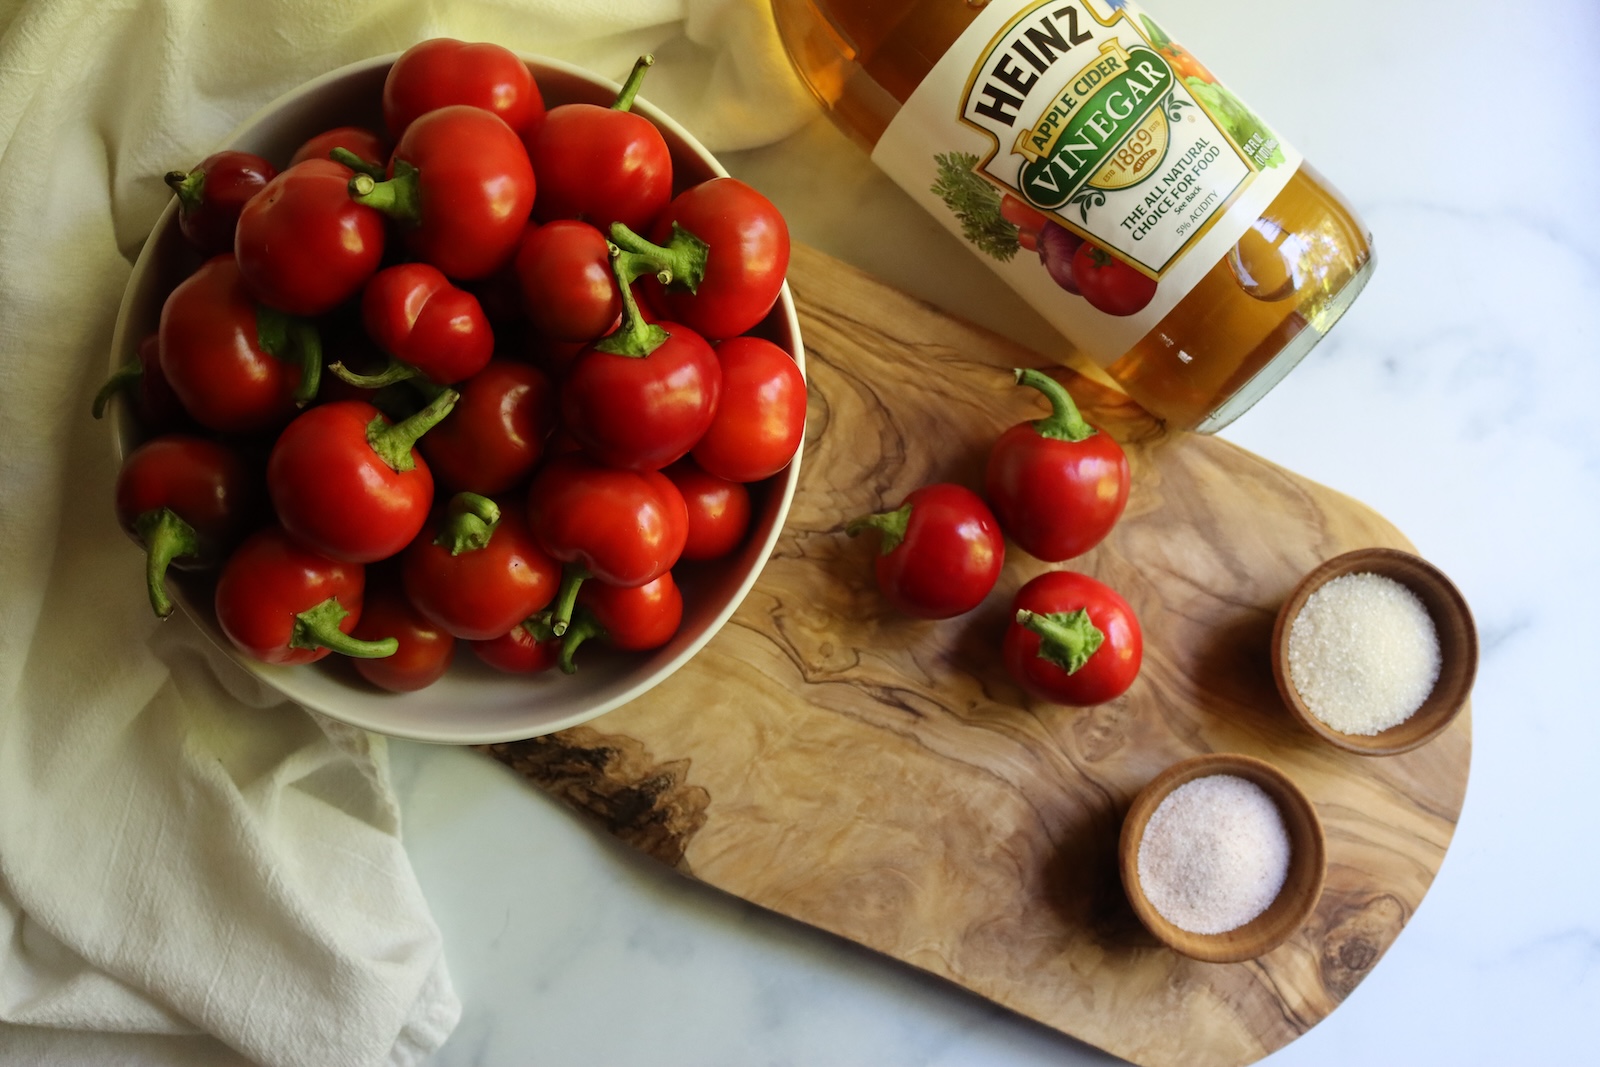
- Measure out the brine ingredients and any add-ins you’re using. Get the water bath canner, regular-mouth jars, and lids ready. Skip wide-mouth jars, since they have no shoulder to hold the peppers down.
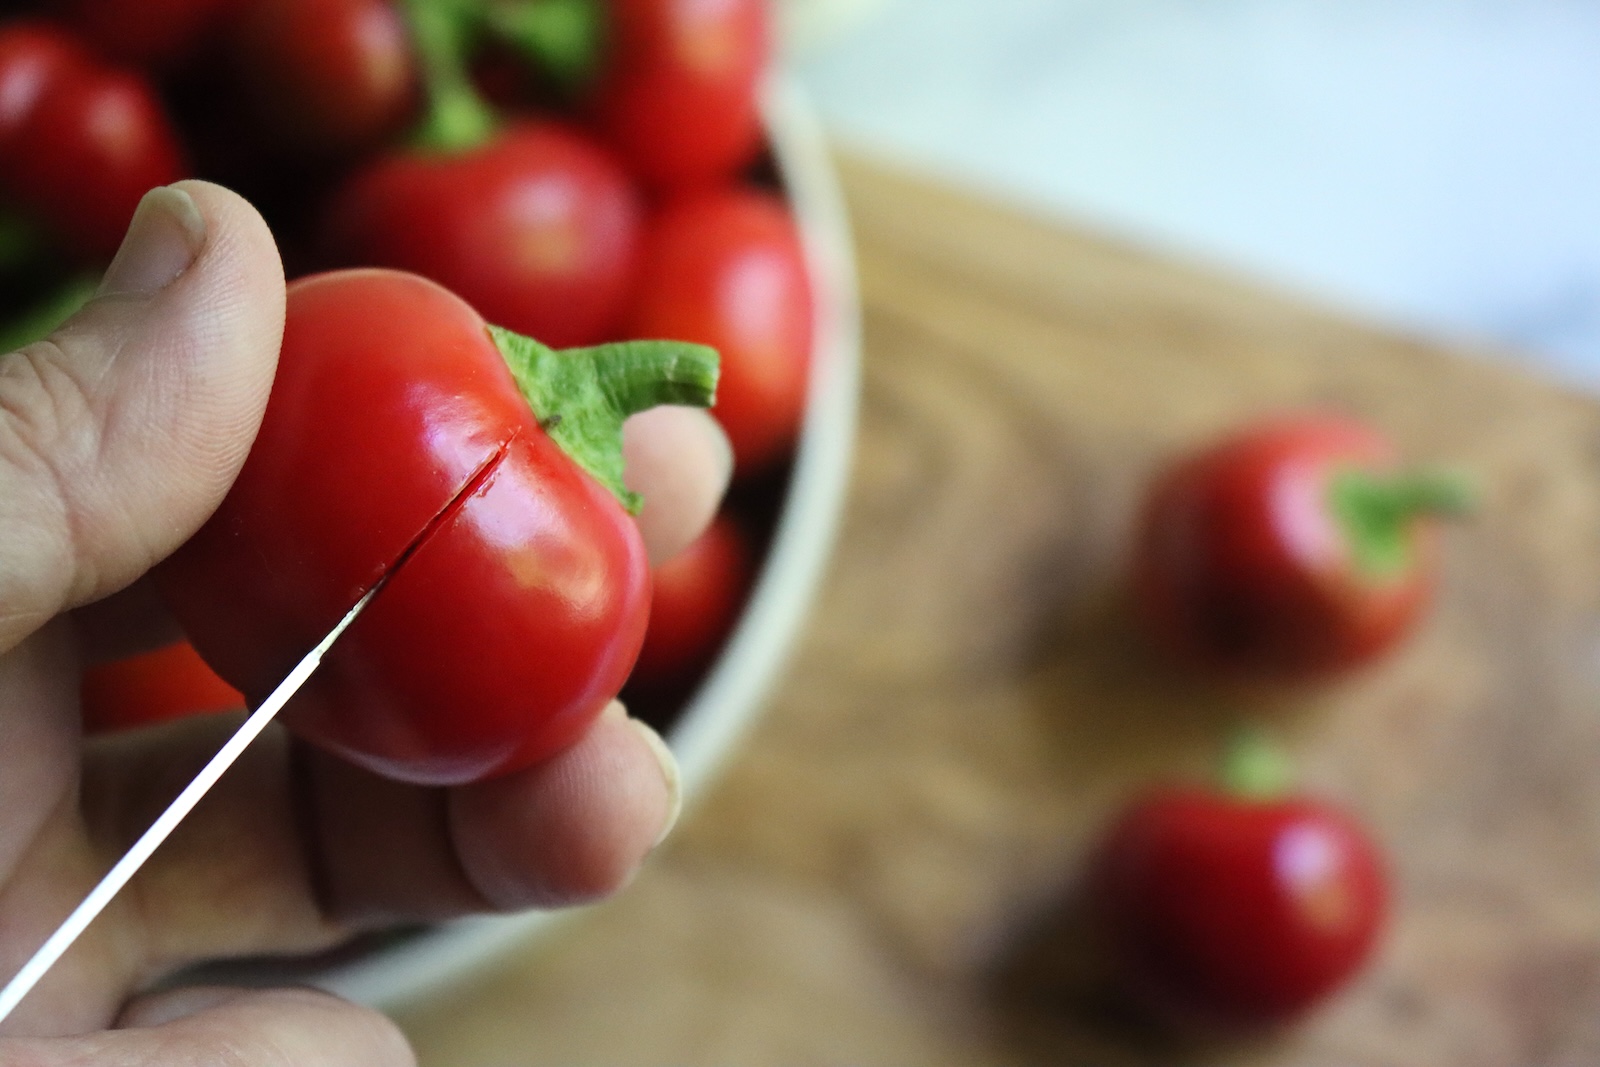
- Cut two slits in each pepper with a paring knife, one on each side, about half an inch down from the shoulder. Make them real cuts, since fork pricks won’t let the trapped air out or the brine in. And wear gloves! Yes, those are my bare hands in the photos, so do as I say, not as I do.
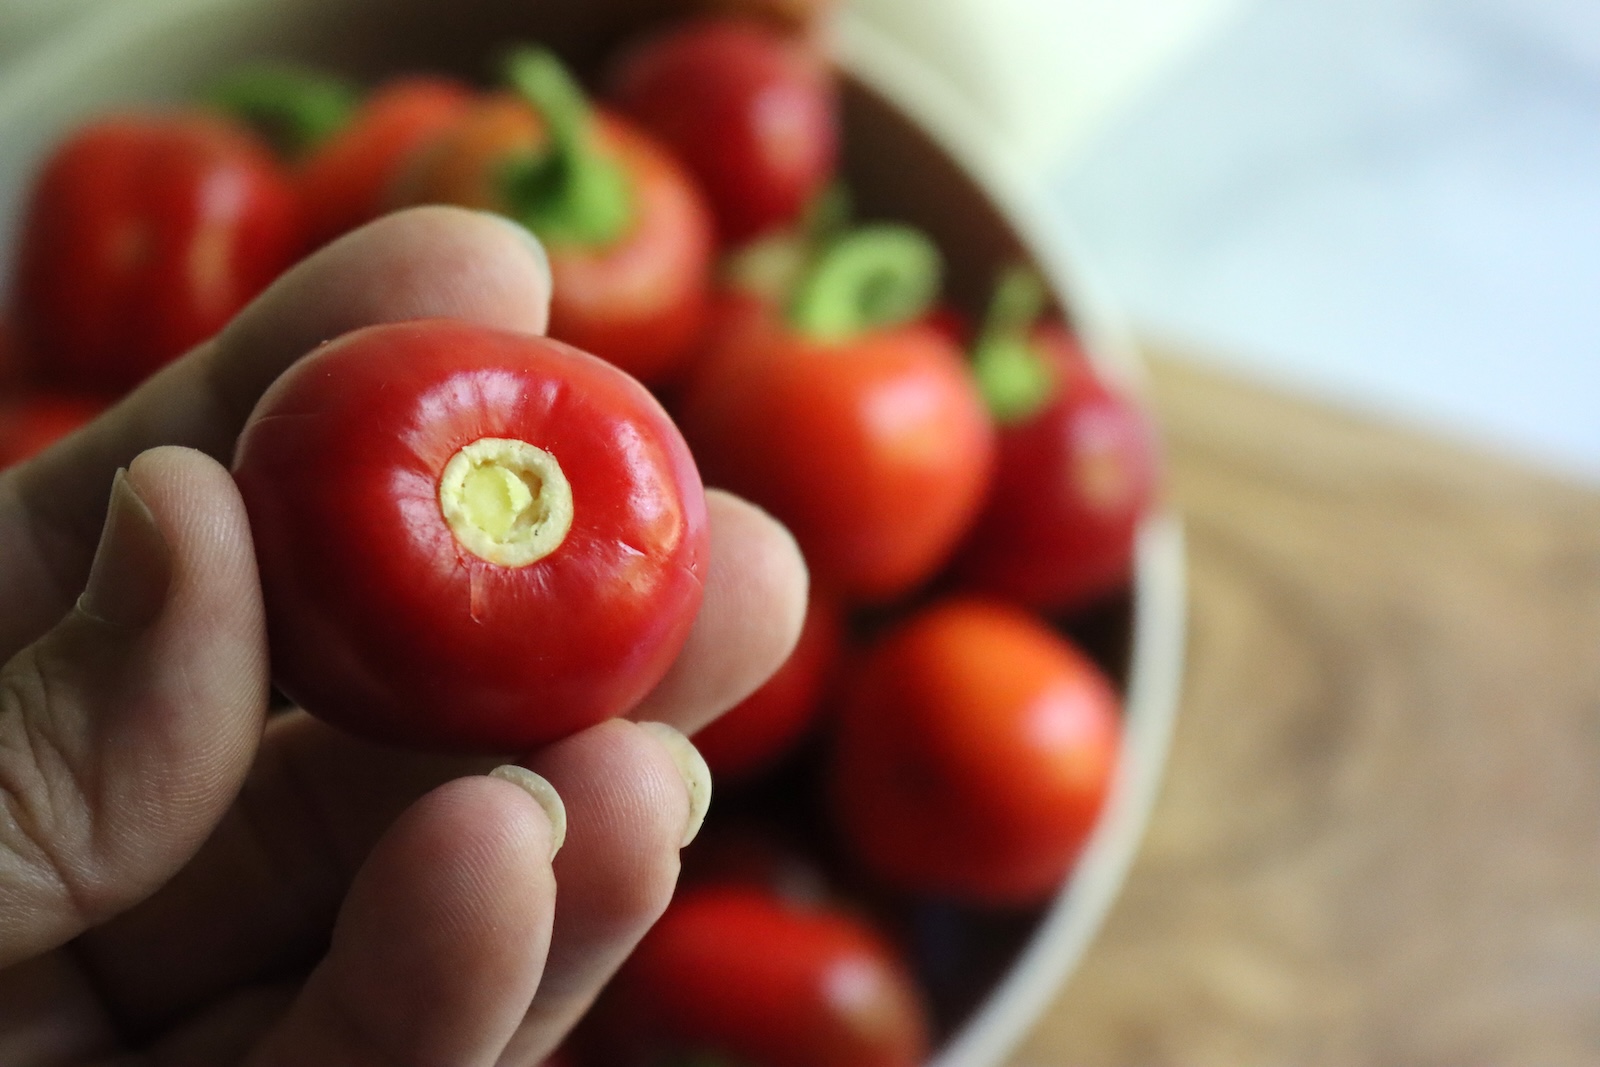
- Removing the tops is optional. The whole top pops off easily, and the pepper stays whole. Commercial jars leave the stems on for looks, so I left mine on too, but suit yourself.
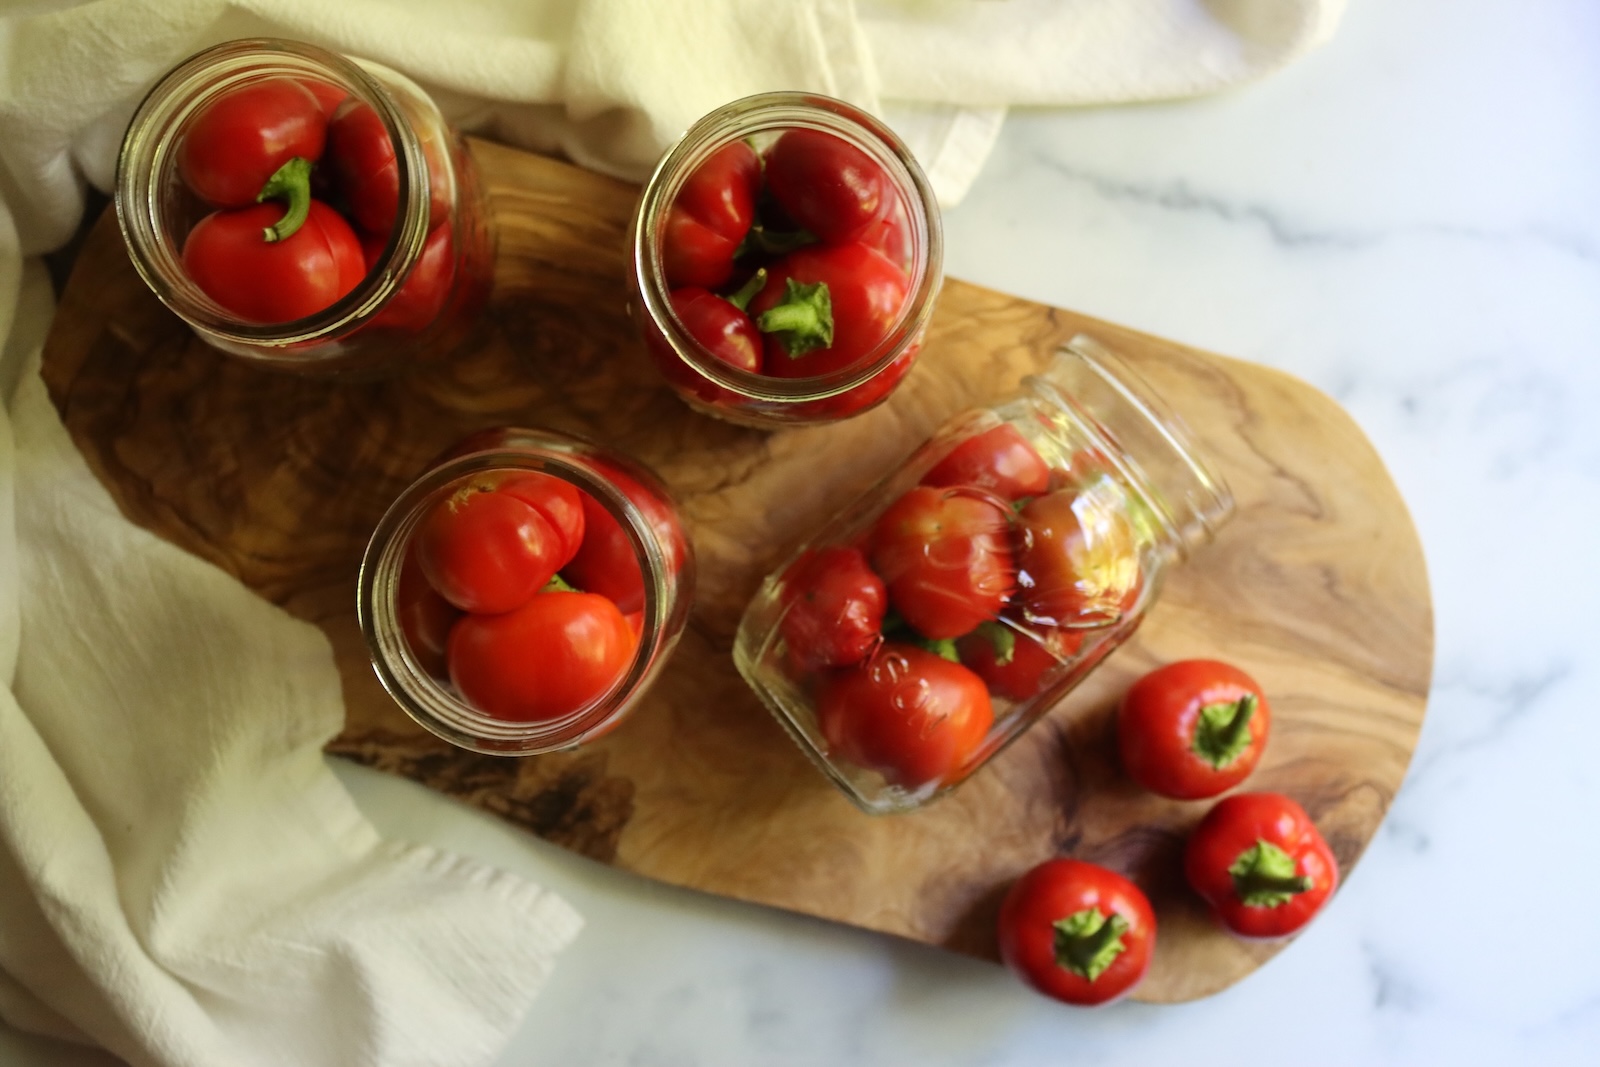
- Bring the brine to a boil, stirring until the salt dissolves, and add the red pepper flakes if you’re using them. Put any add-ins in each hot jar. Pack the peppers in firmly to 1 inch headspace, tuck the top layer under the shoulder, and add the Pickle Crisp. Ladle in the hot brine, top it back up to 1/2 inch headspace as the level drops, and run a bubble tool into the slits. Wipe the rims and put on the lids.
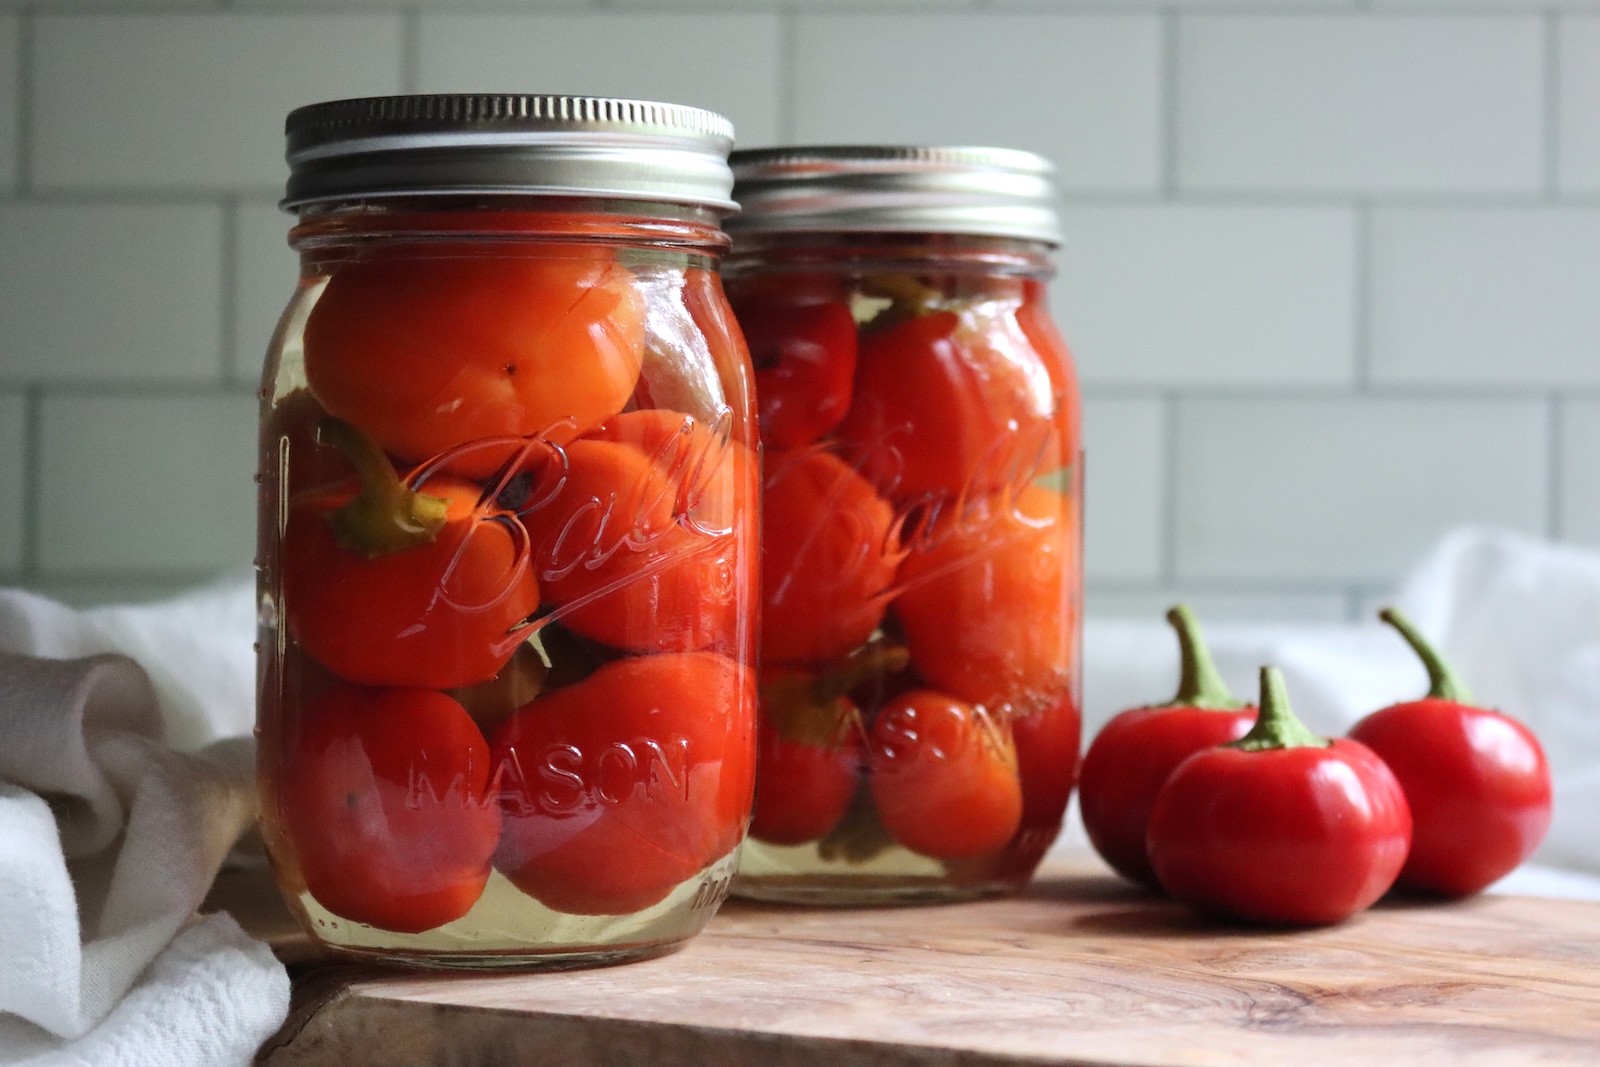
- Process half pints and pints in a boiling water bath for 10 minutes, or quarts for 15 minutes, adjusting for altitude. Cool undisturbed 12 to 24 hours, check the seals, and give the jars at least four weeks before opening.
Canning Pickled Cherry Peppers
Canning is optional. These work as refrigerator pickles if you’d rather skip the canner, and an unprocessed jar keeps in the fridge for a couple of months. Water bath processing is what makes them shelf-stable, which is what you want for a real harvest.
Get your water bath canner going before you start filling jars. This is a raw pack, so preheat the canner water to about 140 degrees F, hot but not yet simmering.
Lower the jars onto the rack with a jar lifter, and make sure at least an inch of water covers them. Then bring the canner to a full rolling boil.
Process half pints and pints for 10 minutes or quarts for 15 minutes, starting the timer once the water is boiling hard. Adjust the time for your altitude using the chart below.
When the time is up, turn off the heat and take the lid off the canner. Let the jars sit 5 minutes before you lift them out, then leave them on a towel to cool undisturbed for 12 to 24 hours. Check the seals the next day, then give the jars at least four weeks before you open one.
New to the canner? My guide to water bath canning for beginners walks through the setup. There’s plenty more to fill it with in my water bath canning recipes.
Altitude Adjustments
Water bath processing times go up above 6,000 feet. Use these times for pickled cherry peppers:
- 6,000 feet or less: Half pints and pints 10 minutes, quarts 15 minutes
- Above 6,000 feet: Half pints and pints 15 minutes, quarts 20 minutes
Start the timer once the water comes back to a full rolling boil, not when the jars go in.
Tips for Crisp Pickled Cherry Peppers
Start with fresh, firm peppers. Crispness matters more with a whole pepper than with rings, because a limp cherry pepper collapses the moment you try to stuff it. Can them within a day or so of picking, and keep them cold until you’re ready to work.
Keep the slits short. If you cut a pepper halfway open, it goes soft in the canner.
Use Pickle Crisp. Adding 1/8 teaspoon of Ball Pickle Crisp per pint makes a real difference on a pepper with walls this thick.
Don’t over-process. Pull the jars at the time the chart gives for your elevation, since every extra minute in the canner softens the peppers.
Ways to Use Pickled Cherry Peppers
Stuffing them is the payoff for keeping them whole. Drain a few and pat them dry. Fill them with cream cheese, a cube of provolone wrapped in prosciutto, or a spoonful of goat cheese, then serve them cold. Do the stuffing after you open the jar, which is the only safe way to do it.
They also chop into anything that wants heat and acid at once, like a pan sauce for chicken cutlets with a splash of their own brine. They belong on an Italian sub, scattered over a pizza, or stirred into potato salad.
Save the brine from an empty jar for salad dressing, though you shouldn’t reuse it to can another batch. For a pepper jar that goes straight onto a sandwich, there’s also my pepper onion relish and marinated peppers.
Storage and Shelf Life
Store sealed jars in a cool, dark cupboard, and use them within 12 to 18 months. Take the bands off first, so a failed seal can’t hide. Label the jars with the date, because a pantry full of peppers gets confusing fast.
Whole cherry peppers take longer than sliced pickles to come into their own, so wait closer to six weeks if you can stand it. Give them at least four weeks.
Once a jar is open, keep it in the fridge with the peppers under the brine, and use it within a month or two. Put any jar that didn’t seal straight into the fridge, and eat it first.
Refrigerator pickles that never went through the canner keep a couple of months in the fridge. If you made them that way and later want them on the shelf, you can still can them.
Empty the jars into a pot and heat everything through, then repack into hot jars and process as usual. Jars that go into the canner cold won’t heat through properly, and the sudden temperature change can break them.
Yield Notes
Two pounds of cherry peppers and 4 cups of brine fill 4 pints when you pack the jars well. The brine comes out very close to even.
Pepper size is what moves this number. Small peppers nest together and fill the jars efficiently. Bigger ones leave more space, take more brine, and may not all fit into four jars.
If you end up with more than four pints, mix more brine at the same three to one ratio instead of stretching it with water. The recipe doubles the same way, and it’s easier to mix two batches of brine than to do the math on one big pot.
Pickled Cherry Peppers FAQs
Whole peppers raise a few questions that sliced ones don’t, mostly about heat and floating.
No. Small peppers stay whole, with two slits in each one, and there’s no seeding, peeling, or blanching. The seeds and the white pith carry most of the heat, so leaving them in makes a hotter pickle. If you want a milder jar, pop the tops off and scoop the seeds out first.
No. Vinegar at 5 percent acidity is what makes these peppers safe to can, so don’t cut or water down the three to one brine. You can cut back the salt and sugar, since neither one is what keeps the jars safe.
Hot cherry peppers are usually pretty mild, and only occasionally medium. Heat varies from plant to plant, so taste a sliver of a fresh one before you start. If you want them spicy, add red pepper flakes to the brine instead of the jars, so every jar comes out the same. Sweet cherry peppers have no heat at all and pickle the same way.
Whole peppers trap air in their hollow centers, which makes them float even after processing. Real slits instead of pinholes, packing to 1 inch headspace in a regular-mouth jar so the shoulders hold the peppers down, and running a bubble tool into the slits all help. A little float isn’t a safety problem as long as the jar sealed, though peppers sitting above the brine will darken over time.
No. Stuffed cherry peppers in oil are a refrigerator recipe, not a canning recipe. Cheese, meat, and oil are all low acid, and there’s no tested water bath process for them. Can the peppers plain, then stuff them after you open a jar and keep the stuffed peppers in the fridge.
Pepper Pickling Recipes
If the pepper patch is still producing, there are plenty of other ways to get it into jars.
If you tried this Pickled Cherry Peppers recipe, or any other recipe on Creative Canning, leave a ⭐ star rating and let me know what you think in the 📝 comments below!
And make sure you stay in touch with me by following on social media!
Pickled Cherry Peppers
Equipment
- Regular Mouth Pint Mason Jars
- Small saucepan
- Rubber or Nitrile Gloves
- Bubble remover
Ingredients
For the Jars
- 2 lbs cherry peppers, hot, sweet, or a mix, see notes
- Pickle Crisp, 1/8 tsp per pint
For the Brine
- 3 cups vinegar, 5% acidity, cider or white
- 1 cup water
- 2 tsp canning and pickling salt
- 1 1/2 tsp sugar, optional
Optional Add-Ins
- 4 cloves garlic, 1 per jar
- 4 bay leaves, 1 per jar
- black peppercorns, a few per jar
- 1 tsp red pepper flakes, added to the brine, for more heat
- whole spices, a pinch per jar, see notes
Instructions
- Prepare a water bath canner, jars, and lids. Preheat the canner water to about 140 degrees F for a raw pack.
- Sort the cherry peppers and set aside any with soft spots. Wash them under cold running water and drain.
- Put on gloves and cut two slits in each pepper with a paring knife, one on each side, about 1/2 inch down from the shoulder. Core any oversized peppers and cut them into strips. Leave the stems on or pop the tops off.
- Combine the vinegar, water, salt, and sugar in a saucepan, adding the red pepper flakes if using, and bring to a boil, stirring until the salt dissolves. Keep the brine hot.
- Put any add-ins (garlic, bay leaf, peppercorns, whole spices) in each hot jar. Pack the peppers in firmly to 1 inch headspace, pressing the top layer under the shoulder of the jar. Add the Pickle Crisp.
- Ladle the hot brine over the peppers to 1/2 inch headspace. Run a bubble tool down the sides and into the slits, top up the brine if the level drops, wipe the rims, and apply lids and bands fingertip tight.
- Load the jars into the canner and bring it to a full rolling boil. Process half pints and pints for 10 minutes or quarts for 15 minutes, adjusting for altitude (see notes).
- Turn off the heat, remove the canner lid, and let the jars sit 5 minutes. Lift them out and cool undisturbed for 12 to 24 hours, then check the seals.
Notes
- 6,000 feet or less: Half pints and pints 10 minutes, quarts 15 minutes
- Above 6,000 feet: Half pints and pints 15 minutes, quarts 20 minutes
Nutrition
Nutrition information is automatically calculated, so should only be used as an approximation.
Vegetable Pickling Recipes
There’s more for the pickle shelf than peppers.
Find the perfect recipe
Searching for something else? Enter keywords to find the perfect recipe!