
This post may contain affiliate links. Please see our disclosure policy.
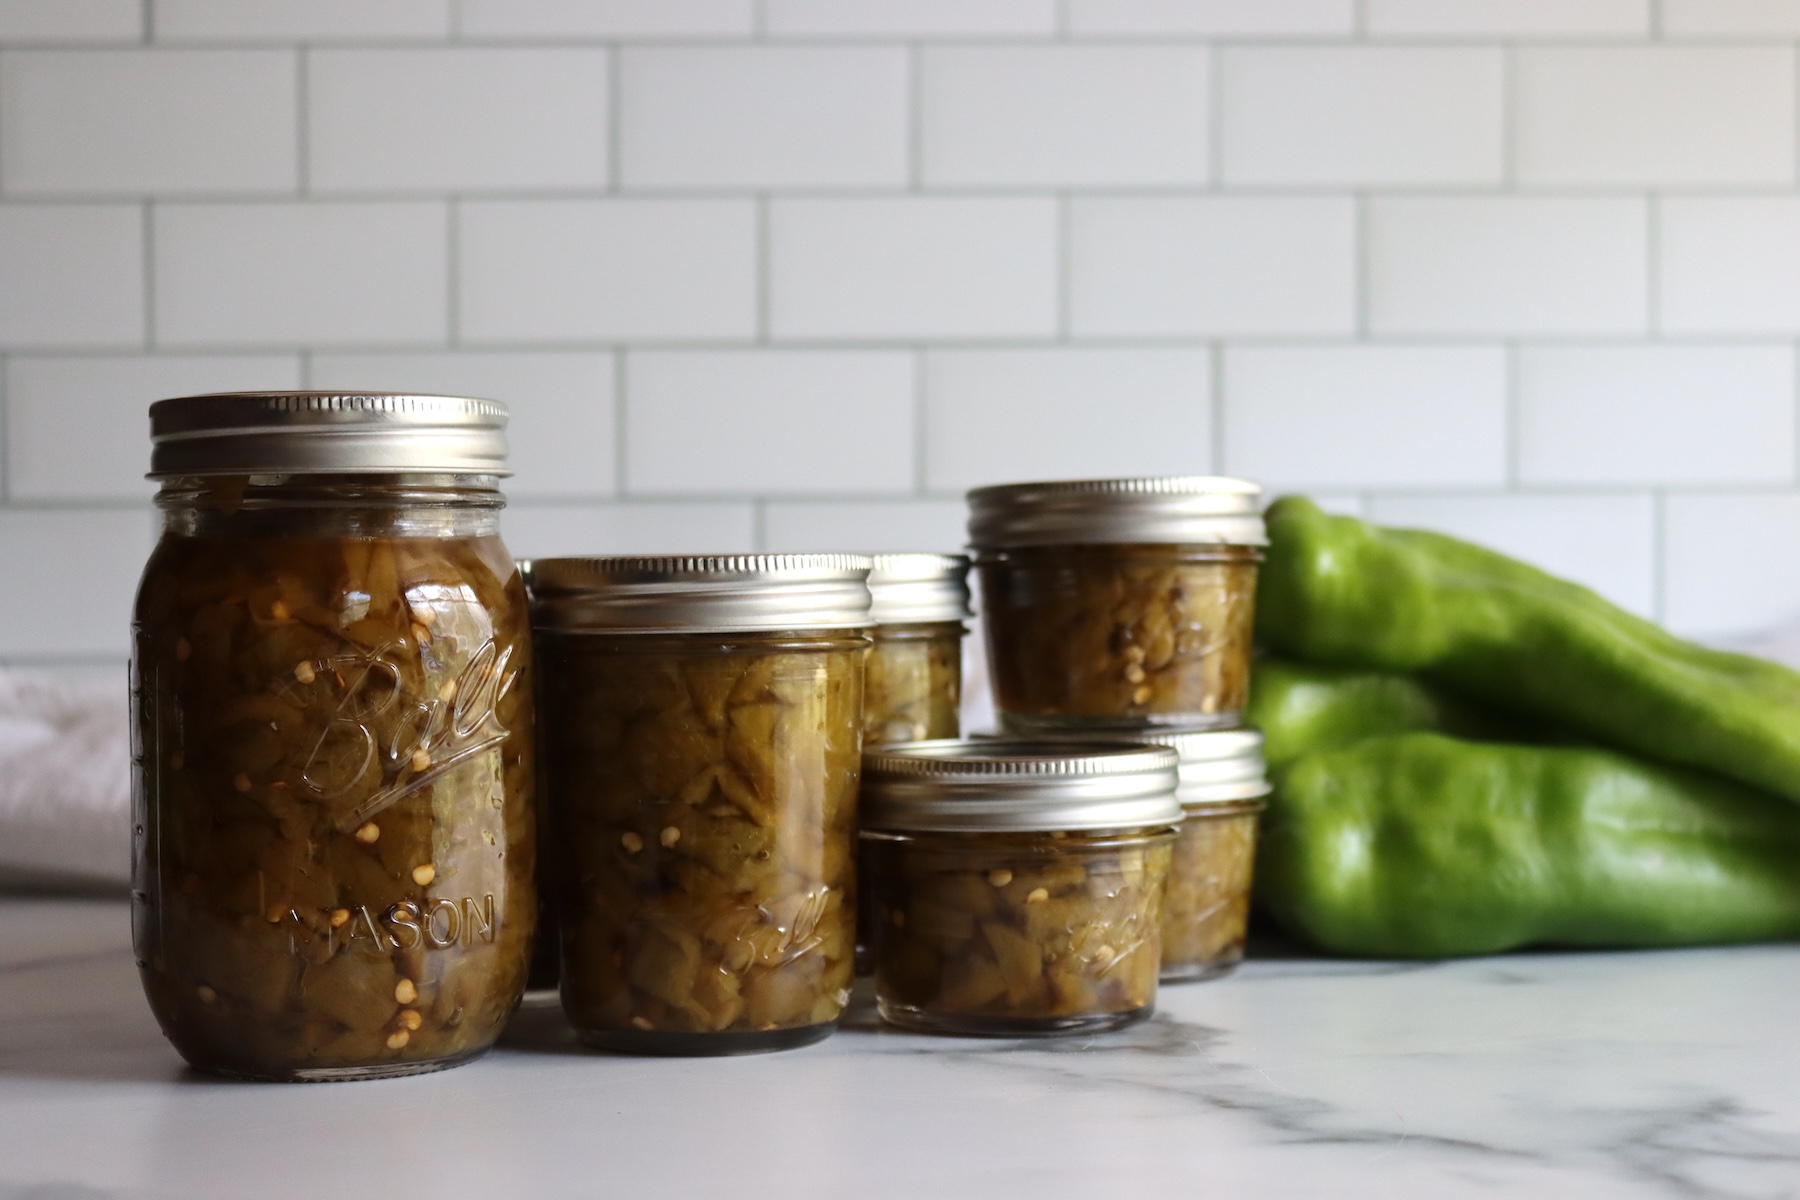
Canning green chiles puts roasted Hatch chile in your pantry, ready to stir into enchiladas, chile verde, breakfast eggs, and pots of soup all winter long, without a trip to the freezer or the store. Roasting and peeling a big batch in late summer, when the chiles come in by the case, means you can pull a jar off the shelf any time you want that smoky, mildly spicy green chile flavor.
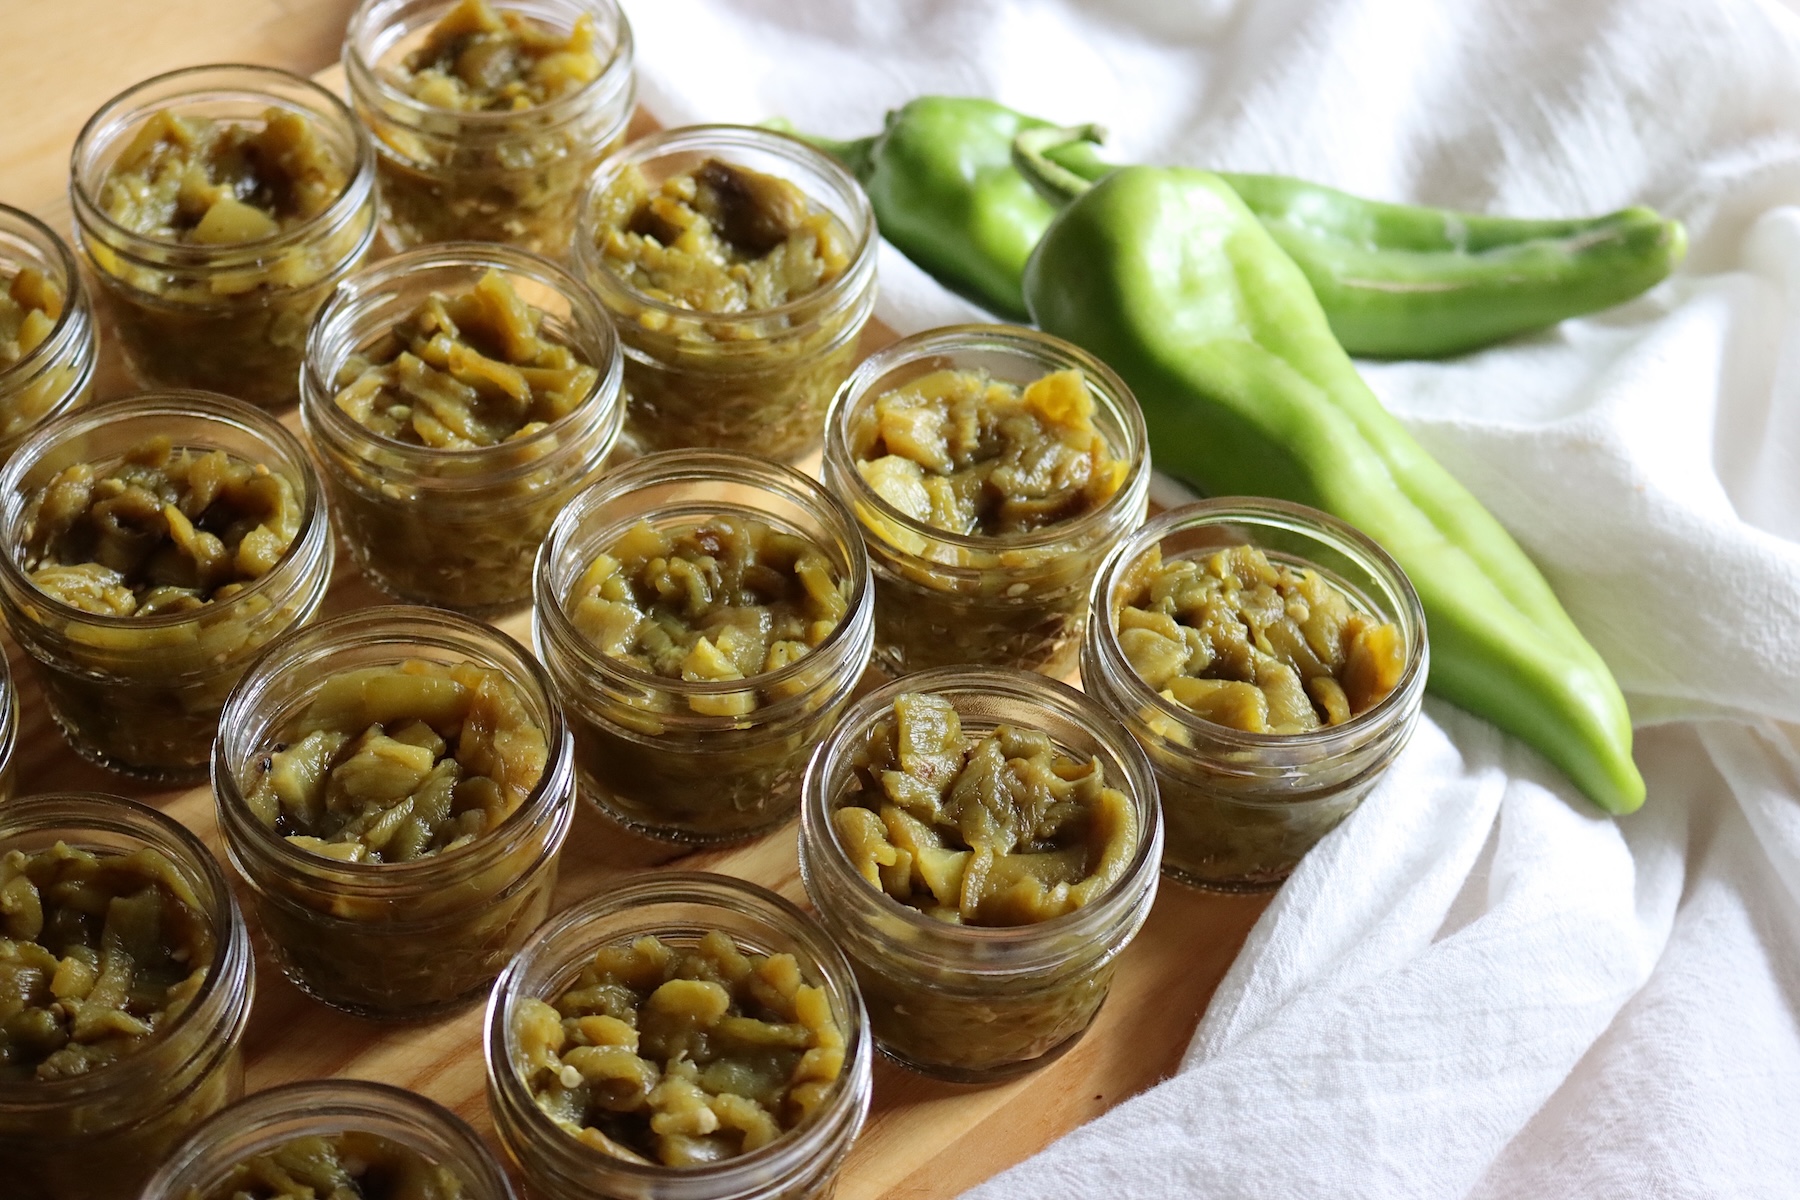
Table of Contents
- Notes from My Kitchen
- Quick Look at the Recipe
- Selecting Green Chiles
- Ingredients for Canning Green Chiles
- Green Chile Canning Notes
- How to Make Canned Green Chiles
- Canning Green Chiles
- Altitude Adjustments
- Tips for Success
- Ways to Use Canned Green Chiles
- Yield Notes
- Canning Green Chiles FAQs
- Pepper Canning Recipes
- Canning Green Chiles Recipe
- Pressure Canning Recipes
This recipe has been reviewed for safety and accuracy by a Master Food Preserver certified through the University of Cornell Cooperative Extension.
Green chiles are a low-acid vegetable, which means they cannot be safely water bath canned and have to go into a pressure canner instead. This recipe follows the USDA and National Center for Home Food Preservation process for canning plain peppers, the same tested process New Mexico State University publishes in its green chile guide, so the roasted chiles reach a temperature that makes them safe on the shelf.
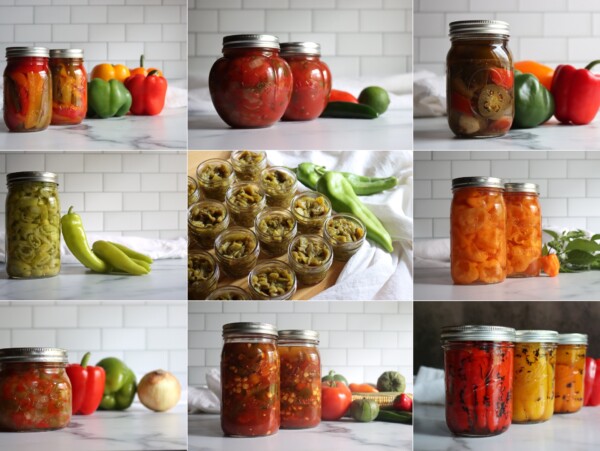
It sits alongside my other pepper canning recipes, though those mostly pickled or salsa, and this one keeps the chile plain so it works in any dish.
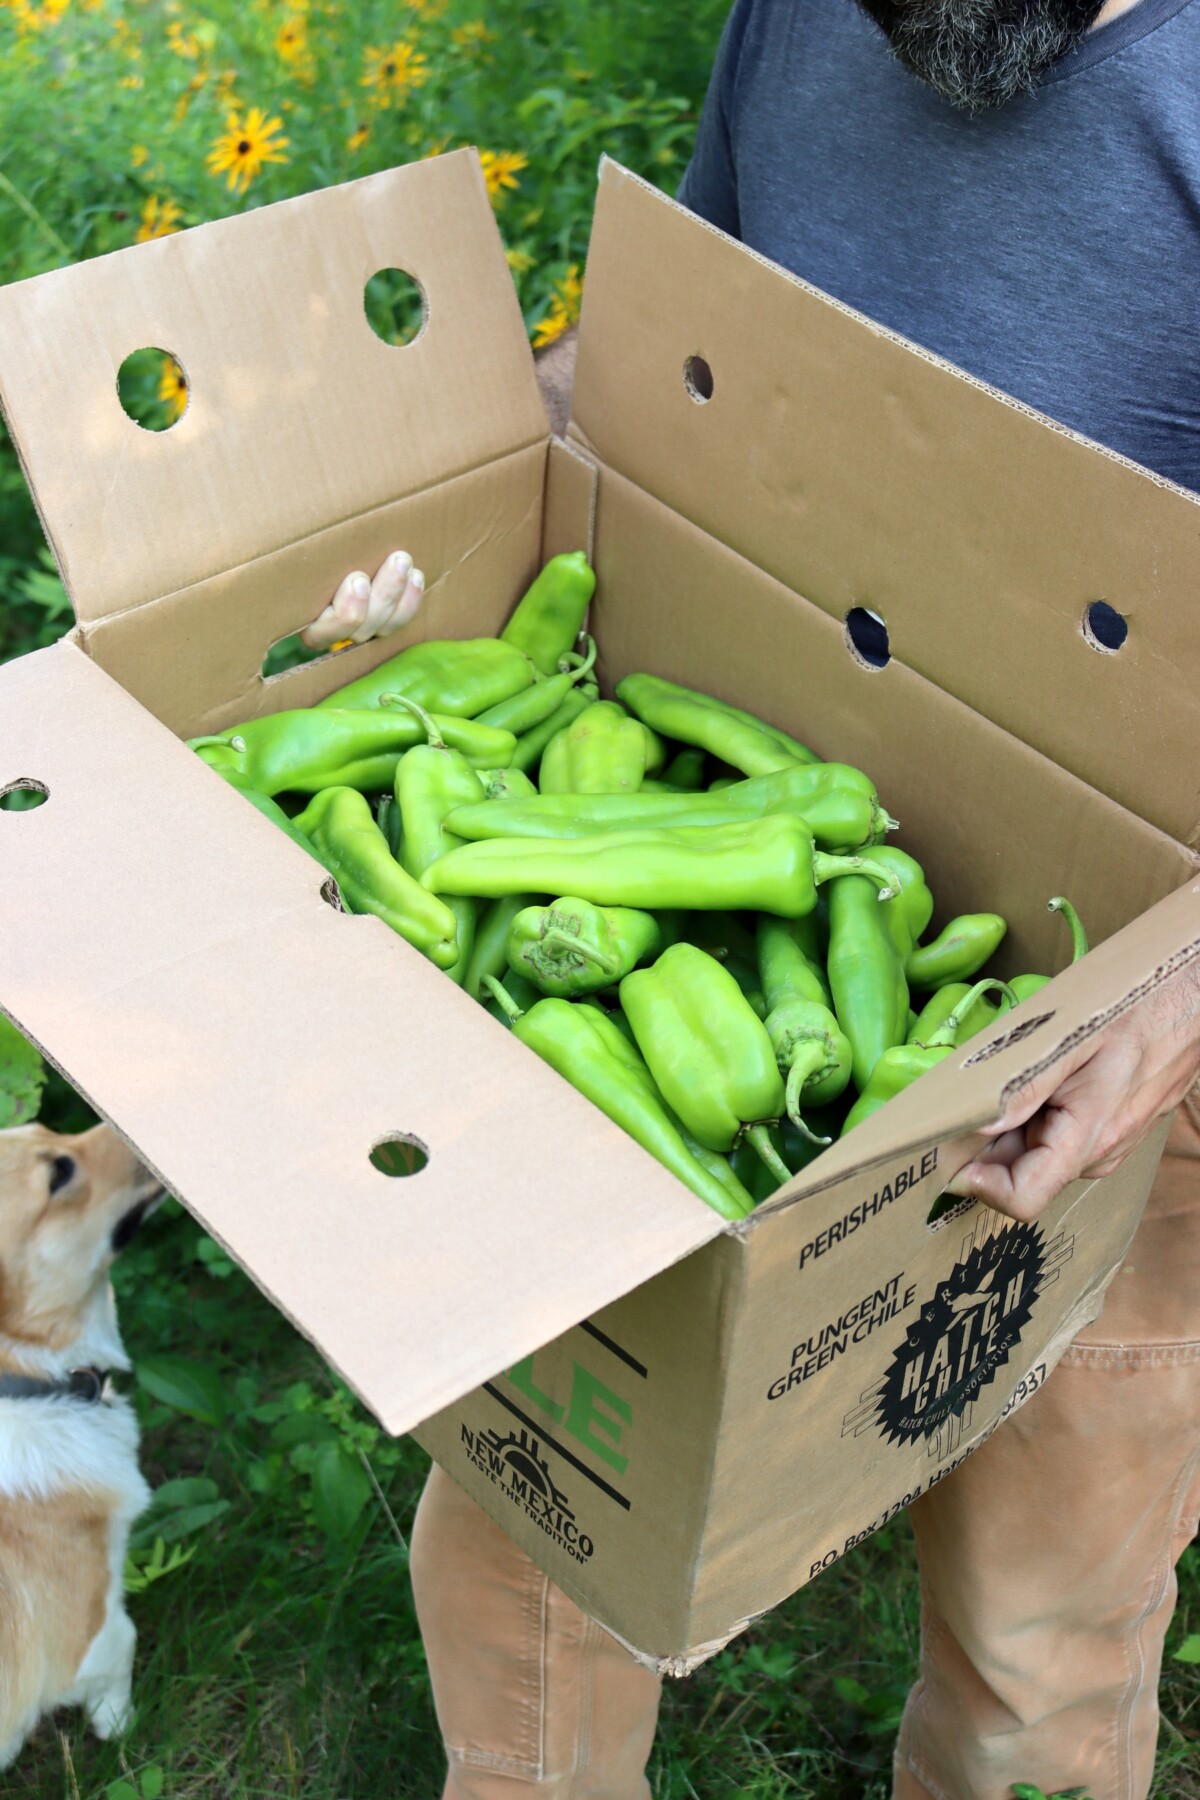
The one detail worth flagging up front is jar size. Peppers and chiles are only safe canned in half-pint or pint jars, never quarts, because a taller jar of dense chile will not heat through reliably in the tested time.
Everything else is the roasting and peeling, which takes some elbow grease but is the same work you would do for a batch of green chile to freeze.
Notes from My Kitchen

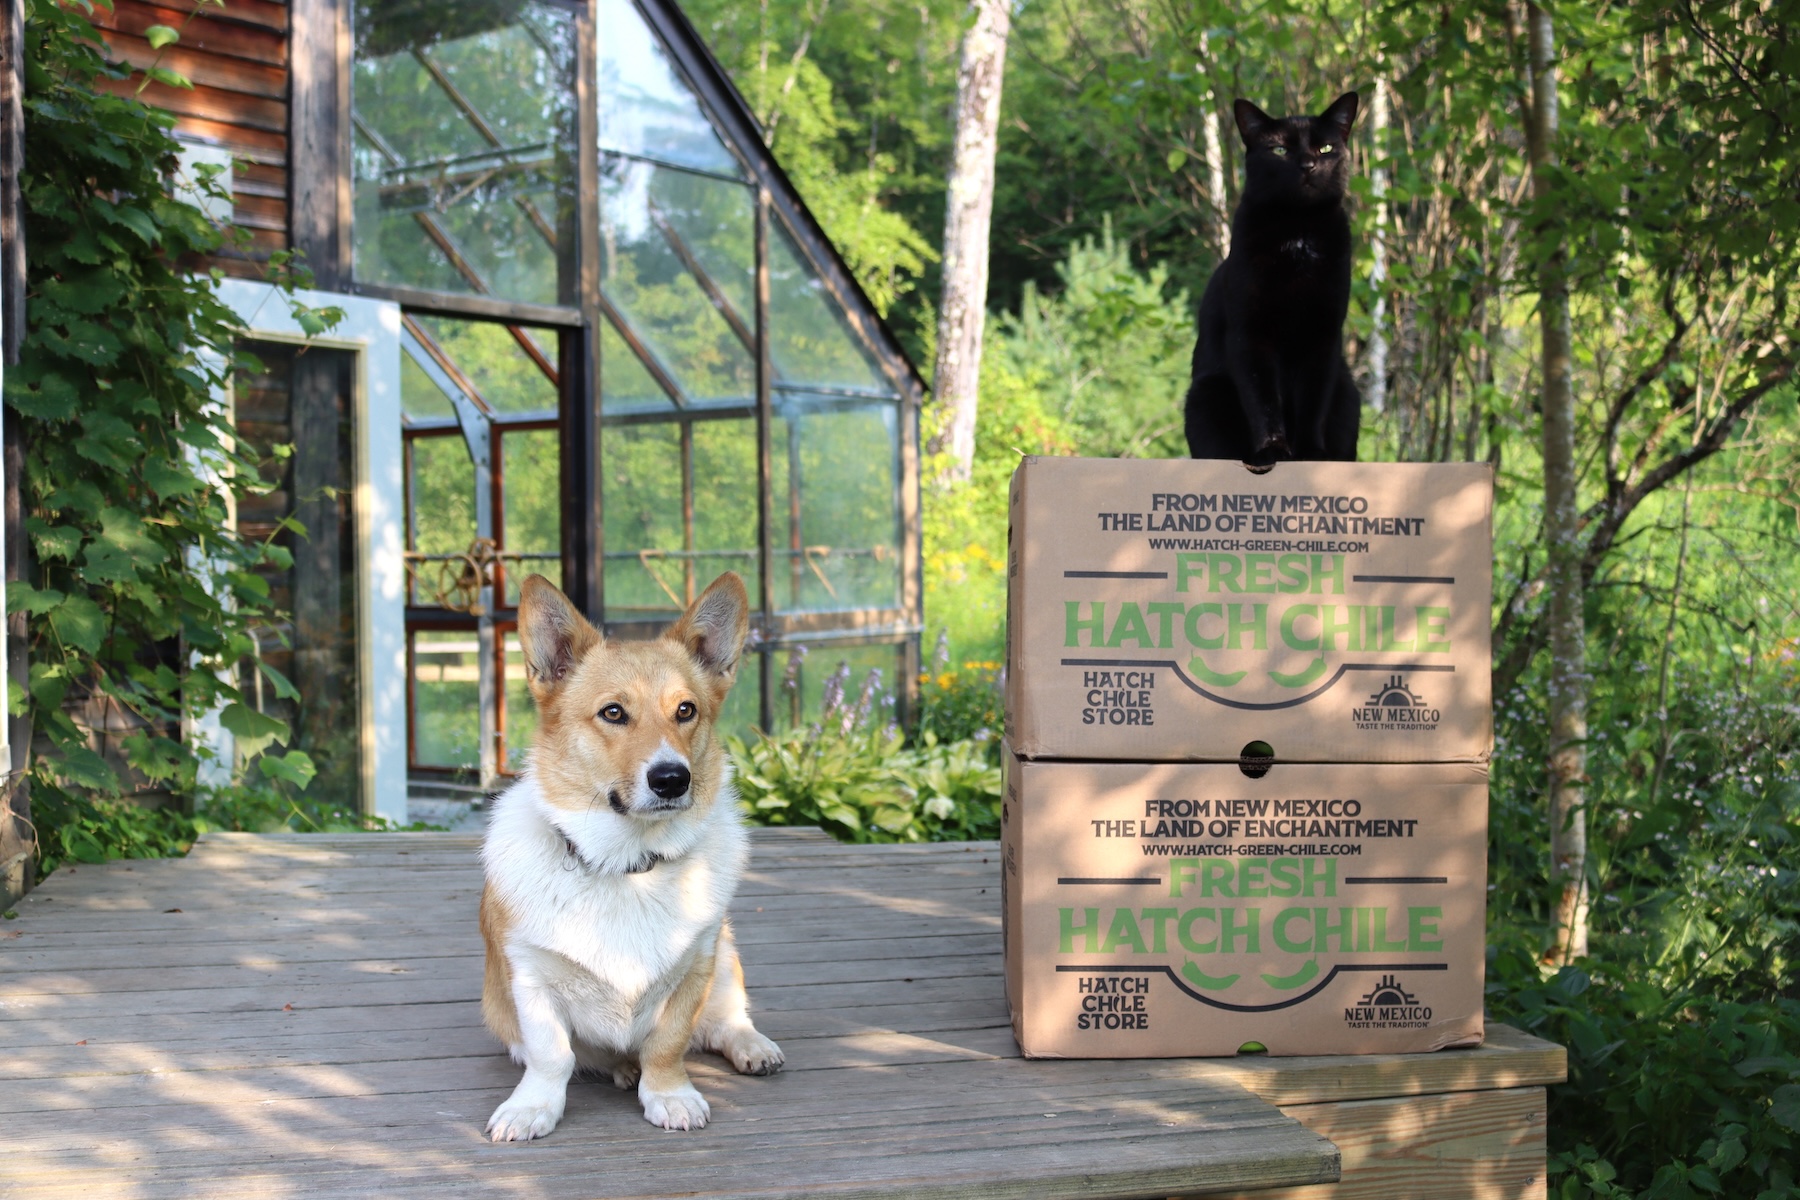
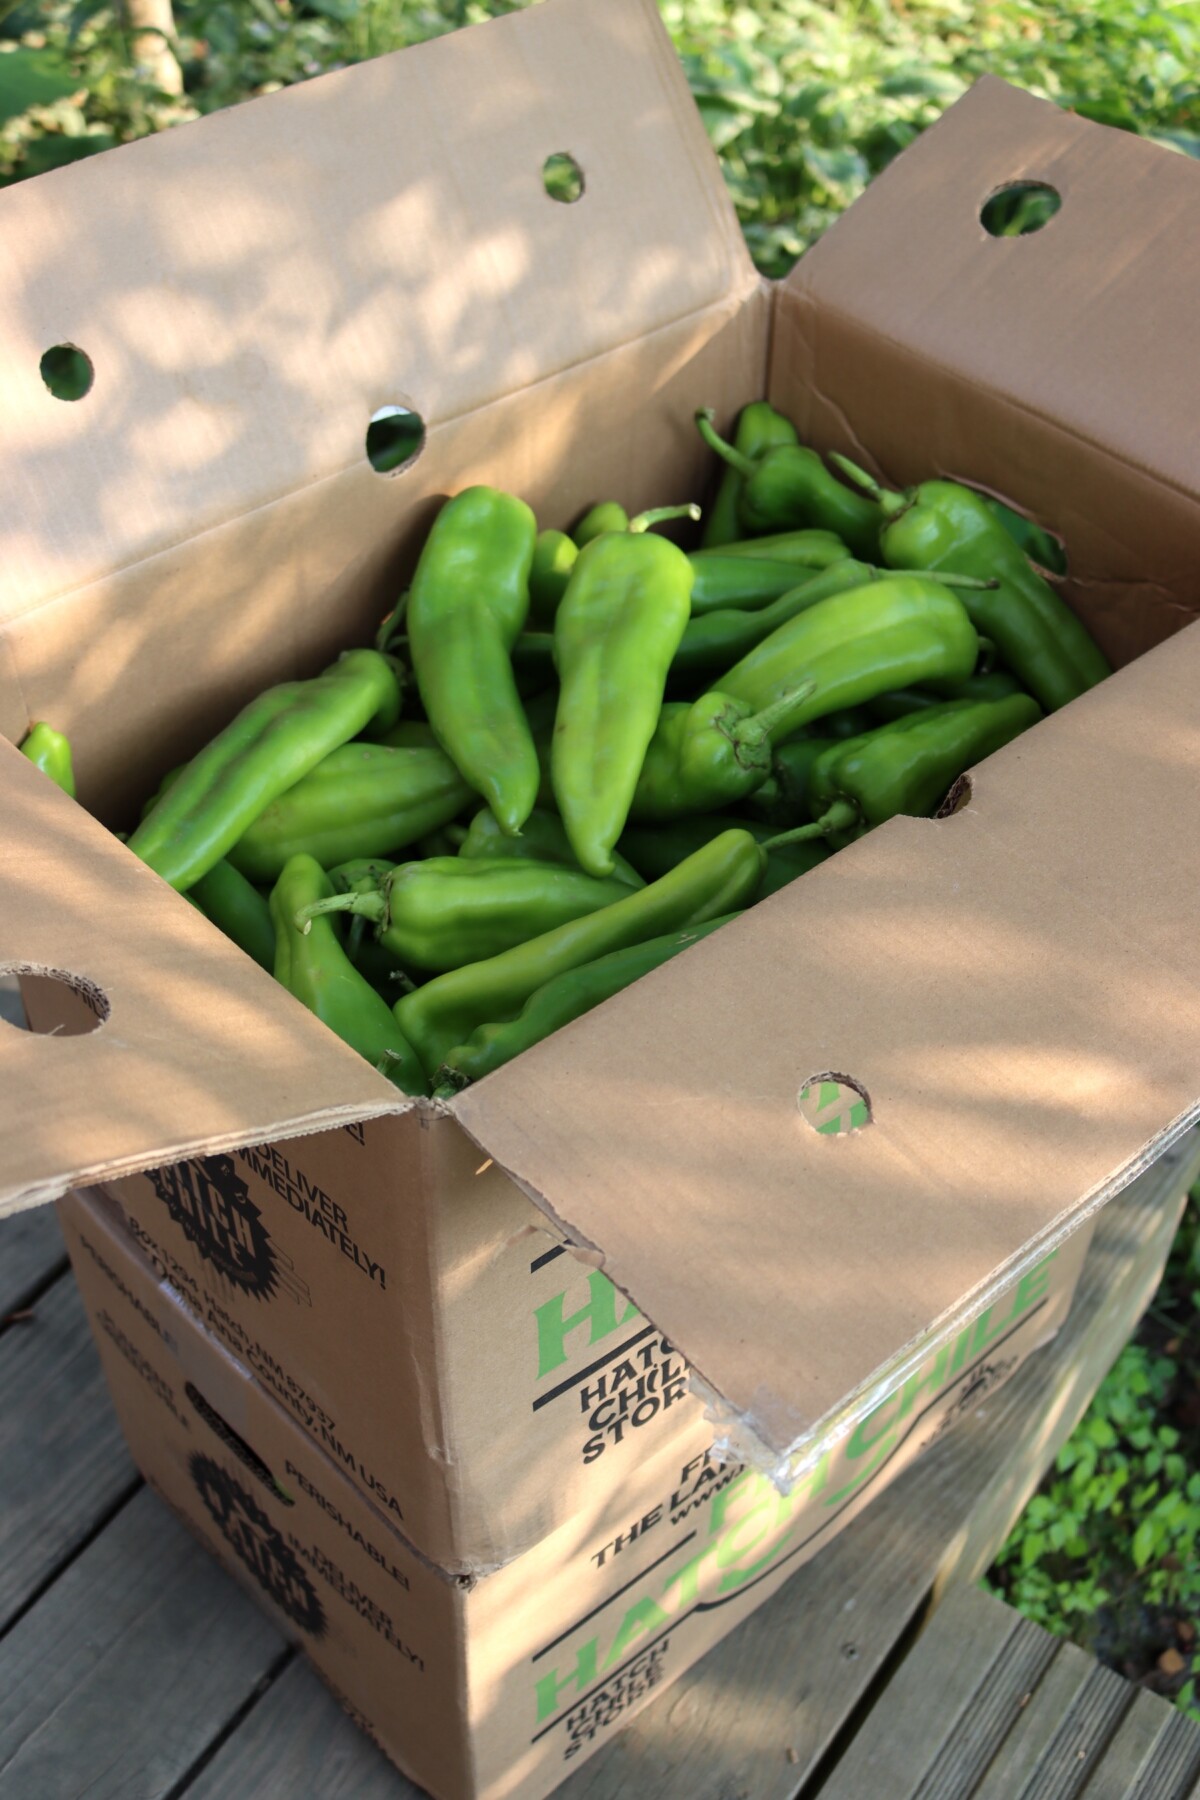
We are a long way from New Mexico here in Vermont, but a friend ships me a box of Hatch chiles every August, and roasting them on the grill is one of those smells that tells me the season is turning. I used to freeze the whole box, until a power flicker cost me a freezer once and I decided I wanted them on a shelf that does not depend on electricity.
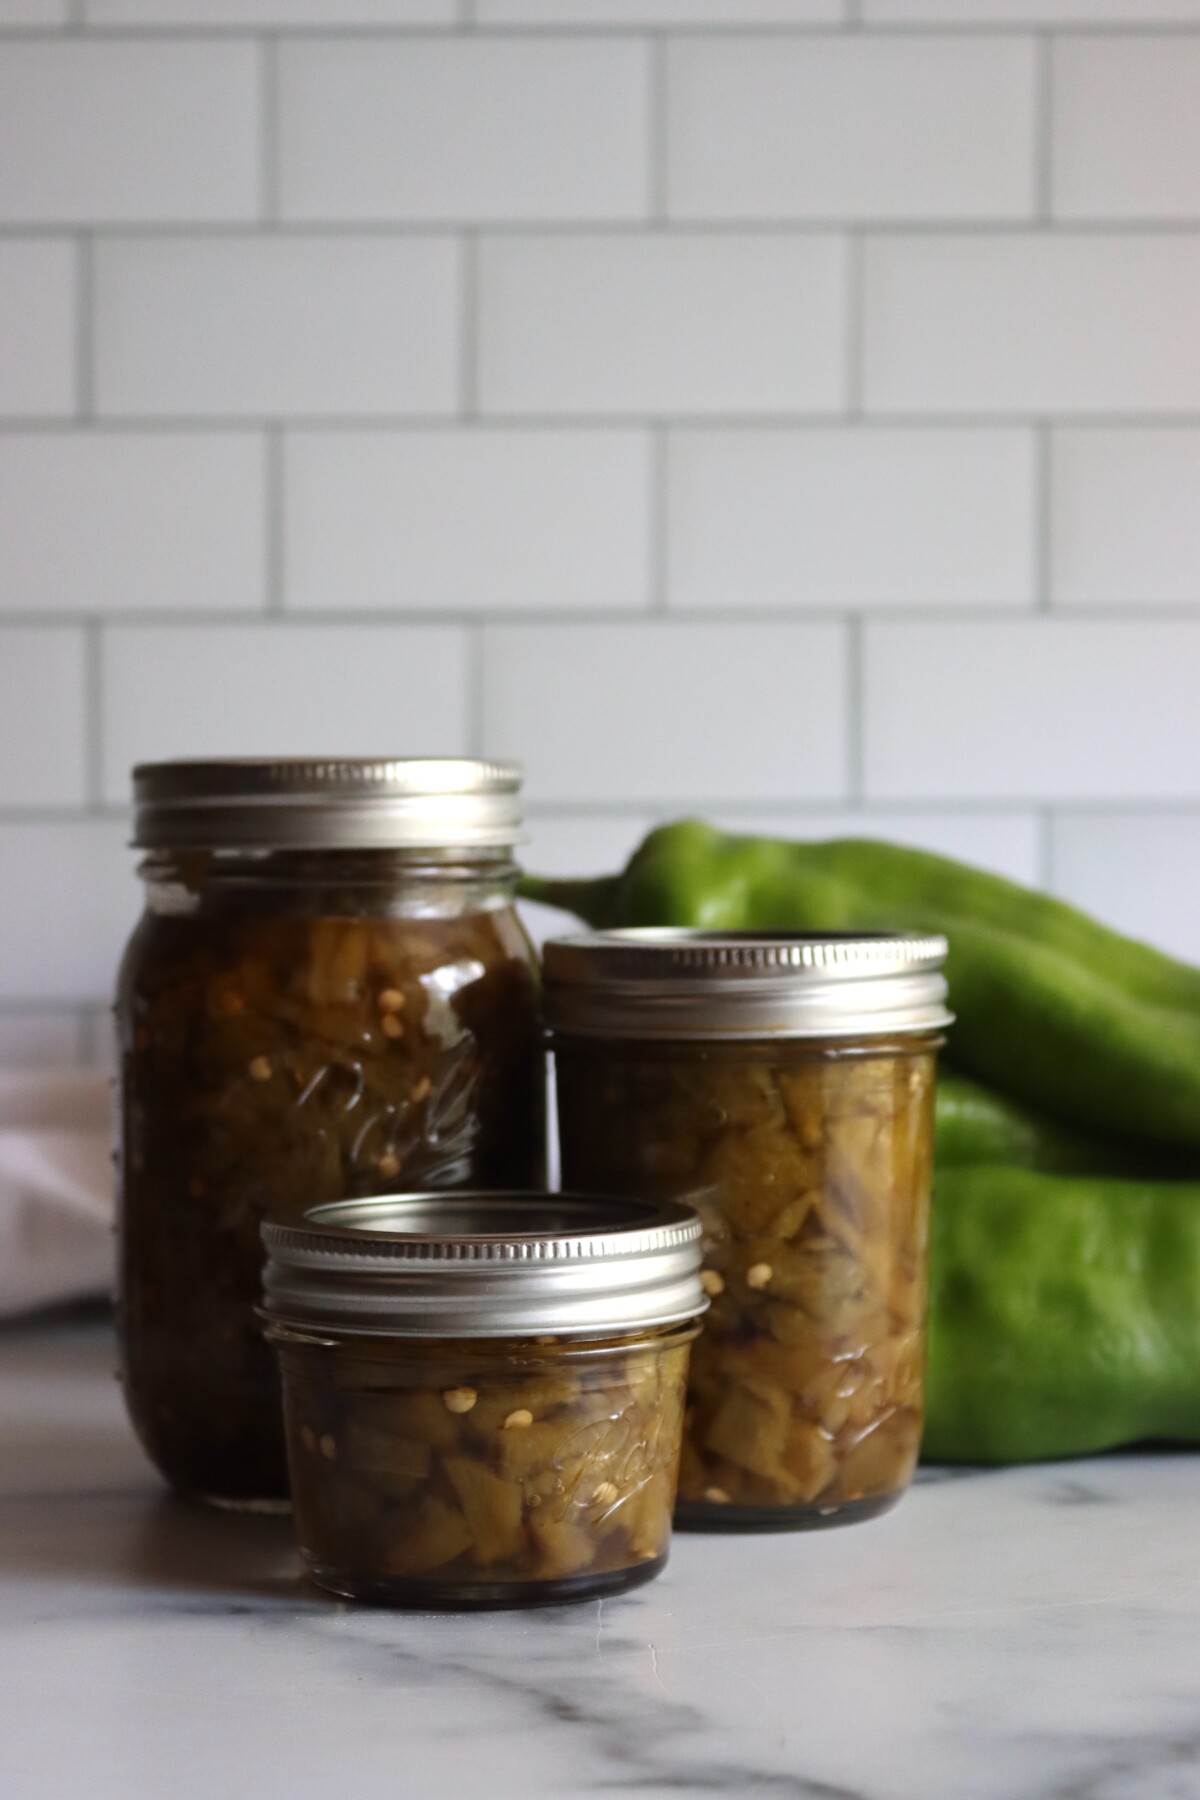
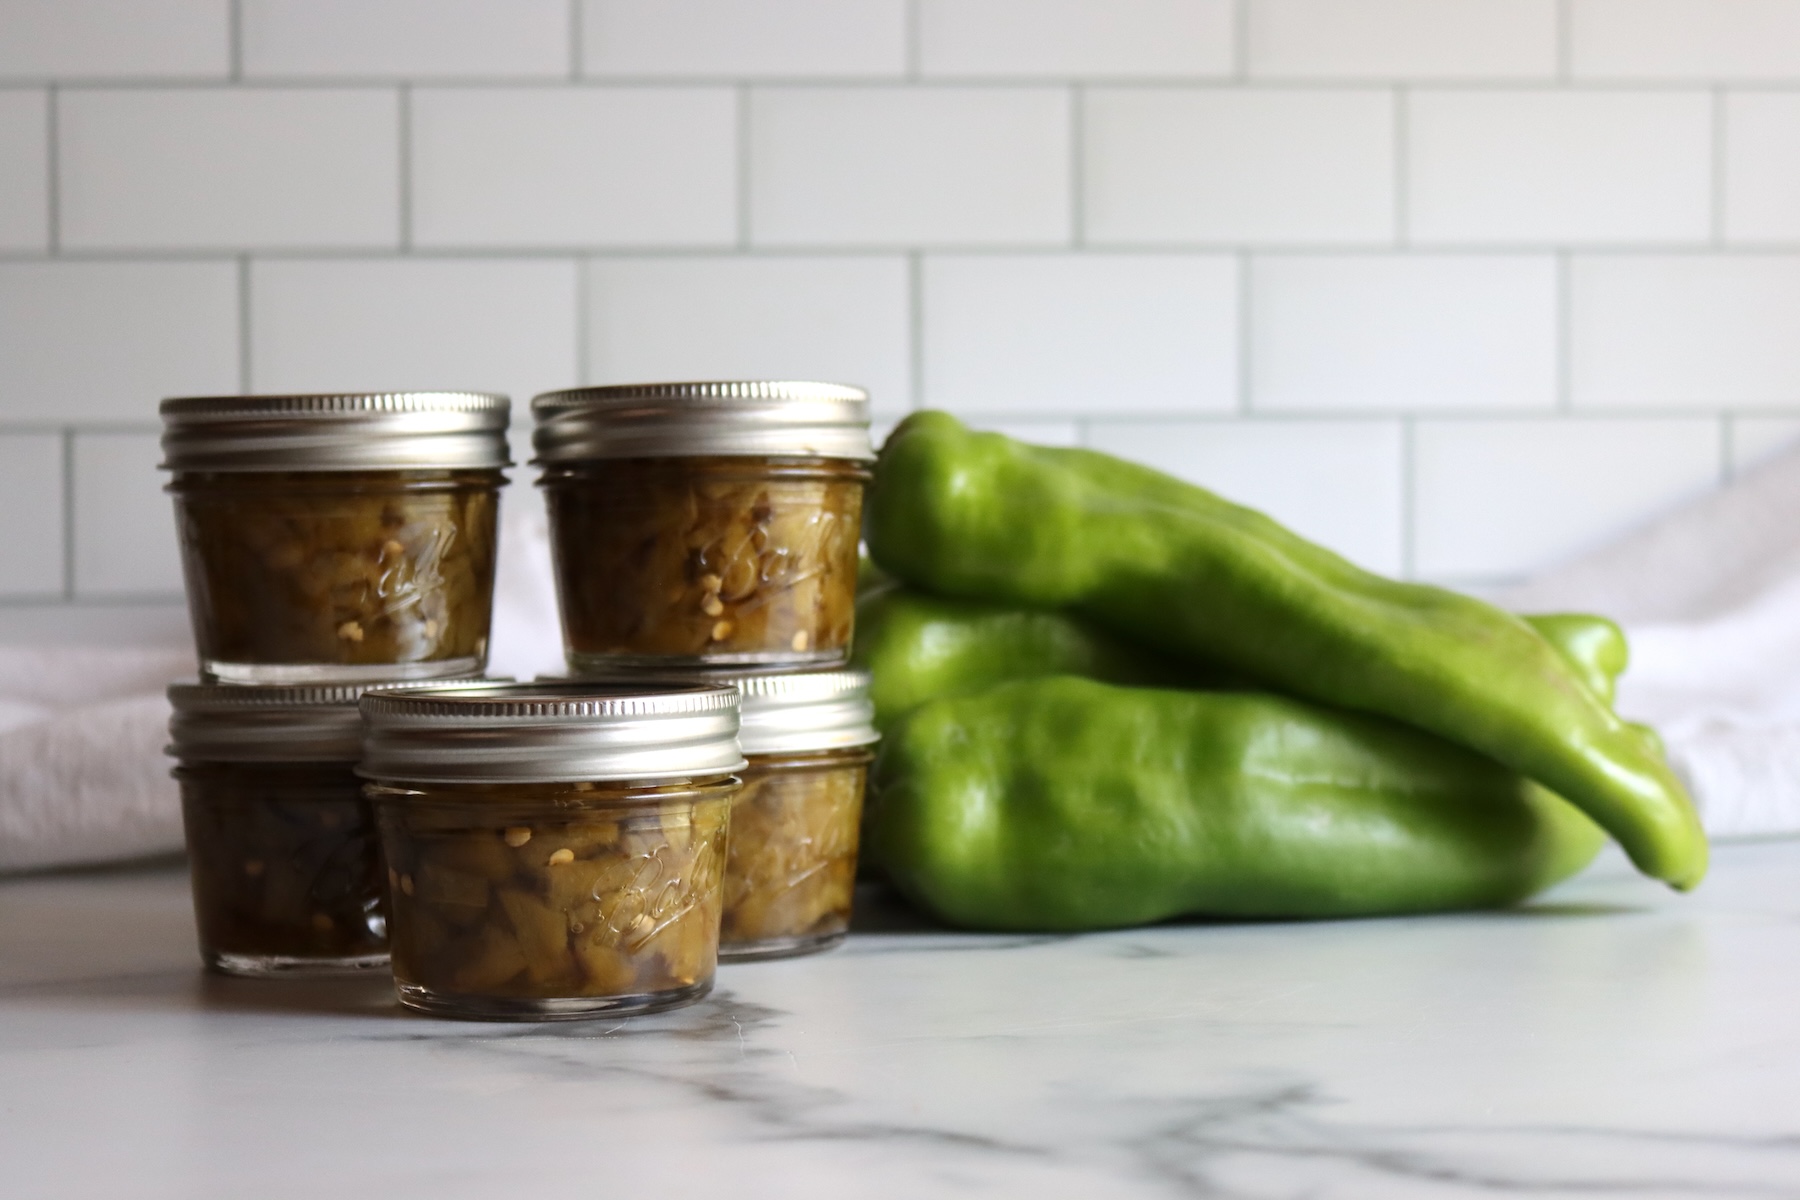
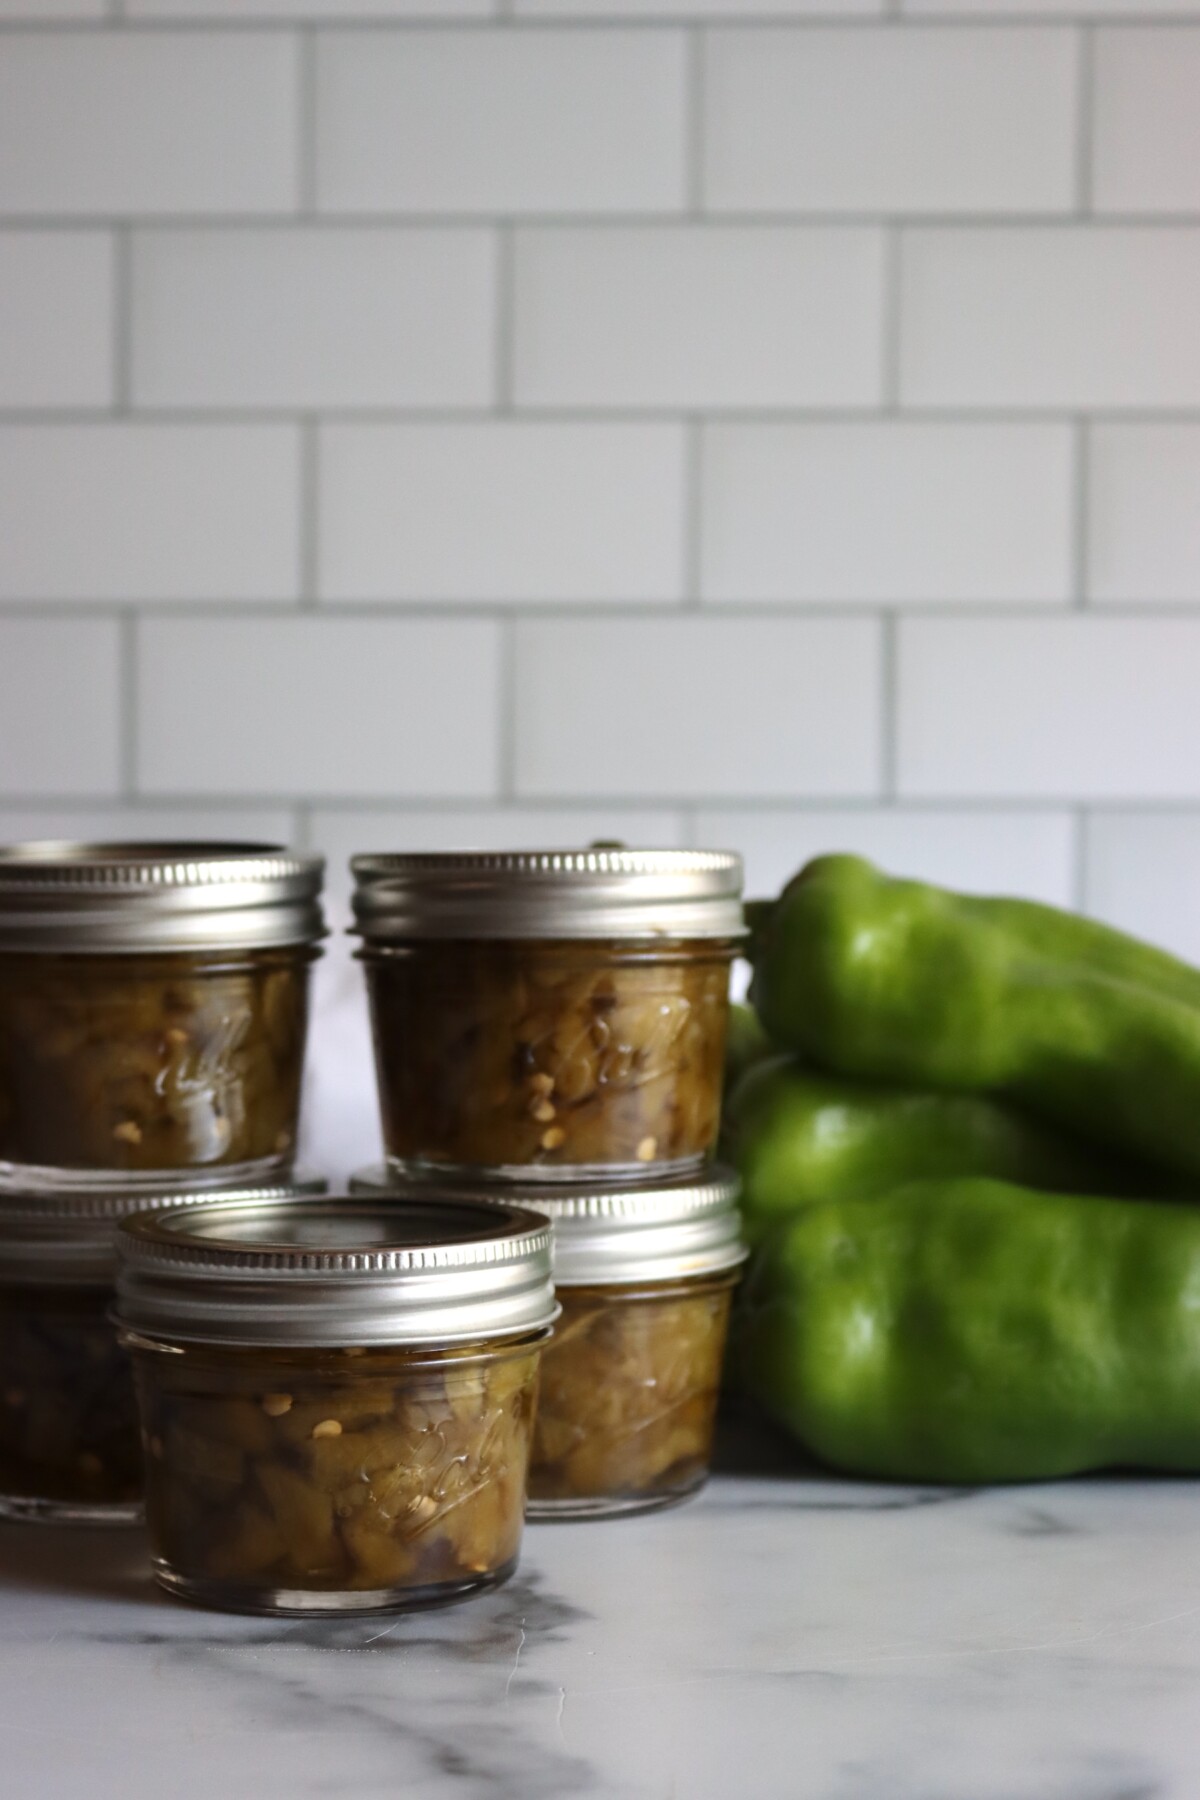
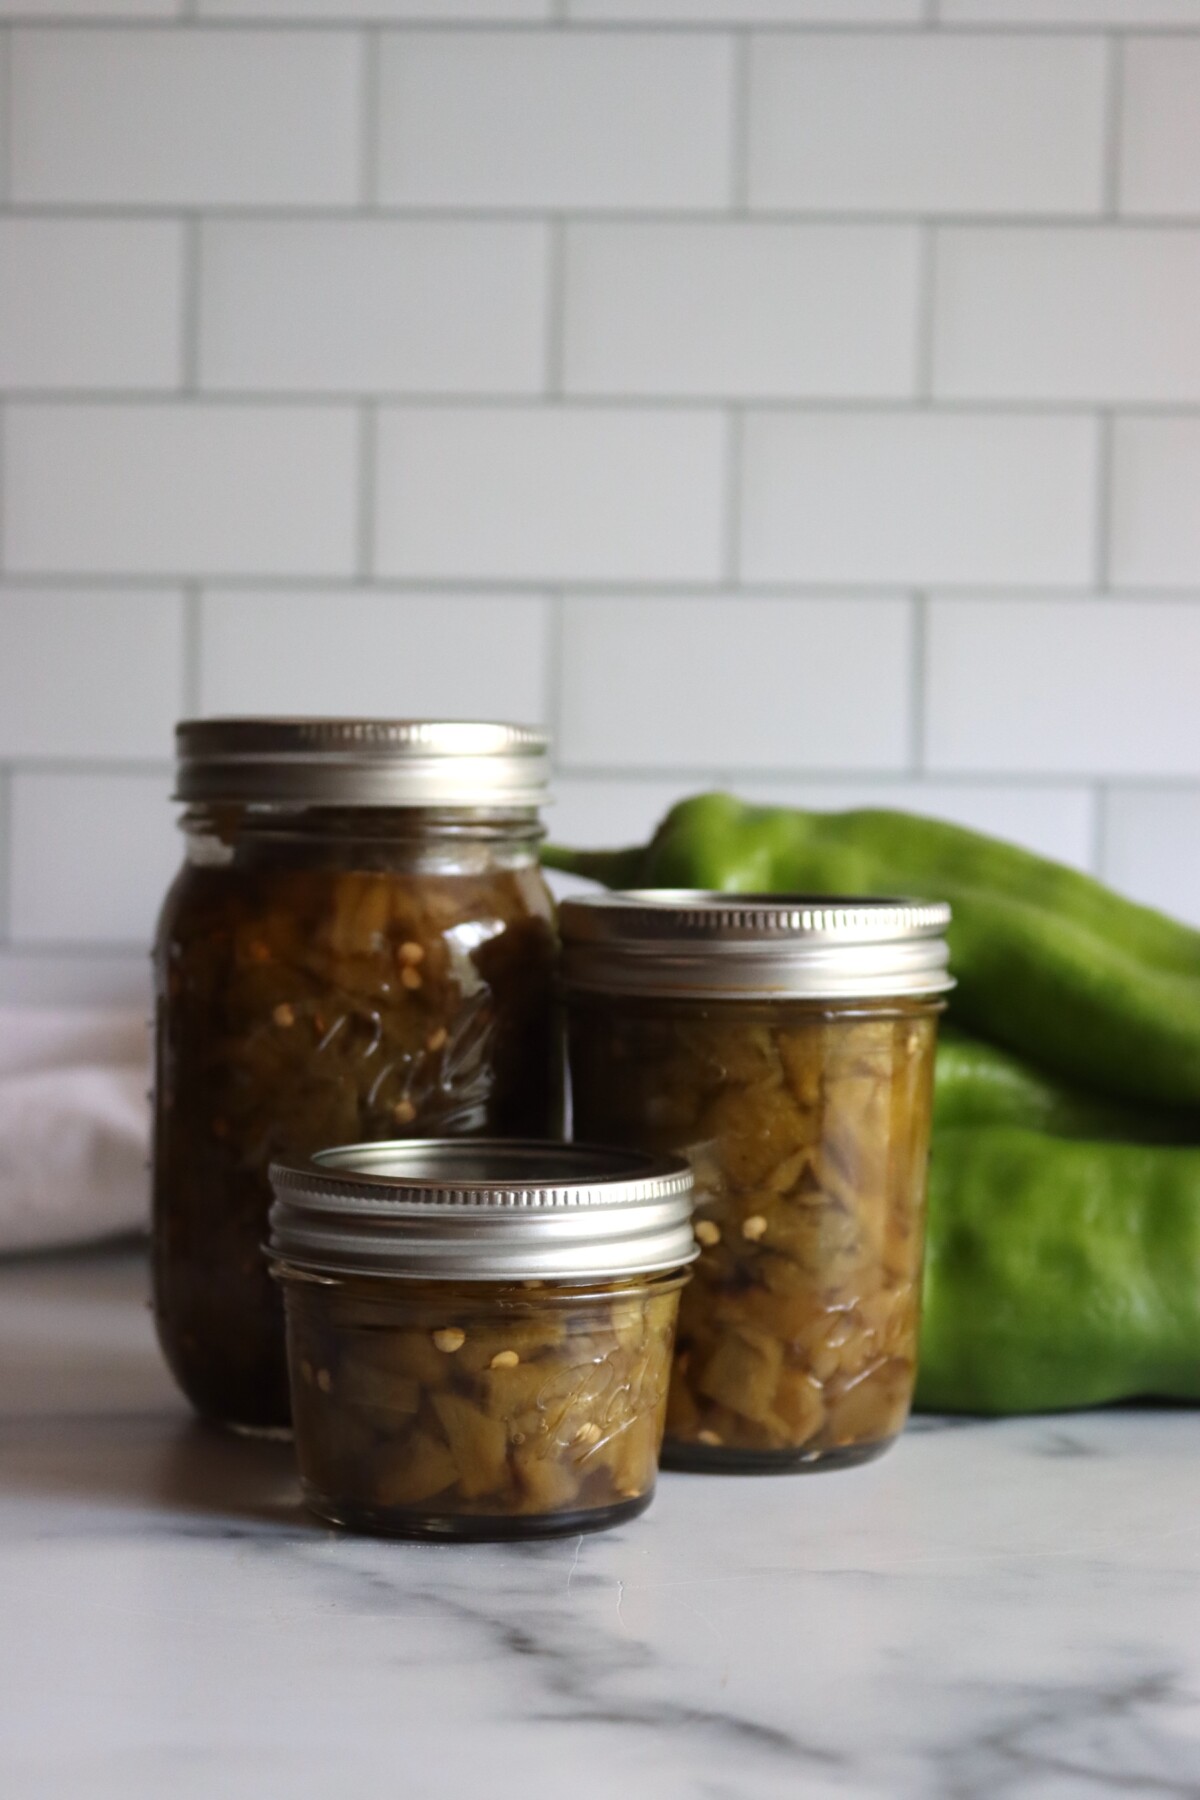
A canner load runs about nine pints from nine pounds of chiles, but you can scale it up or down depending on your needs. I put them up in a mix of quarter pint jars, which are perfect for topping a single meal, as well as whole pints, since that is the right amount for a pot of chili or a pan of enchiladas.
The roasting and peeling is the real work here, so I make an afternoon of it with a friend and a couple of sheet pans going at once. One box, one afternoon, and green chile in the pantry until spring.
Quick Look at the Recipe
- Recipe Name: Canning Green Chiles (Hatch)
- Recipe Type: Vegetable Canning Recipe
- Canning Method: Pressure Canning
- Prep Time: About 45 minutes
- Cook Time: About 15 minutes (roasting)
- Canning Time: 35 minutes for half-pints or pints (quarts are not allowed)
- Yield: About 9 pints from 9 pounds of chiles
- Jar Sizes: Quarter-pints, Half-pints or pints only
- Headspace: 1 inch
- Ingredients Overview: Green chiles, boiling water, optional salt
- Safe Canning Recipe Source: USDA and NCHFP process for peppers
- Difficulty: Moderate
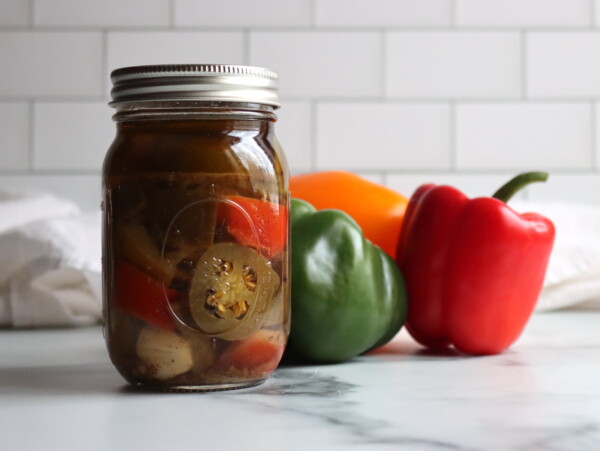
- Similar Recipes: Canning plain green chiles is a lot like other pressure-canned vegetables, and once you have peppers coming in you may also want pickled jalapenos and marinated peppers. For more ways to put up a big pepper harvest, browse all of my pepper canning recipes, including pickled banana peppers and pepper and onion relish.
Selecting Green Chiles
Hatch chiles are the classic choice here, grown in the Hatch Valley of New Mexico and sold by the box in late summer, but any mild roasting chile works the same way.
Anaheim chiles are the widely available stand-in, with a similar mild heat, and poblanos will give you a deeper, earthier flavor if that is what you have. Whatever you use, pick chiles that are firm and heavy for their size, with smooth skin and good green color, and pass over any that are shriveled, bruised, or soft.
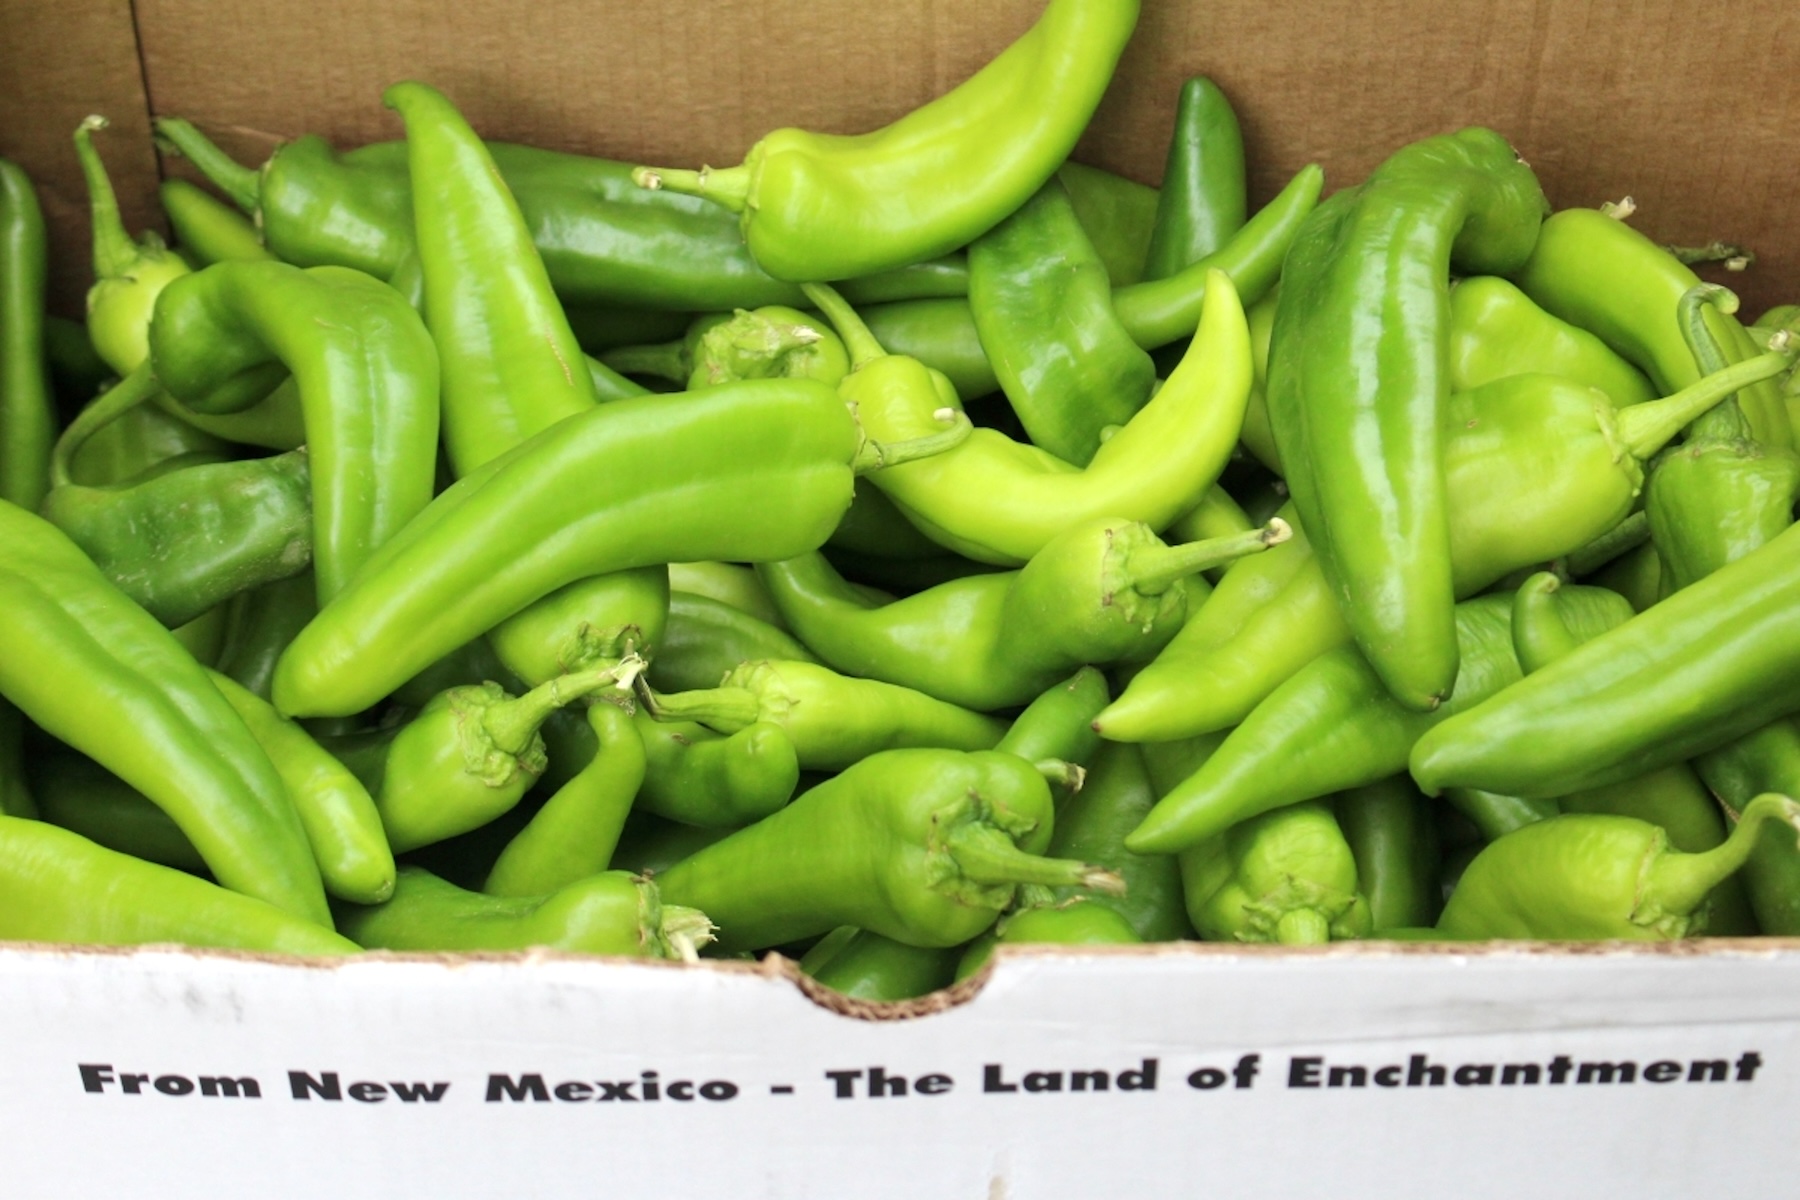
Meaty, thick-walled chiles are worth seeking out because they hold their shape through roasting and peeling and give you more chile per jar. Thin, small chiles work too, but you will spend longer peeling them for less to show for it.
A good rule of thumb is about a pound of chiles per pint jar.
Ingredients for Canning Green Chiles
This is about as short an ingredient list as canning gets, which is part of why plain green chile is so useful to have on hand. The exact amounts are in the recipe card below, so this section is about what each part does and where you have room to choose.
- Green chiles: The star, and the one vegetable in the jar. Hatch, Anaheim, or another mild roasting chile all work. They get roasted and peeled before canning, both for flavor and because the tough skin does not soften in the jar. Keep the chile plain and single-variety, since adding other vegetables or aromatics to the jar would change the density and is not part of the tested process.
- Boiling water: Covers the packed chiles to a 1-inch headspace and fills the gaps so the jar heats evenly. Fresh boiling water from a kettle works well.
- Salt (optional): Purely for flavor, and safe to leave out entirely. The usual amount is 1/2 teaspoon per pint or 1/4 teaspoon per half-pint or 1/8 teaspoon per quarter pint. Skip salt substitutes in the jar, since the heat of canning can turn some of them bitter or metallic, and add one at serving instead if you need to.
Everything that turns green chile into a finished dish (garlic, onion, cumin, a squeeze of lime, or a splash of oil) goes in when you cook with the jar later, not before canning.
That keeps the pack to a single low-acid vegetable, which is what the tested process is built around.
Green Chile Canning Notes
This recipe follows the USDA and NCHFP process for plain peppers, published as New Mexico State University Extension Guide E-308 for green chile. The processing time, pressure, headspace, and jar-size limit are the safety controls, and none of them can be reduced or changed. Green chiles cannot be water bath canned, and they are only safe in half-pint or pint jars, never quarts, because a taller jar of dense chile will not reach a safe temperature all the way through in the tested time.
Keep the jar to chiles, water, and optional salt. Do not add oil, thickeners, tomatoes, onions, garlic, or other vegetables before canning, since those change the density and heat penetration the process depends on. Season and build out the flavor when you open a jar to cook, not before it goes in the canner. Salt is optional and for flavor only, so leave it out if you prefer.
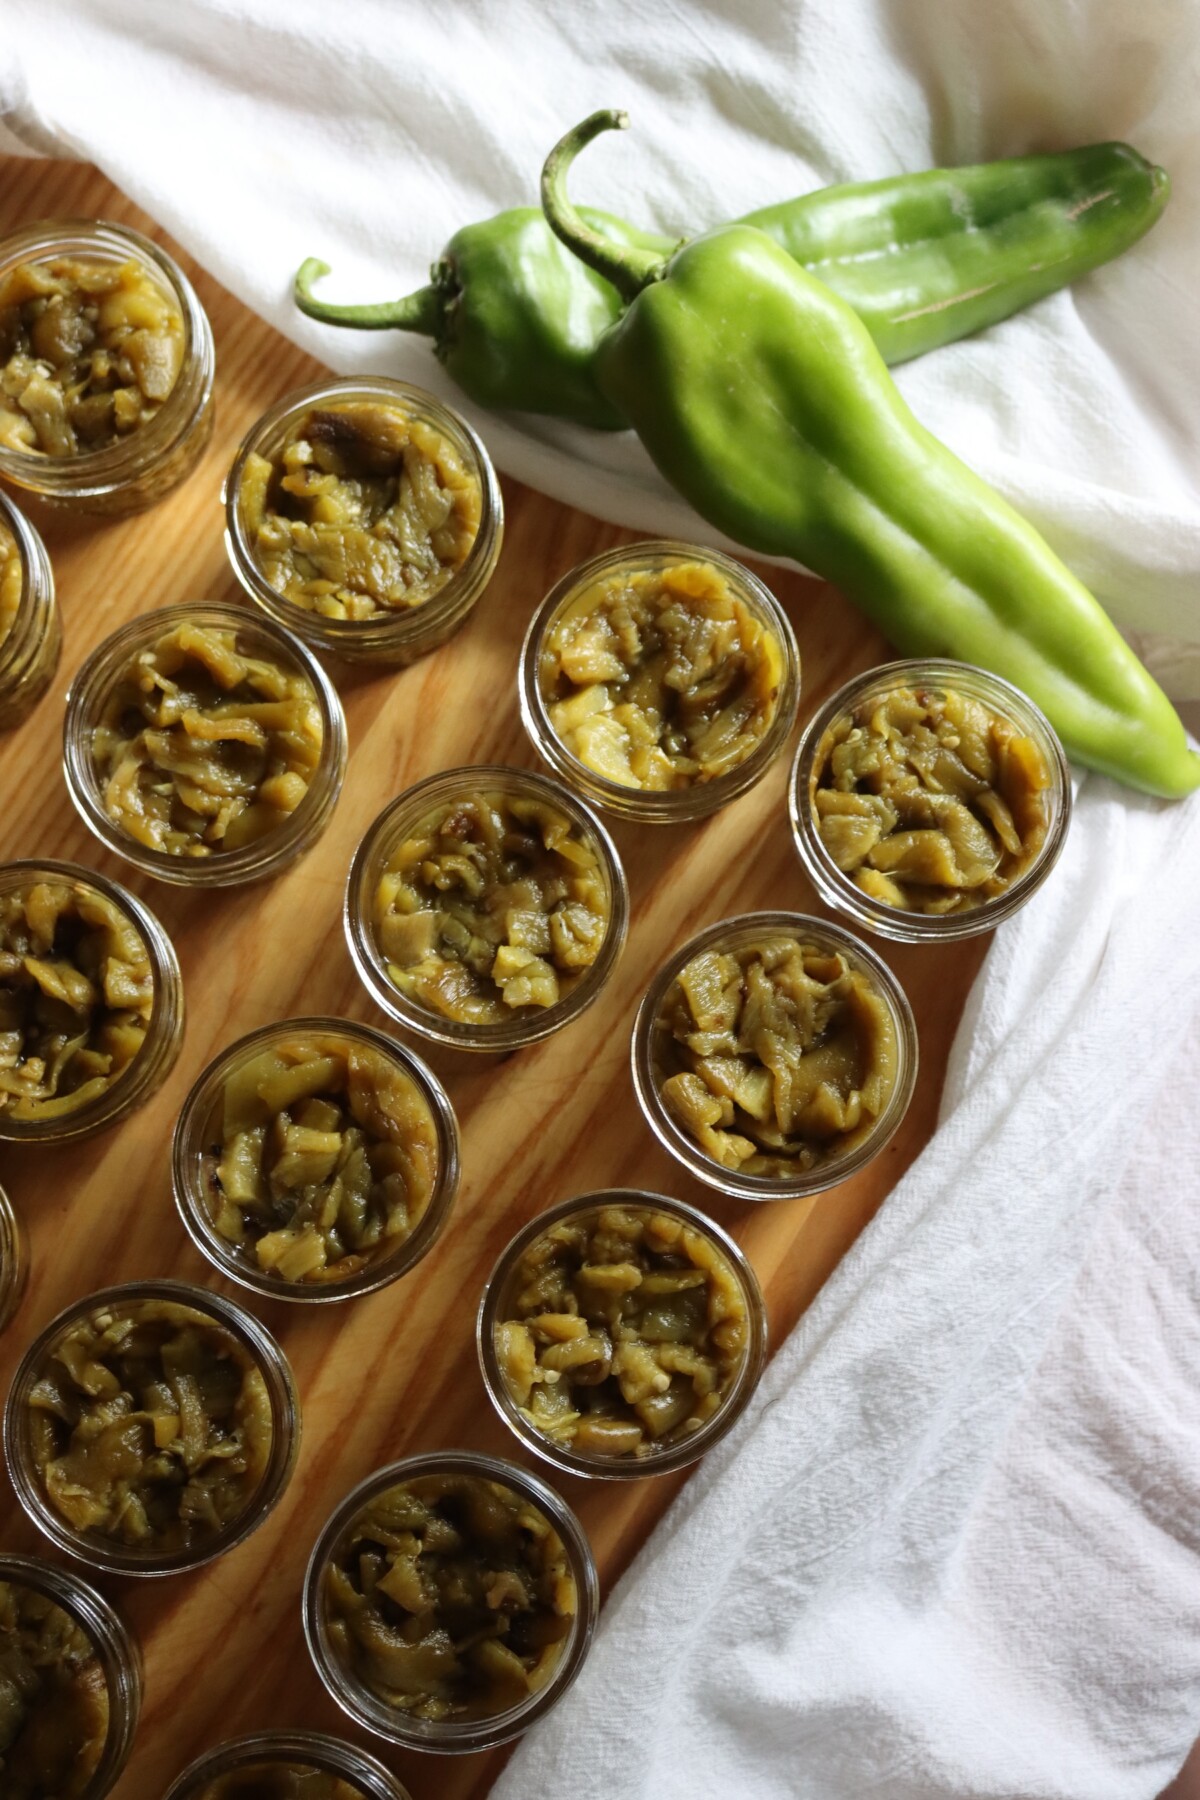
How to Make Canned Green Chiles
The process breaks down into roasting, peeling, packing, and processing.
The roasting and peeling is where the time goes, so it helps to have your jars washed and your canner heating while the chiles cool enough to handle.
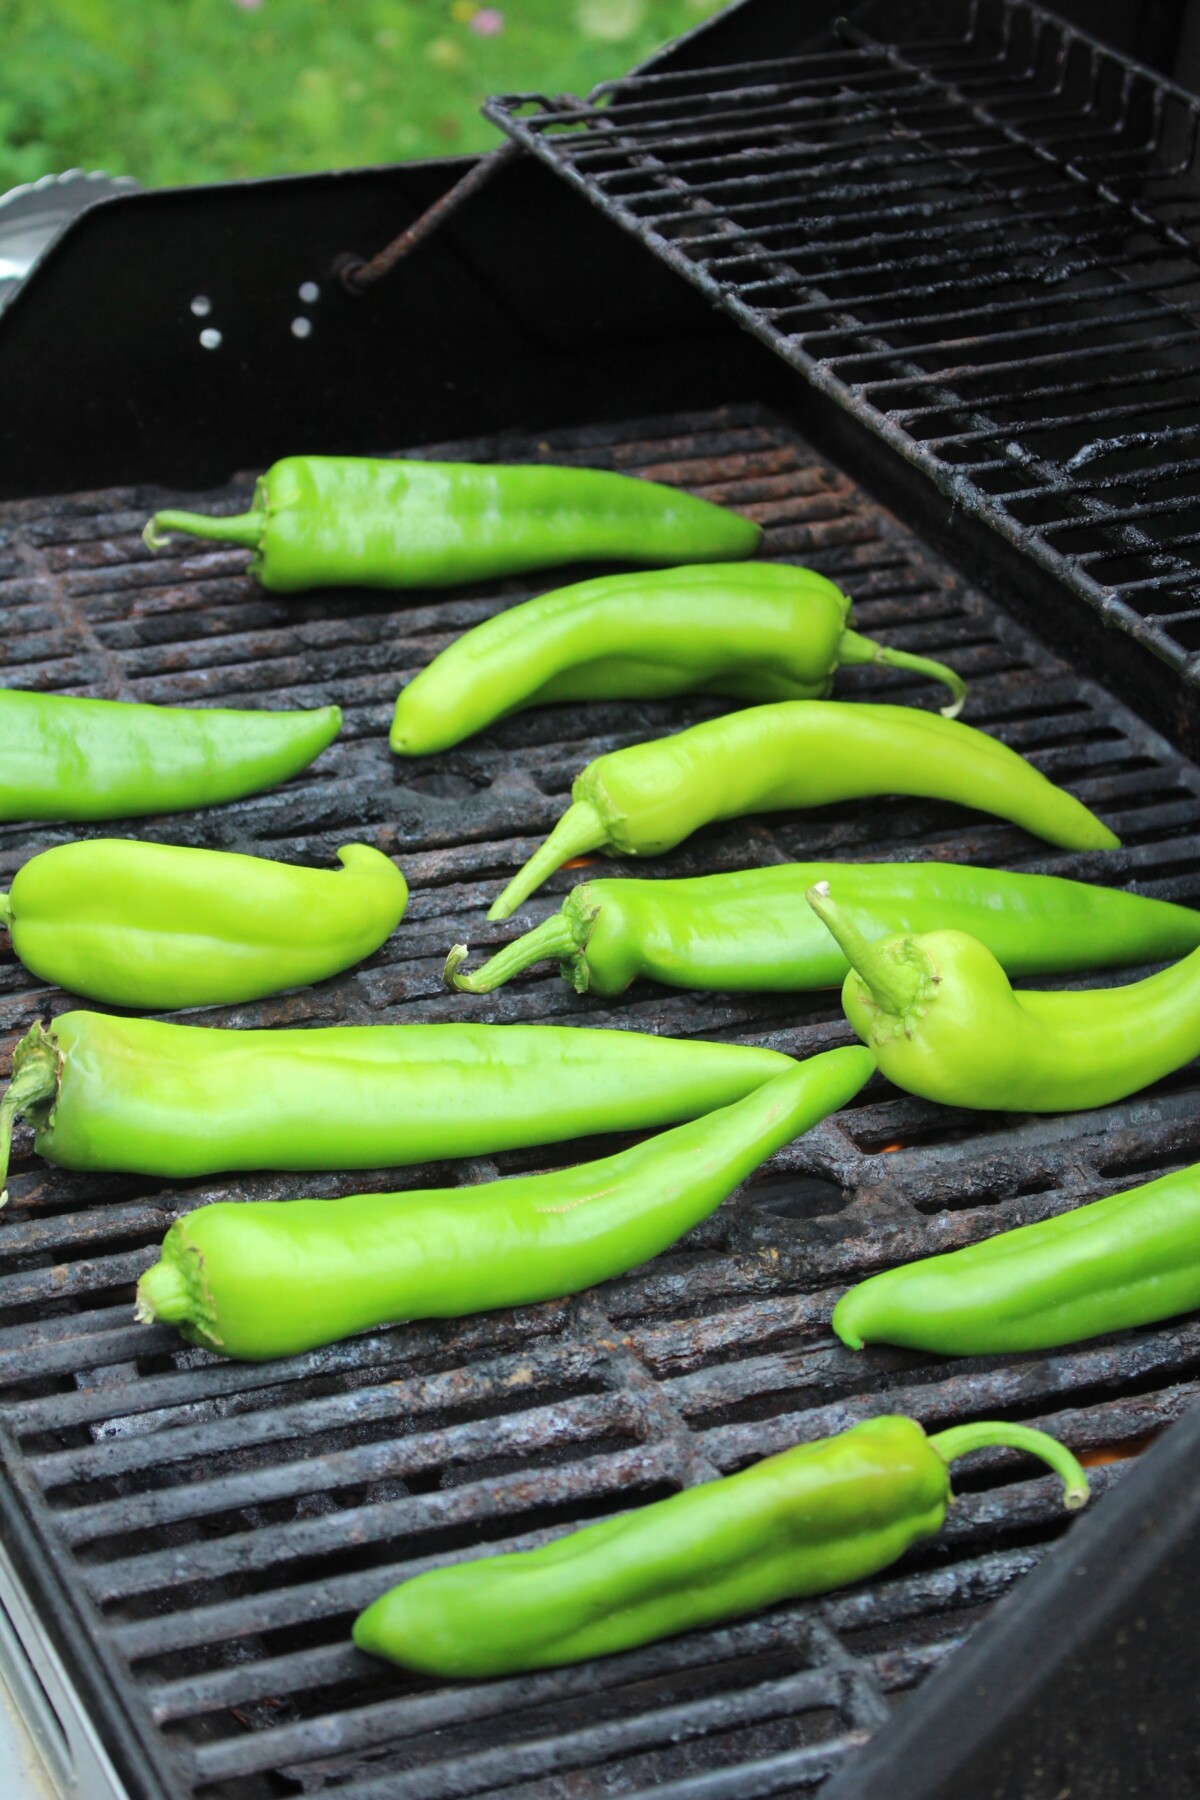
Roast the Chiles
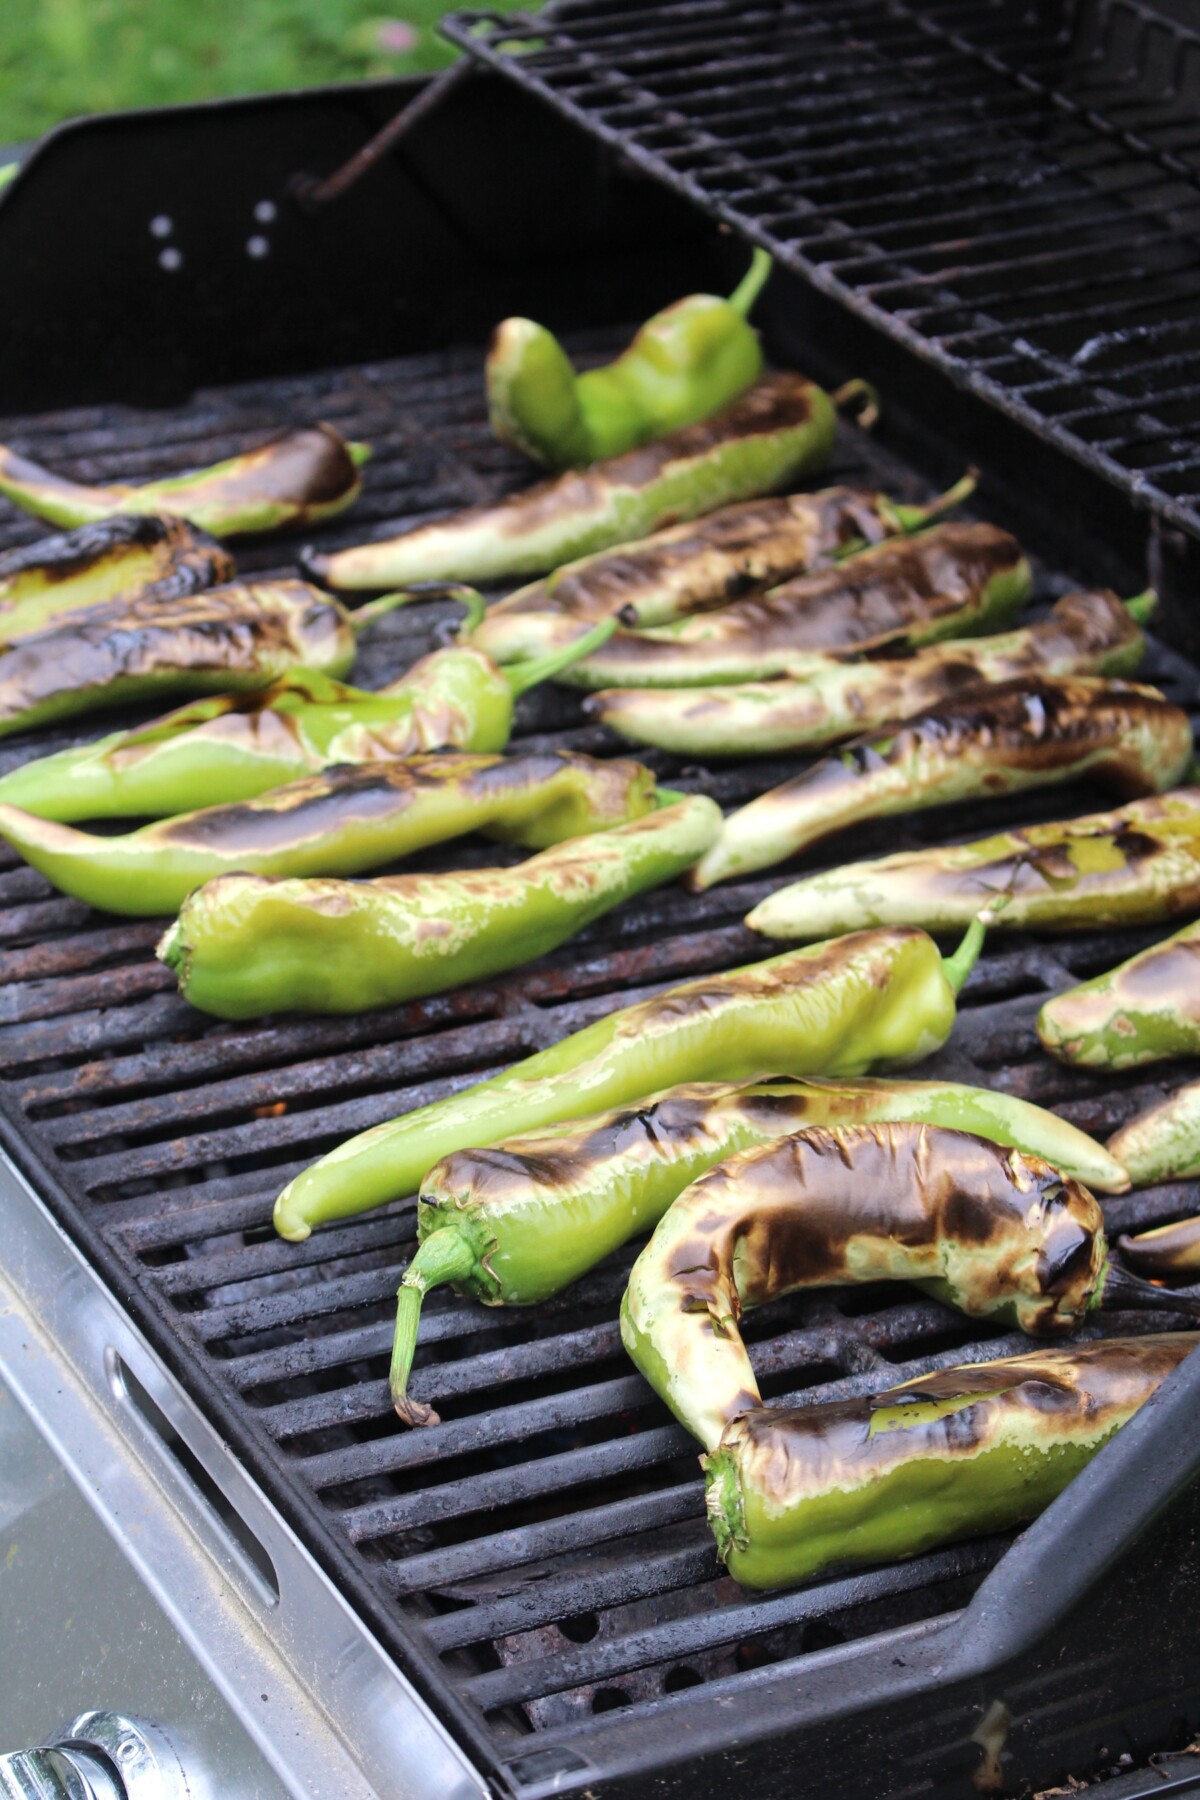
Wash and dry the chiles, then cut a small slit in the side of each one so steam can escape as they roast (this keeps them from bursting). Spread them in a single layer and roast under a broiler or in a hot oven at 400 to 450 degrees F for 6 to 8 minutes, or set them over a grill or a gas flame, turning often, until the skins blister and char all over.
You want the skin blistered and loose, not the flesh cooked to mush, so keep them moving and pull them once the skins have blackened in patches. Roasting in batches on a couple of sheet pans keeps things going quickly if you have a big box to get through.
Since they ripen mid-summer, I put them up in my outdoor canning kitchen and roast them all on a grill to keep the heat out of the kitchen.
Steam and Peel
Move the roasted chiles into a bowl or pan and cover them with a damp towel for a few minutes. The trapped steam loosens the skins and makes peeling far easier, so it is worth the short wait.
If you are not going to pack them within about two hours, refrigerate the roasted chiles to keep them safe while you work.
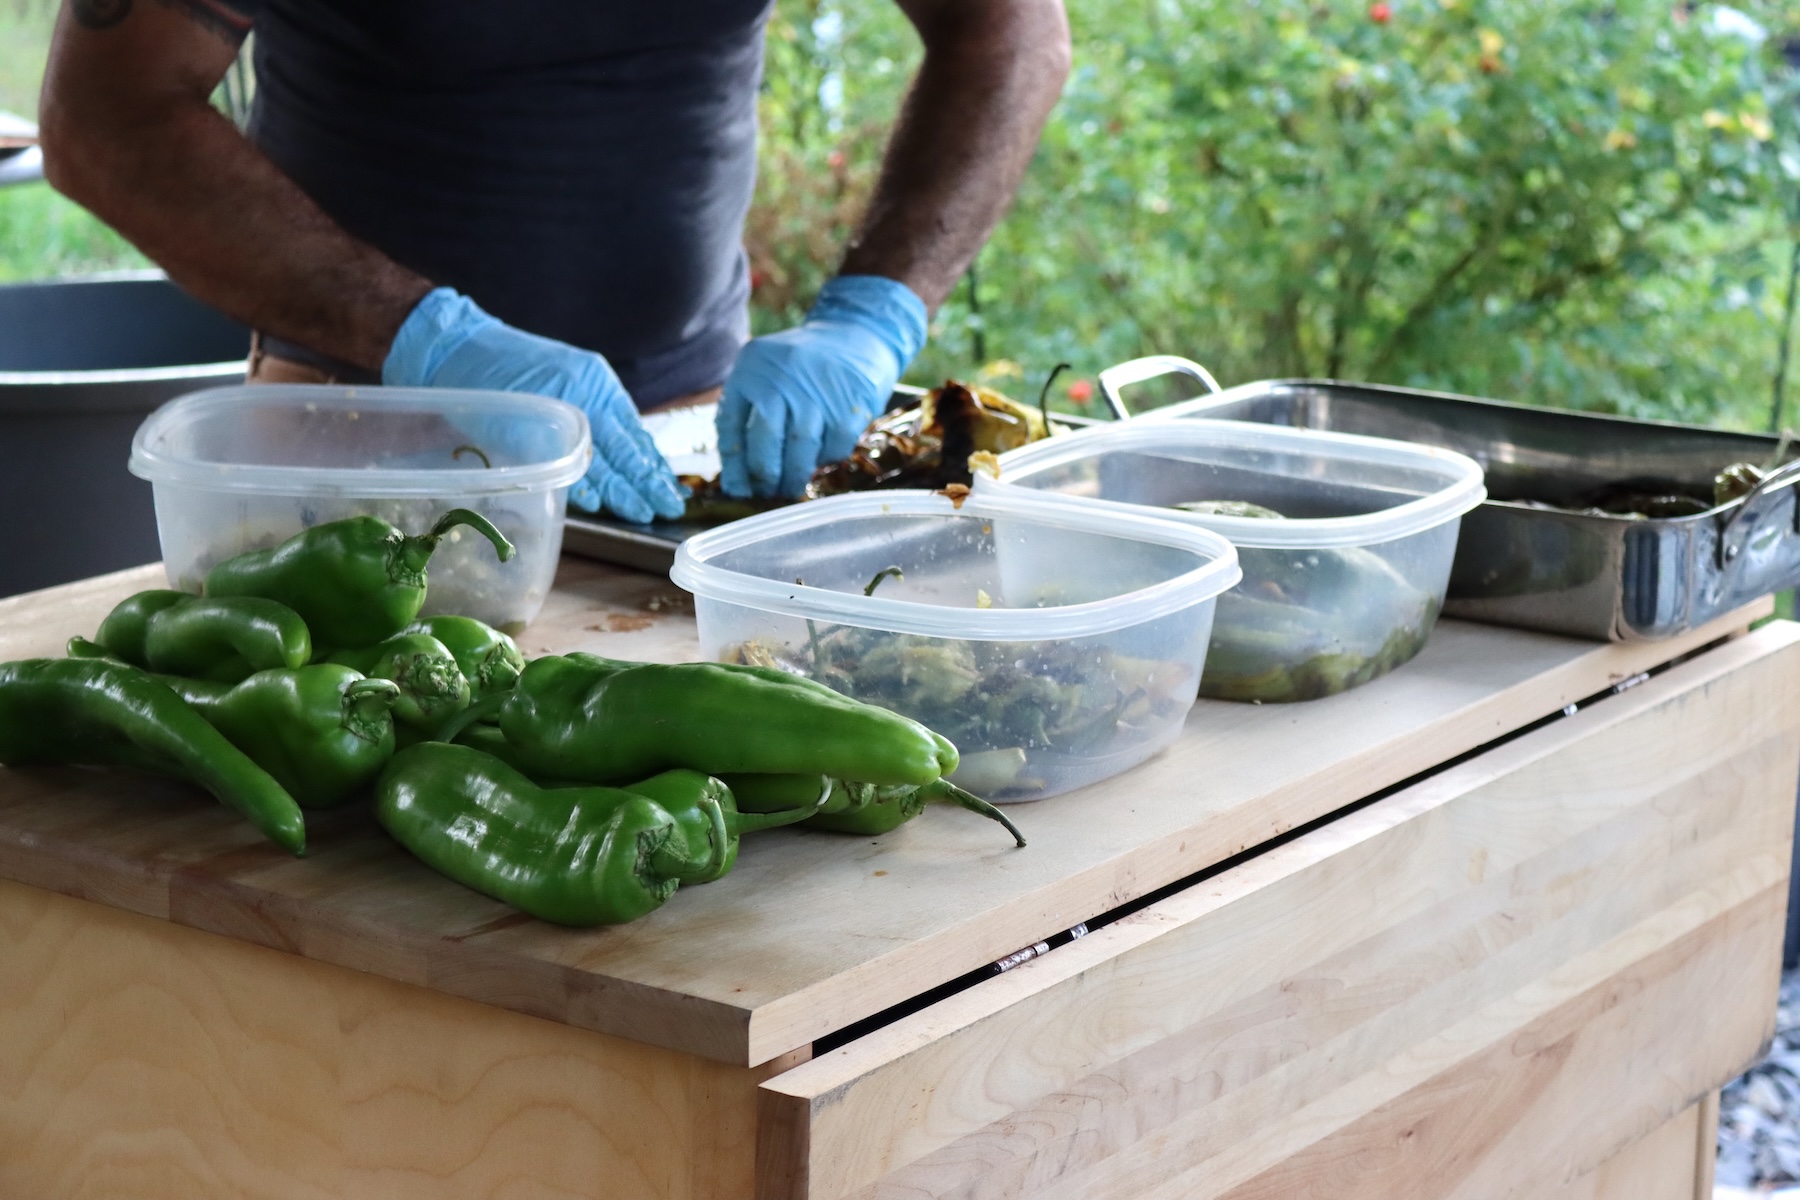
Wearing rubber or plastic gloves (chile oils will burn your hands and eyes, especially with hotter varieties), peel off the charred skins and pull out the stems, cores, and seeds.
Keep your hands away from your face the whole time, and wash up well when you finish.
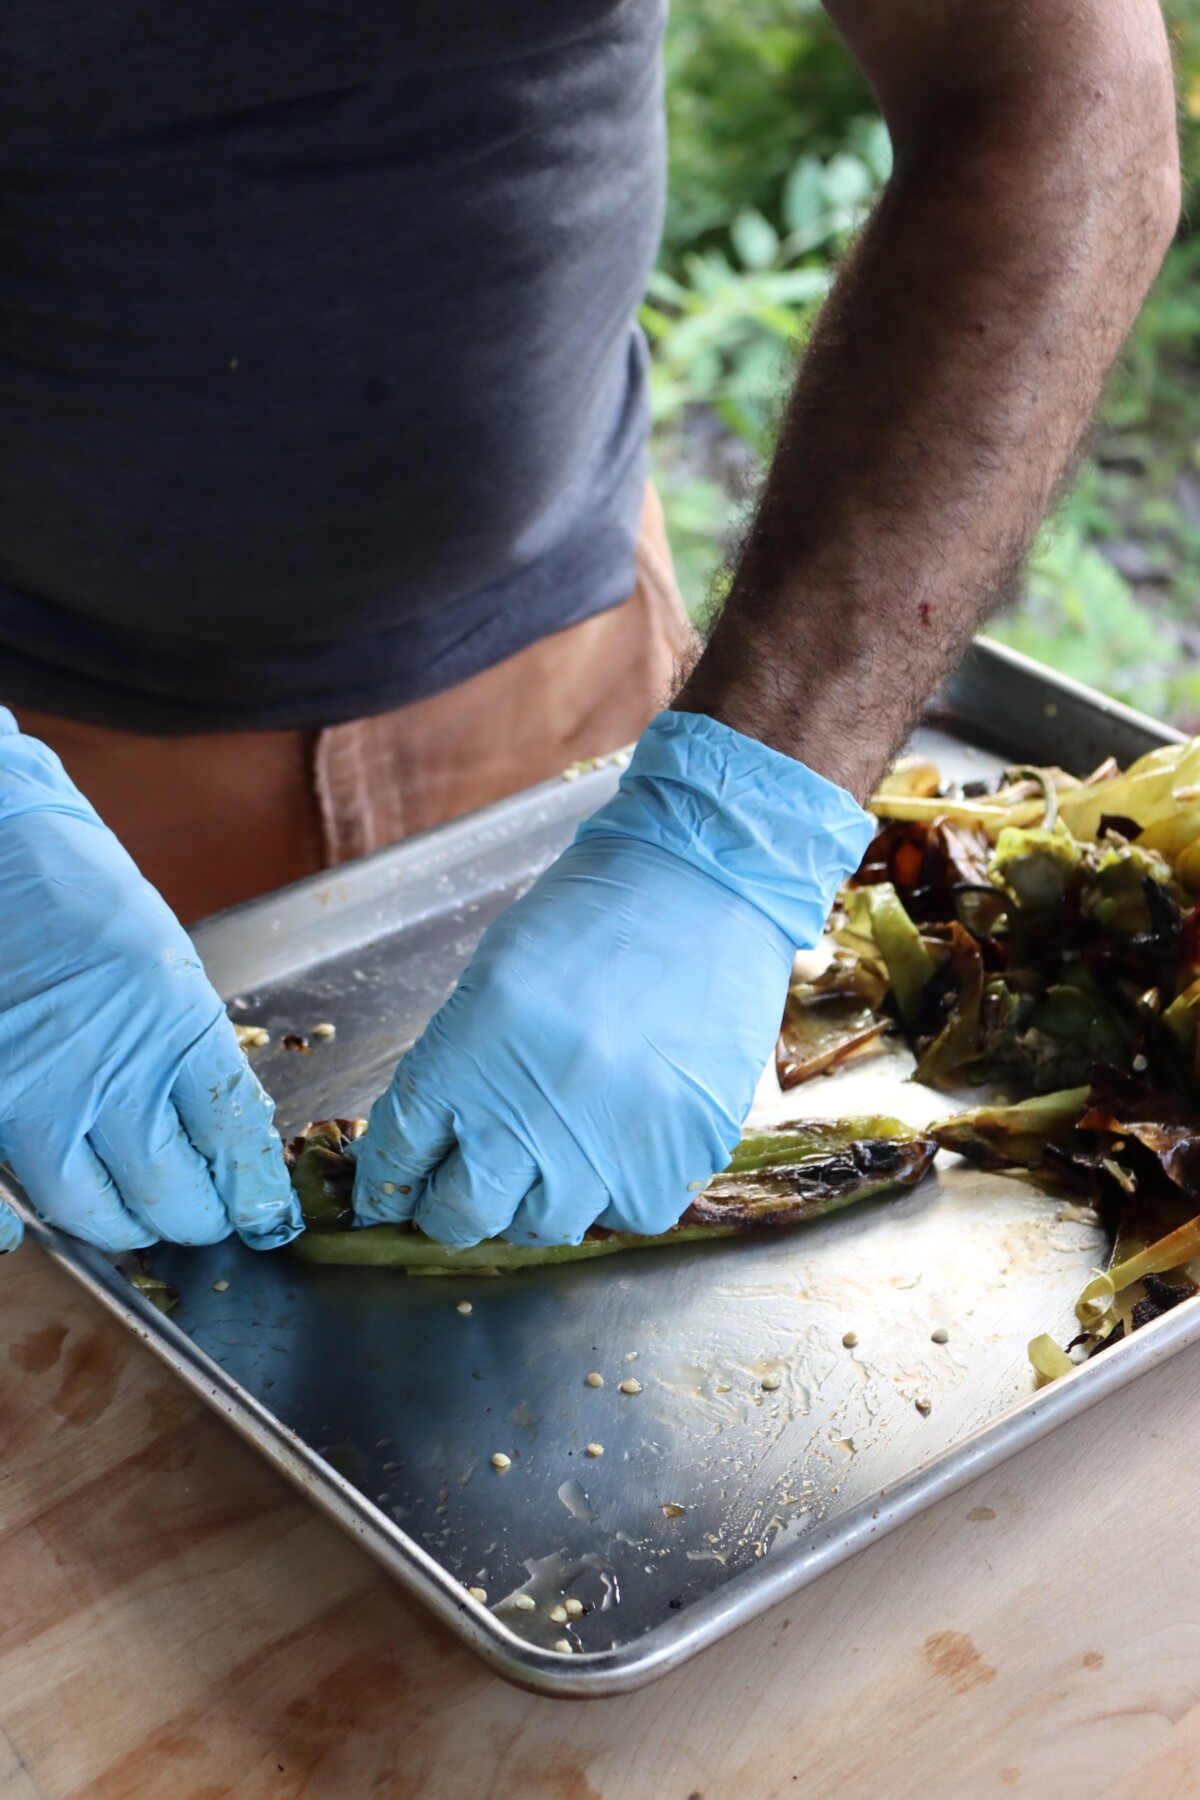
The chiles can be left whole or cut into pieces, whichever suits how you plan to use them.
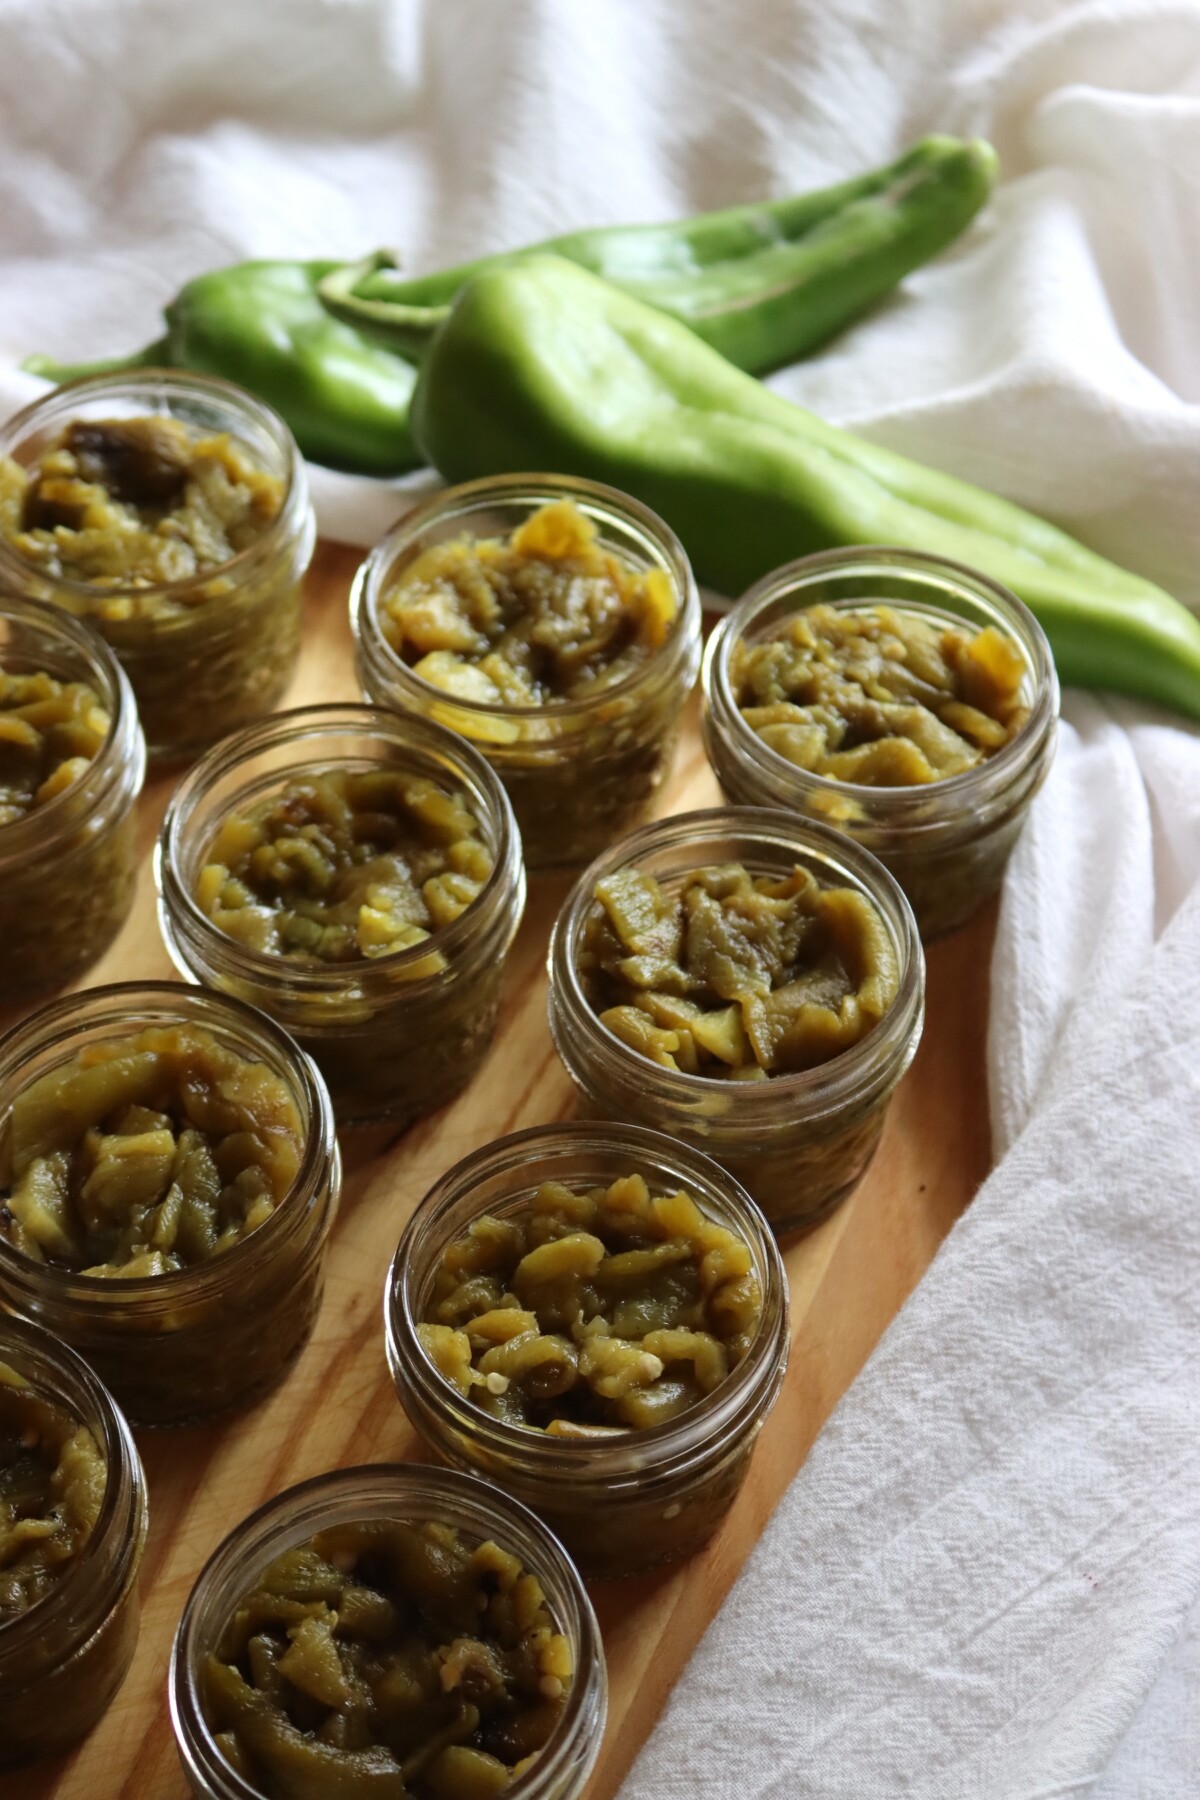
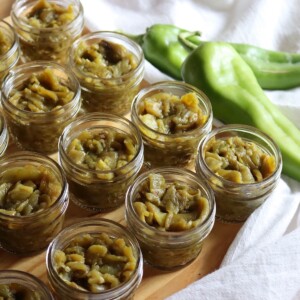
We tend to can whole hatch chilis in pint jars, and then diced chilis in half pint or quarter pint jars. But really, it’s completely up to you.
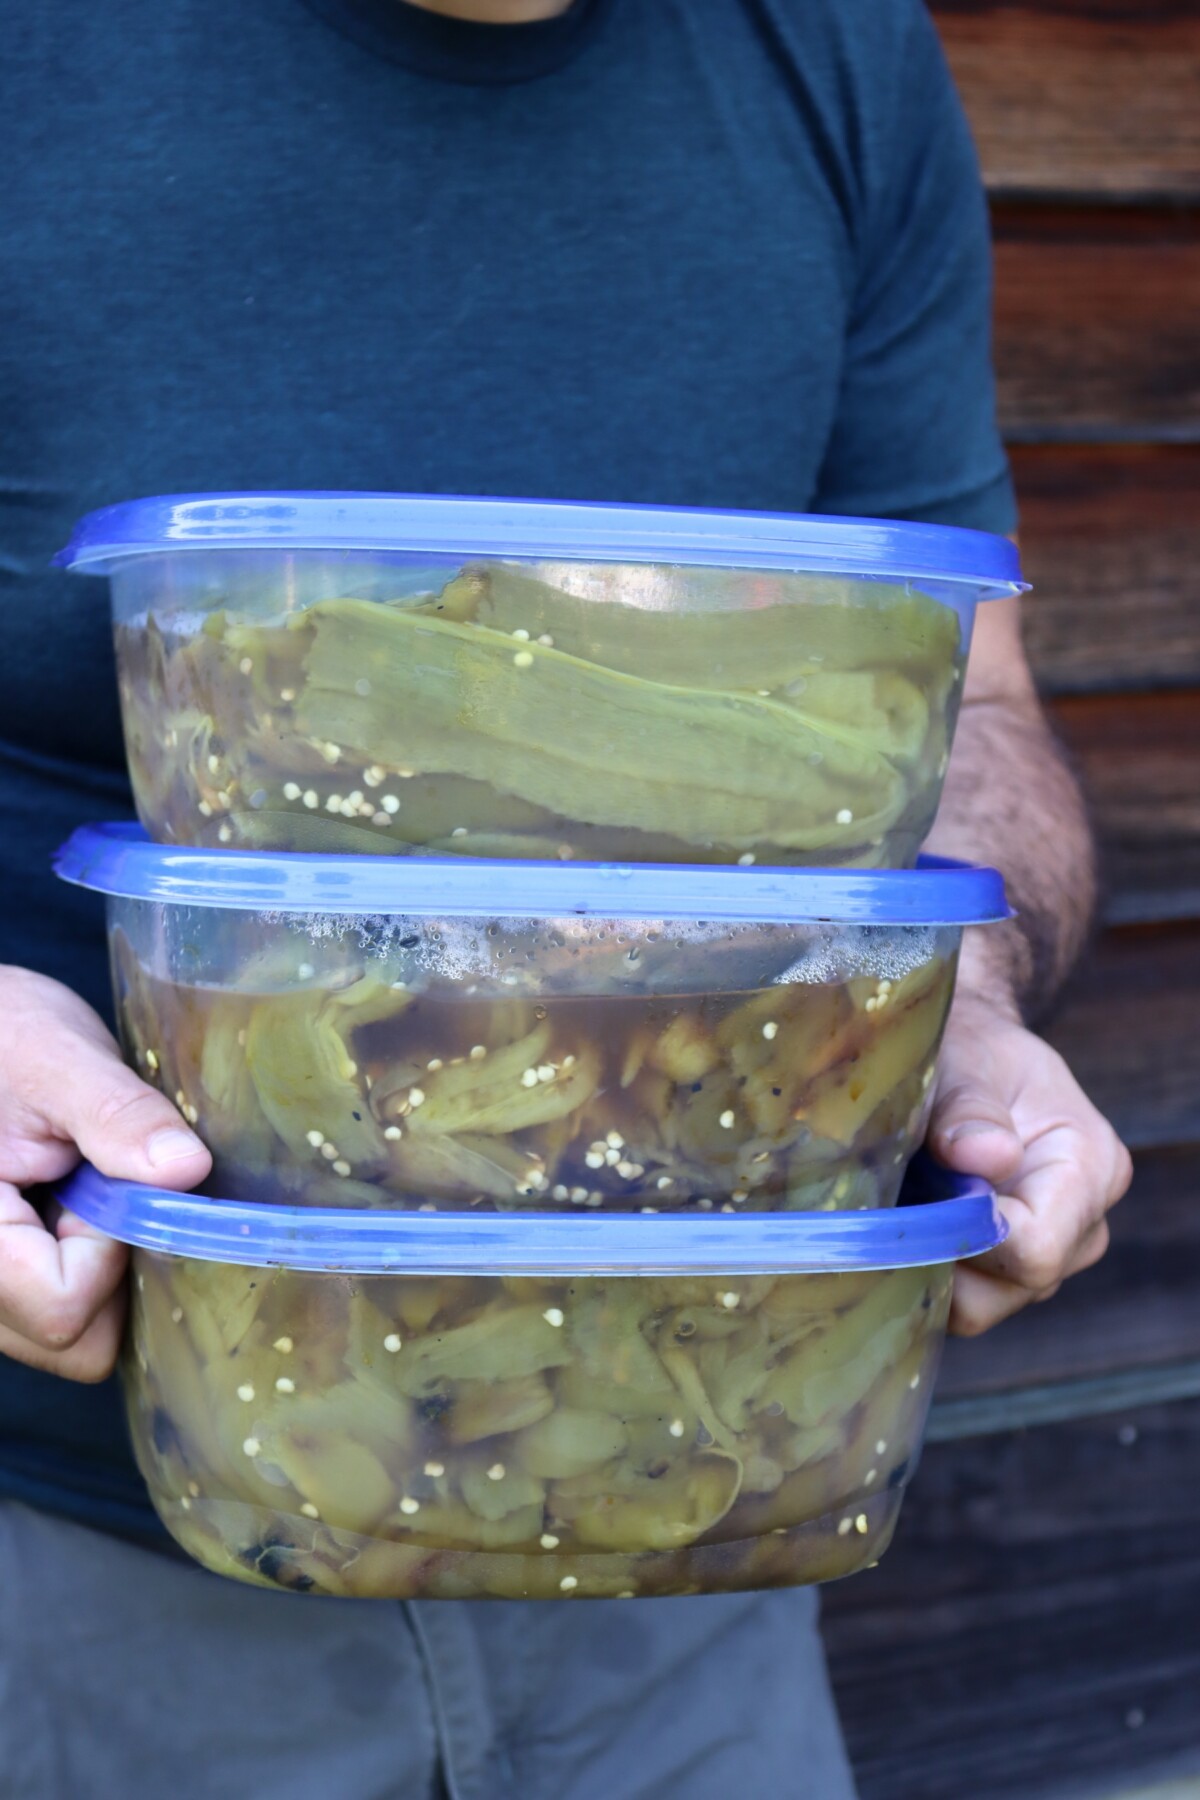
Once you have them roasted, peeled and seeded you can can them immediately or refrigerate them and can them the following day. Since the prep often takes a while, and we’re usually working with 50 to 75 lbs of green chilis each year, we pack them up and can them the following day.
Pack the Jars
Pack the peeled chiles loosely into hot half-pint or pint jars, leaving 1 inch of headspace, and flatten whole chiles as you go so they settle in without big air pockets.
Add salt now if you are using it, 1/2 teaspoon per pint or 1/4 teaspoon per half-pint.
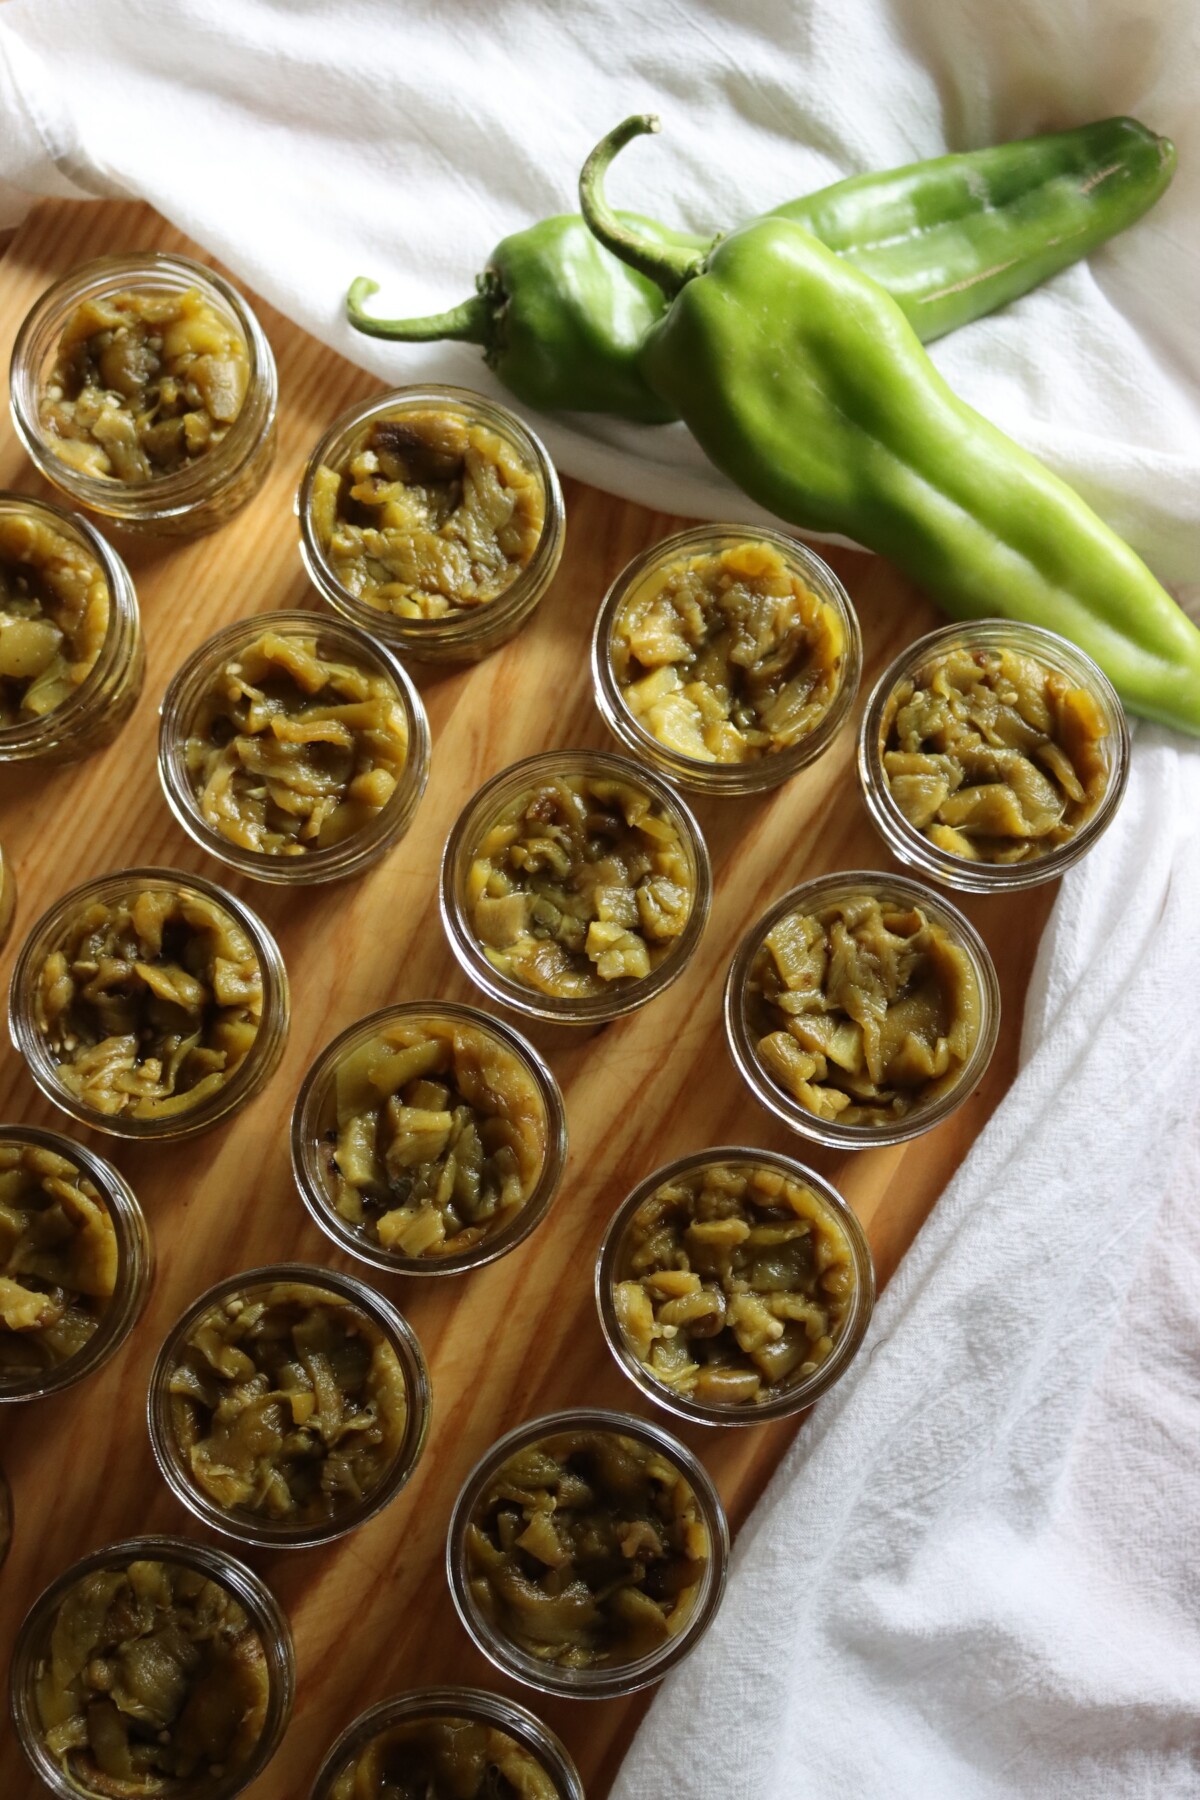
Cover the chiles with fresh boiling water, keeping that 1 inch of headspace, then run a bubble remover or a plastic spatula down the sides of the jar to release trapped air, and re-check the headspace after.
Wipe the rims clean, set the lids on, and screw the bands down to fingertip tight.
Canning Green Chiles
Green chiles are pressure canned, since that is what keeps a low-acid vegetable like this safe on the shelf. The tested process comes from the USDA and NCHFP, and it is the same whether you are canning mild Hatch chiles or a hotter variety.
To can, prepare your pressure canner, jars, and lids. Pack the roasted, peeled chiles loosely into half-pint or pint jars, leave 1 inch of headspace, cover with boiling water, remove air bubbles, wipe the rims, and apply the lids and bands fingertip tight. A canning funnel with headspace measurements makes the fill neater. Load the jars into the canner with 2 to 3 inches of hot water, and vent the canner for 10 minutes before you bring it up to pressure.
Process half-pints or pints for 35 minutes at 10 pounds pressure in a weighted gauge canner or 11 pounds in a dial gauge canner, adjusting for altitude. Green chiles are only safe in quarter-pint, half-pint or pint jars, so do not use quarts.
When the time is up, turn off the heat and let the canner depressurize on its own, and never force cool it.
Altitude Adjustments
With pressure canning, the processing time stays the same at higher altitudes, but the pressure changes. Here are the altitude adjustments for pressure canning green chiles:
For dial gauge pressure canners:
- 0 to 2,000 feet: 11 lbs pressure
- 2,001 to 4,000 feet: 12 lbs pressure
- 4,001 to 6,000 feet: 13 lbs pressure
- 6,001 to 8,000 feet: 14 lbs pressure
For weighted gauge pressure canners:
- 0 to 1,000 feet: 10 lbs pressure
- Above 1,000 feet: 15 lbs pressure
If you want a fuller walkthrough of adjusting for elevation, I have a whole guide on altitude adjustments for pressure canning.
Tips for Success
Roast more than you think you need, since the chiles cook down and lose their skins, so a heaping box of fresh chiles turns into a more modest pile of peeled flesh. Working with a friend makes the peeling go faster, and it is the kind of task that is much better with company and a cold drink on the counter.
Do not skip the gloves, especially with hotter chiles, because capsaicin lingers on your skin for hours and finds its way to your eyes when you least expect it. And resist the urge to cram the jars, since packing too tightly can keep the heat from penetrating evenly. Loose is the goal.
Ways to Use Canned Green Chiles
A jar of green chile is a shortcut to so many meals. Drain and chop it into enchiladas, green chile chicken, chile verde, or a pot of white chili, or stir it straight into scrambled eggs, cornbread, and cheese dips. Since the chile is already roasted and peeled, it goes in without any prep, which is the whole point of having it on the shelf.
This is also where you add everything that could not go in the jar. Build a green chile sauce by simmering a jar with sauteed onion and garlic, a little broth, and a thickener, or brighten a bowl of chili with a squeeze of lime at the end. The plain chile is the base, and you flavor it however the dish calls for when you cook.
Yield Notes
Nine pounds of fresh chiles fills about nine pints, which works out to roughly a pound of chiles per pint jar. The cases pictured here run closer to to 20 to 30 pints. The exact count depends on how meaty your chiles are and how much shrinks away with the skins, so thin, small chiles will give you fewer packed pints than thick, heavy ones.
Scale the batch to your canner and your box of chiles rather than to a fixed number, since this recipe is really just chile, water, and salt and there is no ratio to hold. Most people put green chile up in pints, which is a handy amount for a single dish, though half-pints are useful if you cook for one or two, and both take the same 35-minute process.
A few common questions come up every chile season, so here are the ones I hear most.
Canning Green Chiles FAQs
No. Green chiles are a low-acid vegetable, so they are not safe for water bath canning. You need a pressure canner to reach the temperature that makes safe, shelf-stable jars.
No. Peppers and chiles are only safe in quarter-pint, half-pint or pint jars. A taller quart jar of dense chile will not heat through reliably in the tested 35-minute process, so stick to pints or smaller.
No. Salt is optional here and only adds flavor, so you can leave it out completely. If you do use it, the standard is 1/2 teaspoon per pint or 1/4 teaspoon per half-pint, and avoid salt substitutes in the jar.
Properly processed and sealed jars keep for about 12 to 18 months in a cool, dark place, though they stay safe longer. Discard any jar with an unsealed lid or an off smell, and refrigerate after opening and use within 3 to 4 days.
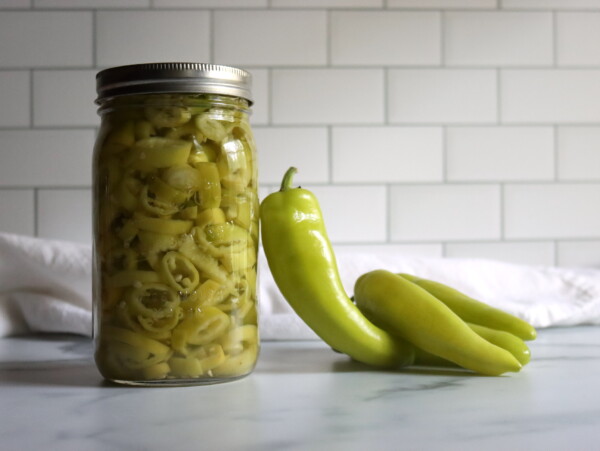
For more ways to put up peppers and chiles from a late-summer harvest, here are more of my pepper canning recipes.
Pepper Canning Recipes
If you tried this Canning Green Chiles recipe, or any other recipe on Creative Canning, leave a ⭐ star rating and let me know what you think in the 📝 comments below!
And make sure you stay in touch with me by following on social media!
Canning Green Chiles
Equipment
- Canning Jars, Lids and Bands
Ingredients
- 9 lbs green chiles, Hatch, Anaheim, or another mild roasting chile
- boiling water, to cover, about 1 inch headspace
- canning salt, optional, 1/2 tsp per pint or 1/4 tsp per half-pint
Instructions
- Roast the Chiles: Wash and dry the chiles, then cut a small slit in the side of each one so steam can escape. Roast under a broiler or in a hot oven at 400 to 450 degrees F, or over a grill or gas flame, turning often, until the skins blister and char all over.
- Steam and Peel: Move the roasted chiles to a bowl or pan and cover with a damp towel to steam for a few minutes, which loosens the skins. Wearing gloves, peel off the charred skins and remove the stems, cores, and seeds. Leave the chiles whole or cut them into pieces.
- Process: Load the jars into a pressure canner with 2 to 3 inches of hot water. Vent the canner for 10 minutes, then process half-pints or pints for 35 minutes at 10 lbs pressure in a weighted gauge canner or 11 lbs in a dial gauge canner, adjusting for altitude. Green chiles are only safe canned in half-pint or pint jars, never quarts. Turn off the heat and let the canner depressurize naturally before removing the jars.
Notes
Nutrition
Nutrition information is automatically calculated, so should only be used as an approximation.
And if you are heating up the pressure canner anyway, here are more pressure canning recipes to work through.
Pressure Canning Recipes
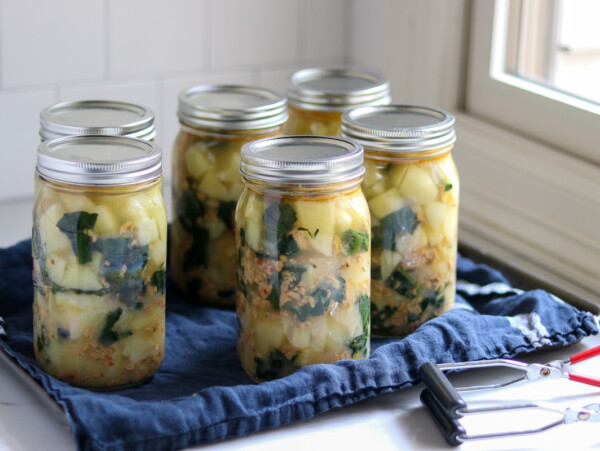
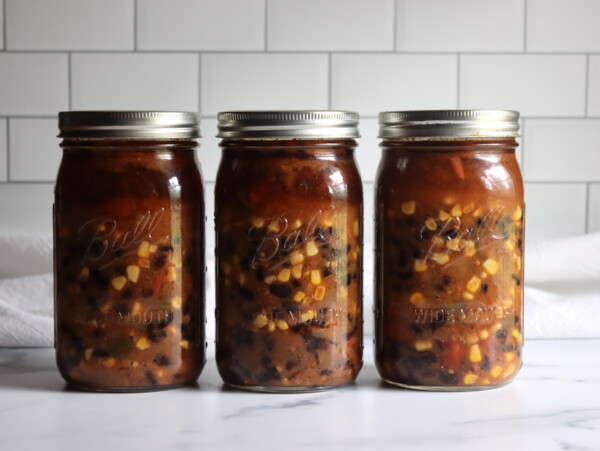
Find the perfect recipe
Searching for something else? Enter keywords to find the perfect recipe!
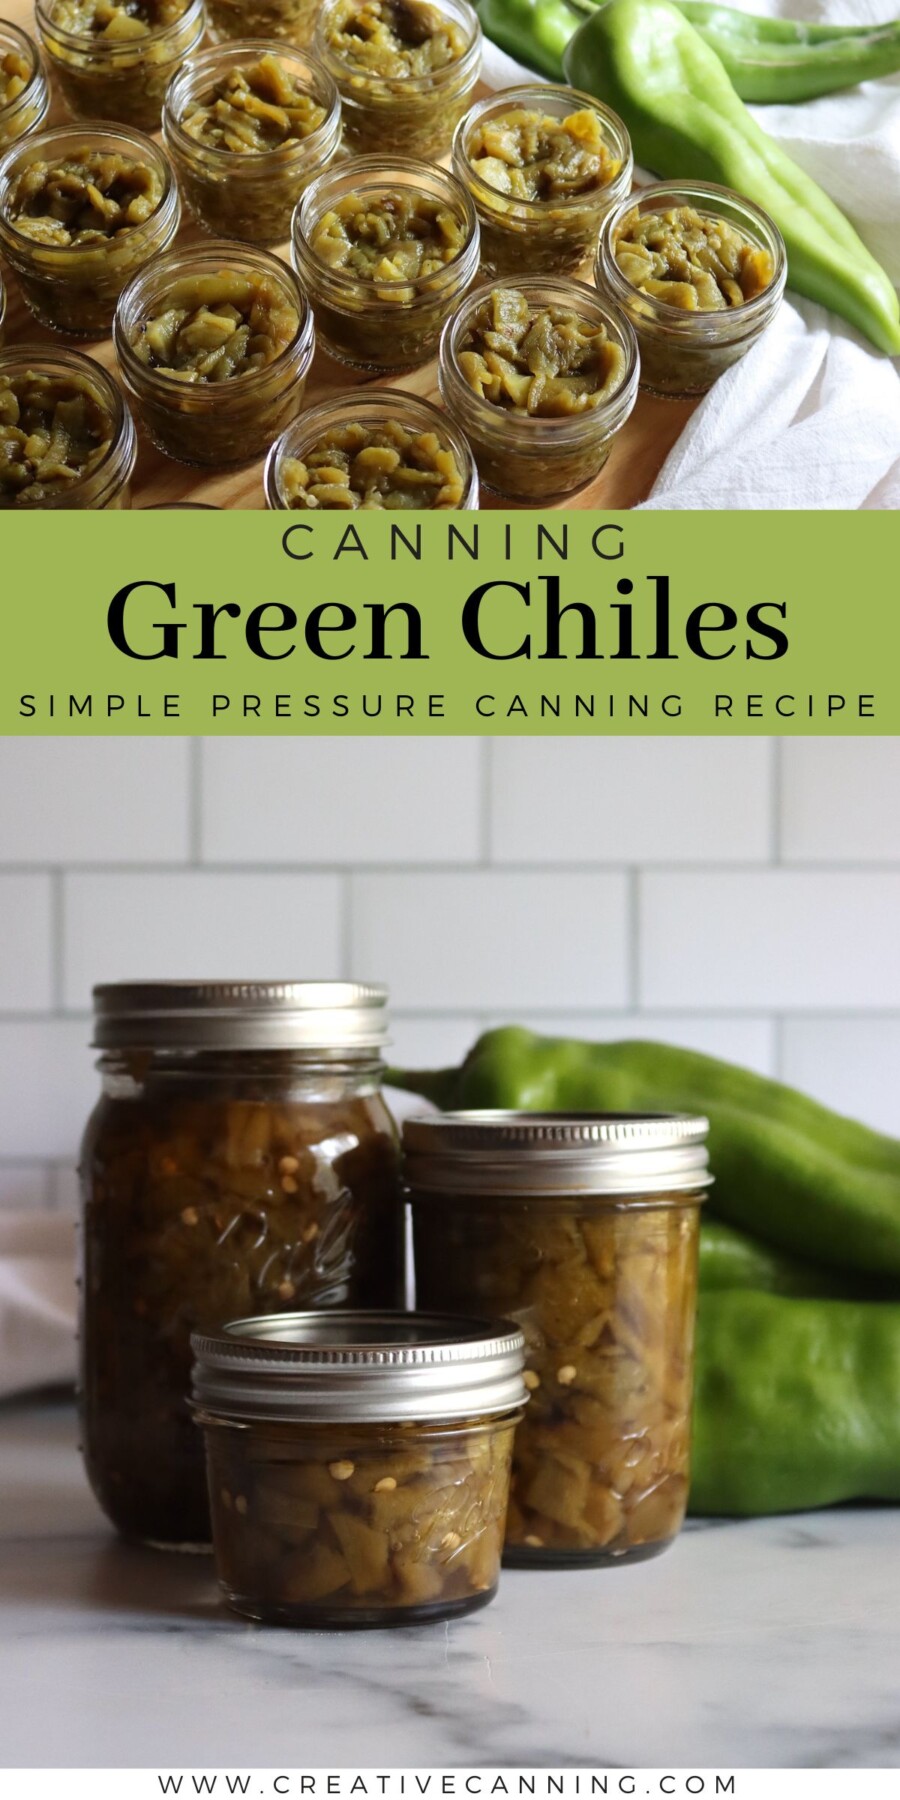

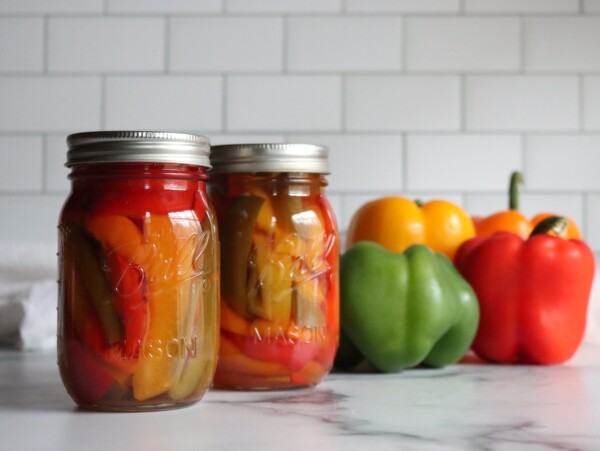
Thanks for this! It’s perfect timing as my Big Jim chiles are ready to harvest in TN. I also have Serrano peppers ready to pick and I think I’ll just pickle those whole. Any suggestions?
I’m glad it’s good timing on the Big Jims. I do also have a pickled Serrano recipe that I’m actually posting next week! So almost good timing on that one. In the meantime, it’s very similar to this pickled pepper recipe: https://practicalselfreliance.com/pickled-pepper-recipe-home-canning/
Enjoy!