This post may contain affiliate links. Please see our disclosure policy.
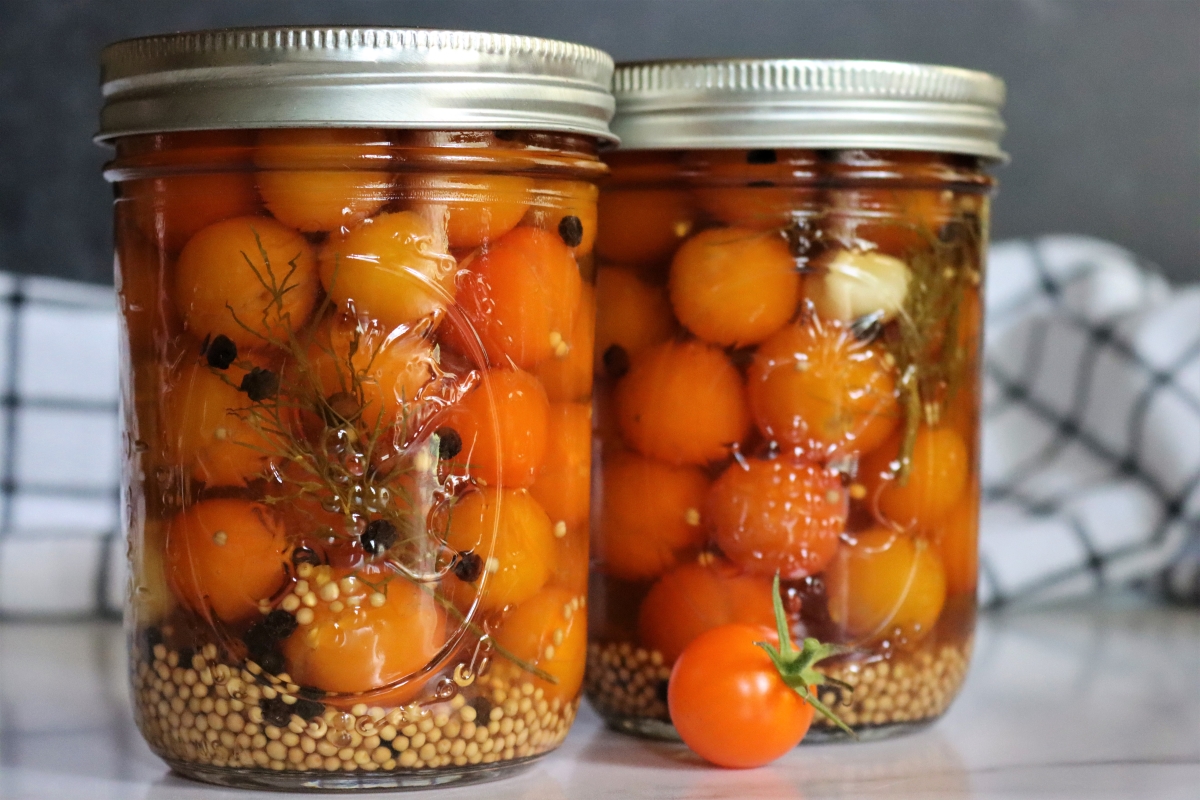
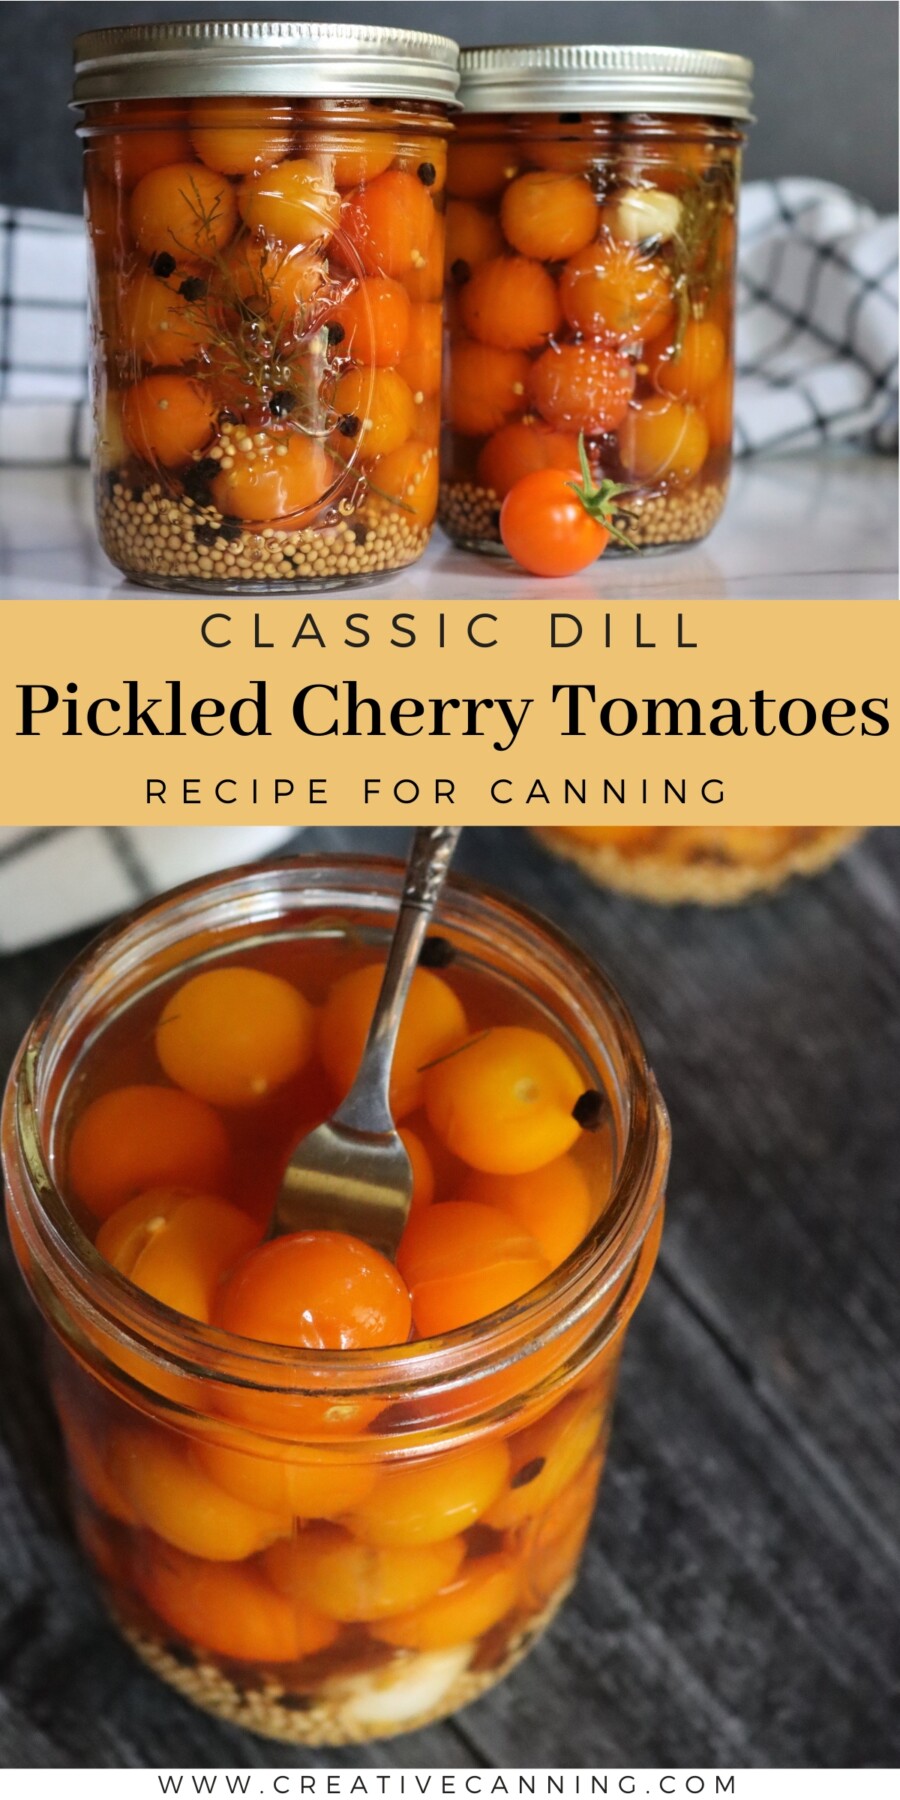
Dill pickled cherry tomatoes are a tangy, herb-forward way to preserve those little tomatoes when the garden is producing faster than you can eat them. The dill, mustard seed, and shallot create a pickle brine that complements the natural sweetness of cherry tomatoes beautifully, turning them into perfect cocktail garnishes, cheese board additions, or straight-from-the-jar snacks.
This recipe works with either cherry tomatoes or grape tomatoes, though grape tomatoes tend to hold up better during processing because they have thicker skins and firmer flesh.
This recipe has been reviewed for safety and accuracy by a Master Food Preserver certified through the University of Cornell Cooperative Extension.
This recipe is adapted from the Ball’s “Dilly Tomatoes” recipe in the Ball Blue Book, which uses a classic dill pickle brine with shallots and mustard seed. Unlike pickled cherry tomatoes made with other spice blends, this version leans into traditional dill pickle flavors. The key technique is pricking each tomato at the stem end before packing, which prevents the tomatoes from exploding during the heat of processing.
If you’re looking for other ways to put up cherry tomatoes, try canning cherry tomatoes whole in water or turning them into roasted cherry tomato sauce. For a completely different approach, these also work beautifully as Bloody Mary or martini garnishes.
Notes from My Kitchen

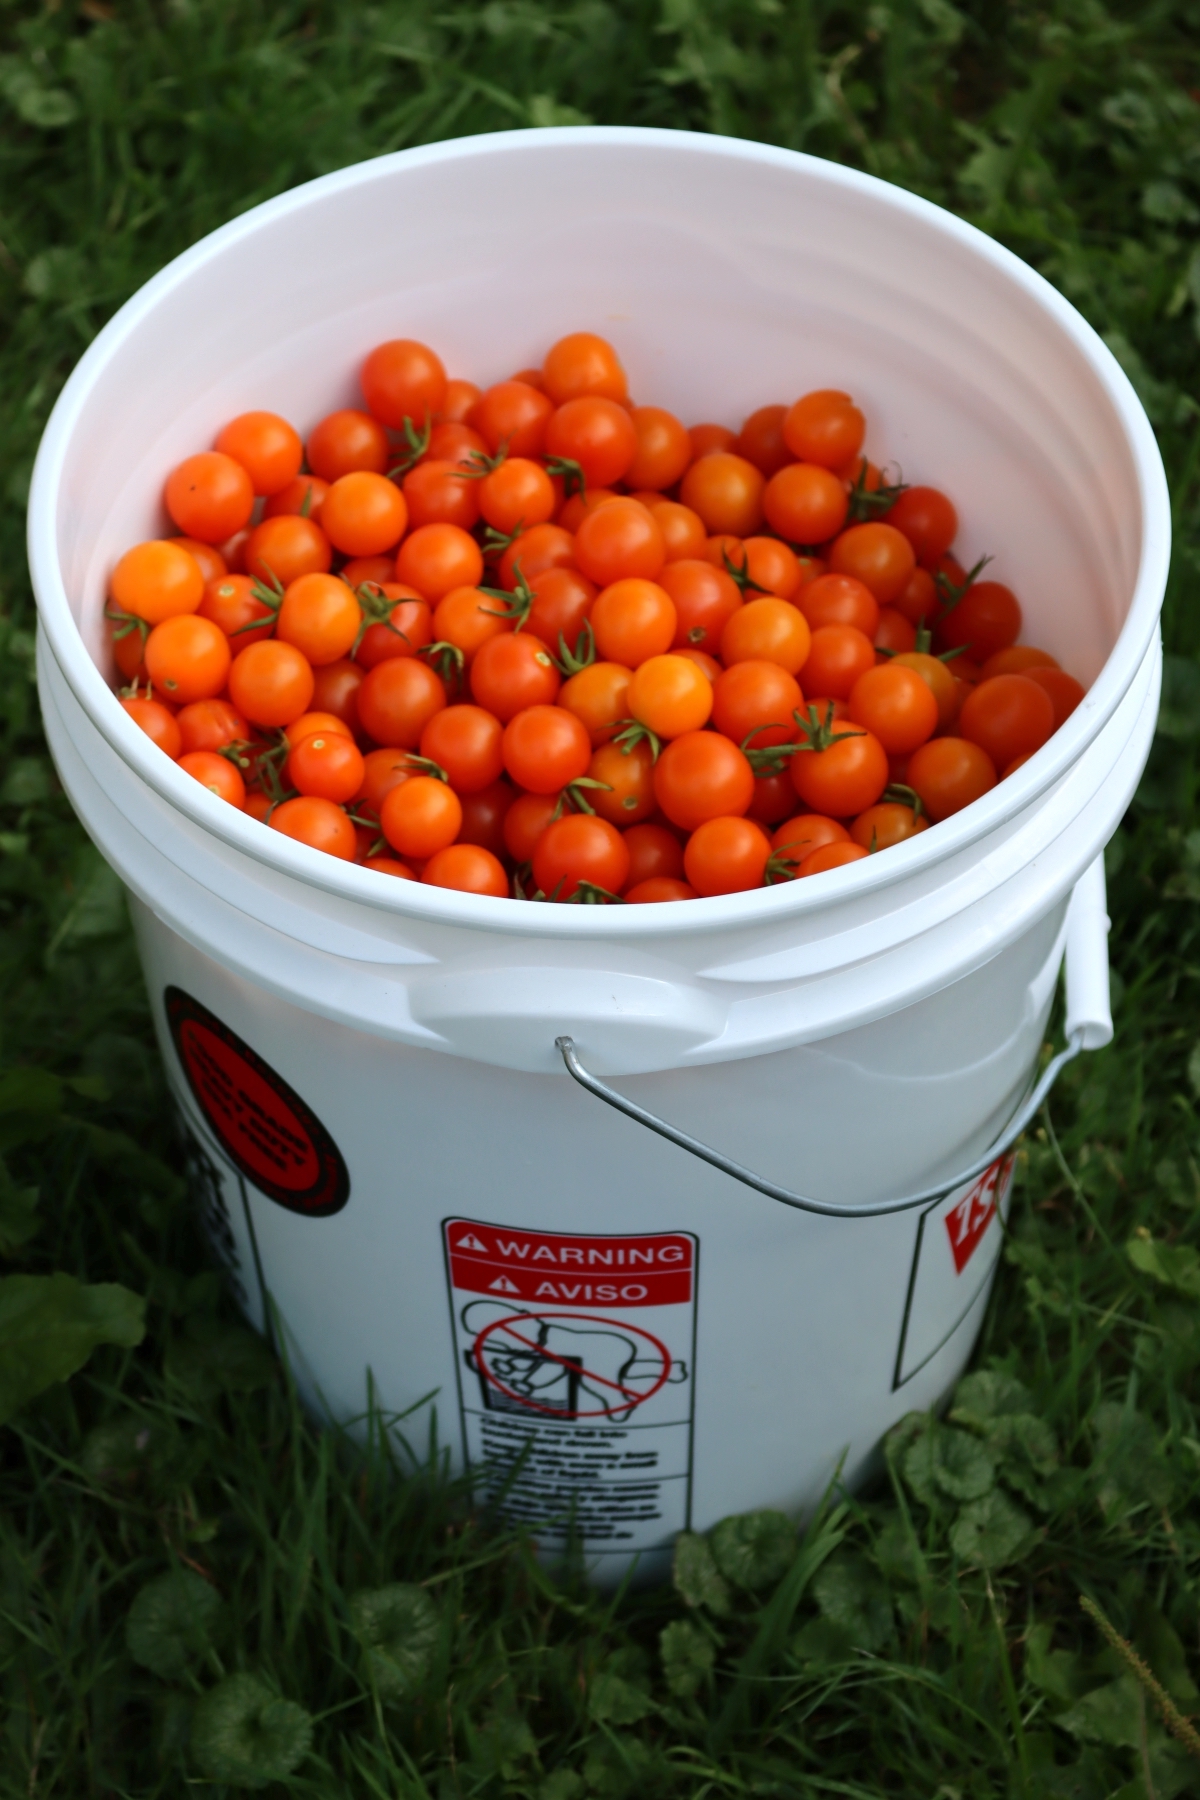
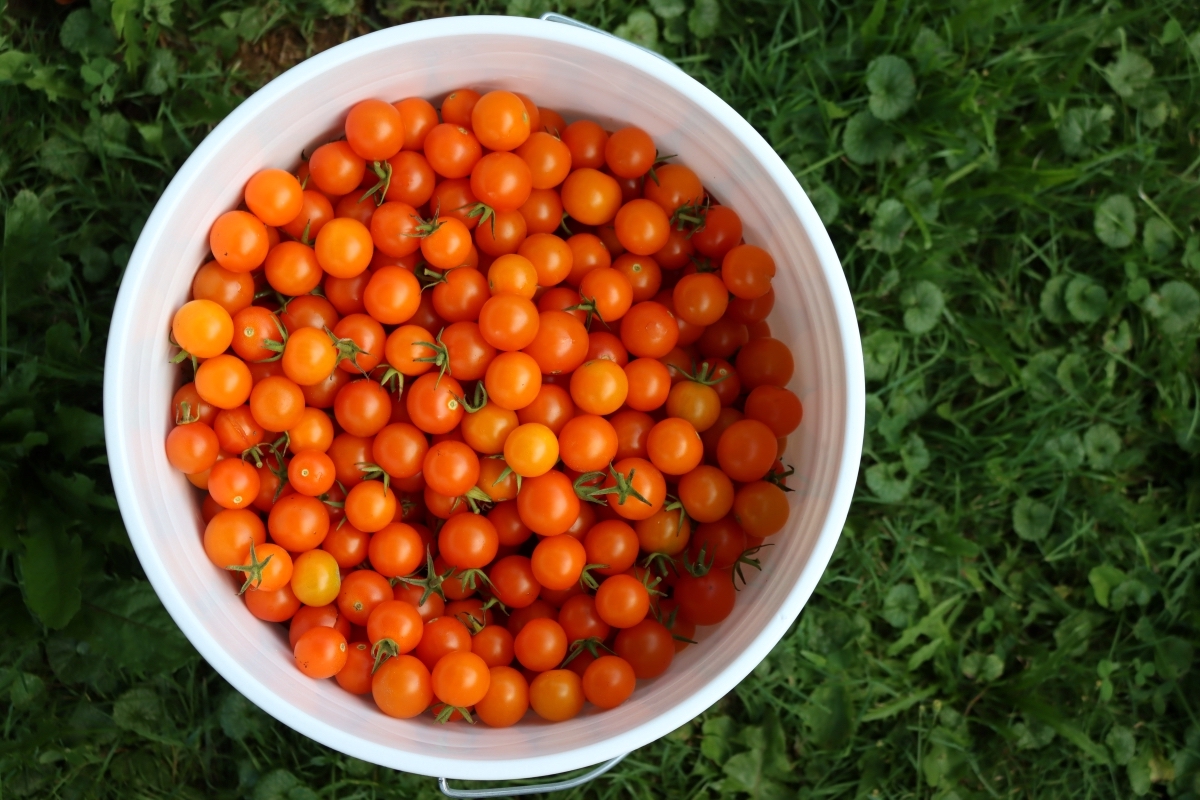
When cherry tomato season hits, it really hits. There are only so many salads you can make before you start looking for preservation options. These dill pickled tomatoes have become a go-to because they come together quickly and the flavor is familiar to anyone who loves a good dill pickle.
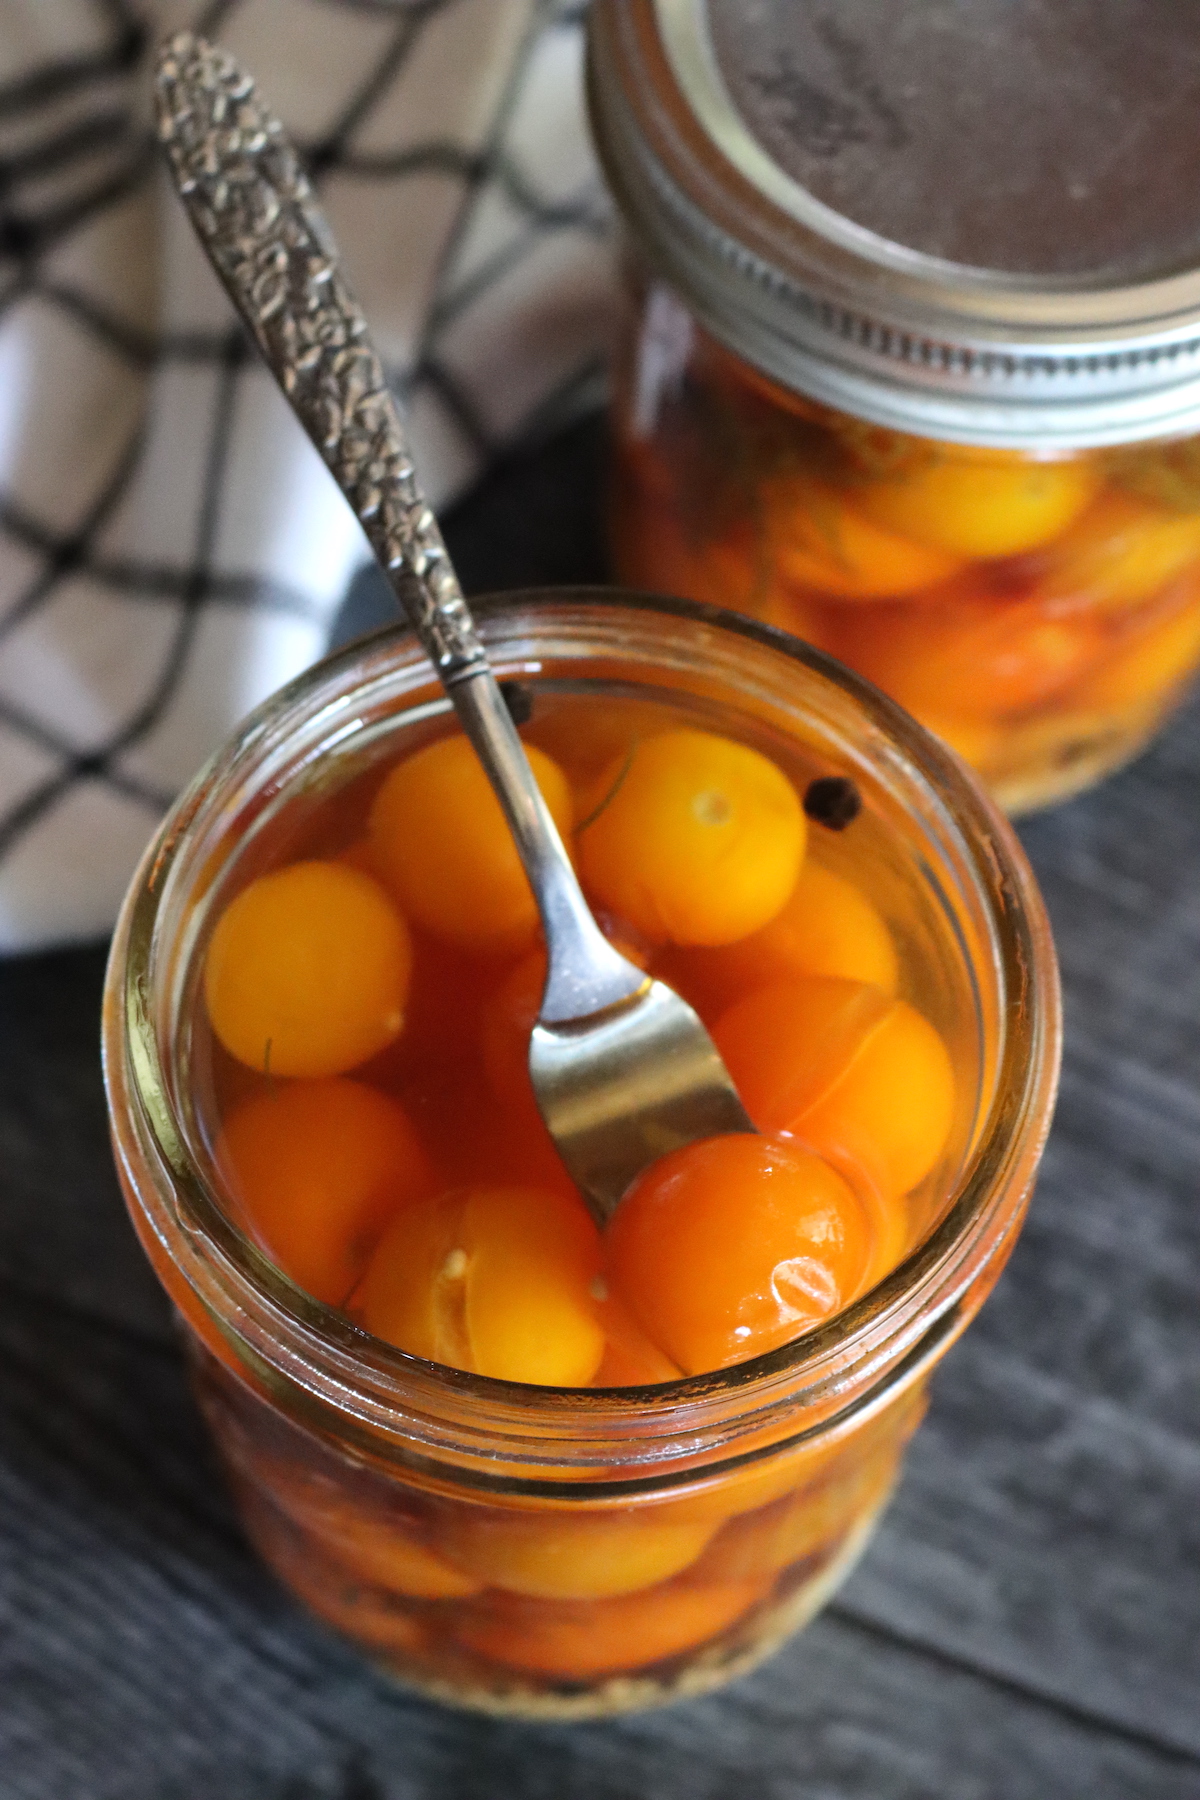
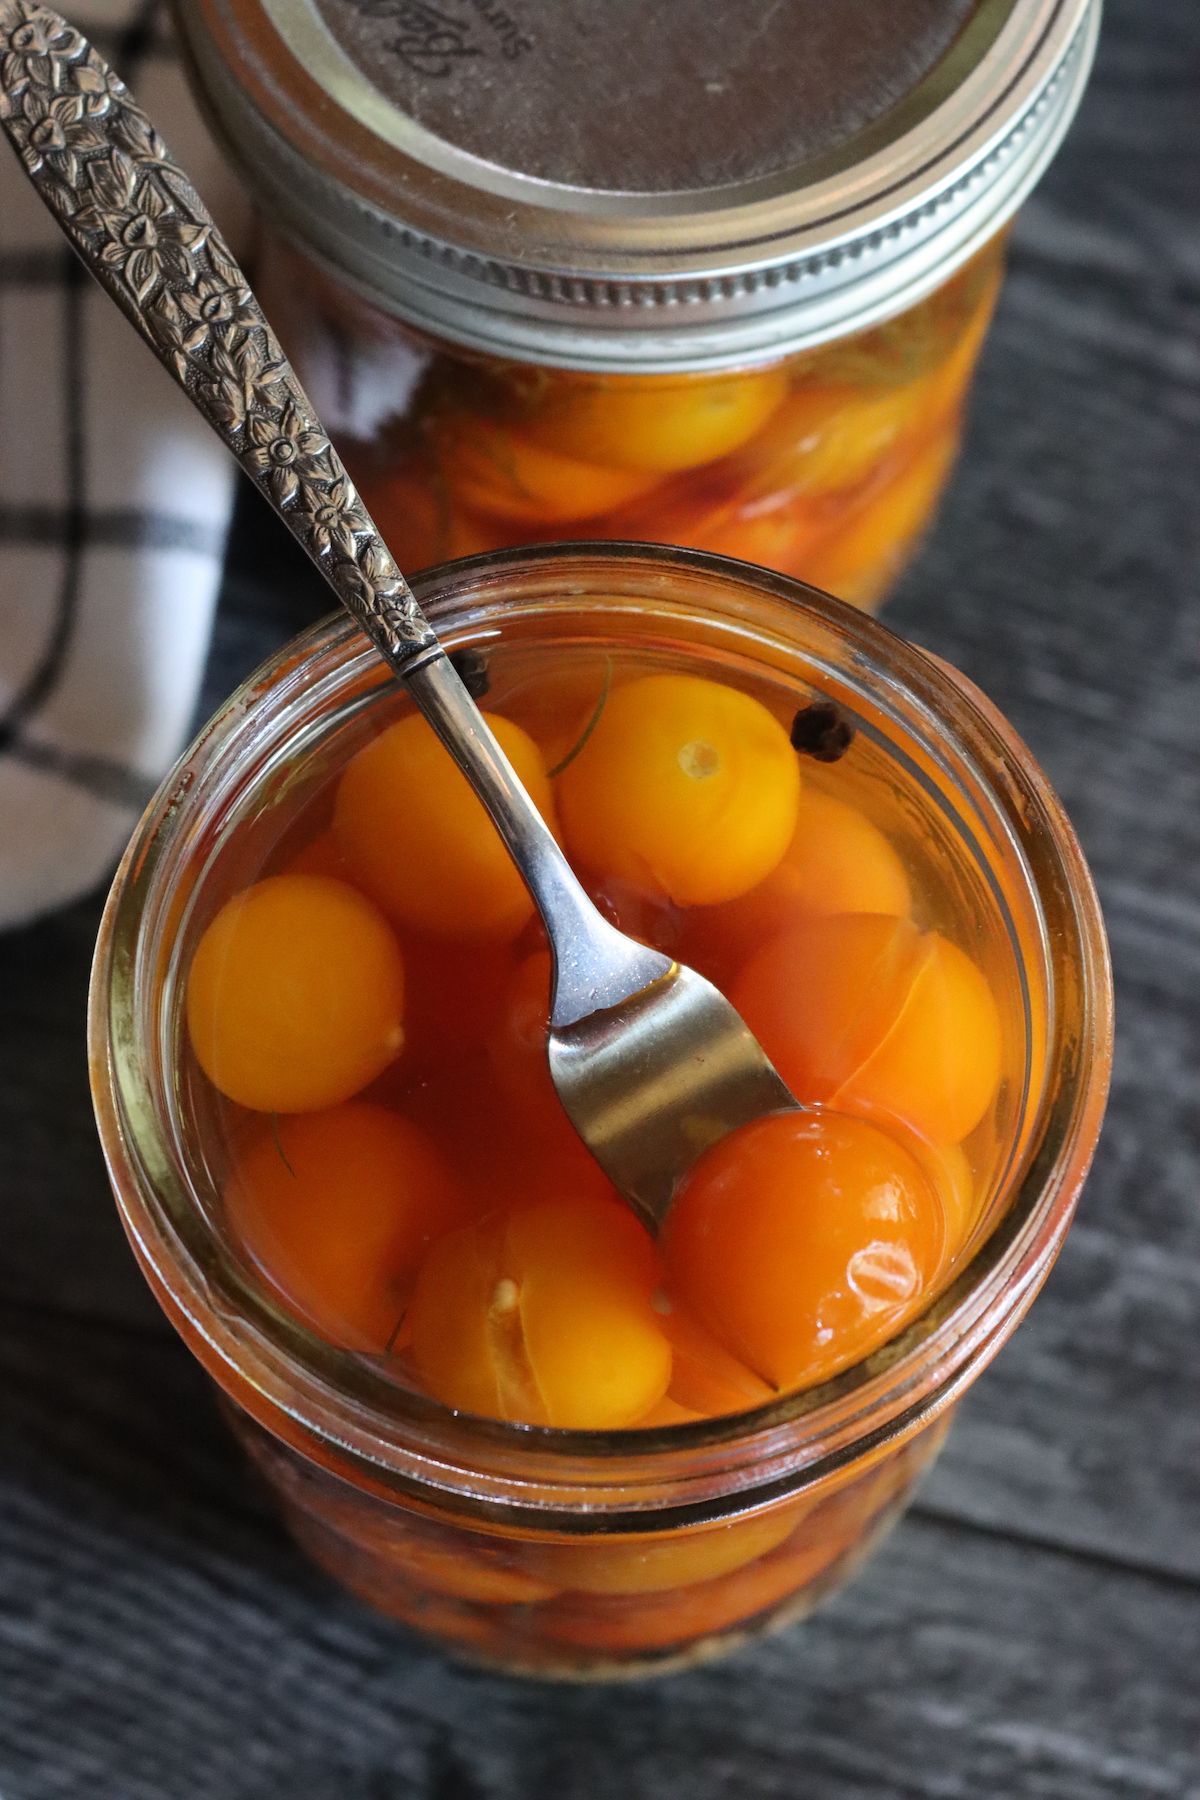
One thing to know: the tomatoes will look paler after processing. They’re still perfectly fine and taste great, but don’t be surprised by the color change. I also find that grape tomatoes hold up better than cherry tomatoes, especially the thin-skinned varieties like Sungold. If you want the prettiest, firmest results, stick with grape tomatoes or a thick-skinned cherry variety.
Quick Look at the Recipe
- Recipe Name: Dill Pickled Cherry Tomatoes
- Recipe Type: Tomato Canning Recipes
- Canning Method: Water Bath Canning
- Prep Time: 25 minutes
- Cook Time: 5 minutes
- Canning Time: 10 minutes
- Yield: 2 pints
- Jar Sizes: Half-pints or pints
- Headspace: 1/2 inch
- Ingredients Overview: Cherry or grape tomatoes, fresh dill, shallot, mustard seed, bay leaves, cider vinegar, brown sugar, pickling salt, chile flakes
- Safe Canning Recipe Source: Adapted from the Ball Blue Book
- Difficulty: Easy
- Similar Recipes: For other cherry tomato preserves, try pickled cherry tomatoes with different spice blends or canning cherry tomatoes whole in water. These also pair beautifully with dill pickled green tomatoes for a tomato pickle sampler.
Ingredients
This recipe uses a classic dill pickle brine with shallots and mustard seed. The combination creates a familiar pickle flavor that’s tangy, herby, and slightly sweet.
- Cherry or Grape Tomatoes: Use firm, ripe tomatoes about 1 to 2 inches in diameter. Grape tomatoes have thicker skins and hold up better during processing, making them a good choice if you’re concerned about mushiness. Avoid overripe tomatoes, which are more likely to fall apart.
- Fresh Dill: Fresh dill weed gives the strongest flavor. If you don’t have fresh, you can substitute 2 tablespoons dried dill weed or 4 teaspoons dried dill seed for the amount in this recipe.
- Shallot: Adds a mild onion flavor. You can substitute an equal weight of yellow or white onion, or the white parts of green onions.
- Yellow Mustard Seed: Adds a subtle mustard flavor and visual interest. Don’t skip this; it’s a key component of the dill pickle flavor profile.
- Black Peppercorns: Adds a mild spice and is a part of the classic dill spice mix.
- Bay Leaves: Optional. One per jar adds depth to the brine.
- Cider Vinegar: Use vinegar with at least 5% acidity. Do not reduce the amount.
- Light Brown Sugar: Balances the acidity. You can reduce or omit if you prefer a more tart pickle.
- Pickling Salt: Use pickling salt, kosher salt, or sea salt without anti-caking additives (which can cloud the brine). Salt can be reduced or omitted if needed.
- Chile Flakes: A small pinch adds background heat. Adjust to taste or omit entirely.
- Pickle Crisp (optional): Calcium chloride helps keep the tomatoes firm. Add 1/8 teaspoon per pint jar if using.
Step by Step Instructions
This recipe comes together quickly, so prepare a waterbath canner before you begin so it’ll be ready about the time you’re done packing the jars.
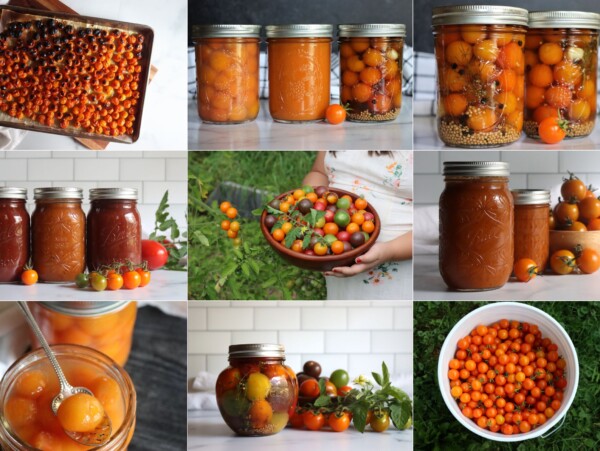
Prepare the Tomatoes
Wash the tomatoes under cold running water and drain well. Using a small metal skewer, toothpick, or the tip of a paring knife, prick each tomato once at the stem end. This small hole allows steam to escape during processing and prevents the tomatoes from bursting. A quick way to do this is to invert a meat thermometer and lightly impale the stem end on it.
Prepare the Spice Mixture
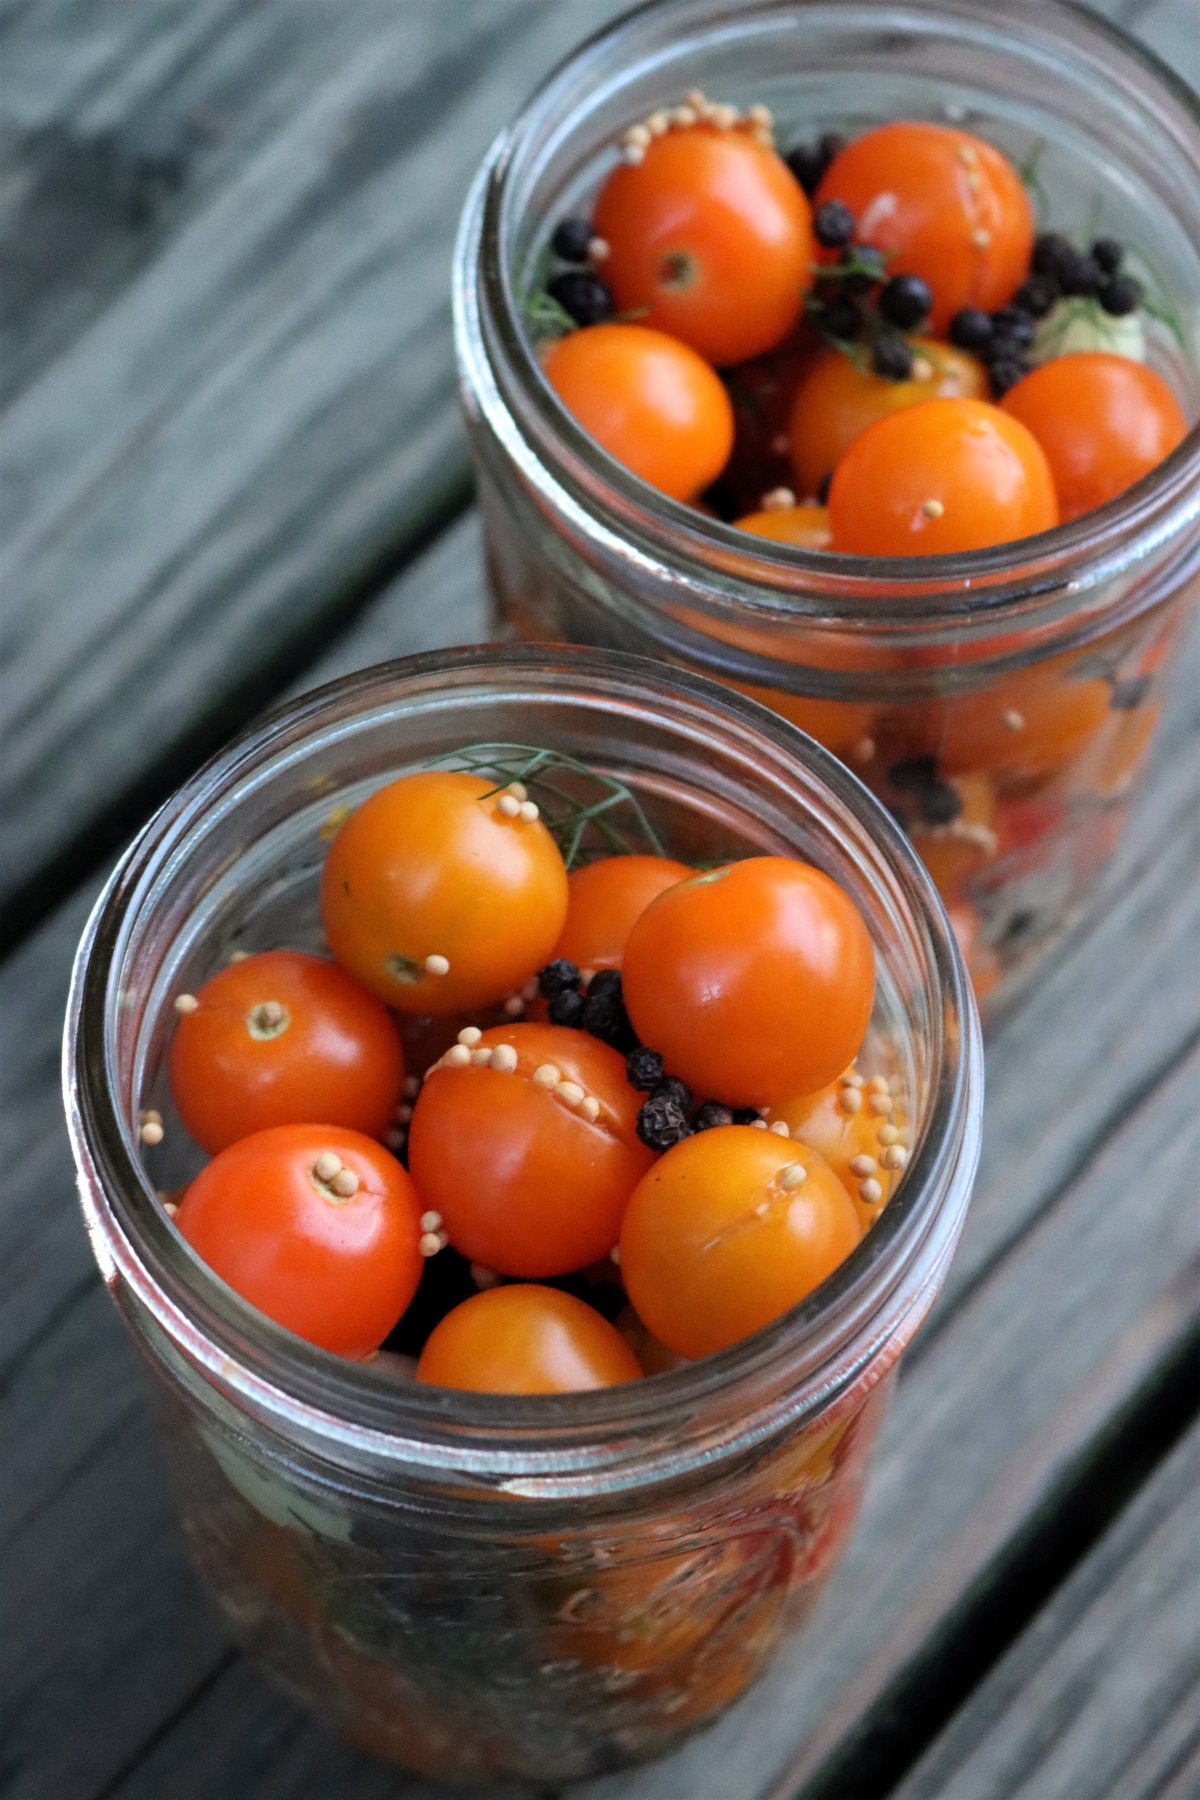
In a bowl, combine the washed and chopped fresh dill, thinly sliced shallot, black peppercorns, and mustard seeds. Toss the pricked tomatoes with this mixture to coat them evenly.
Pack the Jars
Place a bay leaf in the bottom of each hot jar. Add 1/8 teaspoon Pickle Crisp per pint if using. Pack the tomato and spice mixture tightly into the jars, leaving 1/2 inch headspace.
Make the Brine
Combine the cider vinegar, water, pickling salt, brown sugar, and chile flakes in a saucepan. Bring to a boil, stirring until the salt and sugar dissolve.
Canning Dill Pickled Cherry Tomatoes
Once your jars are packed and your brine is hot, it’s time to can. If you’d rather not process, these will keep in the refrigerator for several weeks.
For water bath canning, prepare your canner, jars, lids, and bands, keeping the jars hot until ready to fill. Ladle the hot brine over the packed tomatoes, leaving 1/2 inch headspace. Remove air bubbles with a bubble remover or chopstick, and add more brine if needed to maintain headspace. Wipe the jar rims with a clean, damp cloth, center the lids, and apply bands fingertip-tight.
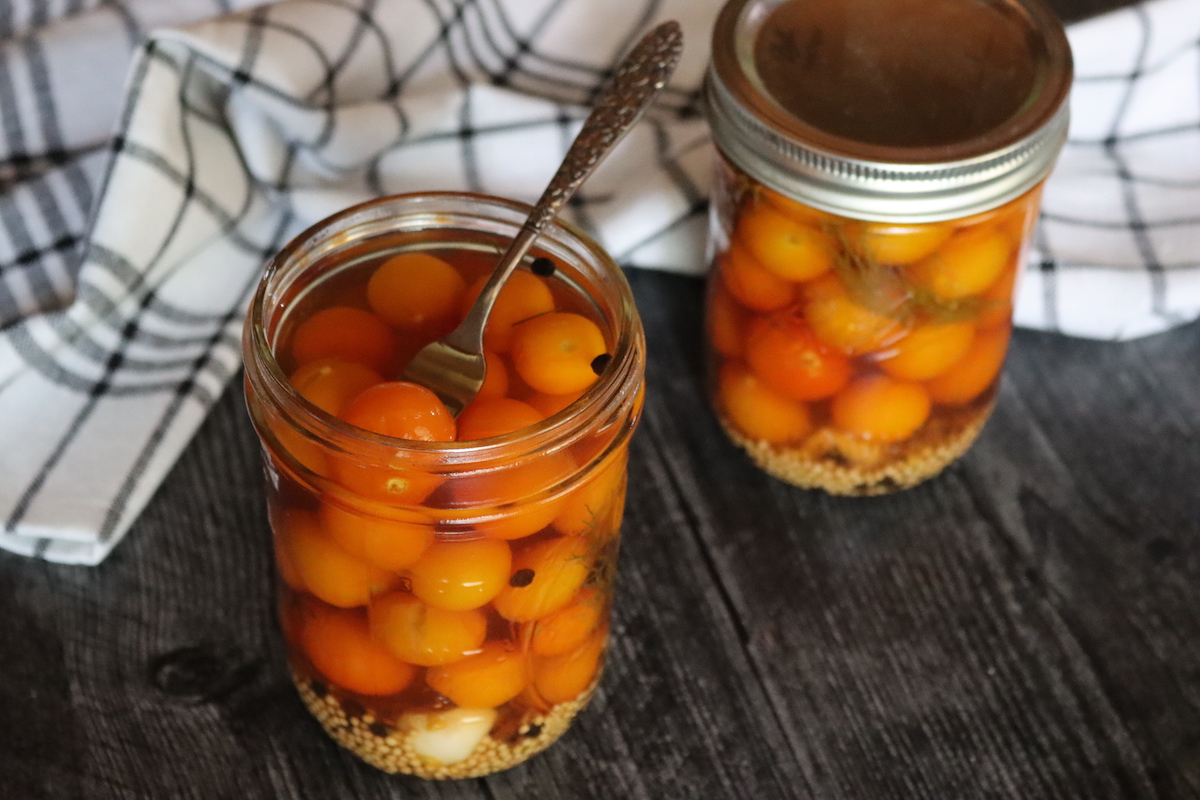
Process in a boiling water bath canner, making sure jars are covered by at least 1 inch of water. Process both half-pints and pints for 10 minutes at elevations up to 1,000 feet (see altitude adjustments below). When processing time is complete, turn off the heat and let the jars sit in the canner for 5 minutes before removing them to a towel-lined counter. Let cool undisturbed for 12 to 24 hours, then check seals, remove bands, and store in a cool, dark place.
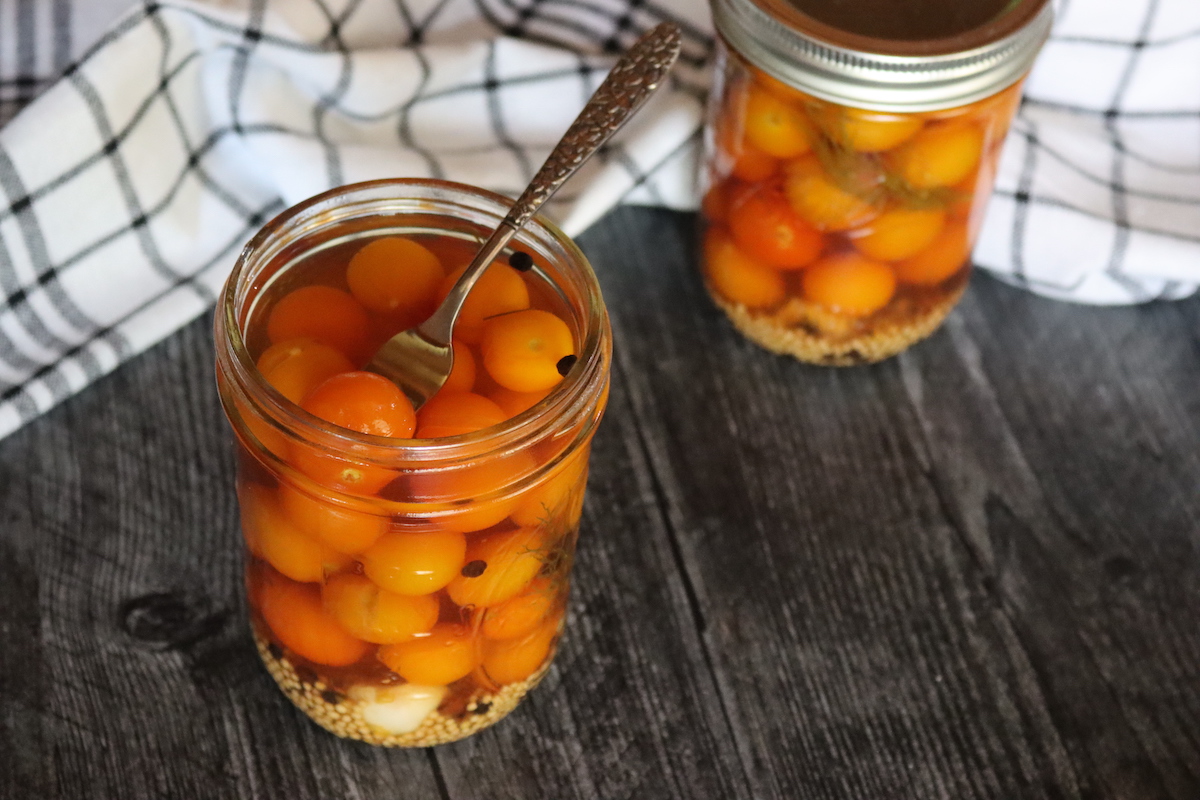
Let the pickles sit for at least 2 to 3 weeks before opening to allow the flavors to develop fully.

Altitude Adjustments
For water bath canning, processing times increase at higher elevations:
- 0 to 1,000 feet: 10 minutes
- 1,001 to 6,000 feet: 15 minutes
- Above 6,000 feet: 20 minutes
Serving Ideas
These tangy pickled tomatoes are incredibly versatile. The dill flavor makes them a natural fit anywhere you’d use a dill pickle.
- Cocktail garnishes: Drop one or two into a Bloody Mary or dirty martini. They look beautiful and add a burst of tangy flavor.
- Cheese boards: Serve alongside sharp cheddar, gouda, or creamy brie. The acidity cuts through rich cheeses nicely.
- Charcuterie: Pair with cured meats for a quick appetizer.
- Salads: Halve and toss into grain salads, pasta salads, or green salads for a pickle-y twist.
- Sandwiches: Slice onto sandwiches or burgers in place of regular pickles.
- Straight snacking: Eat them right out of the jar. No judgment here.
Dill Pickled Cherry Tomatoes FAQs
Pricking each tomato at the stem end allows steam to escape during processing. Without this small hole, pressure builds up inside the tomato and can cause it to burst, leaving you with exploded tomatoes in cloudy brine. The pricking won’t prevent skin cracking entirely, but it significantly reduces the chance of the tomatoes splitting open.
This is completely normal. The heat of processing causes some color change in tomatoes. The tomatoes are still safe and taste great, but they will be a paler red than when you packed them. This happens with all canned tomatoes to some degree.
Either works, but grape tomatoes tend to hold up better. They have thicker skins and firmer flesh, making them less prone to turning mushy during processing. If you’re at a higher altitude where processing times are longer, grape tomatoes are the better choice. Thin-skinned cherry varieties like Sungold are more likely to soften.
Because the tomatoes aren’t blanched before canning, they retain air that can escape during processing. This creates small particles floating in the brine. It’s normal and doesn’t affect safety or taste. Using shouldered jars (instead of straight-sided mason jars) can help push some of the floaties down below the shoulder.
Yes. Both salt and sugar can be reduced or omitted entirely in this recipe. They’re for flavor, not safety. The vinegar provides the acidity needed for safe canning. If you omit all the salt, the pickles will have about 5 mg sodium per serving instead of nearly 200 mg.
Tomato Canning Recipes
If you tried this Dill Pickled Cherry Tomatoes recipe, or any other recipe on Creative Canning, leave a ⭐ star rating and let me know what you think in the 📝 comments below!
And make sure you stay in touch with me by following on social media!
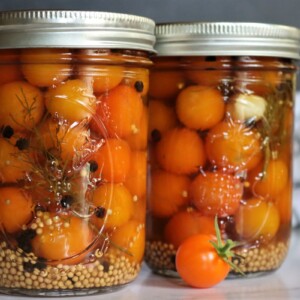
Dill Pickled Cherry Tomatoes
Equipment
- Canning Jars, Lids and Bands
- Small saucepan
- Metal skewer or toothpick
Ingredients
For the Jars
- 1 lb cherry or grape tomatoes, about 3 cups
- 8 Tbsp fresh dill weed, chopped, or 2 tbsp dried dill weed
- 2 medium shallots, peeled and thinly sliced
- 1 Tbsp yellow mustard seed
- 1 Tbsp black peppercorns
- 2 whole bay leaves
- 1/4 tsp Pickle Crisp, optional, 1/8 tsp per jar
For the Brine
- 1 cup cider vinegar, 5% acidity
- 1 cup water
- 2 Tbsp pickling salt
- 2 Tbsp light brown sugar
- 1/4 tsp chile flakes, optional, to taste for heat
Instructions
Prepare the Tomatoes
- Wash tomatoes under cold running water and drain well.
- Using a small metal skewer, toothpick, or paring knife tip, prick each tomato once at the stem end. This prevents bursting during processing.
Prepare the Spice Mixture
- In a bowl, combine the chopped fresh dill, sliced shallots, black peppercorns and mustard seeds.
- Add the pricked tomatoes and toss to coat evenly with the spice mixture.
Pack the Jars
- Place one bay leaf in the bottom of each hot pint jar.
- Add 1/8 teaspoon Pickle Crisp per jar if using.
- Pack the tomato and spice mixture tightly into jars, leaving 1/2 inch headspace.
Make the Brine
- Combine cider vinegar, water, pickling salt, brown sugar, and chile flakes in a saucepan.
- Bring to a boil, stirring until salt and sugar dissolve.
Can the Pickles
- Ladle hot brine over packed tomatoes, leaving 1/2 inch headspace.
- Remove air bubbles and add more brine if needed. Wipe jar rims with a clean, damp cloth.
- Center lids and apply bands fingertip-tight.
- Process in a boiling water bath canner for 10 minutes at 0-1,000 feet elevation. Adjust for altitude as needed.
- Turn off heat and let jars sit in canner for 5 minutes before removing to a towel-lined counter.
- Let cool undisturbed for 12 to 24 hours. Check seals, remove bands, and store.
- Let pickles sit for 2 to 3 weeks before opening for best flavor.
Notes
Cherry vs. Grape Tomatoes
Grape tomatoes have thicker skins and firmer flesh, making them less prone to turning mushy. If you’re at higher altitude with longer processing times, grape tomatoes are the better choice.Fresh vs. Dried Dill
Fresh dill gives the strongest flavor. Substitute 2 tablespoons dried dill weed or 4 teaspoons dried dill seed for the 8 tablespoons fresh in this recipe.Color Change
The tomatoes will turn paler after processing. This is normal and doesn’t affect safety or taste.Reducing Salt and Sugar
Both salt and sugar can be reduced or omitted. They’re for flavor, not safety. The vinegar provides the acidity.Altitude Adjustments
- 0 to 1,000 feet: 10 minutes
- 1,001 to 6,000 feet: 15 minutes
- Above 6,000 feet: 20 minutes
Nutrition
Nutrition information is automatically calculated, so should only be used as an approximation.
Vegetable Pickling Recipes
Find the perfect recipe
Searching for something else? Enter keywords to find the perfect recipe!
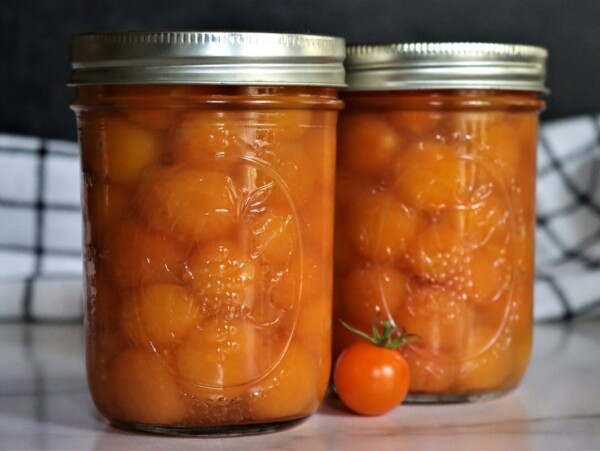
Your picture looks like it has whole peppercorns but I don’t see them on the list of ingredients. Can you correct me if I’m wrong? Thank you.
Thank you for catching that! Ball’s recipe doesn’t use black peppercorns, but I always put them into my dill pickling mixes. They give such a good flavor. I missed that when I typed up my recipe here, and I’ve now corrected it. They’re optional, but they really do give the cherry tomatoes great flavor. Enjoy!