
This post may contain affiliate links. Please see our disclosure policy.
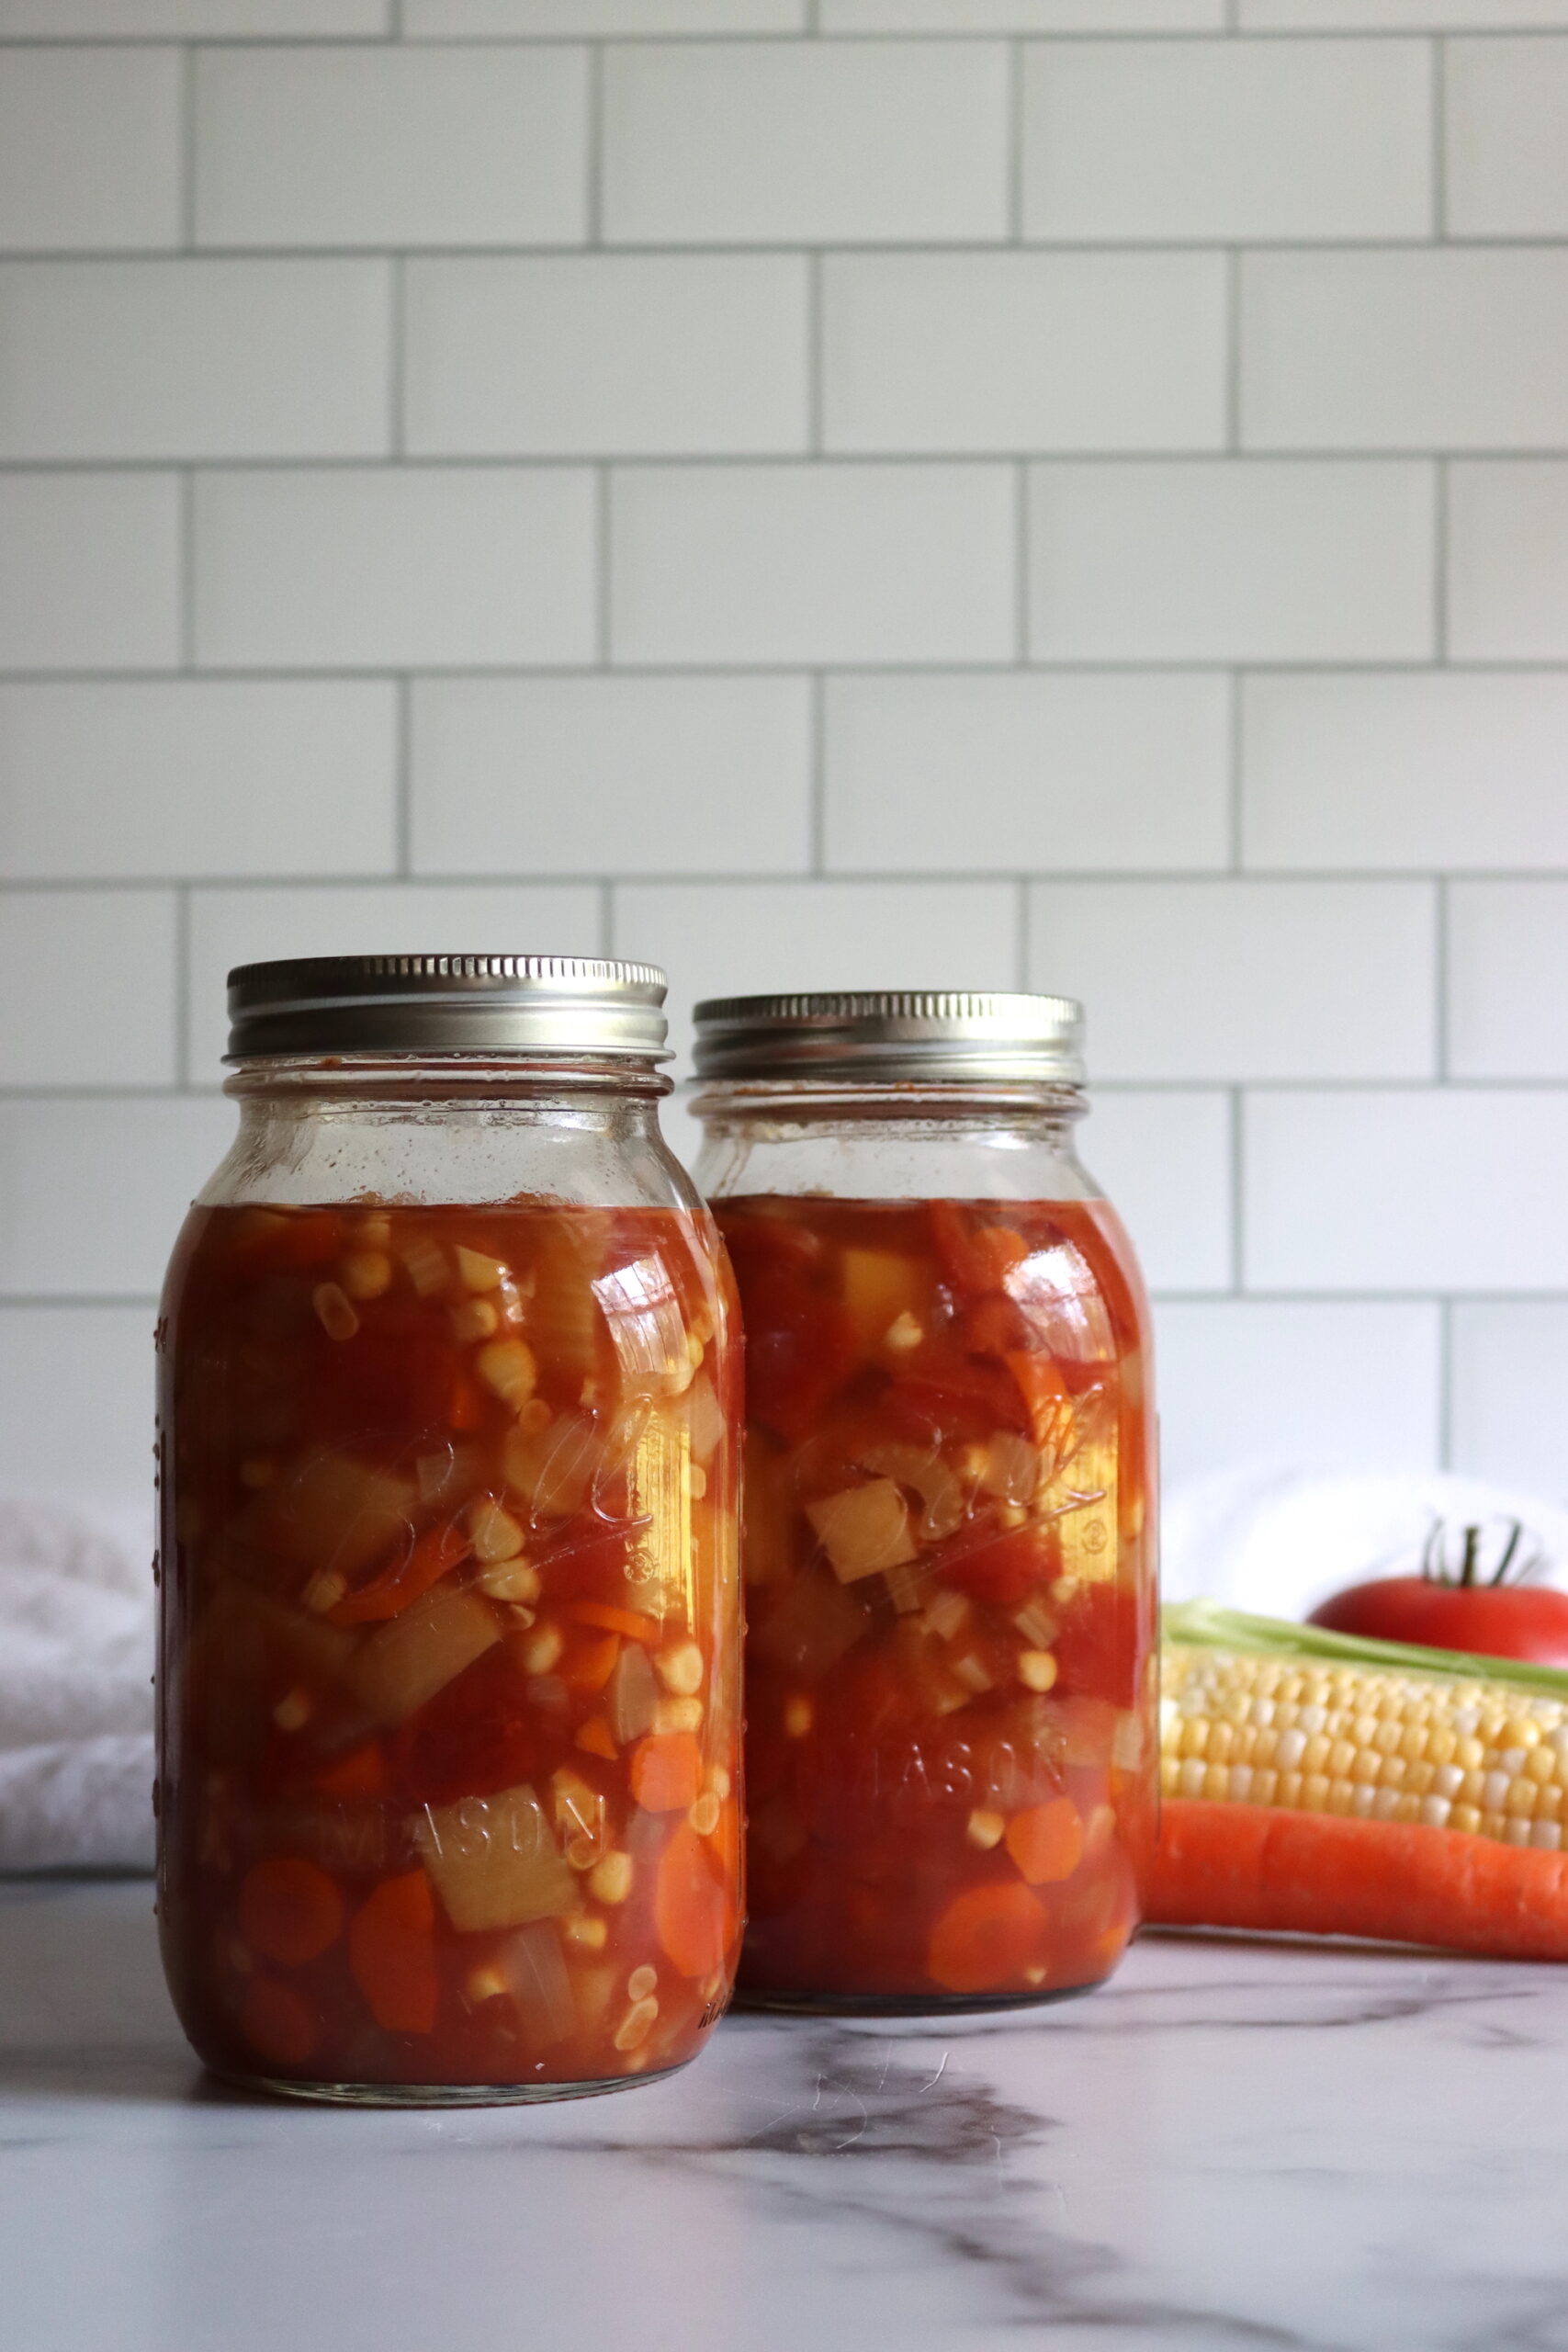
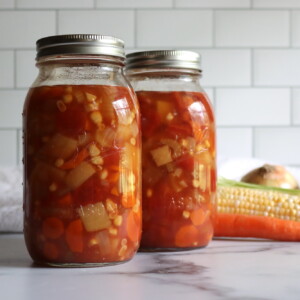
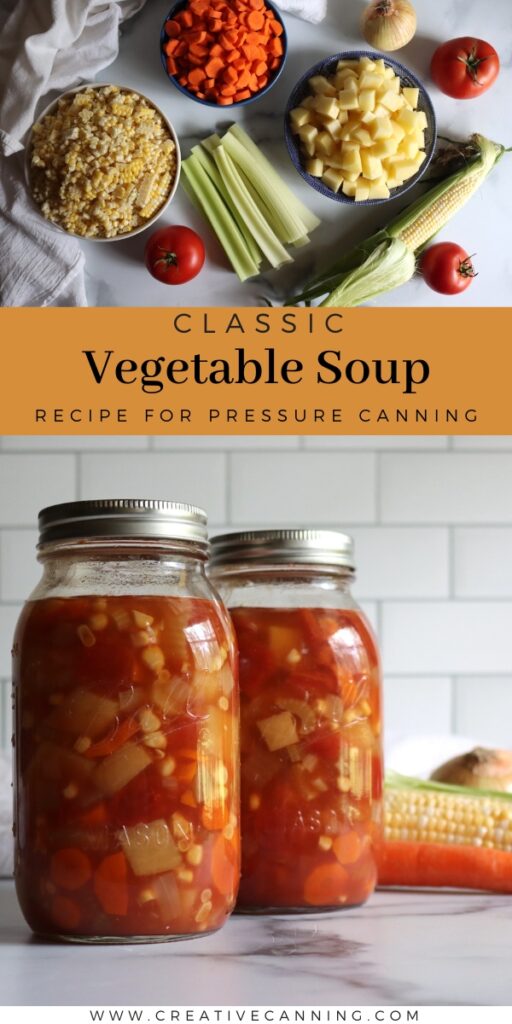
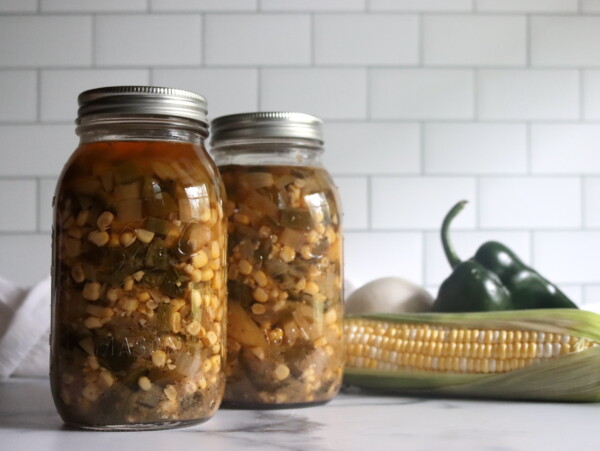
Canning vegetable soup puts homemade comfort food right on your pantry shelf, so a bowl of chunky vegetables in a rich tomato broth is ready to heat any day of the year.
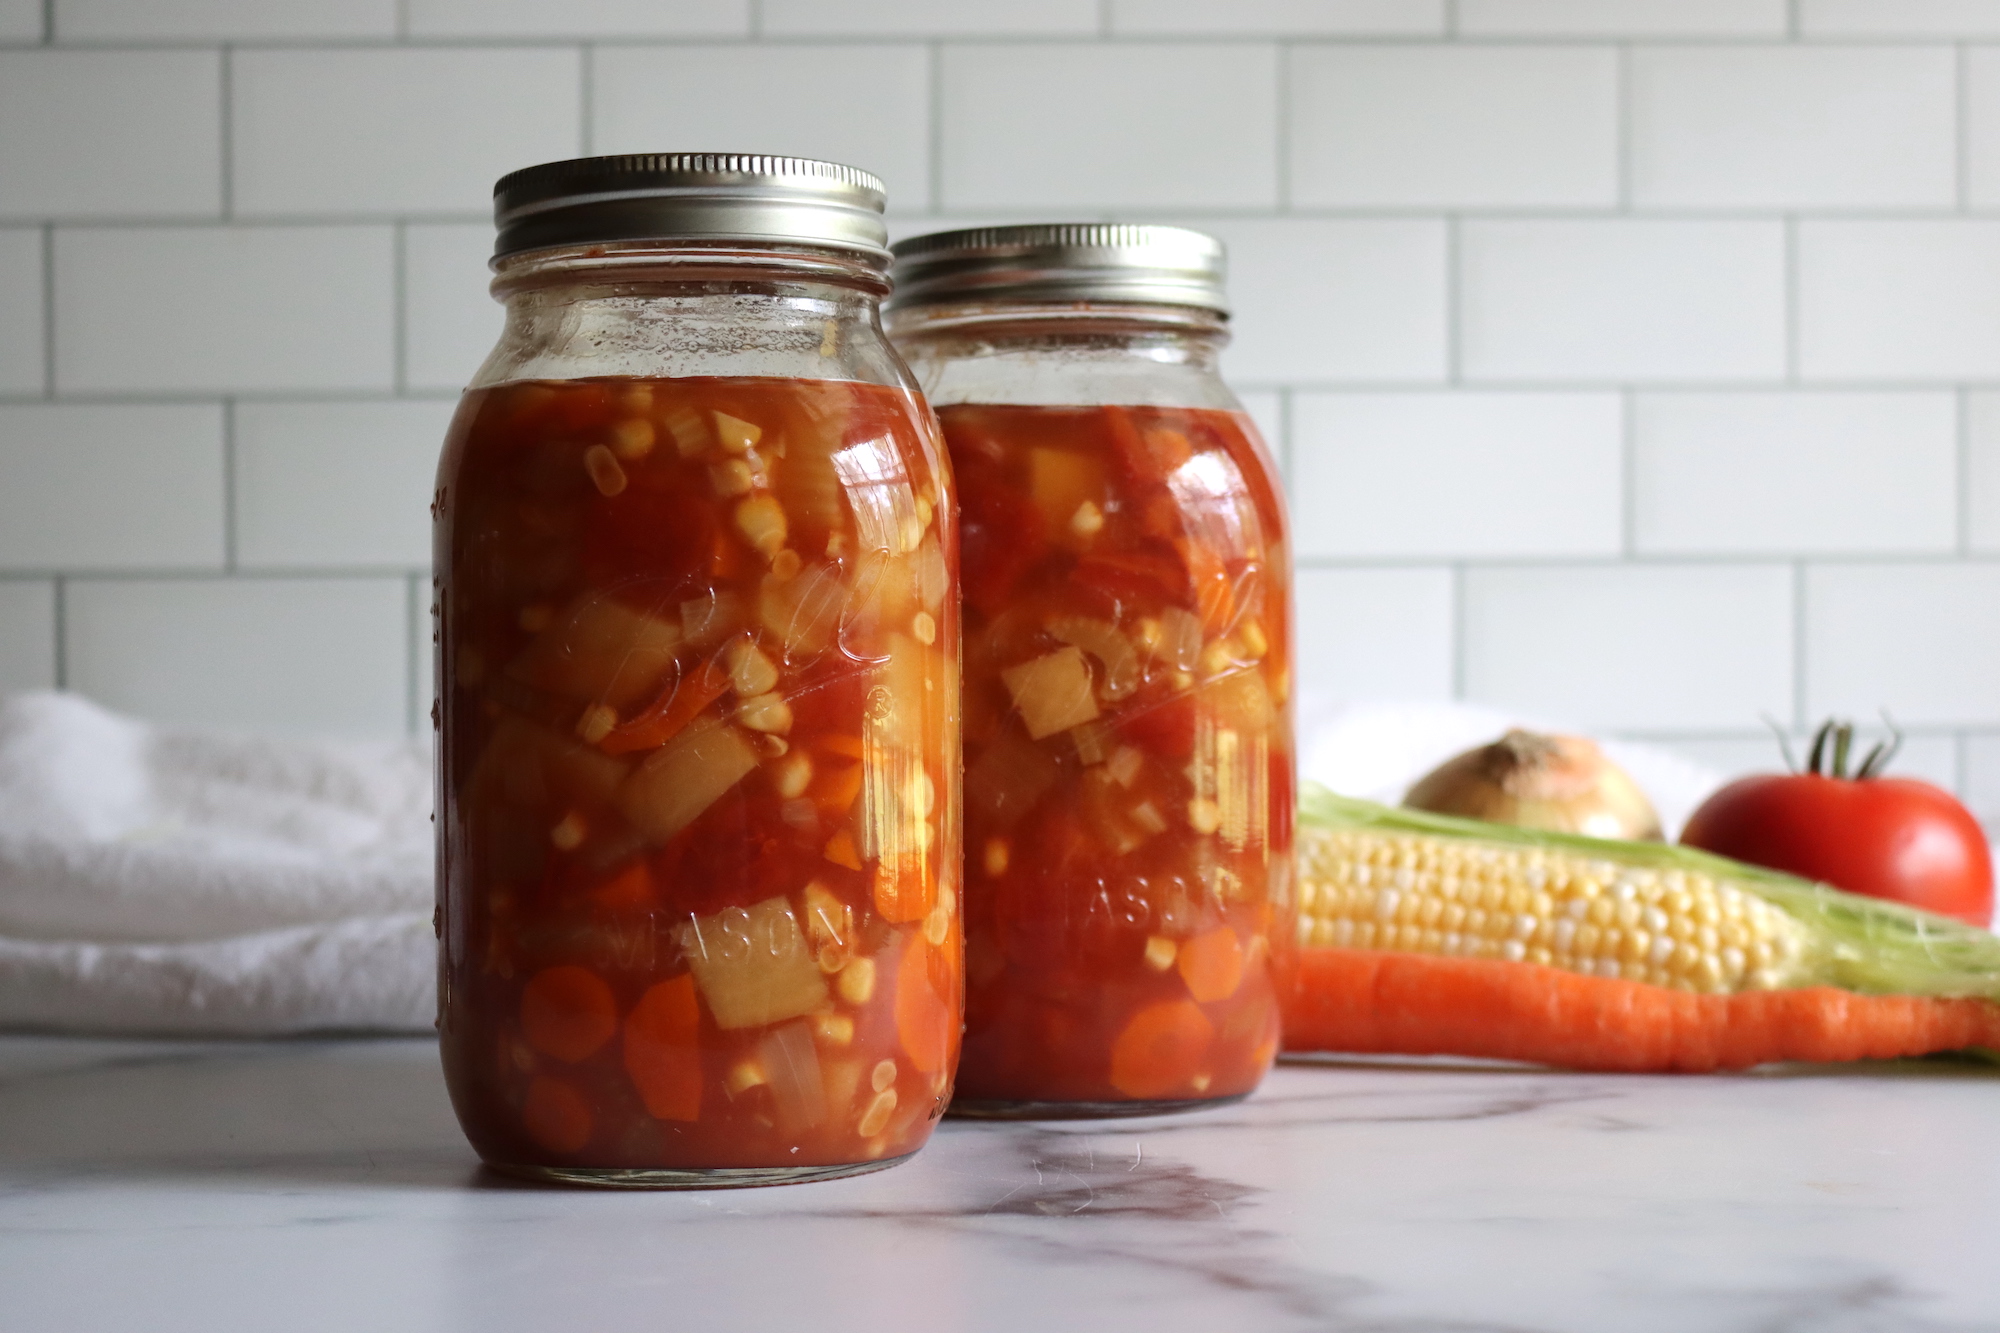
Table of Contents
- Notes from My Kitchen
- Quick Look at the Recipe
- Ingredients for Canning Vegetable Soup
- Vegetable Soup Variations
- How to Make Vegetable Soup
- Canning Vegetable Soup
- Altitude Adjustments
- Tips for Success
- Serving Vegetable Soup
- Yield Notes
- Vegetable Soup FAQs
- Soup Canning Recipes
- Classic Vegetable Soup Recipe
- Meal in a Jar Canning Recipes
This recipe has been reviewed for safety and accuracy by a Master Food Preserver certified through the University of Cornell Cooperative Extension.
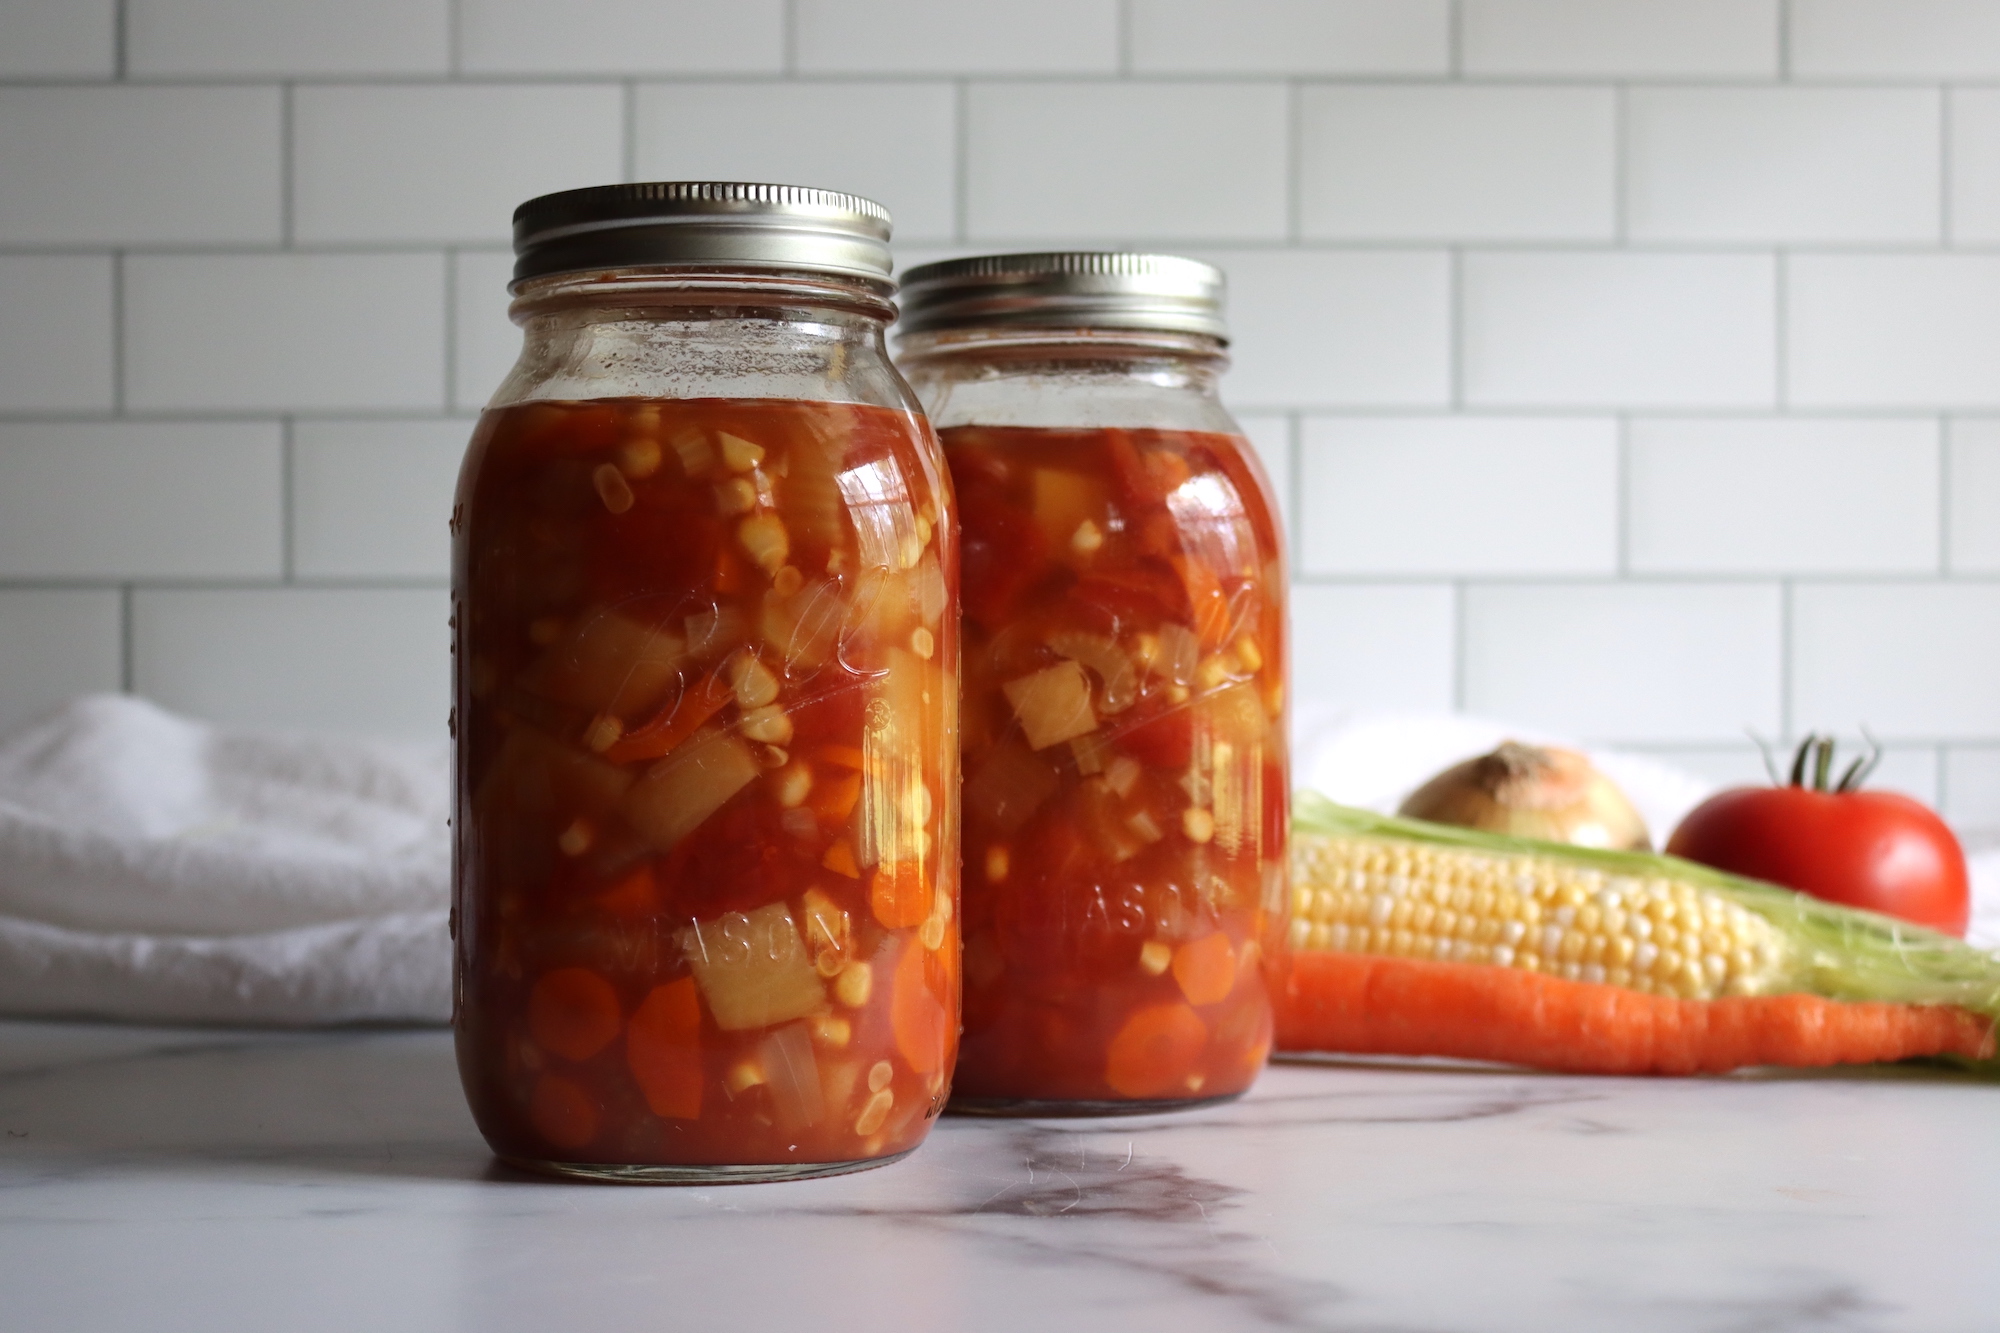
This canned vegetable soup comes straight from the Ball Blue Book Guide to Preserving, a classic recipe that home canners have been putting up for generations. It is a full-packed soup, which means the jars are loaded with vegetables and just enough broth to fill the gaps, and it is processed in a pressure canner the way every low-acid soup needs to be.
Homemade vegetable soup is my go-to when I am feeling under the weather. Plenty of people reach for home-canned chicken soup, and that is a good one too, but there is something about chunky vegetables in a tomato broth that just tastes like nourishment to me.
The trouble is, I always crave it in the middle of winter when the colds hit, not in late summer when all these vegetables are actually ripe and fresh. Canning solves that, and this is one of the vegetarian soup canning recipes I rely on most for filling the winter pantry.
Notes from My Kitchen

I make this most years right after the corn comes in, when the carrots and potatoes from the garden are piling up and the tomatoes are coming faster than we can eat them. The recipe calls for lima beans, but I am not a fan and we do not grow them, so I leave them out entirely and the soup is still plenty hearty. That is the nice thing about this one. You can shape it around what you actually have and what your family will actually eat.
A full canner batch gives me 7 quarts or 14 pints, which carries us through a good stretch of winter. I salt mine to my own taste, usually a couple of tablespoons across the whole batch, since you can always add more at the table but you cannot take it back out once it is in the jar. Open a jar, warm it on the stove, and dinner is basically done.
Quick Look at the Recipe
- Recipe Name: Classic Vegetable Soup
- Recipe Type: Soup Canning Recipe (full-packed)
- Canning Method: Pressure Canning
- Prep Time: About 45 minutes
- Cook Time: About 15 minutes
- Canning Time: Pints 55 minutes, Quarts 85 minutes
- Yield: About 7 quarts or 14 pints
- Jar Sizes: Pints or quarts
- Headspace: 1 inch
- Ingredients Overview: Tomatoes, potatoes, carrots, corn, celery, onions, optional lima beans, water or vegetable broth, salt and pepper
- Safe Canning Recipe Source: Ball Blue Book Guide to Preserving
- Difficulty: Moderate
- Similar Recipes: Canning vegetable soup works much like other pressure-canned soups, such as chicken soup, split pea soup, and carrot soup. If you want to keep things meatless, look through the rest of the vegetarian soup canning recipes or try vegetarian baked beans.
Ingredients for Canning Vegetable Soup
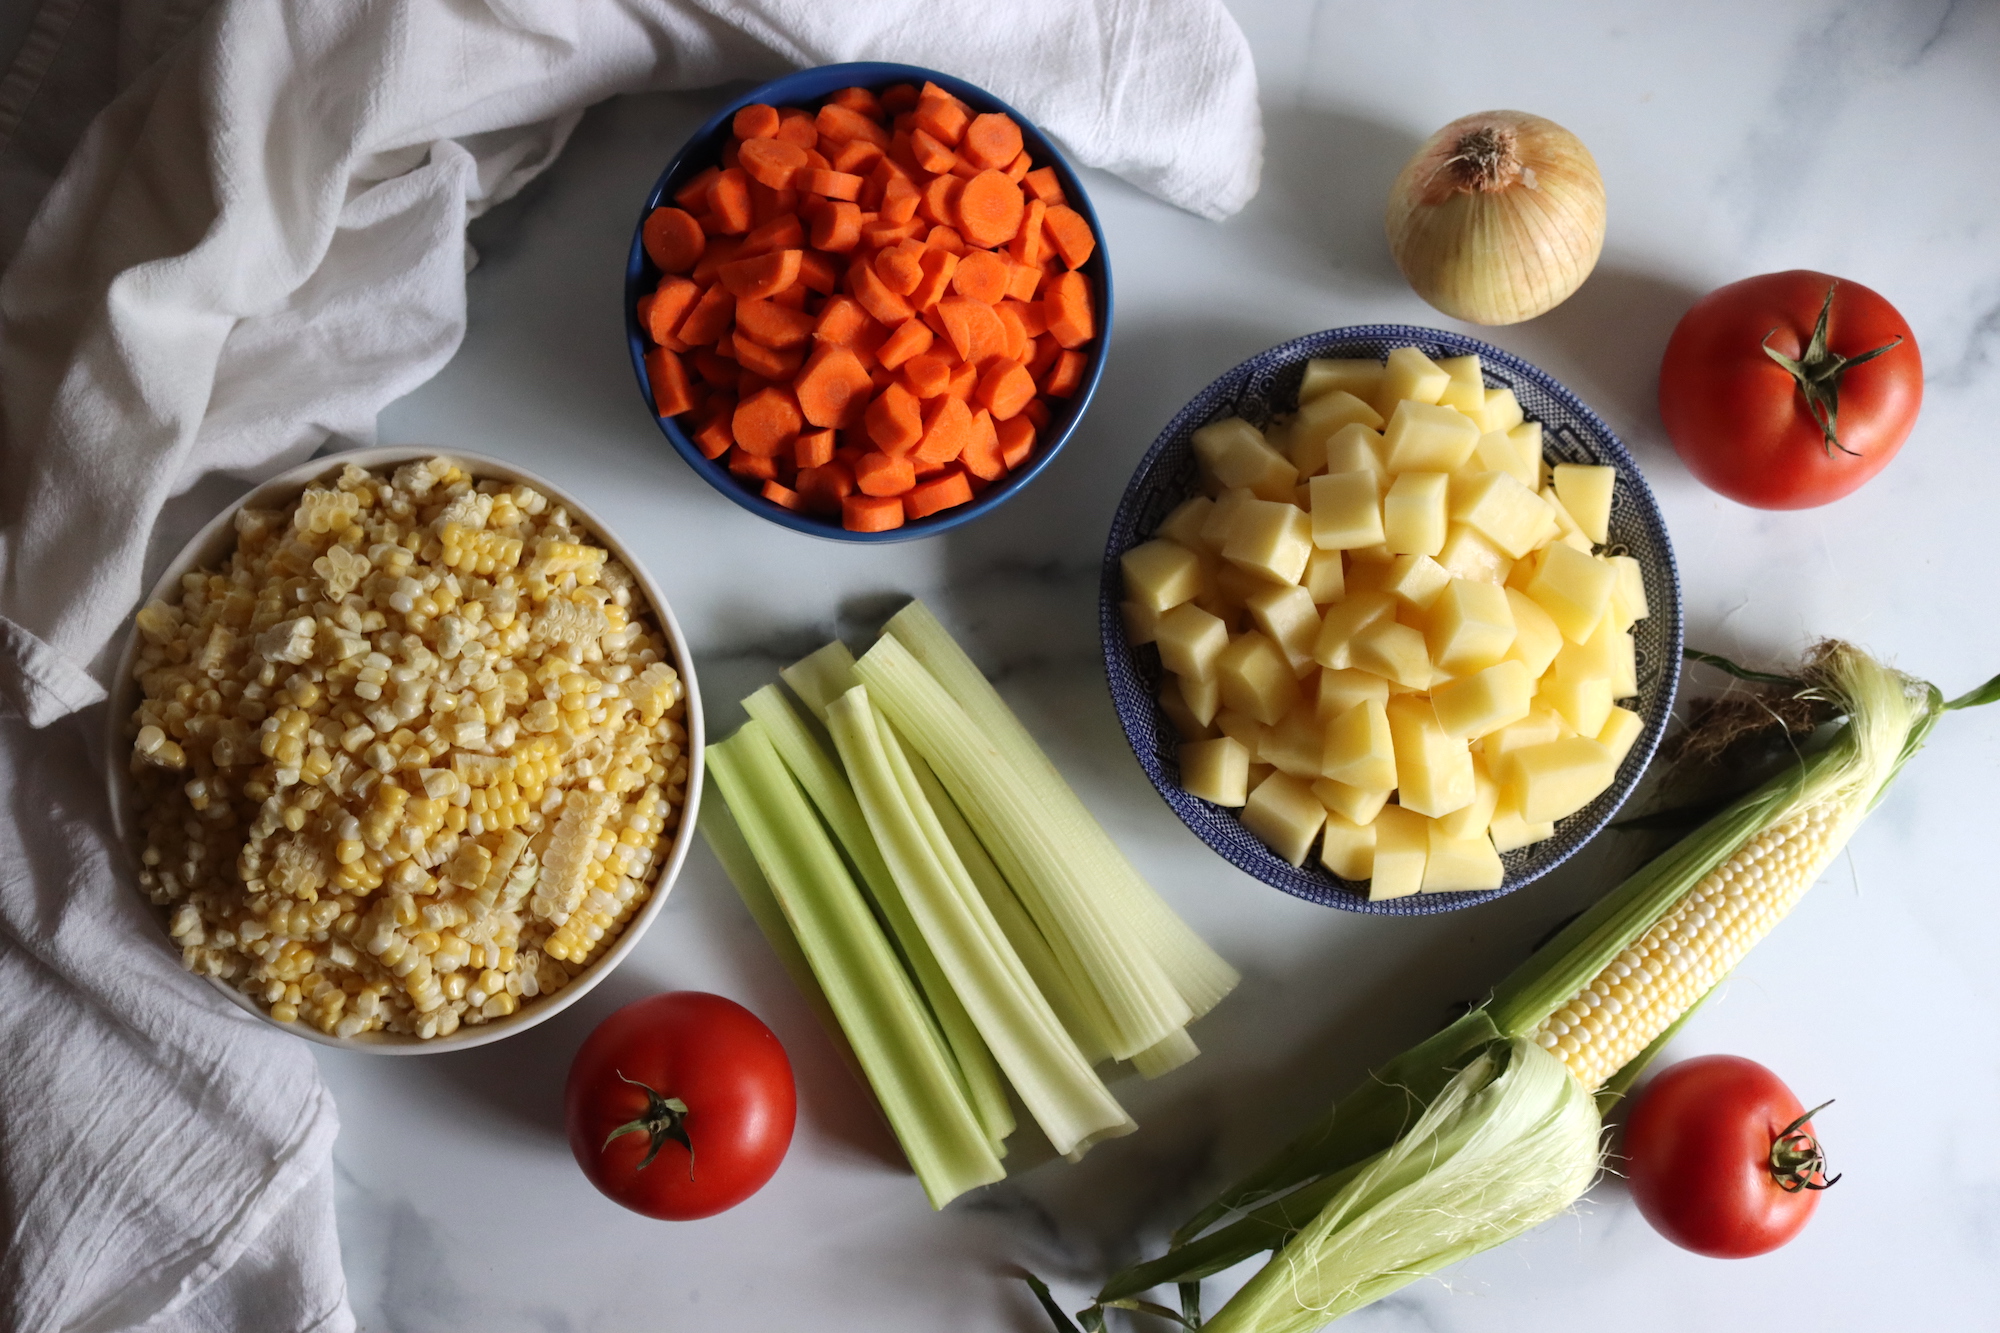
This tested recipe makes a full canner batch of 14 pints or 7 quarts. The measurements below come straight from the Ball Blue Book, and the vegetables are flexible within the rules covered in the notes section. Here is what goes into the pot:
- Tomatoes: The backbone of the soup. They add both liquid and acidity to the batch, which is why they are the one vegetable you cannot leave out. If you want to understand the role acidity plays in tomato canning, read more about acidifying tomatoes for home canning.
- Potatoes: They make the soup filling and hold their shape well through the long process. Peel them and cut into half-inch cubes.
- Carrots: Sliced about a quarter-inch thick so they cook evenly. You can find more ideas in the rest of the carrot canning recipes.
- Corn: Cut fresh from the cob for the sweetest flavor. If you have extra ears, there are plenty of other corn canning recipes to put them to use.
- Celery: Cut into one-inch slices. It adds a savory base note to the broth.
- Onions: Peeled and chopped for depth of flavor throughout the soup.
- Lima beans (optional): The Ball recipe calls for fresh lima beans in season. Canned limas are a fine swap, and if you only have dried, they need to be rehydrated and cooked first. I leave them out entirely, which is allowed.
- Water or vegetable broth: This fills the gaps between the vegetables. Homemade vegetable broth adds more flavor than plain water if you have it on hand.
- Salt and pepper: Optional and to taste. They season the soup but do not affect its safety, so adjust freely.
Dried herbs and spices like rosemary, sage, parsley, and garlic are all welcome and will not change the safety of the finished soup. Feel free to add dry spices that suit your families’ tastes.
Do not, however, add thickeners, pasta, rice, butter or dairy before canning. I know some people like pasta in their vegetable soup, but additions like that aren’t safe for canning and must be added at serving. (They keep their texture better that way anyway.)
Vegetable Soup Variations
This is a tested recipe from the Ball Blue Book Guide to Preserving, and the processing time and pressure are what make it safe. Do not shorten the time, lower the pressure, or try to water bath a soup, since vegetable soup is low acid and only a pressure canner brings it to a safe temperature. Tomatoes are the one ingredient you have to keep, because they carry the acidity and much of the liquid for the batch.
You can leave out any of the other vegetables to suit your family, whether that is the corn, onions, celery, carrots, potatoes, or lima beans. Just know that your yield will be a little smaller, and you cannot add other vegetables to make up the difference, since the recipe was tested with these specific amounts.
If you would like to change out the vegetables, the USDA does have some guidance on creating your own soup canning recipe which allows for some substitutions. Be sure to read the instructions carefully, and know that the choice soup canning recipe guidance has longer processing times (75min/90min) than this Ball tested recipe to account for more variation in veggie choices.
How to Make Vegetable Soup
The work here is mostly prep, since the vegetables get chopped, measured, and given a short simmer before they ever go into jars. This is a hot pack recipe, which means everything is cooked briefly first so the jars fill cleanly and the heat penetrates well.
Set yourself up with measuring containers before you start, because the recipe is built on volumes of prepared vegetables rather than whole ones. Work through each vegetable in turn and you will have everything ready to go into the pot together.
Prepare the Vegetables
Start by washing all of your vegetables under cold water and draining them well. Peel the tomatoes by blanching them in boiling water for 30 to 60 seconds, then plunging them into cold water so the skins slip off. Core the peeled tomatoes and measure out two quarts.
Peel the potatoes and cut them into half-inch cubes, then measure. Peel and slice the carrots a quarter-inch thick, cut the corn from the cob, slice the celery into one-inch pieces, and peel and chop the onions, measuring each as you go. Set everything aside so it is ready to combine.
Simmer and Pack the Jars
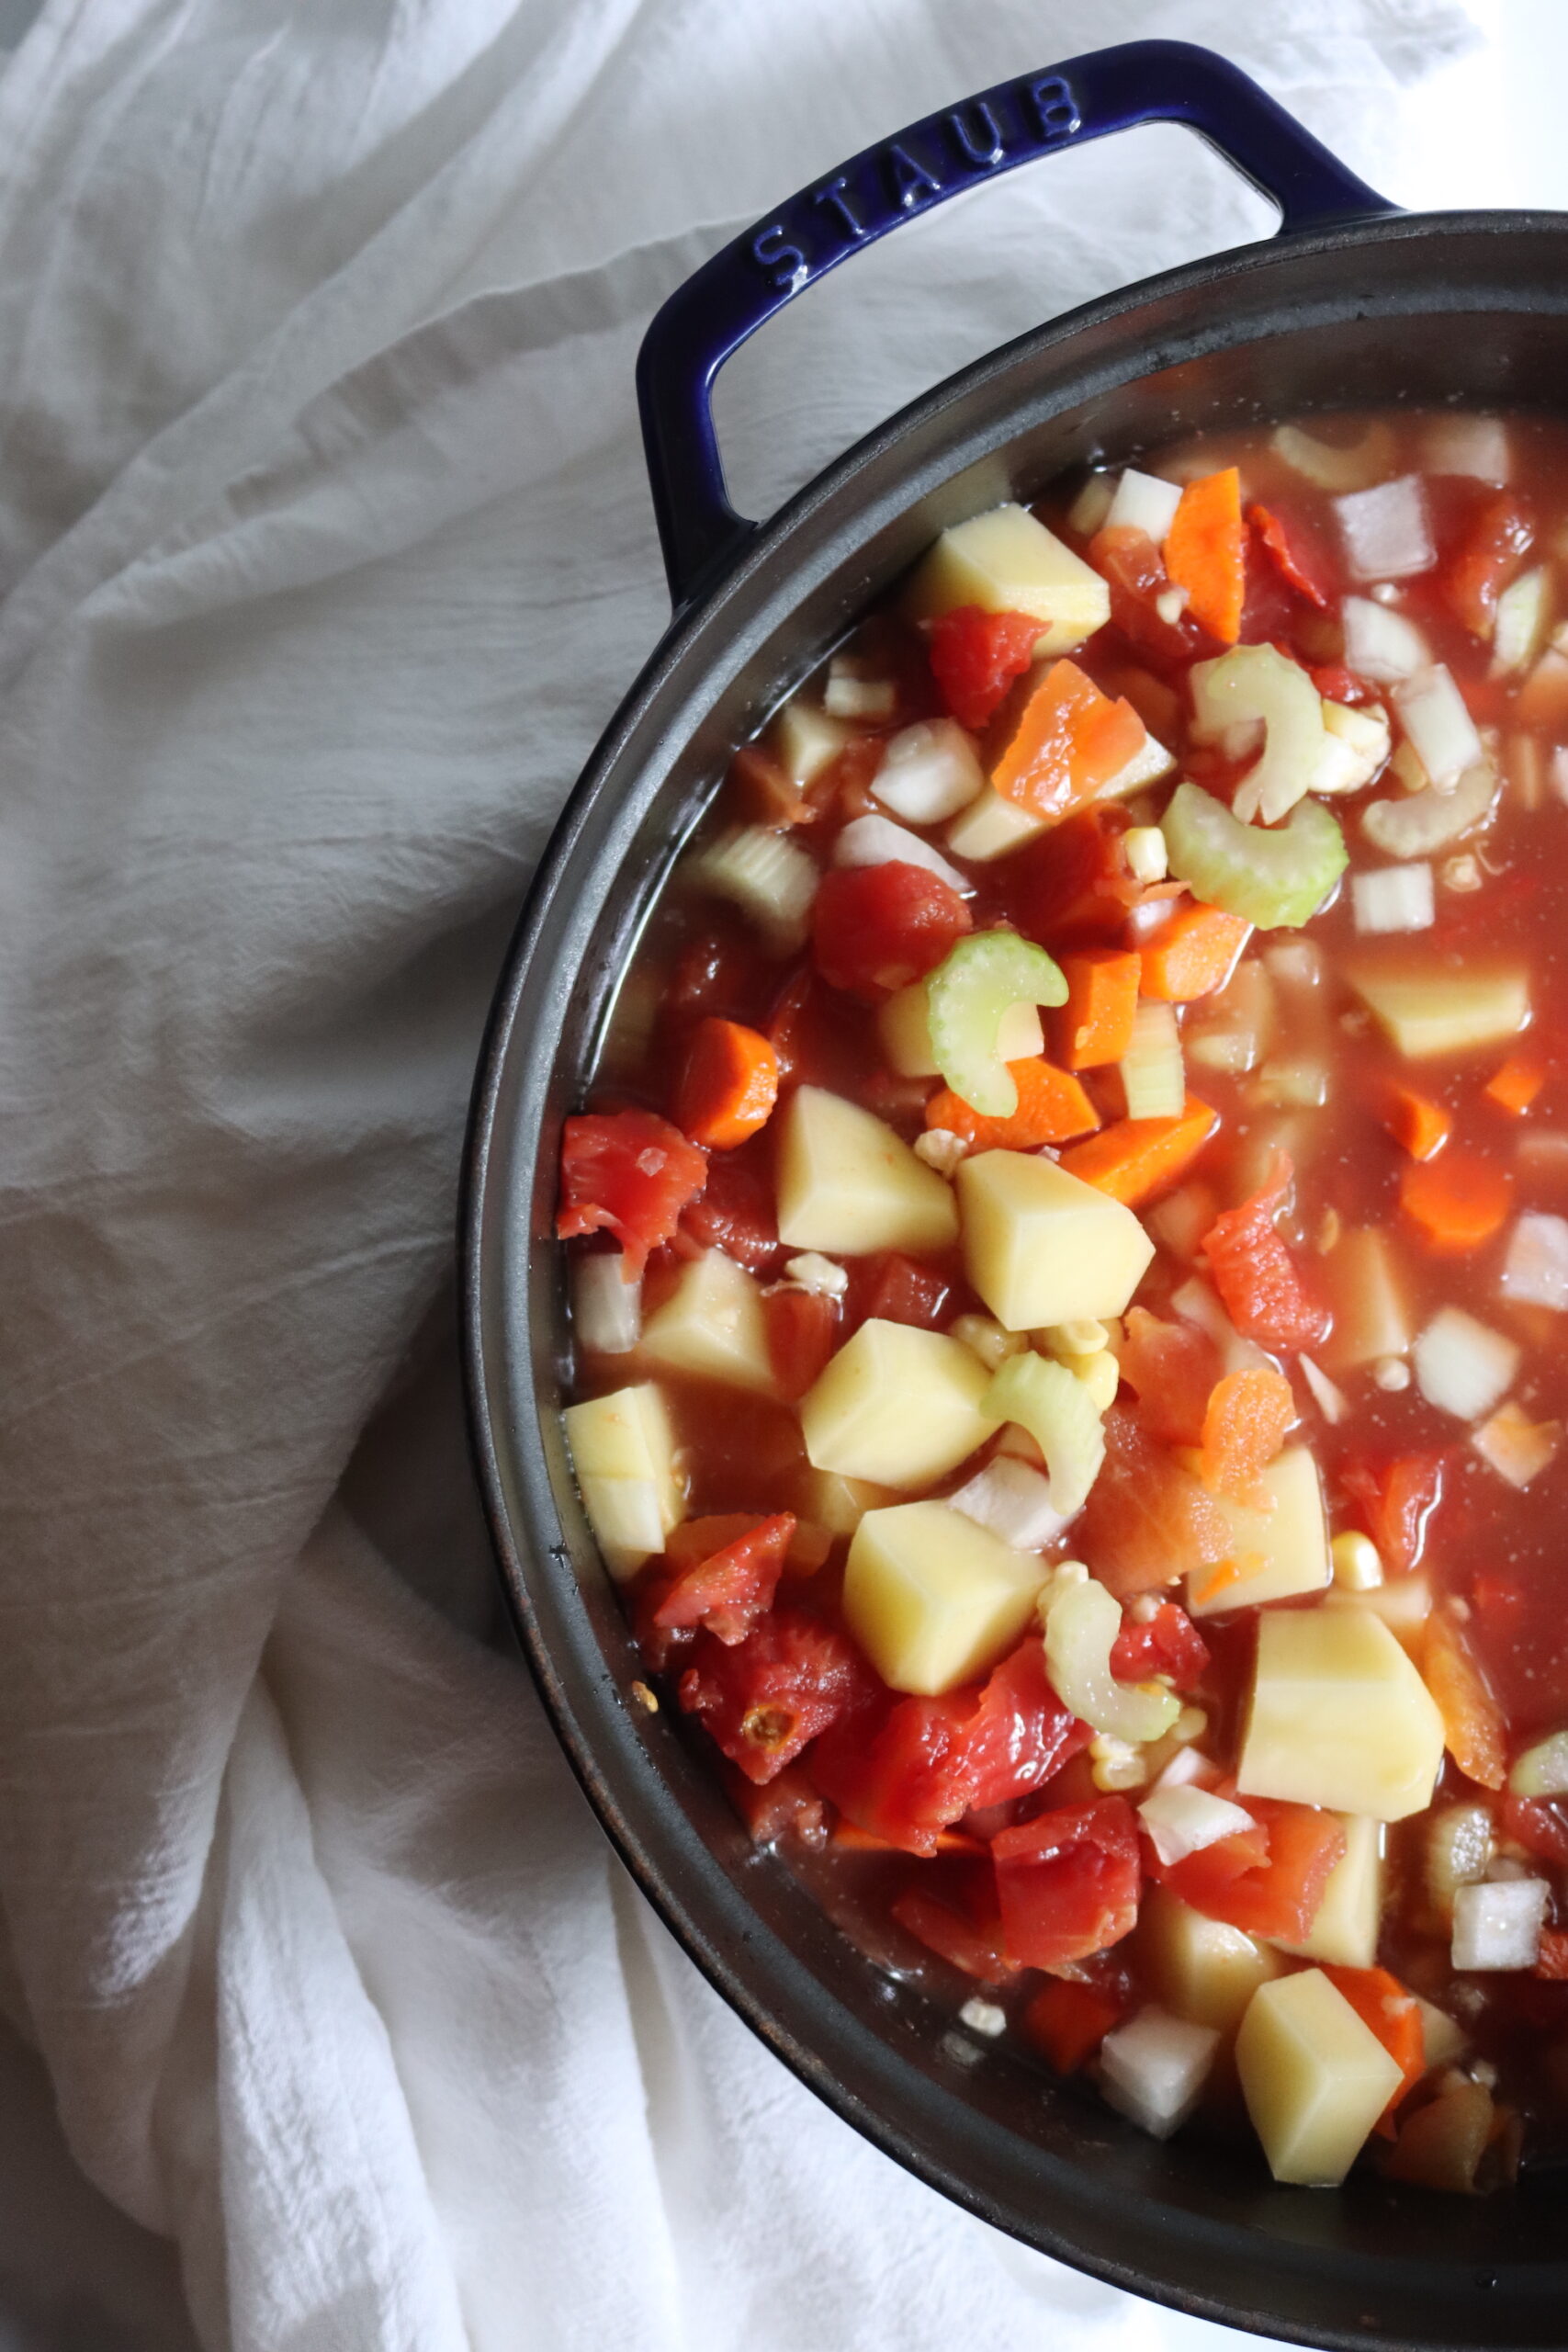
Add all of the prepared vegetables and the water or broth to a large saucepan, holding back the salt and pepper for now. Bring it to a boil, then reduce to a gentle simmer (around 180 degrees Fahrenheit if you are measuring) for 15 minutes. Season with salt and pepper to taste once it has simmered.
The Ball Book leaves salt vague and doesn’t give you a specific amount beyond “to taste.” Generally, home-canned soups usually run about three-quarters to one teaspoon of salt per quart.
For this batch of 7 quarts I use around two tablespoons, which lands right for my family, but you can use more or less since salt is for flavor only.
Ladle the hot soup into your prepared jars, leaving one inch of headspace, then remove air bubbles, wipe the rims clean, and set the lids and bands on fingertip tight.
Canning Vegetable Soup
This recipe is sized for a full canner load, and pressure canning has a minimum batch of 2 quarts or 4 pints, so plan to fill the canner. The yield lands at about 7 quarts or 14 pints.
To can, prepare your pressure canner, jars, and lids. Load the filled jars into the canner and add two inches of simmering water. Lock the lid into place, turn the heat to medium-high, and vent steam for a full 10 minutes before adding the gauge or weight. Bring the canner up to 10 pounds pressure, adjusting for your altitude as shown below.
Process pint jars for 55 minutes or quart jars for 85 minutes (1 hour and 25 minutes). When the time is up, turn off the heat and let the canner return to zero pressure on its own, with no forced cooling.
Remove the jars, let them cool undisturbed for 24 hours, then check the seals, label, and store.
Altitude Adjustments
With pressure canning, the processing times stay the same at higher altitudes, but the pressures change. Here are the altitude adjustments for pressure canning vegetable soup:
For dial gauge pressure canners:
- 0 to 2,000 feet: 11 lbs pressure
- 2,001 to 4,000 feet: 12 lbs pressure
- 4,001 to 6,000 feet: 13 lbs pressure
- 6,001 to 8,000 feet: 14 lbs pressure
For weighted gauge pressure canners:
- 0 to 1,000 feet: 10 lbs pressure
- Above 1,000 feet: 15 lbs pressure
Tips for Success
Measure your vegetables by volume after they are prepped, not before, since the recipe is balanced around quarts and cups of cut vegetables. Eyeballing it tends to overpack the jars, and a jar crammed too tightly with solids does not let heat move through the way the tested process assumes.
Keep the simmer gentle rather than a hard rolling boil, which keeps the potatoes and carrots from falling apart before they reach the jars.
Serving Vegetable Soup
The simplest way to serve this soup is to pour a jar into a pot and warm it through. From there it takes well to a handful of additions, so stir in cooked pasta or rice. Unlike hearty stews, vegetable soup isn’t usually thickened or served with cream, but I have seen a few people serve it that way. Fresh herbs brighten it up after that long process too, if you happen to have them on hand.
To round it into a meal, pair it with a crisp salad and crunchy garlic bread, or serve it alongside grilled cheese for an easy weeknight dinner.
For something a little different, ladle it into a hollowed-out sourdough loaf, or set out toppings like diced avocado, shredded cheese, crumbled bacon, sliced jalapeno, and a few dashes of hot sauce and let everyone fix their own bowl.
Yield Notes
A full batch of this recipe yields about 7 quarts or 14 pints. That number shifts a little depending on which vegetables you keep, so a batch made without the lima beans, as I make it, comes out slightly smaller than one with everything included.
You can scale the recipe down if you do not need a full canner load, but keep in mind the pressure canning minimum of 2 quarts or 4 pints. Since the vegetable amounts are tested as a set, hold the proportions steady when you halve it rather than swapping one vegetable in for another.
Before you head to the recipe card, here are a few questions that come up often with canned vegetable soup.
Vegetable Soup FAQs
No. Vegetable soup contains low acid ingredients and isn’t safe for waterbath canning. You do need to use a pressure canner for safe shelf stable jars.
No. Flour, cornstarch, and other thickeners are too dense to let heat move through the jar safely, so they are never added before canning. Thicken the soup on the stove when you reheat it to serve.
Yes, with one exception. You can omit the corn, onions, celery, carrots, potatoes, or lima beans to suit your taste, but the tomatoes have to stay since they provide the acidity and liquid. Leaving vegetables out lowers the yield a little, and you cannot add other vegetables to make up the difference.
Properly processed and sealed jars keep for about 12 to 18 months in a cool, dark place, though they stay safe longer. Refrigerate after opening and use within 3 to 4 days.
There are so many soups worth putting up for the pantry. Try a few more of these soup canning recipes:
Soup Canning Recipes
If you tried this Classic Vegetable Soup recipe, or any other recipe on Creative Canning, leave a ⭐ star rating and let me know what you think in the 📝 comments below!
And make sure you stay in touch with me by following on social media!
Classic Vegetable Soup
Equipment
Ingredients
- 2 Quart tomatoes, chopped
- 1 ½ Quart potatoes, peeled and cubed
- 1 ½ Quart carrots, peeled and sliced
- 1 Quart corn, whole uncooked kernel corn, off the cob
- 2 cups celery, sliced
- 2 cups onions, chopped
- 1 Quart lima beans, optional, fresh or canned, not dried, see note
- 1 ½ Quart vegetable broth, or water
- 1 tsp black pepper
- 2 Tbsp Salt, See Notes
Instructions
- Wash all vegetables under cold water and drain.
- Peel the tomatoes by blanching them 30 to 60 seconds in boiling water, then cooling them in cold water so the skins slip off. Core and set aside.
- Peel the potatoes and cut into half-inch cubes. Set aside.
- Peel the carrots and slice about a quarter-inch thick. Set aside.
- Cut the corn from the cob. Set aside.
- Slice the celery into one-inch pieces. Set aside.
- Peel and chop the onions. Set aside.
- Combine all vegetables with the water or broth in a large saucepan, holding back the salt and pepper. Bring to a boil, then reduce to a gentle simmer for 15 minutes.
- Season with salt and pepper to taste, if using.
- Ladle the hot soup into prepared jars, leaving 1 inch of headspace. Remove air bubbles, wipe the rims, and set lids and bands to fingertip tight.
- Load the jars into the pressure canner and add 2 inches of simmering water. Lock the lid, vent steam for 10 minutes, then bring to 10 lbs pressure, adjusting for altitude.
- Process pints for 55 minutes or quarts for 85 minutes. Turn off the heat and let the canner return to zero pressure naturally.
- Remove the jars and cool undisturbed for 24 hours. Check the seals, label, and store.
Notes
- 0 to 2,000 feet in elevation – 11 lbs pressure
- 2,001 to 4,000 feet in elevation – 12 lbs pressure
- 4,001 to 6,000 feet in elevation – 13 lbs pressure
- 6,001 to 8,000 feet in elevation – 14 lbs pressure
- 0 to 1,000 feet in elevation – 10 lbs pressure
- Above 1,000 feet – 15 lbs pressure
Nutrition
Nutrition information is automatically calculated, so should only be used as an approximation.
Looking to stock the pantry with full dinners in a jar? Browse a few more meal in a jar canning recipes:
Meal in a Jar Canning Recipes
Find the perfect recipe
Searching for something else? Enter keywords to find the perfect recipe!

I made this recipe and it turned out so well, I entered it in the Iowa State Fair canning and won second place! Thanks for the wonderful recipe!
A quick question, could I substitute frozen lima beans?
Yes, you can use frozen lima beans, that’d work just fine. I’m so happy you won a prize with it!
I am canning this right now, it looks great. Can I add chicken stock to it and increase the time for quarts from 85 minutes to 90 minutes?
Yes, that works just fine. Enjoy!
When can I put in my dry spices?
Add them right after the 15 minute simmer, along with the salt and pepper, and stir them in before you ladle the soup into the jars. Go easy on sage and thyme, since both can turn a little bitter in the pressure canner.
Can I use a different bean? It sounds like we have to use canned beans?
Good questions! On the canned part first: no, you don’t have to use canned beans. The original Ball recipe was actually written for fresh lima beans in season. Canned limas are just a convenient swap, and dried limas work too as long as you fully rehydrate and cook them before they go in the pot. Raw dried beans can never go straight into a canning recipe. You can also skip the beans entirely, which is how I usually make it.
Swapping in a different bean is where it gets more particular. This recipe is tested with these specific vegetables at a fairly short processing time, so under this recipe it’s limas or nothing. But if you’d like a different bean, there’s a framework for building your own version: https://creativecanning.com/choice-soup-canning-recipe/. It allows for ingredient swaps like this with a slightly longer processing time (75 minutes for pints, 90 for quarts), and your beans would still need to be fully cooked before canning. Happy canning!
can you use an electric pressure canner with your soup recipes
Yes, if it’s a Presto Precise digital pressure canner. It uses the same tested processing times as a stovetop pressure canner, so you can follow the recipe as written, and it adjusts for altitude on its own. It holds fewer jars than most stovetop canners, so you’ll need to halve the recipe or run it in two loads. Multicookers like the Instant Pot aren’t pressure canners, even the ones with a canning button, so don’t use those. More about electric canners here: https://creativecanning.com/electric-pressure-canner/
Wondering if I can add a bouillon cube to each quart jar. Chicken or beef
Thank you
Yes, you can use bouillon, but dissolve it in hot water first and use that as your broth, rather than dropping a cube into each jar. A whole cube won’t dissolve evenly in the jar. Mix it up at the strength you’d normally use for broth, and keep in mind it adds quite a bit of salt, so you may want to cut back on any salt in the recipe. Enjoy!
I’m new to pressure canning but my mom loves vegetable soup but she likes meat in hers so my question is can u put meat in this recipe and still pressure it?
Great question, and what a nice thing to make for your mom! You can’t add meat to this particular vegetable soup recipe, because it’s tested for a shorter canning time that isn’t long enough to safely process meat. The good news is you can build your own meaty version. I have a guide for creating your own safe soup canning recipe here: https://creativecanning.com/choice-soup-canning-recipe/. Just follow that guidance and you can put together a vegetable soup with meat that’s safe to pressure can. Good luck, and happy canning!
Tried this, It turned out great! I’m one of those people that if you don’t tell me ‘why’, I’m going to do it anyway and find out ‘why’ myself. That being said, why can’t you leave something out that you don’t like and not be able to add something else? I’m assuming you mean you can’t add it at the end when you fall short, but you ‘can’ at the start when you know you are going to be short in the first place?
This recipe in particular is tested for shorter canning times than many other pressure canned meals in a jar. As a result, you really do need to stick to the recipe because that’s how it’s been tested, and there are plenty of changes that could cause it to be unsafe. Not every change, of course, but certain things like adding creamed corn, winter squash or sweet potatoes would result in under processed jars.
However, if you really want to change it up, there is a framework for that, and all it requires is a slightly longer processing time. (75 minutes for pints and 90 minutes for quarts, instead of 55 and 85). Exactly what you can and cannot change is laid out in my article on making your own soup canning recipe, and with that framework you should be able to find a way to make the changes you’d like without issue. Give it a read, it has all the whys in it: https://creativecanning.com/choice-soup-canning-recipe/
Are the lima beans cooked or dried?I’m assuming cooked, but maybe I’m wrong
They are cooked. I’ll clarify that in the recipe.
Can you use can tomatoes
Yes, you can use canned tomatoes in this recipe. You’d use the same volume of canned diced tomatoes. Don’t drain the cans, just use them as they are with the liquid. Enjoy!
Can I leave the link beans out.
Yes, you can leave the lima beans out. Enjoy!
Can you use frozen vegetables in place of the fresh ones?
Yes, with this recipe you can use frozen veggies. Some veggies have odd texture issues if they were pre-frozen, and you may find that in the finished soup. However, if you normally use those same frozen veggies in your cooking and don’t mind the texture, then it’ll be not much different when canned, so you should be fine. Enjoy!
Why can you not add other vegetables if you omit the ones in the recipe?
Some types of veggies increase the density of the finished product. There have recently been new instructions from the NCHFP that allow you to customize soup recipes, and the canning times are slightly longer. If you wanted to change the veggies in this recipe, follow the guidance for “hearty soups” given here: https://creativecanning.com/choice-soup-canning-recipe/
Thank you! That was such a help!
You’re quite welcome!
Why don’t you put approximately how many quarts or pints that your recipes will make? That way people could an make educated guess of the number of recipes to make for their needs.
At the top of the recipe card, in the header it says “Servings: 14 servings, Makes 14 pints or 7 quarts.” The text of the blog post also lists the yield under the ingredients section (To make a canner batch of 14 pints or 7 quarts of canned vegetable soup, you will need the following…).
Hope this helps!
I lost the recipe I used for my pressure cooker and am so excited to find this! It looks to be exactly the one I used several years ago! I had shoulder surgery and had not been able to can. This is the best recipe ever, perfect for winter suppers with a grilled cheese sandwich! Thank you for providing this recipe
You’re quite welcome!
I made 16 pints . There was just enough left for me to eat for my supper.
I thought it was very savory and quite delicious..
So glad you enjoyed it!
Is there any adjustments to this recipe if I’m using the Presto Electric canner?
No adjustments needed. You can make this as is in the presto electric, no problem. Enjoy!
This looks so good! Can you use a water bath canner or freeze it?
You can’t use a waterbath canner, but you can freeze it. Waterbath canners only work for things that are acidic (jams, jellies, pickles), anything with meat or veggies needs to be pressure canned.