
This post may contain affiliate links. Please see our disclosure policy.
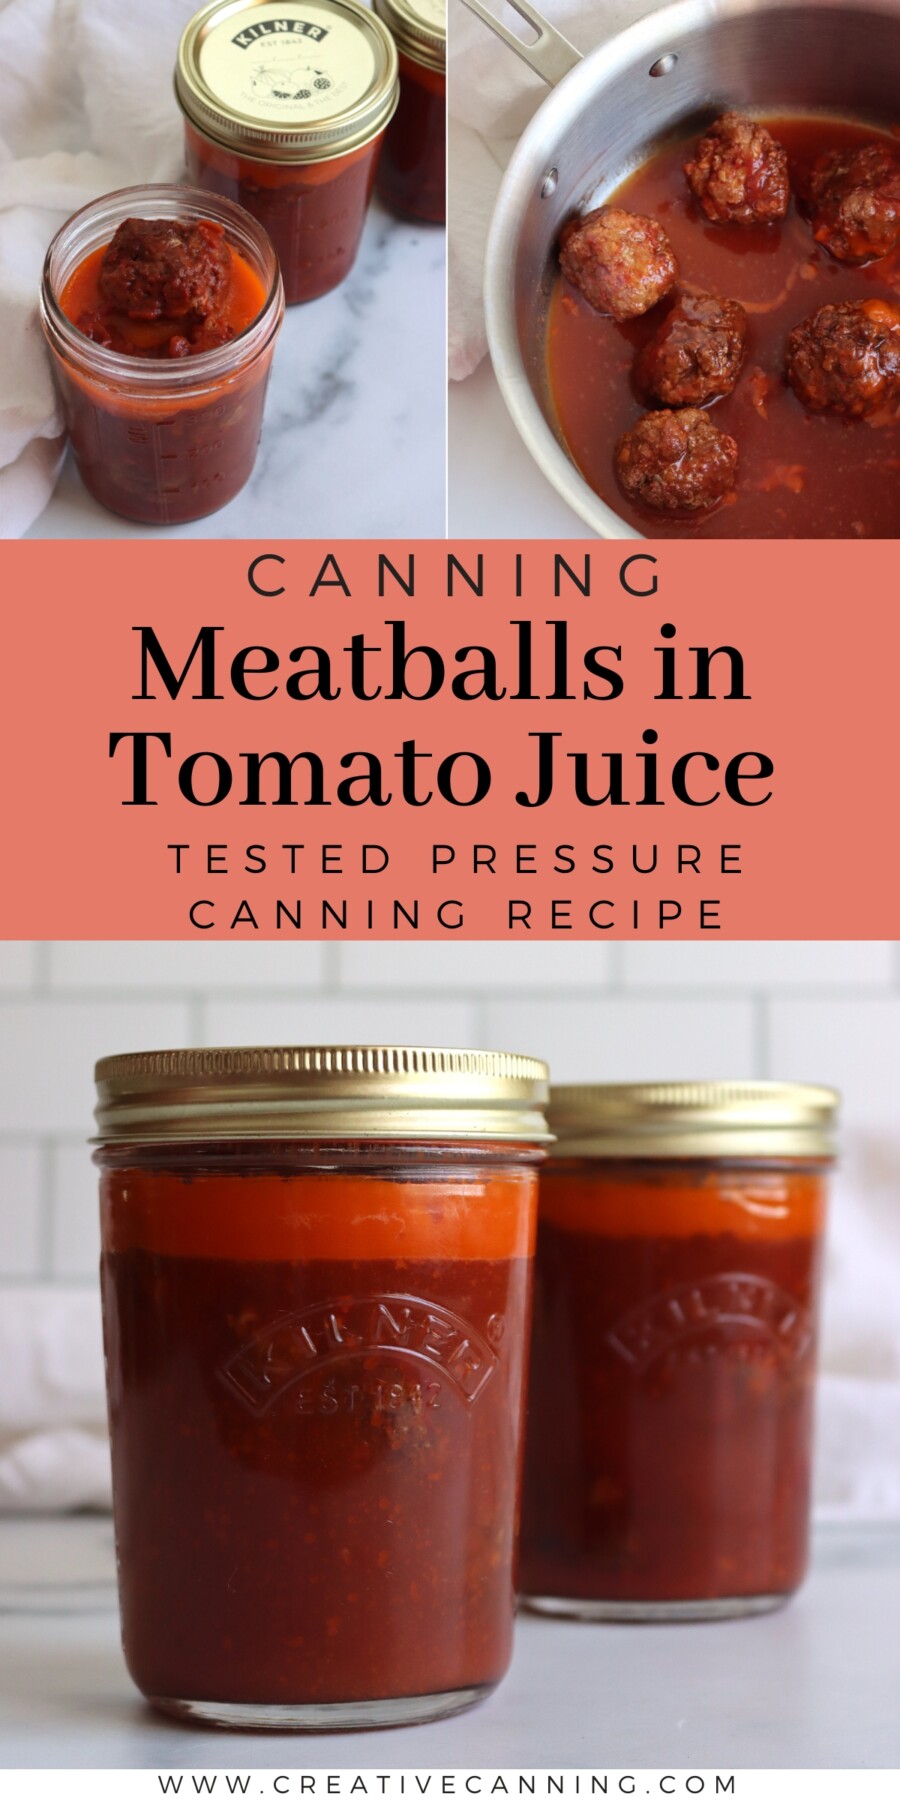
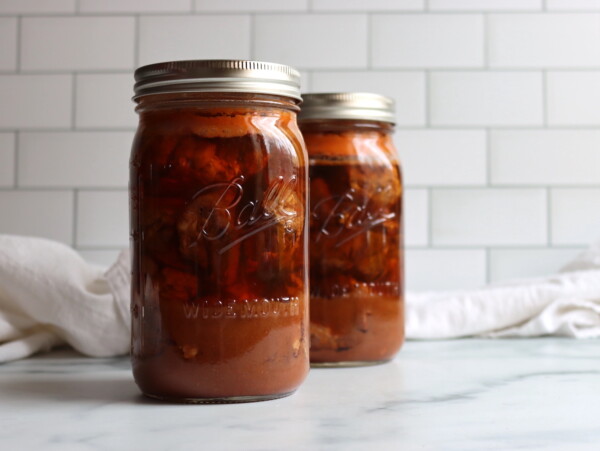
Canning meatballs in tomato juice gives you a ready-made dinner starter that goes from the pantry shelf to the table in minutes. The tomato juice turns into a rich, thick sauce as it heats, so you’re really canning meatballs in a sauce that just hasn’t finished cooking yet.
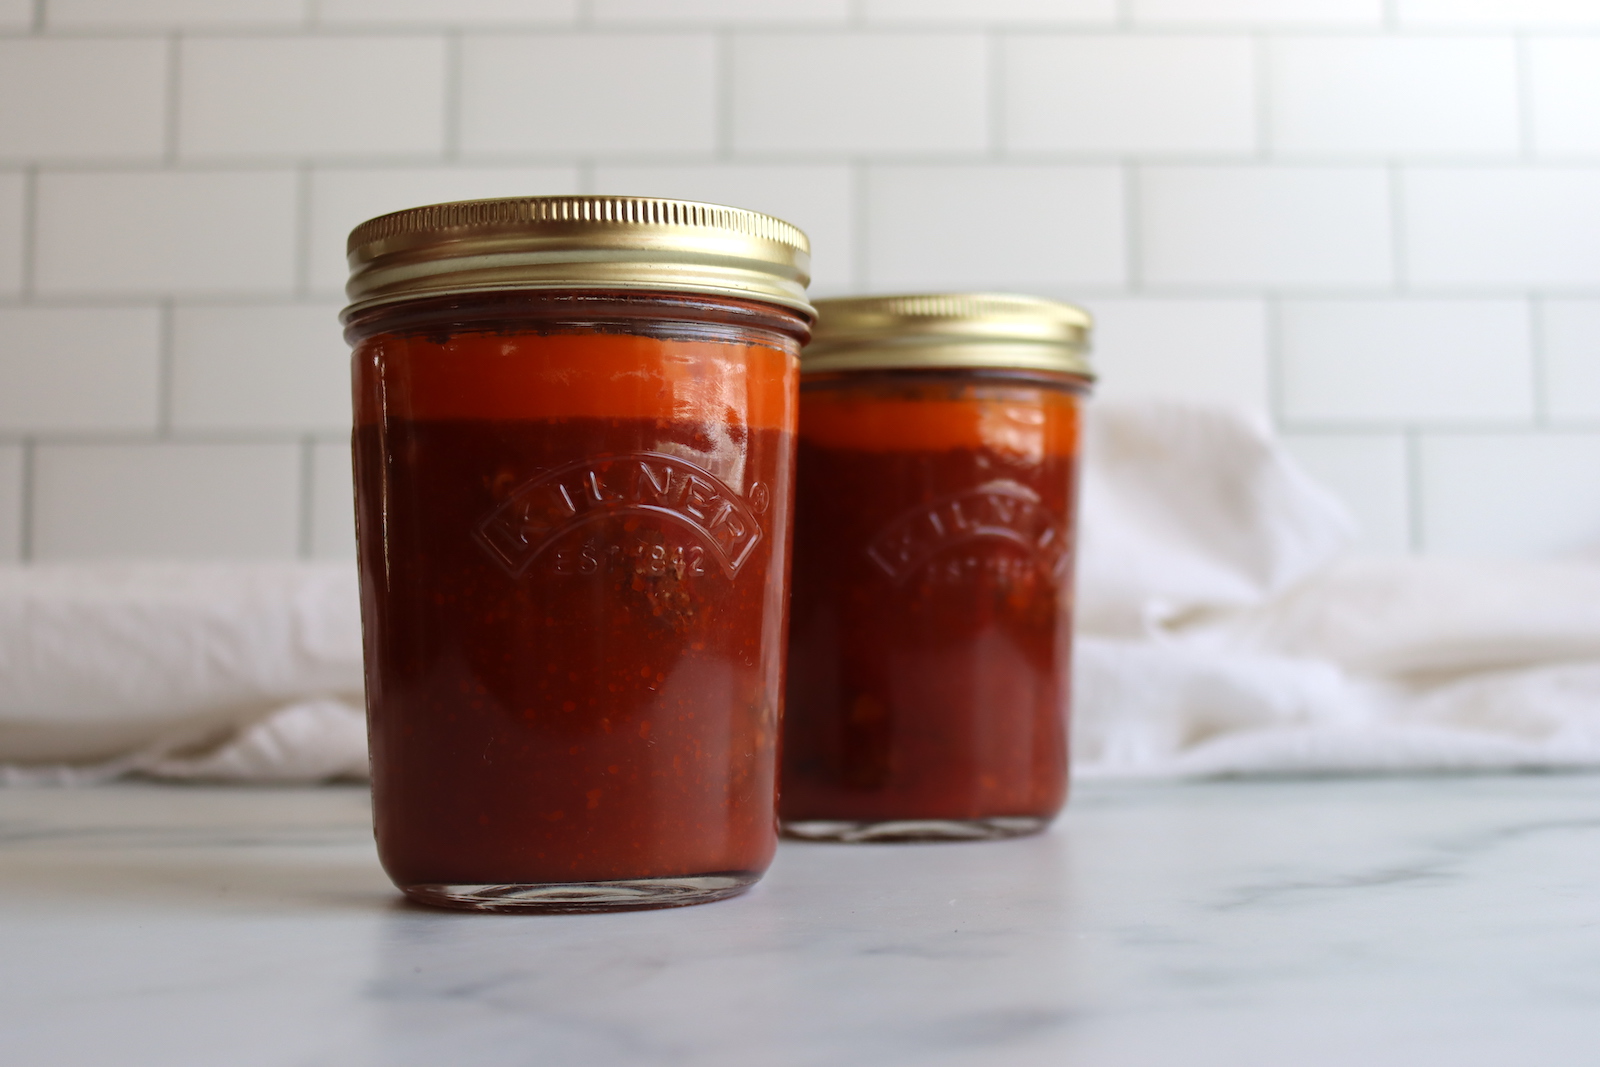
Table of Contents
This recipe has been reviewed for safety and accuracy by a Master Food Preserver certified through the University of Cornell Cooperative Extension.
This recipe follows the USDA Complete Guide to Home Canning guidelines for ground and chopped meat, which is also the source behind the meatball recipes in the Ball Blue Book of Canning.
The key safety rules are simple. No binders like egg, breadcrumbs, or flour go into the meatballs, and the canning liquid is tomato juice rather than sauce. Tomato juice is thin enough to let heat penetrate the jar safely, and the good news is that it thickens up into a proper sauce when you reheat the meatballs on the stovetop.
The recipe is also flexible by design. You can use beef, pork, Italian sausage, lamb, venison, or a mix, and the USDA guidelines cover all of these. I like a 50/50 blend of ground beef and Italian sausage, which seasons the meatballs well without a lot of extra work.
Notes from My Kitchen

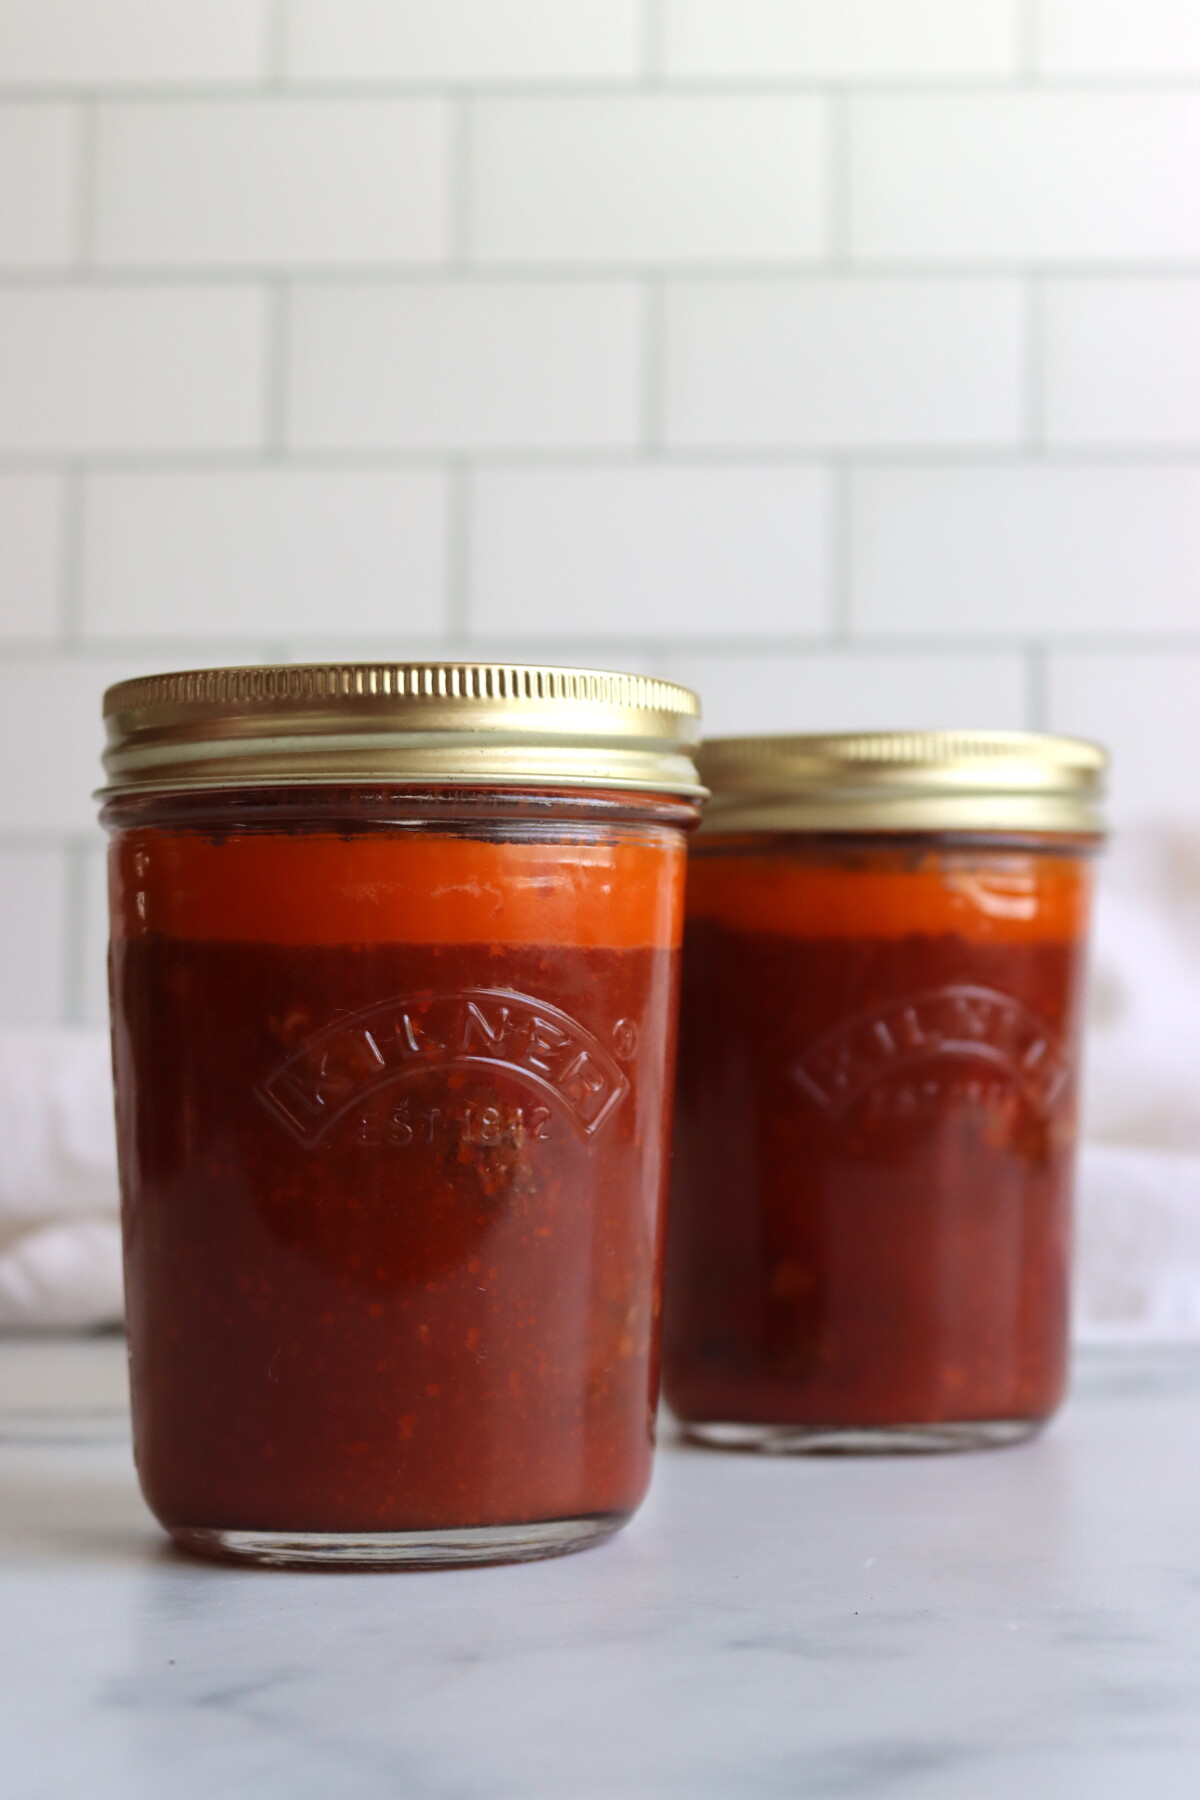
These really won me over. The texture stayed firm all the way through the pressure canning process, which surprised me. When you can hamburgers in broth, the meat can come out a little soft and need some crisping up in the pan, but these meatballs held their shape without any of that. The tomato juice adds good flavor while keeping the texture right where you want it.
The first batch I made ended up as meatball sandwiches. I heated a jar on the stovetop, watched the juice turn into a thick, glossy sauce, loaded everything onto a hoagie roll, topped it with cheese, and toasted it in the oven. My husband had no idea it came from a jar. It’s the kind of pantry meal that earns its spot on the shelf.
Quick Look at the Recipe
- Recipe Name: Canning Meatballs in Tomato Juice
- Recipe Type: Meal in a Jar Canning Recipe
- Canning Method: Pressure Canning
- Prep/Cook Time: About 45 minutes
- Canning Time: 75 minutes for pints, 90 minutes for quarts
- Yield: 6 pints or 3 quarts
- Jar Sizes: Pints or Quarts
- Headspace: 1 inch
- Ingredients Overview: Ground beef and Italian sausage, tomato juice, and seasoning
- Safe Canning Recipe Source: USDA Complete Guide to Home Canning, Ground or Chopped Meat
- Difficulty: Easy. Forming and browning the meatballs takes a little time, but the process itself is simple.
- Similar Recipes: This recipe is similar to other ground beef canning recipes, including Hamburger Patties in a Jar, Ground Beef Taco Meat, and Taco Soup. Find more on the Meat Canning Recipes and Meal in a Jar Canning Recipes pages.
Ingredients for Meatballs in Tomato Juice
This recipe uses just three core components: meat, tomato juice, and seasoning. The simplicity is the point. The USDA guidelines keep the ingredient list short for safety reasons, but there’s still plenty of room to make it your own within those boundaries.
- Ground beef: The base of the meatball. Use 80/20 ground beef for good flavor and texture. Leaner beef can work, but it may produce drier meatballs after pressure canning.
- Italian sausage: This is where a lot of the flavor comes from. A 50/50 blend of ground beef and Italian sausage seasons these meatballs well without making you measure out a long list of individual spices, since the sausage brings the seasoning built in. You can use all beef if you prefer, or substitute pork, lamb, venison, or any other meat from the USDA-supported list. Keep in mind, commercial Italian sausage mixes sometimes include binders, so read the ingredients and make sure it’s just meat and seasonings.
- Salt: Added to the unseasoned meat only. I use 1 teaspoon of salt per pound of unsalted ground beef. Since this recipe uses 2 pounds of ground beef and 2 pounds of Italian sausage (which is already salted), I add 2 teaspoons of salt total. If you’re using all unseasoned ground meat, use 1 teaspoon per pound. If your tomato juice is also salted, reduce the salt in the meat to 3/4 tsp per pound.
- Seasoning: Beyond the salt, you can add any combination of dry herbs and spices you like. Garlic powder, onion powder, dried oregano, parsley, basil, black pepper, fennel, or red pepper flakes are all good choices. Keep it simple or go full Italian, it’s up to you.
- Tomato juice: The canning liquid. You need between 3/4 cup and 1 1/4 cup per pint jar depending on the size of your meatballs, since smaller meatballs pack more efficiently and leave less space for liquid while larger meatballs need more juice to fill the gaps. You can use store-bought or home-canned tomato juice.
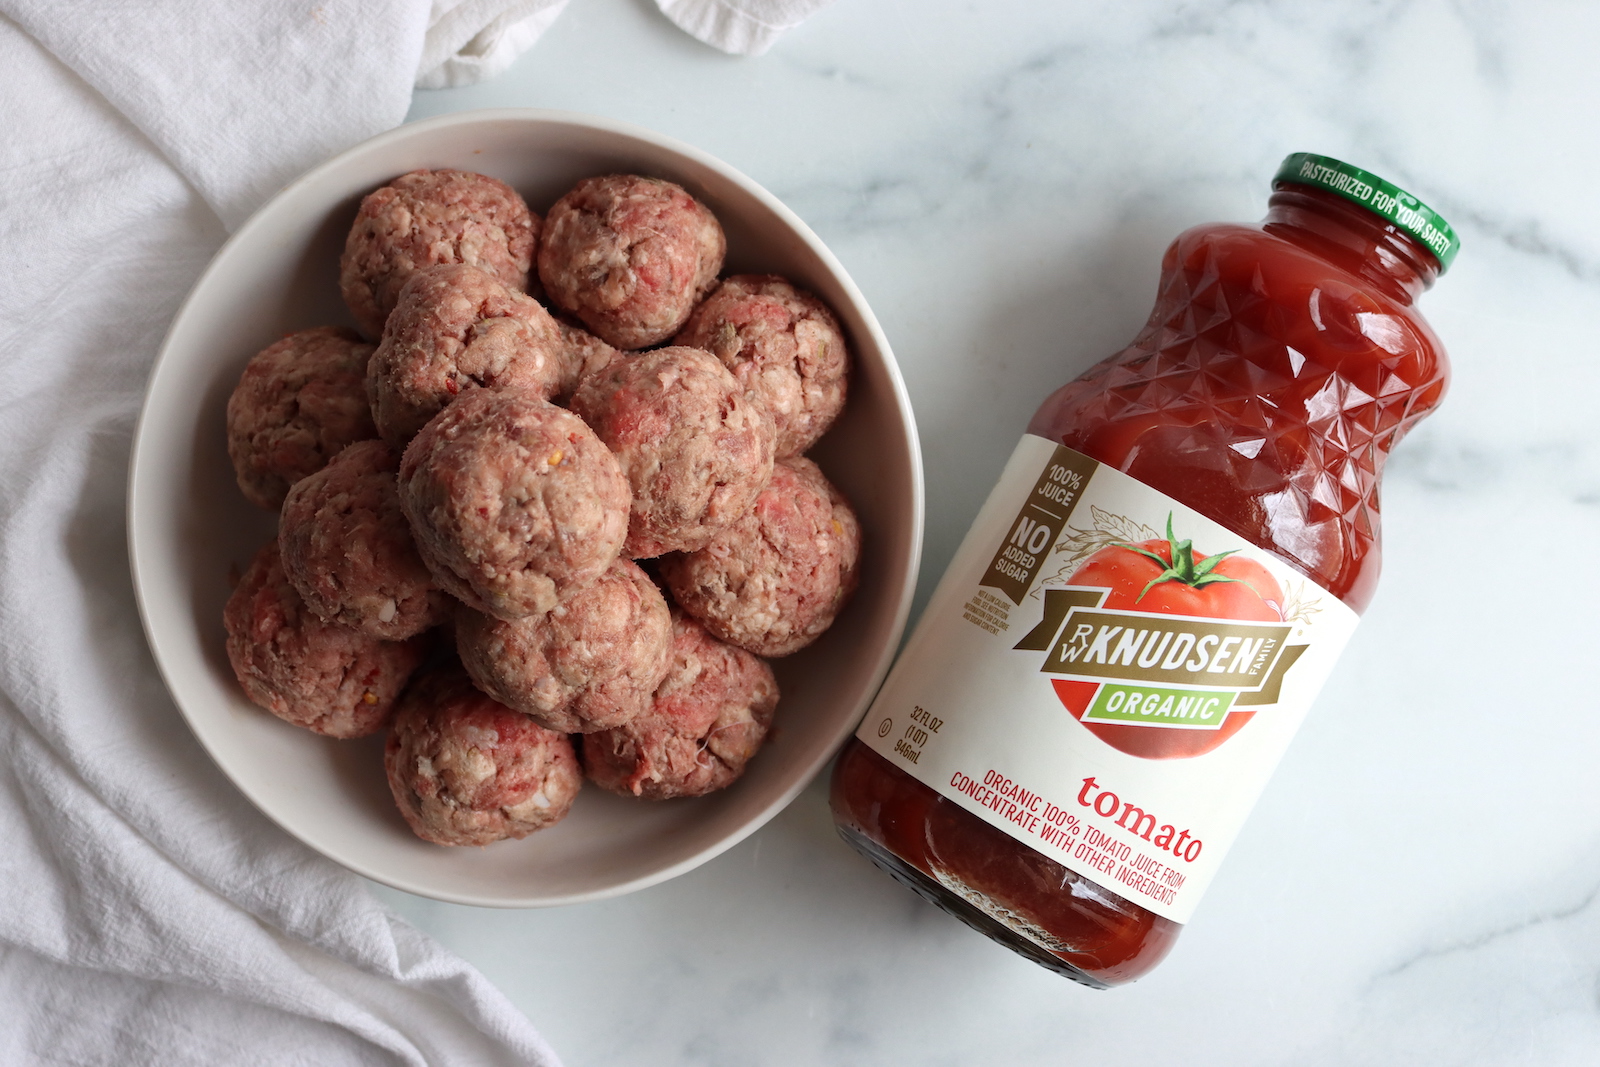
There are a few important safety rules for this recipe. Do not add any binders to the meatballs before canning, which means no egg, breadcrumbs, crackers, flour, cornstarch, or any other starch. These ingredients change the density of the meatball and can interfere with heat penetration during pressure canning. The browning step is what holds the meatballs together in the jar.
Do not use ground poultry (chicken or turkey) in this recipe, since there are no confirmed processing times for ground poultry from the USDA. Beef, pork, lamb, sausage, veal, venison, and bear are all supported.
Step-by-Step Instructions
- Combine the ground beef, Italian sausage, salt, and any dry seasonings in a large bowl. Mix gently until just combined, but don’t overmix or the meatballs will turn out dense. Form them into balls about 1.5 to 2 inches across. Don’t add egg, breadcrumbs, or any other binder.
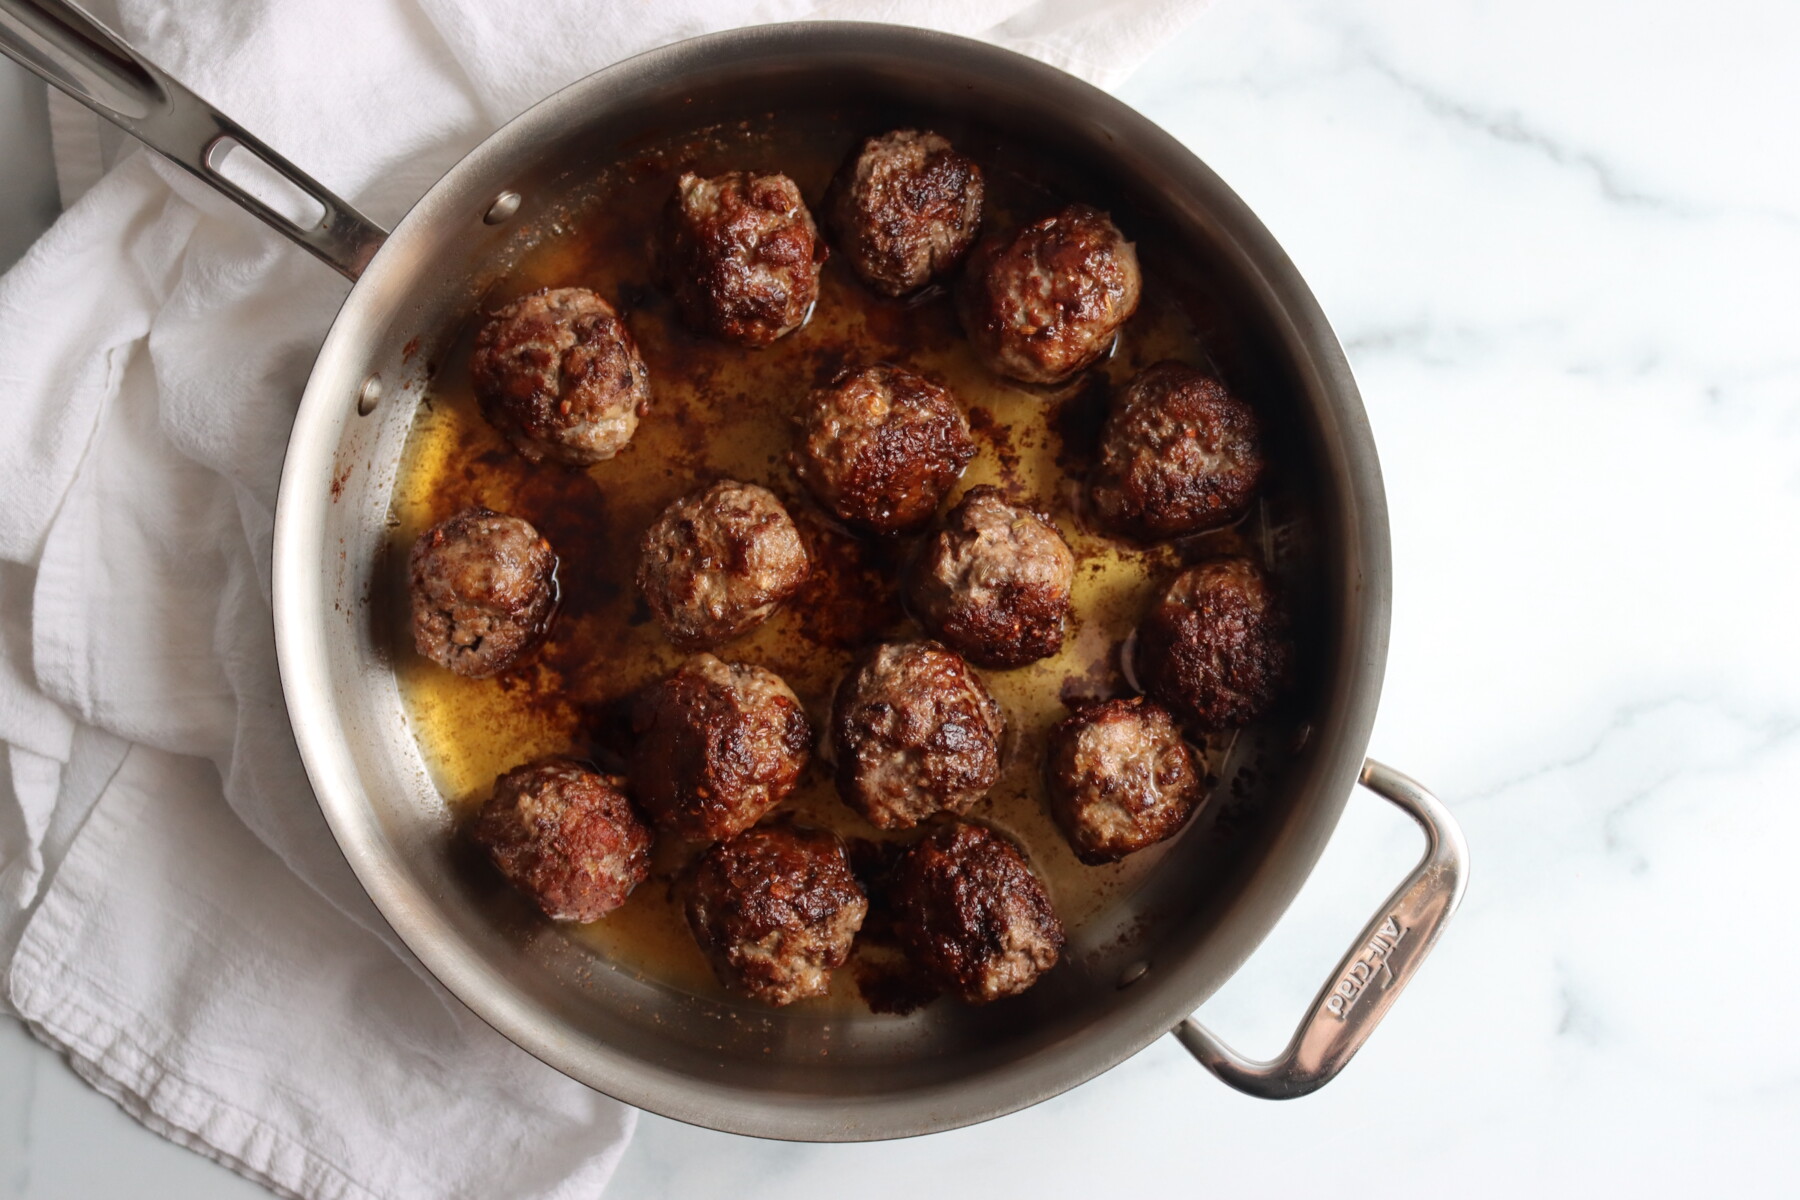
- Heat a small amount of oil in a large skillet over medium-high heat. Brown the meatballs in batches, giving them enough space so they sear rather than steam. Turn them gently to brown on all sides, since that crust is what holds them together in the jar when there’s no binder. They don’t need to be cooked through, just well browned on the outside.
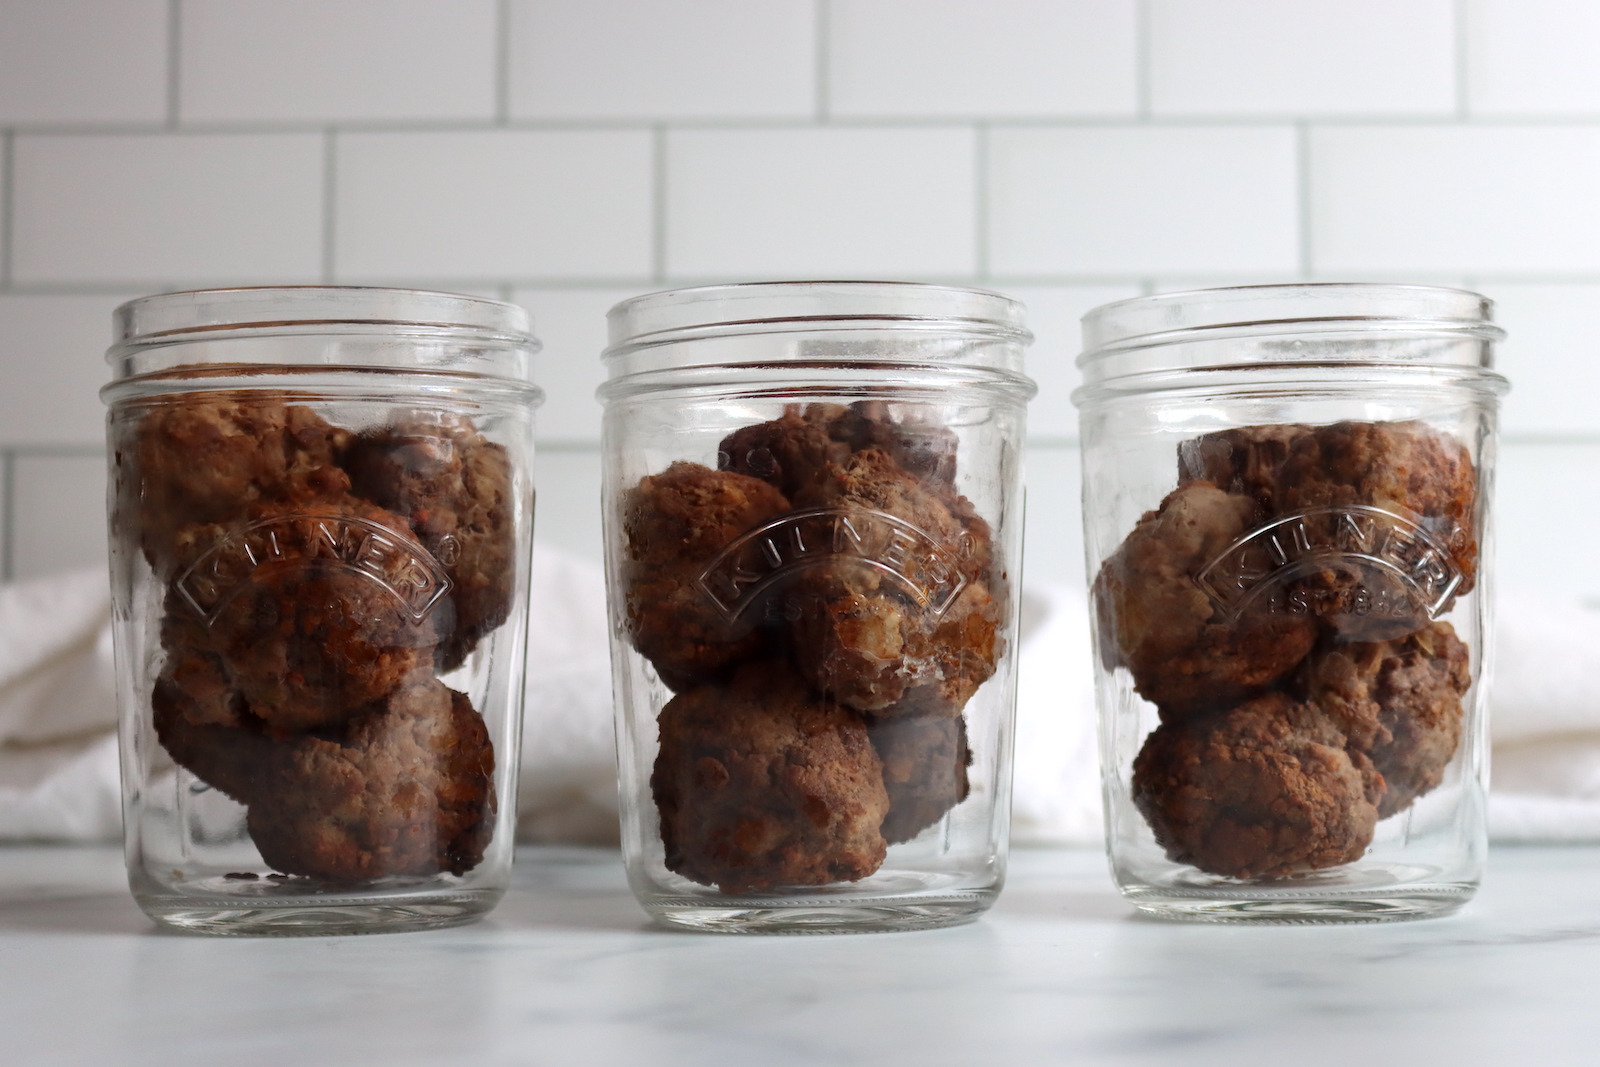
- Pack the hot meatballs loosely into hot jars. Don’t crush or compress them, since you want a good balance of meatballs and liquid in each jar. Leave at least 1 inch of headspace before adding the tomato juice.
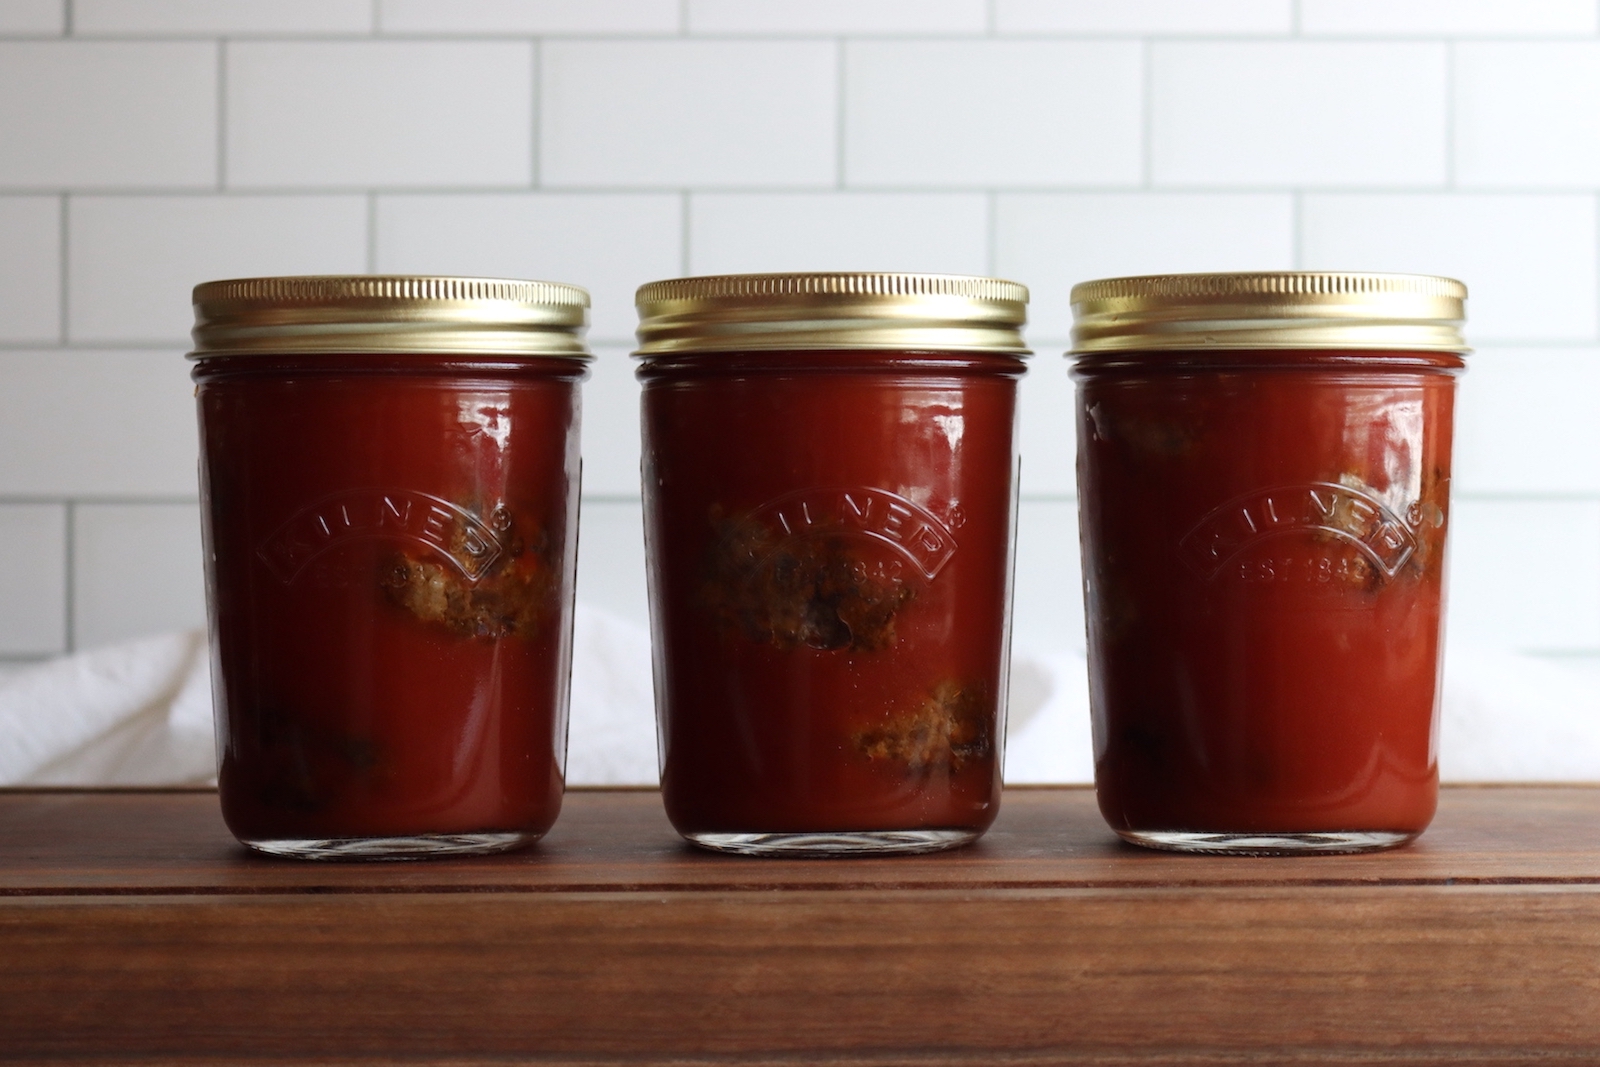
- Ladle the hot tomato juice over the meatballs to 1 inch headspace. You’ll need between 3/4 cup and 1 1/4 cup per pint depending on meatball size. Debubble the jars carefully and add more tomato juice if needed to keep that 1 inch of headspace. Wipe the rims and apply lids and bands to fingertip tight.
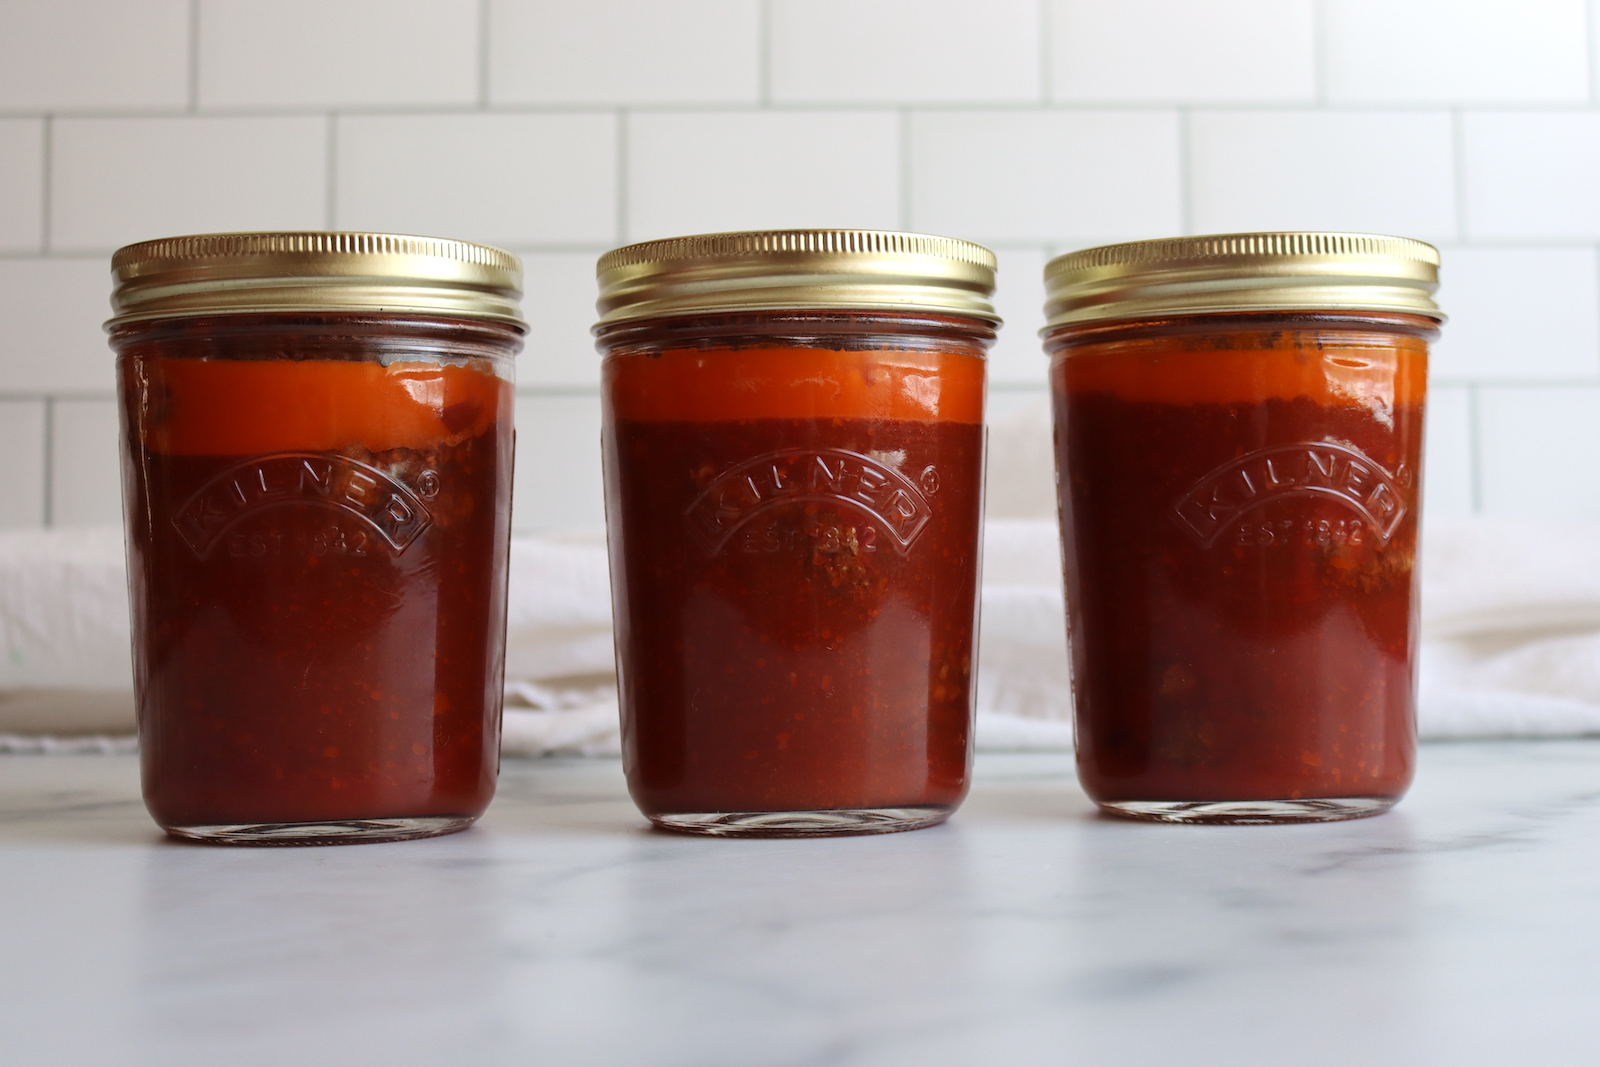
- Load the jars into the preheated pressure canner. Lock the lid, vent for 10 minutes, then bring it up to pressure. Process pints for 75 minutes and quarts for 90 minutes, adjusting the pressure for your altitude. Let the canner depressurize naturally, then remove the jars and cool them on a towel-lined counter for 12 to 24 hours. Check the seals, label, and store in a cool dark place.
Canning Meatballs in Tomato Juice
This is a hot pack recipe. The meatballs have to be browned before they go into the jars, since the browning creates a crust that holds them together during processing when there’s no egg or binder to do that job. Don’t skip the browning step, and do not raw pack this recipe.
Meatball size matters for yield and liquid ratio. Smaller meatballs around 1.5 inches pack efficiently and leave less gap for liquid, so you’ll need about 3/4 cup of tomato juice per pint. Larger meatballs have more air space between them and need closer to 1 1/4 cup per pint. As written with 2-inch meatballs, this recipe yields 6 pints or 3 quarts.
Process pints for 75 minutes and quarts for 90 minutes at 10 pounds in a weighted gauge canner or 11 pounds in a dial gauge canner, adjusting pressure for altitude.
Altitude Adjustments
With pressure canning, the processing times stay the same at higher altitudes, but the pressures change. Here are the altitude adjustments for pressure canning meatballs:
For dial gauge pressure canners:
- 0 to 2,000 feet in elevation: 11 lbs pressure
- 2,001 to 4,000 feet in elevation: 12 lbs pressure
- 4,001 to 6,000 feet in elevation: 13 lbs pressure
- 6,001 to 8,000 feet in elevation: 14 lbs pressure
For weighted gauge pressure canners:
- 0 to 1,000 feet in elevation: 10 lbs pressure
- Above 1,000 feet: 15 lbs pressure
Serving Ideas
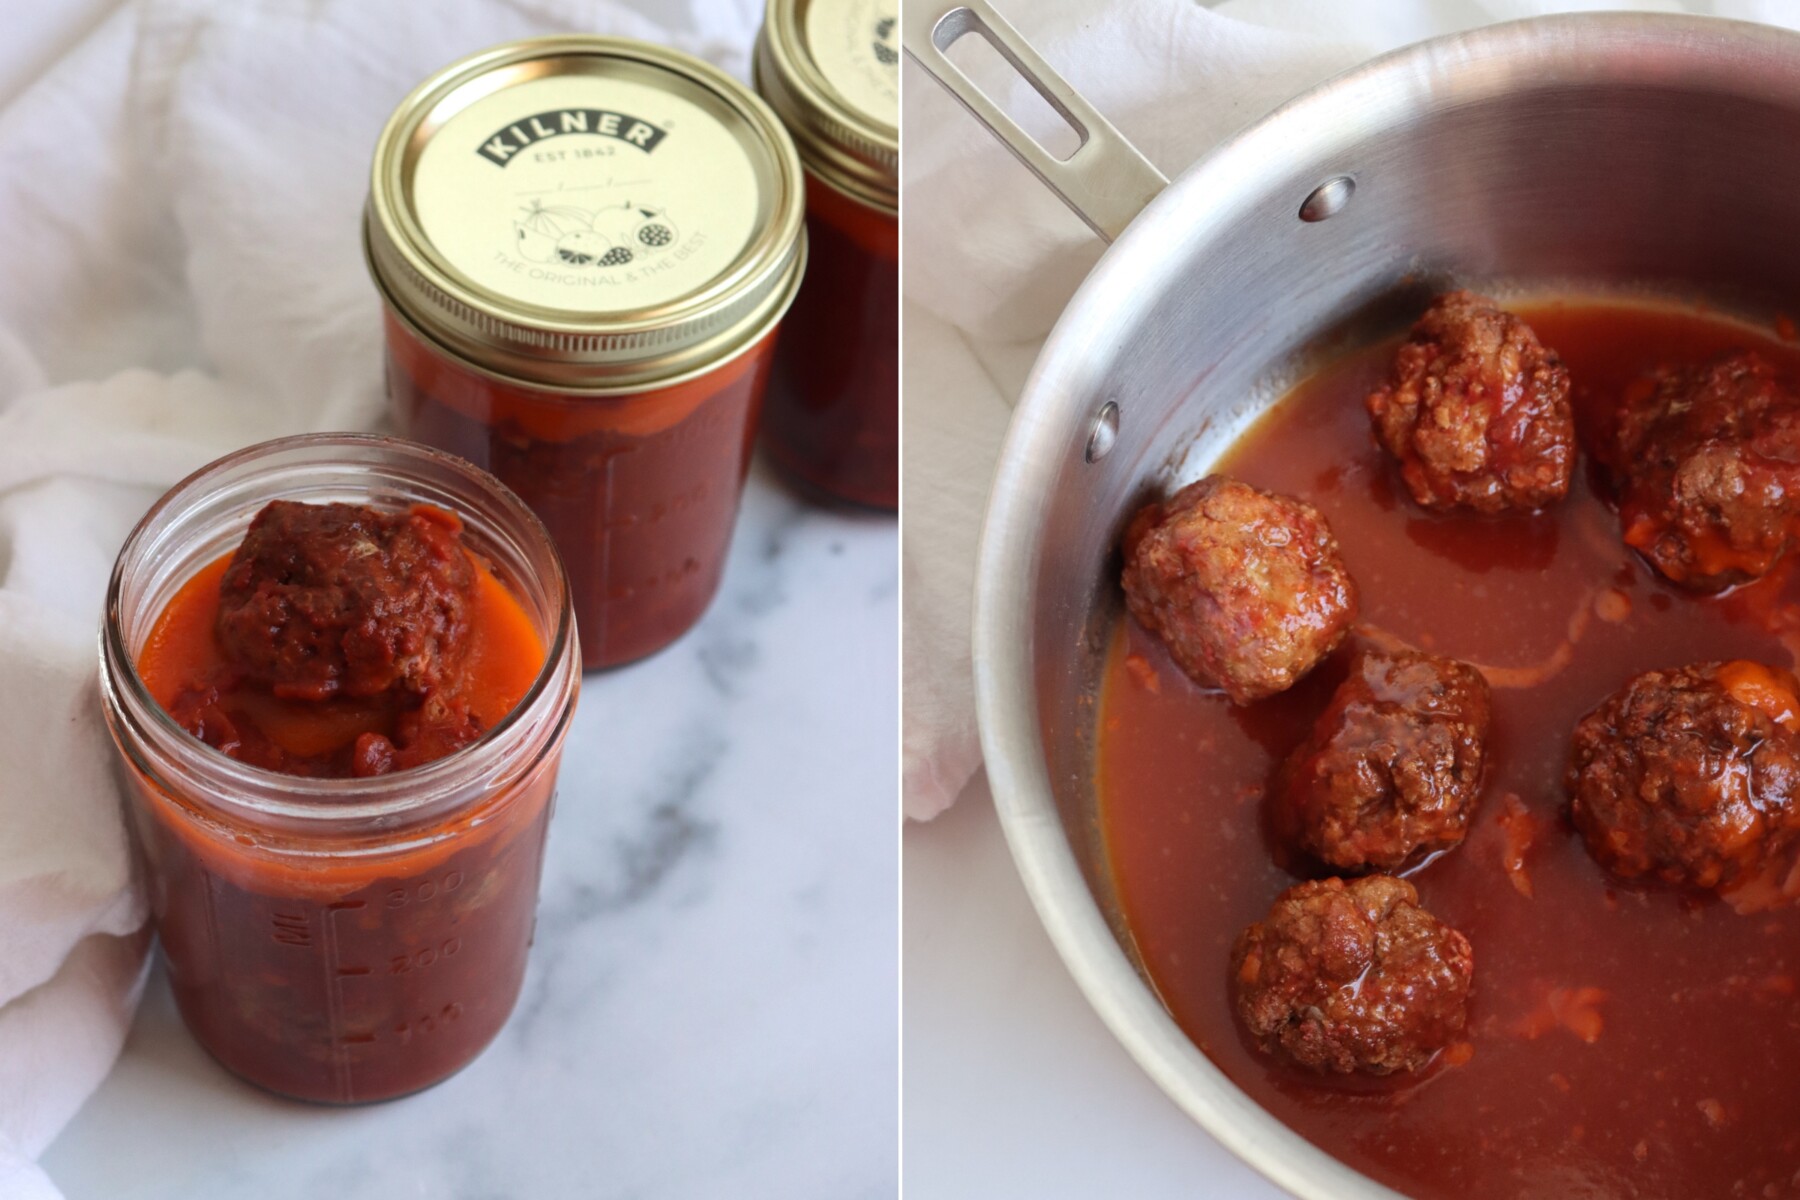
What I like most about these meatballs is what happens when you open the jar. Pour everything into a saucepan over medium heat, and within a few minutes the tomato juice cooks down into a thick, glossy sauce that coats the meatballs. It goes from thin juice to proper pasta sauce texture faster than you’d expect, which makes for a quick dinner.
For a meatball sandwich, heat the jar in a saucepan, let the sauce thicken while the meatballs re-heat, load it onto a hoagie roll, top with mozzarella, and toast it in the oven until the cheese melts. Serve it alongside a jar of home canned tomato soup and dinner is on the table in under 15 minutes. For classic spaghetti and meatballs, heat a jar of these alongside a jar of your home canned spaghetti sauce and combine them in the pan, where the two sauces come together into something that tastes like it simmered all afternoon.
These are also good added directly to soups or stews after opening, tossed with pasta and olive oil, or served over polenta with a little grated parmesan. The tomato juice base is neutral enough that they work with almost any Italian-adjacent meal.
Canning Meatballs FAQs
Egg, breadcrumbs, and other binders change the density of the meatball, which can interfere with heat penetration during pressure canning. The processing times established by the USDA are based on plain ground meat without binders. Adding them creates a denser product that may not heat safely to the center during processing. The browning step is what holds the meatballs together instead.
The USDA processing times for this recipe are established specifically for tomato juice, which is thin enough to allow proper heat penetration through the jar. Tomato sauce is thicker and denser, which changes how heat moves through the contents during processing. The good news is that tomato juice thickens into a proper sauce texture when you reheat the meatballs on the stovetop, so by the time you serve them the consistency is exactly what you’d want from a sauce.
No. The USDA Complete Guide processing times for ground meat are only confirmed for beef, pork, lamb, sausage, veal, venison, and bear. Ground poultry including chicken and turkey is not on the supported list, meaning there are no tested and confirmed processing times to ensure safe heat penetration for ground poultry products. Stick to the supported meat list for this recipe.
Ground Beef Canning Recipes
If you tried this Canning Meatballs in Tomato Juice recipe, or any other recipe on Creative Canning, leave a ⭐ star rating and let me know what you think in the 📝 comments below!
And make sure you stay in touch with me by following on social media!
Canning Meatballs in Tomato Juice
Equipment
- Large Heavy Saucepan
- Canning Jars, Lids and Bands
Ingredients
- 2 lbs ground beef
- 2 lbs Italian sausage, bulk, not links
- 2 tsp salt, general guidance is 1 tsp per lb meat, but the sausage is already salted. If using all ground beef or plain pork, you'll need more salt. Adjust to taste.
- 1 tsp garlic powder, optional, or use your preferred seasoning blend
- 1 tsp dried oregano, optional
- 1 tsp black pepper, optional
- 5 to 6 cups tomato juice, unsalted, see notes. May need up to 6 cups depending on meatball size.
- 1 tbsp vegetable oil, for browning
Instructions
- Prepare your pressure canner, jars, lids, and bands according to the manufacturer’s instructions. Keep jars hot until needed. Pour the tomato juice into a saucepan and bring to a simmer over medium heat. Keep hot.
- Combine the ground beef, Italian sausage, salt, and any dry seasonings in a large bowl. Mix gently until just combined, but do not overmix. Form into meatballs about 1.5 to 2 inches in diameter. Do NOT add egg, breadcrumbs, flour, or any binder.
- Heat a small amount of oil in a large skillet over medium-high heat. Brown the meatballs in batches, giving them space so they sear rather than steam. Turn gently to brown on all sides. They do not need to be cooked through, just well browned on the outside. The browning holds them together in the jar.
- Pack the hot meatballs loosely into hot jars, leaving at least 1 inch of headspace before adding tomato juice. Do not crush or compress them.
- Ladle the hot tomato juice over the meatballs to 1 inch headspace. You will need between 3/4 cup and 1 1/4 cup per pint depending on meatball size. Debubble the jars carefully and add more tomato juice if needed to maintain headspace. Wipe rims and apply lids and bands to fingertip tight.
- Load jars into the preheated pressure canner. Lock the lid, vent for 10 minutes, then bring to pressure. Process pints for 75 minutes and quarts for 90 minutes, adjusting pressure for altitude. Allow the canner to depressurize naturally. Remove jars and cool on a towel-lined counter for 12 to 24 hours. Check seals, label, and store in a cool dark place.
Notes
0 to 2,000 feet: 11 lbs pressure
2,001 to 4,000 feet: 12 lbs pressure
4,001 to 6,000 feet: 13 lbs pressure
6,001 to 8,000 feet: 14 lbs pressure For weighted gauge pressure canners:
0 to 1,000 feet: 10 lbs pressure
Above 1,000 feet: 15 lbs pressure
Nutrition
Nutrition information is automatically calculated, so should only be used as an approximation.
Meal in a Jar Canning Recipes
Find the perfect recipe
Searching for something else? Enter keywords to find the perfect recipe!

Would it work to use 24 ounce jars? If so, would I process them for 90 minutes?
Yes, you can use 24 ounce jars and process them for the quart time. That’s generally the rule for canning, and you can use 24 ounce jars for any recipe that allows quarts, using the quart processing times. Enjoy!
These will surprise you! I served them to my husband for lunch as a meatball sandwich, and he had no idea I got them out of a jar!