
This post may contain affiliate links. Please see our disclosure policy.
Canning tomato juice is a simple, practical way to preserve the fresh flavor of summer tomatoes. Turning garden or farmers market tomatoes into smooth, seed-free juice is a great use for soft or overripe fruit. The finished jars go into soups and sauces, or you can drink it straight. It’s safe to can in either a water bath or a pressure canner.
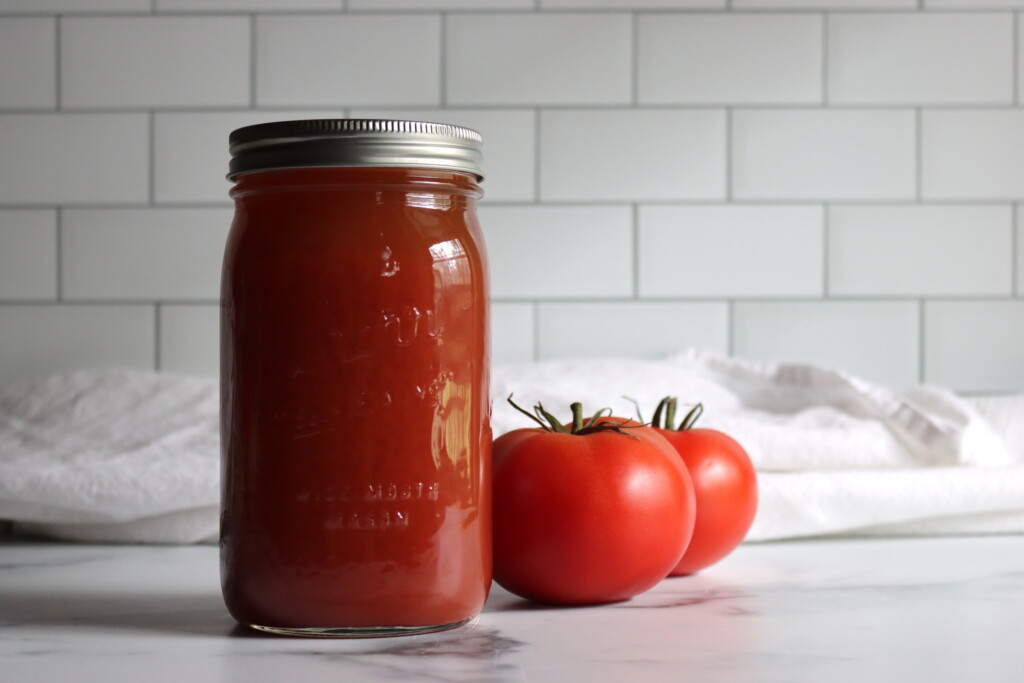
Every summer, once the tomatoes start rolling in faster than I can slice them for sandwiches or roast them for sauce, I break out the food mill and start canning tomato juice. It’s an easy tomato preservation project, and the jars go into soups and sauces, or into a glass if you like a good savory drink.
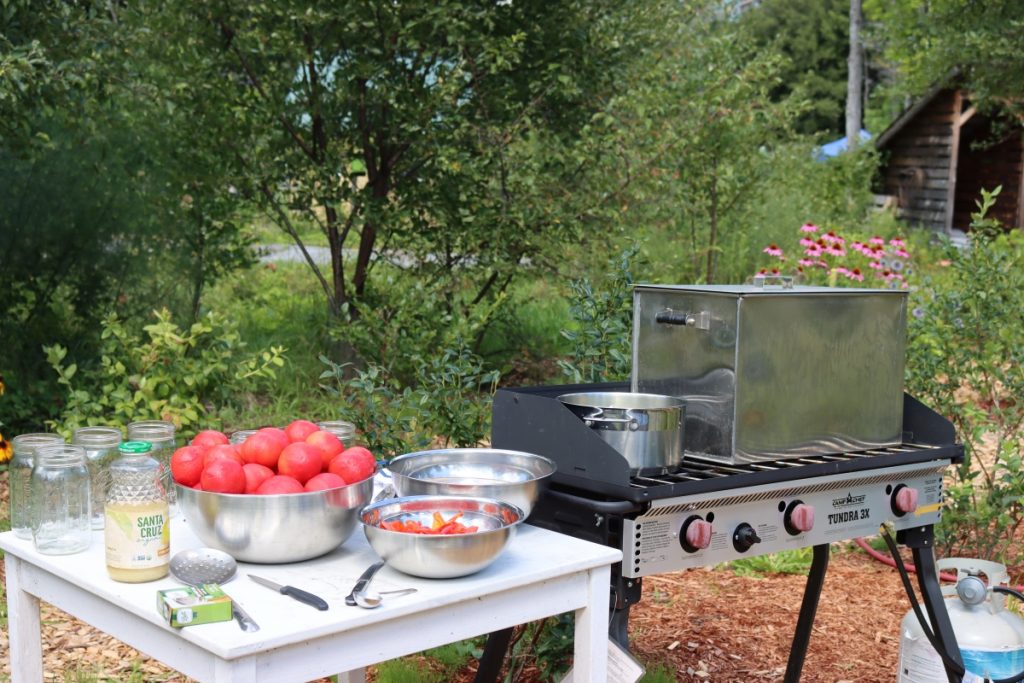
Tomato juice is also one of the rare canning recipes that gives you a choice between water bath canning and pressure canning. That flexibility means I can run a huge batch in my double decker Amish water bath load while I’m prepping other tomato canning recipes in my outdoor canning kitchen, or I can knock out a batch quickly in the pressure canner when I’m short on time.
Either way, it’s shelf-stable and lasts all winter.
This particular method is a safe, tested recipe adapted from So Easy to Preserve by the University of Georgia Extension.
Ingredients & Yield
To make a full 7-quart canner load, you’ll need about 23 pounds of fresh tomatoes. For a 9-pint load, plan on 14 pounds. A bushel weighs around 53 pounds and yields 15 to 18 quarts of juice, depending on the variety and juiciness of your tomatoes. That’s about 3 ¼ pounds per finished quart on average.
You’ll also need:
- Bottled lemon juice or citric acid for acidification
- Salt (optional, for flavor only)
- A food mill or fine mesh sieve to remove skins and seeds
Canning Tomato Juice
Start by washing your tomatoes thoroughly, then remove the stems and trim off any bruises or blemishes. If you want to prevent juice separation, where the juice and pulp form layers in the jar, start heating and crushing a small batch of tomatoes right away.
Cut about 1 pound of tomatoes into quarters and place them directly into a large saucepan. Heat to boiling while crushing with a spoon or potato masher. Keep the mixture boiling as you continue adding more quartered tomatoes a few pounds at a time, crushing and stirring constantly. Once all the tomatoes are in and bubbling, simmer the mixture for 5 minutes.
If you’re not concerned about separation, you can skip the staggered boiling and simply quarter all your tomatoes, crush them in the pot, and simmer everything for 5 minutes. The separation is really unappetizing, though, and I’d strongly recommend getting the tomatoes heated as soon as they’re cut (more on that later).
Next, press the hot mixture through a food mill or sieve to remove skins and seeds.
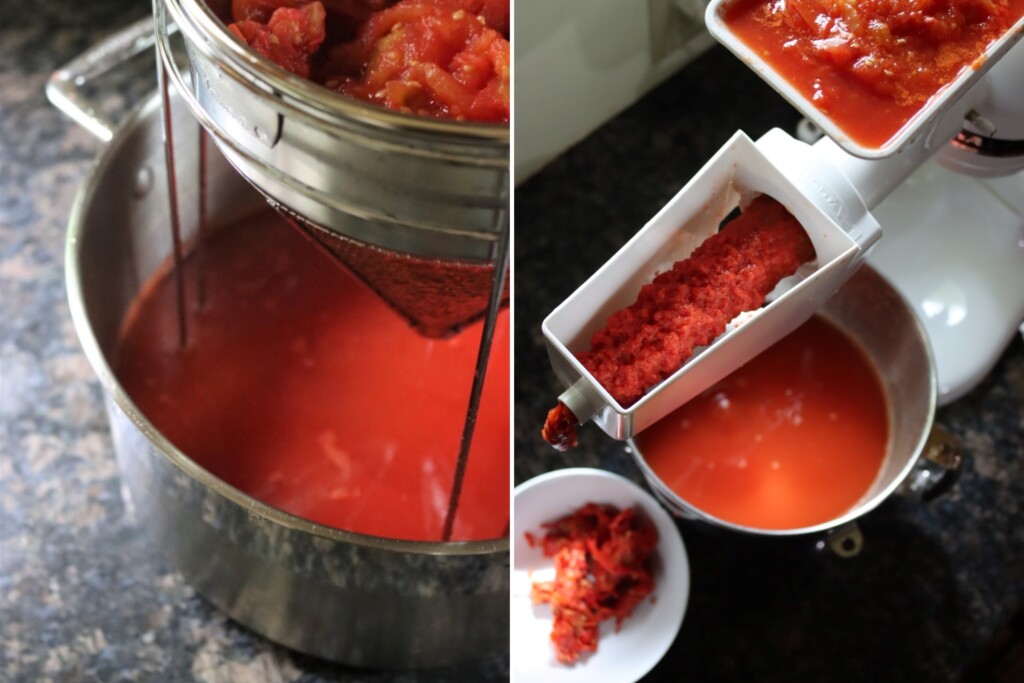
Return the juice to the pot and bring it back to a full boil.
While the juice heats, prepare your jars. Add bottled lemon juice (2 tablespoons per quart or 1 tablespoon per pint) or citric acid (½ teaspoon per quart or ¼ teaspoon per pint) to each jar to ensure safe acidity. Add up to 1 teaspoon of salt per quart if you like.
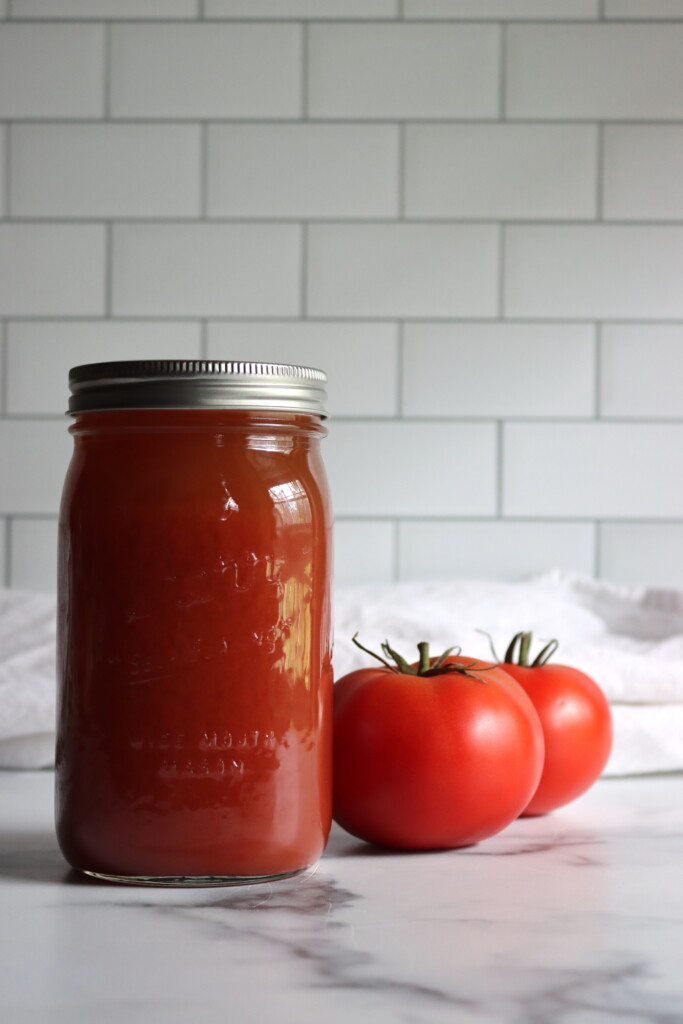
Pour the hot tomato juice into hot jars, leaving ½ inch headspace. Wipe the rims clean and apply the lids and rings. Process in a boiling water bath canner for 35 minutes for pints or 40 minutes for quarts, or in a pressure canner for 15 minutes at 11 lbs pressure in a dial gauge canner or 10 lbs in a weighted gauge canner, adjusting for altitude with the charts below.
This particular recipe can be preserved in either a water bath canner (with long canning times) or a pressure canner (with much shorter canning times). Either way, you must add lemon juice for safe canning, even when using a pressure canner.
Water Bath Canning Times
Set the jars in a water bath canner of hot water, about 180 degrees F, bring it to a full rolling boil, and process for the time for your elevation. When the time is up, turn off the heat, take the lid off the canner, and let the jars sit in the water for 5 minutes before lifting them out. That rest cuts down on siphoning, when liquid seeps out of the jars.
- 0 to 1,000 feet: 35 minutes for pints and 40 minutes for quarts
- 1,001 to 3,000 feet: 40 minutes for pints and 45 minutes for quarts
- 3,001 to 6,000 feet: 45 minutes for pints and 50 minutes for quarts
- Above 6,000 feet: 50 minutes for pints and 55 minutes for quarts
Pressure Canning Times
If you prefer to pressure can your tomato juice, set the jars in the canner with hot water, about 180 degrees F, and vent it for 10 minutes. Then process pints or quarts for 15 minutes at 11 lbs pressure in a dial gauge canner or 10 lbs in a weighted gauge canner, adjusting the pressure for your elevation. When the time is up, turn off the heat and let the canner return to zero pressure on its own. Remove the weight or open the petcock, wait 10 minutes, then take off the lid, tilting it away from you, and lift the jars out.
Dial-Gauge Pressure Canner (15 minutes):
- 0 to 2,000 feet: 11 PSI
- 2,001 to 4,000 feet: 12 PSI
- 4,001 to 6,000 feet: 13 PSI
- 6,001 to 8,000 feet: 14 PSI
Weighted-Gauge Pressure Canner (15 minutes):
- 0 to 1,000 feet: 10 PSI
- Above 1,000 feet: 15 PSI
Acidification is required regardless of canning method. Don’t skip the lemon juice or citric acid.
Lemon Juice or Citric Acid
Even though tomatoes are naturally acidic, their pH can vary depending on the variety, ripeness, and growing conditions, especially with modern hybrids and heirlooms. To ensure every jar is safe for canning, especially when using a water bath canner, you need to acidify each one with bottled lemon juice or citric acid.
Bottled lemon juice is recommended because it has a standardized acidity (usually around 5%), unlike fresh lemons which can vary. For safe canning, add 2 tablespoons of bottled lemon juice per quart or 1 tablespoon per pint.
If you’d rather use citric acid, it works just as well and won’t alter the flavor. Use ½ teaspoon per quart or ¼ teaspoon per pint. Add the acidifier directly to the jar before filling it with hot juice.
This simple step doesn’t affect the taste of the final product, but it’s essential for safety, even if you’re pressure canning. The tested pressure canning times count on acidified juice too, so the lemon juice or citric acid goes into every jar either way.
Why Cook the Tomatoes Immediately?
If you’ve ever opened a jar of home-canned tomato juice and noticed two distinct layers, clear juice on the bottom and thick pulp on top, you’ve seen juice separation in action. While it doesn’t affect safety or flavor, it can be a bit unappealing. What prevents it is how you cook the tomatoes at the start.
Tomatoes contain an enzyme called pectinase, which breaks down pectin, the natural substance that helps hold the pulp together. When you chop tomatoes and let them sit, that enzyme gets to work right away, causing the solids and liquids to separate during canning. By immediately heating the tomatoes as you chop and crush them, you deactivate the enzyme before it has a chance to break things down.
That’s why this tested recipe has you quarter a few tomatoes and bring them to a boil before adding the rest gradually, keeping everything at a rolling boil the whole time. This method locks the pulp and juice together for a smoother, more uniform product in the jar.
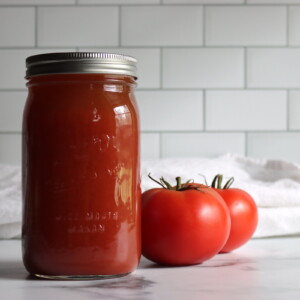
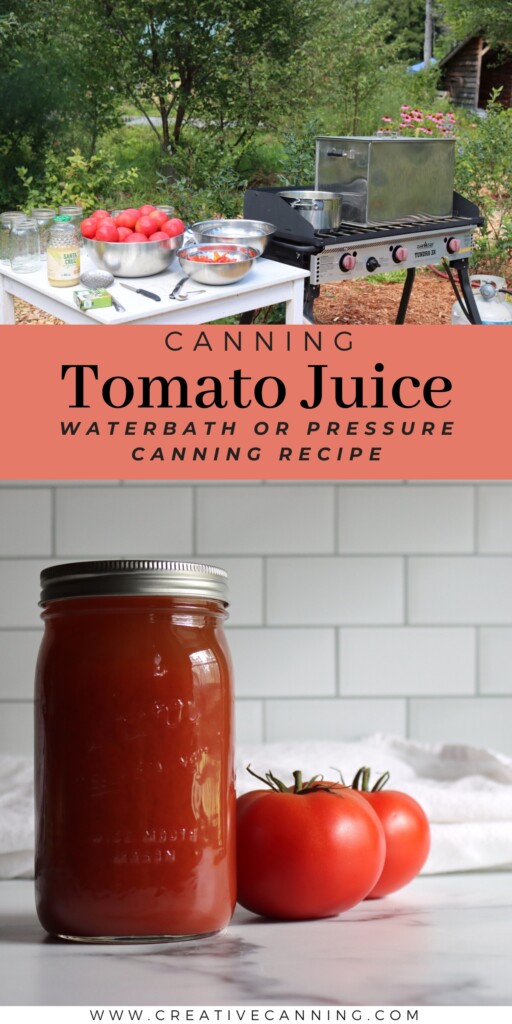
Canning Tomato Juice
Equipment
Ingredients
- 23 lbs tomatoes, fresh, whole, as purchased
- 14 Tbsp Bottled lemon juice, 2 Tbsp per quart or 1 Tbsp per pint, or citric acid, see notes
- 7 tsp Salt, optional, 1 tsp per quart or 1/2 tsp per pint
Instructions
- Wash the tomatoes, remove the stems, and trim any bruised spots. To keep the juice from separating, quarter about 1 pound of tomatoes, put them in a large pot, and bring them to a boil while you crush them. Keep the pot boiling as you add the rest of the quartered tomatoes a few at a time, then simmer for 5 minutes once they’re all in.
- Press the hot mixture through a food mill or sieve to remove the skins and seeds. Return the juice to the pot and bring it back to a boil.
- Add the bottled lemon juice or citric acid to each hot jar, and the salt if you’re using it, using the per-jar amounts in the ingredient list. Fill the jars with hot juice, leaving 1/2 inch headspace. Wipe the rims, and apply the lids and bands fingertip tight.
- To water bath can, set the jars in a canner of hot water, about 180 degrees F, and bring it to a full rolling boil. Process pints for 35 minutes or quarts for 40 minutes, adjusting for altitude (see notes). Turn off the heat, take the lid off the canner, and let the jars sit in the water for 5 minutes before lifting them out.
- To pressure can, set the jars in a pressure canner with hot water, about 180 degrees F, and vent it for 10 minutes. Process pints or quarts for 15 minutes at 11 lbs pressure in a dial gauge canner or 10 lbs in a weighted gauge canner, adjusting for altitude (see notes). Turn off the heat and let the canner return to zero pressure on its own. Remove the weight or open the petcock, wait 10 minutes, then take off the lid, tilting it away from you, and lift the jars out.
- Cool the jars undisturbed for 12 to 24 hours, check the seals, and store them in a cool, dark place.
Notes
- 0 to 1,000 feet: 35 minutes for pints and 40 minutes for quarts
- 1,001 to 3,000 feet: 40 minutes for pints and 45 minutes for quarts
- 3,001 to 6,000 feet: 45 minutes for pints and 50 minutes for quarts
- Above 6,000 feet: 50 minutes for pints and 55 minutes for quarts
- 0 to 2,000 feet: 11 lbs
- 2,001 to 4,000 feet: 12 lbs
- 4,001 to 6,000 feet: 13 lbs
- 6,001 to 8,000 feet: 14 lbs
- 0 to 1,000 feet: 10 lbs
- Above 1,000 feet: 15 lbs
Nutrition
Nutrition information is automatically calculated, so should only be used as an approximation.
Frequently Asked Questions
Yes, any type of tomato will work. Juicier varieties like beefsteak tomatoes will yield more juice per pound, while paste tomatoes like Roma tend to produce a thicker, more concentrated product.
Yes, this tested recipe is designed for juice that’s been pressed through a food mill or sieve to remove seeds and skins. Leaving them in would make it more of a sauce and could affect safe processing.
To prevent juice separation. Tomatoes contain an enzyme called pectinase, which breaks down the pulp and causes the juice to separate into layers. Heating the tomatoes right after cutting deactivates the enzyme and keeps the juice uniform and smooth.
Tomatoes don’t always have consistent acidity, especially with modern or heirloom varieties. Adding bottled lemon juice (2 Tbsp per quart) or citric acid (½ tsp per quart) ensures a safe pH for canning, even if you’re pressure canning. Bottled lemon juice is used instead of fresh because it has a reliably standardized acidity.
No, not for this recipe. Adding low-acid ingredients can affect the pH and make the recipe unsafe for canning. You can add seasonings later when you open the jar to use the juice.
Absolutely. Pour the finished juice into freezer-safe containers, leaving space for expansion, and store for up to 6 months. This is a good option if you don’t want to acidify your jars.
No, it’s just cosmetic. If your juice separates after canning, it’s still safe to use. Just give the jar a good shake before opening, or stir before using.
Tomato Canning Recipes
If you’re buried in tomatoes, I have plenty more tomato canning recipes for you to try!
For a rich, oven-roasted flavor, try the Roasted Marinara Sauce, which is water bath safe and full of concentrated tomato flavor. If salsa is more your style, the Tomato Salsa with Paste Tomatoes is a tested recipe that balances acidity with bold flavor, and it’s easy to put up alongside juice.
And when the weather cools down, you’ll be glad to have jars of Roasted Tomato Basil Soup ready to heat and serve straight from the pantry.

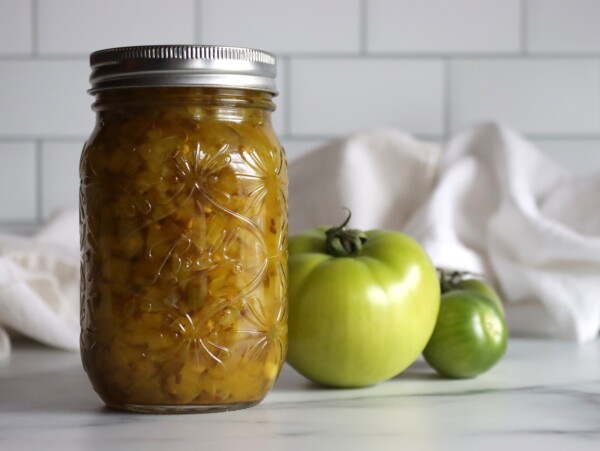
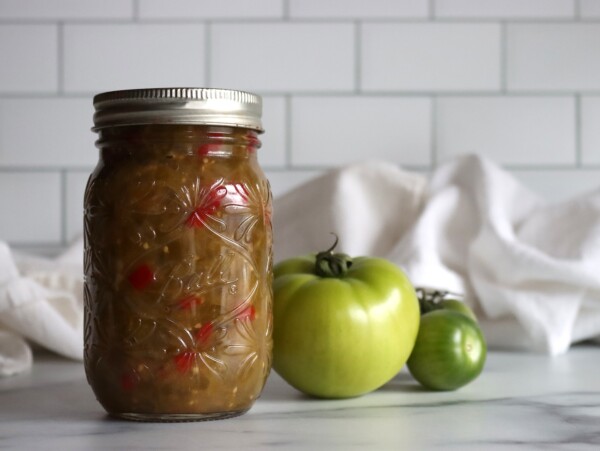
This one comes together so easily, and it’s the fastest way to put up tomatoes without a fuss!