
This post may contain affiliate links. Please see our disclosure policy.
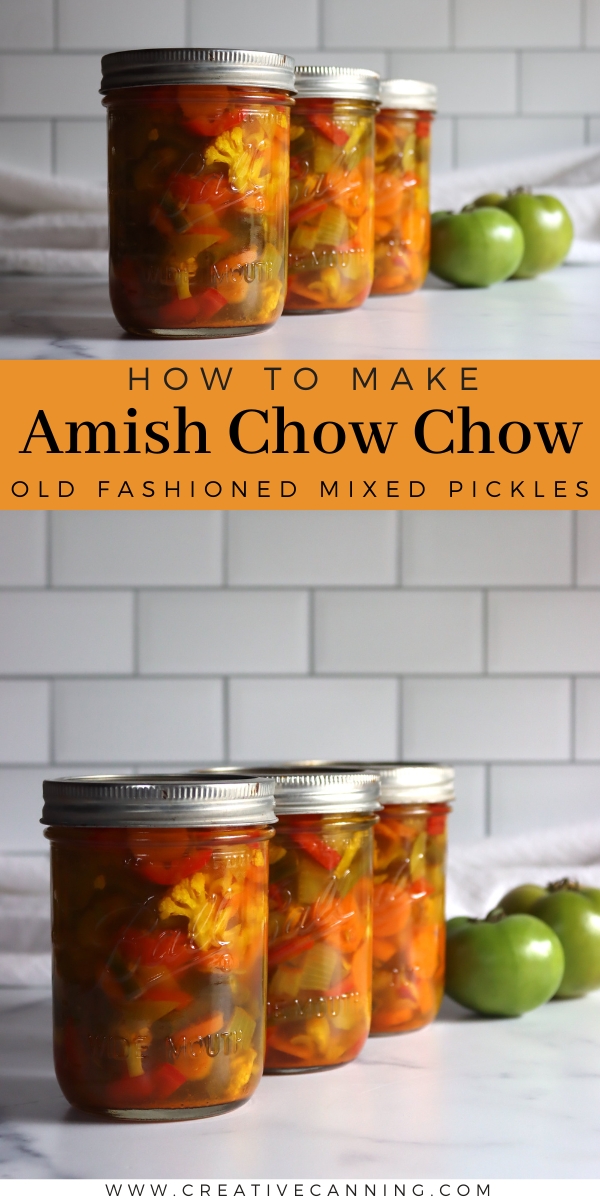
Amish Chow Chow is a sweet and tangy vegetable relish that turns the odds and ends of a late-season garden into jars you can pull off the pantry shelf all winter. It is the kind of old-fashioned condiment that shows up at church suppers and family potlucks, spooned alongside heavier fare, and a little goes a long way.
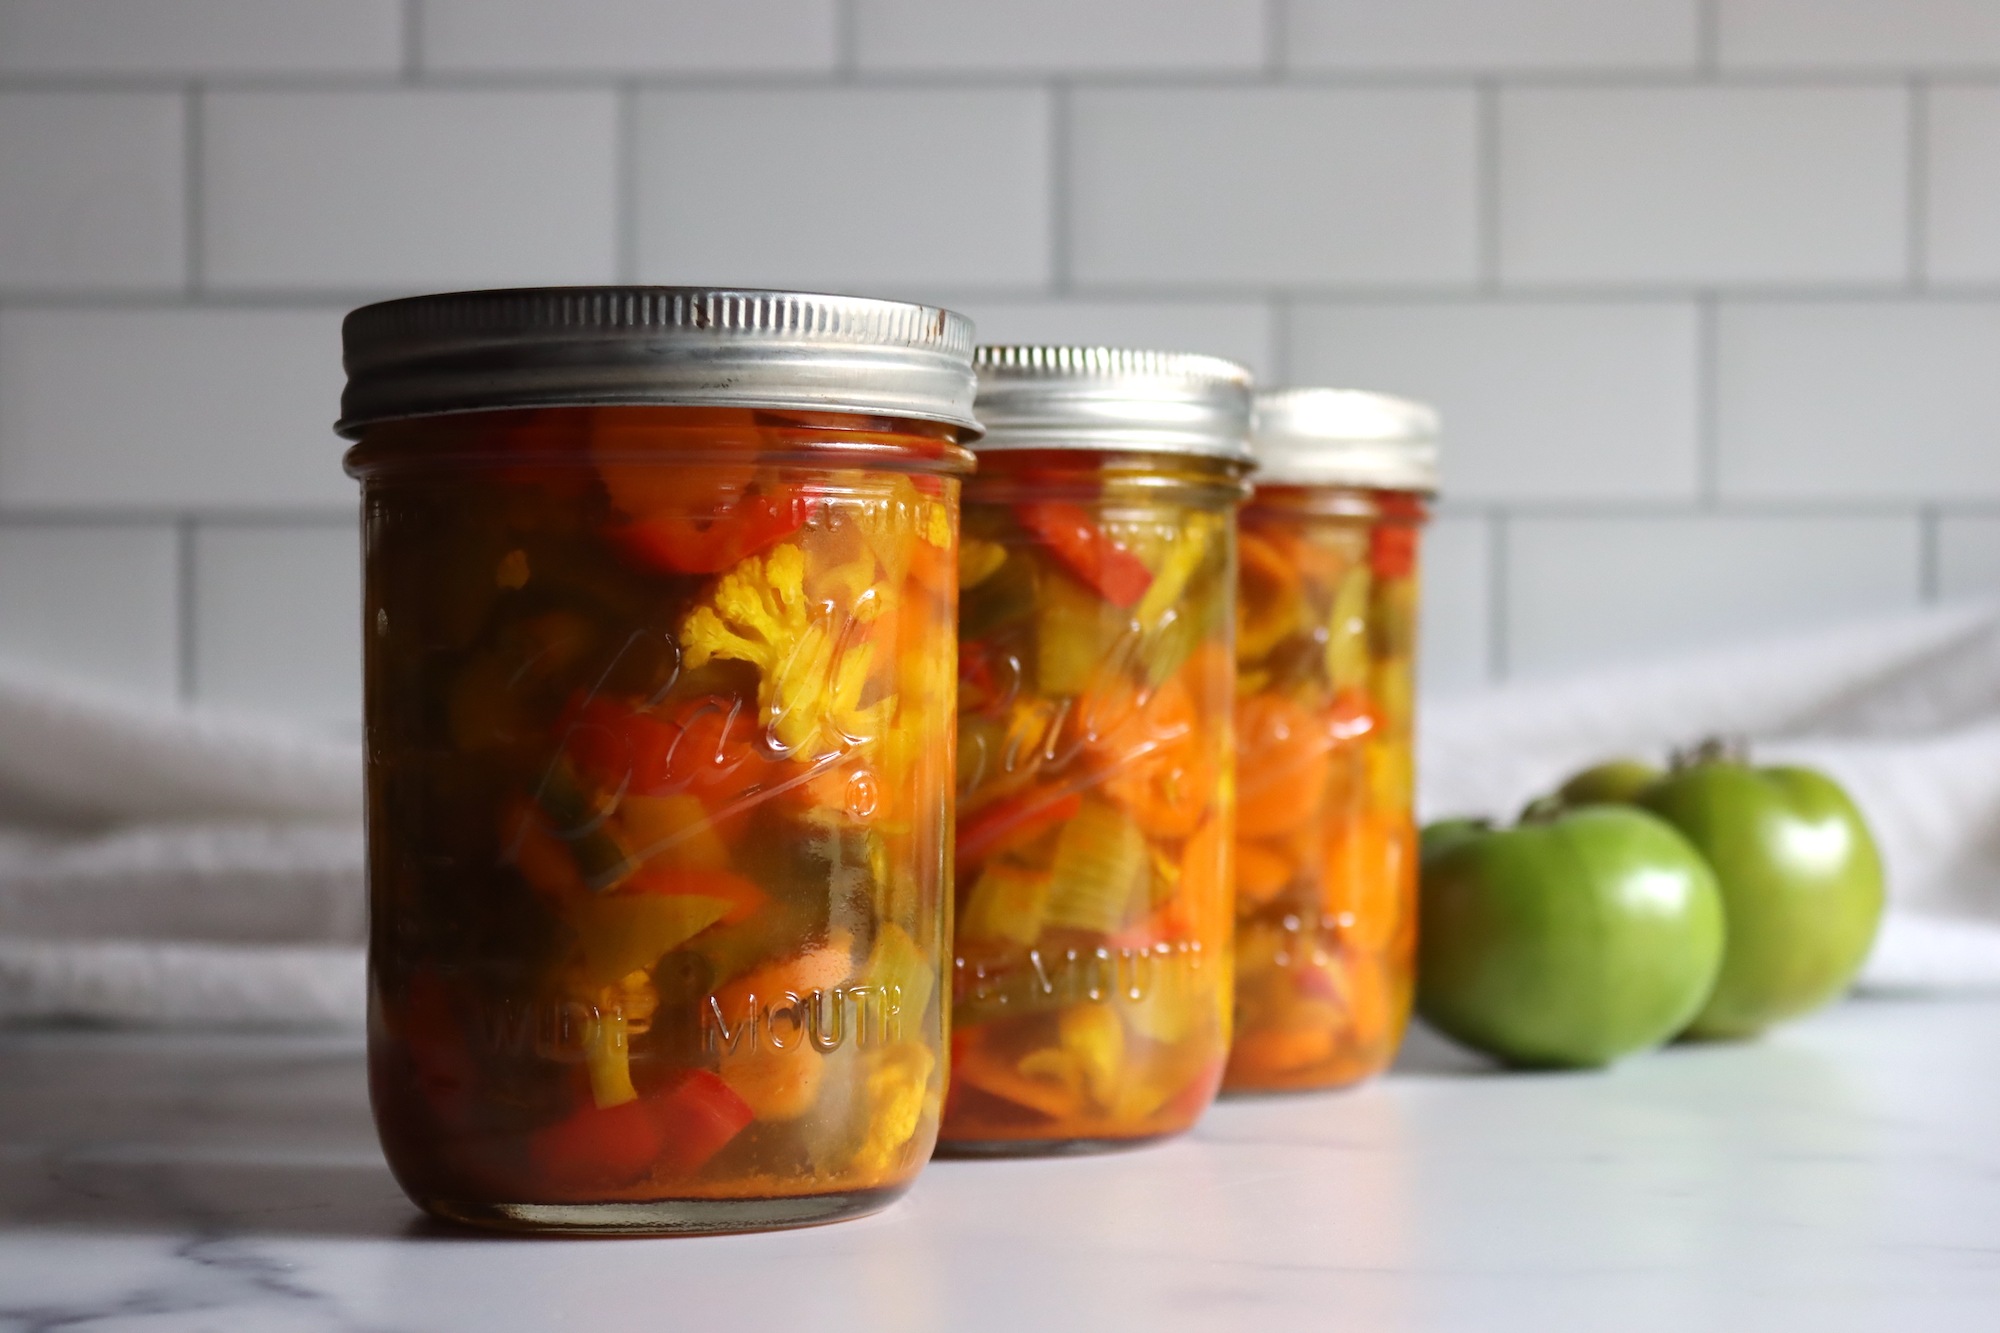
Table of Contents
- Notes from My Kitchen
- Quick Look at the Recipe
- Types of Chow Chow (or Piccalilli)
- Ingredients for Amish Chow Chow
- Brine Strength and Substitutions
- Making Amish Chow Chow
- Canning Amish Chow Chow
- Altitude Adjustments
- Ways to Use Amish Chow Chow
- Yield Notes
- Amish Chow Chow FAQs
- Green Tomato Canning Recipes
- Amish Chow Chow Recipe
- Relish Canning Recipes
This recipe has been reviewed for safety and accuracy by a Master Food Preserver certified through the University of Cornell Cooperative Extension.
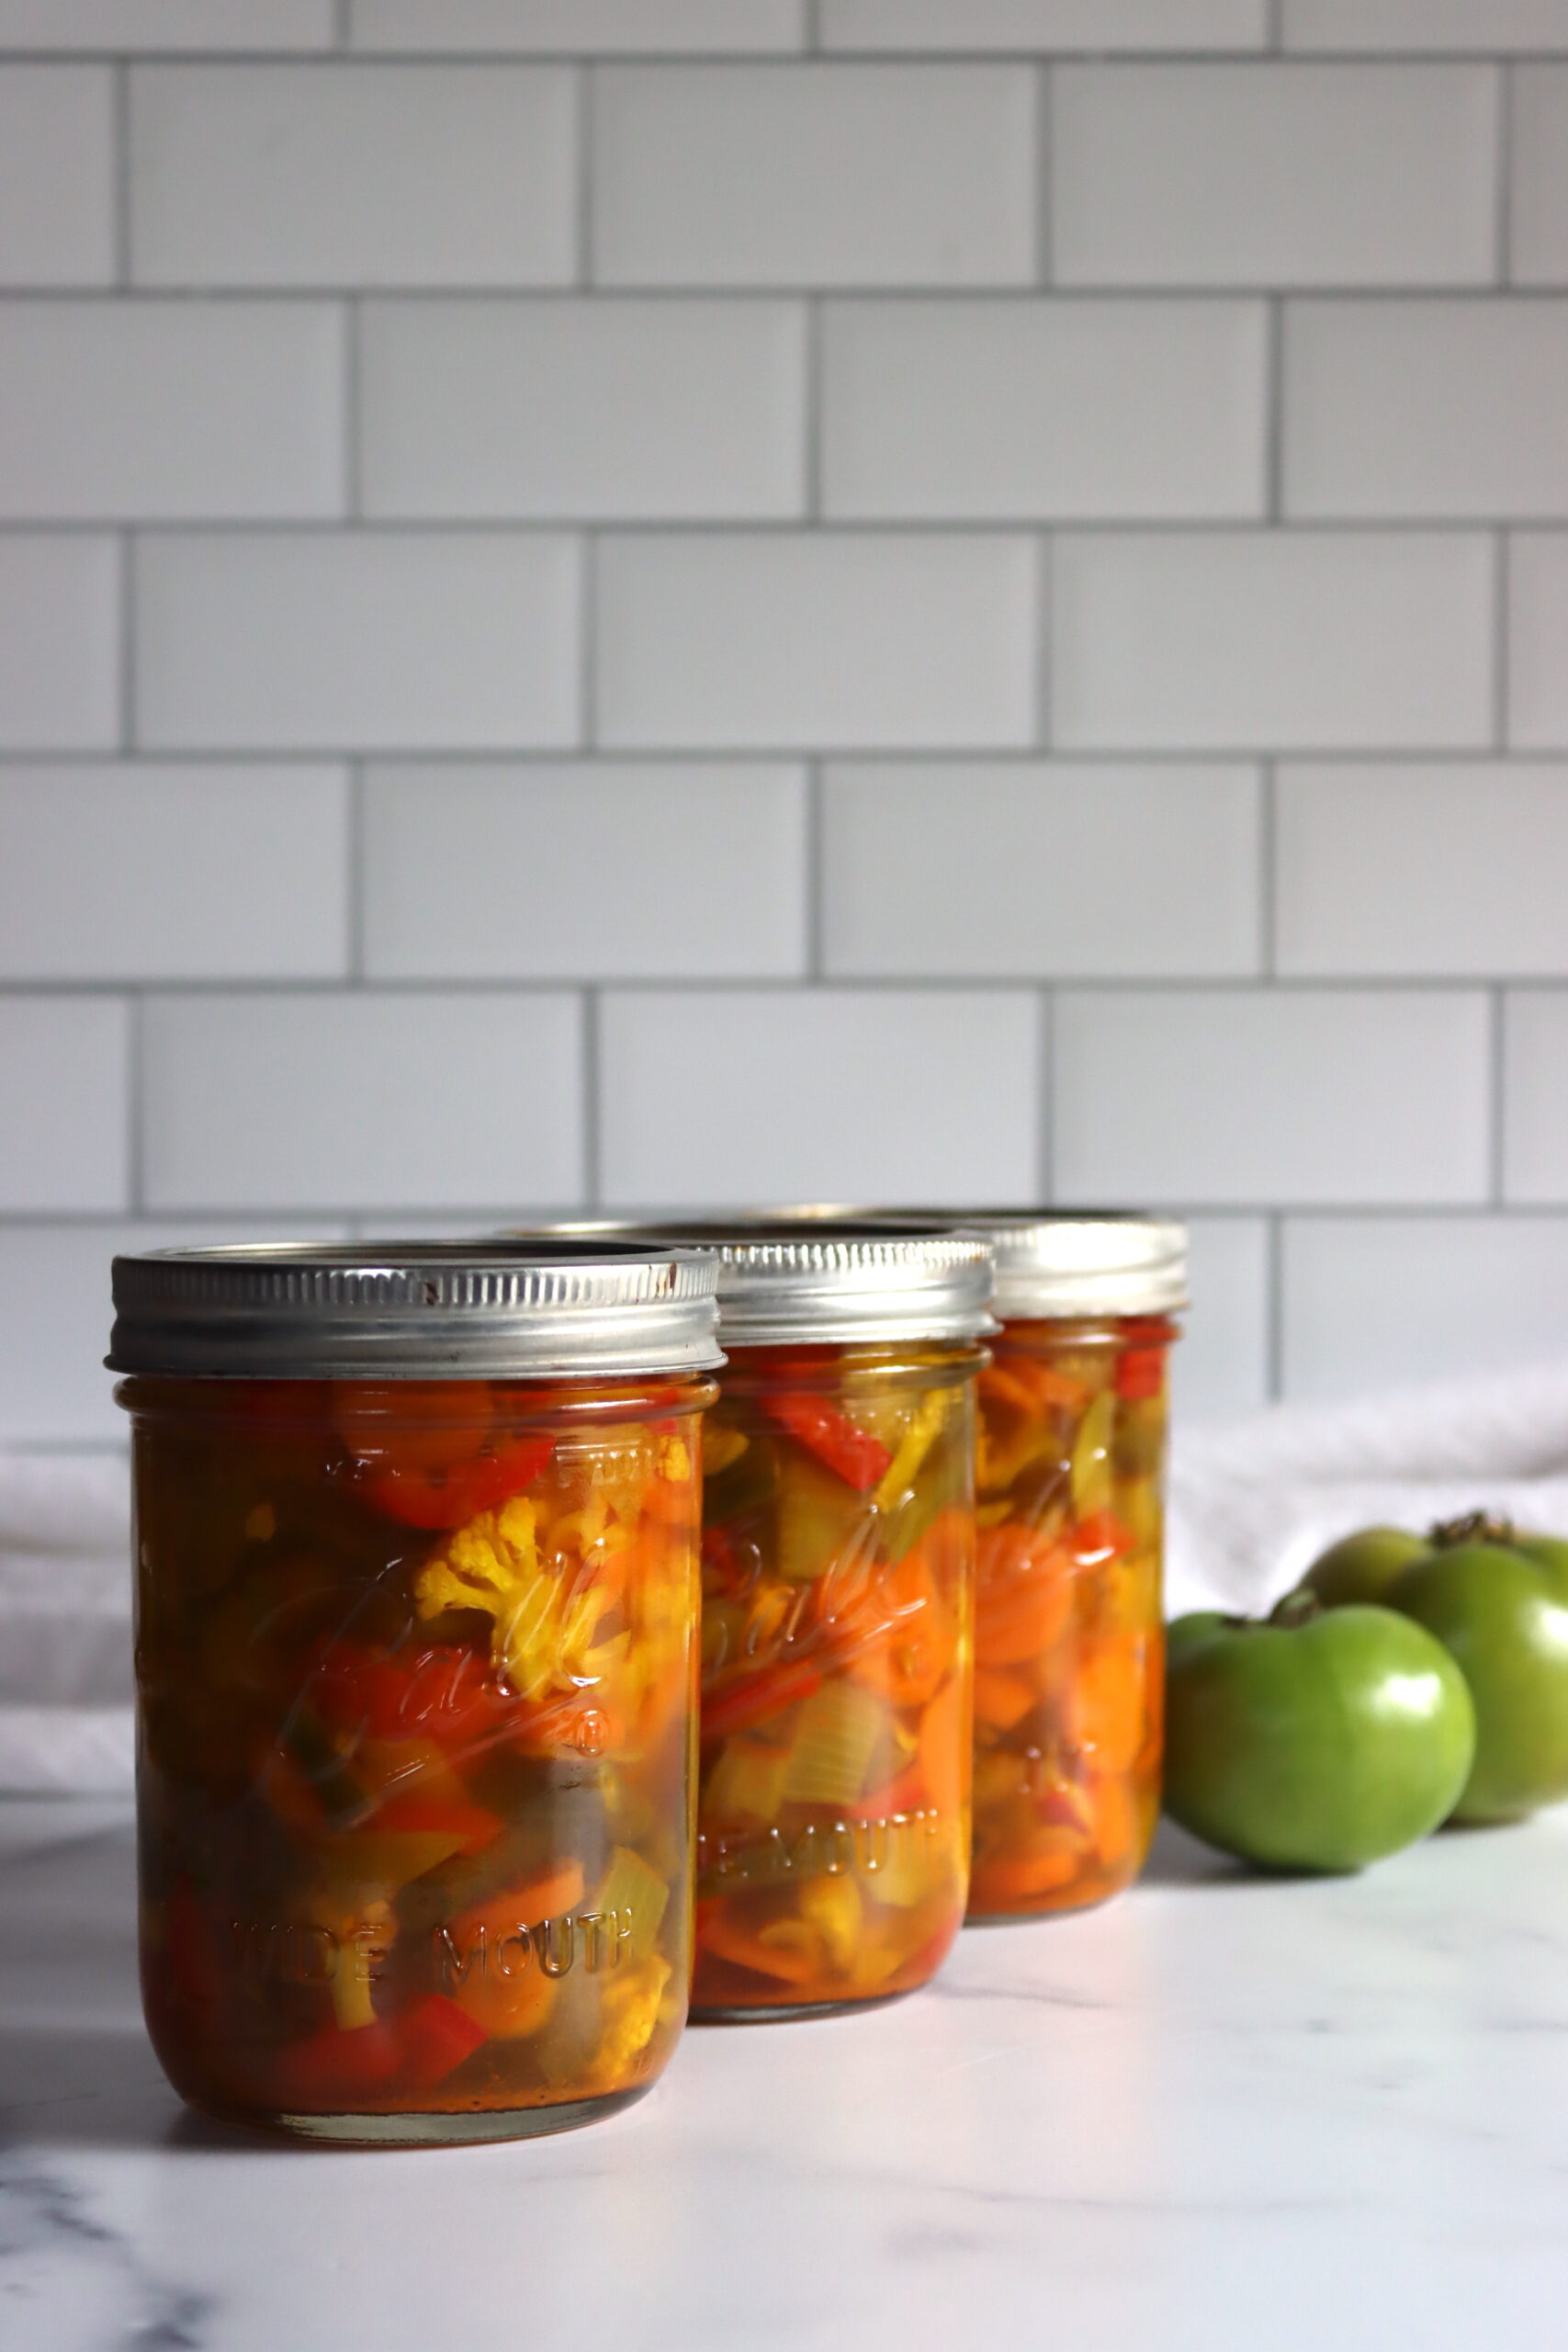
Amish Chow Chow is one of those traditional relish canning recipes that has been made the same way for generations. The base is a mix of pickled vegetables, green tomatoes, cabbage, peppers, onions, and cucumbers, soaked in salt water overnight so they hold their texture through the canner, with carrots and green beans added for a bit of extra bite and color.
Because everything is preserved in a vinegar brine and finished with water bath canning, the jars are shelf-stable and keep for the better part of a year. If you garden, it lands in the same category as zucchini relish and corn relish, a way to put up a little of everything at once instead of a single crop at a time.
Notes from My Kitchen

A while back I made up my mind to work my way through every traditional chow chow recipe I could find, and it turned into a fun little rabbit hole. Southern chow chow is the classic that makes its way to most tables, and it’s the one I reach for again and again. The Canadian version was completely different, more like a sweet and salty green tomato ketchup, and it caught me off guard in the best way.
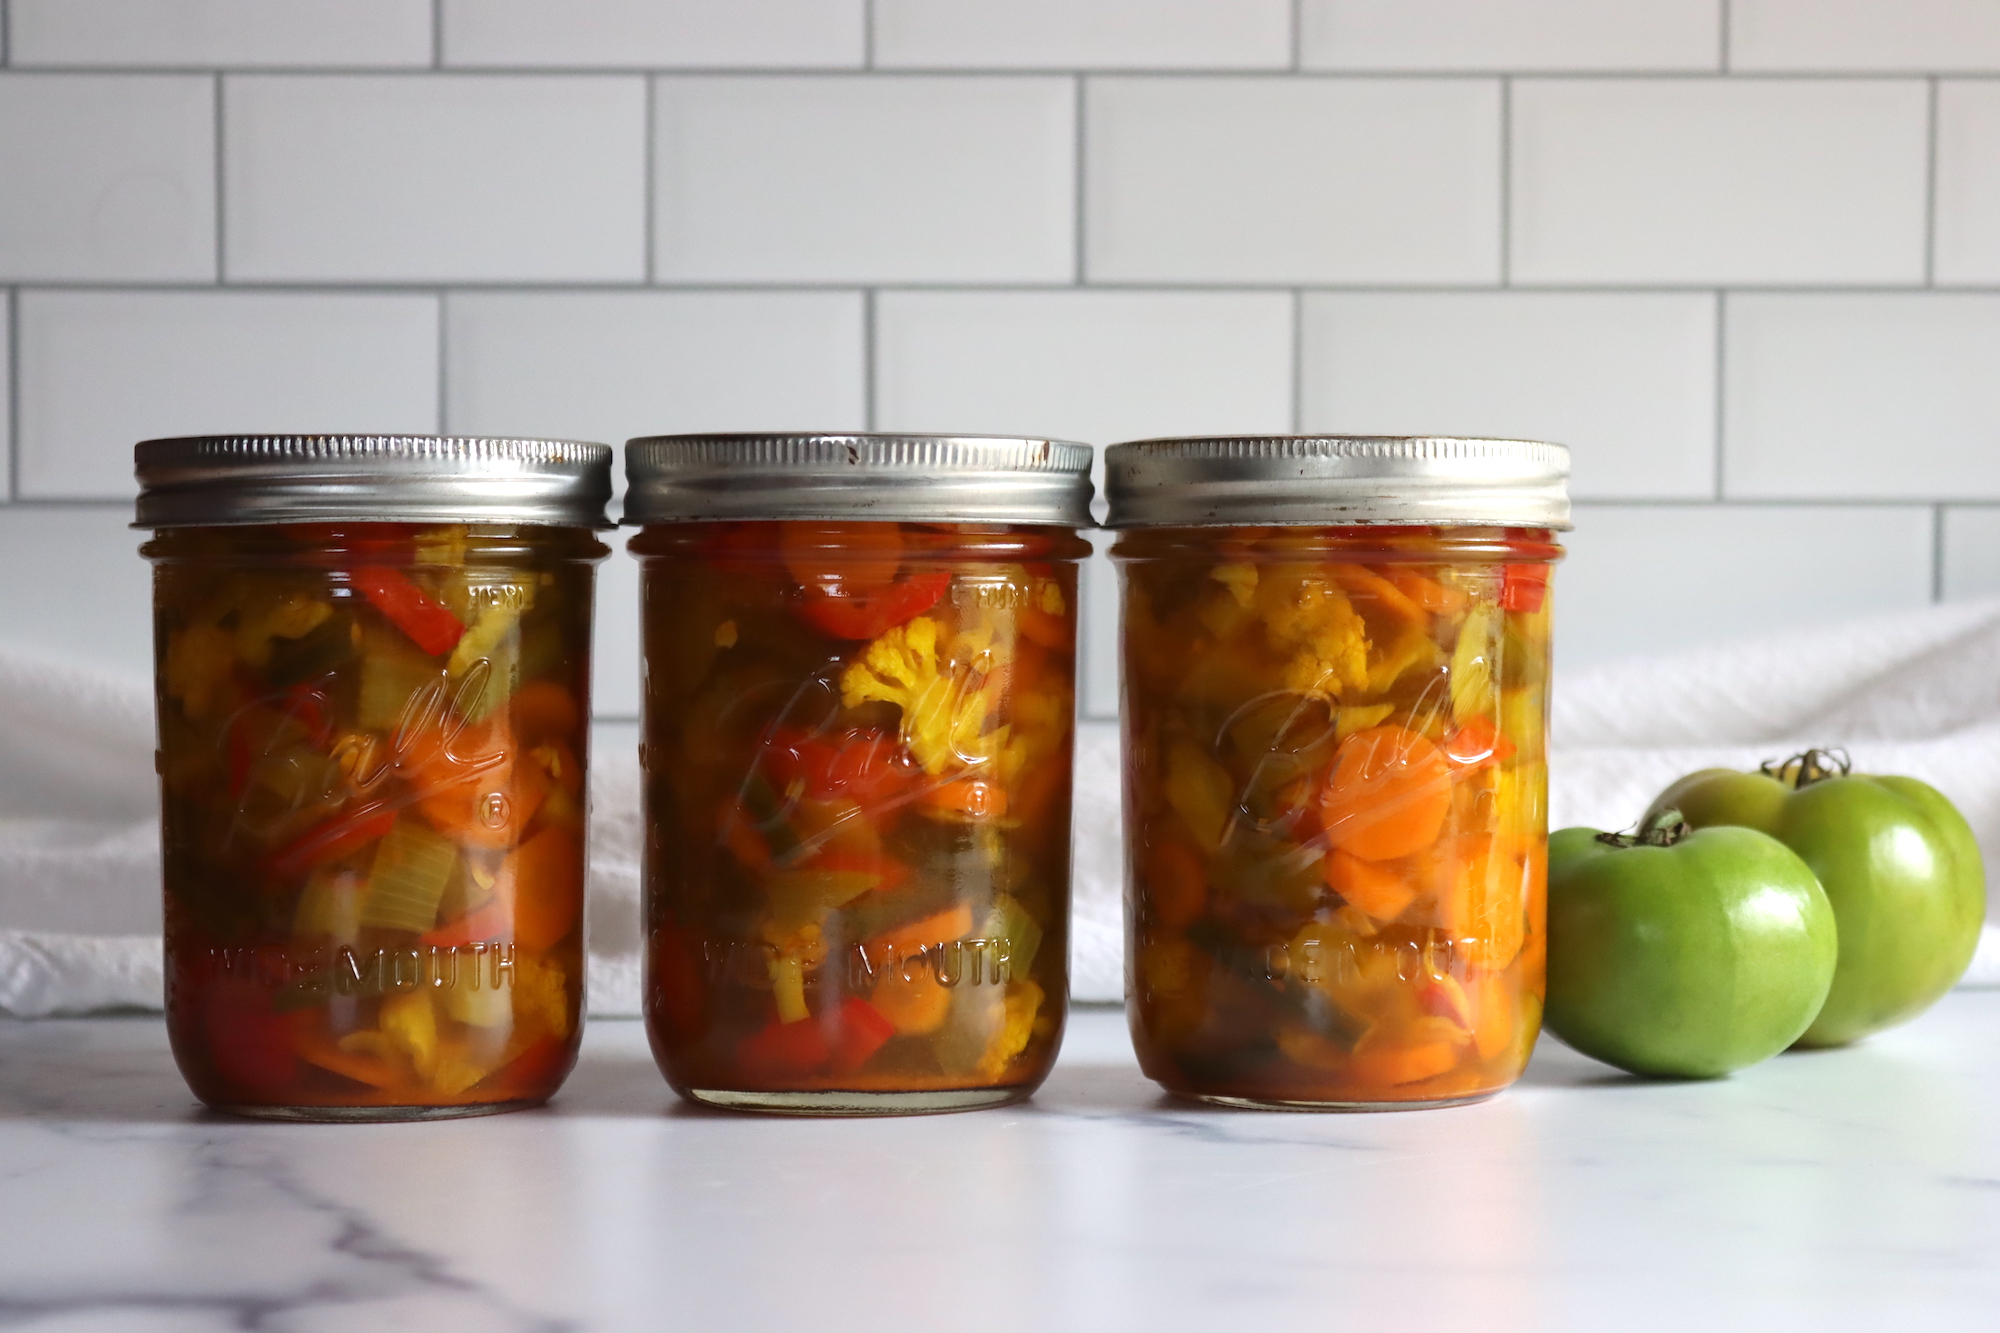
This Amish chow chow was different again, closer to a mixed vegetable pickle than a smooth condiment, with real chunks of vegetable in every spoonful. That is exactly what makes it so good for dressing up heavier fare, and you can see why it earned its spot at an Amish country gathering.
Quick Look at the Recipe
- Recipe Name: Amish Chow Chow
- Recipe Type: Relish Canning Recipe
- Canning Method: Water Bath Canning
- Prep Time: Overnight salt soak, plus about 20 minutes
- Cook Time: About 10 minutes
- Canning Time: 10 minutes for half-pints and pints
- Yield: About 4 pints
- Jar Sizes: Quarter-pints, half-pints, and pints
- Headspace: 1/2 inch
- Ingredients Overview: Mixed vegetables, vinegar, sugar, and salt
- Safe Canning Recipe Source: This recipe follows the NCHFP’s Guidance for relish canning times and brine strength for pickling
- Difficulty: Easy. It is an overnight recipe, but none of the steps are hard.
- Similar Recipes: Amish Chow Chow is made much like other canned relishes, including Zucchini Relish and Pepper Onion Relish. If you like using up green tomatoes this way, try the Southern Chow Chow or the other green tomato canning recipes.
Types of Chow Chow (or Piccalilli)
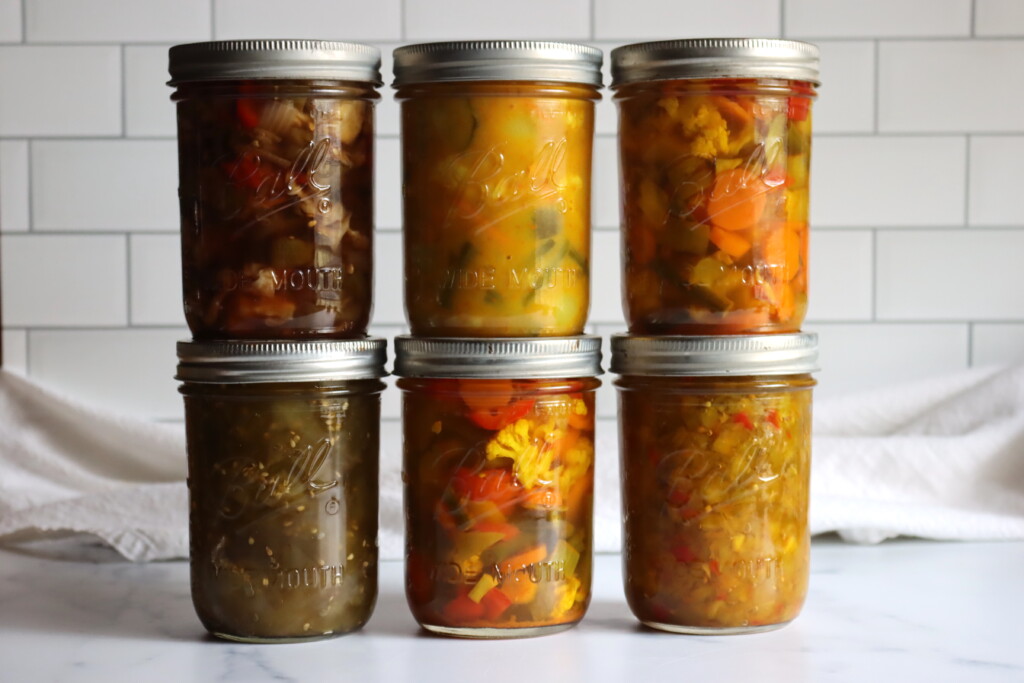
This version of Amish Chow Chow is loaded with chunky vegetables, cauliflower, carrots, beans, and more, in a sweet and tangy vinegar brine. Depending on where you are, though, chow chow can look very different, and the regional versions are worth a look if you want to compare styles before you commit to a batch.
Southern Chow Chow skips the beans and focuses on cabbage and green tomatoes, while the New England Piccalilli adds brown sugar and a more complex spice blend. For something simpler, the Canadian Green Tomato Chow Chow pares things down to the basics. Or for a thick mustard pickle, go back to the roots with British Piccalilli, and you can see them side by side in the full chow chow and piccalilli roundup.
Ingredients for Amish Chow Chow
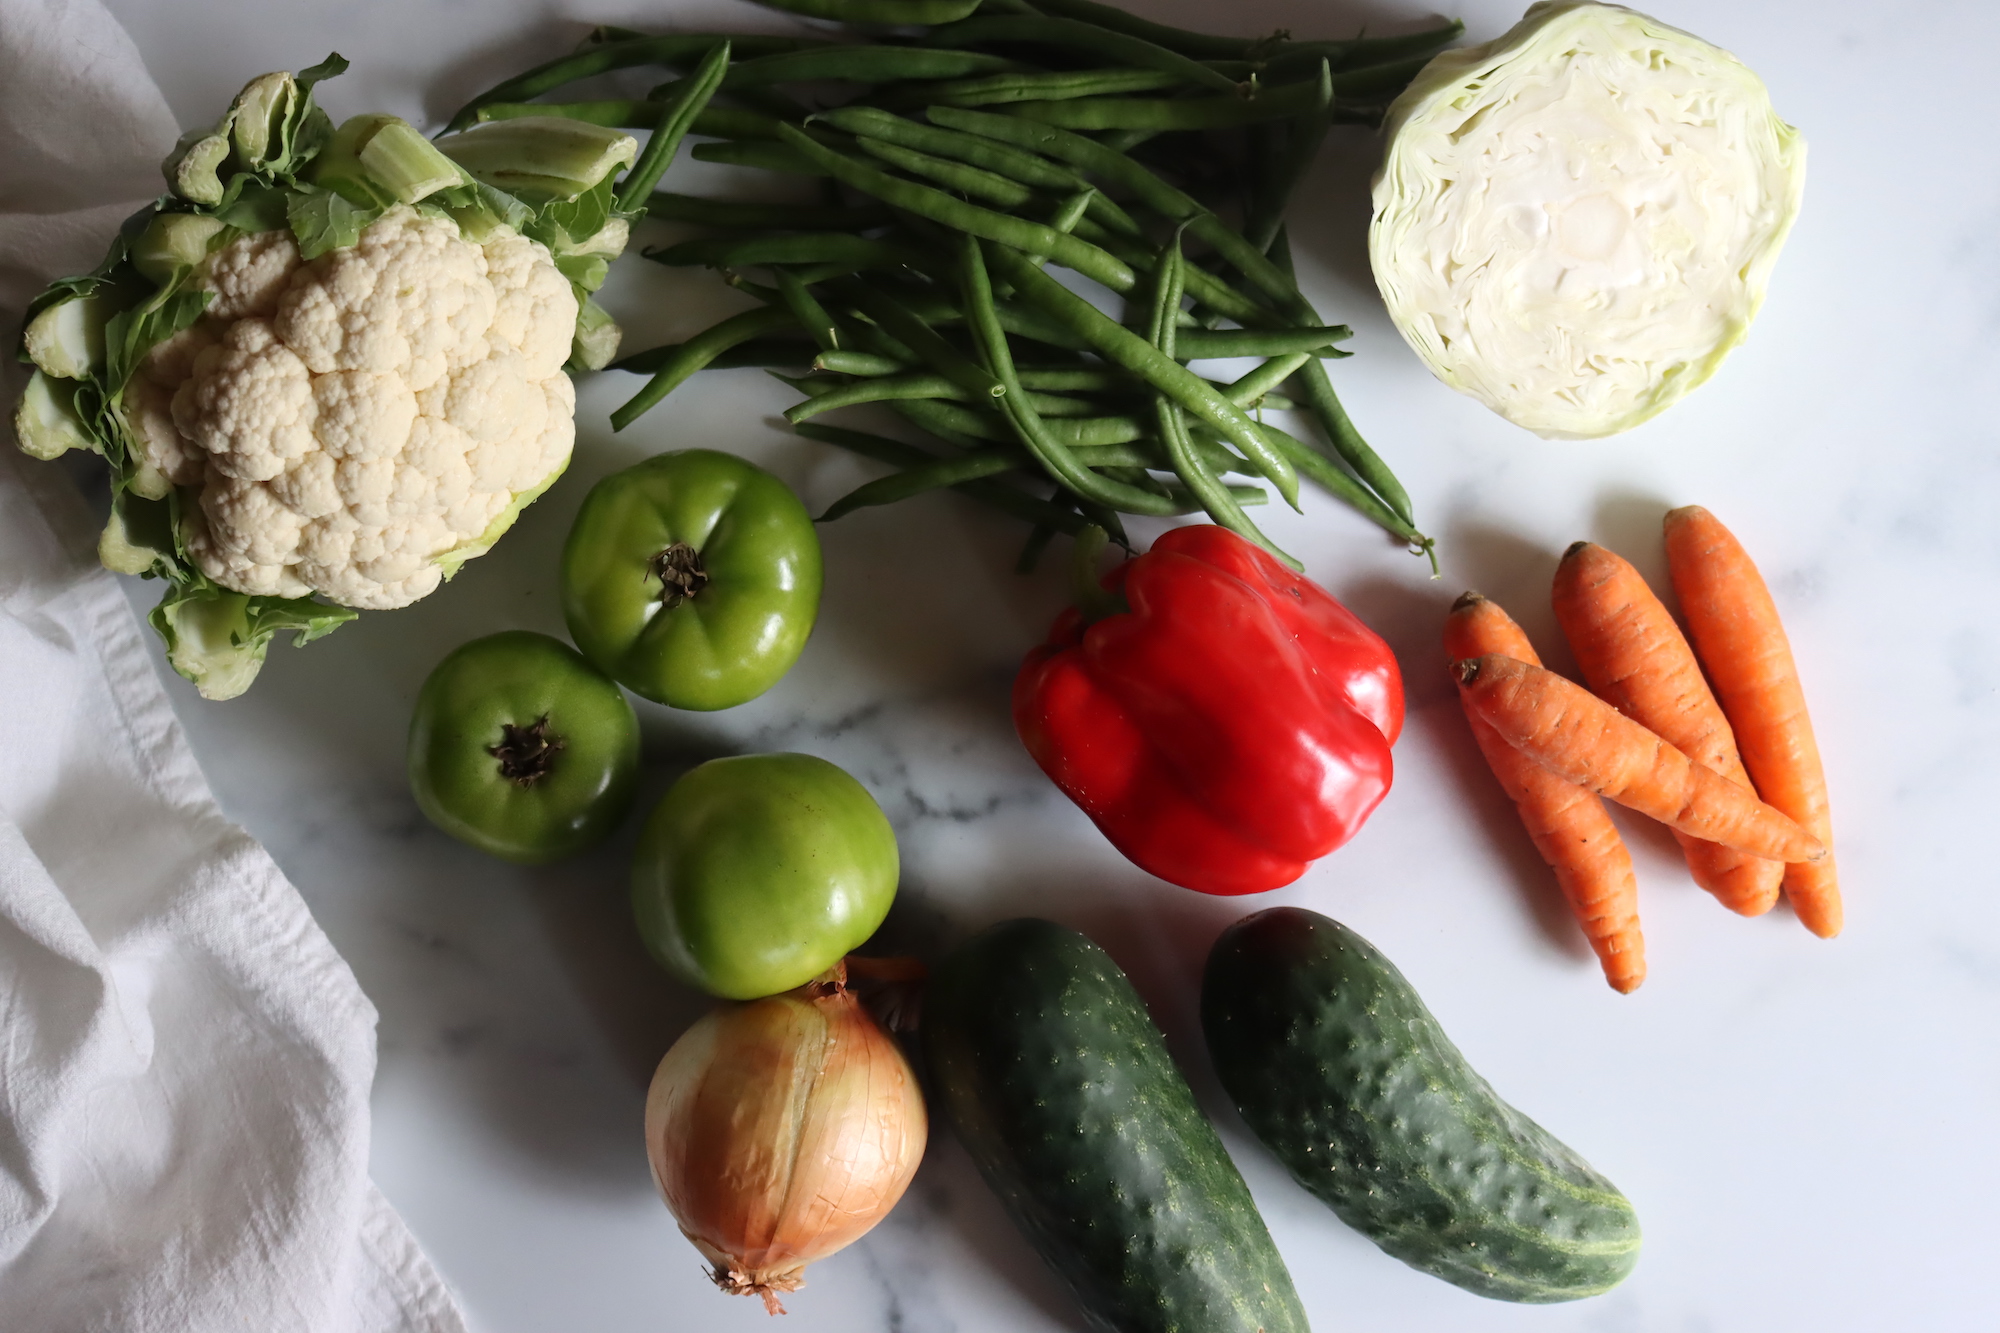
The ingredients for canning Amish Chow Chow are simple, and most of them come straight out of the late-summer garden. Here is what each one brings to the jar, along with a few notes on what to look for and where you have room to make it your own.
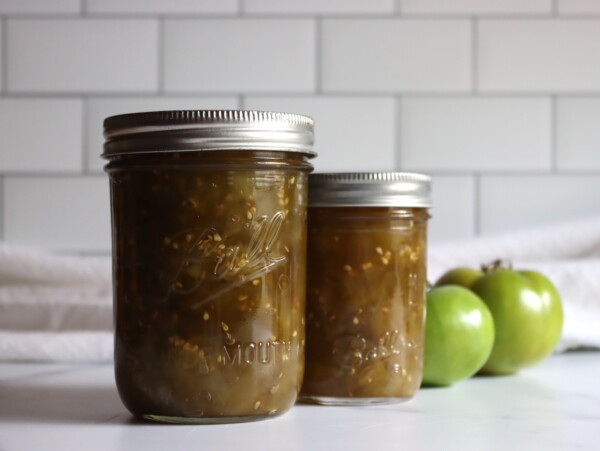
- Green Tomatoes: The signature ingredient in a traditional chow chow, and the reason this recipe is such a good use for the unripe tomatoes still on the vine at the end of the season. Every regional version leans on them, so I would keep them in even if you swap other vegetables around.
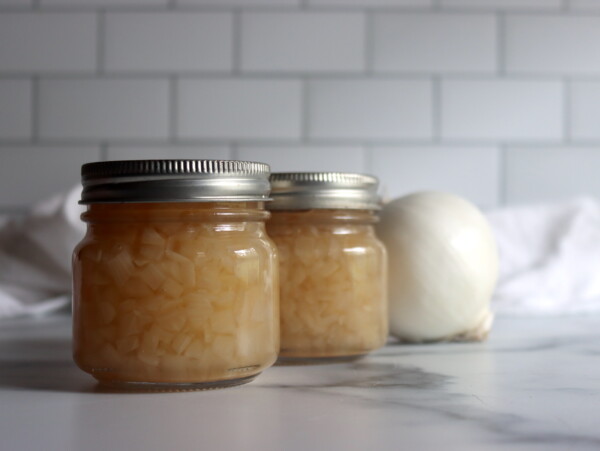
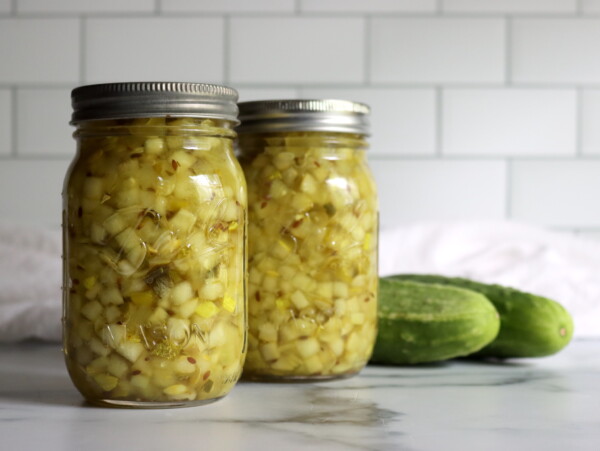
- Cabbage, Peppers, Onions, and Cucumbers: The bulk of the mix. These are soaked in salt water overnight so they shed excess moisture and hold their texture, rather than going soft and watery in the jar.
- Carrots and Green Beans: Denser than the rest, so they get a short precook before joining the mix. They add a little extra bite and color.
- White Vinegar: At 5 percent acidity, the vinegar is what makes this relish safe to keep on the shelf. Use the full amount called for and do not dilute it or cut it back.
- Sugar: Balances the vinegar and gives chow chow its sweet-tangy character. It is there for flavor rather than safety, so you have a little room to adjust it to taste.
- Pickling Salt: Use pickling or canning salt for the overnight soak, not table salt, since the iodine and anti-caking agents in table salt can cloud the brine and darken the vegetables.
- Celery Seed and Mustard Seed: The spice backbone. These are safe to adjust to taste, so lean into whichever flavor you like.
The mix of vegetables here is flexible, which is part of what makes chow chow such a handy end-of-season recipe. The trick is to swap one canning-safe vegetable for another in equal amounts, so the total volume stays the same and the vinegar keeps everything at a safe acidity. This particular recipe is a traditional one, though, so I would try it as written the first time, especially the green tomatoes.
Brine Strength and Substitutions
The vinegar has to stay at the amount the recipe calls for, because the acidity is what keeps this relish safe on the shelf. You can use white or apple cider vinegar as long as it is labeled 5 percent acidity, but do not cut the vinegar or add extra water in its place.
The vegetables are flexible as long as you swap one for another in equal amounts, since the total volume and the acid ratio stay the same. Do not add more total vegetables or reduce the vinegar to make room for extras.
The salt in the overnight soak is there for texture and flavor, not for safety, so you can reduce it if you prefer. The draining still matters either way, since it keeps the finished relish from turning watery and keeps the brine at full strength.
Making Amish Chow Chow
Amish Chow Chow comes together in a few simple stages spread over two days. The overnight soak does most of the work while you sleep, so the actual hands-on time is short.
Salt-Soak and Drain the Vegetables
Begin by washing your tomatoes, cabbage, peppers, onions, and cucumbers, then chop them into small, even pieces. Combine 2 quarts of water with 1/4 cup of pickling salt, add the chopped vegetables, and let them soak overnight.
This step softens the vegetables slightly, draws out excess moisture, and seasons them from the inside. In the morning, drain the vegetables well before they go into the pot, since that drained-off water is exactly what you do not want diluting the brine.
Precook the Carrots and Green Beans
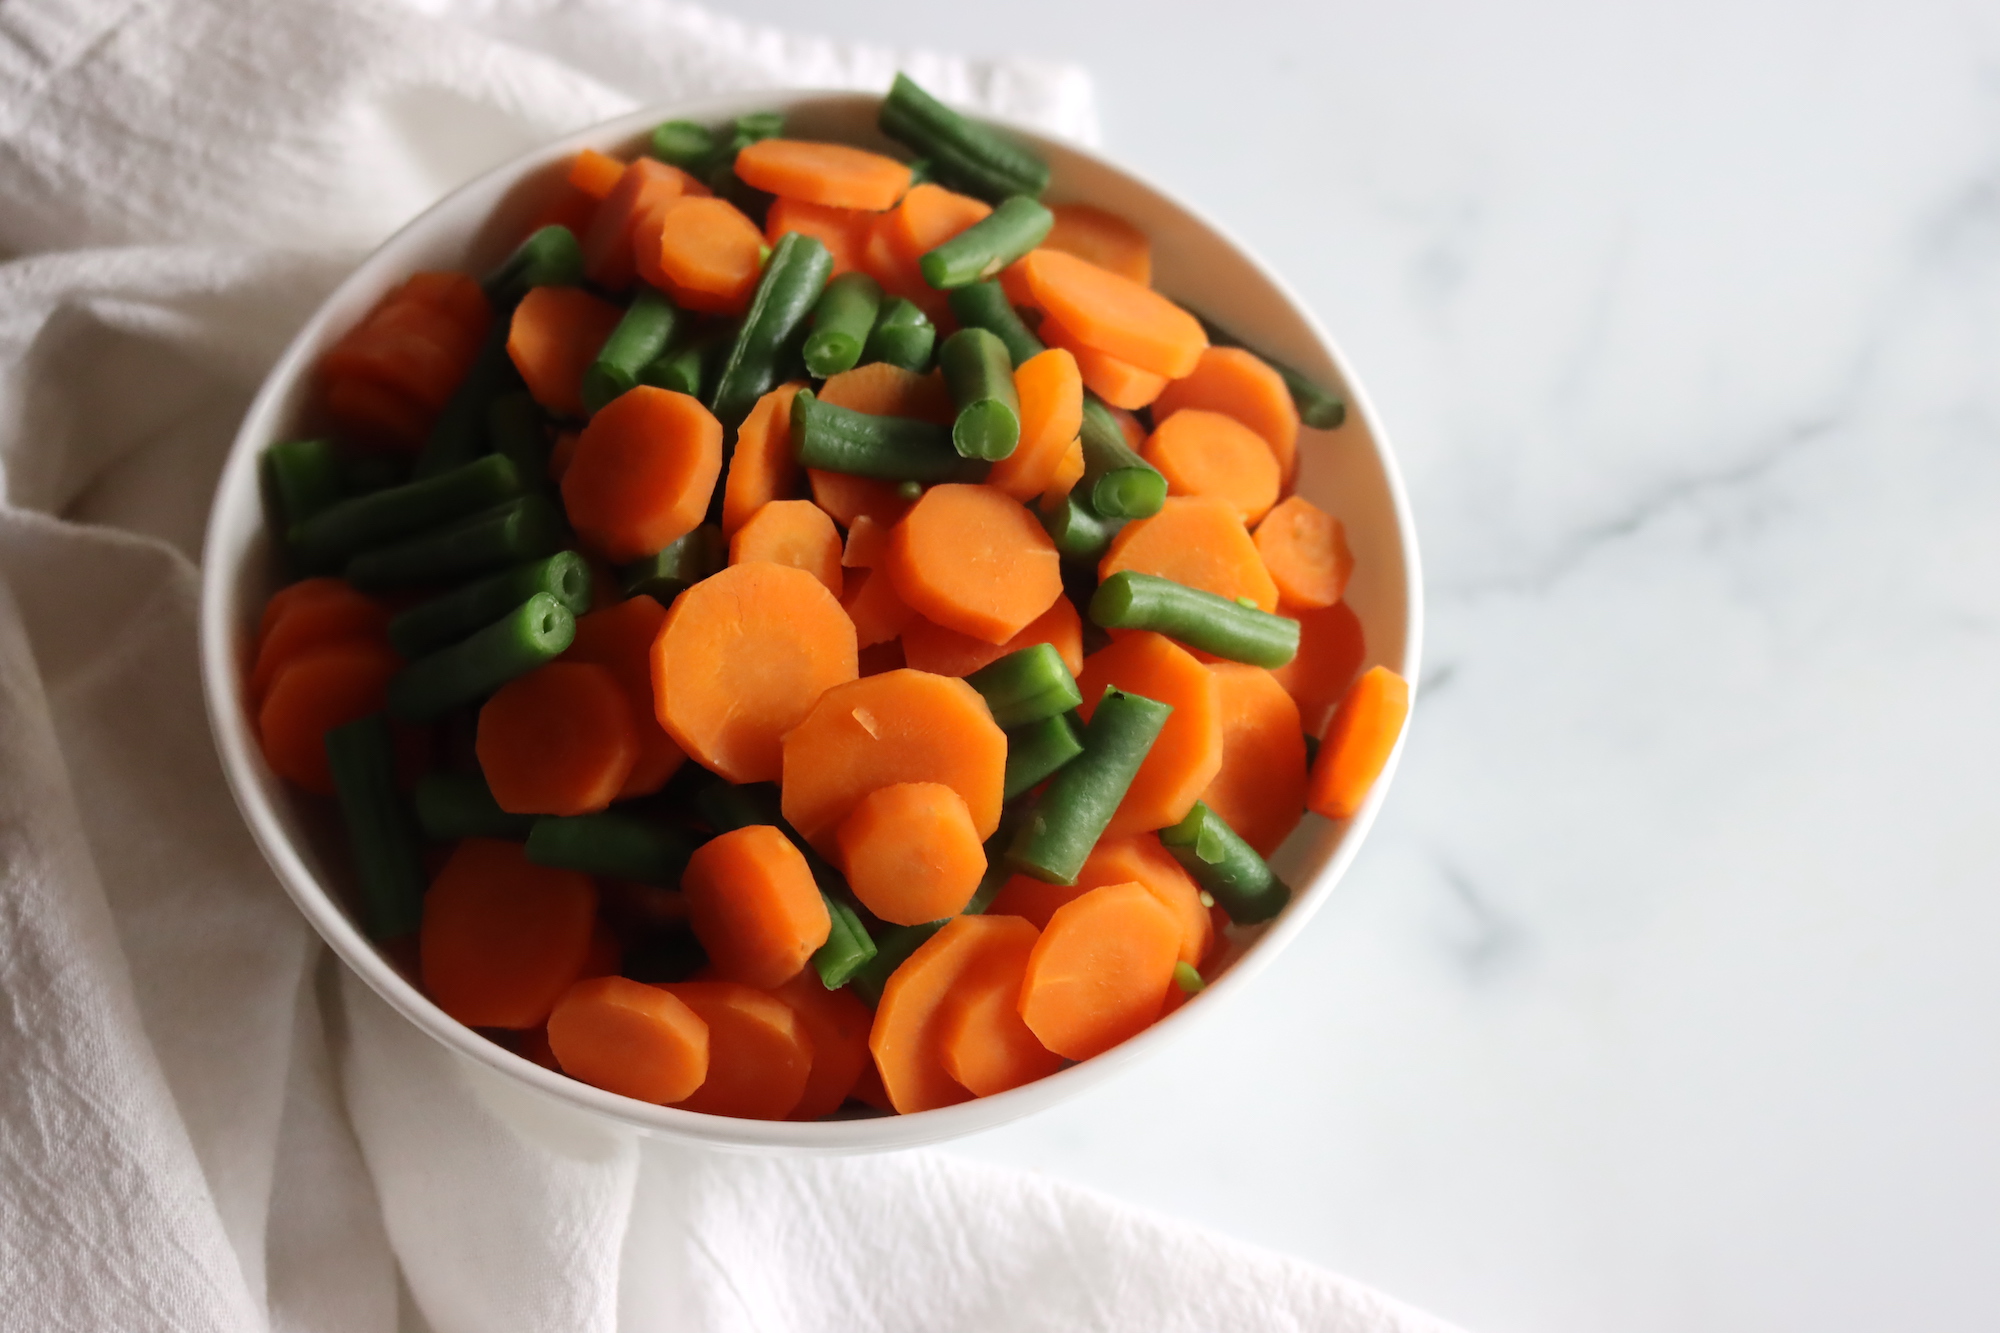
Next, cook your carrots and green beans for ten minutes in boiling water, then drain. They are denser than the other vegetables, so this softens them slightly and keeps them from being too crunchy in the finished relish.
You can chop them before or after this quick precook, whichever is easier for you. Either way, get them down to a size that matches the rest of the mix so every spoonful is a little of everything.
Combine and Heat
In a large pot, combine all of the other ingredients: the drained soaked vegetables, the cooked carrots and green beans, the 2 cups of sugar, the 2 cups of white vinegar, and the celery and mustard seed. This is a good spot to taste and adjust the seasoning if you want to make the batch your own.
Then bring the pot to a boil, stirring occasionally, until everything is mixed together and heated through. If you would rather make a refrigerator relish instead of canning, you can jar everything up at this point, let it cool, and keep it in the refrigerator for a few weeks. For shelf-stable jars, keep going to the water bath canner.
Canning Amish Chow Chow
To can your chow chow, first prepare your water bath canner, jars, and lids. Using a canning funnel and a spoon, pack the hot chow chow into hot jars, leaving 1/2 inch of headspace. Add a little more relish if you need to in order to bring the level up.
Wipe the rims of each jar with a clean cloth to remove any food residue, then add the lids and bands. Screw the bands on until they are fingertip tight, which means snug but not cranked down hard.
Load the jars carefully into the canner with a jar lifter, keeping them from touching each other or the sides of the canner. Once they are all in, add more water if needed so the jars are covered by at least an inch, then bring the water to a rolling boil.
Process the jars for ten minutes at 0 to 1,000 feet in elevation, adjusting for higher altitudes using the chart below. When the time is up, turn off the heat and let the jars sit for a few minutes, then move them to a towel on the counter to cool.
Let the jars cool at room temperature for 24 hours, then check that the lids have sealed by pressing the center of each one. A sealed lid stays down and does not flex. Any jars that did not seal should go straight into the refrigerator to eat soon, and the rest can be labeled and stored. Sealed jars keep their quality for up to a year in a cool, dark spot, and once a jar is opened it lives in the refrigerator. Toss any jar that shows a lost seal, an off smell, or mold when you go to open it.
Altitude Adjustments
Water boils at a lower temperature as you climb in elevation, so jars need a little more time in the canner. Here are the adjustments for water bath canning Amish Chow Chow:
- 0 to 1,000 feet: Half-pints and pints 10 minutes
- 1,001 to 6,000 feet: Half-pints and pints 15 minutes
- Above 6,000 feet: Half-pints and pints 20 minutes
Ways to Use Amish Chow Chow
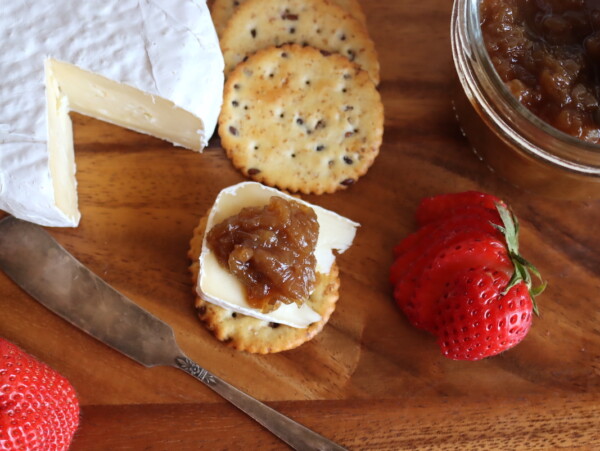
Now that you have jars of Amish Chow Chow on the shelf, it is time to dig in. It is good with grilled meats like chicken or steak, and just as good alongside burgers, hot dogs, and sandwiches. Traditionally, chow chow is served as a side to cut through heavier fare like casseroles and pot roasts, but it goes well with just about anything.
The one thing to remember is that chow chow has an intense flavor for a side dish, so a little goes a long way. It is pickled, after all, so serve it in smaller portions and let people add more if they want it. If you find you like this style of condiment, the corn relish and bread and butter pickled onions play a similar role at the table.
Yield Notes
This recipe makes about 4 pints, though the exact count shifts a little depending on how finely you chop the vegetables and how thoroughly you drain them after the soak. A wetter pack fills more jars, while a well-drained relish is denser and yields slightly less.
It scales up cleanly if you want to put up more at once, since the vegetables are measured by the cup. Keep the vinegar in step with the vegetables when you scale, and pack into half-pints or pints rather than quarts.
A few common questions come up when people make chow chow for the first time, so here are the ones I hear most.
Amish Chow Chow FAQs
The vinegar at 5 percent acidity is what makes this relish safe to can, so the amount cannot be cut and the vinegar cannot be diluted with extra water. The vegetables are flexible only if you swap one canning-safe vegetable for another in equal amounts, since that keeps the total volume and the acid ratio the same. Do not add more total vegetables or reduce the vinegar to fit them in.
The overnight salt soak pulls excess water out of the vegetables so the finished relish is not watery and the brine stays at full strength. It also softens the vegetables slightly and seasons them from the inside. Drain them well before they go into the pot.
You can jar the cooked relish, let it cool, and keep it in the refrigerator for a few weeks without processing. Water bath canning is what makes it shelf stable for long-term pantry storage.
Properly processed and sealed jars keep their quality for up to a year in a cool, dark place. Once a jar is opened, store it in the refrigerator. Discard any jar that has lost its seal or shows an off smell or mold.
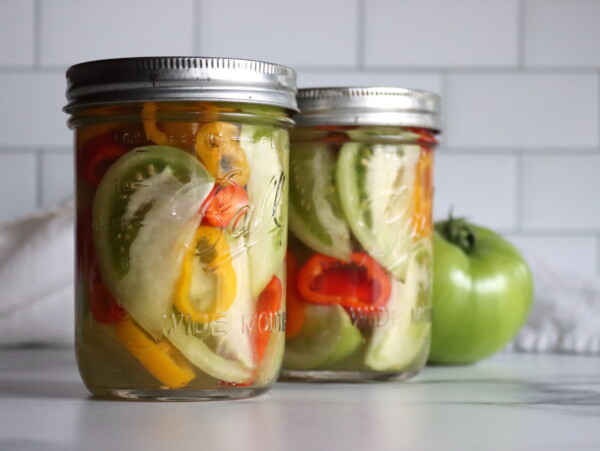
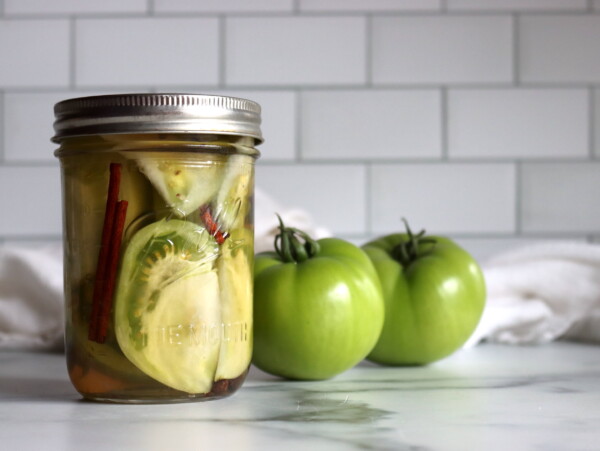
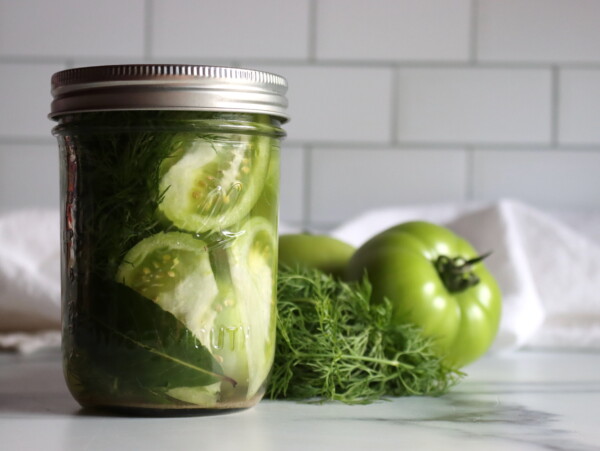
Green tomatoes are the heart of this recipe, so if you have a bumper crop of them still on the vine, here are more ways to put them up.
Green Tomato Canning Recipes
If you tried this Amish Chow Chow recipe, or any other recipe on Creative Canning, leave a ⭐ star rating and let me know what you think in the 📝 comments below!
And make sure you stay in touch with me by following on social media!
Amish Chow Chow
Equipment
Ingredients
Vegetables and Spices
- 1 cup green tomatoes, chopped
- 1 cup cabbage, chopped
- 1 cup bell peppers, chopped
- 1 cup cucumber, chopped
- 1 cup yellow onions, chopped
- 1 cup cauliflower, broken into small florets
- 1 cup carrots, chopped
- 1 cup green beans, chopped
- 2 tsp celery seed
- 2 tsp mustard seed
For the salt water soak:
- 2 Quart water
- ¼ cup salt
For the Pickling Brine:
- 2 cups sugar
- 2 cups white vinegar, 5% acidity
Instructions
Day 1
- Wash the tomatoes, cabbage, peppers, cucumber, and onions, then chop them into small, even pieces.
- Dissolve the pickling salt in the water, add the chopped vegetables, and let them soak overnight.
Day 2
- In the morning, drain well.
- Cook the carrots and green beans in boiling water for ten minutes, then drain.
- Combine the drained soaked vegetables, the carrots and green beans, the sugar, vinegar, celery seed, and mustard seed in a large pot. Bring to a boil, stirring until the sugar dissolves, and heat through.
- Prepare a water bath canner, jars, and lids. Pack the hot chow chow into hot jars, leaving 1/2 inch headspace.
- Remove air bubbles, wipe the rims, and apply the lids fingertip tight.
- Process in a boiling water bath canner for 10 minutes, adjusting for altitude (see notes). Let the jars rest a few minutes, then cool undisturbed 12 to 24 hours before checking the seals.
Notes
- For 0 to 1,000 Feet in Elevation – Process pint jars for 10 minutes, and quart jars for 15 minutes.
- For 1,001 to 6,000 Feet in Elevation – Process pint jars for 15 minutes, and quart jars for 20 minutes.
- Above 6,001 Feet in Elevation – Process pint jars for 20 minutes, and quart jars for 25 minutes.
Nutrition
Nutrition information is automatically calculated, so should only be used as an approximation.
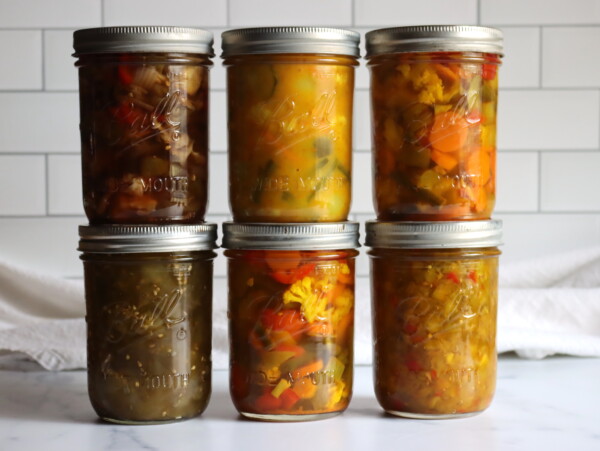
And if you are after more sweet-tangy condiments to line the pantry, here are more relishes to can.
Relish Canning Recipes
Find the perfect recipe
Searching for something else? Enter keywords to find the perfect recipe!


We made a batch this past fall to use up the last of the garden, and it disappeared fast on our supper table next to anything rich and hearty. The overnight salt soak really does keep everything crisp in the jar.
Can I Sub corn instead of green beans ?
Yes, in this particular recipe you can substitute 1 cup of corn kernels in place of 1 cup of green beans. Enjoy!