
This post may contain affiliate links. Please see our disclosure policy.
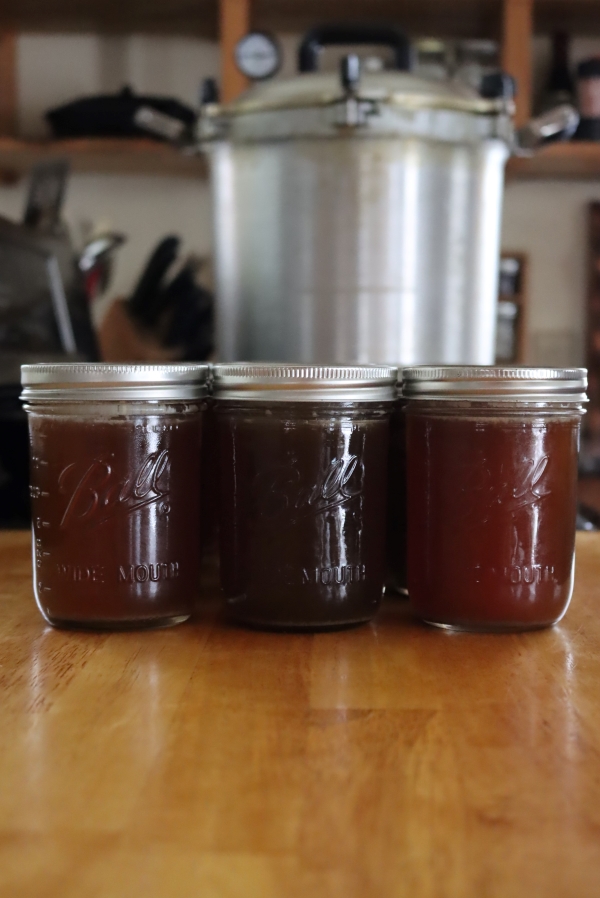
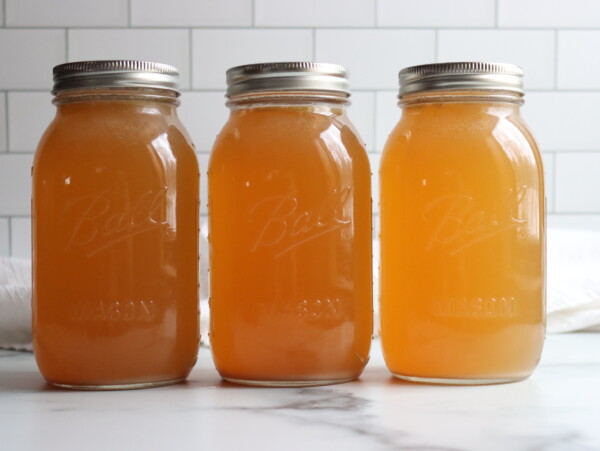
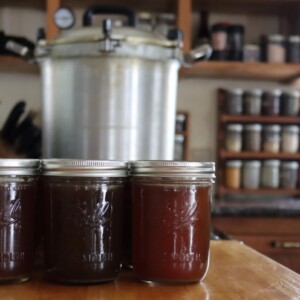
Canning beef broth turns a bag of saved bones into jars on the shelf instead of a freezer you can’t close. It’s a short pressure canning run, 20 minutes for pints and 25 for quarts.
The broth itself isn’t a recipe you have to follow. Make it the way you like it, strain it well, and the canning is the same either way.
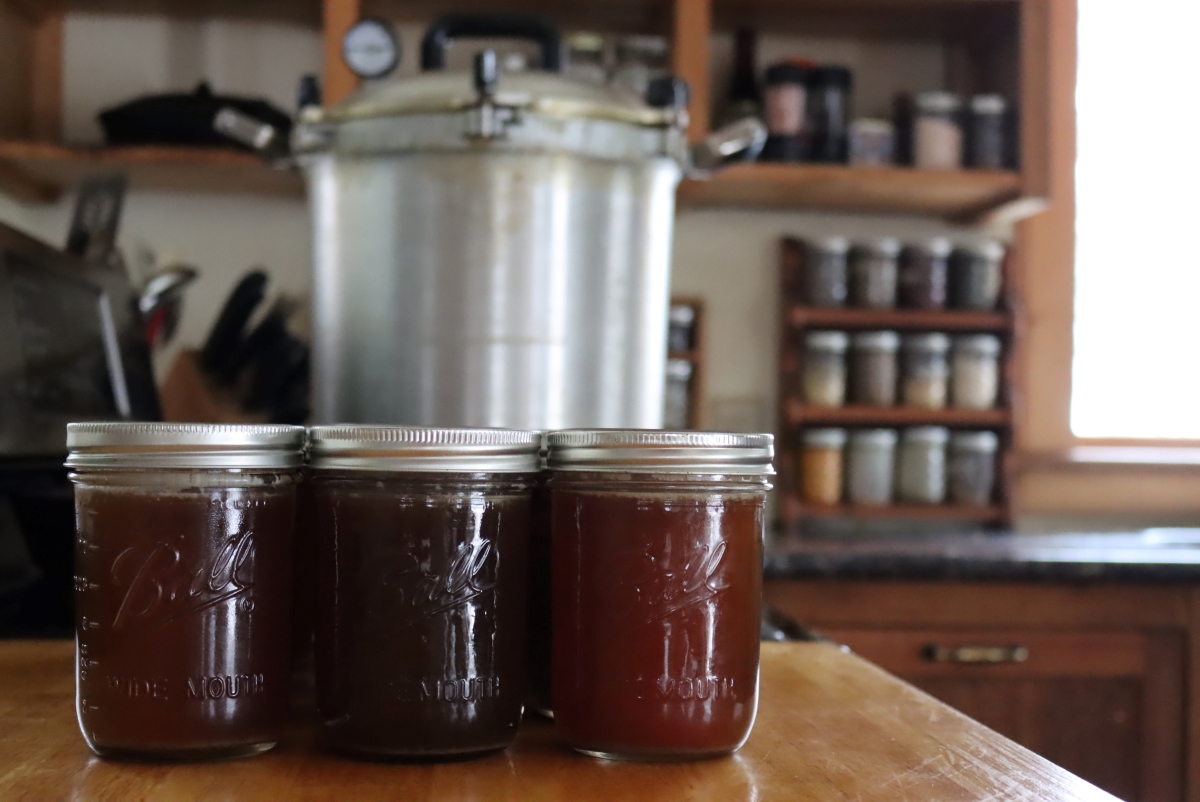
Table of Contents
- Notes from My Kitchen
- Quick Look at the Recipe
- Ingredients for Beef Bone Broth
- Broth, Not Soup
- Making Beef Broth
- How to Can Beef Broth
- Altitude Adjustments
- Serving Ideas for Beef Broth
- Tips for the Best Beef Broth
- Storage and Shelf Life
- Yield Notes
- Canning Beef Broth FAQs
- Stock and Broth Canning Recipes
- Canning Beef Broth Recipe
- Beef Canning Recipes
This recipe has been reviewed for safety and accuracy by a Master Food Preserver certified through the University of Cornell Cooperative Extension.
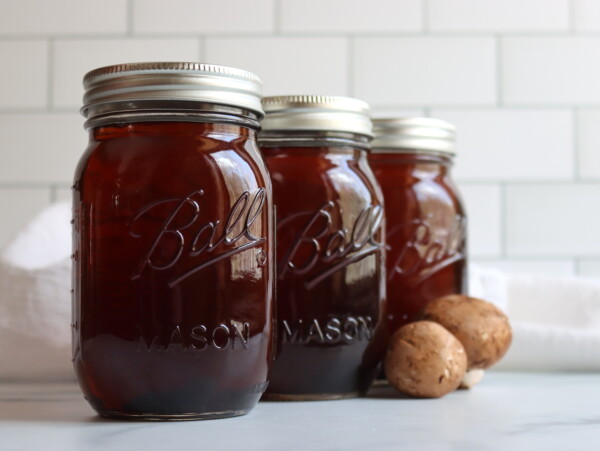
Beef bones make the richest broth of anything I can, and they’re close to free. Knucklebones, oxtails, and shanks are what’s left after the good cuts are wrapped, and a butcher will usually hand them over for a few dollars a pound.
Freezing works, but broth in the freezer is bulky, and it has to thaw before it’s any use to you. A jar off the shelf is ready the second you open it, and it doesn’t care if the power goes out.
Unlike most pressure canning recipes, this one isn’t a formula. Beef broth is beef broth. What matters for safety is that it goes into the jar strained, with no meat or vegetables riding along, because the 20 and 25 minute times are for liquid only.
The processing follows National Center for Home Food Preservation guidance for meat stock.
Notes from My Kitchen

We buy a side of beef at a time, which is somewhere around 225 pounds of meat and a lot of bones. Ever since we started doing that, I’ve been finding ways to use every part of it.
There’s a bag in the freezer that gets the bones off every roast, steak, and rack of ribs. When it’s full, I pull out the big stockpot and make broth for a day.
It’s funny to me that bone broth sells for a small fortune at the health food store. It’s made from the parts nobody wanted twenty years ago, and mine costs me an afternoon and the heat on the stove.
Quick Look at the Recipe
- Recipe Name: Canning Beef Broth
- Recipe Type: Stock and Broth Canning Recipe
- Canning Method: Pressure Canning
- Prep Time: About an hour, including roasting the bones
- Cook Time: 4 to 24 hours, mostly unattended
- Canning Time: 20 minutes for pints, 25 minutes for quarts
- Pressure: 10 lbs weighted gauge, 11 lbs dial gauge, at sea level
- Yield: About 7 quarts, a full canner load
- Jar Sizes: Pints or quarts
- Headspace: 1 inch
- Ingredients Overview: Beef bones, water, onions, carrots, celery, garlic, and herbs
- Safe Canning Recipe Source: Processing per NCHFP guidance for meat stock
- Difficulty: Easy, and the canning part takes under half an hour
- Similar Recipes: Same process, different bones: chicken broth, turkey broth, venison bone broth, and rib broth. For meatless versions, vegetable broth and mushroom broth.
Ingredients for Beef Bone Broth
This batch is sized to about 5 to 6 pounds of bones, which fills a canner. Full amounts are in the recipe card at the bottom of the page.
Treat the list as a starting point rather than a formula. None of it changes the canning, so use what you have and leave out what you don’t.
- Beef Bones: Knucklebones, oxtails, shank bones, marrow bones and neck bones all work. Bones with bits of meat still on them give the most flavor, and the knuckles and oxtails carry the collagen that thickens the broth. Veal bones are welcome too.
- Water: Enough to cover the bones by a couple of inches. Top it up during the long cook if the level drops below them.
- Onions, Carrots and Celery: Roughly chopped, skins and all. They get strained out at the end, so they don’t need to be pretty. Odds and ends saved in the freezer are ideal here.
- Garlic: A whole head cut in half crosswise, papery skins and all. A few cloves work if you’d rather keep it subtle.
- Herbs and Peppercorns: Bay leaves, thyme, rosemary, parsley and whole peppercorns. Fresh if you have it, dried if you don’t, and any of them can be swapped for what’s in your cupboard.
- Salt: Optional, and I usually leave it out so the broth is neutral when I cook with it later. Canning salt keeps it clear if you do add it.
Everything on that list is optional except the bones and the water. What isn’t optional is straining, and that one’s about safety rather than taste.
Broth, Not Soup
The 20 and 25 minute times on this page are for strained liquid and nothing else. Solids change how heat moves through the jar, and a jar with meat, noodles, rice or vegetables in it is a different product with a much longer process.
Soup runs 60 minutes for pints and 75 for quarts, or longer for fully packed jars. A jar packed solid with beef and vegetables runs longer still, and canning beef stew is the tested version of that at 75 minutes for pints and 90 for quarts. There are more of them in my soup canning recipes.
Don’t split the difference, and don’t drop a handful of shredded beef into broth jars. Strain it, skim it, can it plain. Add whatever you want the day you open the jar.
Making Beef Broth
Beef broth is mostly waiting. Three things decide whether it comes out clear and gelled or cloudy and thin, and all three happen long before the jars come out.
Roast the bones, keep it below a boil, and strain it properly. That’s the whole method.
Roast the Bones
Roast the bones at 450 degrees F for about 45 minutes, turning them once halfway through. You’re after a deep brown, not a light tan. This is the step that gives beef broth its color and its almost caramelized flavor.
It also keeps the broth clear. Anything raw going into the water clouds it, so roasting sets the proteins in whatever meat is still clinging to the bones. I’ve skipped this step when I was short on time and still had usable broth, but it was cloudy, and it tasted flat next to a roasted batch.
The vegetables are a judgment call. Roasting them with the bones deepens the flavor a little, though some of them come out crisp. I usually add them to the pan when I flip the bones, or just throw them in the pot raw. Roasting the bones matters far more than roasting the vegetables.
Don’t waste the pan. Pour a cup of water into the hot roasting pan, scrape up every brown bit stuck to the bottom, and pour it into the stockpot with the bones.
Simmer It Low and Slow
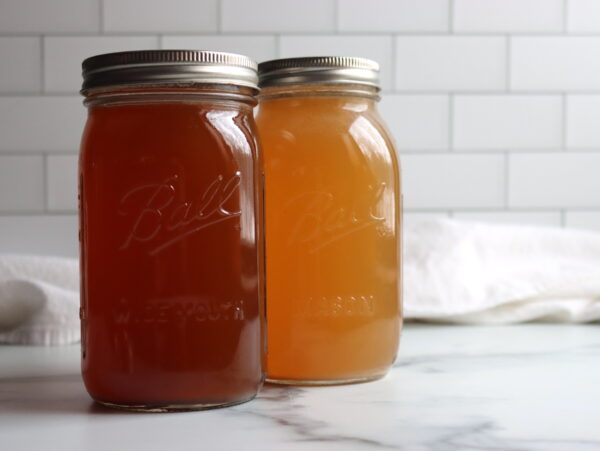
Cover the bones and vegetables with water by a couple of inches, bring it up, then back it down to a bare simmer. Anywhere from 4 to 24 hours works, and longer pulls more out of the bones. I aim for about 12.
Never let it reach a hard boil. Once a stock has boiled hard it will never be clear again, and that’s not something you can fix later.
A basic slow cooker is worth its counter space here. It’ll hold an even temperature overnight without anyone watching it, which a burner won’t reliably do. A stockpot on the lowest setting works fine too if you’re around to check it. Add water any time the bones start to poke out.
Strain and Skim
Lift the bones out first, then pour the broth through a fine mesh strainer lined with a few layers of cheesecloth. Let it drain on its own and resist the urge to press on the solids. Everything in there is soft enough by now that pressing pushes it straight through into your broth.
Then skim the fat. Chilling the broth first makes it easy, since the fat sets into a cap you can lift off in one piece. I usually skim it hot instead, because I don’t have refrigerator space for that much broth.
Get as much of it as you can. A little left behind is fine, but fat works its way onto the jar rim during processing and keeps a lid from sealing.
How to Can Beef Broth
However you made the broth, the canning is the same. Beef broth is low acid, which means a pressure canner and nothing else. A water bath canner can’t get hot enough for it, no matter how long you leave it in there. An electric multicooker isn’t a canner either, and I get into why in can you can in an Instant Pot. My guide to pressure canning for beginners walks through the whole setup if this is your first time.
Set the rack in the canner and add about 2 inches of water, then bring it up to a gentle simmer while you fill jars. Readers ask about this one a lot, since water bath jars go fully underwater. A pressure canner works on steam rather than water, and 2 inches is enough to fill the chamber with steam without boiling dry.
Have the broth hot on the stove, because this is a hot pack. Bring it back to a boil, then turn the heat off and leave the pot where it is while you work.
Ladle the hot broth into hot jars with a canning funnel, leaving 1 inch of headspace. Run a bubble tool around the inside and top the broth back up if the level dropped. Wipe the rims and cap with two-part canning lids at fingertip tight.
Load the jars with a jar lifter, lock the lid, and let the canner vent a steady stream of steam for a full 10 minutes before the weight goes on. After that, steam shouldn’t be escaping anywhere else. If it’s coming out past the backup vent, sort that out before you run another load.
Process pints for 20 minutes or quarts for 25 minutes. That’s at 10 pounds pressure on a weighted gauge canner, or 11 pounds on a dial gauge. Adjust the pressure for your altitude using the chart below.
When the time is up, turn off the heat and let the canner come down to zero pressure on its own. Never rush it with cold water. Wait another 5 minutes, take the lid off, then leave the jars sitting in the canner 10 minutes before you lift them out.
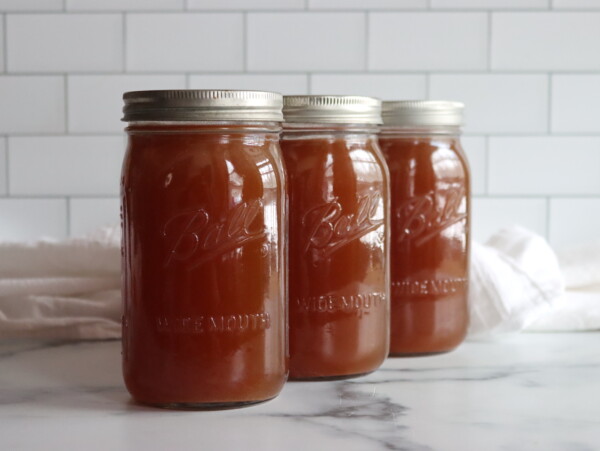
Cool them on a towel for 12 to 24 hours, check the seals, then label and store. Broth that sets solid in a cold jar is a good sign rather than a problem. It means the collagen came out of the bones.
Altitude Adjustments
Pressure canning works differently from water bath canning here. The canning time is always 20 minutes for pints and 25 minutes for quarts, at any altitude. Only the pressure changes as you go up.
For dial gauge pressure canners:
- 0 to 2,000 feet: 11 lbs pressure
- 2,001 to 4,000 feet: 12 lbs pressure
- 4,001 to 6,000 feet: 13 lbs pressure
- 6,001 to 8,000 feet: 14 lbs pressure
For weighted gauge pressure canners:
- 0 to 1,000 feet: 10 lbs pressure
- Above 1,000 feet: 15 lbs pressure
Serving Ideas for Beef Broth
A jar of beef broth is the start of French onion soup, beef barley, or a pot of pho on a Sunday. It’s also what turns a pan of drippings into gravy in about four minutes, which is the use it gets most often here.
Cook barley, rice or lentils in it instead of water. Braise short ribs in it, thin a stew with it, or deglaze the pan after searing a steak. If you’d rather have the whole meal in the jar, look at canning beef stew, beef stroganoff, or beef pot pie filling. They all start from the same animal, and so do canning hamburger and canning beef.
Tips for the Best Beef Broth
Roast the bones before they go in the pot. Raw ingredients cloud the stock, and roasting is where the color and the deep flavor come from.
Don’t hard boil the broth, gently simmer instead. A hard boil sets the proteins loose in the liquid and gives you cloudy broth. Keep it barely moving.
Save bones in the freezer until you have enough for a batch worth the effort. A bag of bones off roasts, steaks and ribs makes better broth than any one cut on its own, and it costs you nothing but freezer space you were already using.
Use knucklebones and oxtails if you can get them. They’re loaded with collagen, and they’re the difference between broth that gels in the jar and broth that doesn’t.
Don’t salt it heavily before canning. Broth gets used in things that get salted again later, and a jar of neutral broth is more useful than a seasoned one.
Storage and Shelf Life
A properly canned and sealed jar won’t spoil as long as the seal holds, the same as any canned good. Quality is the limit rather than safety, and beef broth is best used within about 18 months.
Store the jars somewhere cool and dark with the bands off, so a failed seal shows itself. Anything that didn’t seal goes in the refrigerator and gets used within a week or two. Refrigerate after opening and use it within about four days.
If you’d rather not can it at all, broth freezes well, and I’ve written up how I do it in how to freeze bone broth. Freezing is also the answer for any batch that came out with solids in it.
Yield Notes
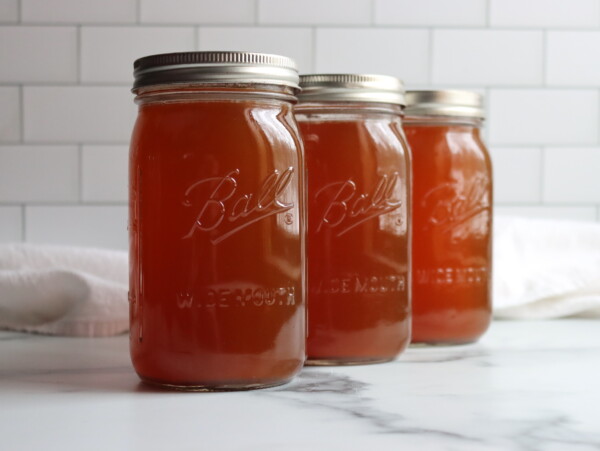
Five to six pounds of bones and 2 gallons of water gives about 7 quarts of finished broth, which is a full canner load. In pints that’s 14 jars, which is more than most canners hold at once, so plan on two runs if you’re canning pints.
Keep the pot topped up as it cooks or the yield drops. It scales with nothing more than a bigger pot, and it scales down the same way. Check your canner manual for its minimum load, since most want at least a couple of jars in there.
Canning Beef Broth FAQs
These are the questions readers ask most in the comments on canning beef broth.
No. The 20 and 25 minute times are for strained liquid only, and solids change how heat moves through the jar. Broth with beef and vegetables in it is soup, and it processes for 60 minutes for pints or 75 for quarts (or longer for fully packed jars). Strain the broth for these times, and add whatever you like when you open the jar.
No. Broth is low acid, so it needs a pressure canner. A water bath simply doesn’t get hot enough, and no amount of extra time makes up for it. If you don’t have a pressure canner, freeze the broth instead.
Yes, any bones from land animals work here, including pork, lamb, chicken and turkey. Beef rib bones are good ones, and I’d roast them first the same as any other bone. Fish is the exception, since fish stock has its own separate process.
Making it, yes, and it works well. Canning it, no. An electric multicooker can’t hold and verify pressure the way a real canner does, so it isn’t a canner no matter what the box says. Make the broth in it if you like, then can it in a pressure canner.
The lids are rated for 18 months, and quality is best inside that window. As long as a jar stays properly sealed the broth won’t spoil, so older jars are still fine to use. Once a jar is open it goes in the refrigerator and gets used within about four days.
Stock and Broth Canning Recipes
Every kind of bone works, and the process is the same for all of them.
If you tried this Canning Beef Broth recipe, or any other recipe on Creative Canning, leave a ⭐ star rating and let me know what you think in the 📝 comments below!
And make sure you stay in touch with me by following on social media!
Canning Beef Broth
Equipment
- Canning Jars, Lids and Bands
Ingredients
- 5-6 lbs beef stock bones, knucklebones, oxtails, shank, marrow or neck bones
- 3-4 large onions, quartered, skins on
- 4-5 medium carrots, roughly chopped
- 3 whole celery ribs, roughly chopped
- 1 bulb garlic, cut in half crosswise, skins on
- 2 gallons water, or enough to cover the bones
- 3 whole bay leaves
- 2-3 sprigs fresh thyme, or 1 tsp dried
- 2-3 sprigs fresh rosemary, or 1 tsp dried
- 1 small bunch fresh parsley, or 1 tsp dried
- 10 whole peppercorns
Instructions
Making the Broth
- Heat the oven to 450 degrees F. Spread the bones in a heavy roasting pan and roast for 45 minutes, turning once halfway through, until they’re deeply browned.
- Transfer the bones to a large stockpot or slow cooker. Deglaze the roasting pan with a splash of water, scraping up the browned bits, and add that to the pot.
- Add the vegetables, garlic, herbs and peppercorns, then cover everything with water by about 2 inches.
- Bring it to a boil, then drop the heat to a bare simmer and cook for 4 to 24 hours. Never let it boil hard or the broth will be cloudy. Add water as needed to keep the bones covered.
- Lift out the bones, then strain the broth through a fine mesh strainer lined with cheesecloth. Let it drain on its own without pressing on the solids. Discard the solids.
- Skim the fat off, or chill the broth and lift off the fat cap. The broth must go into the jars strained and skimmed, with no solids.
Canning the Broth
- Prepare a pressure canner for a hot pack: rack in the bottom, 2 inches of water, brought to a gentle simmer. Heat the jars.
- Reheat the strained broth to a boil, then turn off the heat.
- Ladle the hot broth into hot jars, leaving 1 inch headspace. Remove air bubbles, adjust the headspace, wipe the rims and cap with two-part canning lids at fingertip tight.
- Load the jars, lock the canner lid, and vent a steady stream of steam for 10 minutes before adding the weight.
- Process pints for 20 minutes or quarts for 25 minutes, at 10 pounds pressure on a weighted gauge canner or 11 pounds on a dial gauge, adjusting the pressure for altitude (see notes).
- Turn off the heat and let the canner return to zero pressure on its own. Wait 5 minutes, remove the lid, then let the jars stand in the canner 10 minutes before lifting them out.
- Cool the jars undisturbed for 12 to 24 hours, then check the seals, label and store.
Notes
- 0 to 2,000 feet: 11 lbs
- 2,001 to 4,000 feet: 12 lbs
- 4,001 to 6,000 feet: 13 lbs
- 6,001 to 8,000 feet: 14 lbs
- 0 to 1,000 feet: 10 lbs
- Above 1,000 feet: 15 lbs
Nutrition
Nutrition information is automatically calculated, so should only be used as an approximation.
Beef Canning Recipes
A side of beef fills a lot of jars if you use all of it.
Find the perfect recipe
Searching for something else? Enter keywords to find the perfect recipe!

I don’t usually have a lot of beef bones so are there other things that I could use to make
the beef broth? I have a few steak bones but not near enough to can. Another question I have is how different in taste is venison broth. My son hunts and I could get him to save me some of the bones but Ive never had venison broth.
You don’t need all beef bones. Any bones from land animals work in this recipe, so you can mix your steak bones with pork, chicken or venison bones. I keep a bag in the freezer and add bones from every roast, steak and rack of ribs until there’s enough for a batch. A butcher will also usually sell soup bones or knuckle bones for a few dollars a pound.
Venison broth tastes a lot like a rich beef broth, just with a bit more character, and I use it anywhere I’d use beef broth. The main thing is to skim the fat really well, since that’s where the gamey flavor comes from. Here’s my venison broth recipe if you’d like to try it: https://creativecanning.com/venison-broth/
Hope this helps!
My chicken broth turned out beautiful but now would like to try beef broth. My question is do you have to use raw bones for the roasting process? Like if I’m cooking a roast or steak do I need to remove the bones before I cook them or can I use them after they are cooked.
You don’t have to start with raw bones. I also save up bones from steaks and from things like shank that we cook for dinner. They work fine as is if fully cooked for broth. With steak, those are sometimes served rare, it’s important for clarity of the stock that they be really well cooked, so it can help to roast those again anyway. That’s a quality thing, not a safety thing. You can always re-roast cooked bones, but it’s not required. Enjoy!
I have not made this but have a canning question. If I read this correctly, the instructions call for 2 inches of boiling water in the pressure canner, then place the hot jars in the canner….
Here is my confusion! I was taught that the jars should totally submerged in the water, leaving 1′ water above the lid. Did you add more water or did you only use 2″ that you boiled at the start?
Thanks!
Great question! With waterbath canning, which is used for jams, pickles and fruits, you are correct. The jars are completely submerged in boiling water and processed under water.
In a pressure canner, the jars and chamber are getting hotter than boiling water, which is required for low acid foods like vegetables, soups, broth and meats. A pressure canner uses pressurized steam in a chamber at a set pressure to get to sterilization temperature (roughly 240F). Steam in air does that better than a full pot of water, so when you’re pressure canning, you put in 2 inches of water which is enough to fill the chamber with steam and prevent the chamber from boiling dry as steam vents a bit in the process (you’ll see that once you get started).
Make sure you have a pressure canner with a bottom trivet and canning weight specifically set to the appropriate pressure for your altitude. It sounds like this is you first time pressure canning, so I’d say, start with my beginner’s guide:
https://creativecanning.com/pressure-canning/
Clear instructions and easy to follow.
Thanks Jay!
What is the shelf life of canned broth?
The lids on the jars are rated for 18 months, but in reality, so long as the jars are properly canned and sealed (and stay sealed), the broth will not spoil. Quality is best in the first 18 months or so in any case, but past that they’re still fine for use if still sealed.
Can this recipe be interchangeable with other types of bones such as pork or chicken?
Yes, you can use any bones in this recipe (except fish). All land animals, pork, poultry, etc are perfectly fine.
Beef rib bones are okay to use?
Do you have thoughts on an instant pot?
Yes, you can use beef rib bones to make stock, they work wonderfully. I’d suggest roasting them first, as with any bone for broth.
Also yes, you can make it in an instant pot, and that works well. Do not can in the instant pot though. For canning, you need a real canner. More on why you cannot can in an instant pot here: https://creativecanning.com/instant-pot-canning/
I recently processed 7 quarts of beef broth & noticed siphoning as well as several jars spewing broth upon removal from the canner. I waited for the canner to naturally depressurize but I did keep the pressure at 13-14 lbs instead of 11 exactly for 25 minutes.
Is my broth safe to store? Should I throw it out or re-boil & re-can it?
Siphoning isn’t an issue so long as the jars seal well. One way to help prevent that is to keep the canner closed completely until everything is at room temperature. To do that, I usually can in the afternoon and then leave it all to sit until the following morning after I turn it off.
I’ve been pressure canning our broths for a few years now. You can’t beat the taste of homemade broth and canning it is so easy. So much more convenient than freezing