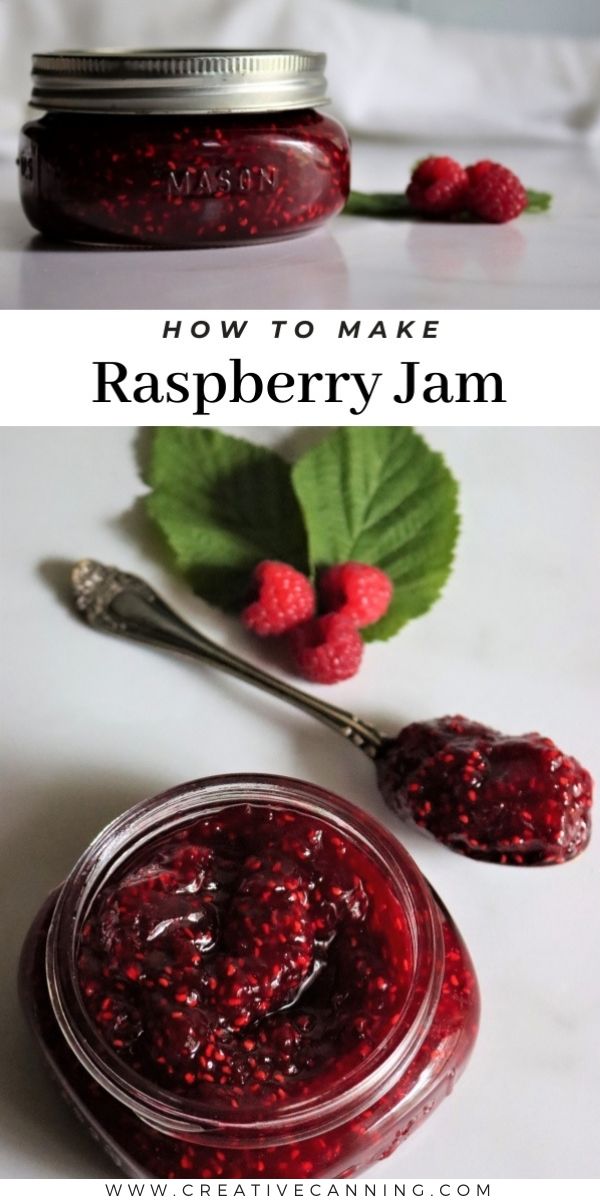
Raspberry jam is a simple way to preserve raspberries for year-round enjoyment. All you need is raspberries and sugar, no added pectin required.
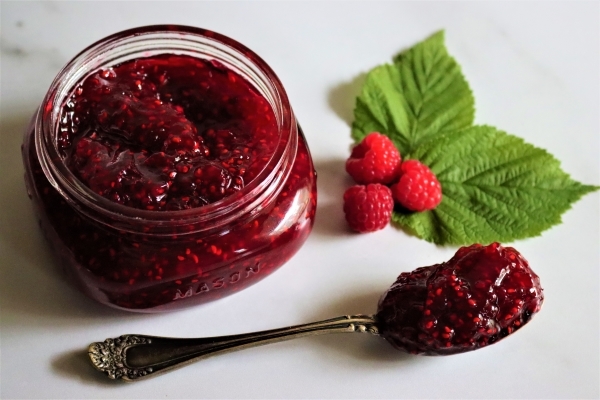
Every summer we make literally dozens of batches of homemade jam, and I have hundreds of canning recipes under my belt.
My absolute favorite? Simple homemade raspberry jam.
If you told me I could only ever eat one type of jam for the rest of my life, I’d pick this one without hesitation. No regrets, it really is the best homemade jam recipe in my canning pantry.
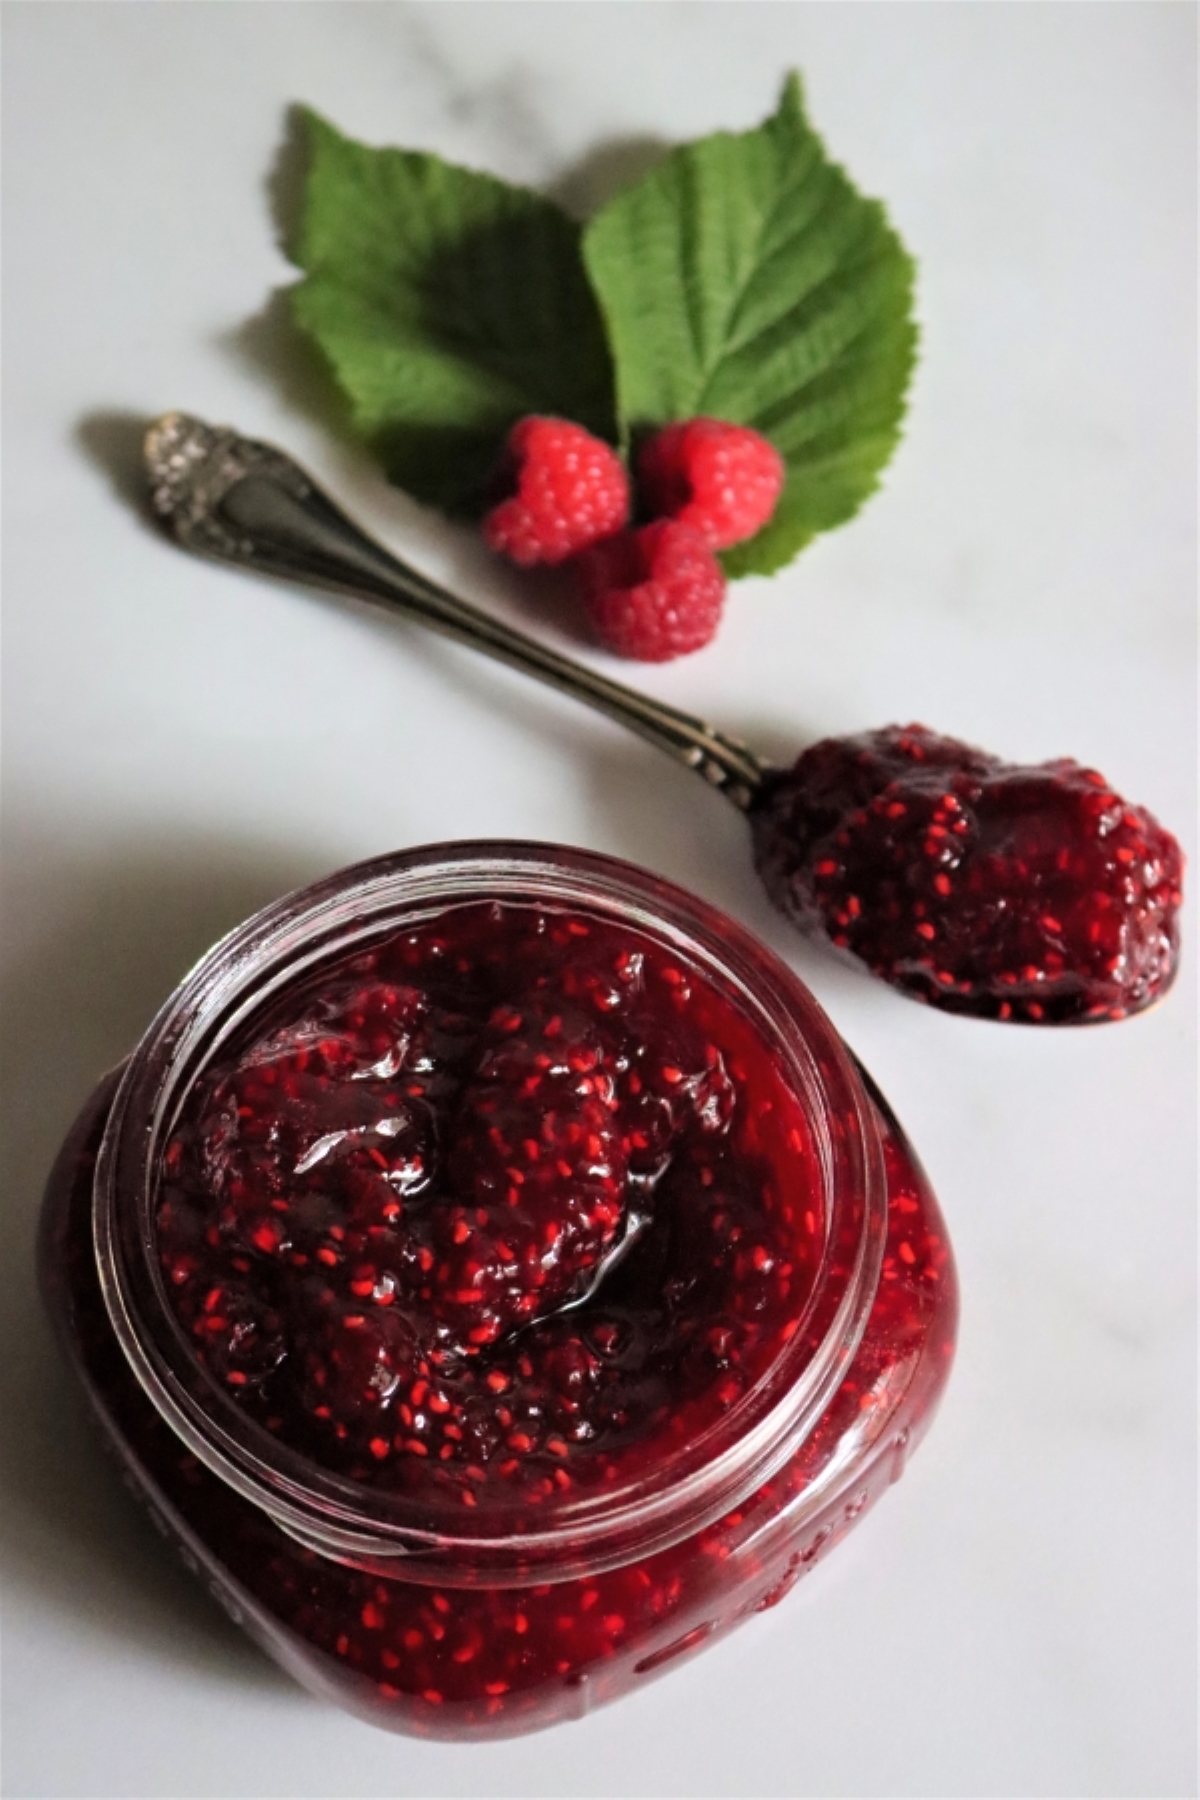
Personally, I like raspberry jam with seeds, and I think they add a lovely texture to keep things interesting. My kids are all about seedless raspberry jam (raspberry jelly), and it can be made the same way without pectin.
Two ingredients, just raspberries and sugar, and you have an unforgettable raspberry jam.
Though raspberries are technically a “low pectin” fruit according to science, they’re often treated as a high pectin fruit when it comes to making jam.
That means you can make raspberry jam without diluting the flavor, and the result is an intense, bright, and downright magical way to preserve the perfect summer fruit.
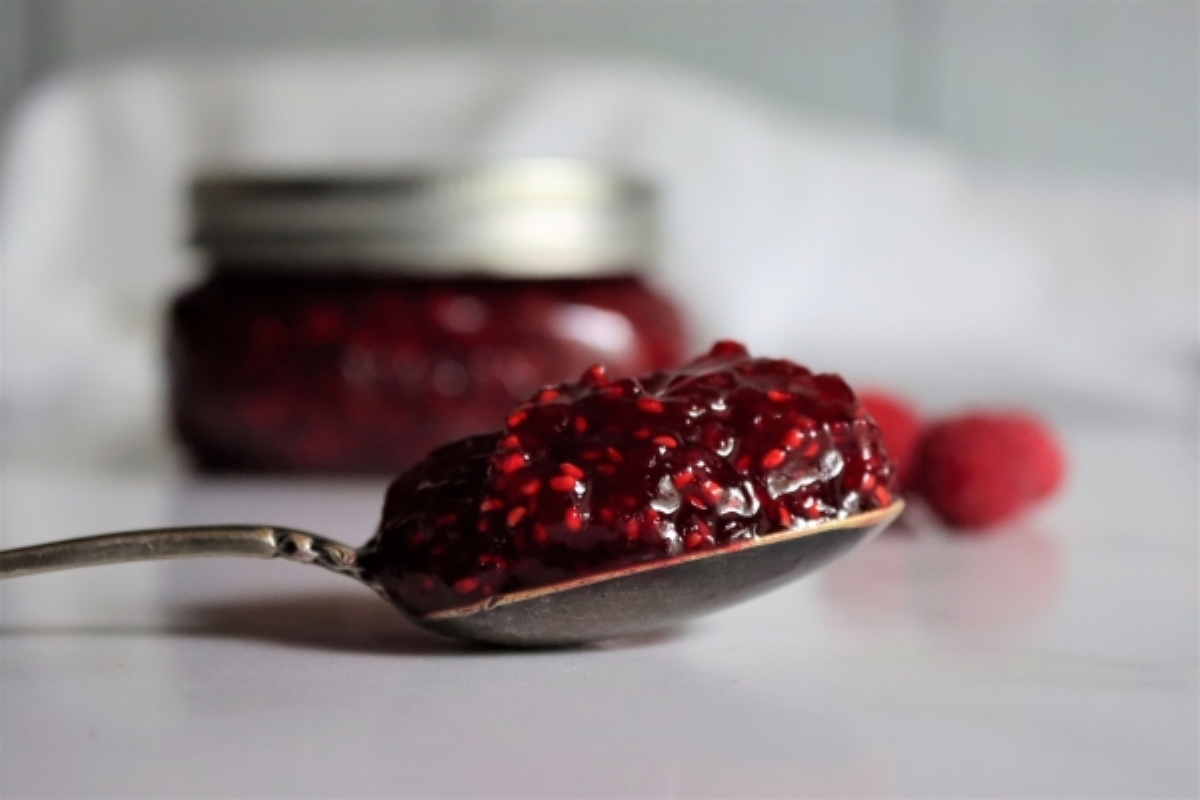
Raspberry jam sets wonderfully with just a few minutes of cooking and will stand up on a spoon without any added pectin.
Raspberry Jam Yield
Reading raspberry jam recipes can be a bit confusing, as sometimes they expect that you’ll mash the fruit before measuring. Others start with dry pints from the farmer’s market or pick your own.
How do you know how much raspberry you need for jam? A few simple conversions will get you there.
One dry pint of raspberries equals:
- 2 cups of whole fruit
- 1 cup of mashed fruit
- 3/4 pound, or roughly 340 grams
Most raspberry jam recipes use a 1:1 ratio of fruit to sugar, but some use the whole fruit, others mashed fruit, and still others use weight. A 1:1 ratio with whole fruit will be twice as much sugar as a 1:1 ratio with mashed fruit, and that makes a big difference.
I use a 1:1 ratio with mashed fruit. That’s 1 cup mashed fruit to 1 cup sugar, or 2 cups whole fruit to 1 cup sugar. By weight, 1 cup sugar is about 200 grams or a bit under 1 half-pound.
Starting with 1 cup of mashed fruit and 1 cup of sugar, you should get about 1 1/4 jam jars (8 oz).
Generally, jam works best when you make batches that yield 4 to 5 jars. It’s enough to make a meaningful amount, but still, a small enough batch that everything will cook evenly and gel properly.
I like to start with 4 cups mashed fruit (from 4 pints whole fruit, or about 3 lbs, or 1400 g of fruit). I add in 4 cups sugar, and the final yield is usually exactly 5 half-pints (8 oz) jars.
With this in mind, you should be able to adjust this raspberry jam recipe to any quantity of fruit, but I’d suggest starting with no more than 8 cups of mashed fruit to ensure that the jam cooks evenly.
How to Make Raspberry Jam
Start by picking over your raspberries, making sure that there are no moldy or underripe berries. Give them a quick rinse too.
Mash the berries completely and then measure the result. It takes about 1 pint (2 cups) of raspberries to yield 1 cup of mashed fruit.
For every cup of mashed fruit, add in 1 cup of sugar.
Place the sugar and mashed raspberries in a jam pot and bring the mixture to a boil at medium-high heat. Stir frequently to prevent scorching.
Cook the mixture until it reaches gel stage. You can test for set using a plate that’s been placed in the freezer, or using an instant-read thermometer. Raspberry jam has a set point of 220 degrees F or 104 C.
It should take about 8 to 12 minutes of cooking for the jam to set. Be careful not to overcook, as the jam will burn and/or turn into raspberry candy instead of jam.
Low Sugar Raspberry Jam
If you’re hoping to use less sugar, but still want a raspberry jam recipe without pectin then you’re in luck. You don’t technically need a 1:1 ratio to get the jam to set properly.
Use that amount because raspberries tend to be quite tart, and they have a bright flavor without the added lemon juice you’ll often find in homemade jam.
The Ball Blue Book Guide to Preserving has a no pectin raspberry jelly recipe that uses 9 cups mashed fruit (6 to 7lbs) to 6 cups sugar for a 3:2 ratio using mashed fruit. That’s a good bit less than my 1:1 ratio.
Their recipe says it makes 6 half-pints (8 oz) jars.
They use q bit more fruit, and a bit less sugar to end up with a higher yield after a similar cook time (12-15 minutes).
Canning Raspberry Jam
Generally, I prefer to can my homemade jams so that they’re shelf-stable and I can enjoy them year-round. That’s perfectly optional, and this can be made as a refrigerator or freezer recipe.
It should last a few weeks in the refrigerator or up to 6 months in the freezer.
If canning, prepare a water bath canner before you start making the jam and get your jars cleaned and ready.
When the raspberry jam reaches gel stage, ladle it into canning jars leaving 1/4 inch headspace. Seal the jars with 2 part canning lids and process in a water bath canner for 10 minutes. If you’re above 6,000 feet in elevation, increase that canning time to 15 minutes.
Use a jar lifter to remove the jars from the canner and allow them to cool on a towel on the counter. Check seals after 12-24 hours, and store any unsealed jars in the refrigerator for immediate use.
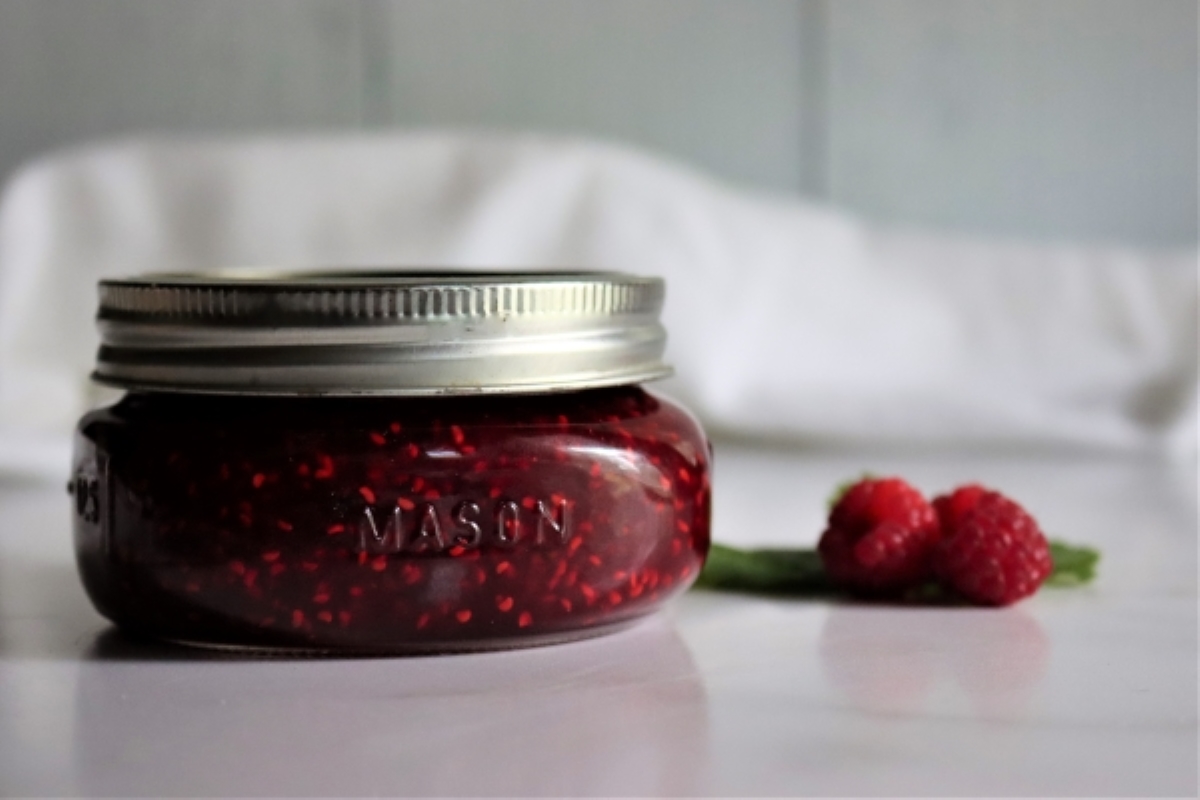
Sealed jars should maintain peak quality on the pantry shelf for 12-18 months (refrigerate after opening).
Ways to Preserve Raspberries
Need a few more ways to preserve raspberries?

Raspberry Jam
This simple raspberry jam is easy to make at home with just two ingredients.
Ingredients
- 4 cups mashed raspberries (from 4 pints whole fruit, or about 3lbs)
- 4 cups sugar (see note)
Instructions
- Pick over raspberries and discard any spoiled or under ripe fruit.
- Mash the raspberries and measure the result. For every cup of mashed fruit, add 1 cup of sugar.
- Place the sugar and fruit in a jam pot. Bring to a hard boil over medium-high heat, stirring continuously to prevent scorching.
- After 8 to 12 minutes the raspberry jam should reach gel stage. The setpoint can be tested on a plate that's been placed in the freezer, or you can use an instant-read thermometer. The jam should be finished when it reaches 220 degrees F (or 104C). Do not overcook!
- Once the jam reaches the setpoint, remove the saucepan from the heat and ladle the jam into prepared jars.
- If canning, process the jars in a water bath canner for 10 minutes (or 15 minutes above 6,000 feet in elevation). Remove from the canner and allow to cool on a towel on the counter for 12-24 hours. Check seals and store any unsealed jars in the refrigerator for immediate use.
Caning is optional, and this jam will keep for several weeks in the refrigerator or up to 6 months in the freezer. Properly canned and sealed, the raspberry jam should maintain peak quality on the pantry shelf for 12-18 months. Refrigerate after opening.
Notes
For a low sugar raspberry jam recipe, start with 9 cups mashed fruit (from 6 to 7 lbs fruit). Add 6 cups sugar, and follow the recipe as otherwise written. It will yield about 6 to 7 half pint jars.
Homemade Jam Recipes
Looking for more easy canning recipes to try? Here are a few to keep you jammin’…
Sharon or (S.) Jenika
I have a Persimmon tree and want to make simple jam this fall. What’s an easy recipe.