
This post may contain affiliate links. Please see our disclosure policy.
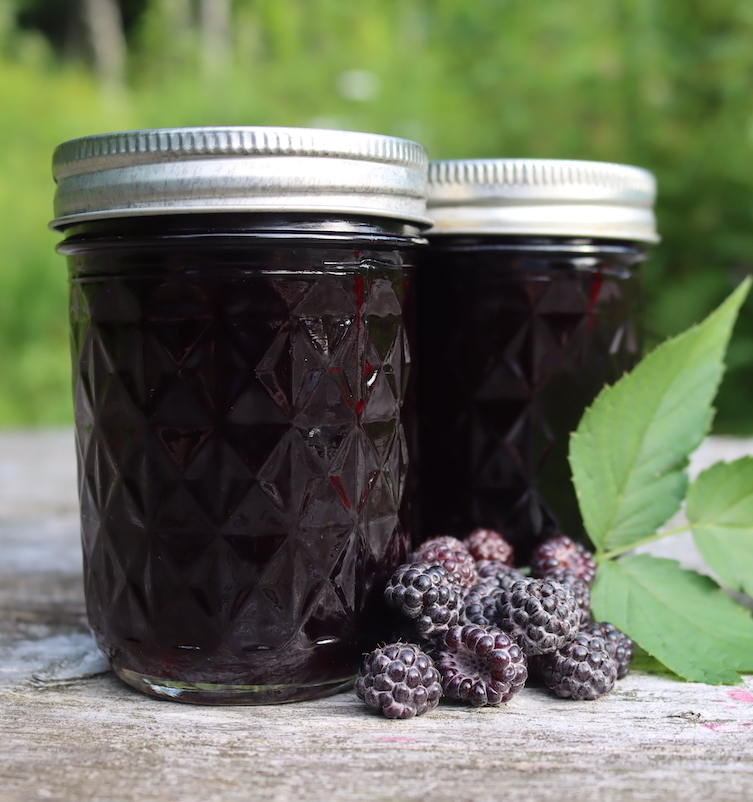
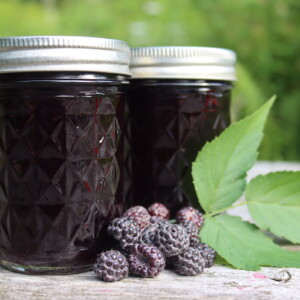
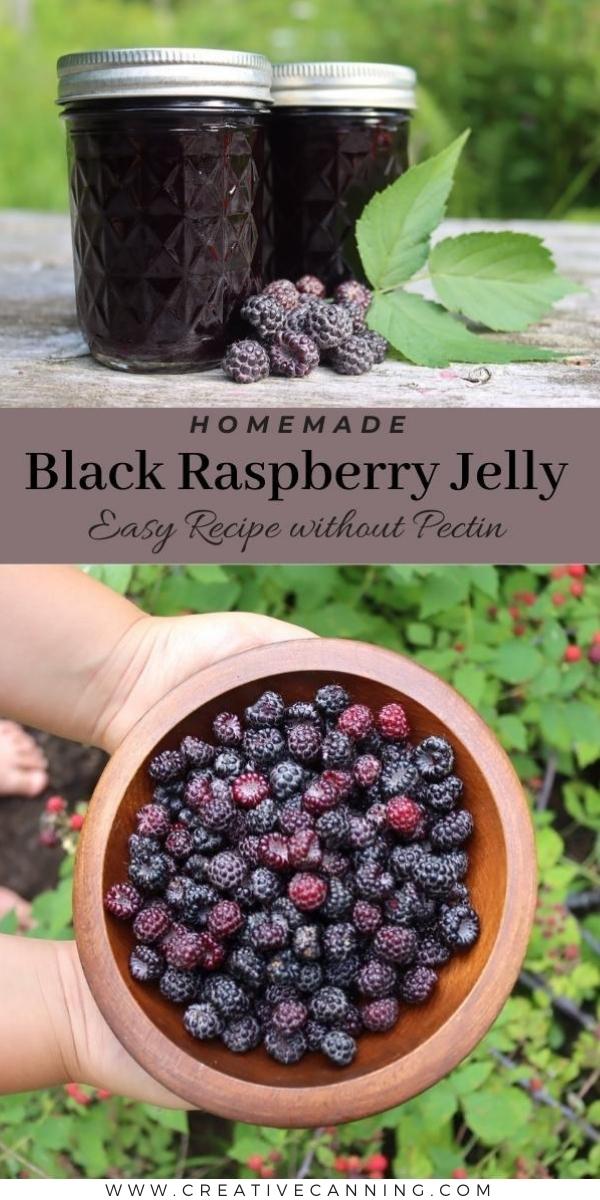
Black raspberry jelly captures the flavor of wild summer black raspberries in a smooth, seed-free spread you can keep on the pantry shelf all year. It has all the deep berry flavor and none of the little seeds that make black raspberry jam so crunchy.
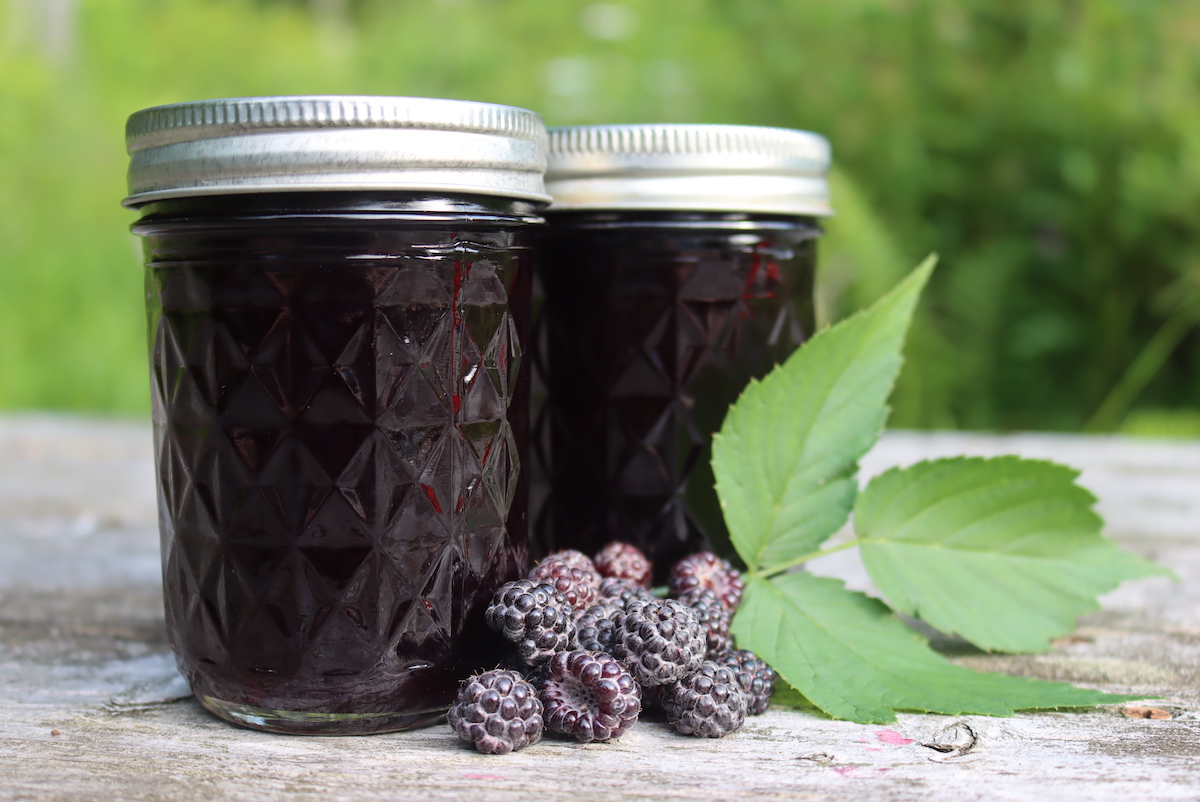
Table of Contents
- Notes from My Kitchen
- Quick Look at the Recipe
- Harvesting Black Raspberries for Jelly
- Ingredients for Black Raspberry Jelly
- How to Make Black Raspberry Jelly
- Setting Notes
- Canning Black Raspberry Jelly
- Altitude Adjustments
- Yield Notes
- Ways to Use Black Raspberry Jelly
- Black Raspberry Jelly FAQs
- Raspberry Canning Recipes
- Black Raspberry Jelly (Seedless) Recipe
- Jelly Canning Recipes
This recipe has been reviewed for safety and accuracy by a Master Food Preserver certified through the University of Cornell Cooperative Extension.
Black raspberries are flavorful little fruits, but they’re also extra seedy, and they seem to carry a higher proportion of seeds than most other berries. I don’t mind the seeds in my homemade blackberry jam, and I think both raspberry jam and raspberry jelly are lovely, but with black raspberries specifically, turning them into a strained jelly is the way I like them (as opposed to a simple black raspberry jam).
This is an old-fashioned jelly that sets without any added pectin. Instead of a box of pectin and a timed boil, you cook the strained juice with sugar until it reaches a gel point, the same way our grandparents made jelly. Black raspberries are naturally rich in pectin and high in acid, so they’re well suited to it, and there’s no lemon juice or store-bought pectin needed at all.
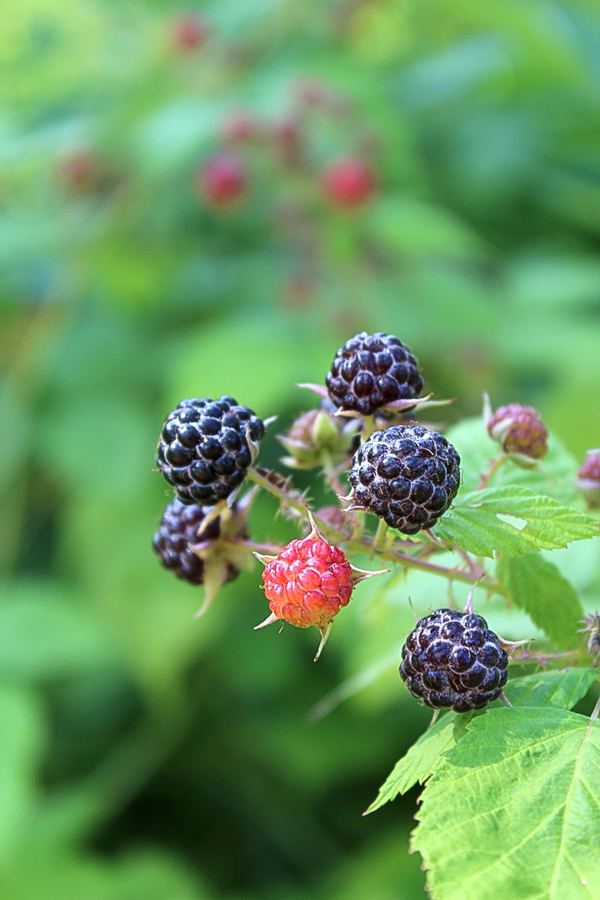
The only trick worth knowing up front is to pick some of your berries just a touch underripe, which gives you the natural pectin you need for a firm set. More on that below, along with how to juice the berries and cook the jelly to a proper gel.
Notes from My Kitchen

We’re lucky to have wild black raspberries growing all over our Vermont property, and the patch seems to spread a little more every summer. The first few years I picked them a small handful at a time over the course of several days, slowly saving them up in the freezer until I finally had enough for a batch of jam.
These days I can head out and fill a whole bucket in a single morning, and somewhere along the way I came around to liking them better without the seeds, which is how this jelly came to be. A jar of it opened up in February tastes like the middle of July, and that’s a welcome thing to have around during our long Vermont winter.
Quick Look at the Recipe
- Recipe Name: Black Raspberry Jelly (Seedless)
- Recipe Type: Jelly Recipe
- Canning Method: Water Bath Canning
- Prep/Cook Time: 45 Minutes (plus straining time)
- Canning Time: 10 Minutes
- Yield: About 4 to 5 half-pint jars
- Jar Sizes: Quarter Pint, Half Pint, or Pint
- Headspace: 1/4 inch
- Ingredients Overview: Black raspberries, water, and sugar (no added pectin, no lemon)
- Difficulty: Easy to moderate. You simmer and strain the berries into a clear juice, then cook it with sugar to a gel point. No pectin box required, just a thermometer or a chilled plate to check the set.
- Similar Recipes: Black raspberry jelly uses the same cook-to-gel method as other no-pectin berry jellies, including Raspberry Jelly and Blackberry Jelly. If you’d rather keep the seeds and skip the straining, turn your berries into Old Fashioned Blackberry Jam instead, or browse more raspberry canning recipes.
Harvesting Black Raspberries for Jelly
The first step in making black raspberry jelly is finding fresh black raspberries, and if you’re foraging your own, you can read more about how to identify and pick them in my guide to wild black raspberries. Whether you’re picking wild ones or bringing home a flat from the farmer’s market, the same guideline applies when the berries are headed for jelly: harvest a portion of the fruit a little bit underripe.
Underripe berries carry more natural pectin than fully ripe ones, and that pectin is what sets the jelly without a store-bought box. I don’t mean totally green and unripe, just berries that aren’t quite jet black yet. Picking roughly a quarter to a third of your berries slightly underripe, a shade brighter than the fully ripe black ones, goes a long way toward a good, firm set.
Black raspberries happen to be particularly pectin-rich to begin with, so this matters a bit less with them than with some other berries. If all you have are fully ripe berries from the market, you’ll likely still be fine, but reach for a few underripe ones if you can.
In our yard, I generally have my pick of both fully ripe and slightly underripe berries (and the birds do too), so there’s plenty to go around.
Ingredients for Black Raspberry Jelly
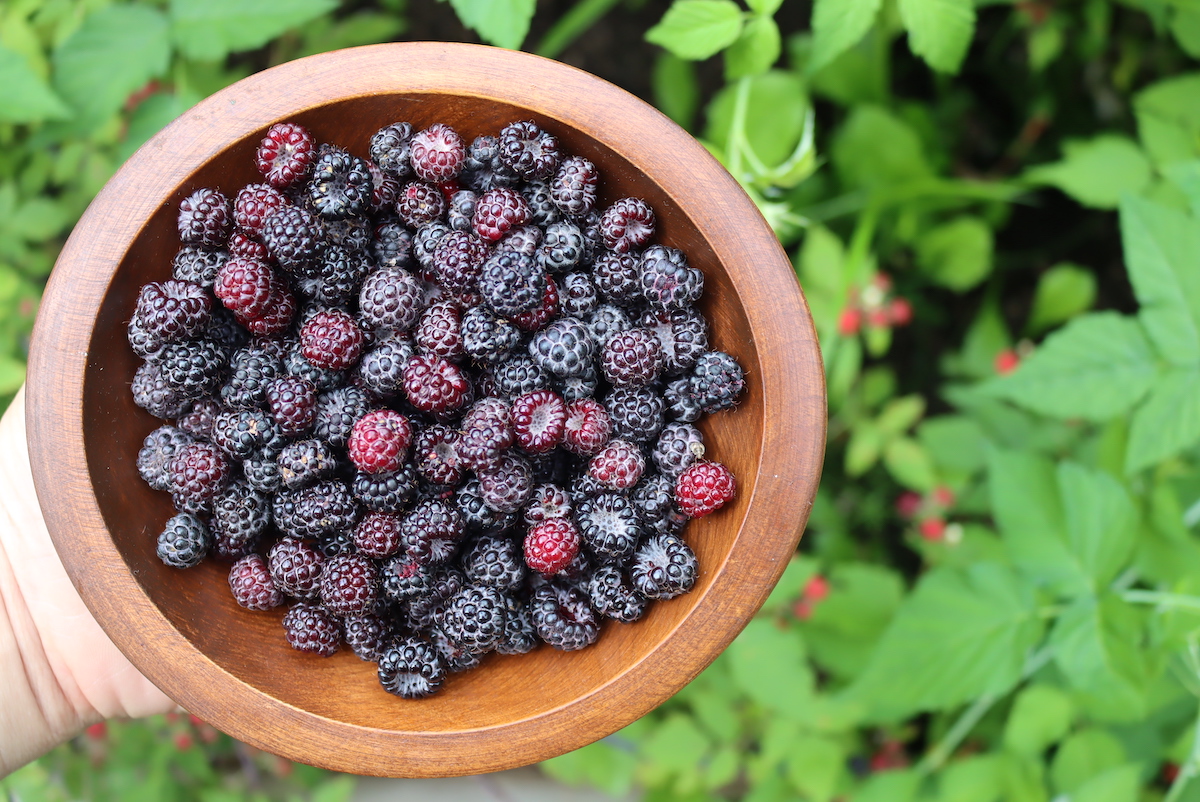
One of the nice things about an old-fashioned jelly like this is how short the ingredient list is. There are really only three things in the jar: black raspberries, a little water to get the juicing started, and sugar. No lemon juice and no boxed pectin, since the berries bring their own pectin and acid to the party.
Because the list is so short, each one is doing real work, so here’s what to look for and why it’s there.
- Black Raspberries: The star of the jar, and the source of both the flavor and the natural pectin that sets the jelly. You’ll need a bit less than a quart of fruit (about 3 to 4 cups) for every cup of finished juice, so plan on roughly 3 to 4 quarts of berries for a standard batch. Pick a portion of them slightly underripe for a better set, as described above. Frozen black raspberries work well too, and thawing can even help them release their juice.
- Water: Just a small amount to keep the berries from scorching as they start to cook and break down. Use about 1/4 cup of water per quart of fruit. If your tap water has a strong chlorine taste, use filtered water so it doesn’t come through in the finished jelly.
- Sugar: In a no-pectin jelly, sugar isn’t only for sweetness. It works together with the fruit’s natural pectin and acid to create the gel as the jelly cooks, and it helps the sealed jars keep well on the shelf. This recipe uses 3/4 cup of sugar for every cup of juice, so a 4-cup batch of juice takes 3 cups of sugar. Don’t cut it back much, or the jelly may not set. If you’d prefer a lower-sugar jelly, see the note in the FAQ about switching to an added-pectin method.
Made the black raspberry jelly today and it is perfectly delicious! Thank you for such a good recipe! I plan to use it again with a larger amount of berries!
How to Make Black Raspberry Jelly
Black raspberry jelly comes together in two stages: first you juice the berries, which is mostly hands-off while the juice strains, and then you cook the juice with sugar to a gel point, which only takes about 15 minutes once the juice is ready.
Neither stage is complicated, but the cooking stage is where you’ll want to pay attention, since with a no-pectin jelly you’re cooking to a set rather than following a timer.
Extract the Black Raspberry Juice
Start by juicing the black raspberries. Add the berries to a large, heavy-bottomed pot along with about 1/4 cup of water per quart of fruit, then bring everything to a gentle simmer over medium heat. Mash the berries as they heat and cook until they’ve completely fallen apart and released their juice.
Pour the cooked fruit into a dampened jelly bag, or a double layer of dampened cheesecloth set over a bowl, and let it drip. Resist the urge to squeeze the bag, since squeezing pushes pulp through and clouds the finished jelly. Measure the strained juice once it’s done dripping. You’ll need about 4 cups of juice for a standard batch, which usually works out to roughly 3 to 4 quarts of berries, since black raspberries give up less juice than many other fruits.
Cook the Jelly
Combine the strained juice and sugar in a clean, deep, heavy-bottomed pot, using 3/4 cup of sugar for every cup of juice (so 3 cups of sugar for 4 cups of juice). Bring the mixture to a boil over high heat, stirring until the sugar has fully dissolved.
Keep it at a hard boil, stirring often so it doesn’t scorch, and cook until the jelly reaches the gel point. On an instant-read thermometer that’s 220°F. If you don’t have a thermometer, use the chilled-plate test: drop a spoonful onto a plate straight from the freezer, and when it’s ready it should firm up quickly and wrinkle when you nudge it with your finger.
This usually takes about 8 to 10 minutes, though it can run longer, since there’s always some variation from batch to batch. Once it’s there, remove the pot from the heat, skim off any foam, and ladle the hot jelly into prepared jars, leaving 1/4 inch of headspace.
Setting Notes
Because this jelly sets on the fruit’s own pectin instead of a boxed pectin, you’re cooking it to a gel point rather than boiling it for a set number of minutes. That’s why the thermometer and the chilled-plate test matter here, since they tell you when the jelly is actually done in a way the clock can’t. Cook it to 220°F, or until a spoonful sets up and wrinkles on a cold plate.
Keep in mind that the jelly thickens as it cools, not while it’s boiling, so it will look thin and syrupy in the pot and that’s normal. Give the sealed jars a full 24 to 48 hours before you decide anything is wrong. If a batch stays loose even after it’s fully cooled, it’s still lovely spooned over pancakes or ice cream as a syrup, and my guide to troubleshooting jelly that didn’t set walks through why it happens and how to rescue it.
Canning Black Raspberry Jelly
Canning is optional, but it’s a good way to keep this seasonal treat on the shelf year-round, and it makes a nice gift. If you’d rather skip it, let the jars cool completely and store them in the refrigerator for up to 3 weeks or the freezer for up to 6 months. For me, though, canning wins, because it’s quick and it means I can enjoy the flavor of summer black raspberries straight through our long Vermont winter.
If you’re new to canning, I’d suggest reading through my beginner’s guide to water bath canning before you start. Have your canner, jars, and lids prepared before you begin cooking the jelly. After ladling the hot jelly into jars, leaving 1/4 inch headspace, wipe the rims with a clean, damp cloth, center the lids, and screw the bands down to fingertip tight.
Load the jars, either half-pints or pints, into the boiling water bath canner and process for 10 minutes (adjusting for altitude below). When the time is up, turn off the heat and let the jars rest 5 minutes before lifting them out, which helps prevent siphoning.
Cool undisturbed on a towel for 12 to 24 hours, check the seals, and refrigerate any jars that didn’t seal for immediate use. Sealed jars hold their quality on the pantry shelf for 12 to 18 months.
Altitude Adjustments
For water bath canning, processing times increase at higher elevations:
- 0 to 6,000 feet: 10 minutes
- Above 6,000 feet: 15 minutes
Yield Notes
Black raspberries are on the stingier side when it comes to juice, so it takes a bit less than a quart of berries (about 3 to 4 cups) to yield each cup of strained juice. That means a full batch of 4 cups of juice needs somewhere around 3 to 4 quarts of berries, considerably more fruit per cup than a juicier berry would call for.
A full batch (about 4 cups of juice cooked with 3 cups of sugar) makes roughly 4 to 5 half-pint jars. I wouldn’t double the recipe, since a larger pot of jelly heats unevenly and can be slow to reach a gel point, which makes the set less reliable. If you have the berries for more, cook two single batches back to back instead.
Ways to Use Black Raspberry Jelly
The smooth, seed-free texture is what makes this jelly so easy to use. It spreads cleanly on toast, biscuits, and scones, and it’s a natural for peanut butter and jelly sandwiches without any seeds getting stuck in your teeth. It’s also nice spooned into the centers of thumbprint cookies, swirled into plain yogurt or oatmeal, or melted down into a quick glaze for pastries or a roast.
A jar tied with a ribbon makes a welcome gift, especially in the middle of winter when a taste of summer berries is a treat. And if you end up with more black raspberries than you can turn into jelly, they’re wonderful in a black raspberry cobbler, folded into black raspberry muffins, or churned into black raspberry ice cream.
Black Raspberry Jelly FAQs
You don’t have to do anything special, because straining the cooked fruit through a jelly bag is what removes the seeds for you. That straining step is the whole difference between jelly and jam. If you keep the pulp and seeds in, you’ve made black raspberry jam instead, which is delicious in its own right, just seedier.
Yes, frozen black raspberries work well for jelly, and freezing can actually help the berries break down and release their juice. You can cook them straight from frozen or let them thaw first, whichever is easier. This is handy if you pick your berries a little at a time and freeze them until you have enough for a full batch.
Since this jelly relies on the fruit’s own pectin instead of a boxed one, the usual reasons it stays loose are not cooking it all the way to the gel point (220°F), starting with berries that were all fully ripe and low in pectin, or diluting the juice with too much water. Cook to a firm gel-point test and include some slightly underripe berries next time. Remember that the jelly firms up as it cools, so give it a full 24 to 48 hours before deciding. If it still won’t set, enjoy it as a syrup or read through my guide on troubleshooting jelly set.
Not with this method, because the sugar is part of what sets a no-pectin jelly and helps it keep. To cut the sugar meaningfully, you’d switch to an added-pectin recipe using a low-sugar pectin like Sure-Jell Low Sugar or Pomona’s Universal Pectin and follow that package’s directions. Those are formulated to gel with much less sugar, but the method and amounts are different from this cook-to-gel recipe.
Raspberry Canning Recipes
If you tried this Black Raspberry Jelly recipe, or any other recipe on Creative Canning, leave a ⭐ star rating and let me know what you think in the 📝 comments below!
And make sure you stay in touch with me by following on social media!
Black Raspberry Jelly (Seedless)
Equipment
- Canning Jars, Lids and Bands
Ingredients
For the Black Raspberry Juice:
- 3 to 4 quarts fresh black raspberries, about 12 to 16 cups
- Water, about 1/4 cup per quart of fruit, roughly 3/4 to 1 cup total
For the Jelly:
- 4 cups strained black raspberry juice, from above
- 3 cups granulated sugar
Instructions
- Add the black raspberries to a large, heavy-bottomed pot with the water (1/4 cup per quart of fruit). Bring to a simmer over medium heat, mashing the berries as they heat, and cook until they have completely fallen apart and released their juice.
- Pour the cooked fruit into a dampened jelly bag or a double layer of dampened cheesecloth set over a bowl and let it drip. Do not squeeze the bag, since that clouds the finished jelly. Measure the strained juice.
- Combine the strained juice and sugar in a clean, deep, heavy-bottomed pot. Bring to a boil over high heat, stirring until the sugar has dissolved.
- Boil hard, stirring often so it does not scorch, until the jelly reaches the gel point (220°F on an instant-read thermometer, or until a spoonful sets up and wrinkles on a plate chilled in the freezer). This usually takes about 8 to 10 minutes but can take longer.
- Remove from heat and skim off any foam. Ladle the hot jelly into prepared jars, leaving 1/4 inch headspace. Wipe the rims, center the lids, and screw the bands to fingertip tight.
- Process in a boiling water bath canner for 10 minutes, adjusting for altitude. Turn off the heat, let the jars rest 5 minutes, then remove and cool undisturbed for 12 to 24 hours before checking seals.
Notes
Nutrition
Nutrition information is automatically calculated, so should only be used as an approximation.
Jelly Canning Recipes
Find the perfect recipe
Searching for something else? Enter keywords to find the perfect recipe!

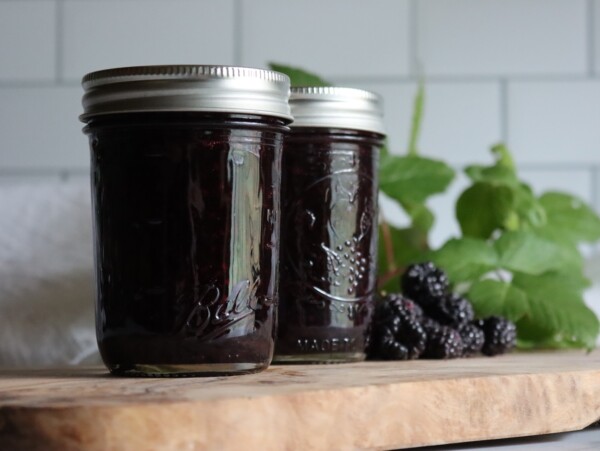
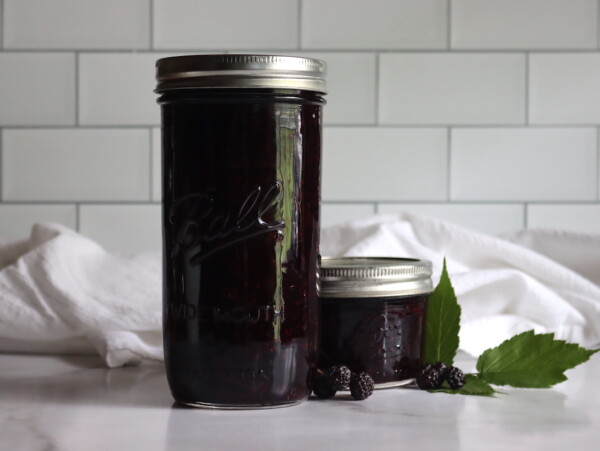
Made the black raspberry jelly today and it is perfectly delicious! Thank you for such a good recipe! I plan to use it again with a larger amount of berries!
So glad you liked it! Black raspberry is such a good one. Have fun with the bigger batch, and happy canning!
Step 1 about juicing…
1/4 cup of water per cup of berries…
Or 1/4 cup of water per quart of berries. Because the first way as written would be 3-4 cups of water total. Math isn’t mathing.
I made a batch with 1/4 cup water per cup of berries and it turned out delish, because in true ADHD fashion, I did not follow to the 1 cup total part of the directions. But now that I am going to make a second batch, it had me scratching my head
Hi Kim, thank you for catching that! Both will work, as you found, but all you really need is about 1 cup total to keep them from scorching as they start to cook. So it’s 1/4 cup per quart of fruit. Using more is fine, it’ll just take a bit longer to reach the set point. Delicious either way. Anyhow, I’ve updated the post and recipe card with the correct amounts. Thanks again!
Can this jelly be frozen instead of canned?
Yes, you can freeze it instead of canning! Just leave a little headspace in your containers for expansion and it’ll keep in the freezer for up to a year. You can skip the water bath step entirely and go straight to freezing once it reaches the gel stage. Hope this helps!
Oh my goodness! I can cut my black raspberry jelly in cubes! Delicious! Followed recipe exactly- no pectin. Just made it from last years frozen berries
Lovely! I’m so glad it turned out and set so nicely for you.
There’s no mention of de-seeding!
For this recipe, you’re extracting the juice and then turning it into jelly. When you extract the juice, you put it through a jelly bag with takes out the seeds.
“Simmer the juice with a bit of water until the fruit have completely fallen apart, and then strain the mixture through a jelly strainer or a double layer of dampened cheesecloth. Measure the resulting juice.”
Very helpful, thank you! I did not realize some of this, so next time, if I add sugar to a partial harvest as I go, I will use the no-pectin 220 degrees soft gel method you describe; otherwise maybe I will freeze the berries (without sugar added) until I have enough for a batch, but then be sure to get the ratio of fruit to sugar for a pectin set and follow the order of adding pectin, sugar, etc. Thank you so much for taking the time to address my questions! Of course for now, it is delicious in a sparkling water or tea!
I am wondering if you have advice for me. I grew up picking these for my grandmother, who would make amazing seedless jelly every year. Last year I noticed some canes on our property so this year, built a rough trellis with some tree branches; they produced flowers and berries and I was delighted. Reading your original (jam with seeds) recipe, I followed your advice to put 1/2 cup sugar in 1 cup berries to set aside to preserve and draw out the juice, while I went out there night after night to scour the canes for berries, as there was not nearly enough in one or two pickings to use for a recipe. Once I had about 4 cups of berries (to which 2 cups total sugar had been added), there were no more berries left; birds got the rest. I see recipes with lemon juice added, but I really didn’t want that to interfere with the flavor that I grew up loving. I had already added sugar to the berries, so I started from there, following your seedless recipe (posted here) for jelly, by putting them in a pot and simmering. I strained through cheesecloths and got about 2.25 cups of juice total, which already included sugar. Though these apparently contain a lot of pectin, and they must be acidic enough not to need lemon juice in most of the recipes that circulate, I was reluctant to let it boil until it hit the soft set (I’d done this with apple scrap jelly last year and it just feels discouraging (when you don’t have a big yield); it seems like you’re boiling and boiling and reducing the volume of the liquid by so much! I was afraid I would only have a single 8 oz jar of jelly in the end. So instead, I found a recipe for black raspberry jelly that includes pectin. They had 1 box pectin (6 tbls) to 10 cups berries to 5 cups sugar. So I figured with my 4 cups berries to 2 cups sugar, maybe 3 tbls fruit pectin would be sufficient. I brought to a hard boil and boiled one minute. Then processed 10 minutes. The lids popped but 24 hours later, they are liquid! I’ve made syrup. Which isn’t a total loss, we can use it on ice cream or in sparkling water. But do you think there is a way I can re-process this? I just don’t see how, considering the amount of pectin used, and the amount of pectin naturally occurring, it didn’t set… I make other jams and jellies every year and this hasn’t happened to me in quite a while, so I am puzzled. Is it possible they lacked the acidity, and needed a little lemon after all? Or greater quantity of sugar than the ratio I’d used?
Great question. So a couple of things here:
-Some types of pectin won’t set if they’re not added before the sugar. If you add the sugar before you add the pectin, it can’t dissolve properly and binds rather that incorporating, resulting in a syrup.
-Most types of “regular” pectin require a 1:1 ratio of fruit to sugar, so unless you used a low sugar pectin, it’s not likely to set.
-To get a no pectin jelly to set, you need to cook it to 220F, and that is going to need a longer cook time than you get when you’re using boxed pectin.
There are a couple ways you can save it (beyond using it as syrup). You can re-cook it with pomona’s pectin, which has you mix a bit of sugar into the pectin so they’re added at the same time. Follow the instructions on the box, and be sure to use the calcium water. It works a bit differently than regular boxed pectin. In general, you use 2 tsp pectin and 2 tsp calcium water with 4 to 5 cups liquid (or syrup in this case).
You can also try using liquid pectin, which has you add the pectin after the sugar. With that though, you need a ratio of 4 cups liquid to 7 cups sugar to get a set, with 2 pouches pectin. That’s A LOT of sugar, and it gives a loose set in the best of cases. But it does work for re-cooking jellies.
Hope this helps!
hello, can you please inform me of what the serving size is for the black raspberry jelly? I don’t see it in the nutritional information at the end of the recipe. Thanks much. Made this yesterday and it turned out perfect. Thanks for all your sharing you do. 🙂
I updated the recipe card with serving size. It’s now set to 1 Tbsp, which is about what I use for 1 piece of toast.
This has been a fun recipe to try. I have lots of wild black raspberries so it’s nice to be able to use them. I’m boiling the juice and sugar right now but it doesn’t seem as if the jelly is setting. Should I go buy some pectin or will it set once cooled in the jars? It did reach 220 degrees as well.
This one can take a while to set and often starts off looking like syrup when it goes into the jars. It’ll usually set within 48 hours, but if not, here’s a troubleshooting guide for jellies that don’t set: https://creativecanning.com/troubleshooting-jelly-set/
I made the black raspberry jelly last night, but I don’t think I let it boil at the 220 degree mark long enough as it is not set. It has been about 12 hours. Everything I’ve read says it could take 24-48 hours to fully set, but when I check it, it’s WAY runny. If after the 24-48 hour mark it’s still runny, can I re-boil to reach the 220 mark and keep it boiling for longer? After it reaches the 220 degree mark, how long should I let it boil?
Yes, you can definitely pour it back out and re-cook it, making sure you get to the 220 mark before you put it in the jars. The end of this troubleshooting guide has help on re-cooking jellies to ensure set, and usually adding a bit of lemon juice when you re-cook them helps them set as well: https://creativecanning.com/troubleshooting-jelly-set/
The end product flavor is superb however the consistency is more sauce like. I brought the temp(with a top of the line instant read thermometer) to 220 and had under ripe berries in the mix. Maybe a hard boil before taking it off the heat? Next time I think I will stick to the freezer plate test.
Can you make the low sugar version of this using lemon juice instead of adding surejell low sugar pectin? Or will it not set. Also could a person allow some seeds into this or will that throw the recipe off?
This, unfortunately, won’t set as a low sugar recipe without adding a low sugar pectin. You can use sure jell low sugar or pomona’s pectin, both give great results. Lemon juice adds pectin…but not enough to get a set on this one with low sugar. As to the seeds, you don’t have to remove any of the seeds if you don’t want to. If you want to keep the seeds in there, and the fruit pulp, it’s much easier to get a set that way and you may be able to get it to set as a low sugar black raspberry jam instead of jelly without pectin. Here’s a place to start on black raspberry jam: https://practicalselfreliance.com/black-raspberry-jam/
Can you use frozen berries in this recipe? I’m afraid the berries I’ve already picked will go bad before the rest ripen.
Freezing denatures some of the pectin in the fruit, and black raspberries may not set properly without pectin if frozen first. I haven’t tested this recipe with frozen fruit, it may or may not set. You can try it if you like, it might work. But, I know you can set it just fine using pectin. Use my cherry jelly recipe, and replace the extracted juice of cherries with the black raspberry juice.
I’m surprised this thickens without the seeds or pectin! I had always heard the seeds have the pectin so I didn’t realize you could make it without pectin and the seeds ☺️good to know
Yup, it thickens just fine, provided there’s enough sugar. Black raspberries have quite a bit of natural pectin, and it sets nicely. (That’s also true of blackberries and raspberries too, I set my seedless jellies with all of those without added pectin.)