
This post may contain affiliate links. Please see our disclosure policy.
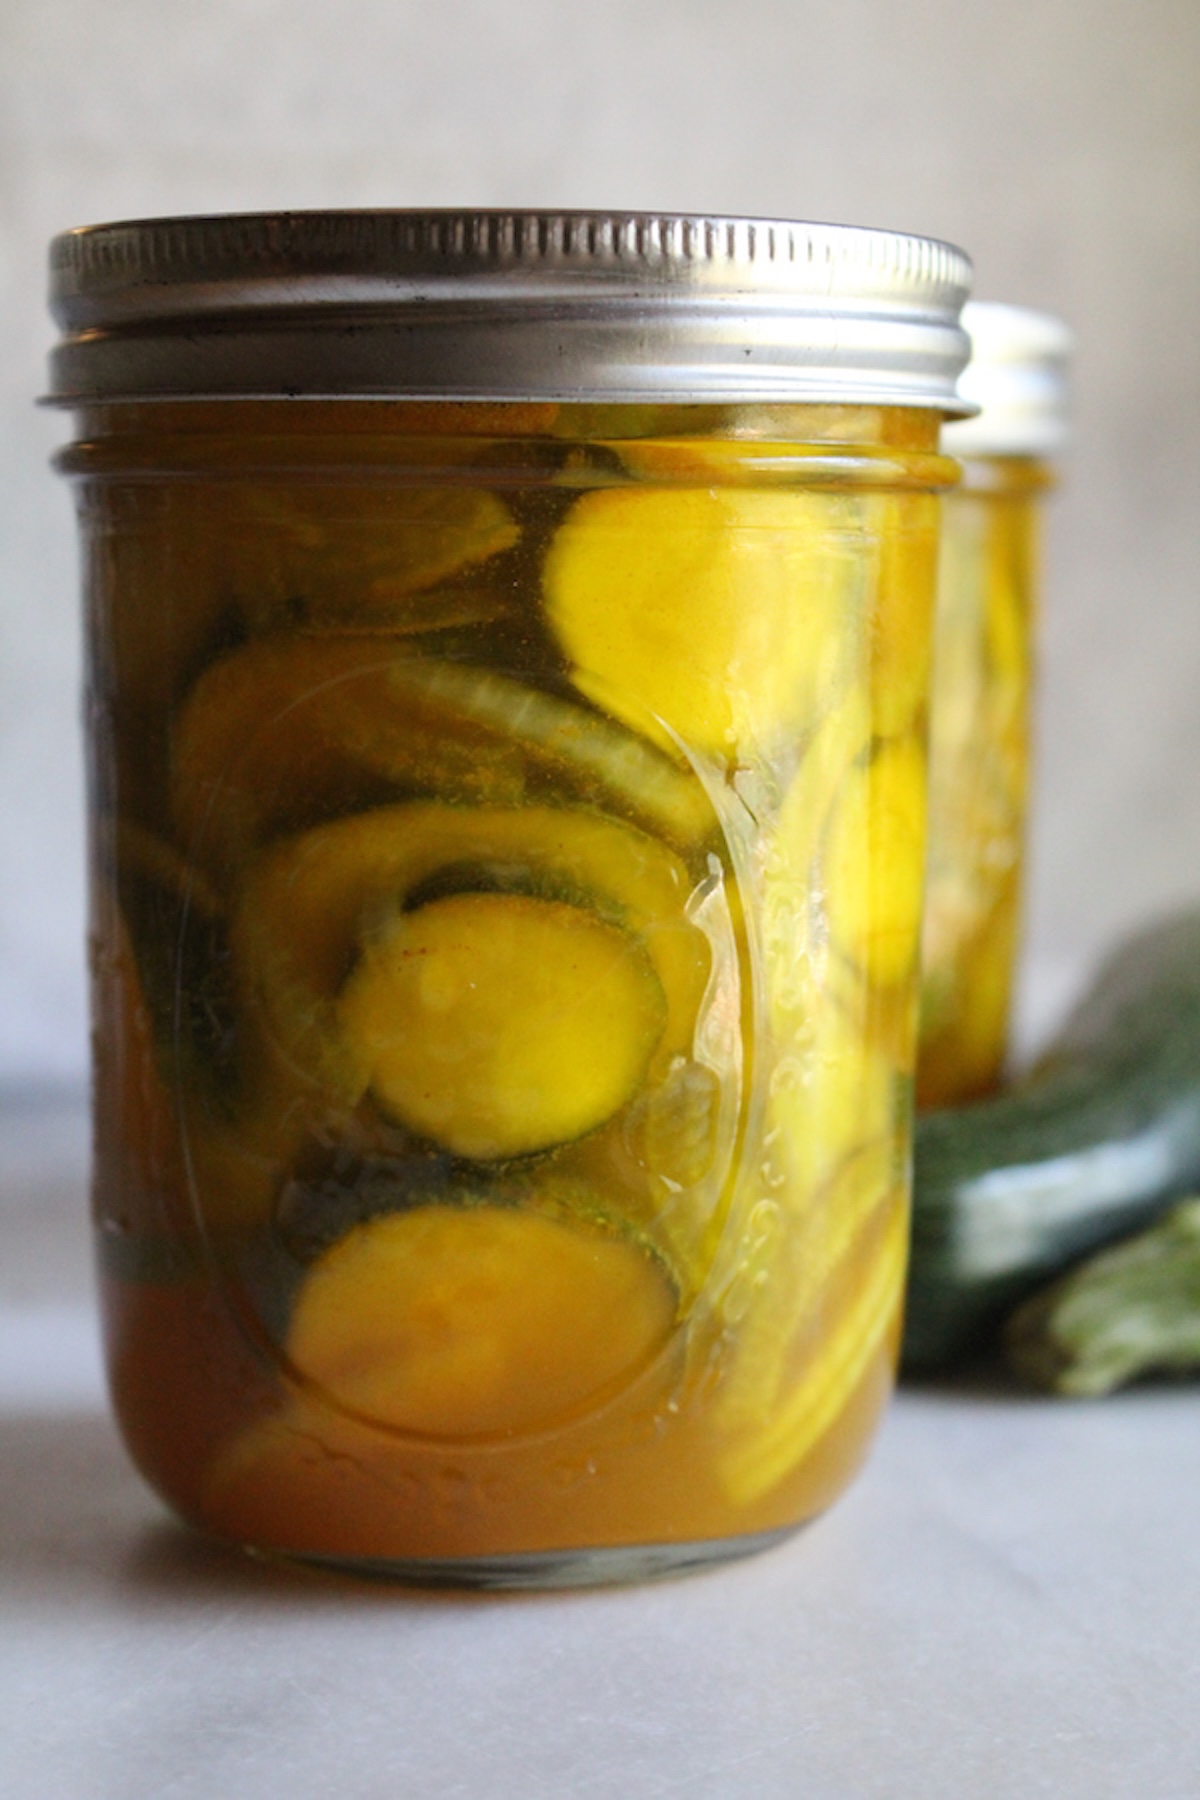
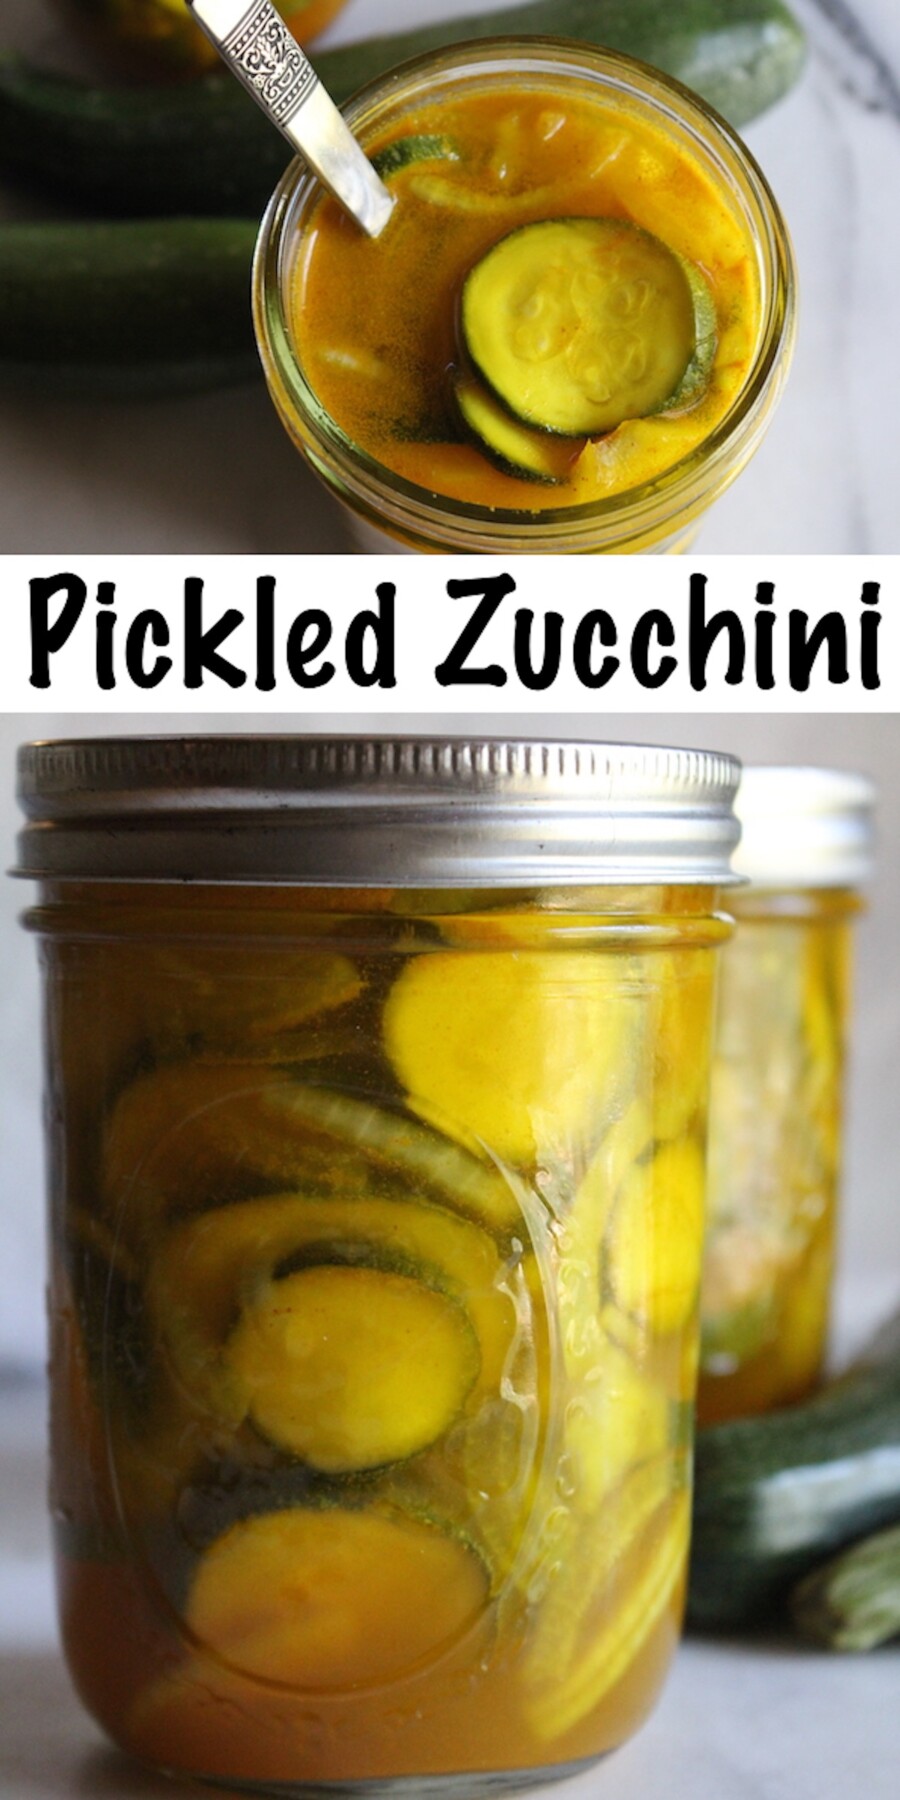
Zucchini pickles are a sweet and tangy way to put up a summer squash glut, turning a counter full of overgrown zucchini into crisp, bread-and-butter-style pickles you can enjoy long after the garden has wound down. They come together as quick refrigerator pickles or as a water bath canning recipe for the pantry shelf, so you can make as few or as many as your harvest demands.
If you’ve ever grown zucchini, you know the late summer feeling of watching the pile grow faster than you can cook it, and these pickles give that surplus somewhere worthwhile to go.
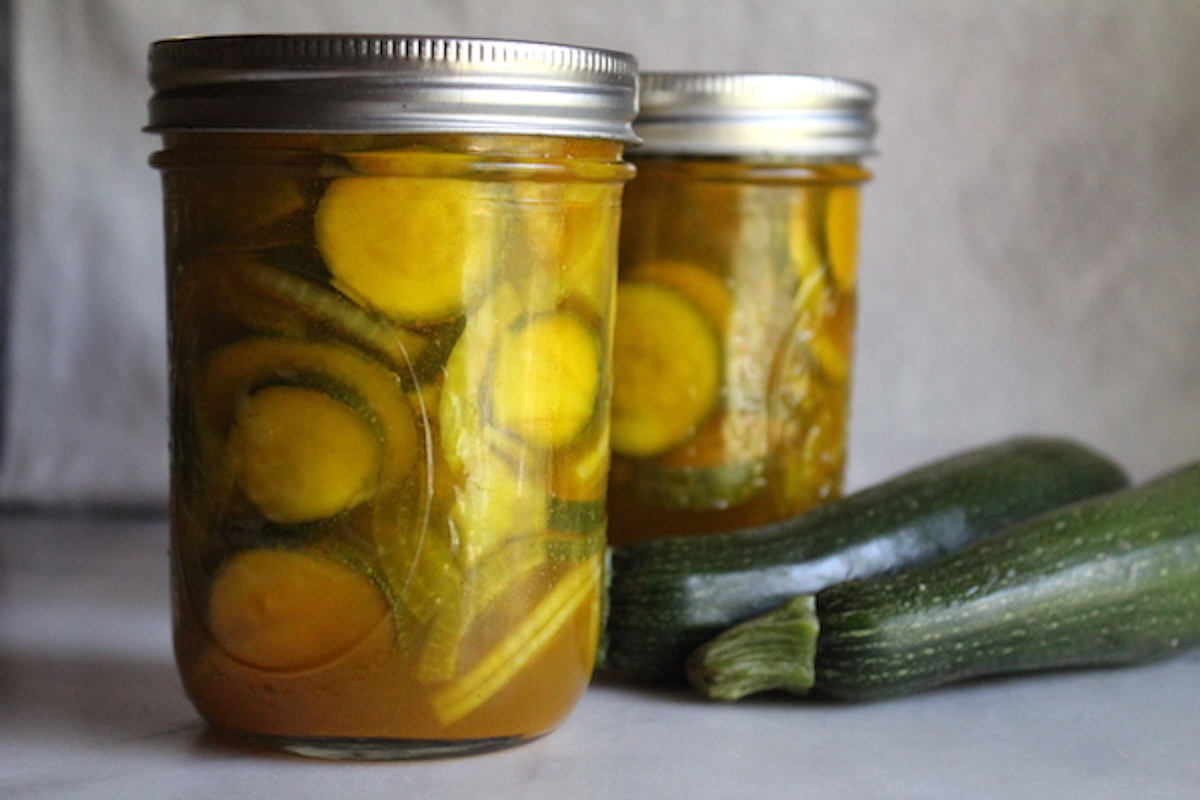
Table of Contents
- Notes from My Kitchen
- Quick Look at the Recipe
- Choosing Zucchini for Pickling
- Ingredients for Zucchini Pickles
- Brine Strength and Substitutions
- How to Make Zucchini Pickles
- Canning Zucchini Pickles
- Altitude Adjustments
- Tips for Crisp Zucchini Pickles
- Storage and Shelf Life
- Serving Ideas
- Yield Notes
- Zucchini Pickle FAQs
- Zucchini Canning Recipes
- Zucchini Pickles Recipe (Bread and Butter Style)
- Vegetable Pickling Recipes
This recipe has been reviewed for safety and accuracy by a Master Food Preserver certified through the University of Cornell Cooperative Extension.
This recipe is adapted from the USDA Complete Guide to Home Canning, where it appears as Pickled Bread-and-Butter Zucchini, and it follows the classic bread and butter pickle method with the same sweet and sour brine of vinegar, sugar, mustard seed, celery seed, and turmeric that you’d use for Classic Bread and Butter Pickles made with cucumbers. Zucchini takes to that brine readily, and its mild flavor when raw soaks up the spices nicely.
The step that makes the difference here is a two hour soak in salt water before the zucchini ever meets the brine, which draws out moisture and keeps the slices crisp through canning. Zucchini holds its texture surprisingly well once pickled, often better than cucumbers do, which is part of why this one has stayed in the rotation alongside the rest of our pickling recipes.
If you’re new to canning, it’s worth reading through water bath canning for beginners before you start, and you’ll find plenty more to fill the canner in our collection of water bath canning recipes. Of course, you can always make this recipe as a quick fridge pickle and skip the canner entirely.
Notes from My Kitchen

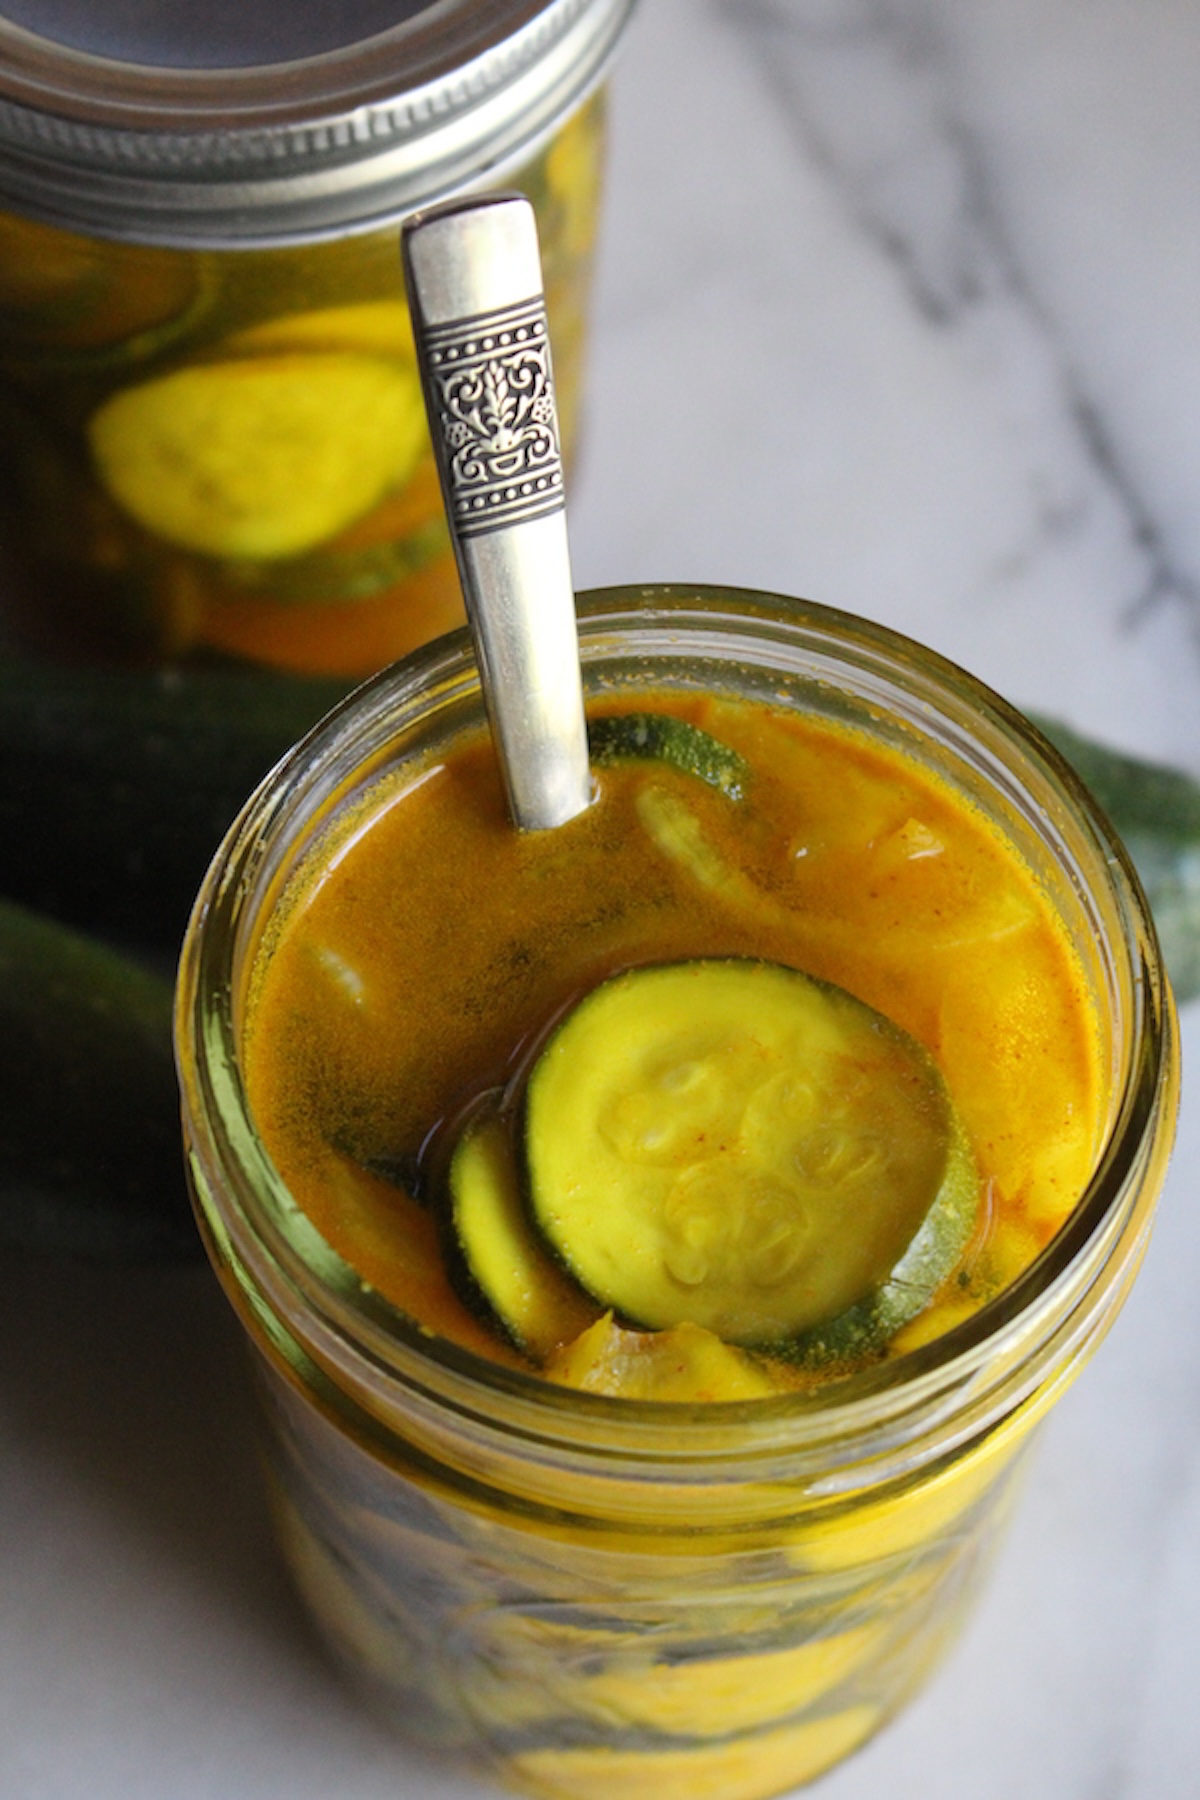
I started pickling zucchini the year our garden gave us far more squash than the four of us could eat fresh, and I needed something to do with the pile that kept reappearing on the counter. These bread-and-butter style pickles held their crunch much better than I expected from a soft summer squash, and they’ve kept a regular spot in our canning rotation ever since.
A batch makes around 8 to 9 pints, which sounds like a lot until you see how quickly they disappear once people try them tucked into a sandwich or eaten straight from the jar with a fork. I usually keep a jar or two in the fridge for snacking and can the rest for winter, and they’ve won over more than one person who swore they didn’t care for zucchini. If you grow your own squash, this is a satisfying way to put a real dent in the harvest.
Quick Look at the Recipe
- Recipe Name: Bread and Butter Zucchini Pickles
- Recipe Type: Vegetable Pickles
- Canning Method: Water Bath Canning
- Prep/Cook Time: About 30 minutes active, plus a 2 hour salt soak
- Canning Time: 10 minutes for pints or quarts
- Yield: About 8 to 9 pint jars
- Jar Sizes: Pints or quarts (half pints work too, at the pint time)
- Headspace: 1/2 inch
- Ingredients Overview: Zucchini, onion, vinegar, sugar, salt, and pickling spices
- Safe Canning Recipe Source: National Center for Home Food Preservation
- Difficulty: Easy. After the salt soak, the slices simmer briefly in the brine and everything goes right into jars for processing.
- Similar Recipes: The method is much like other sweet pickles, including Classic Bread and Butter Pickles, Bread and Butter Pickled Onions, and Sweet Cucumber Pickles. If you’ve got more squash to use, try other zucchini canning recipes like zucchini relish or canning zucchini in pineapple juice.
Choosing Zucchini for Pickling
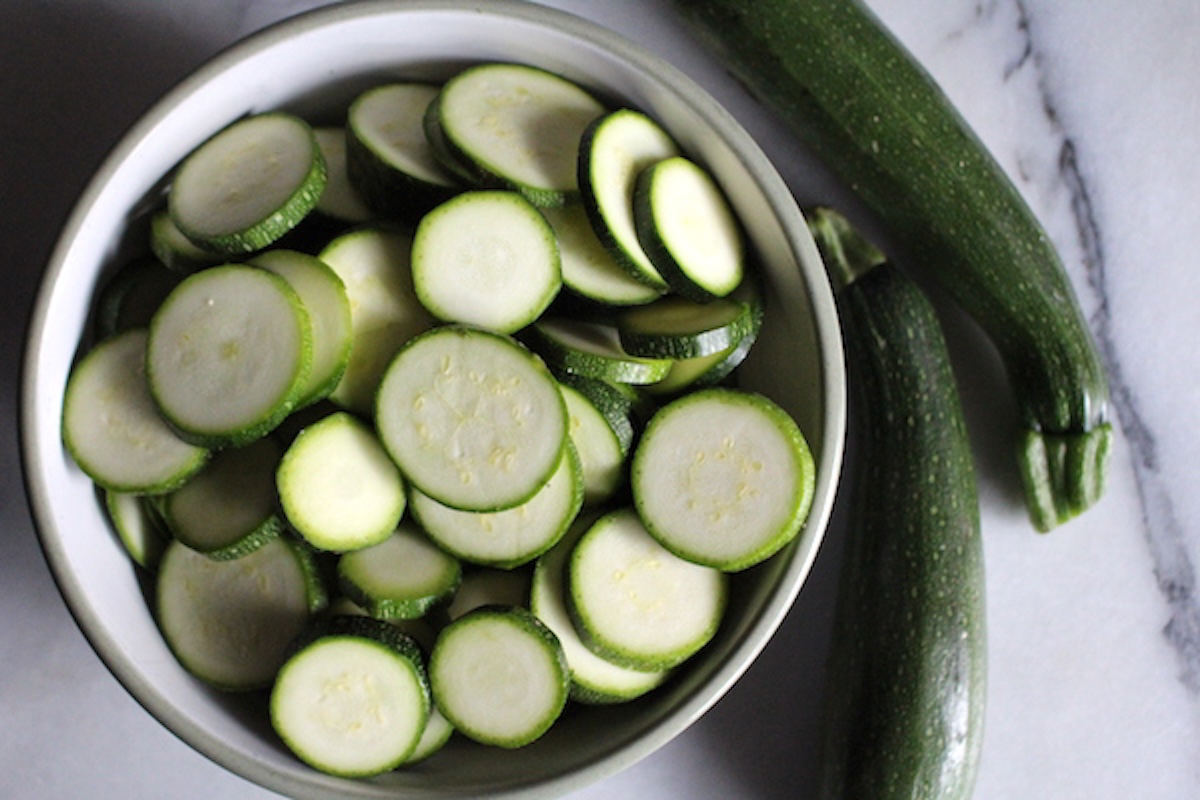
Small, young zucchini make the crispest pickles. Look for squash that’s firm all the way along with tight, glossy skin and no soft spots, and try to pick ones that are close to the same diameter so the slices pickle at the same rate. Squash in the 1 to 1 1/2 inch range across works nicely, since the rounds are small enough to pack neatly into a jar and stack without much wasted space.
The oversized baseball bat zucchini that hides under the leaves until it’s the size of your forearm is the wrong squash for this job. Once zucchini gets large the flesh turns spongy and watery, the seeds get tough, and the skin can run bitter, and none of that improves in a jar of brine. Save the giants for zucchini relish, where they get shredded anyway, and use the small tender ones here. Zucchini pickles well within a day or two of picking, so plan to slice it while it’s still garden fresh.
Ingredients for Zucchini Pickles
This is a short, classic ingredient list, with a sweet and tangy brine and the familiar bread and butter pickle spices doing most of the flavoring. Everything here comes from the tested USDA recipe, so the vegetables, vinegar, and salt stay as written even though the spices have some room to move.
- Zucchini: the star of the recipe. Choose small, young squash, sliced into 1/8 to 1/4 inch rounds. Larger, mature zucchini is spongy and won’t crisp up, and it can run a little bitter. Try to pick zucchini that’s a similar size so the slices pickle evenly.
- Onions: I like a white onion here for crunch and a little heat that mellows once it’s pickled. Slice the onion a touch thinner than the zucchini so it comes through as an accent rather than taking over. Keep the onion at the amount called for rather than adding extra, since it’s a low-acid vegetable and the tested recipe is balanced around that quantity.
- Canning or pickling salt: used for the pre-soak that draws moisture out of the zucchini and keeps it crisp. Use pickling or canning salt rather than iodized or table salt, since the iodine and anti-caking additives cloud the brine and can give off flavors over time.
- White vinegar (5%): provides the acidity that makes these pickles safe for water bath canning, along with a clean, sharp tang. Apple cider vinegar at 5% acidity also works and gives a warmer flavor.
- Sugar: balances the vinegar into the sweet and sour flavor that makes a bread and butter pickle.
- Mustard seed: a classic bread and butter spice that adds gentle warmth.
- Celery seed: brings that familiar deli pickle background note.
- Ground turmeric: adds a warm, earthy note and is responsible for the pickle’s sunny yellow color (a little goes a long way, and it will stain, so work carefully).
The dry spices are the flexible part of this list. Mustard seed, celery seed, and turmeric can be adjusted to taste, or swapped for other dry pickling spices, without changing how safe the pickles are. What can’t move is the ratio of vegetables to vinegar, so measure the zucchini and onion rather than eyeballing them.
If you’d like extra firm slices, you can add calcium chloride (Pickle Crisp) to the jars, at 1/8 teaspoon per pint. It’s optional, and the salt soak on its own does a good job of keeping these crunchy.
Brine Strength and Substitutions
The acid is what keeps these pickles safe on the shelf, and in this recipe that acid is 4 cups of undiluted 5% vinegar with no water added to the brine at all. Use the full amount of vinegar, don’t stretch it with water, and don’t substitute a vinegar labeled below 5% acidity. White and apple cider vinegar can be swapped for each other freely as long as both are 5%, and the choice is purely about flavor.
The sugar is there for flavor rather than safety, so you can nudge it up or down to taste, though a sweeter brine is part of what makes these bread-and-butter style. The salt works the same way in the finished jar, but don’t skip or shorten the salt soak itself, since that’s a texture step the recipe is built around. Adding extra zucchini or onion beyond the measured amounts is the one change to avoid, because more low-acid vegetables in the same volume of brine shifts the balance the tested recipe depends on.
How to Make Zucchini Pickles
You’ll salt and soak the vegetables to draw out moisture, make a quick spiced brine, simmer everything briefly, then pack hot jars and process in a boiling water canner.
The one part that takes any real time is the soak, and that’s hands off. I usually slice everything in the morning, leave the bowl on the counter, and come back after lunch to finish the batch, which spreads the work out and keeps the kitchen from being tied up all afternoon.
Slicing and Salting the Vegetables
Slice the zucchini into 1/8 to 1/4 inch rounds and the onions a little thinner, then combine them in a large bowl. You’re aiming for 16 cups of sliced zucchini, so measure as you go rather than counting squash, since zucchini varies so much in size that a count won’t tell you anything useful. A mandoline makes quick work of this and keeps the rounds even, which matters more than it sounds like it should, because uneven slices pickle unevenly.
Sprinkle the vegetables with the canning salt, cover with about an inch of water, and give everything a swish. Let the bowl stand for 2 hours, then drain thoroughly. This step is what keeps the zucchini crisp and softens the bite of the raw onion, so it’s worth the wait. Don’t rinse the slices after draining, just let them drain well.
Making the Brine
In a large pot, combine the vinegar, sugar, mustard seed, celery seed, and turmeric. Bring it to a boil, stirring so the sugar dissolves fully and the spices distribute through the brine.
Use a stainless steel or enameled pot rather than aluminum or bare copper, since the vinegar reacts with those metals and can pick up a metallic taste or an odd color. The brine looks alarmingly thin at this stage, and that’s fine, because the vegetables release liquid as they simmer and there ends up being plenty to cover the jars.
Simmering the Vegetables
Add the drained zucchini and onion to the boiling brine, being careful not to splash (both for safety and to keep the turmeric off your counters and clothes). Lower the heat and simmer for 5 minutes. At this point the pickles are ready to be canned or packed into jars for the fridge.
Five minutes is the whole simmer, so set a timer and stop there. The slices should still have some resistance when you fish one out, since they’ll keep cooking during processing and again in the residual heat of the sealed jar. Anything that’s gone limp in the pot will be soft on the shelf.
Filling the Jars
Working quickly, pack the hot vegetables into hot jars and cover with the hot brine, leaving 1/2 inch headspace. Run a bubble remover or plastic utensil around the inside of each jar to release trapped air, then add a little more brine if needed to keep the headspace right. Wipe the rims, apply the lids, and screw on the bands until fingertip tight.
Zucchini rounds trap air between the slices more than you’d expect, so take your time with the bubbling step and check the headspace again afterward. If you’re adding Pickle Crisp, it goes into each jar before the brine, not into the pot.
Canning Zucchini Pickles
These can be made as quick refrigerator pickles or water bath canned for the pantry. For fridge pickles, pack the hot vegetables and brine into clean jars, let them cool, and store them in the refrigerator, where they’ll keep for a few weeks. They soften a little as they sit, but they stay good for snacking.
To can them, prepare a water bath canner while the brine comes up to a boil, and keep your jars hot until you’re ready to fill. Once the jars are packed with hot vegetables and topped with hot brine, place the lids on and process for 10 minutes, adjusting for altitude (see below). The processing time is the same whether you’re filling pints or quarts.
When the timer goes off, turn off the heat and let the jars sit in the hot water for another 5 minutes before removing them, which helps prevent siphoning or liquid loss as the jars come out of the canner. Lift the jars onto a towel-lined surface, leaving space between them, and let them cool undisturbed for 12 to 24 hours.
Check each lid once the jars are at room temperature. A sealed lid is flat or slightly concave and doesn’t flex when pressed. Remove the bands for storage, and refrigerate any jars that didn’t seal, eating those within a couple of weeks. For fuller flavor, give canned jars a few days to rest before opening so the brine and spices settle into the slices.
Altitude Adjustments
The altitude adjustments for water bath canning zucchini pickles are as follows:
- For Under 1,000 Feet in Elevation – 10 minutes for pints and quarts.
- For 1,001 to 6,000 Feet in Elevation – 15 minutes for pints and quarts.
- Above 6,000 Feet in Elevation – 20 minutes for pints and quarts.
Water boils cooler as you climb, so those extra minutes make up for the lower temperature rather than being a matter of preference. If you’re using half pint jars, process them for the pint time at your elevation. If you aren’t sure what your elevation is, your county extension office can tell you, and it’s worth writing down somewhere you’ll find it again since you’ll need it for every batch you can.
Tips for Crisp Zucchini Pickles
Crispness starts at the cutting board rather than in the canner. Small young squash, sliced thin and evenly, holds its texture in a way that big watery zucchini simply won’t, no matter what you add to the jar. The two hour salt soak is the other half of it, since drawing moisture out of the slices before they hit the brine is what keeps them from collapsing during processing.
Beyond that, a few small things help. Some extension versions of this recipe use ice water for the soak instead of plain cold water, which keeps the slices firmer while they sit. Adding Pickle Crisp at 1/8 teaspoon per pint gives a bit of extra insurance. Keep the simmer to the full 5 minutes and no longer, process for the time your elevation calls for rather than rounding up, and pull the jars out of the canner promptly after the 5 minute rest so they aren’t sitting in hot water any longer than they need to be.
Storage and Shelf Life
Sealed, processed jars keep for 12 to 18 months in a cool, dark, dry spot. Take the bands off before the jars go on the shelf so a seal that lets go later shows itself instead of being held shut by the ring. The pickles stay safe past that window as long as the seal holds, but the color fades, and the slices gradually soften, so I try to work through a year’s batch before the next zucchini season starts.
Once a jar is open it lives in the refrigerator, where it’ll keep for a couple of months with the slices staying under the brine. Uncanned refrigerator pickles keep a few weeks. A little settling of the spices at the bottom of the jar is normal and isn’t a spoilage sign.
Serving Ideas
We eat these anywhere we’d usually reach for cucumber pickles, but they’re especially good tucked into sandwiches with cured meat and a sharp cheese. They also hold their own on a charcuterie board alongside pickled eggs and a spoonful of crabapple jelly.
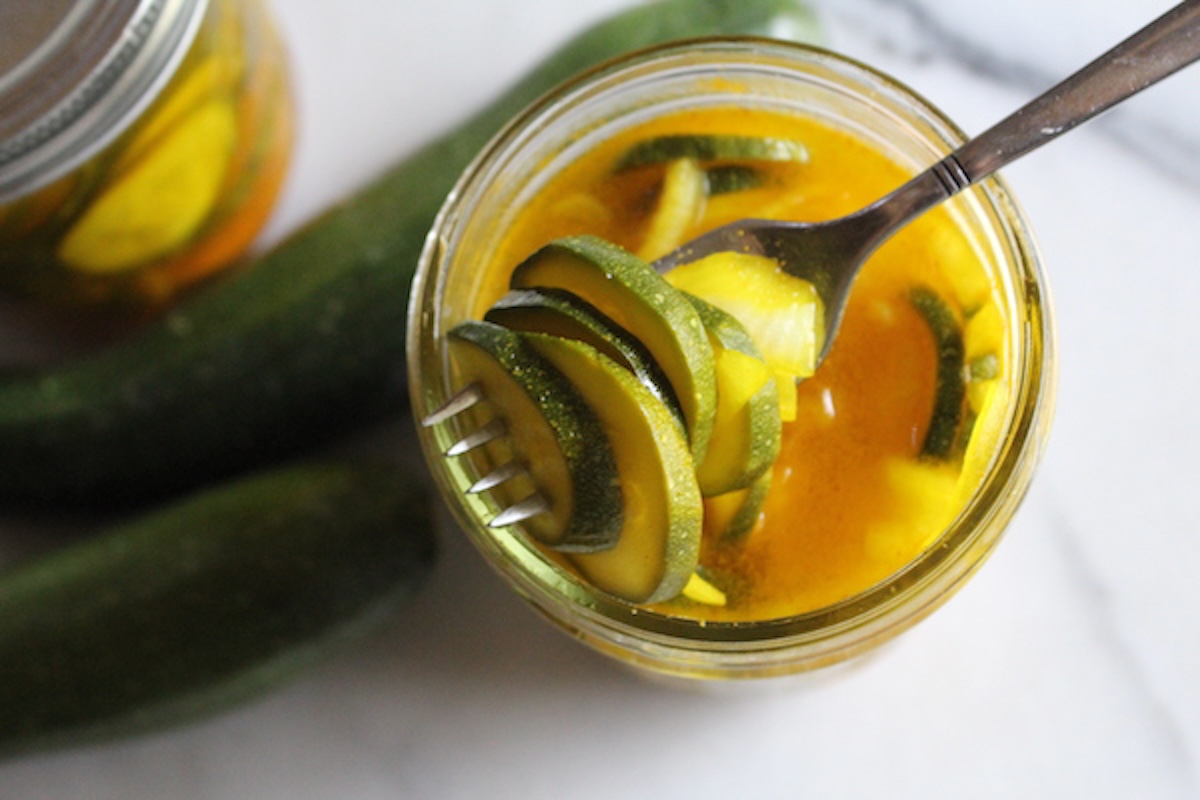
Chopped fine, they add crunch and tang to tuna salad, egg salad, or potato salad, and they make a sharp, tangy bite next to burgers or anything rich off the grill. My own preference, though, is eating them straight from the jar with a fork while I’m putting groceries away.
Yield Notes
A full batch runs about 8 to 9 pints, and where you land in that range depends mostly on how thin you slice and how firmly you pack the jars. Thin, even rounds settle tightly and stretch the brine further, while thicker slices leave more gaps and use up liquid faster. If you come up a little short on brine at the end, don’t top the last jar off with water, since that dilutes the acid. Put that jar in the refrigerator instead and eat it first.
Half batches work fine if you don’t have 16 cups of zucchini on hand, as long as you cut every ingredient by the same amount and keep the proportions intact. Going the other direction, it’s better to run two separate batches than to double this one, because a doubled pot takes a long time to come back to a simmer and the slices sitting in it lose their crunch while they wait.
Zucchini Pickle FAQs
Yes, this step is important, don’t skip it. The 2 hour salt soak draws moisture out of the zucchini so the slices stay crisp through canning instead of going soft, and it also tames the raw bite of the onion. Drain the vegetables thoroughly before they go into the brine, and don’t rinse them.
No. The 4 cups of undiluted 5% vinegar is what makes these pickles safe to can, and this brine has no water in it to begin with, so there’s nothing to cut. Don’t stretch the brine with water and don’t substitute a vinegar labeled below 5% acidity. White and apple cider vinegar can be swapped for each other freely as long as both are 5%, since that’s a flavor choice rather than a safety one. The sugar and the dry spices are the parts you can adjust.
Absolutely. Pack the hot vegetables and brine into clean jars, let them cool, and keep them in the refrigerator as quick pickles. They’ll keep for a few weeks and soften slightly over time, so they’re a good option if you only have a small amount of zucchini to use up.
Soft pickles usually trace back to large, mature zucchini, slices cut too thick, or a skipped salt soak. Use small young squash, keep the rounds between 1/8 and 1/4 inch, and give the vegetables the full 2 hours in salt water before draining and simmering. Over-processing does it too, so time the canner for your elevation rather than adding a few extra minutes for good measure.
Sealed jars keep 12 to 18 months in a cool, dark place, and they stay safe beyond that as long as the seal holds, though the color fades and the slices soften with time. Let them sit a few days before opening so the spices settle into the slices. Once opened, keep the jar in the refrigerator and use it within a couple of months.
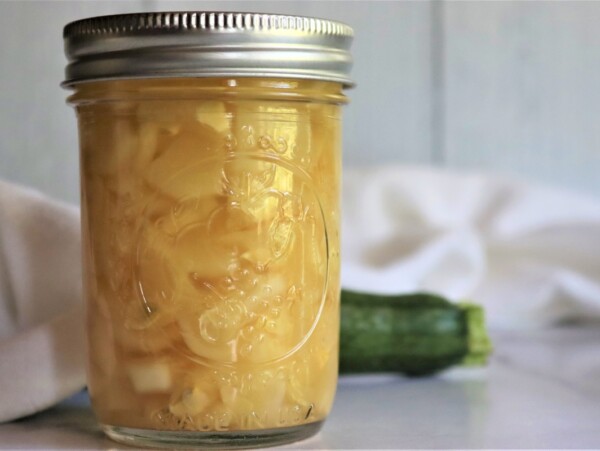
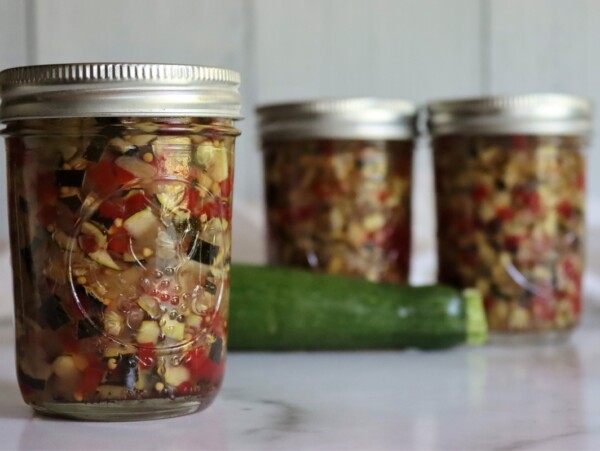
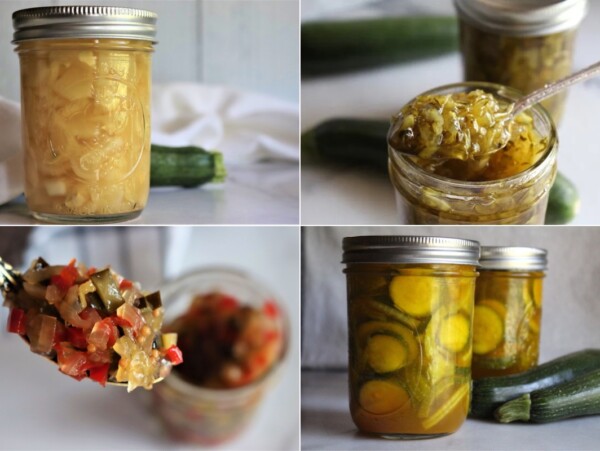
If the zucchini keeps coming, here are the rest of our canning recipes for putting up summer squash.
Zucchini Canning Recipes
If you tried these Zucchini Pickles, or any other recipe on Creative Canning, leave a ⭐ star rating and let me know what you think in the 📝 comments below!
And make sure you stay in touch with me by following on social media!
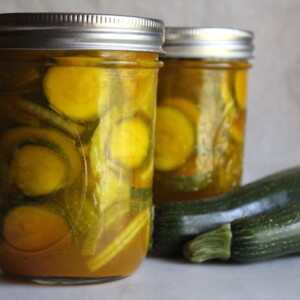
Zucchini Pickles Recipe (Bread and Butter Style)
Equipment
- Canning Jars, Lids and Bands
Ingredients
For the Vegetables
- 16 cups zucchini, sliced 1/8 to 1/4 inch thick
- 4 cups onions, thinly sliced
- 1/2 cup canning or pickling salt
For the Brine
- 4 cups white vinegar, 5% acidity
- 2 cups sugar
- 4 Tbsp mustard seed
- 2 Tbsp celery seed
- 2 tsp ground turmeric
Instructions
- Combine the sliced zucchini and onion in a large bowl. Cover with 1 inch of water, add the canning or pickling salt, and stir to distribute. Let stand 2 hours, then drain thoroughly. Do not rinse.
- If canning, prepare a waterbath canner, jars, lids and rings.
- Combine the vinegar, sugar, mustard seed, celery seed, and ground turmeric in a large stainless steel or enameled pot.
- Bring to a boil, add the drained zucchini and onion, and simmer for 5 minutes.
- Working quickly, fill the prepared hot jars with the vegetables and pickling liquid, leaving 1/2 inch headspace.
- Remove air bubbles using a wooden chopstick or plastic utensil and adjust the headspace if needed. Wipe the rims, center the lids, and apply the bands to fingertip tight.
- Process pints or quarts in a boiling water bath canner for 10 minutes, adjusting for altitude (see notes).
- When the timer goes off, turn off the heat and let the jars stand in the canner for 5 minutes before removing them to a towel-lined surface.
- Give the jars 12 to 24 hours to cool undisturbed to room temperature.
- Check the seals on each jar (a sealed lid is flat or slightly concave and doesn’t flex when pressed), remove the bands, and store in a cool, dark place. Refrigerate any jar that didn’t seal and enjoy it within a couple of weeks.
Notes
1,001 to 6,000 feet: 15 minutes
Above 6,000 feet: 20 minutes
Nutrition
Nutrition information is automatically calculated, so should only be used as an approximation.
Once you’ve got the water bath out, there’s a whole shelf of vegetables worth pickling the same way.
Vegetable Pickling Recipes
Find the perfect recipe
Searching for something else? Enter keywords to find the perfect recipe!

Can you use pickling spice instead of celery seed,tumeric n mustard seed?
Yes, pickling spice would work just fine. It’d give you a different flavor, but still delicious. Enjoy!
How many jars will this recipe make?
This recipe makes 8 to 9 pints. You can double it or halve it for more or less if you’d like.
Just made the bread and butter zucchini and it’s my first time. Taste good will do again
Wonderful!
These are so good! I’m glad to have a delicious way to preserve my bumper crop of zucchini. Thank you for the recipe!
So glad you liked them!
Thank you for this recipe. Added a few red pepper flakes to the mix as i love a sweet and spicy combo. This will be good on virtually anything.
Wonderful!
*****