
This post may contain affiliate links. Please see our disclosure policy.
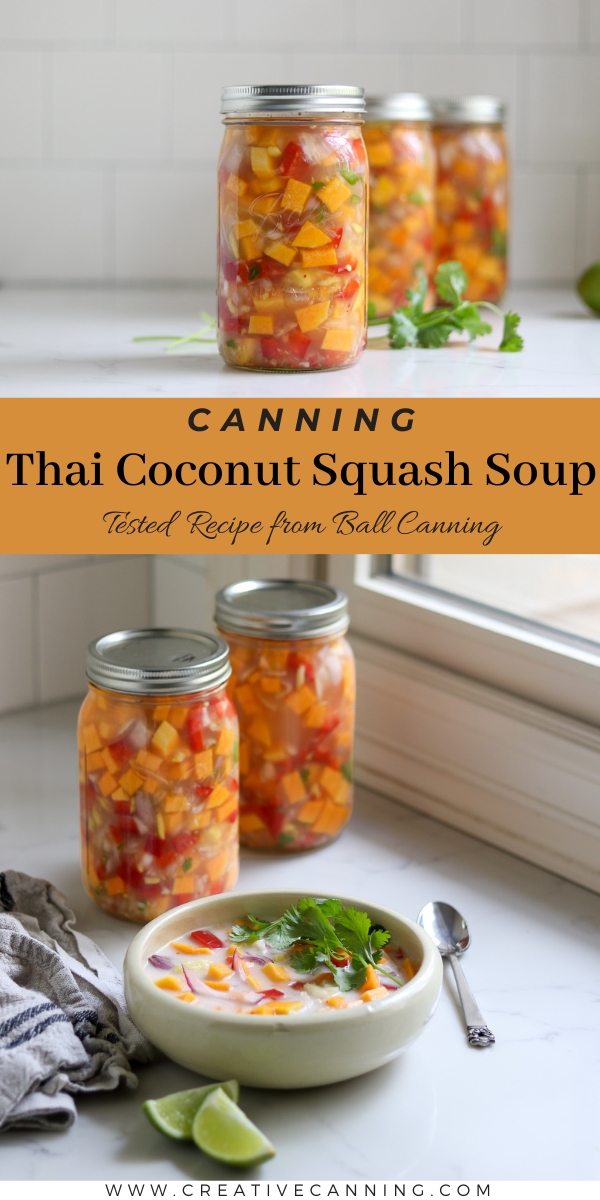
Thai squash soup is a pressure canning recipe that puts a warm bowl of spiced coconut squash soup on your pantry shelf, ready whenever a busy weeknight needs a real meal in a hurry. You stir a can of coconut milk into a heated jar to finish it, and dinner comes together in the time it takes to toast some bread or boil a pot of rice.
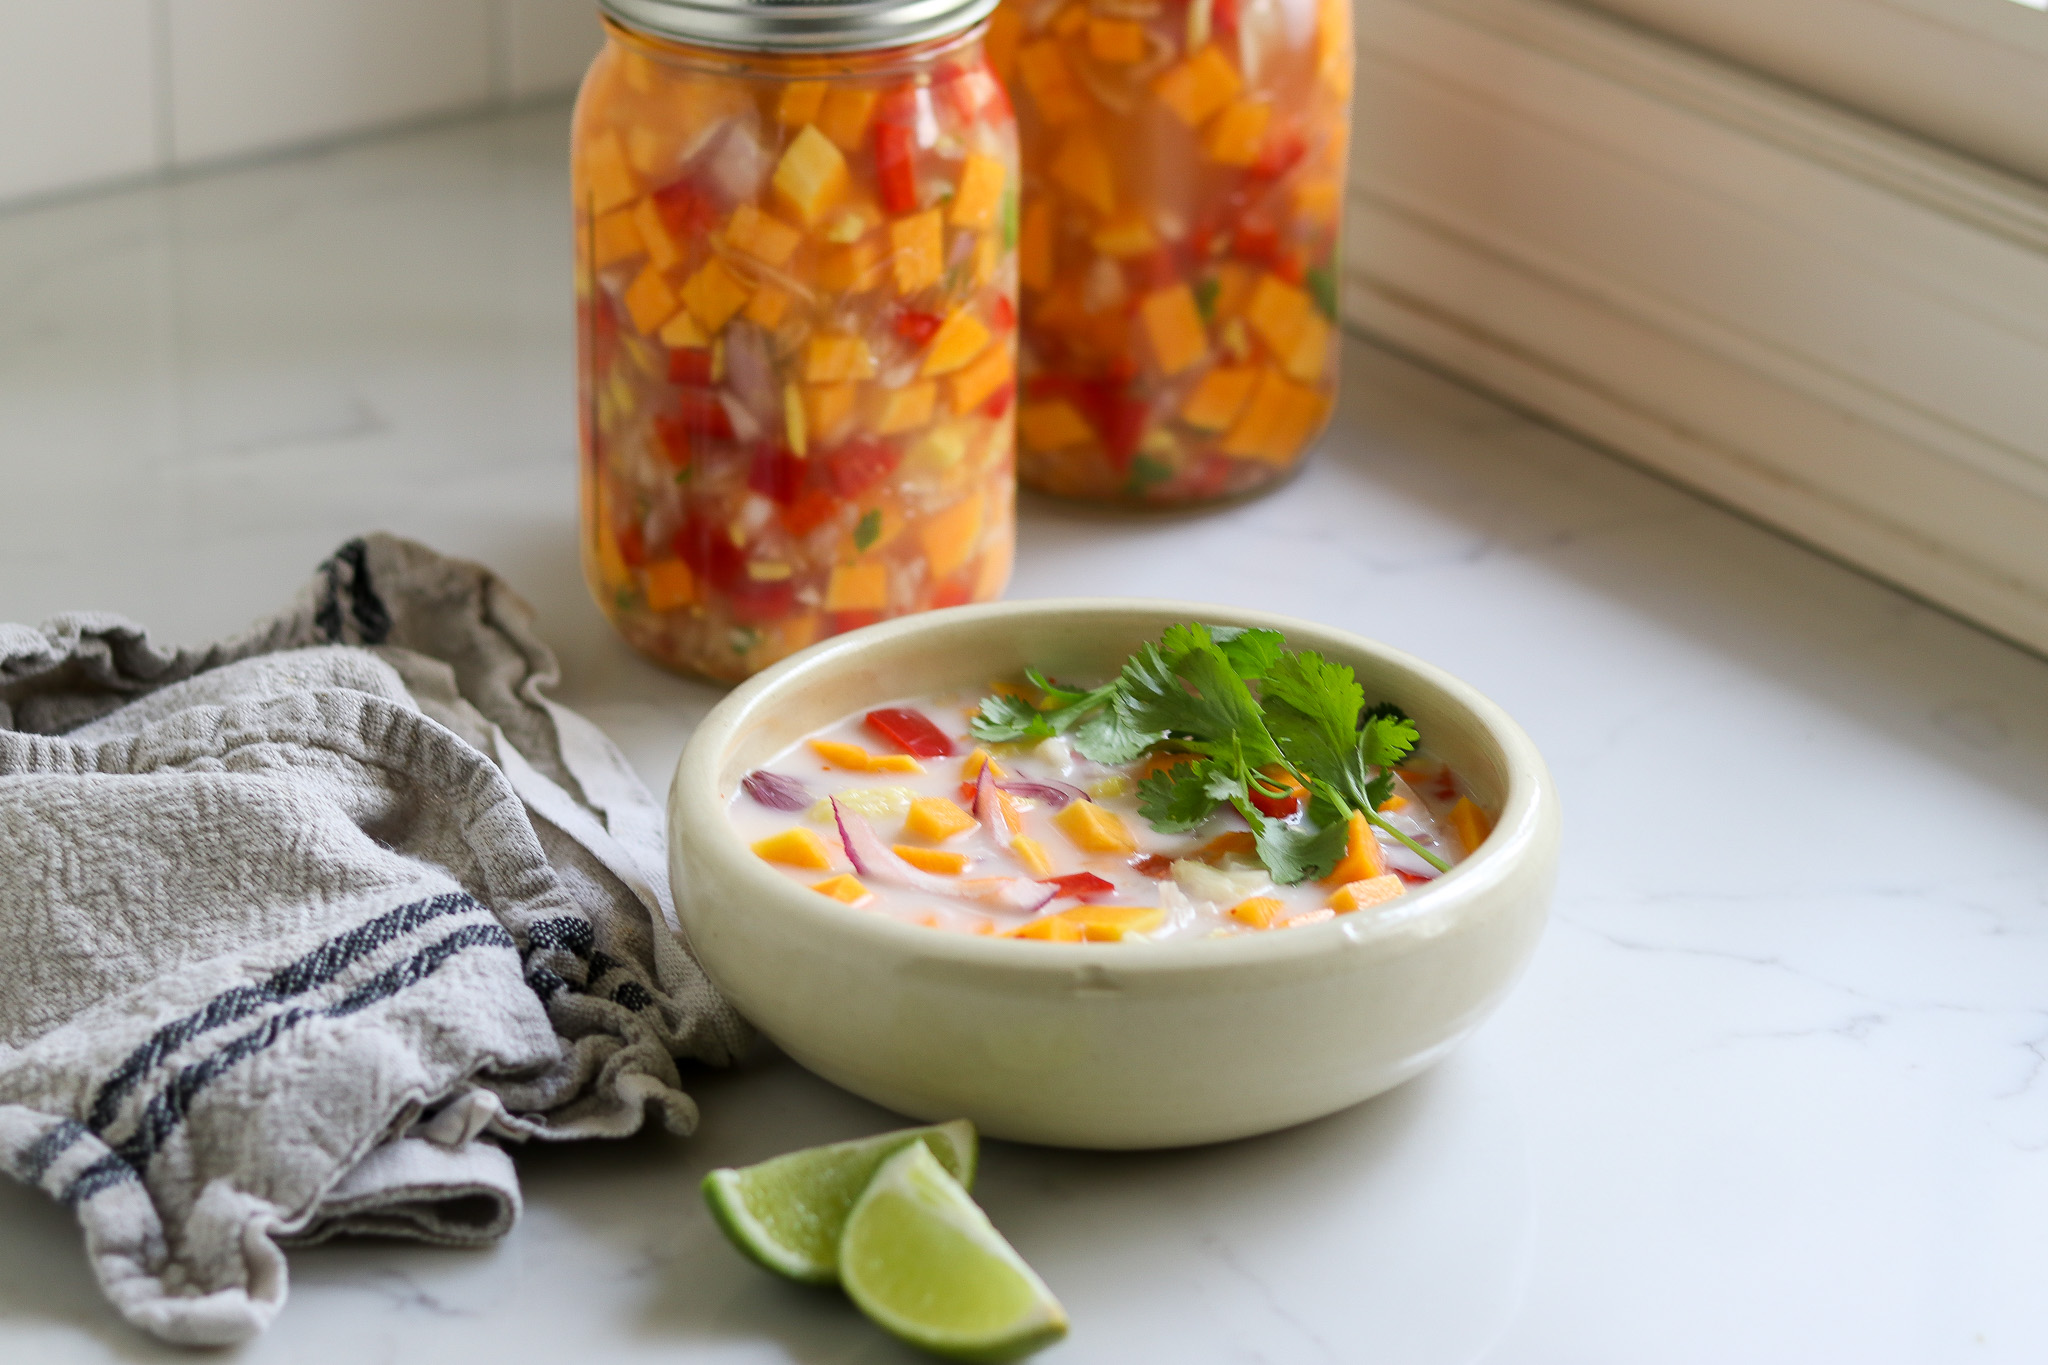
Table of Contents
- Notes from My Kitchen
- Quick Look at the Recipe
- Choosing the Squash
- Ingredients for Thai Squash Soup
- Thai Squash Soup Variations
- How to Make Thai Squash Soup
- Canning Thai Squash Soup
- Altitude Adjustments
- Tips for Success
- Serving Ideas for Thai Squash Soup
- Yield Notes
- Thai Squash Soup FAQs
- Soup Canning Recipes
- Canning Thai Coconut Squash Soup Recipe
- Meal in a Jar Canning Recipes
This recipe has been reviewed for safety and accuracy by a Master Food Preserver certified through the University of Cornell Cooperative Extension.
There is a particular kind of satisfaction in opening the pantry on a cold night and finding dinner already made, and a few jars of this soup deliver exactly that. This particular pantry stocking recipe comes from The All New Ball Book of Canning and Preserving, and like other pressure canning recipes, it relies on the heat of a pressure canner rather than a water bath, since squash is a low acid vegetable that needs that higher temperature to be safe on the shelf.
It earns a spot on my growing shelf of meal in a jar canning recipes, the kind you reheat straight from the jar, and the only thing it asks of you at dinnertime is a can of coconut milk. The coconut milk stays out of the jar because there is no tested home canning process for coconut, but that’s ok, since it already comes shelf stable in its own can. You keep a few alongside your jars and stir one in as you reheat for a creamy Thai coconut squash soup, while the squash, chiles, ginger, and lime are already in there waiting ready cooked in your canning jar.
Notes from My Kitchen

I came to this recipe because winter squash is hard to keep around without a root cellar, and I always seem to have more butternut than I know what to do with by late autumn. Canning a few jars of this soup gives that squash somewhere to go besides the compost, and it tucks a real dinner into the pantry instead of just another quart of plain cubes I have to figure out later.
The honest truth is that the chopping is the long part, and once the prep is done the soup almost cans itself. A batch makes about 6 pints or 3 quarts, and I tend toward pints since one pint plus a splash of coconut milk is a tidy lunch for one or a starter for two. I rarely have fresh cilantro on hand when I run in for lunch, so I treat the serving garnishes as a nice-to-have rather than a requirement, and the soup is good company either way.

Quick Look at the Recipe
- Recipe Name: Thai Squash Soup (Thai Coconut Squash Soup)
- Recipe Type: Soup Canning Recipe (Hearty)
- Canning Method: Pressure Canning
- Prep Time: About 45 minutes
- Cook Time: About 35 minutes
- Canning Time: Pints 75 minutes, Quarts 90 minutes
- Yield: About 6 pints or 3 quarts
- Jar Sizes: Pints or quarts
- Headspace: 1 inch
- Ingredients Overview: Winter squash, broth, Thai chiles, garlic, ginger, lemongrass, shallots, bell pepper, lime, sugar, and salt (coconut milk added at serving)
- Safe Canning Recipe Source: The All New Ball Book of Canning and Preserving (pg. 284)
- Difficulty: Moderate
- Similar Recipes: Canning Thai squash soup is a lot like other pressure canned squash soups, such as Butternut Squash and White Bean Soup and Butternut Squash Soup Base. If you love putting up winter squash, try other winter squash canning recipes, and for more bold flavors in a jar there is Thai Red Curry Duck or a pot of Carrot Soup.
Choosing the Squash
You can use any type of winter squash you like here, and the recipe is forgiving about it. Butternut, kabocha, and acorn all work, as does pretty much any orange-fleshed winter squash with firm, mature flesh. I lean toward an orange-fleshed variety because the color carries through into the finished soup and the texture holds up well to the long process, but if all you have on hand is a paler-fleshed squash, it will still can up just fine.
The one thing to steer clear of is summer squash, which holds far more water and behaves differently in the jar. Summer squash varieties are not tested for canning in this recipe, and you should stick to tested zucchini canning recipes for those.
Winter squash with a hard rind and stringless flesh is what you are after, the same kind you would reach for to make a batch of plain canned cubes from my winter squash canning recipes. You will need roughly five cups of cubed squash in total, which is about a pound and a half by weight.

One safety note worth saying plainly, since it comes up a lot with squash, is that the cubes stay cubes. Pureed or mashed winter squash is not safe to can, because the density keeps heat from moving through the jar reliably, so the tested process is built around firm pieces that liquid can flow around. That is why this soup is packed with diced squash rather than blended smooth, and it is the same rule the USDA follows for plain canned squash.
If you want a smoother bowl in the end, you can always blend the soup after you open a jar and reheat it, which gives you that velvety texture without changing anything about how it goes into the canner. Keeping it diced for canning and finishing it however you like at serving is the move that keeps both safety and texture on your side.
With your squash picked out and the rest of the aromatics gathered, the bulk of the work is just getting everything chopped to size before it goes anywhere near the canner.

Ingredients for Thai Squash Soup
The exact amounts live in the recipe card below, so here I want to walk through what each part is doing and where you have room to adjust. The general principle for any tested soup is that you can change the seasonings to taste, but you do not add more solids than the recipe calls for, because the amount of dense material in the jar is part of what the process was tested around.
- Winter Squash: The body of the soup, cut into half-inch cubes so it holds together through canning. Any orange-fleshed winter squash works, and you can read more about selecting and putting up plain cubes in my winter squash canning recipes.
- Broth or Stock: The canning liquid that fills the gaps in the jar. Chicken or vegetable broth both work, and homemade is lovely if you have it, like my canned vegetable broth or chicken broth. Store-bought is perfectly fine. Plain water works in a pinch but tastes washed out, so I do not reach for it unless I have to.
- Thai Chiles and Bell Pepper: The heat and the sweetness. The recipe suggests fresh Thai chiles for flavor, but any peppers work, and you can go all sweet or all hot to suit your table.
- Garlic, Ginger, and Lemongrass: The aromatic backbone. The lemongrass is quartered and used to flavor the broth, then pulled back out before the soup goes into jars. You can omit any of these if they are not to your taste, or lean on dried versions if that is what is in the cupboard.
- Shallots: A mellow allium that rounds out the base. If you do not have shallots, onions or scallions step in without any trouble.
- Lime Zest, Lime Juice, Sugar, and Salt: The brightening and balancing notes. These are flavor adjustments, so you can scale them up or down or skip them entirely based on what you like.
The flexibility here is real, as long as you remember the direction it runs. You are always free to subtract solids, omit peppers or onion or spices, and you are always free to add reasonable amounts of dried spices, since dry seasonings are safe to add to any tested canning recipe.
What you do not do is swap in extra vegetables or pile in more solids, because that changes the density the process was built around.

If you want more heat, dried red pepper flakes or cayenne are easy additions, and dried onion, ginger, or garlic powder all add depth without adding bulk. You can also infuse flavor straight into the broth before you build the soup, the way the recipe infuses lemongrass, so kaffir lime leaf or other aromatics can steep in and then come back out.
A few ingredients are added only at serving, partly for fresh flavor and partly because they do not have a tested canning process. Coconut milk is the big one, and it gets stirred in when you reheat a jar rather than before canning.

Along with the coconut milk, the recipe sets aside a little red onion, fresh cilantro, and lime wedges as serving garnishes. None of those go in the jar either, and none of them are required, so think of them as the finishing touches you add if you happen to have them on hand.
Thai Squash Soup Variations
This is a tested recipe from The All New Ball Book of Canning and Preserving, packed as a hearty soup and processed at the hearty soup times of 75 minutes for pints and 90 minutes for quarts. The processing time and the pressure are the safety control for a low acid soup like this one, so they are never shortened, lowered, or swapped for a water bath. Only a pressure canner reaches a temperature that makes these jars safe and shelf stable.
You have room to adjust the seasonings, and you can omit peppers, onion, sugar, or lime to suit your taste, or add reasonable amounts of dried spices for more flavor. What waits until serving are the things with no tested canning basis or that suffer in the jar: the coconut milk, fresh cilantro, and any thickener if you want a creamier bowl. Stir those in on the stove when you reheat, and keep the canning recipe itself unchanged.
How to Make Thai Squash Soup
The most time-consuming part of this recipe is chopping everything to size, but once the prep work is done it comes together quickly and lands in the pressure canner before you know it. It is a hot pack recipe, which matters here, so plan to heat the soup and preheat the canner before any jars get filled.
I like to get every ingredient chopped and measured into bowls first, since the cooking moves along once the broth is simmering and you do not want to be mincing garlic while the pot is going. With everything prepped and within reach, the actual cooking and canning is the relaxing part.

Prepare the Ingredients
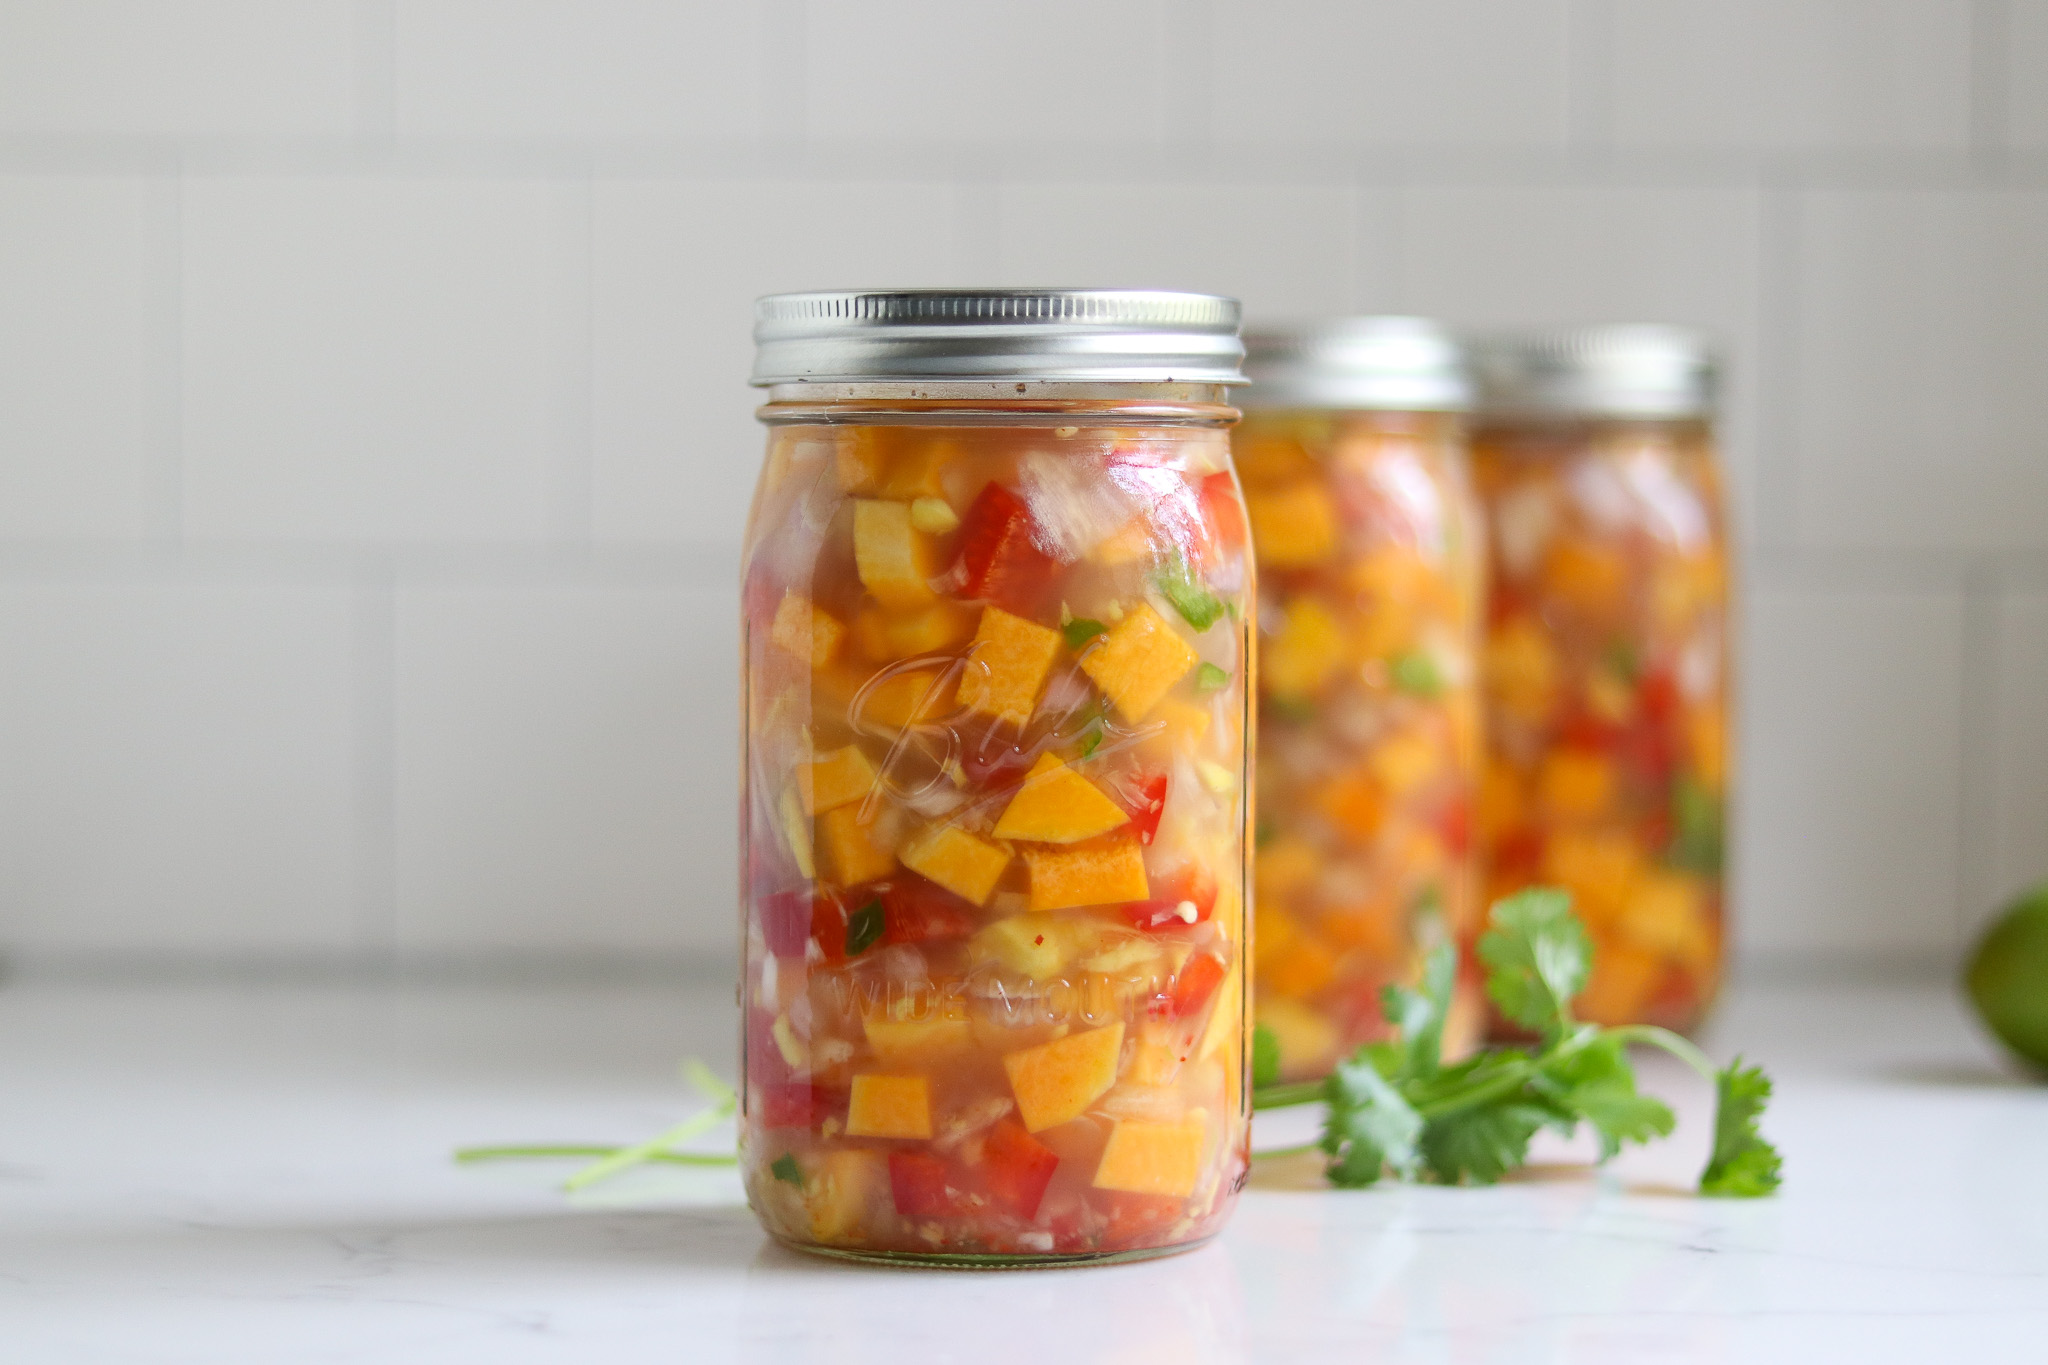
Start by washing all of your vegetables. From there, peel the squash, slice it in half, scoop out the seeds, and chop the flesh into small half-inch cubes. This is quick work with a butternut, which has a long solid neck, and a bit more fiddly with rounder, seedier squash varieties.
Once the squash is cubed, work through the rest of the ingredients: seed and mince the Thai chiles, mince the garlic, grate the ginger, quarter the lemongrass stalk, chop the bell pepper and shallots, and zest and juice the lime. A knife handles all of it, though a small food processor can speed up the mincing if you would rather not do it all by hand.

However you tackle it, keep everything at a dice rather than a puree. Chunks of vegetables sitting in a liquid broth are what we are after, and pureeing the ingredients thickens the broth in a way that works against safe heat penetration in the jar.
The goal is a soup you can pour, with distinct pieces of squash and pepper suspended in it, not a thick blended bisque. Keeping the texture loose is part of what makes the tested process valid, so resist the urge to break out the immersion blender until after the jars are opened.

Peeling a hard winter squash is the part of prep that wears people down, and a good peeler makes all the difference. I am fond of my Victorinox Swiss Army peeler, which is sharp and has a grip that handles tough squash skin without fighting back.
It has been a real help in my canning prep, and it makes short work of butternut in particular. A dull peeler turns this step into a chore, so it is worth keeping a sharp one in the drawer if you put up much squash.

With a butternut, the routine is simple: peel the whole thing, halve it lengthwise, scrape out the seed cavity at the bulb end, and then cut the firm neck and the hollowed bulb into even cubes. Even cubes cook and process more uniformly, so take a minute to keep them roughly the same size.
Other squash shapes can be trickier to break down safely, so use a sturdy knife and a stable cutting board, and cut a flat side first so the squash is not rolling around under your blade. Once it sits flat, the rest of the cutting goes smoothly.

Dicing the squash into small, even pieces is what lets it hold its shape and cook through evenly during the long process. Pieces that are too big can stay firm in the center, while pieces that vary wildly in size cook unevenly, so aim for that consistent half-inch cube.
By the time the squash is diced, you are most of the way through the hard part of this recipe. Everything else chops up quickly by comparison.

With the squash handled, move on to the rest of the vegetables and aromatics. Get the peppers, shallots, garlic, and ginger all chopped and prepared and set into bowls so they are ready to go into the pot in order.
A small food processor can really speed this part up if you have one, pulsing the garlic, ginger, and shallots down without much fuss. Just stop short of a paste, since you still want some texture rather than a slurry.
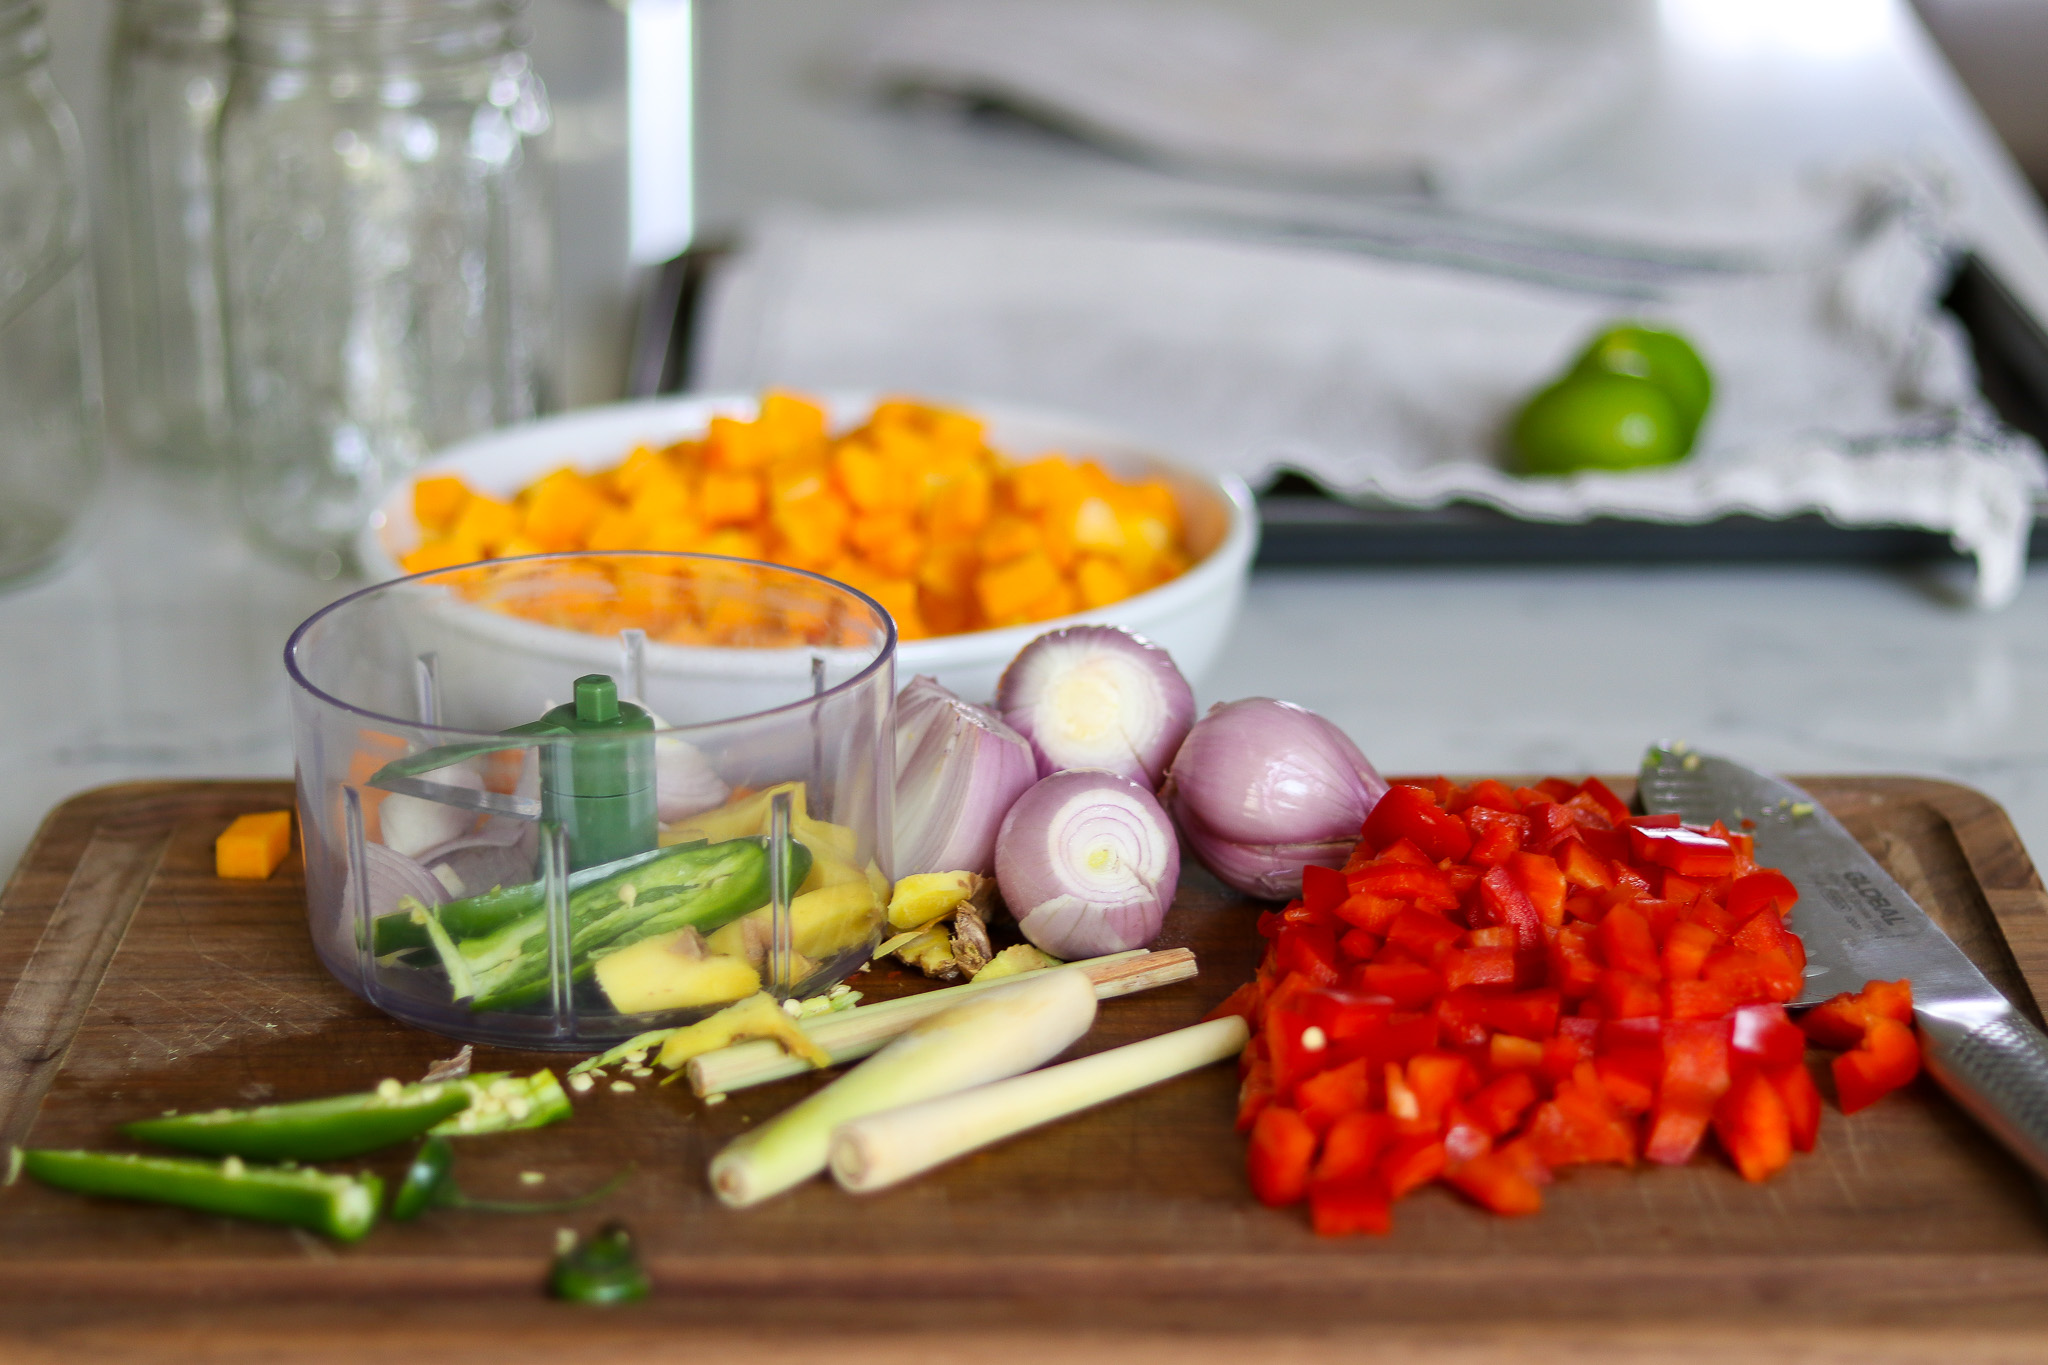
Once everything is prepped, take one more look to be sure you have kept it all at a dice and nothing has crept toward a puree. The broth itself should stay thin and pourable, with the vegetables as distinct pieces in it.
That distinction matters for the same reason it does with the squash: a thinner soup lets heat move freely through the jar during processing, while a thick, pureed one does not. Keep it loose now and you can always thicken or blend a bowl later.
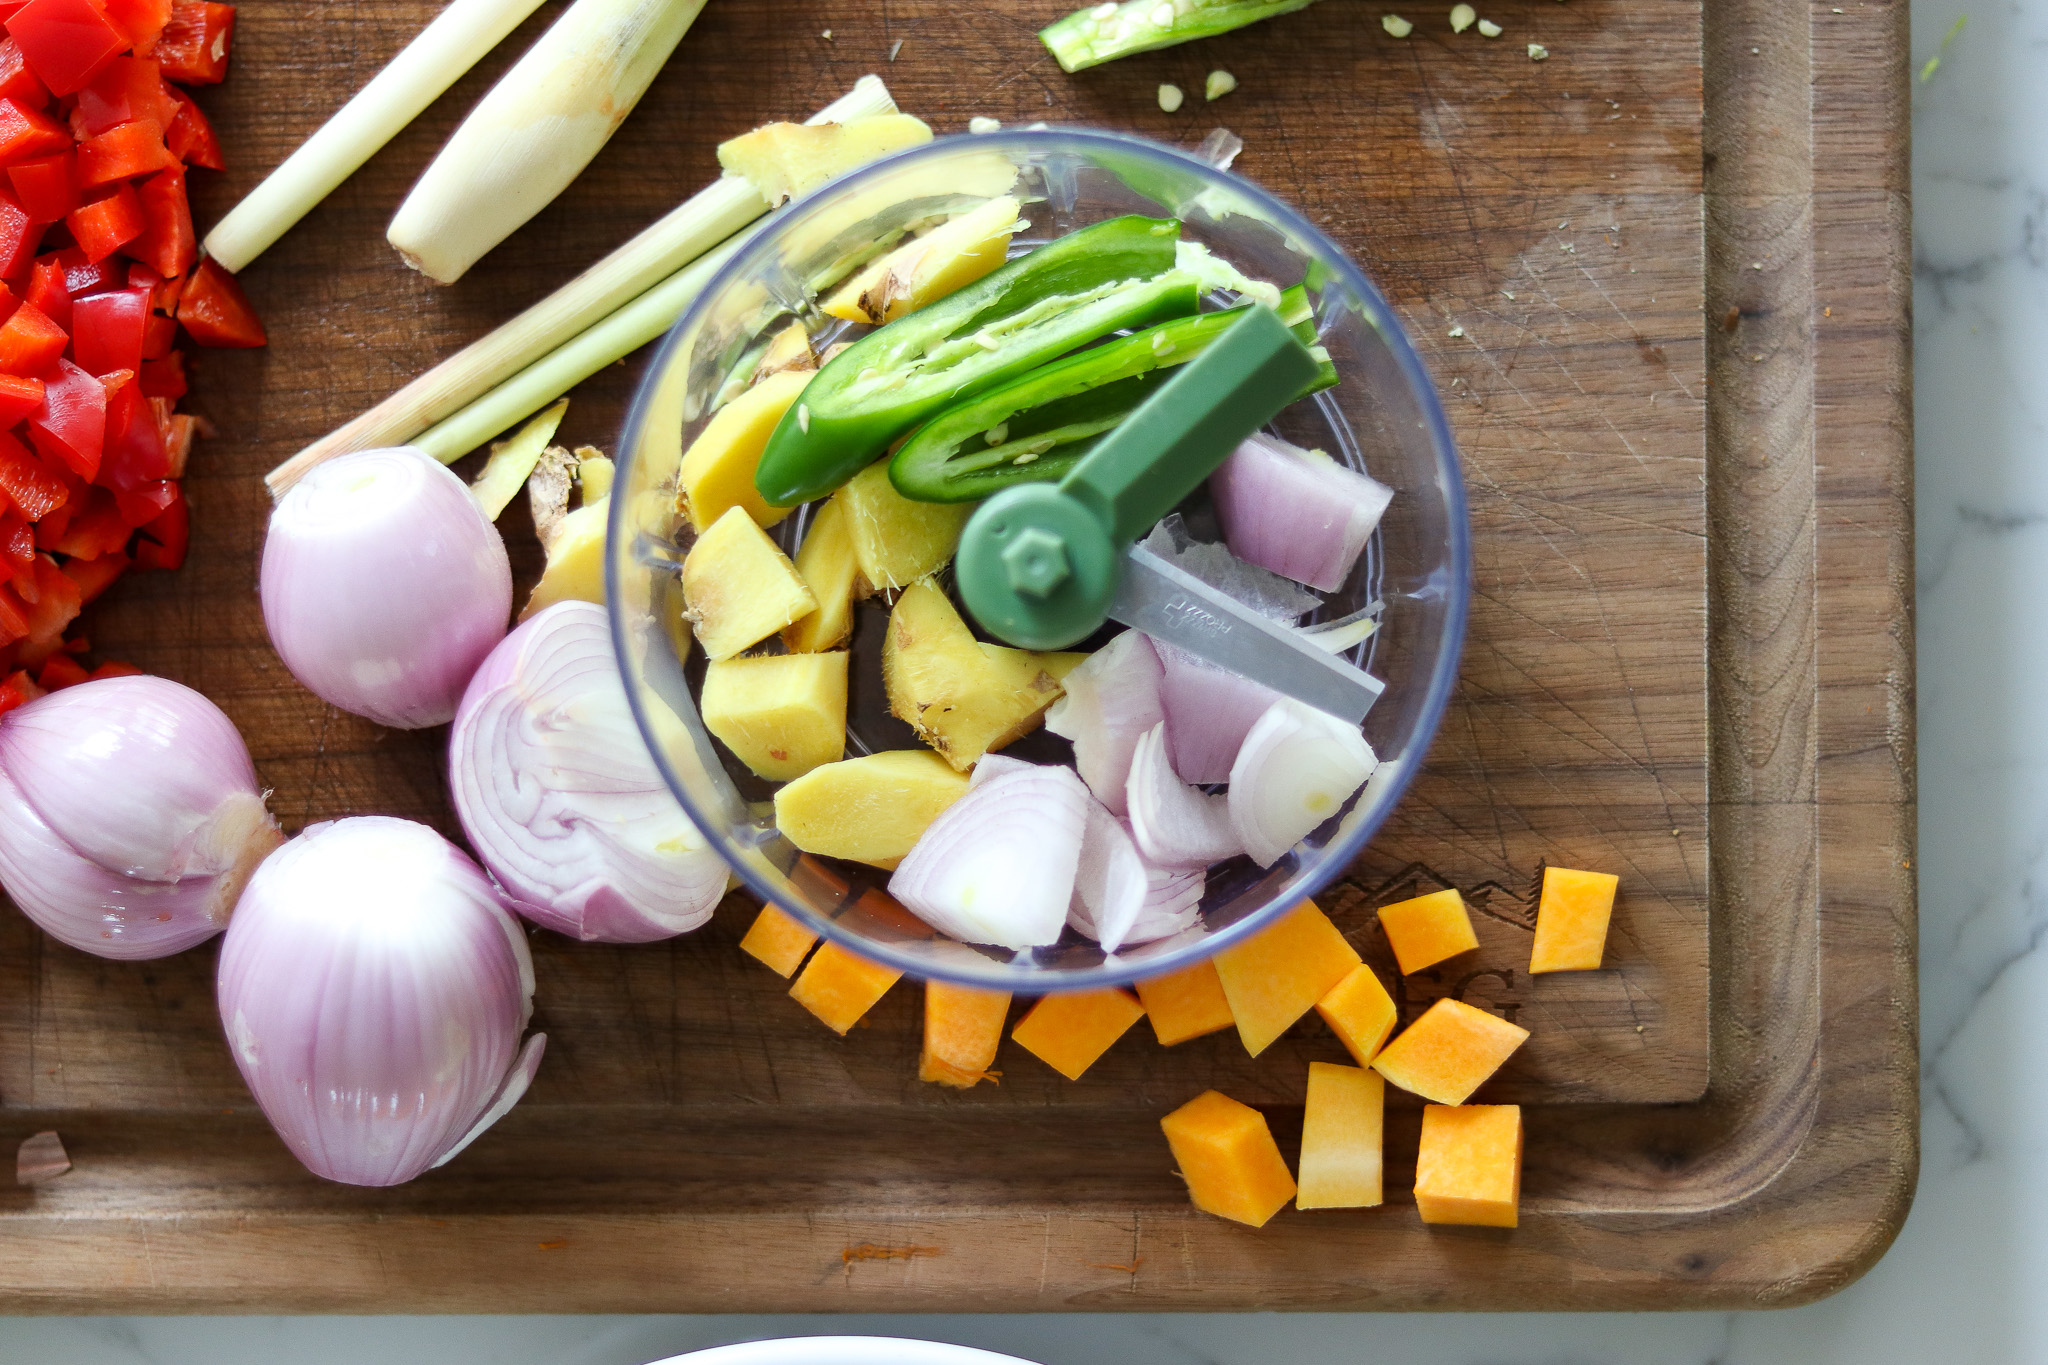
With all of the prep done, it is time to start heating things up, both the soup on the stove and the canner alongside it. This is where the hot pack really comes into play.
Simmer and Pack the Jars
This is a hot pack recipe, so the soup gets simmered before it goes into jars rather than packed in raw. It can feel counterintuitive, but partially pre-cooked squash actually holds together better than raw squash, because raw squash still has air trapped in its tissues that can make the pieces blow apart in the jar. Simmering first drives off that air so the cubes stay intact.
While the soup simmers, prepare your pressure canner for a hot pack according to the manufacturer’s instructions. For most canners that means adding a couple of inches of water, setting the trivet in the bottom, and bringing it up to a gentle simmer of around 180 degrees Fahrenheit so it is ready when the jars are.
To build the soup, bring the broth to a boil in a large stainless steel or enameled Dutch oven, then stir in the ground red pepper, garlic, Thai chiles, ginger, and the quartered lemongrass.
Simmer it for 20 minutes, stirring often, which flavors the broth and gives some of the aromatics a head start on cooking.
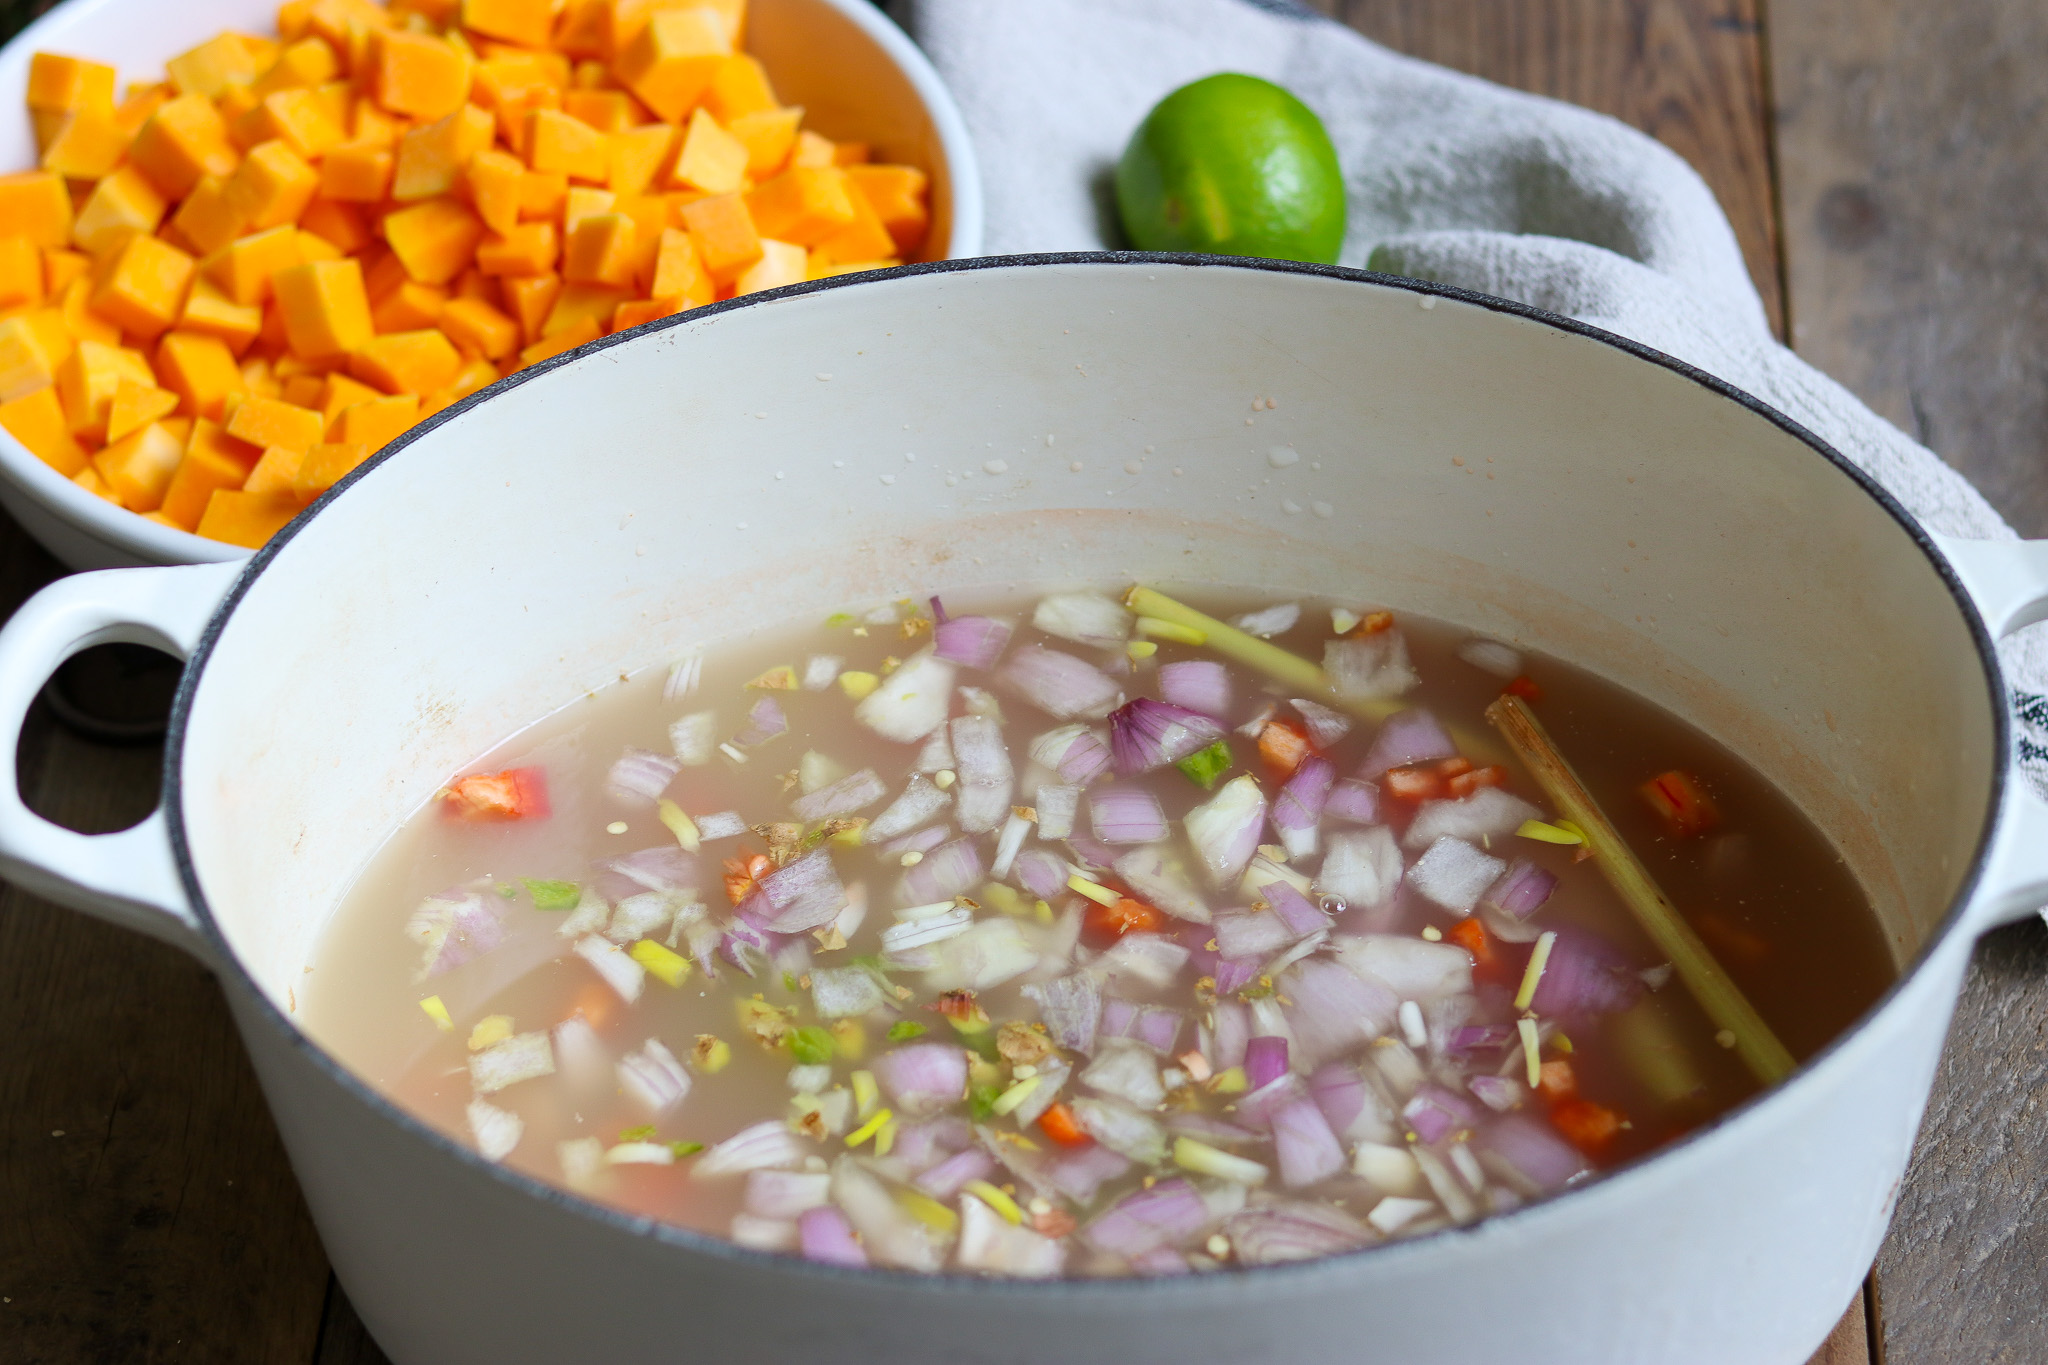
Now remove the lemongrass, since it is only there to flavor the broth and is too tough to want in the finished jar, then add the squash, sugar, salt, lime zest, lime juice, shallots, and bell pepper.
Return everything to a boil, reduce the heat, and simmer uncovered for five minutes, stirring occasionally.
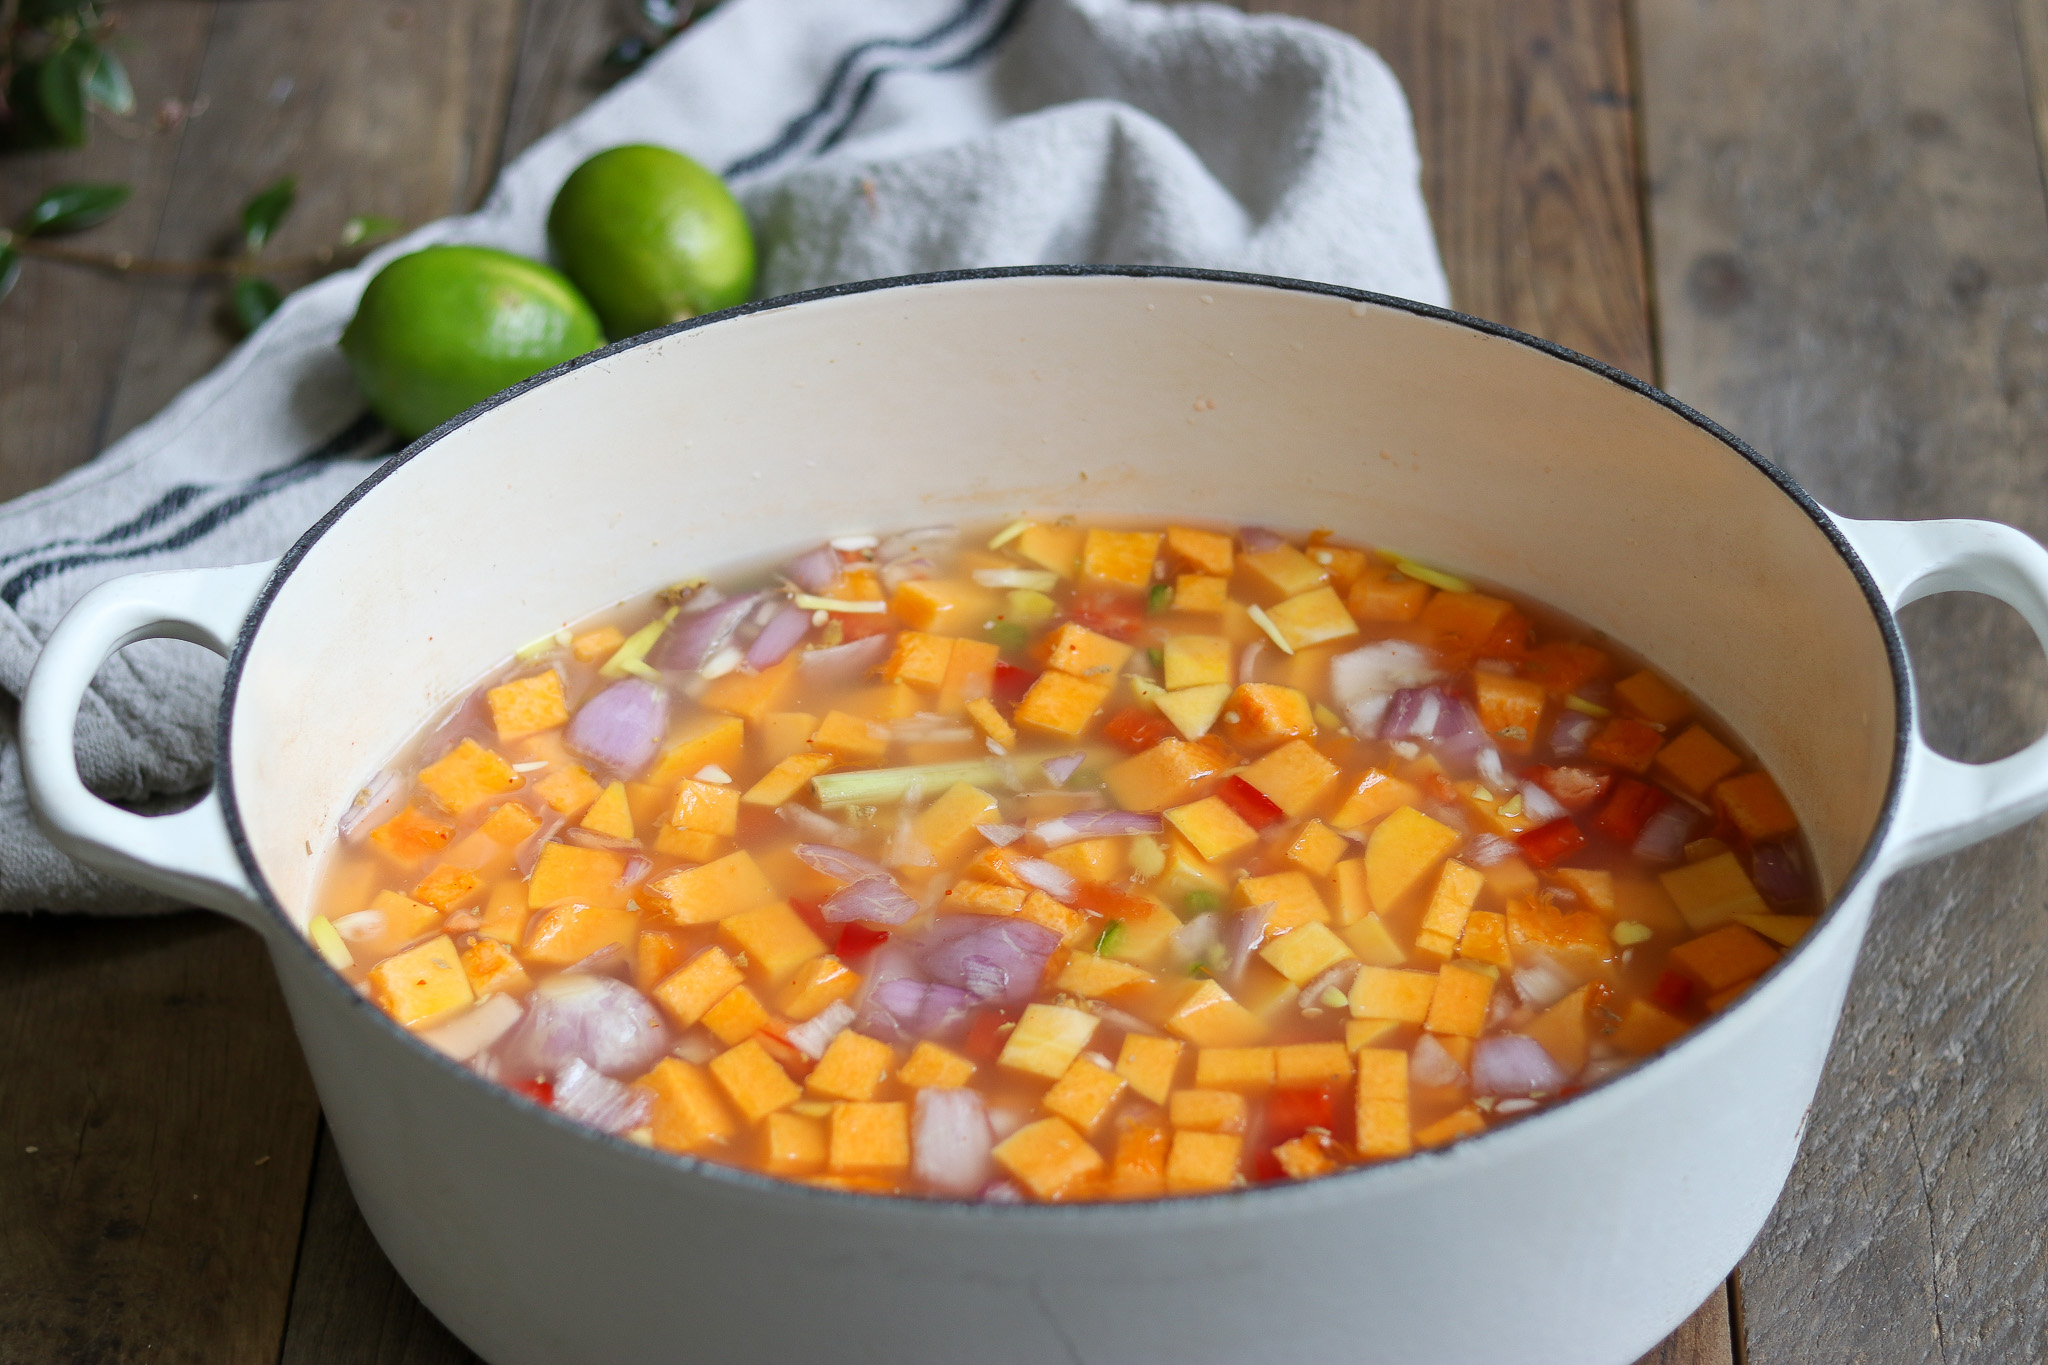
If you happen to forget and leave the lemongrass in, the soup is still safe to eat as long as it is processed correctly. It mostly affects flavor and gives you a woody stalk to fish out at the table, so pull it now if you can, but do not panic if a piece slips through.
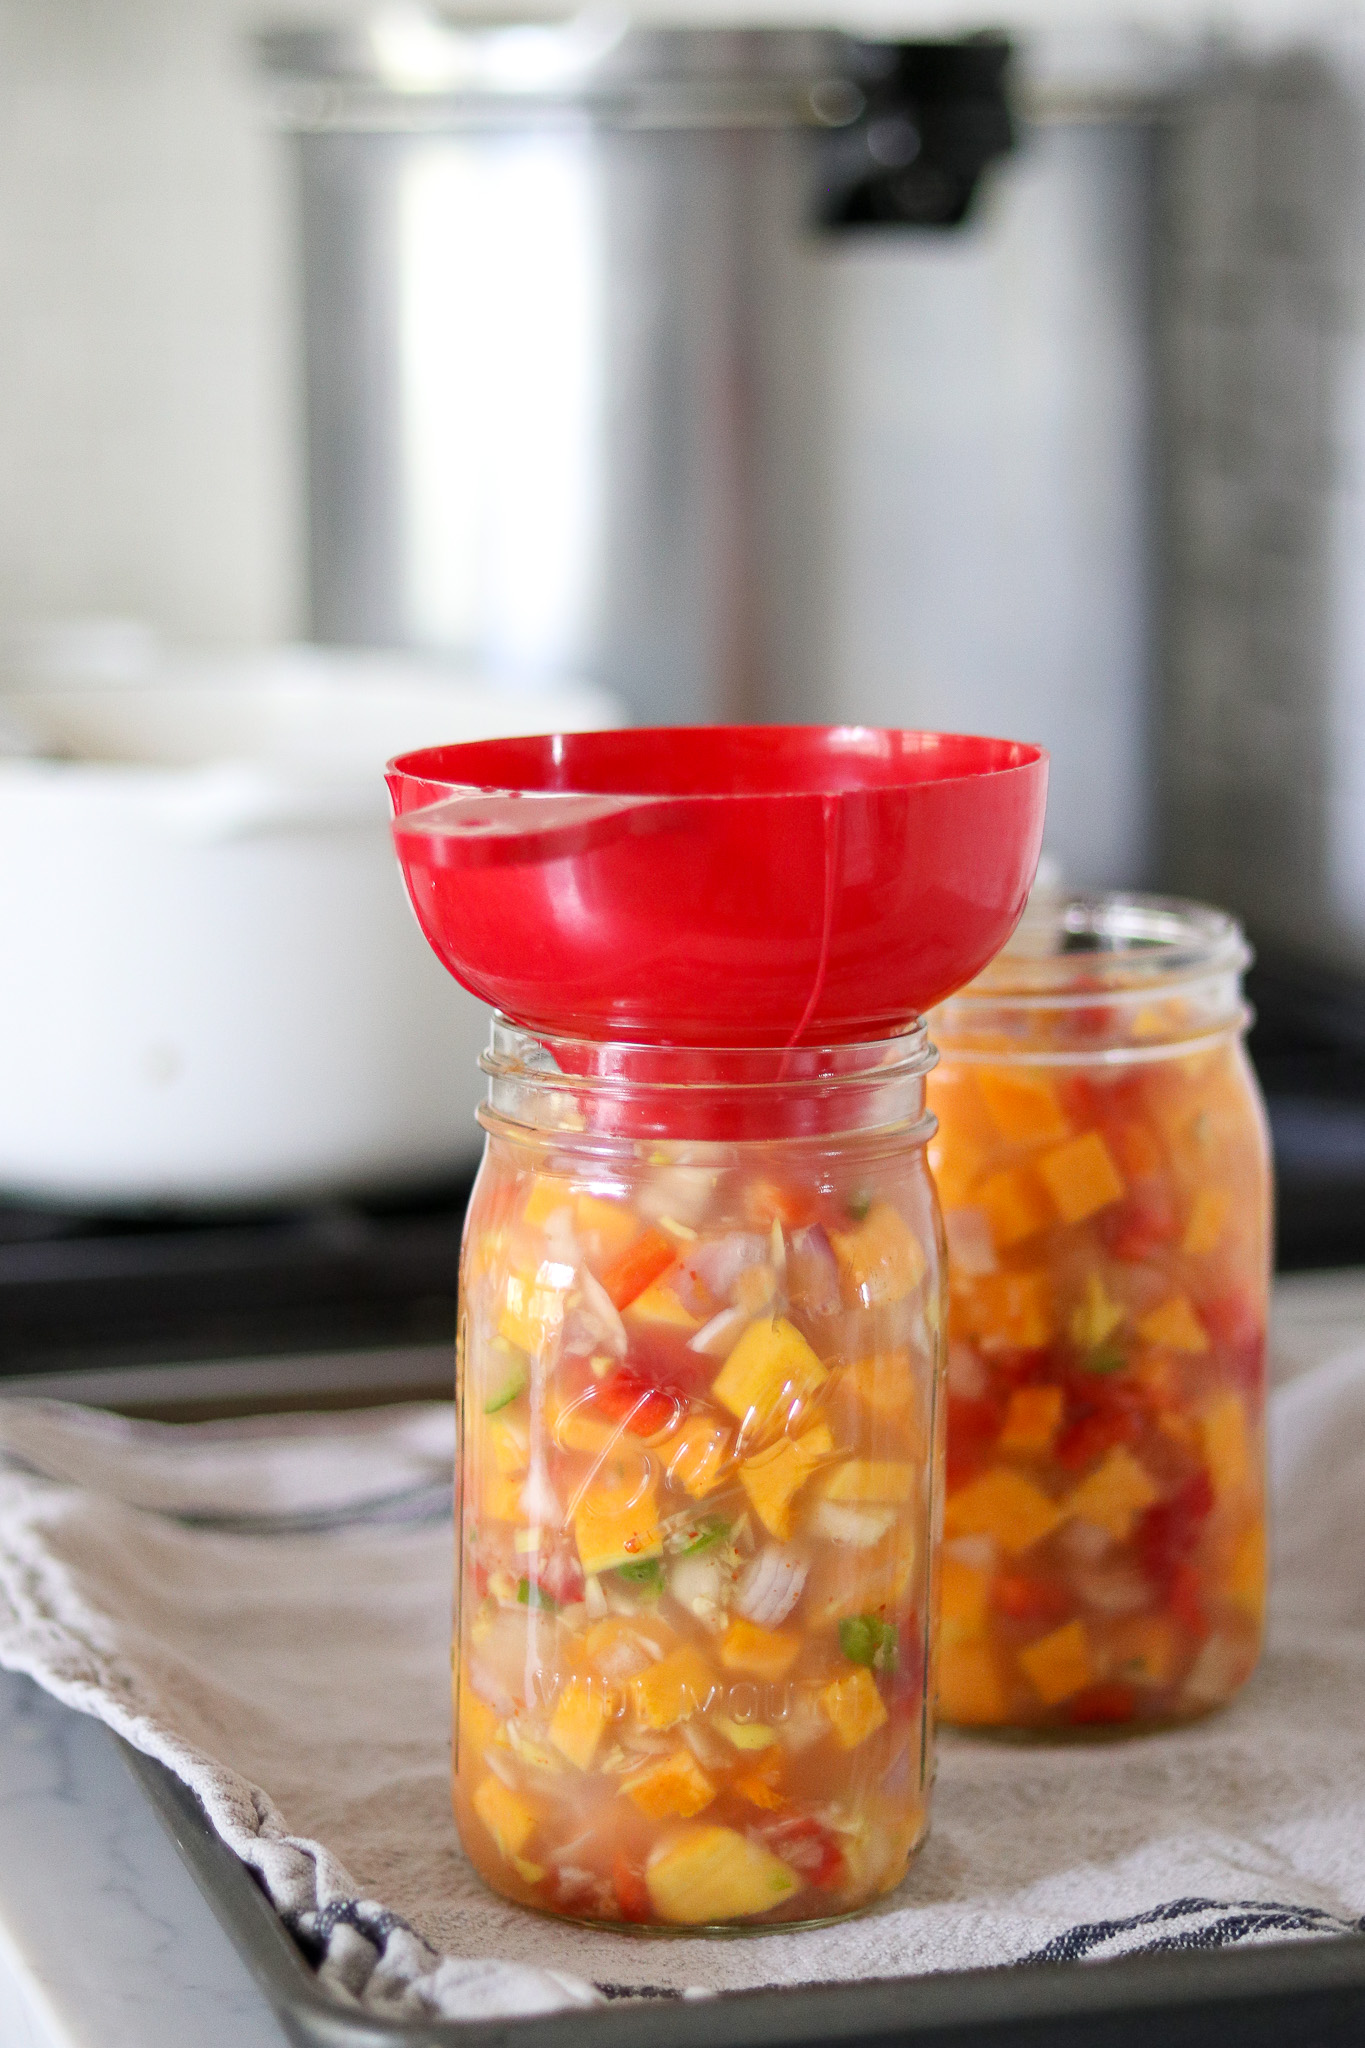
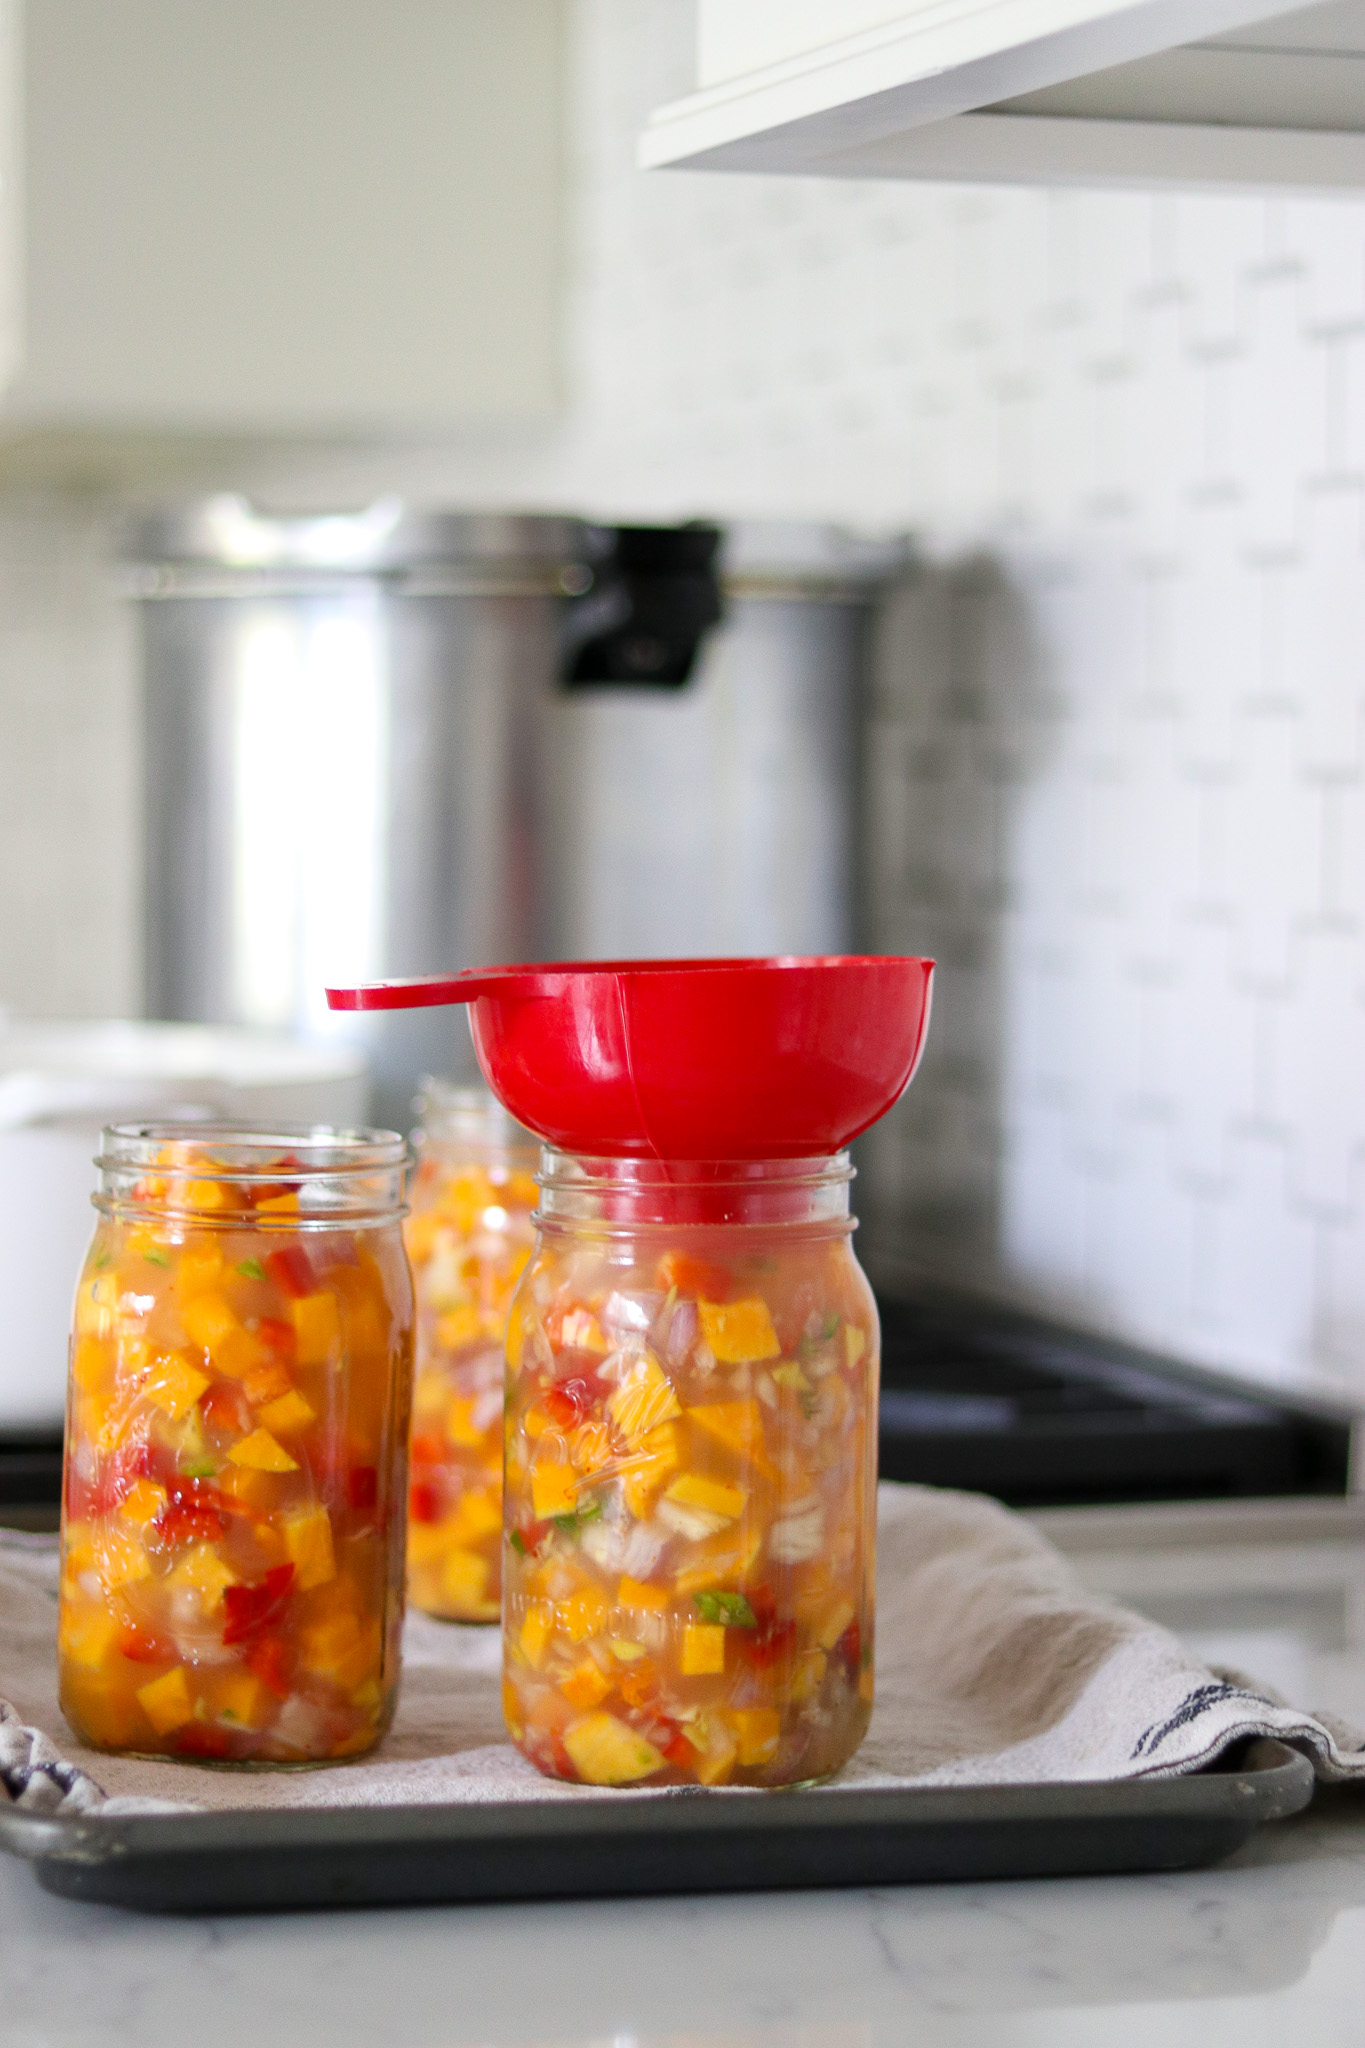
This is a hearty pack, so the jars fill up with plenty of solids and there is not a lot of empty space to top off with broth. Even so, ladle in enough broth to fill the gaps and bring each jar to a full 1 inch of headspace.
Ladle the hot soup into hot jars, leaving that 1 inch of headspace, then run a bubble remover around the inside to release any trapped air pockets. Wipe the rims clean with a damp cloth so nothing interferes with the seal.
Set the lids in place and screw the bands down to fingertip tight, which is snug but not cranked hard. Fingertip tight lets air escape during processing and still lets the jars form a strong vacuum seal as they cool.
Canning Thai Squash Soup
This is a hot pack, pressure canned soup, and the smallest batch you want to run is 2 quarts or 4 pints so the canner loads properly. The recipe yields about 6 pints or 3 quarts, which fits comfortably in a standard pressure canner load.
To can, prepare your pressure canner, jars, and lids. Pack the hot soup to a 1 inch headspace, remove the air bubbles, wipe the rims, and apply the lids and bands fingertip tight, then load the jars onto the rack in the simmering canner and lock the lid in place. Adjust the heat to medium-high and vent the steam for 10 minutes before you bring it up to pressure.
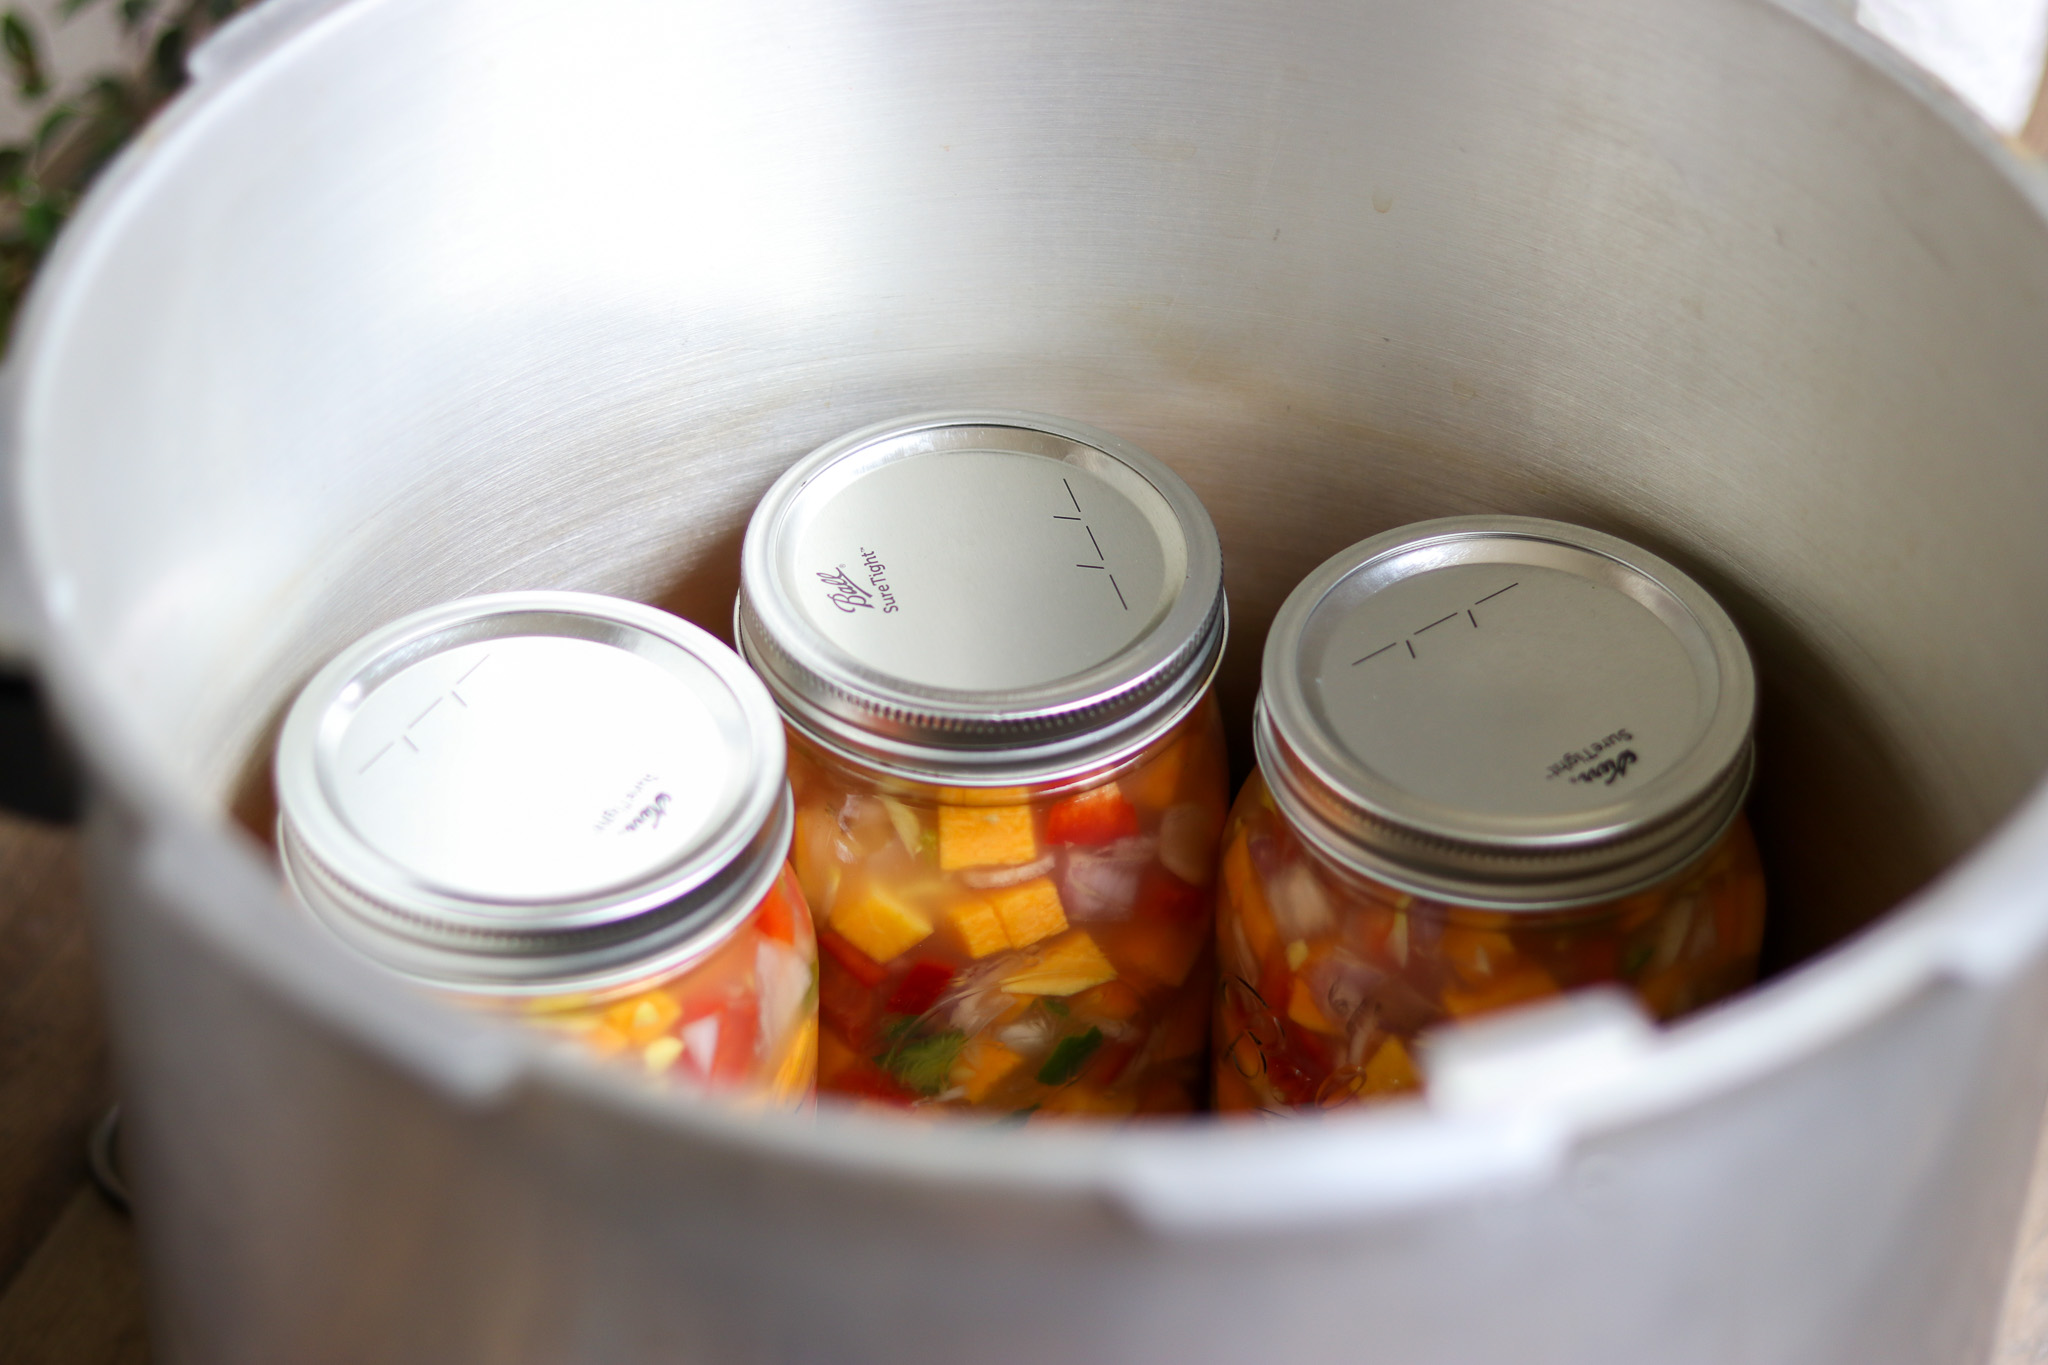
Process pints for 75 minutes or quarts for 90 minutes at 10 pounds pressure in a weighted gauge canner or 11 pounds in a dial gauge canner, adjusting for your altitude using the table below. Use a natural pressure release, and never force cool the canner.
Once the canner has returned to zero pressure on its own, let it sit for another five minutes before you open the lid. Then cool the jars in the canner for about 10 minutes before lifting them out.
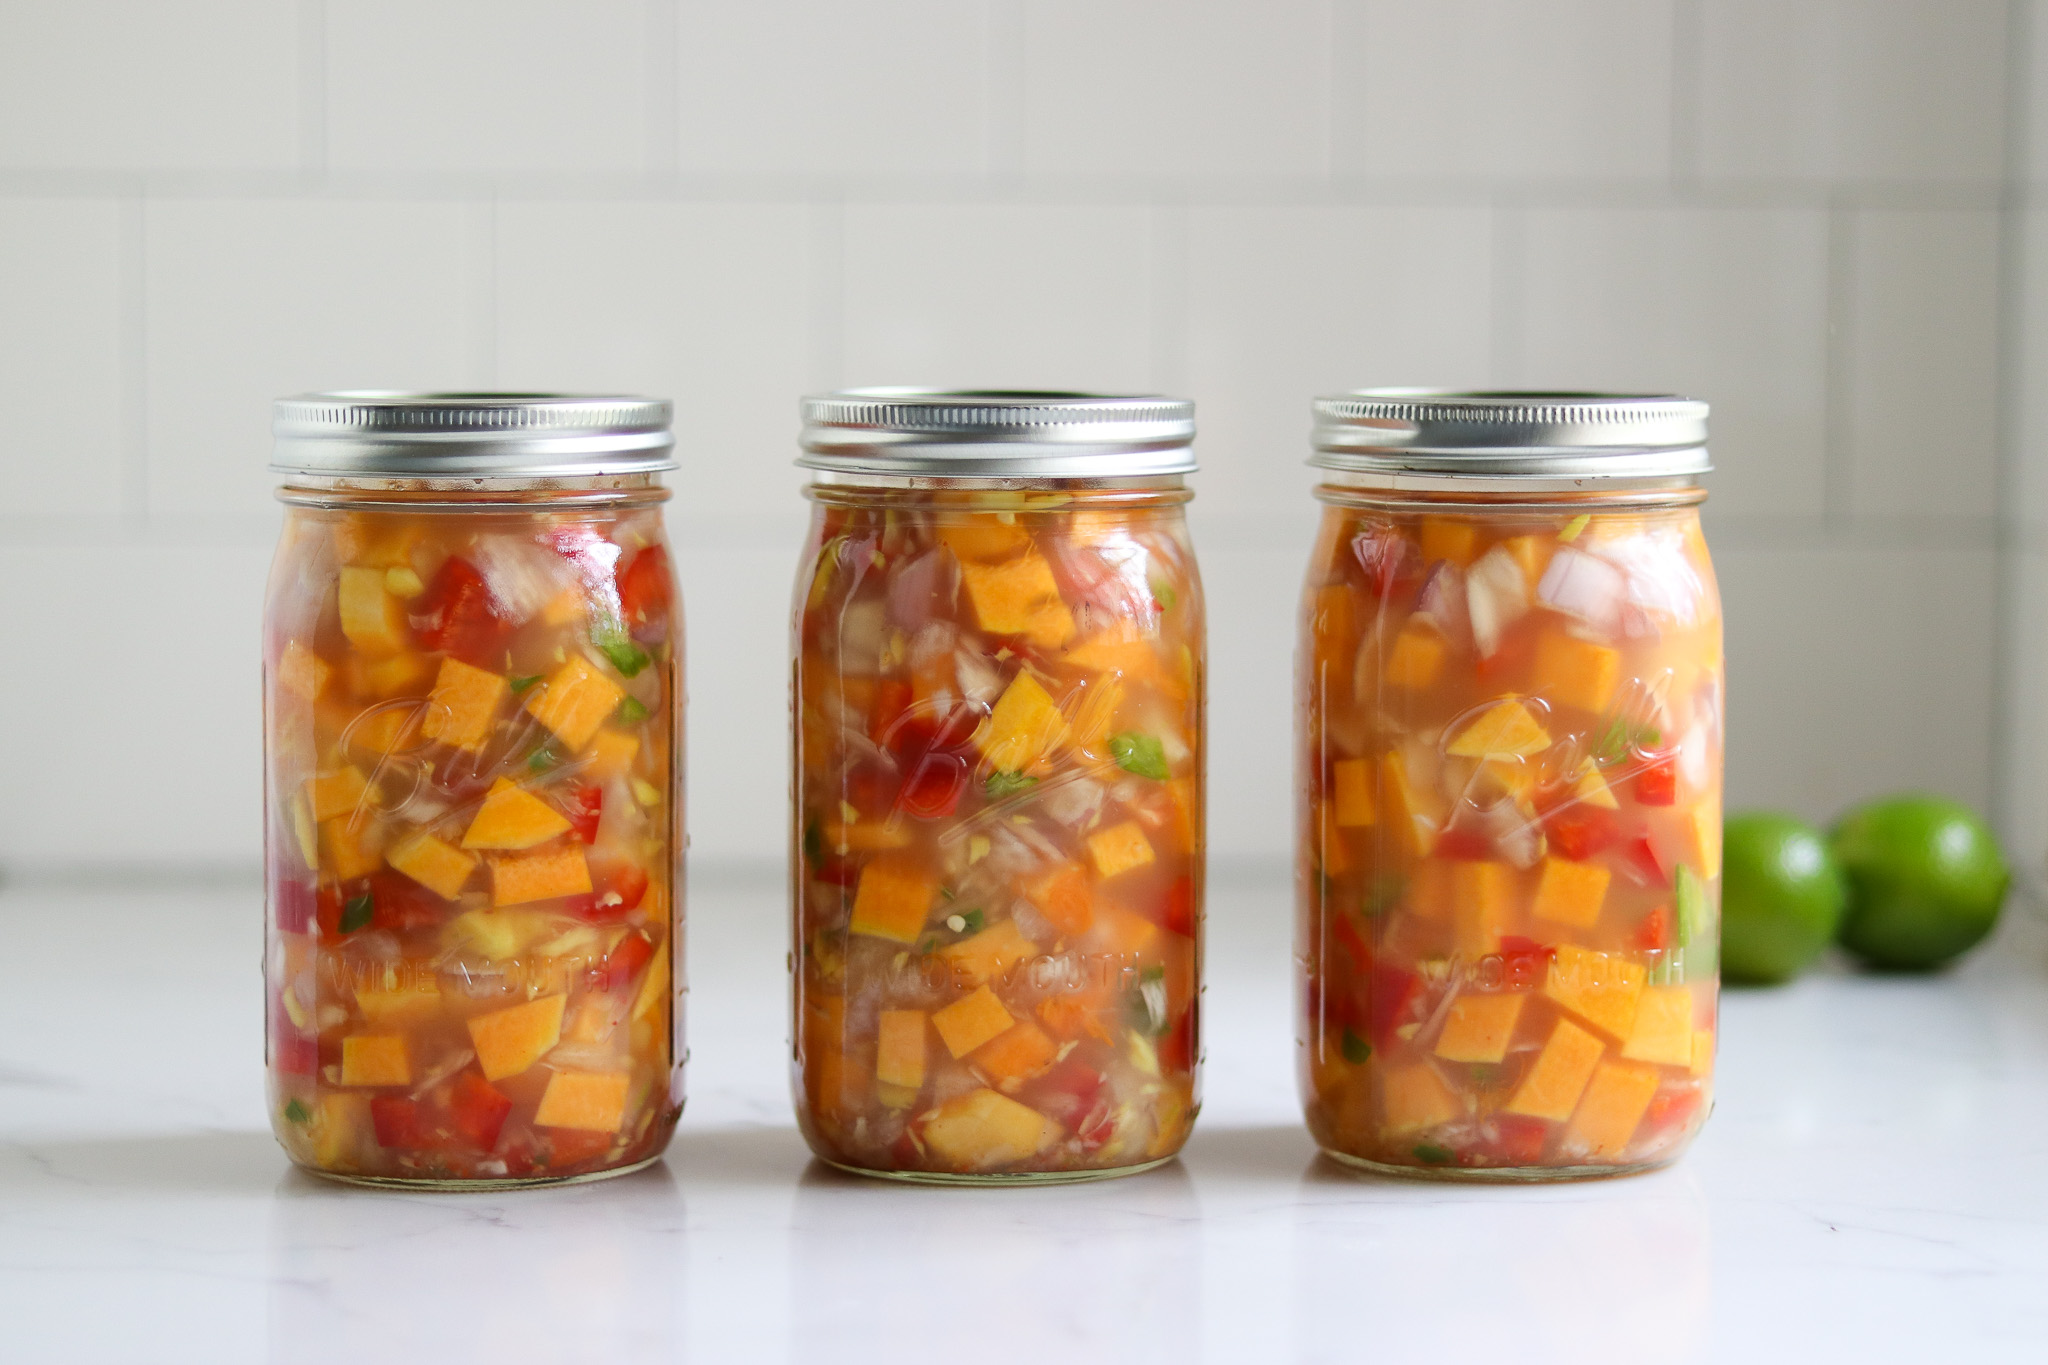
Set the hot jars on a towel and let them cool undisturbed for 12 hours. You may hear the satisfying ping of lids sealing as they cool, which is always a good sound in the kitchen.
After 12 hours, check that every lid has sealed by pressing the center, label your jars, and store them in a cool, dark place. Any jar that did not seal goes straight to the refrigerator to eat first.
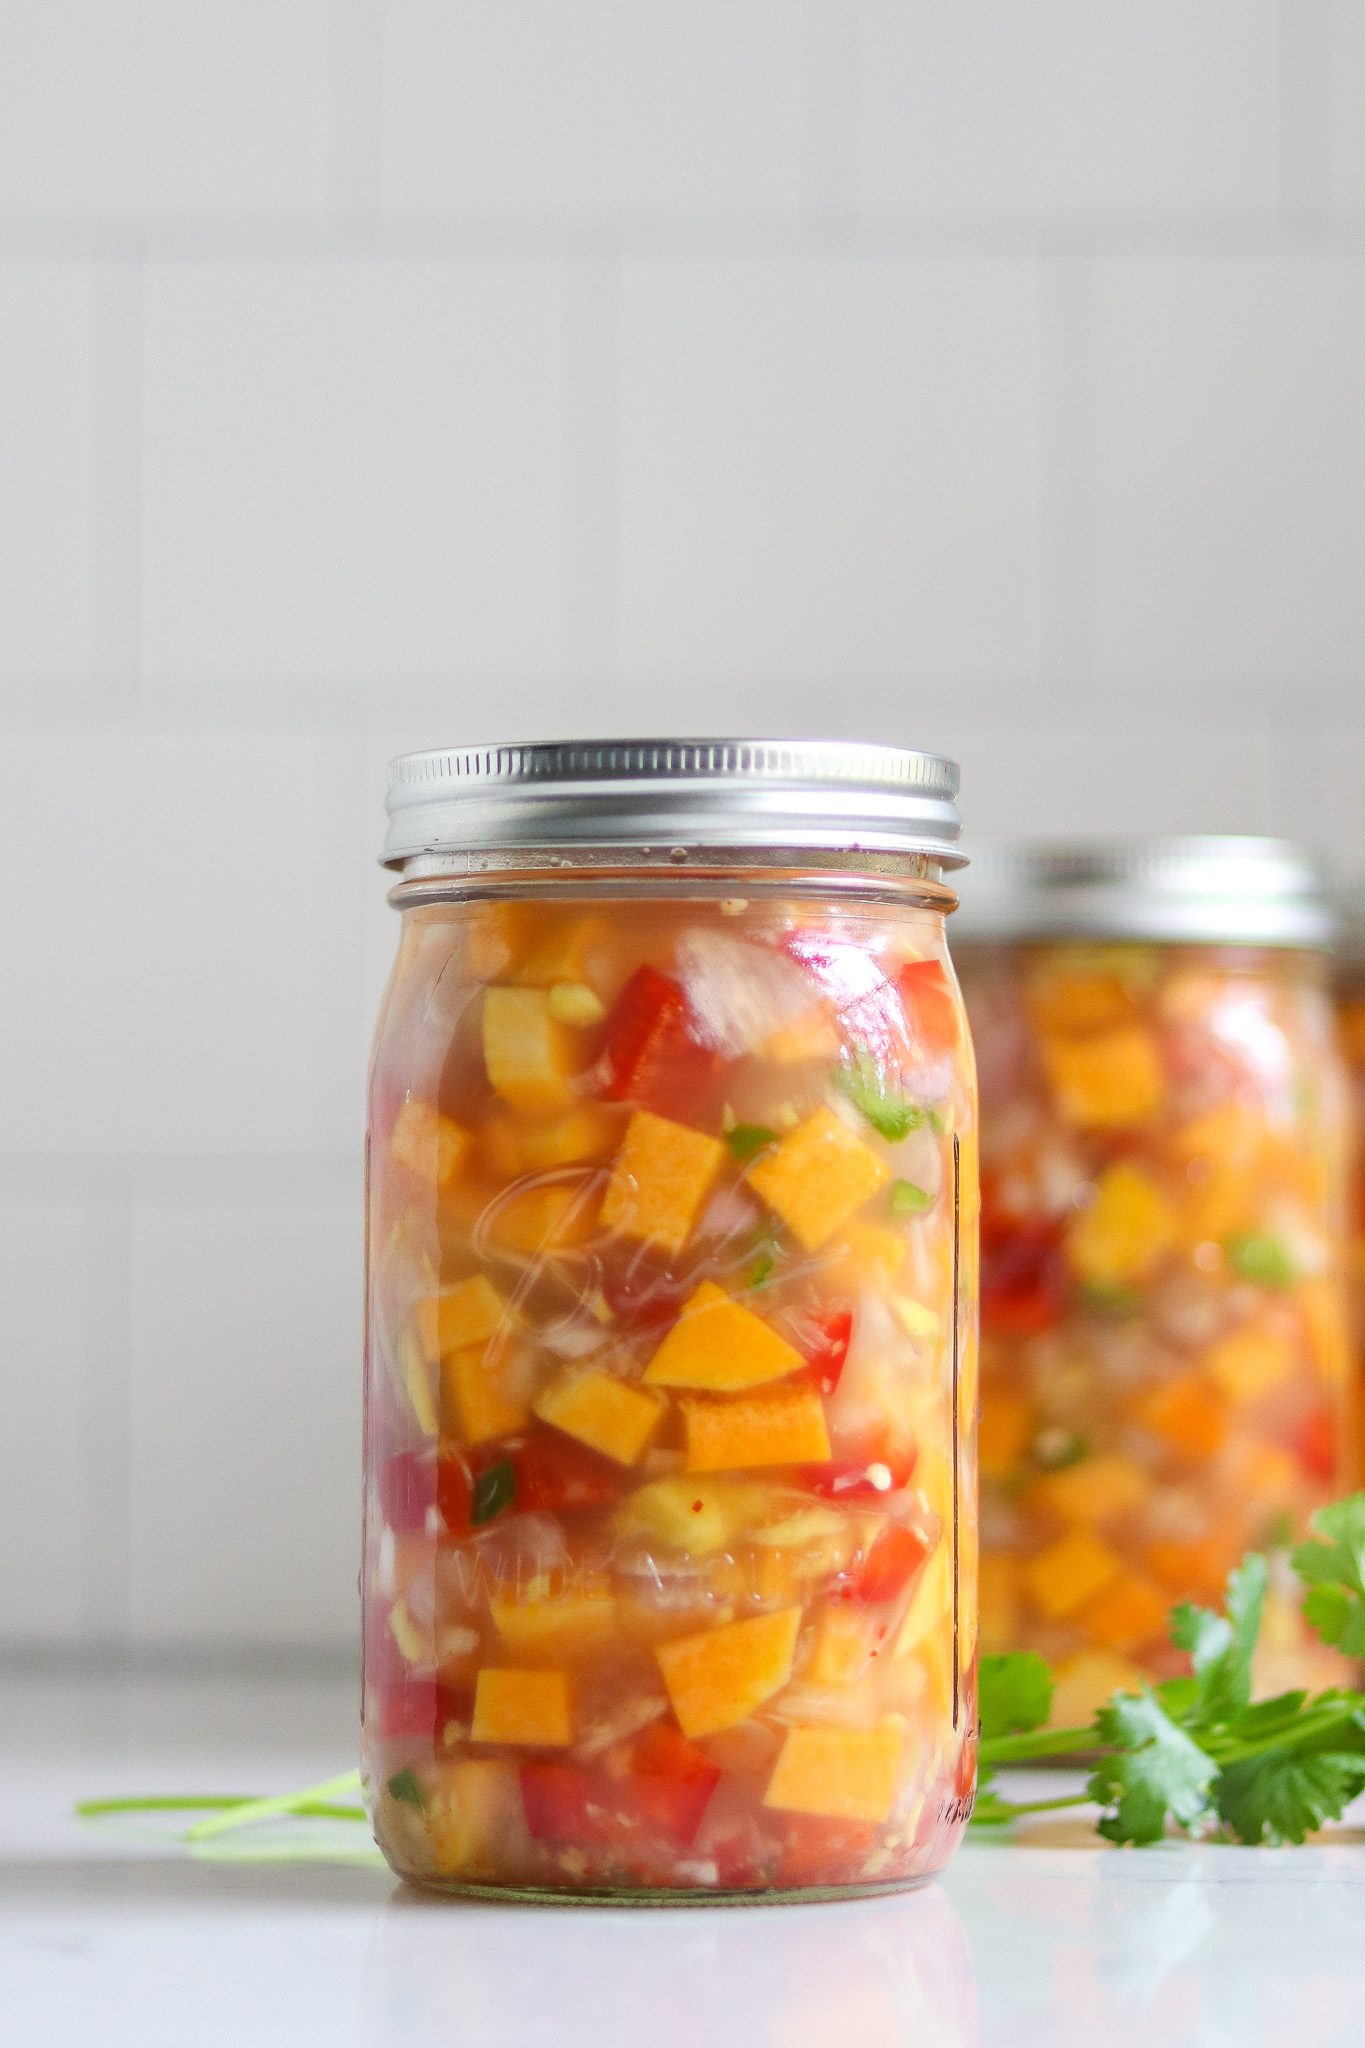
With sealed jars on the shelf, you have shelf-stable dinners waiting whenever you want them. The full altitude adjustments are just below, so set your pressure to match where you live.
Altitude Adjustments
With pressure canning, the processing times stay the same at higher altitudes, but the pressures change. Here are the altitude adjustments for pressure canning Thai squash soup:
For dial gauge pressure canners:
- 0 to 2,000 feet: 11 lbs pressure
- 2,001 to 4,000 feet: 12 lbs pressure
- 4,001 to 6,000 feet: 13 lbs pressure
- 6,001 to 8,000 feet: 14 lbs pressure
For weighted gauge pressure canners:
- 0 to 1,000 feet: 10 lbs pressure
- Above 1,000 feet: 15 lbs pressure
Tips for Success
The single biggest thing that smooths this recipe out is doing all of your chopping before you turn on a burner. Once the broth is simmering the cooking moves quickly, and having every bowl of vegetables ready means you can add things in order without scrambling.
Remember that the squash goes in diced and stays diced, and that the soup should pour rather than mound on a spoon. If you want a creamy, blended texture in the end, that happens after you open a jar, not before it goes into the canner, and the same goes for any thickening.
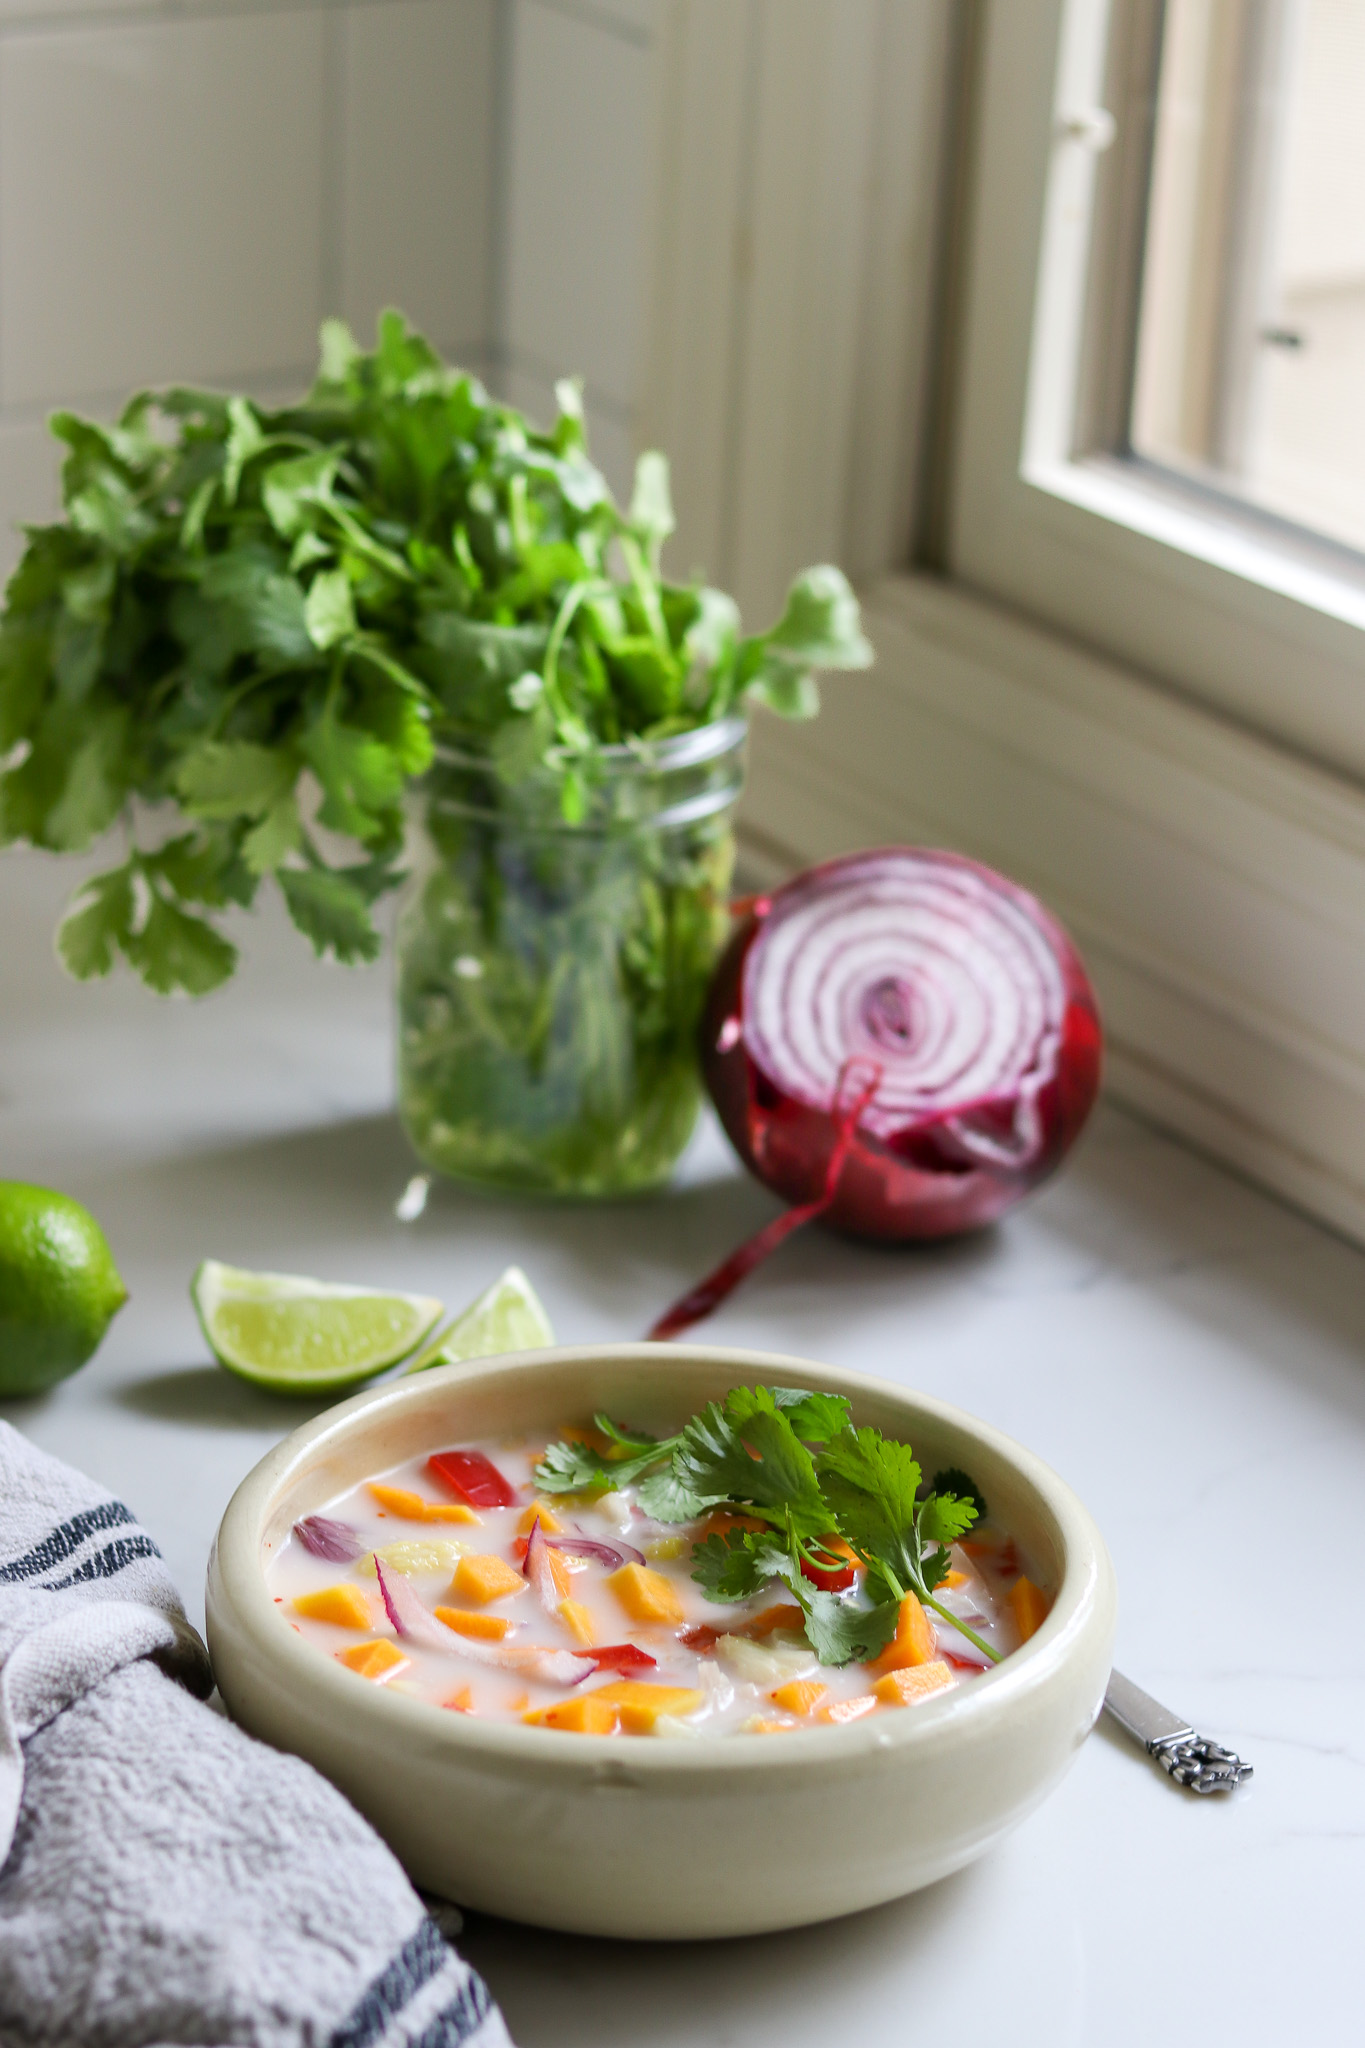
One more small thing: fish the lemongrass out before you pack the jars. It is easy to forget in the rush, and while it does not make the soup unsafe, nobody wants to bite into a woody stalk at dinner.
Serving Ideas for Thai Squash Soup
To serve, pour the contents of a jar into a saucepan and bring it to a boil. For each pint, stir in half a cup of coconut milk along with a couple of tablespoons of slivered red onion and a tablespoon of chopped fresh cilantro, then simmer for a minute or two until it is heated through. For a quart, simply double those serving additions.
The coconut milk is what turns this from a spiced squash soup into a proper Thai coconut squash soup, going in creamy and rich right at the end. A squeeze of fresh lime over the bowl brightens it up, and if you want a smoother, more bisque-like result this is the moment to blend it or whisk in a thickener on the stove.
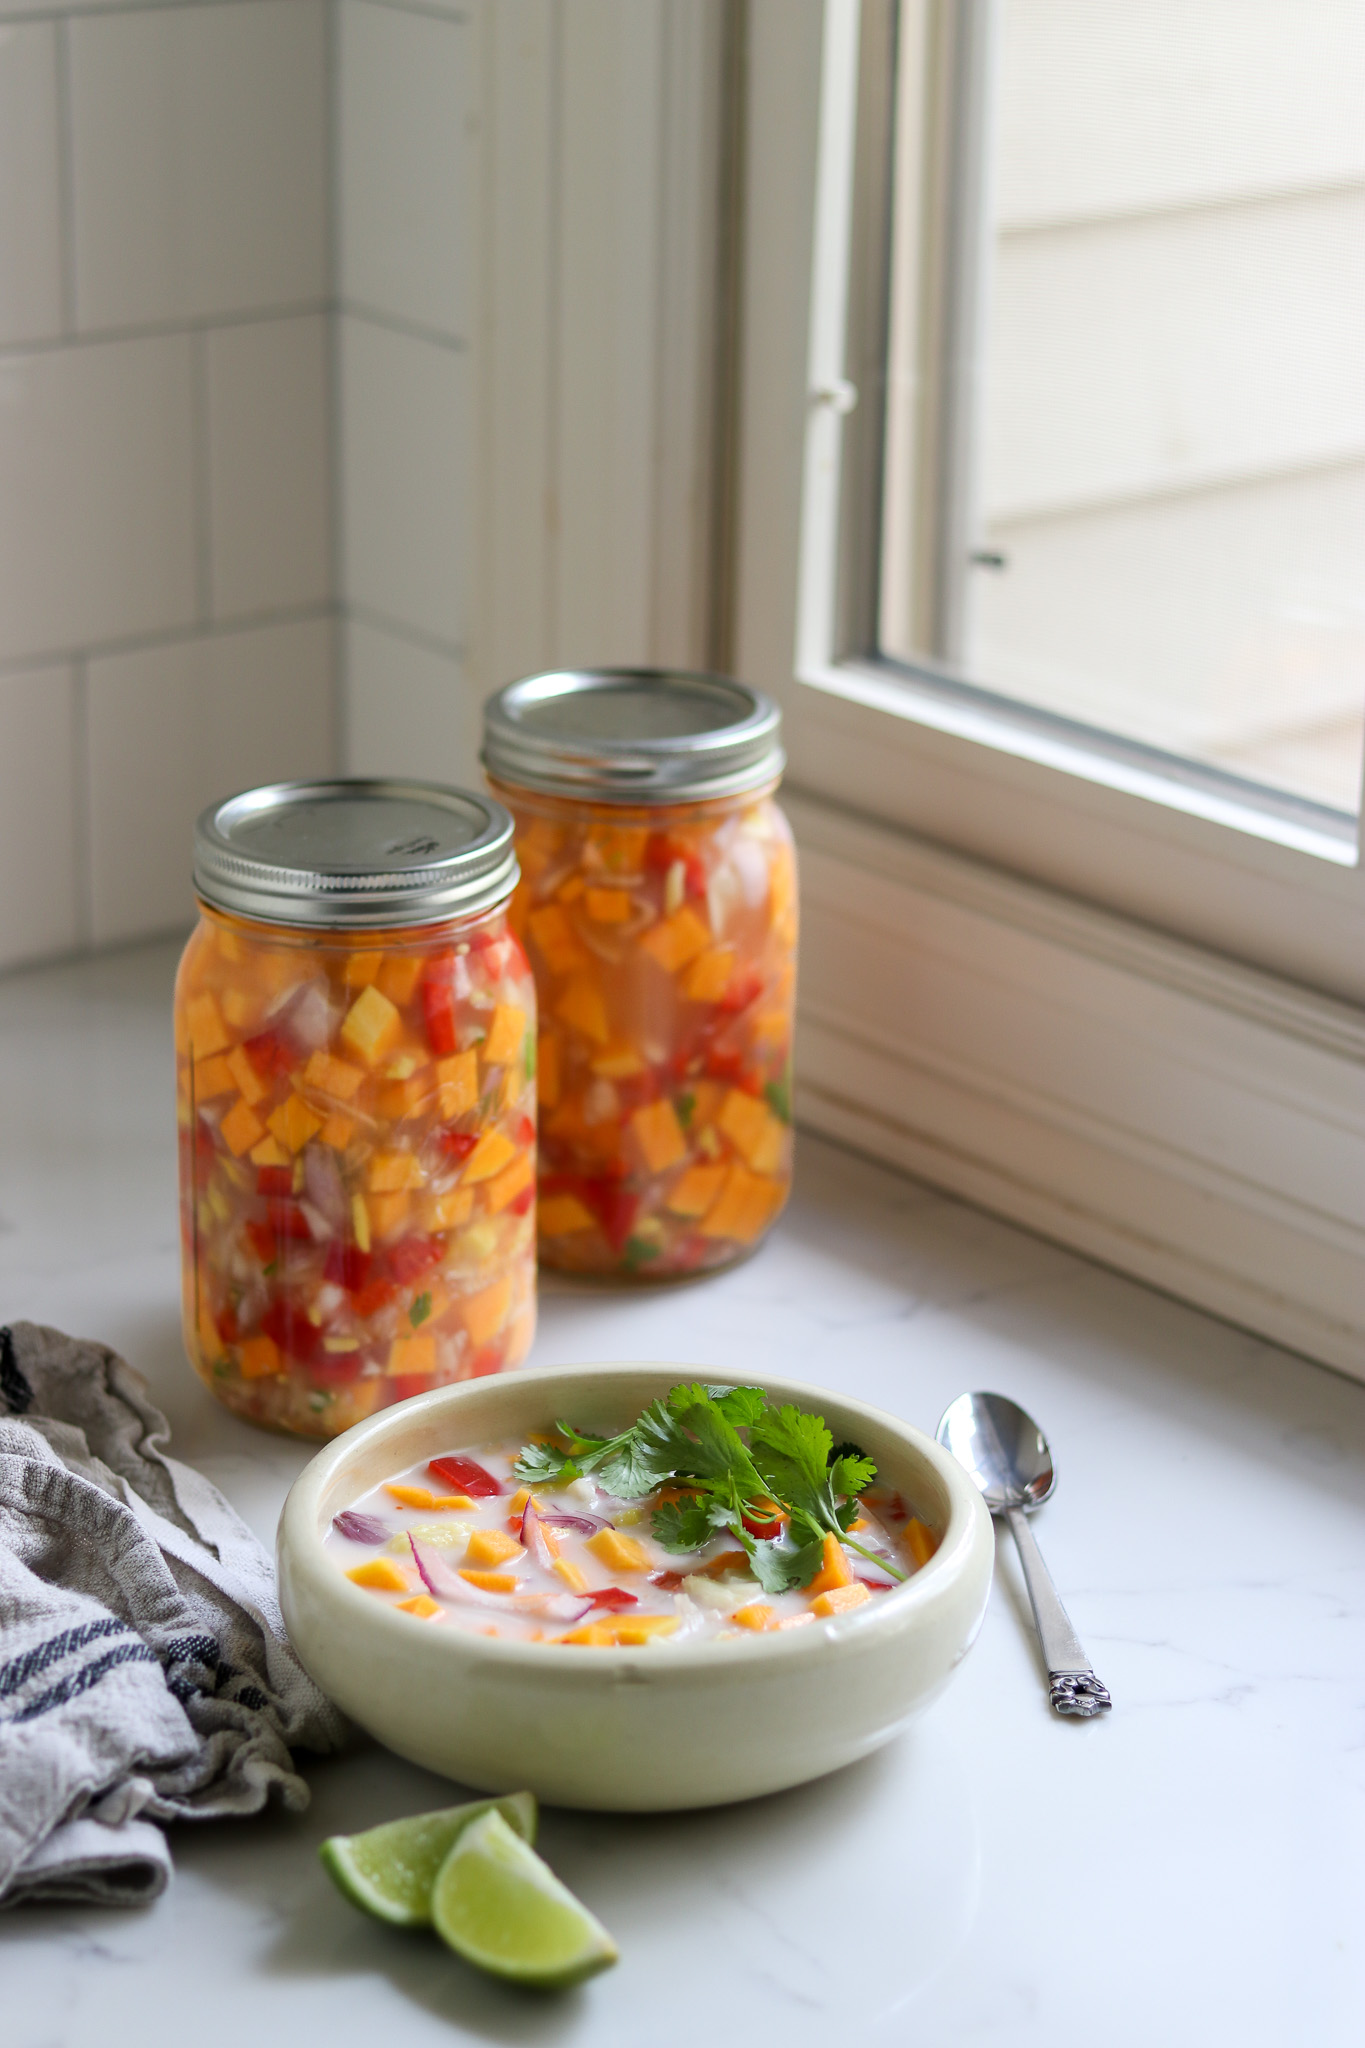
This soup is a meal on its own, but it rounds out nicely with a scoop of rice or rice noodles stirred in at the table, or a piece of crusty bread for dipping. Since rice and noodles cannot be canned in the jar, adding them fresh at serving is exactly how you want to handle them anyway.
If you are building a pantry full of heat-and-eat dinners, this fits right in alongside other meal in a jar canning recipes, from a brothy chicken soup to a hearty white bean and kale soup. Keeping a shelf of single-jar dinners ready makes the long prep days more than worth it.
Yield Notes
A full batch makes about 6 pints or 3 quarts, give or take a little depending on how generously the jars pack and how much broth fills the gaps. Since this is a hearty pack, the jars come out full of solids rather than mostly broth, so you get a substantial soup in every jar.
You can scale the recipe up or down, but keep the minimum batch at 2 quarts or 4 pints so a pressure canner load makes sense. If you double it, the only thing that changes is the chopping time and the number of canner loads, since the processing time and pressure stay exactly the same.
A few common questions come up about canning this soup, so here are the answers worth having before you start.
Thai Squash Soup FAQs
No. Thai squash soup is a low-acid soup, so it is not safe for water bath canning. You need to use a pressure canner to reach a temperature that makes the jars safe and shelf stable.
No. There is no tested home canning process for coconut or coconut milk, so it is never added before canning. Stir it in when you reheat a jar to serve, using about half a cup of coconut milk per pint.
No. The processing time and pressure are the safety control for a low-acid soup, so they are never shortened or lowered. Process pints for 75 minutes and quarts for 90 minutes, adjusting the pressure for your altitude.
Properly processed and sealed jars keep for about 12 to 18 months in a cool, dark place, though they stay safe longer. Refrigerate after opening and use within 3 to 4 days.
There are so many soups worth putting up for the pantry. Try a few more of these tested soup canning recipes next:
Soup Canning Recipes
If you tried this Thai Squash Soup recipe, or any other recipe on Creative Canning, leave a ⭐ star rating and let me know what you think in the 📝 comments below!
And make sure you stay in touch with me by following on social media!
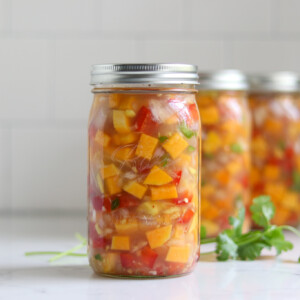
Canning Thai Coconut Squash Soup
Equipment
- Canning Jars, Lids and Bands
Ingredients
- 2 Quart vegetable broth, or chicken broth
- 1 ½ lb butternut squash, or kabocha, acorn, or some other orange-fleshed winter squash, peeled and cut into ½" (1cm) cubes
- ½ tsp red pepper, flakes
- 2 small Thai chile peppers, seeded and minced, fresh or dried
- 3 cloves garlic, minced
- 1 stalk lemongrass, quartered
- 2 inches fresh ginger, peeled, grated
- 2 tbsp sugar
- 1 tsp lime zest
- 1 medium red bell pepper, chopped
- 4 medium shallots, chopped
- 2 tsp salt
- 2 tbsp lime juice, ideally fresh, but bottled works too
Serving Add Ins Per Pint
- 2 tbsp red onion slivers, for serving
- 1 tbsp cilantro, for serving
- ½ cup coconut milk, for serving
- Lime wedges, for serving
Instructions
- Prepare a pressure canner for a hot pack according to the manufacturer's instructions, and have hot jars and lids ready.
- Wash, peel, seed, and dice the squash into even cubes. Seed and mince the chiles, mince the garlic, grate the ginger, quarter the lemongrass, chop the bell pepper and shallots, and zest and juice the lime.
- Bring the broth to a boil in a large stainless steel or enameled Dutch oven. Stir in the ground red pepper, garlic, Thai chiles, ginger, and lemongrass. Simmer 20 minutes, stirring often.
- Remove the lemongrass, then add the squash, sugar, salt, lime zest, lime juice, shallots, and bell pepper. Return to a boil, reduce the heat, and simmer uncovered for 5 minutes, stirring occasionally.
- Ladle the hot soup into hot jars, leaving 1 inch of headspace. Remove air bubbles, wipe the rims, and apply lids and bands fingertip tight.
- Process in a pressure canner: pints for 75 minutes or quarts for 90 minutes, at 10 lbs pressure in a weighted gauge canner or 11 lbs in a dial gauge canner, adjusting for altitude.
- Let the canner return to zero pressure naturally, wait 5 minutes, then open the lid. Cool the jars in the canner for 10 minutes, then remove and cool for 12 hours. Check seals, label, and store.
Notes
1 tbsp chopped cilantro (for serving)
½ cup coconut milk (for serving)
Lime wedges (for serving) Altitude Adjustments for Canning Soup With pressure canning, the processing times stay the same at higher altitudes, but the pressures change. Here are the altitude adjustments for pressure canning soup: For dial gauge pressure canners:
- 0 to 2,000 feet in elevation – 11 lbs pressure
- 2,001 to 4,000 feet in elevation – 12 lbs pressure
- 4,001 to 6,000 feet in elevation – 13 lbs pressure
- 6,001 to 8,000 feet in elevation – 14 lbs pressure
- 0 to 1,000 feet in elevation – 10 lbs pressure
- Above 1,000 feet – 15 lbs pressure
Nutrition
Nutrition information is automatically calculated, so should only be used as an approximation.
Want a few more heat-and-eat dinners on the shelf? Keep your canner busy with these meal in a jar canning recipes:
Meal in a Jar Canning Recipes
Find the perfect recipe
Searching for something else? Enter keywords to find the perfect recipe!

Can I add lightly poached chunks of chicken to this recipe? If so, how much? I assume the addition of chicken would throw the proportions off. How would I compensate for that?
Adding chicken to this recipe wouldn’t change the canning times or instructions, you’d just need to add a bit more broth to ensure that it stays a soup and packs loosely into the jars.
Thank you! I appreciate the advice.
OK..here is where it gets confusing…I noticed that you mentioned you cannot can with coconut milk…SO…why is it when it’s purchased …IT COMES IN A CAN??????….if you cannot can with it how do they do it…I see people called Rebel Canners and most of the time I do not agree with them…BUT…I get it when they question some of the regulations especially in this case…another one would be not to can with PASTA OR RICE…YET…I can buy canned soup every day…Chicken and Rice…Chicken and Noodles…what can the commercial processors possibly do different once you get past 212 degrees…
Hi Tom,
That is a darn good question, and I get it, I do. It’s not that they’re “not safe” or “cant be canned safely,” it’s that they’re not tested for home scale use, in most cases because it’s hard to standardize across every rice/pasta or coconut milk that a person could choose to use in their home.
The same is true for bacon, incidentally. It’s not that it’s “unsafe” to put in a jar, it’s that it’s not a standard enough product to give one consistent instruction. Even if grocery store bacon is pretty similar across brands, bacon, historically, used to be a lot dryer and some people still make it that way.
There’s a lot of variation in those ingredients, and basmati rice cooks a lot differently than jasmine. It’s not that there’s anything magical about the processes in a factory, they’re using similar technology as home canners, the main difference is they’re using very standardized ingredients and their recipes are tested to the exact starch content of the rice/pasta, or the exact fat content of their coconut milk.
When Campbells makes a chicken and rice soup recipe, they use the same type of rice, with a laboratory tested starch content, every time. It thickens the same amount, every time. They can test the exact amount of broth needed to get the right texture for processing.
At home, ingredients just aren’t like that, and giving a generic recommendation is difficult. Not undoable, of course. Given enough money and laboratory time, they probably could come up with safe guidelines.
In this particular case, the rebel canners aren’t wrong, and there definitely are safe ways to can with rice, pasta, coconut milk and bacon. But, there’s not a specific tested method that’s consistent across every variety of those things, so there are no generic recommendations.
In the case of coconut milk, the quality of the finished product degrades when you can it over and over again (it curdles). Since very few people have access to the raw ingredients to make fresh coconut milk, you’re opening a can of store bought coconut milk either way. It’s just as easy to open up the jar and combine them at serving as it is to put it in the soup, and the quality is much better that way.
Given that, specific times for canning with coconut milk have never been tested or developed for the home scale. It’s not that it’s necessarily not safe, it’s honestly, likely perfectly fine. It’s just that it’s not tested.
Does that make sense?
I made the squash Thai recipe yesterday here in England using a big home grown crown prince squash. I found that the result only filled 4 500gm jars a bit scantily, though there was plenty of broth. I added another 450 of squash and more lime juice, repeating the heating and simmering of the extras and added everything together. This filled 6 jars well and there was just enough left over for a couple of bowls for lunch. It is absolutely delicious but definitely needs the extra ingredients. I will make it again as I have several more huge crown princes and there aren’t many squash canning recipes around.
I want to make this, I’m just wondering can I puree it after I take it out of the can to eat it? Or is it meant to be eaten in chunks? Also I just canned one of your tomato soup recipes and it turned out great! It was my first time pressure canning 🙂
So this recipe can be either pureed or eaten as chunks, it’s delicious either way, and I’ve had it both ways. Totally personal preference there. I have another recipe that’s a butternut and white bean soup recipe that I like chunky, but my readers tell me they like it pureed too. It’s totally up to you! Either way, it just has to be chunky going into the jars, but it can be served either way.
At what point do you add the ginger? It’s not mentioned in the instructions
You add it with the garlic and lemongrass at the beginning. Thanks for catching that omission, I’ve corrected the recipe.