
This post may contain affiliate links. Please see our disclosure policy.
Canning butternut squash soup base puts fall dinner on the pantry shelf in jars you can open in January. The squash goes in as cubes, and you blend it smooth the day you eat it.
Open a jar, blend it, stir in a little cream, and supper’s ready before the bread finishes warming.
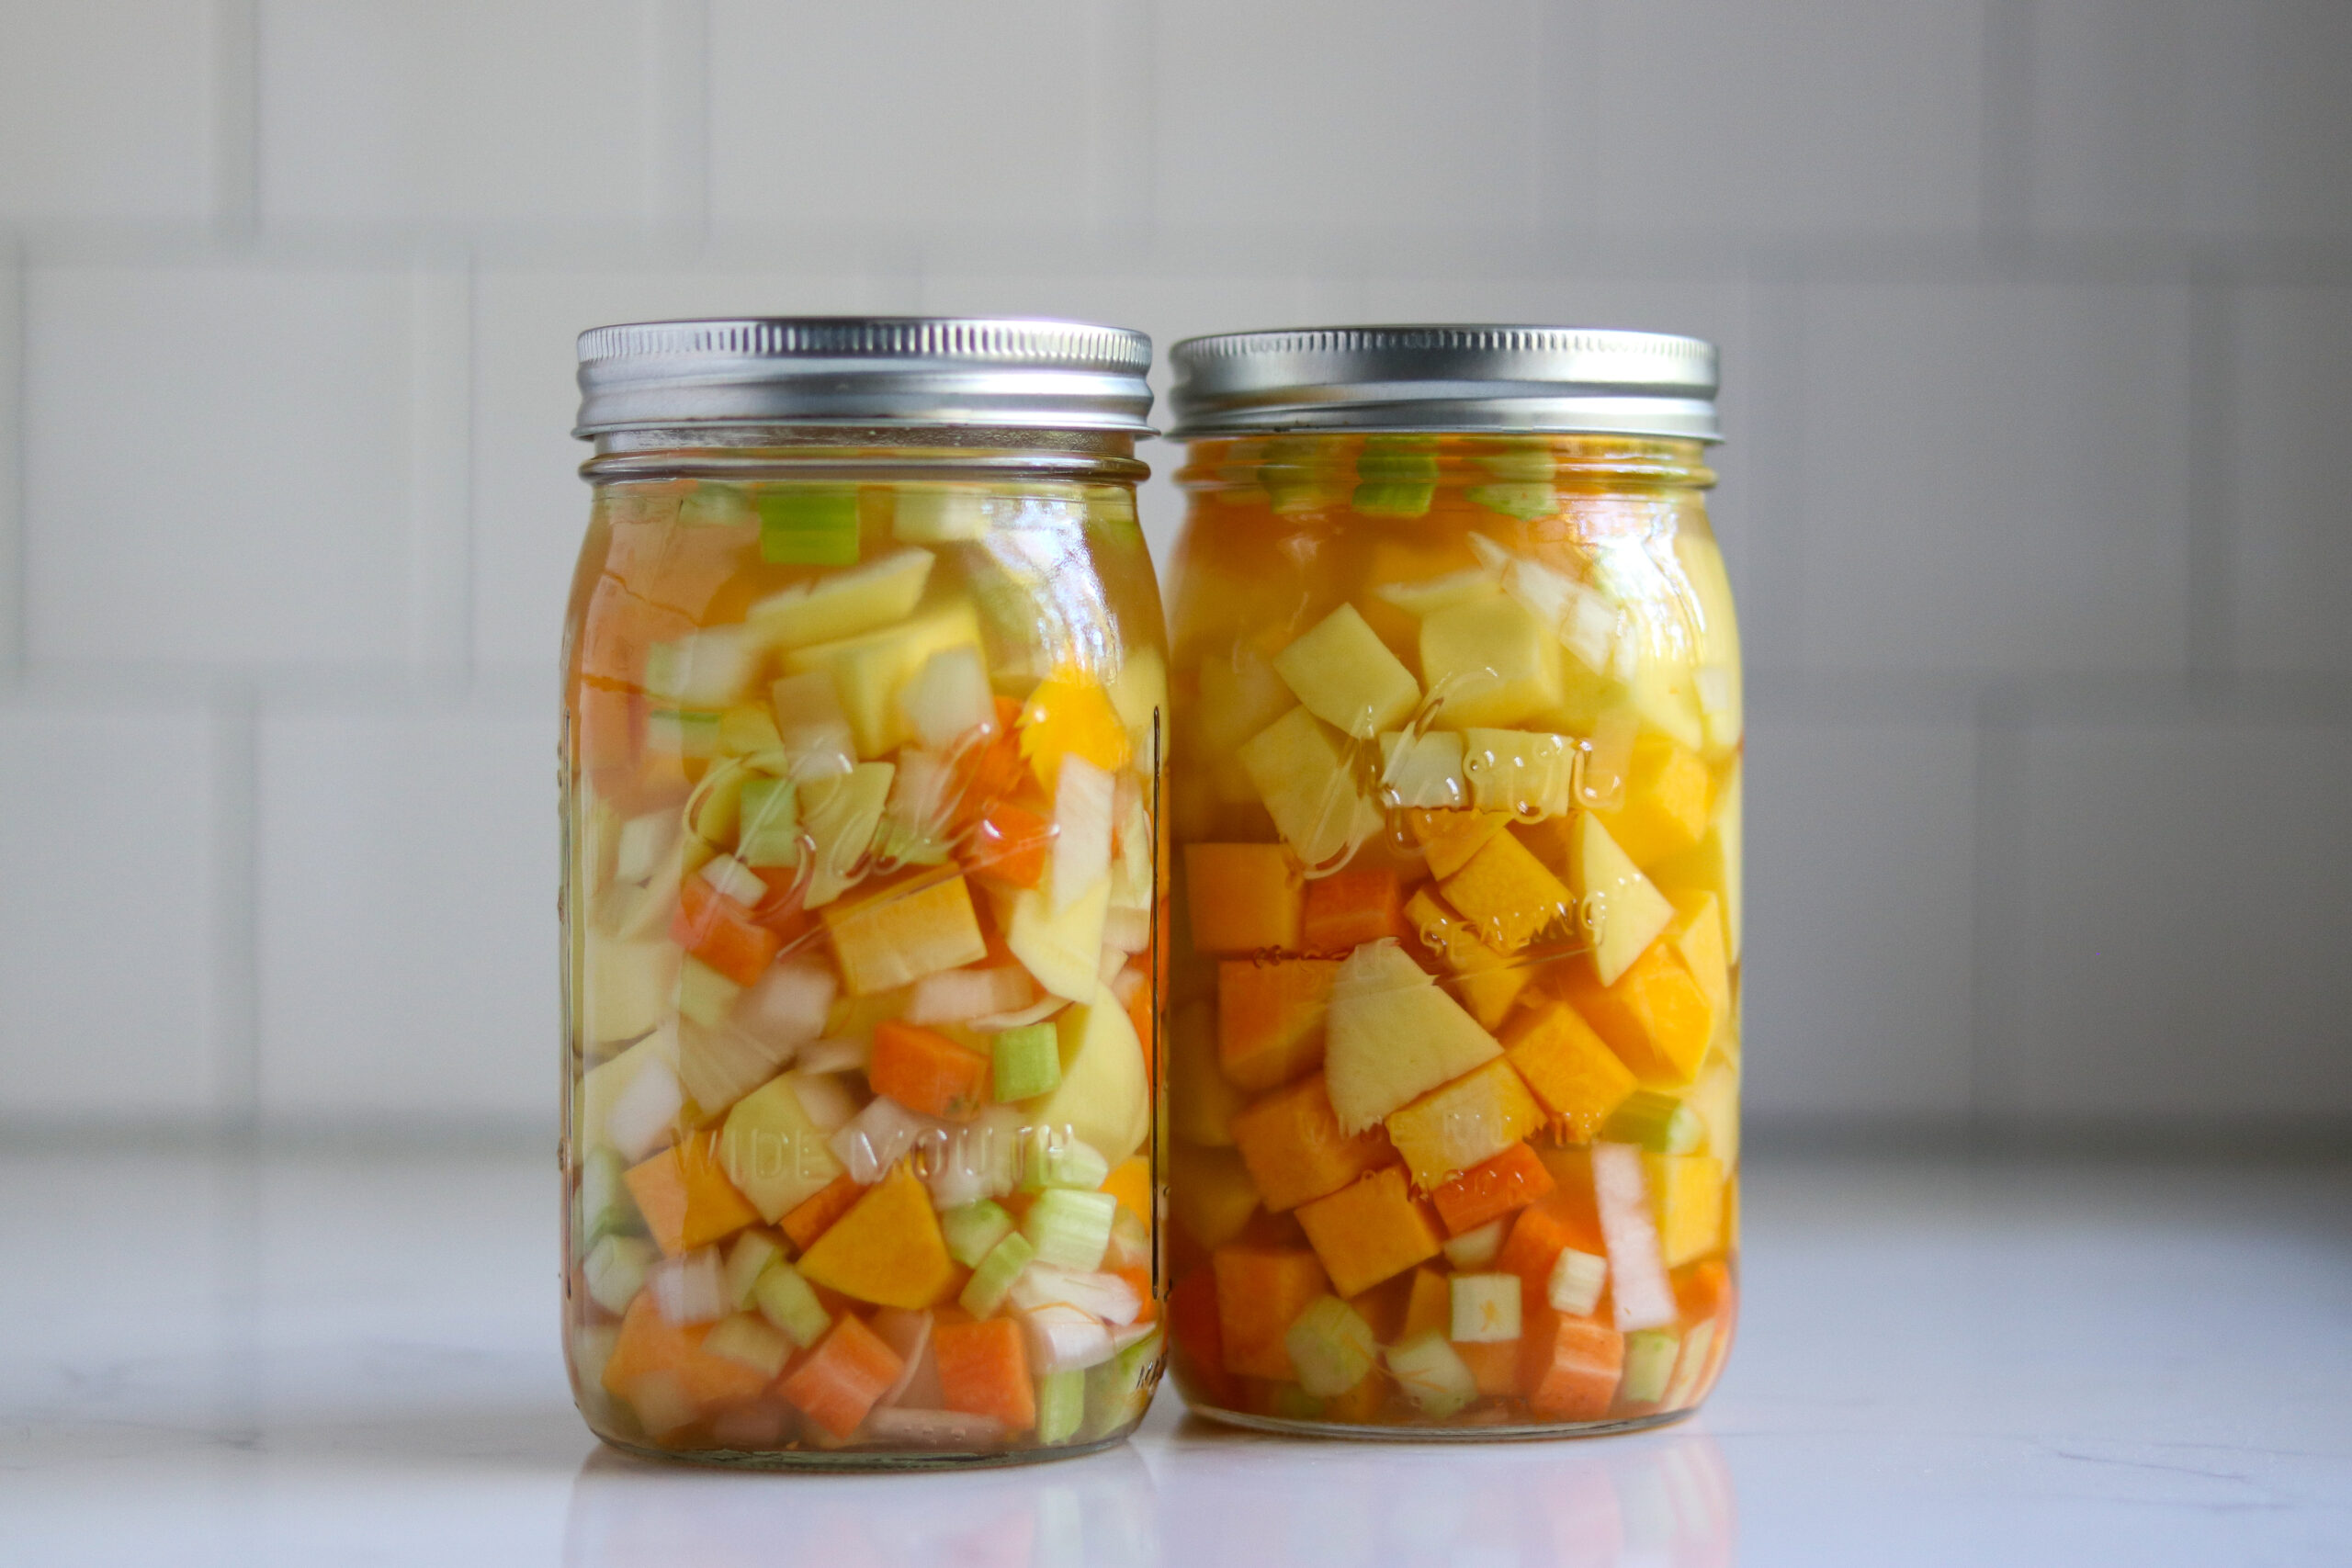
Table of Contents
- Notes from My Kitchen
- Quick Look at the Recipe
- Choosing the Best Squash for Canning
- Ingredients for Canning Butternut Squash Soup Base
- Butternut Squash Soup Base Variations
- How to Make Butternut Squash Soup Base
- Canning Butternut Squash Soup Base
- Altitude Adjustments
- Serving Butternut Squash Soup Base
- Storage and Shelf Life
- Yield Notes
- Canning Butternut Squash Soup Base FAQs
- Soup Canning Recipes
- Canning Butternut Squash Soup Base Recipe
- Winter Squash Canning Recipes
This recipe has been reviewed for safety and accuracy by a Master Food Preserver certified through the University of Cornell Cooperative Extension.
This is a base rather than a finished soup, and that distinction is important to canning safety. Squash cannot be canned as a puree. It can be canned as cubes, so the cubes go in the jar and the blender comes out at serving.
The squash carries the flavor, and potatoes, carrots, celery, and onion give it body so it blends creamy without any cream at all. It’s adapted from the Homestead Canning Cookbook by Georgia Varozza. If you want the whole range of what a winter squash harvest can become, my winter squash canning recipes collect a dozen more.
Squash is low acid, so this is a pressure canning recipe. Process pints for 75 minutes and quarts for 90 minutes, at 10 pounds pressure in a weighted gauge canner, adjusting for altitude. If you’ve never run a canner before, my pressure canning for beginners guide walks through a batch start to finish.
Notes from My Kitchen

Winter squash keeps a long time in a cool room, so for years I didn’t bother canning any of it. Then I’d hit February with a shelf of squash going soft in the corners and no time to deal with it.
Now I run a canner load in October while I’m already covered in squash guts. The peeling is the whole job, and doing it once for seven quarts beats doing it seven times.
What I do with most of these jars is stir in a spoonful of homemade apple cider syrup after it’s blended. It sounds like a lot for a weeknight. It’s about four seconds of work, and it makes the squash taste like more of itself.
Quick Look at the Recipe
- Recipe Name: Canning Butternut Squash Soup Base
- Recipe Type: Soup Canning Recipe (vegetable mixture, packed in cubes)
- Canning Method: Pressure Canning
- Prep Time: About 45 minutes, mostly peeling
- Cook Time: 20 minutes
- Canning Time: 75 minutes for pints, 90 minutes for quarts
- Yield: 5 quarts, or 10 pints
- Jar Sizes: Pints or quarts
- Headspace: 1 inch
- Ingredients Overview: Butternut squash, potatoes, carrots, celery, onion, salt, and vegetable broth
- Safe Canning Recipe Source: Adapted from the Homestead Canning Cookbook by Georgia Varozza, processed on NCHFP’s tested time for cubed winter squash, which is the longest time of any vegetable in the jar
- Difficulty: Easy, but slow. Peeling and cubing a canner load of squash takes a while, and the cubes have to stay cubes.
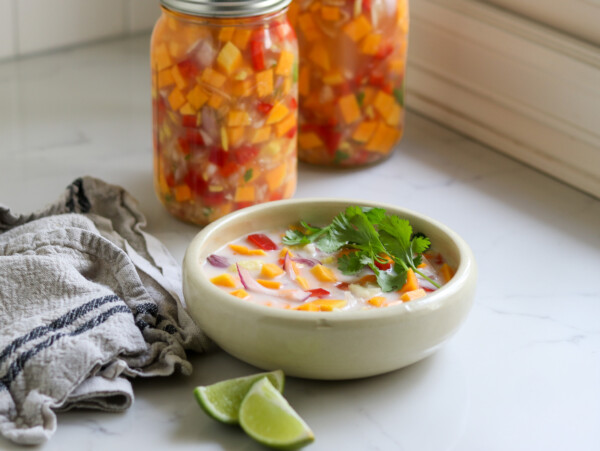
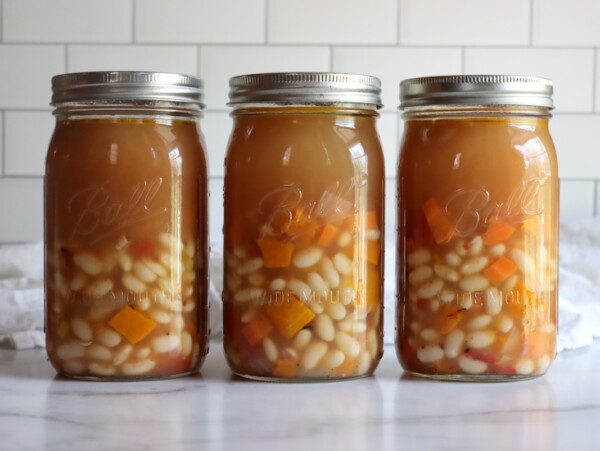
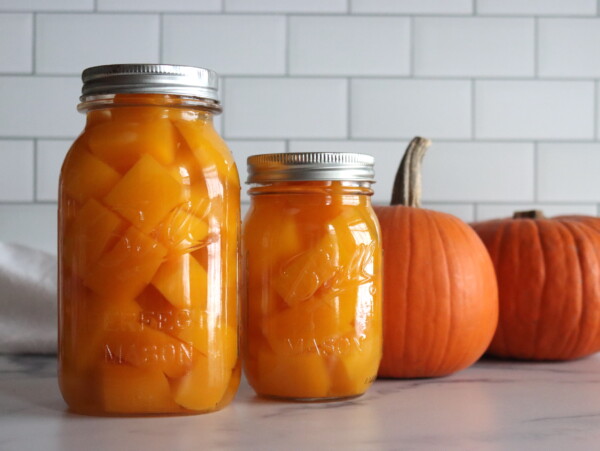
- Similar Recipes: Other squash jars worth having are butternut squash and white bean soup, Thai coconut squash soup, and plain canned pumpkin and winter squash. For more blended bases there’s mushroom soup base and carrot soup.
Choosing the Best Squash for Canning
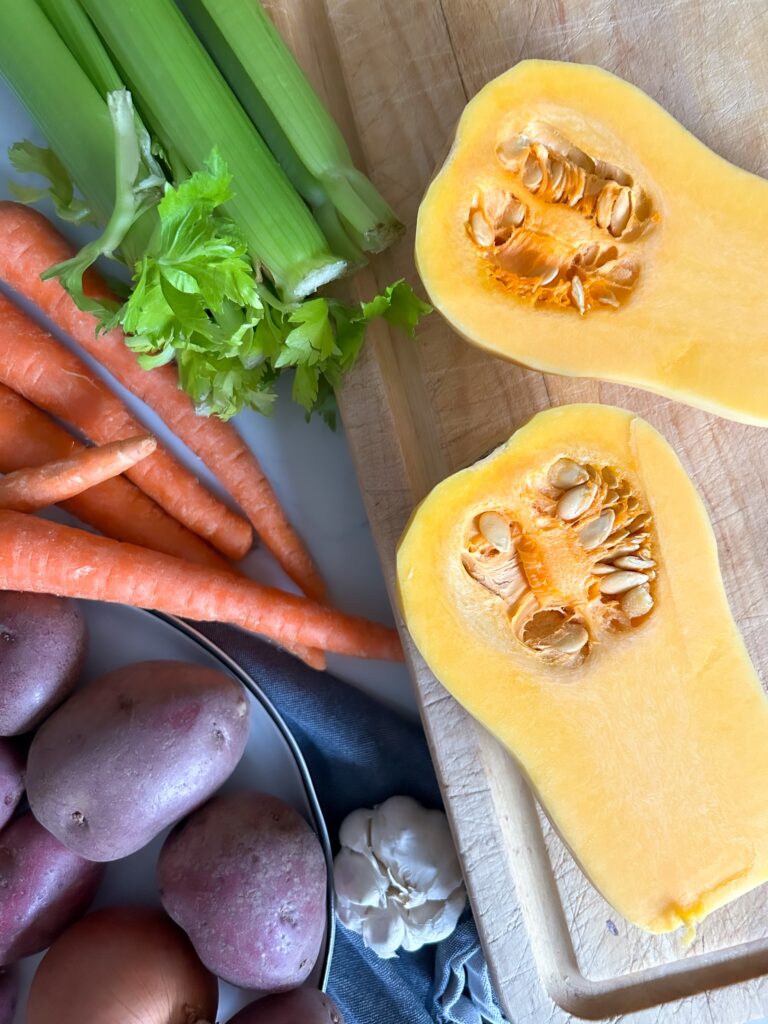
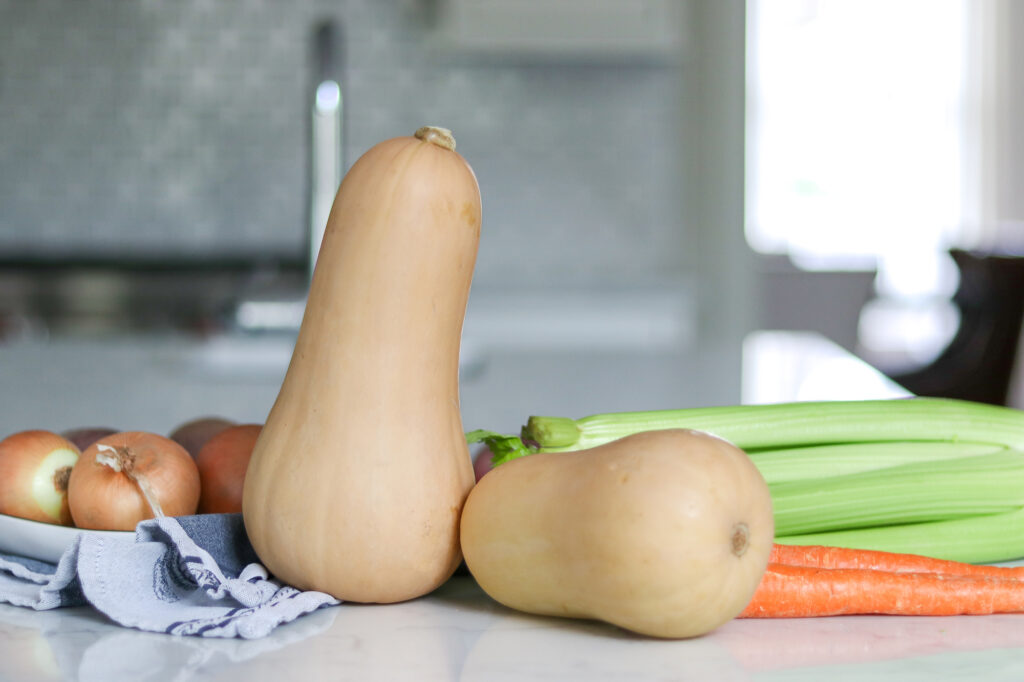
Butternut is the one I reach for, and not because it tastes better than the rest. It’s the easiest winter squash to peel. The neck is solid flesh with no seed cavity, so a vegetable peeler and a knife get you there in a couple of minutes.
Any firm-fleshed winter squash works in its place. Hubbard, kabocha, cushaw, sugar pumpkin, and red kuri all cube up the same way and can on the same schedule. Readers ask about this more than anything else on this recipe.
Spaghetti squash is the one to leave out. It pulls apart into strands instead of holding a cube, and there’s no tested canning process for it at all.
Summer squash and zucchini are out too, for a different reason. They go to mush under pressure, and the process for canning them was withdrawn years ago. Those have their own specific zucchini canning recipes instead.
Pick squash that feel heavy and sound solid, with a dry stub of stem still attached and no soft patches. A squash that’s already going soft in one spot will fall apart into the broth instead of staying in cubes.
Size doesn’t matter much for flavor, but it matters for your hands. Two medium squash peel faster than one enormous one, because the enormous one has a thicker rind and a wider seed cavity.
Ingredients for Canning Butternut Squash Soup Base
The vegetables here aren’t interchangeable with just anything, and that’s the part worth understanding before you start swapping. Every one of them has its own tested canning process, and that’s why they’re allowed in the jar together.
- Butternut squash: Peeled, seeded, and cut in 1-inch cubes. This is the flavor and most of the volume. Cubes only, never mashed or pureed, and there’s more on why below. Plain canned pumpkin and winter squash follows the same rule.
- Potatoes: Peeled and cubed the same size. They’re in here for body, and they’re what makes the blended soup creamy without cream. Red or yellow potatoes hold their shape better than russets. There’s more on the plain version in canning potatoes.
- Carrots: Peeled and chopped. They add sweetness and color, and they have their own tested process, which is what allows them here. See canning carrots.
- Celery: Chopped, leaves and all. Extension guidance allows celery and onion in place of each other, so use one, the other, or both, keeping the total the same.
- Onion: Chopped. Onions have a tested pressure canning process of their own, and there’s more on that in canning onions.
- Vegetable broth: This is what fills the gaps between the cubes, and it stays in the jar. Homemade vegetable broth is best and store-bought is fine. Water works too, and honestly a jar of vegetables makes its own broth on the shelf either way.
- Salt: Flavor only, never preservation. About 1 teaspoon per quart suits most people, and you can leave it out completely.
- Dry spices: Optional and entirely up to you. Nutmeg, thyme, rosemary, curry powder, cinnamon, and ginger all work. Dry seasonings are the one thing you can move freely in a canning recipe.
Cream, milk, butter, flour, and cornstarch all stay out of the jar. So do rice, pasta, and any kind of thickener. Every one of those changes how heat moves through a jar, and all of them are better stirred in at the stove anyway.
I made this recipe this fall, and just served the first jar yesterday. It is so good! I dumped the whole jar, including broth, into the blender and blended it well. I wanted to taste it without added seasonings first, and it really doesn’t need anything.
Most of the questions I get on this one are about what you can change. Here’s where the lines sit.
Butternut Squash Soup Base Variations
Swap any firm-fleshed winter squash for the butternut, one for one. Trade the potatoes for parsnips, or for more squash, since all both bring the same starchy body. Leave the celery out, or use onion in its place. Adjust the dry spices however you like. What matters is that the total volume of solids stays about the same and every vegetable in the jar has a tested canning process of its own. Where that line sits in general is covered in safe canning recipe changes.
That last point is the whole safety basis here. A mixture of vegetables takes the longest processing time of anything in it, which is a rule published by NDSU Extension. Cubed winter squash is the longest at 90 minutes for quarts, so that’s the time this recipe runs.
What doesn’t move is the process. This is low acid, so it has to be pressure canned, and 75 minutes for pints and 90 for quarts is what keeps it safe on the shelf. Nothing gets blended, mashed, or pureed before it goes in the jar. No cream, milk, butter, flour, cornstarch, rice, or pasta. Cabbage, broccoli, cauliflower, and summer squash stay out as well. All of that goes in the pot at serving instead.
Want to design your own vegetable soup rather than adjust this one? How to create your own soup canning recipe lays out what’s allowed and the times that go with it.
How to Make Butternut Squash Soup Base
Peel, cube, boil for five minutes, pack. The soup isn’t finished cooking when it goes in the jars, and it isn’t supposed to be. Everything keeps cooking in the canner for another hour and a half.
Get your pressure canner going first, with a few inches of water and the rack in the bottom. Wash your jars and keep them warm in it. Set out lids, bands, a jar lifter, a canning funnel, and a slotted spoon.
Preparing the Vegetables
Wash everything before you peel it. Anything that grows in soil carries dirt on its skin, and a peeler drags that straight into the flesh if you skip the rinse. That’s a safety step on a low-acid vegetable, not a fussy one.
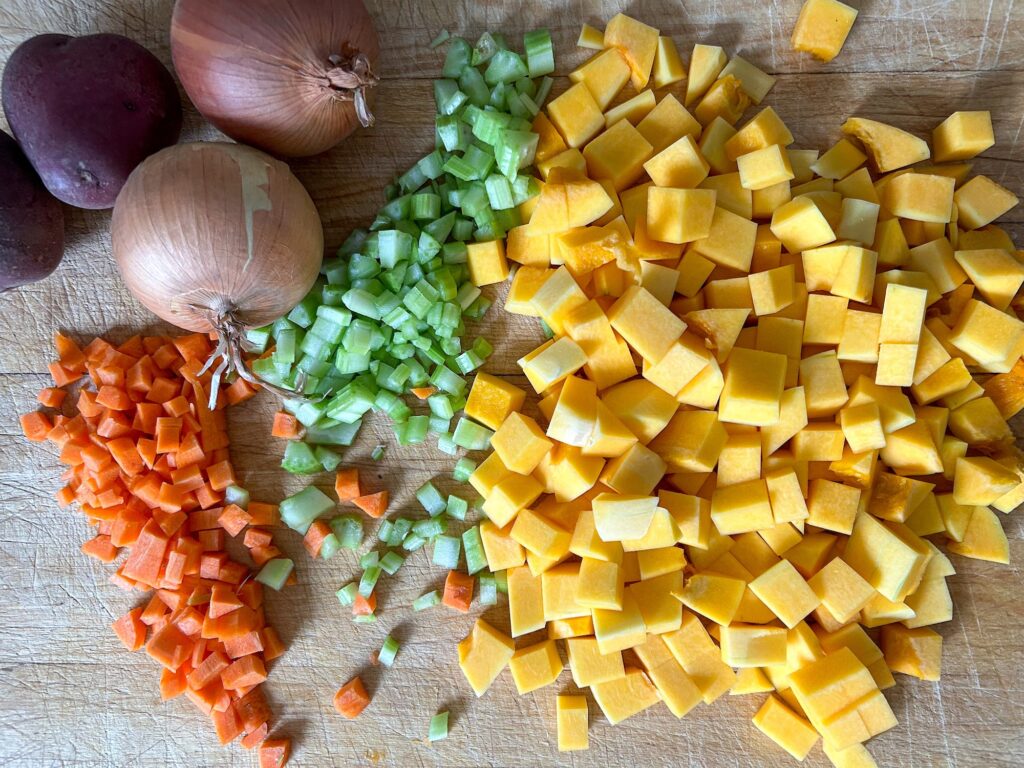
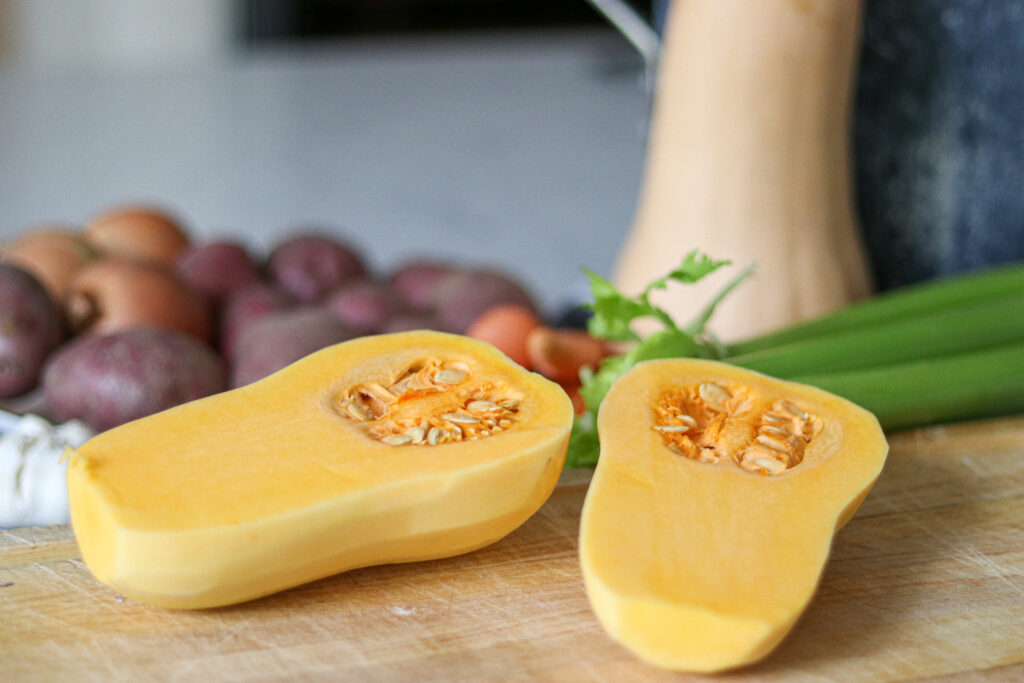
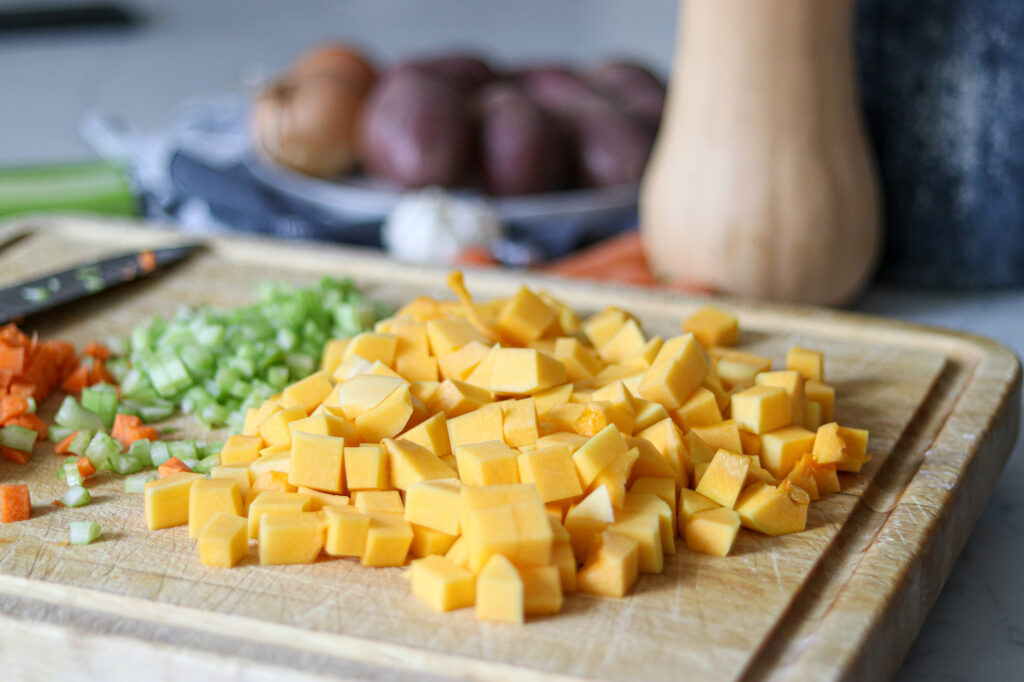
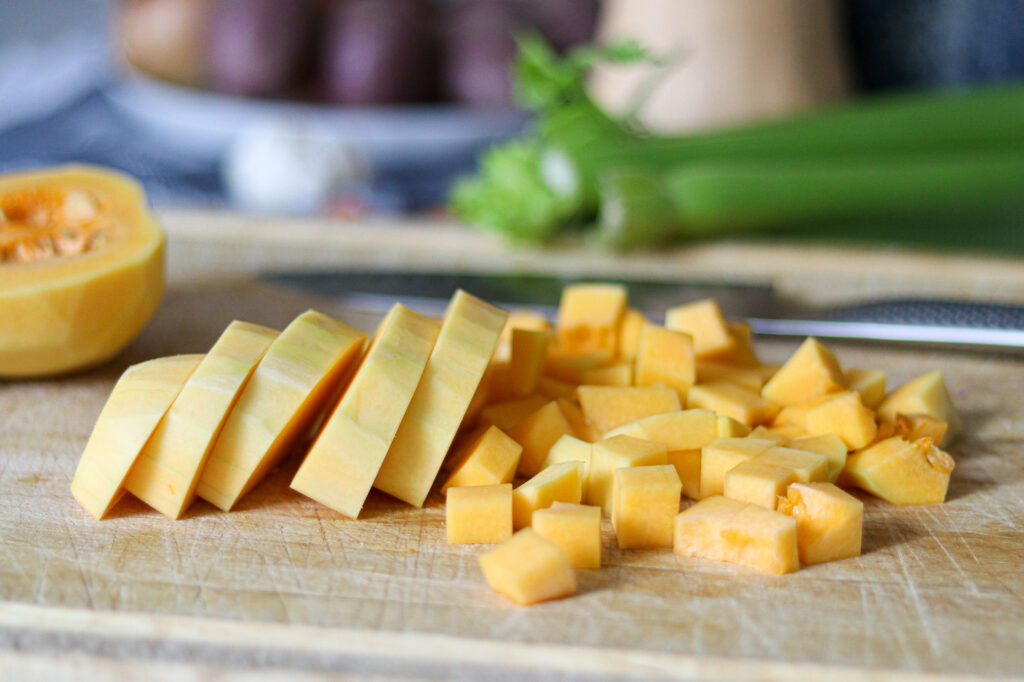
Peel the squash with a vegetable peeler, cut it in half, and scoop the seeds out with a spoon. Save the seeds for roasting if you want them. Then cut the flesh into 1-inch cubes.
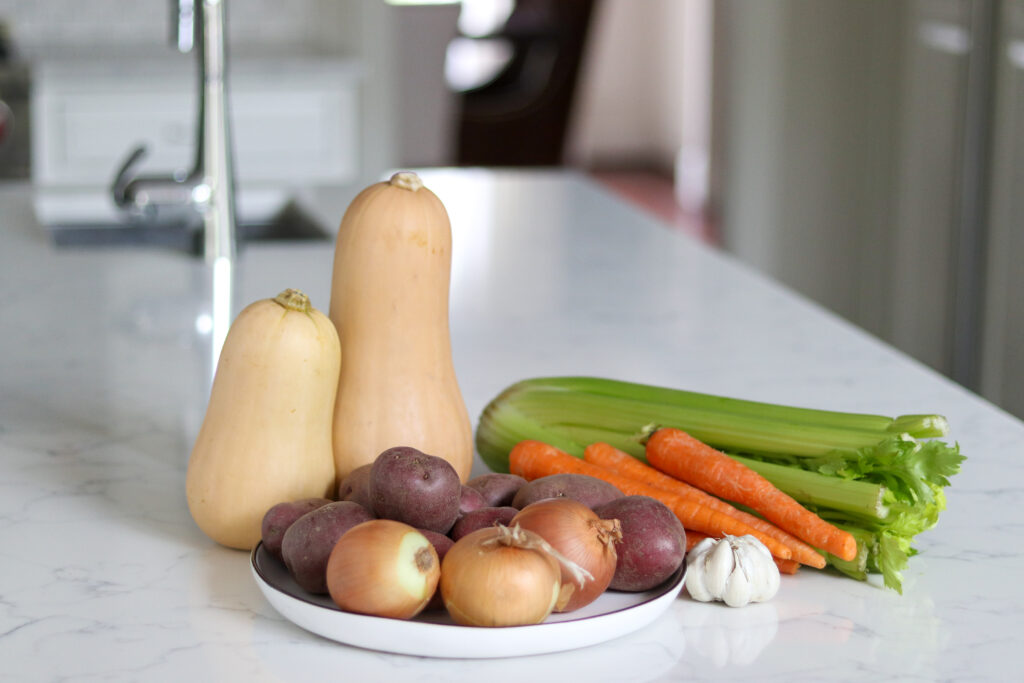
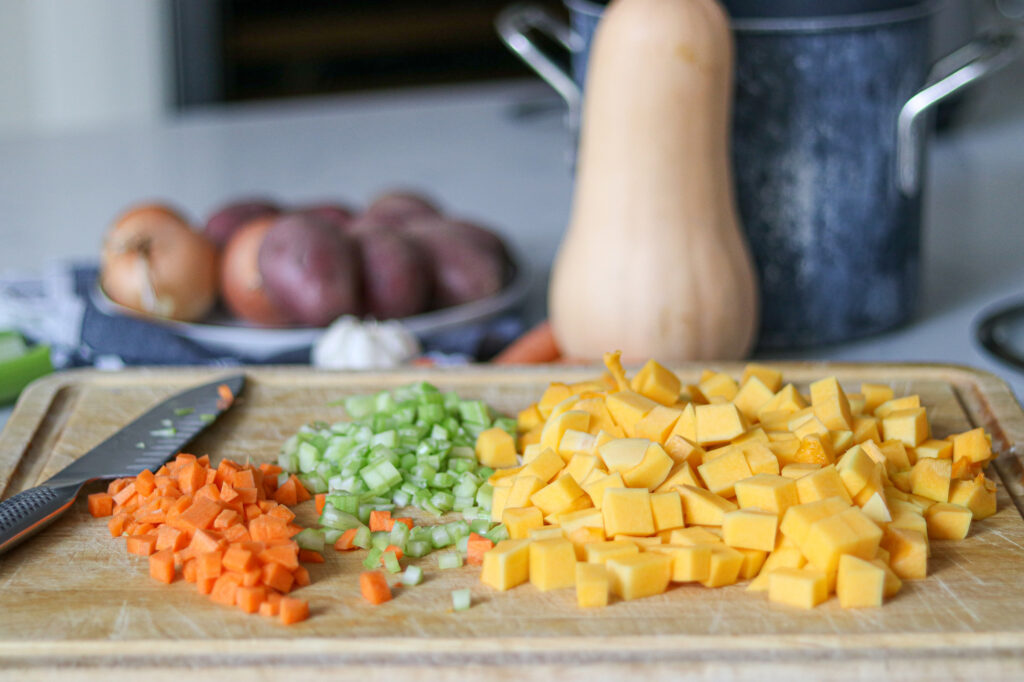
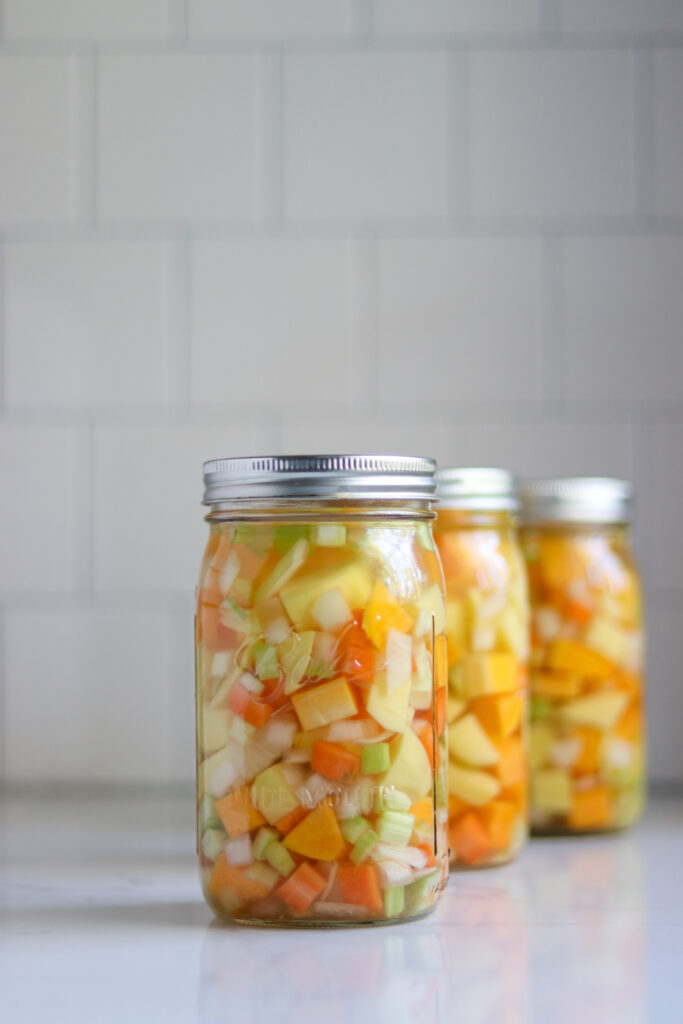
Cube size matters more here than it usually does. One-inch pieces heat through evenly and hold their shape. Cut them much smaller, and they break down into something closer to a puree, which is exactly what you’re trying to avoid.
Peel and cube the potatoes the same size. Peel and chop the carrots, and chop the celery and onions. None of it has to be pretty, but keep the pieces in the same neighborhood so they cook at the same rate.
Potatoes brown once they’re cut, so hold them in a bowl of cool water if you’re peeling squash for a while first. Drain them before they go in the pot.
A canner load of this is a real pile of peeling. I put on something to listen to and call it the price of a shelf of soup.
Cooking the Soup Base
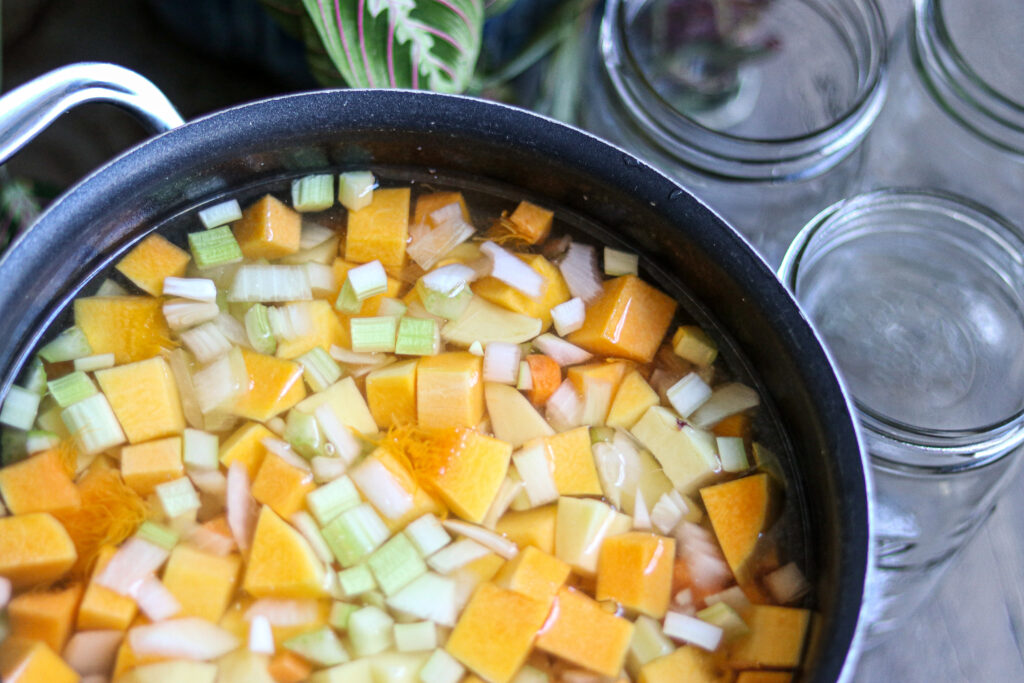
Put all the vegetables in a large stockpot and pour in enough vegetable broth to cover them. Add the salt and any dry spices now, so they’re distributed evenly before the jars get filled.
Bring it to a boil, then drop it to a simmer for 5 minutes. That’s it. Five minutes, not fifteen.
That short boil isn’t cooking the soup. It’s bringing everything to the same temperature so the jars don’t get a thermal shock and so the whole canner comes up to pressure together.
It does one more thing worth knowing. Raw vegetables hold a lot of air in their tissues, and that air expands hard in a pressure canner and blows the pieces apart. A quick preheat drives most of it out, so the cubes hold together better in the finished jar.
Boil it longer than 5 minutes and the squash starts giving way. Once it does, you’re heading toward the puree you’re not allowed to can, so watch the clock on this step.
Taste the broth here and adjust the salt. This is your last chance, because nothing gets seasoned after the lids go on.
Filling the Jars
Use a slotted spoon to divide the vegetables evenly between the hot jars. Then ladle hot broth from the pot over the top, leaving 1 inch of headspace.
Keep a kettle of water or extra broth hot on the side. Running short of liquid at the last jar is the most common way this batch goes sideways, and it’s easy to fix if something’s already hot.
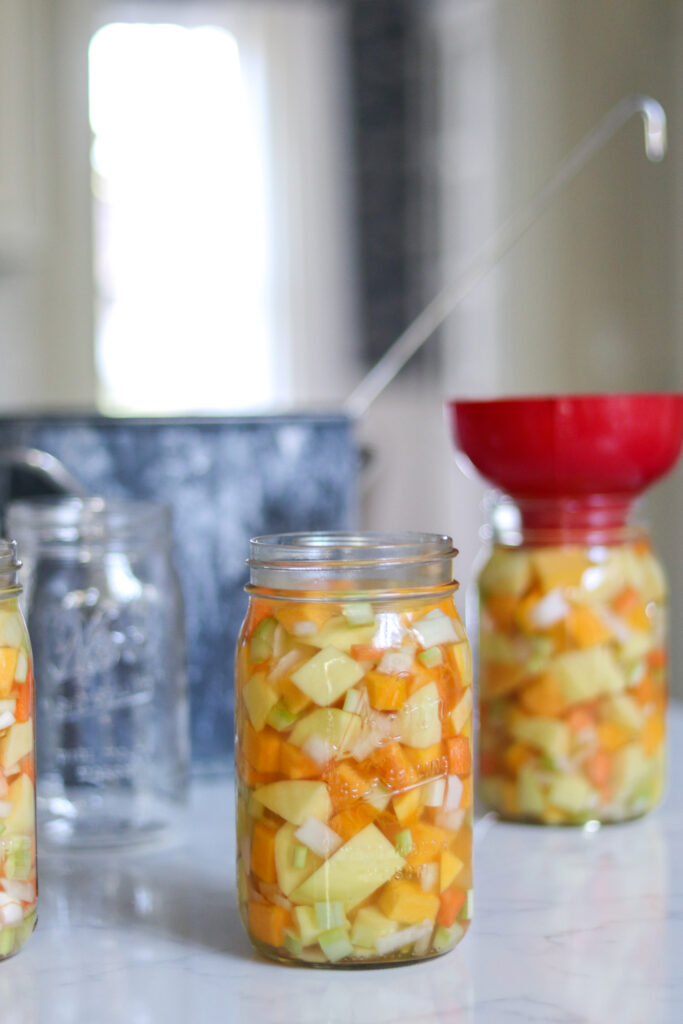
Run a bubble tool around the inside of each jar and check the headspace again. Cubed vegetables trap a surprising amount of air between the pieces, and the level drops once you release it.
Wipe the rims with a clean damp cloth, set the lids on, and screw the bands down fingertip tight. A bit of squash on the rim is all it takes to keep a jar from sealing.
Canning Butternut Squash Soup Base
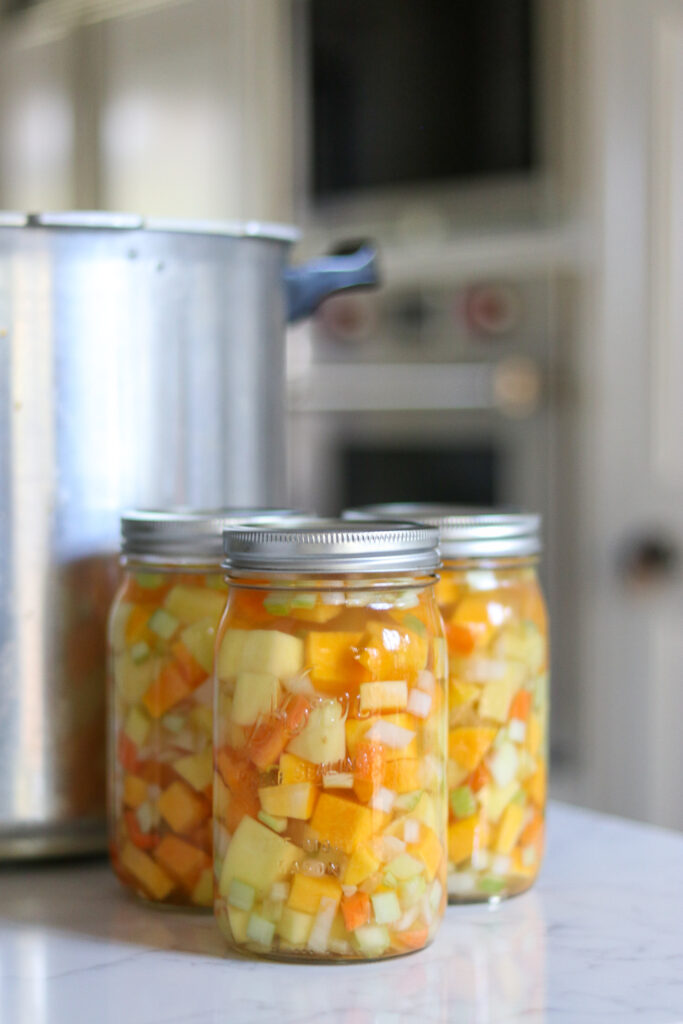
This has to go in a pressure canner, dial gauge or weighted gauge. A water bath canner can’t get hot enough for a low-acid vegetable. There’s no tested water bath process for squash at any jar size, and adding lemon juice or vinegar doesn’t change that.
Load the jars onto the rack, check the water level against your canner’s manual, and fasten the lid. Let steam vent in a steady stream for a full 10 minutes before you add the weight or close the petcock. The timer starts once it comes up to pressure.
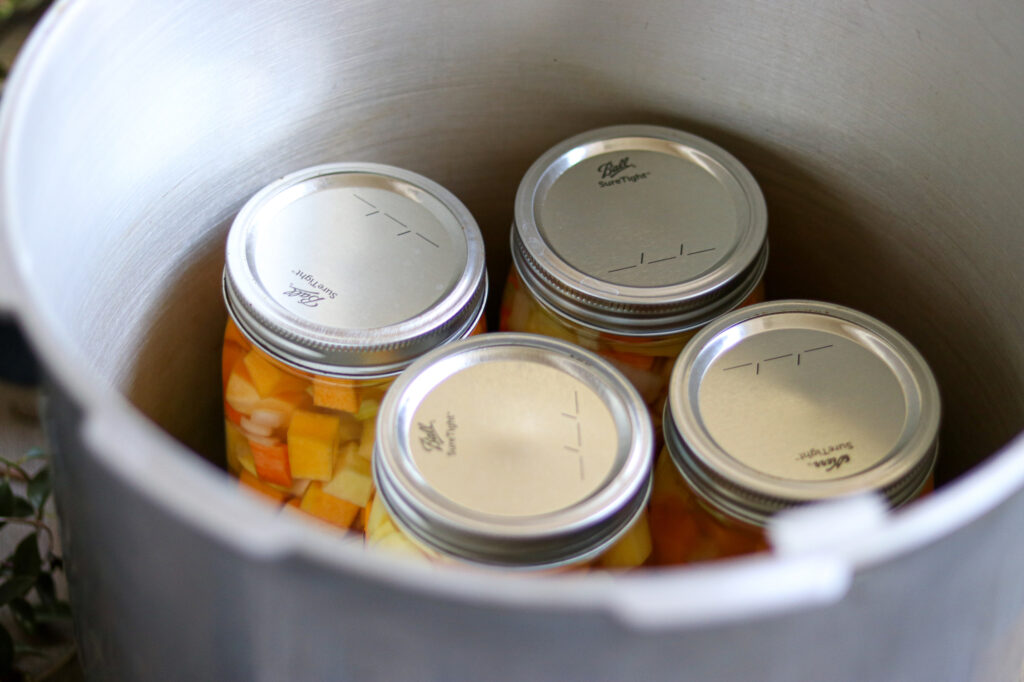
Process pints for 75 minutes or quarts for 90 minutes, at 10 pounds pressure in a weighted gauge canner or 11 pounds in a dial gauge canner. Adjust for altitude with the chart below. The time is the same at every elevation, and the pressure is what changes.
That 90 minutes comes from the tested process for cubed winter squash, which takes longer than anything else in the jar. The potatoes need 40, the onions 40, and the carrots 30, so the squash sets the clock for all of them.
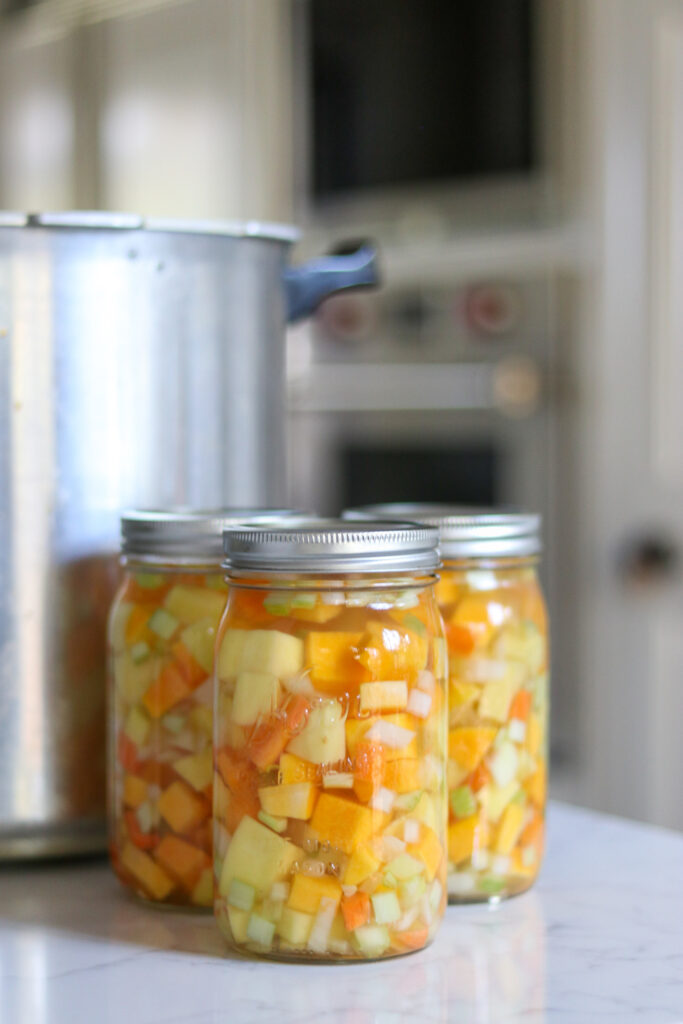
When the timer goes off, turn off the heat and let the canner come down to zero pressure on its own. Don’t run it under water and don’t lift the weight early. Once it’s down, wait 5 minutes, then take the weight off and unfasten the lid, opening it away from you.
Leave the jars sitting in the open canner for another 10 minutes before you lift them out. That short rest lets the pressure inside the jars settle and cuts down on liquid loss.
Then lift them onto a towel, with an inch of space around each one and out of any draft. Leave them 12 to 24 hours. More recipes that run the same way are in my pressure canning recipes.
Altitude Adjustments
The canning time is always 75 minutes for pints and 90 minutes for quarts, at any altitude. Only the pressure changes as you go up. Here are the altitude adjustments for pressure canning this soup base.
For dial gauge canners:
- 0 to 2,000 feet: 11 lbs pressure
- 2,001 to 4,000 feet: 12 lbs pressure
- 4,001 to 6,000 feet: 13 lbs pressure
- 6,001 to 8,000 feet: 14 lbs pressure
For weighted gauge canners:
- 0 to 1,000 feet: 10 lbs pressure
- Above 1,000 feet: 15 lbs pressure
Serving Butternut Squash Soup Base
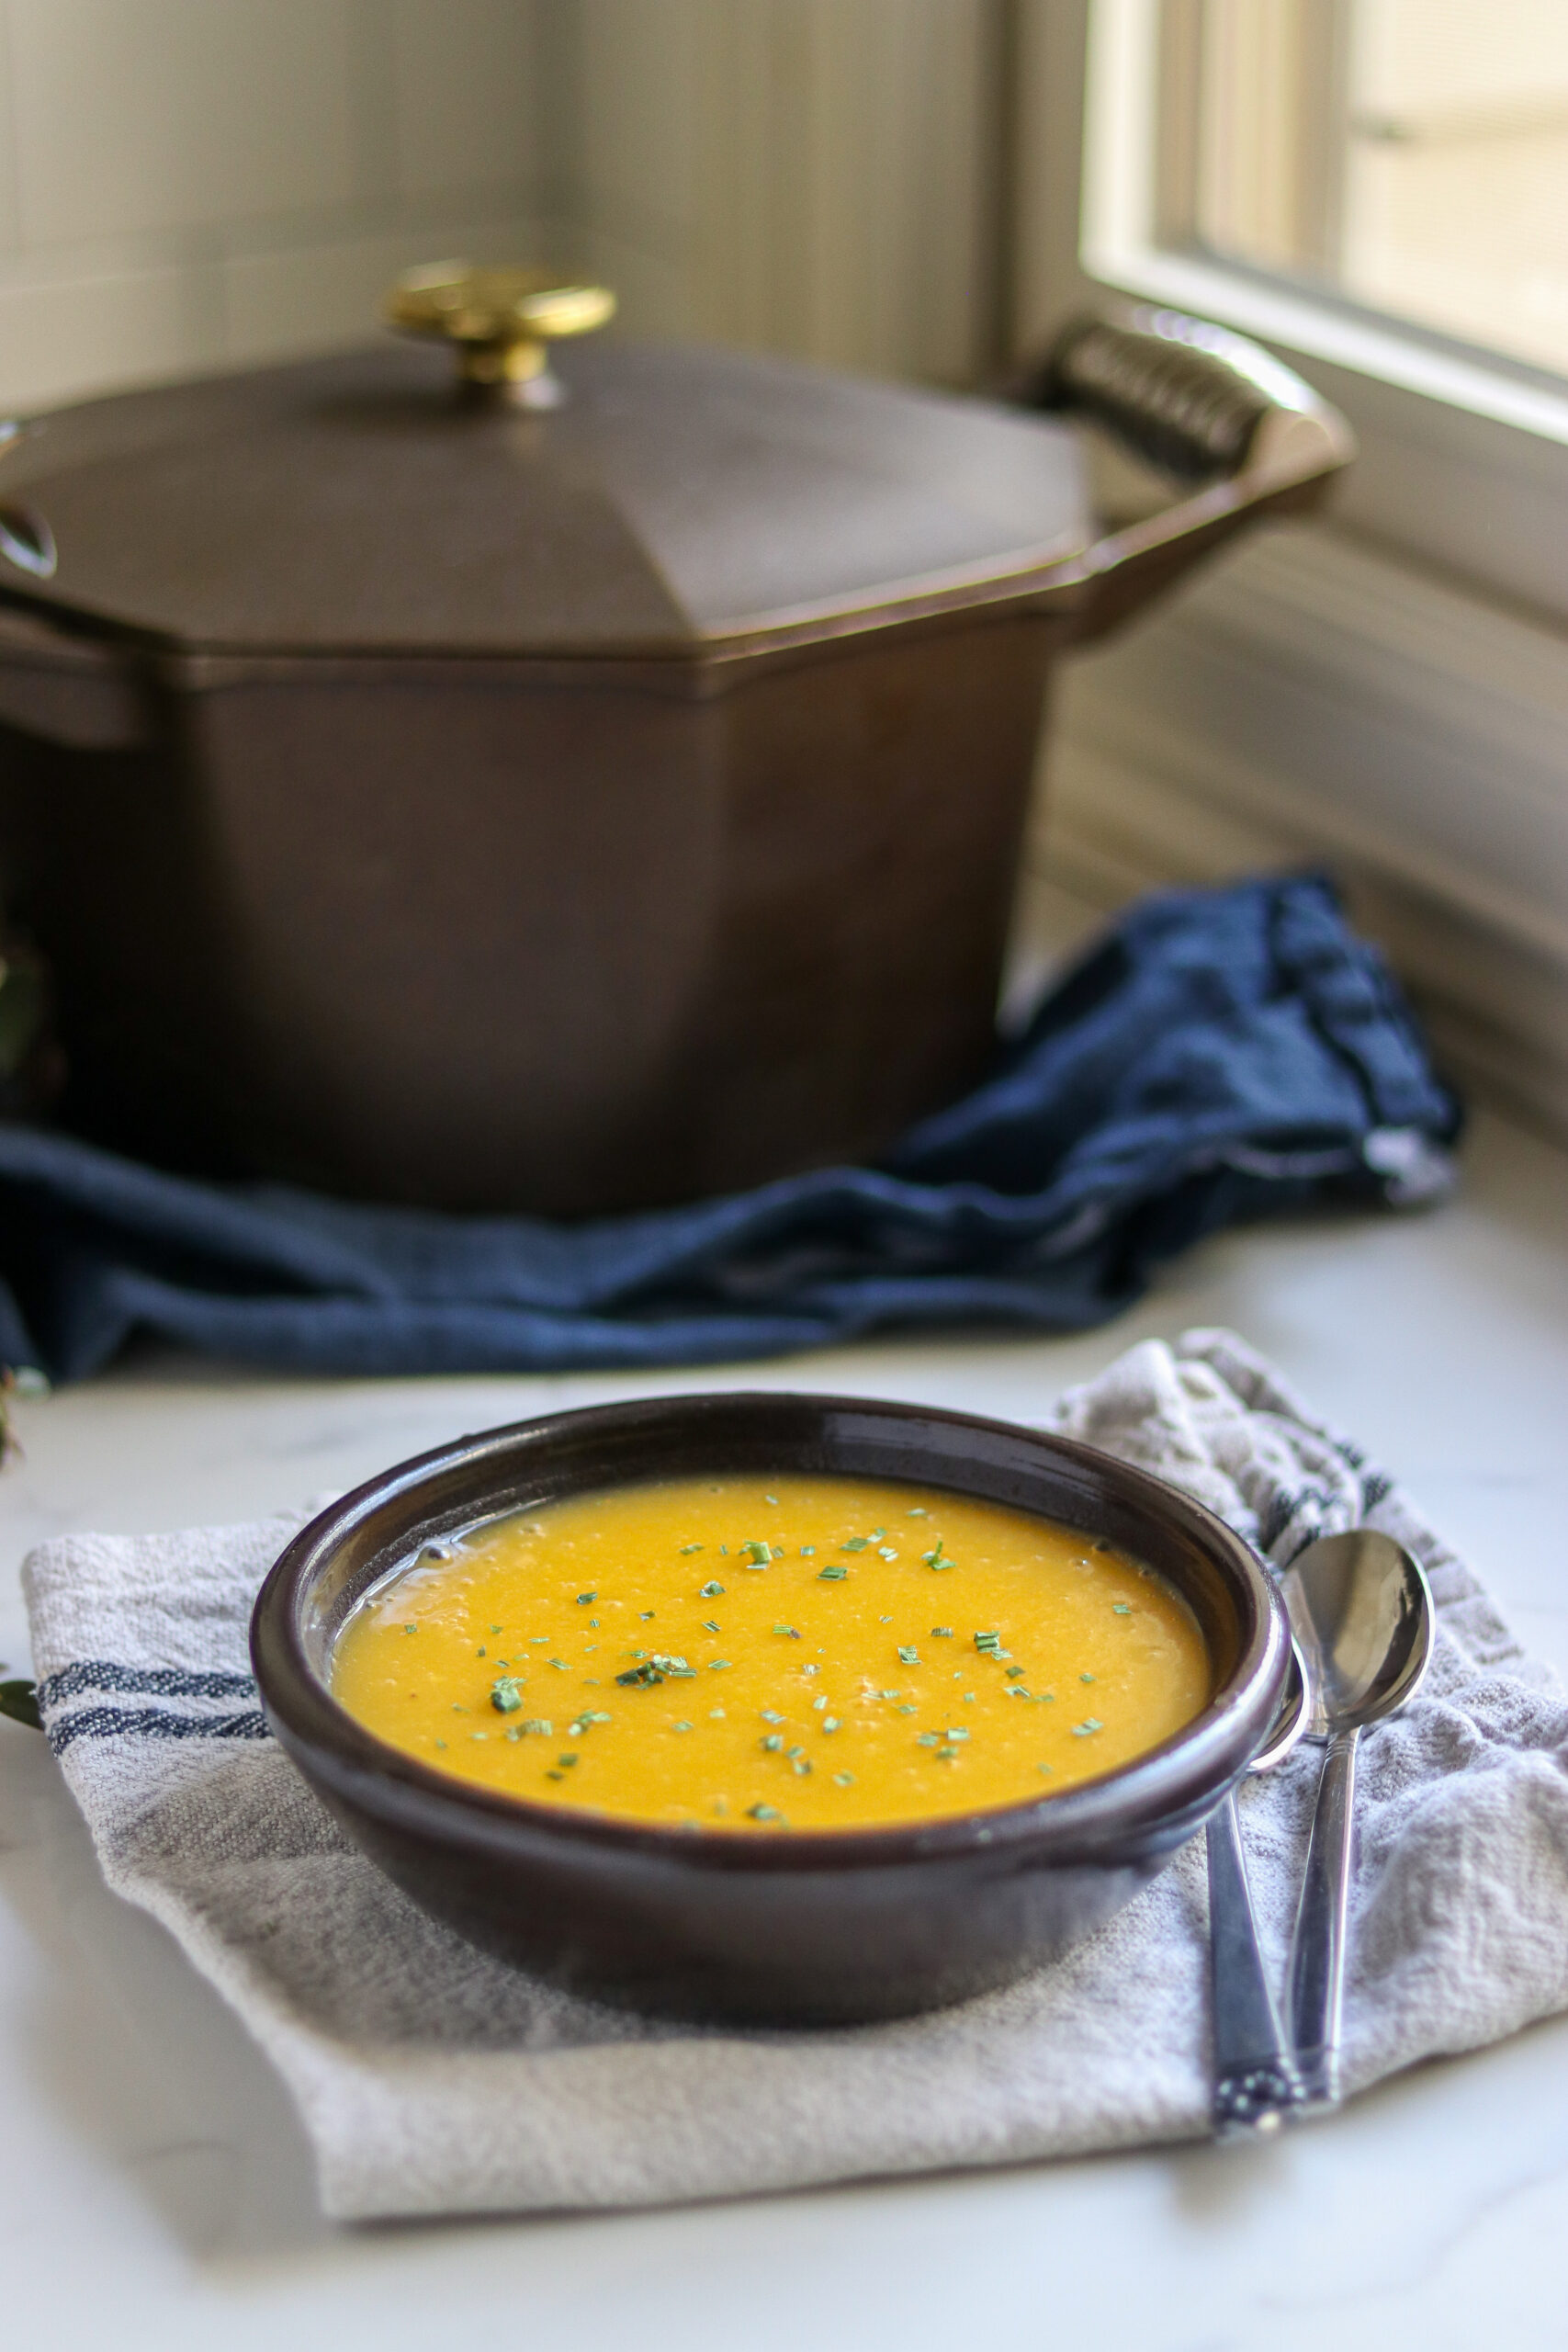
Empty the whole jar into a pot, liquid and all. The broth is part of the soup, not something to drain off, and you’ll want it to get the texture right when you blend.
Heat it through, then blend it smooth. An immersion blender right in the pot is the easy way, and a countertop blender works if you fill it half full and vent the lid. A potato masher gives you a chunkier soup, which is good too.
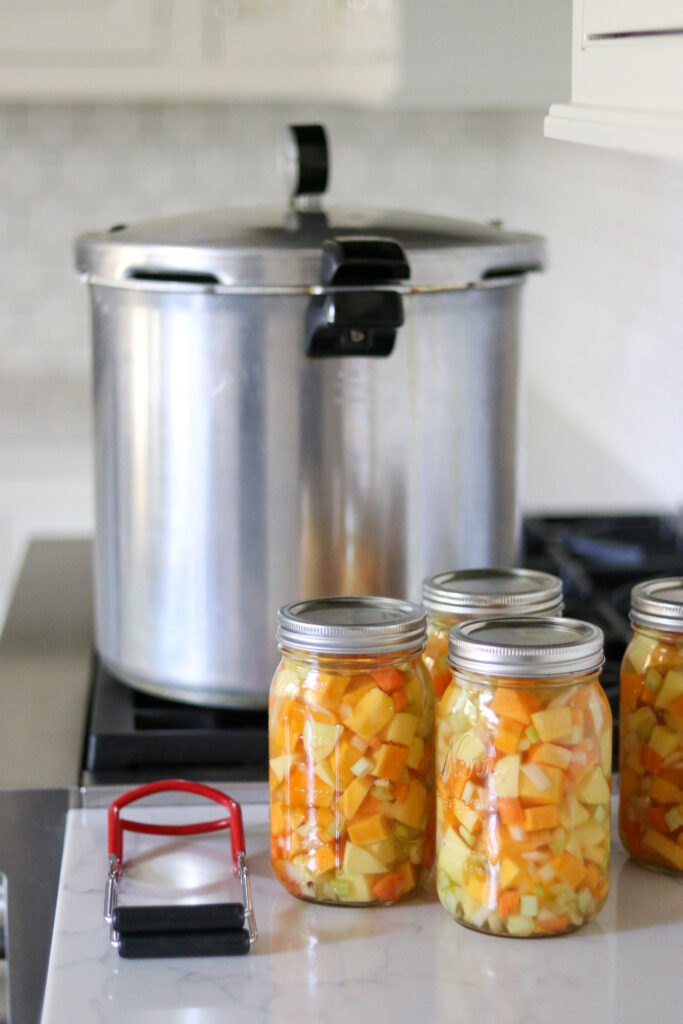
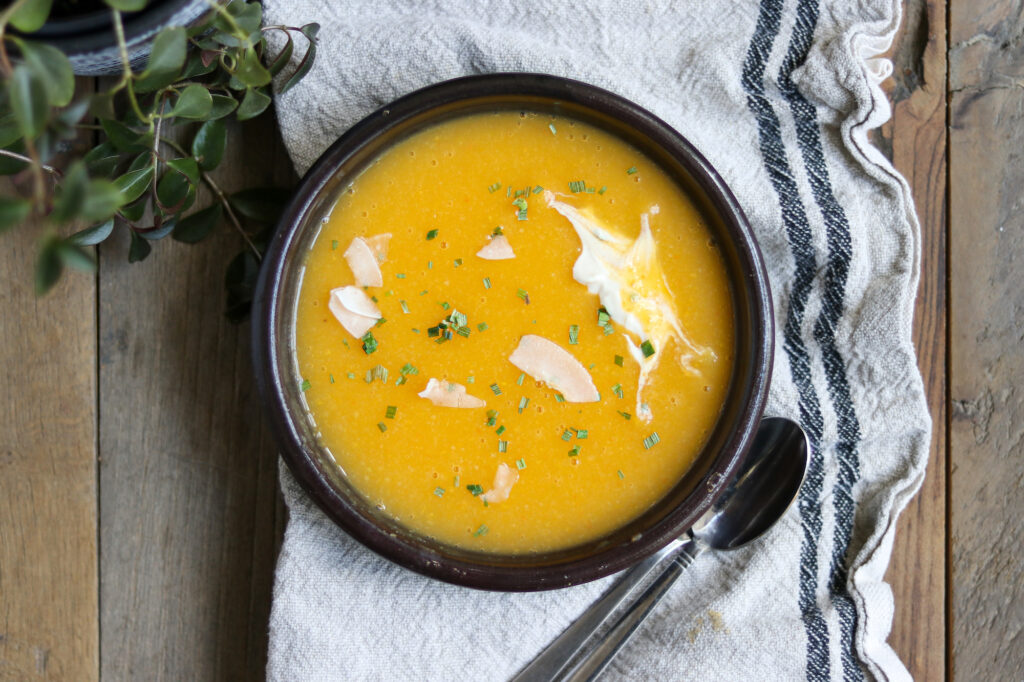
Now it’s a base, so finish it however you like. A splash of cream or milk makes it rich, coconut milk keeps it dairy free, and a spoonful of butter does most of what cream does.
Butternut takes sweet and savory equally well. Nutmeg, cinnamon, or maple lean it sweet. Curry powder, ginger, thyme, or a little smoked paprika take it the other direction.
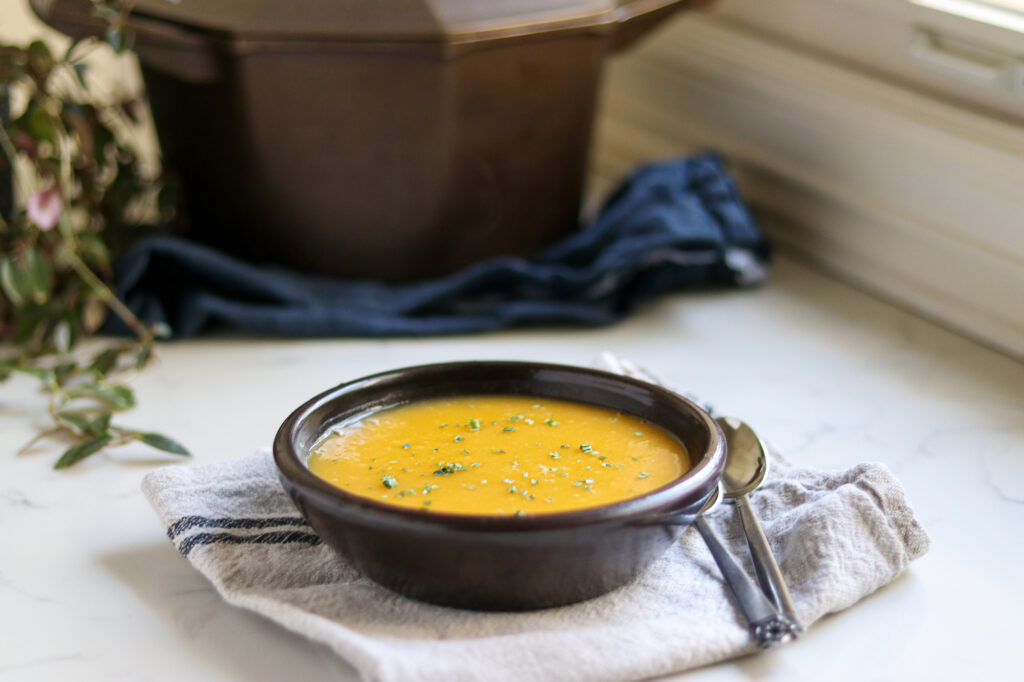
If it comes out thicker than you want, thin it with broth, milk, or water until it pours the way you like. If it’s thinner than you want, leave the lid off and let it cook down a few minutes.
Toppings are where it gets good. Toasted pumpkin seeds, a swirl of sour cream, crumbled bacon, fried sage leaves, or croutons all earn their place on top of a bowl of this.
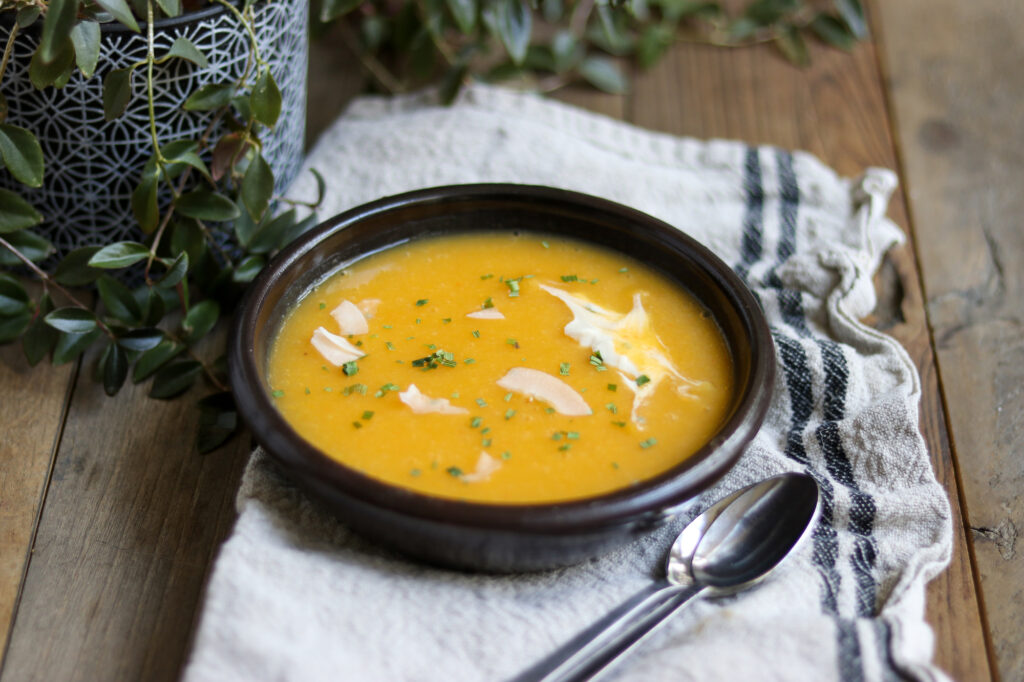
It doesn’t have to stay soup, either. Blended thick, it makes a pasta sauce, especially with sage and parmesan. It also goes into risotto, into a gratin, or under a piece of roast chicken.
Two jars mixed together is a trick worth knowing. This one alongside carrot soup makes something neither jar was on its own. More along those lines are in my soup canning recipes and vegetarian soup canning recipes.
Storage and Shelf Life
Once the jars are cool, press the center of each lid. A sealed lid curves down and doesn’t move or click. Take the rings off before you store them, since a ring left on can hold a failed lid in place and hide a jar that never sealed.
Label them and put them somewhere cool, dark, and dry. This keeps about 18 months and is best within a year. It’s safe past that as long as the seal holds, the squash just keeps softening.
A jar that didn’t seal goes in the fridge and gets eaten within a few days. You can also reprocess it with a new lid for the full time, if you catch it within 24 hours.
Expect the squash to look softer than it did going in, and expect some of it to have broken down into the broth. That’s normal for squash and it doesn’t hurt anything, since you’re blending it anyway. If a jar loses liquid in the canner it’s still fine, as long as it sealed. Liquid loss in canning covers why that happens.
Yield Notes
A batch fills 5 quarts or 10 pints. The squash weight is as purchased, before peeling and seeding, and a butternut loses roughly a third of its weight to the peel and the seed cavity.
Plan on about 3 quarts of broth to cover everything, and have more hot on the side. How much you actually use depends on how finely you cut, since smaller pieces nest tighter and leave less room.
Halve it or double it freely. The only floor is what your canner needs to run a batch, usually 2 quarts or 4 pints.
Canning Butternut Squash Soup Base FAQs
These are the ones that come up in the comments over and over.
No, and this is the one rule the whole recipe is built around. A pureed or mashed vegetable is too dense for heat to move through evenly, so the middle of the jar never reaches a safe temperature. There is no tested home canning process for pureed or mashed winter squash at any jar size. Can it as cubes, then blend it the day you serve it. The texture is the same either way.
Yes. Any firm-fleshed winter squash works in place of the butternut, one for one. Hubbard, kabocha, cushaw, red kuri, and sugar pumpkin all cube up the same way and use the same processing time. The exception is spaghetti squash, which pulls apart into strands and has no tested canning process. Summer squash and zucchini are out as well.
Yes. Turnips, parsnips, or simply more squash all work, since they bring the same starchy body that makes the blended soup creamy. Keep the total volume of solids about the same, and make sure whatever you use has a tested canning process of its own. The potatoes are there for texture rather than flavor, so this is a swap you can make freely.
No. Squash is low acid, and a water bath canner doesn’t get hot enough to make it safe on the shelf. There’s no tested water bath process for squash or for any soup, at any jar size, and adding lemon juice or vinegar doesn’t change that. It needs a pressure canner. Electric water bath appliances don’t count either, since they only reach boiling.
You aren’t cooking the soup, you’re heating it through. Packing hot food into hot jars keeps the whole canner coming up to pressure together, and it avoids thermal shock on the glass. It also drives air out of the vegetable tissues, which sounds minor but is what keeps the cubes from blowing apart in the canner. Five minutes is enough, and longer starts breaking the squash down.
Soup Canning Recipes
More jars worth having on the shelf in February:
If you tried this Canning Butternut Squash Soup Base recipe, or any other recipe on Creative Canning, leave a ⭐ star rating and let me know what you think in the 📝 comments below!
And make sure you stay in touch with me by following on social media!
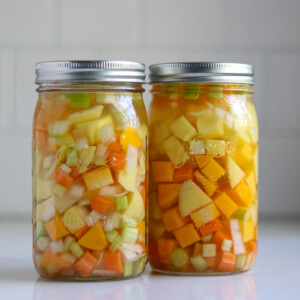
Canning Butternut Squash Soup Base
Equipment
- Canning Jars, Lids and Bands
Ingredients
- 5 lbs butternut squash, as purchased, see notes
- 2 1/2 lbs potatoes, peeled and cubed
- 5 medium stalks celery, chopped
- 5 medium carrots, peeled and chopped
- 3 medium onions, chopped
- 2 Tbsp canning salt
- 3 quarts vegetable broth, or water, see notes
Instructions
- Prepare the pressure canner, jars and lids. Add a few inches of water and the rack to the canner following your manufacturer's directions, set it over low heat, and keep the jars warm inside it.
- Wash all the vegetables before peeling them, then peel the squash, potatoes and carrots.
- Cut the squash in half, scoop out the seeds, and cut the flesh into 1-inch cubes. Cube the potatoes the same size, and chop the carrots, celery and onions.
- Combine all the vegetables in a large stockpot with the salt and enough vegetable broth to cover.
- Bring the pot to a boil, then reduce to a simmer and cook 5 minutes, just until everything is heated through. Do not cook longer, and do not mash or blend anything.
- Taste the broth and adjust the salt before filling the jars.
- Use a slotted spoon to divide the vegetables evenly between the hot jars.
- Ladle hot broth over the vegetables, leaving 1 inch headspace. Keep extra broth or water hot on the side in case a jar comes up short.
- Release trapped air bubbles and check the headspace again, topping up with hot broth if needed.
- Wipe the rims and threads clean, set the lids on, and apply the bands fingertip tight.
- Load the jars into the pressure canner, fasten the lid, and vent a steady stream of steam for 10 minutes before adding the weight or closing the petcock.
- Process pints for 75 minutes or quarts for 90 minutes at 10 pounds pressure in a weighted gauge canner or 11 pounds in a dial gauge canner, adjusting for altitude (see notes).
- Turn off the heat and let the canner return to zero pressure on its own. Wait 5 minutes, then remove the weight or open the petcock.
- Unfasten the lid and open it away from your face. Leave the jars in the open canner for 10 minutes before removing them.
- Remove the jars to a towel-lined counter, leaving space between them, and let them cool undisturbed for 12 to 24 hours.
- Check the seals, remove the rings, label the jars, and store them in a cool, dark place.
Notes
- 0 to 2,000 feet: 11 lbs
- 2,001 to 4,000 feet: 12 lbs
- 4,001 to 6,000 feet: 13 lbs
- 6,001 to 8,000 feet: 14 lbs
- 0 to 1,000 feet: 10 lbs
- Above 1,000 feet: 15 lbs
Nutrition
Nutrition information is automatically calculated, so should only be used as an approximation.
Winter Squash Canning Recipes
More ways to put up a squash harvest:
Find the perfect recipe
Searching for something else? Enter keywords to find the perfect recipe!

Is there a reason why you don’t blend the soup up before hand? Or can you do it that way? 🙂
You can’t blend the soup before hand, unfortunately. Blending the soup makes heat transfer within the jar less efficient, and the center of the jar won’t properly sterilize. Soups are only tested for canning as chunks in liquid, rather than as purees.
Thankyou! You answer a lot of my questions I can’t find answers elsewhere. You’ll be my go to aside from usda sites
Wonderful!
This looks amazing! Can I use a cushaw squash instead of butternut?
I have a cushaw that I need to use up. Thanks! My family has been enjoying your recipies this year.
I actually had to look that one up, as I’d never heard of Cushaw squash. In general, all winter squash are equivalent in canning recipes. The only exception is spaghetti type squash that string apart (and those aren’t approved for canning). Any firm fleshed winter squash can be used in this recipe (hubbard, pumpkin, kabocha, etc). Cushaw, from what I just read about it, should be just fine. Enjoy!
Why do you need to precook everything if you are pressure canning?
The mixture is brought to a boil and boiled 5 minutes before going into the jars. You’re not really “pre-cooking” the soup as it’d all take a lot longer than that to actually cook. What you’re doing here is heating everything through so it’s all the same temperature when it goes into the canner. This helps prevent thermal shock on the jars and ensures everything comes up to pressure together in the canner. It also, believe it or not, actually helps the vegetables hold together better. Raw veggies have a lot of air in their tissues, which can cause them to blow apart in the canner. A quick pre-heat drives off the extra air, and actually results in veggies that hold together better in the end.
Anyhow, that’s the long answer. The short answer is, yes. Soup canning recipes are mostly tested as hot pack recipes with a 5 minute pre-heat and that’s generally what the NCHFP recommends. It’s possible raw packs work just as well, but that’s not how the recipes have been tested.
The recipe I usually use does not have potatoes, but has apples. Is it possible to substitute apples for potatoes?
Yes, that should be perfectly fine. Just be sure they’re very firm apples so they don’t fall apart into sauce in the jars, as they really should stay in whole chunks so the mixture doesn’t get too dense. Enjoy!
Hi! I can’t have white potatoes due to severe dietary restrictions. Could I potentially substitute sweet potato in instead? If not, could I just add more squash?
Thank you very much!
Yes, you could use either sweet potato or more squash. When you’re changing things up, just be sure to not overpack the jars so that there’s plenty of broth in there. The potatoes are in there to add a bit of creamy/starchy body to the soup, and another good substitute would be parsnips, which also have a similar nature. Enjoy!
I made this recipe this fall, and just served the first jar yesterday. It is so good! I dumped the whole jar including broth into the blender and blended it well. I wanted to taste it without added seasonings first, and it really doesn’t need anything. The variety of vegetables give it a nice depth of flavor.
Lovely! I’m so glad you enjoyed it!
Would it be safe to pressure can this recipe and include shredded chicken? There is a recipe I make just like this, but no potatoes, and with chicken, and serve over rice. Its delicious, and would be great if I could can with the added chicken.