This post may contain affiliate links. Please see our disclosure policy.
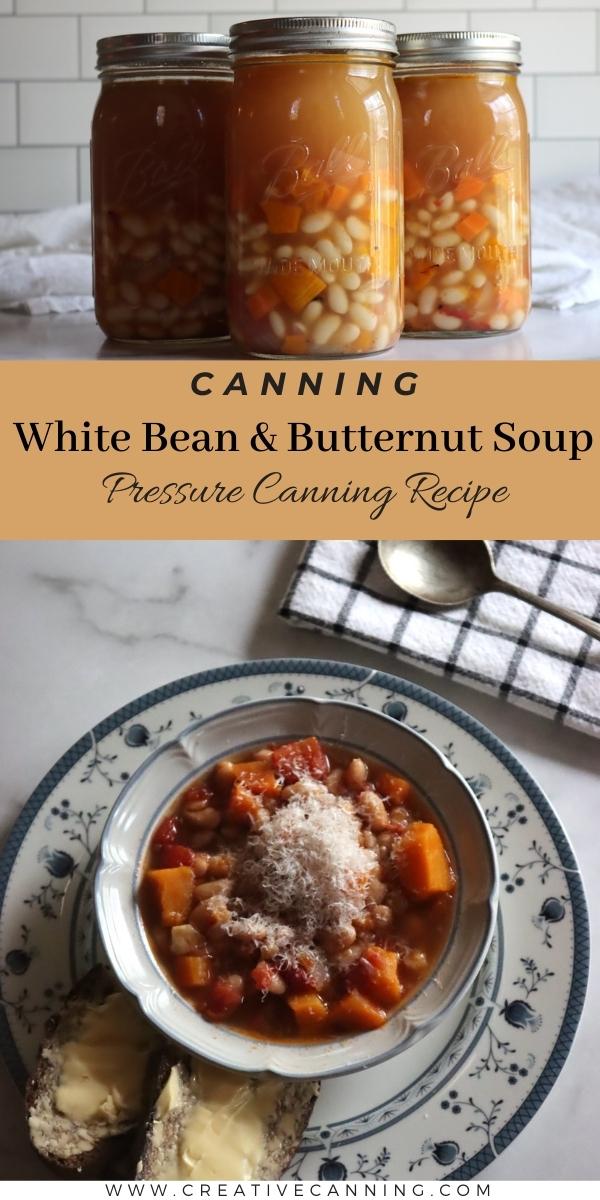
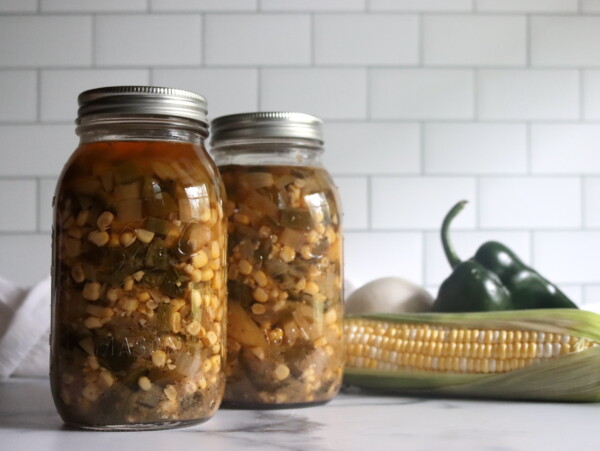
Butternut squash and white bean soup is the kind of jar you reach for on a cold evening when you want something warm and filling without much fuss. You pop the lid, puree it smooth, swirl in a little cream, and you have a velvety bowl of soup on the table in about ten minutes. Putting it up now means a whole shelf of those easy weeknight dinners waiting for you all winter long.
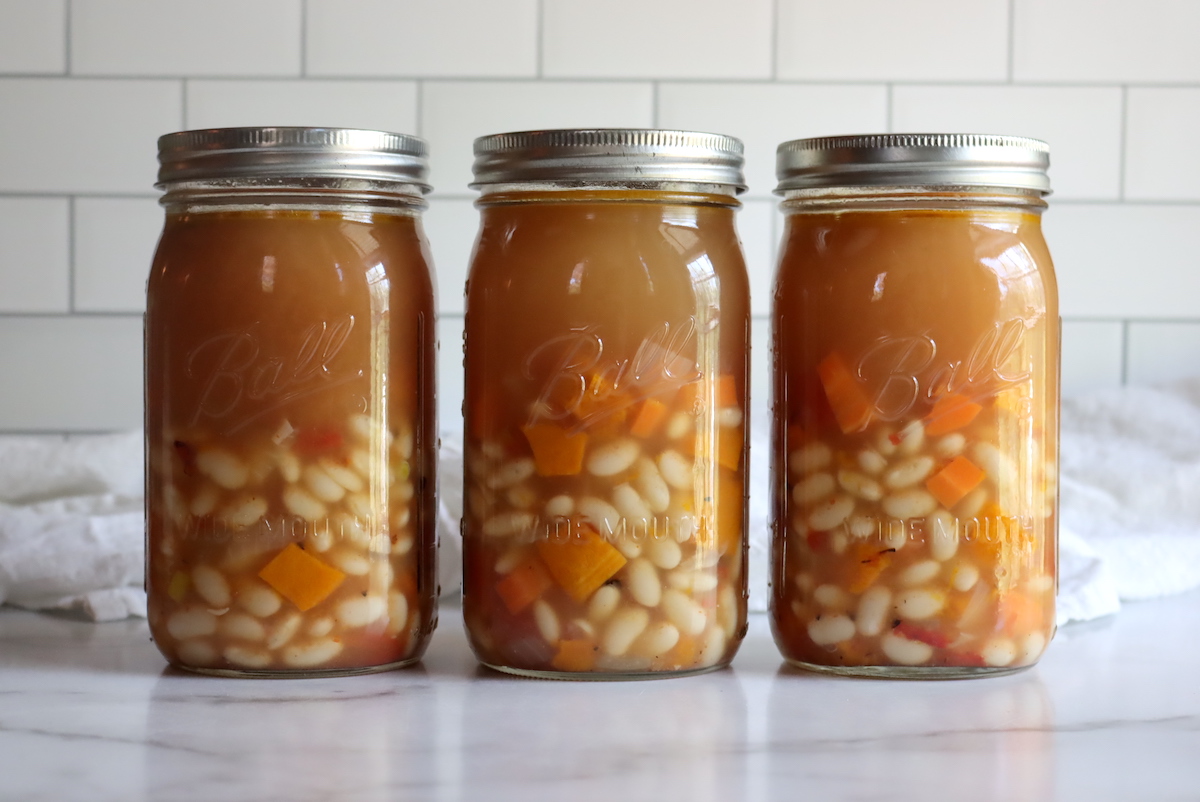
Table of Contents
- Notes from My Kitchen
- Quick Look at the Recipe
- Choosing Butternut Squash
- Ingredients for Butternut Squash and White Bean Soup
- Butternut Squash and White Bean Soup Variations
- How to Make Butternut Squash and White Bean Soup
- Canning Butternut Squash and White Bean Soup
- Altitude Adjustments
- Tips for Success
- Serving Ideas for Butternut Squash and White Bean Soup
- Yield Notes
- Butternut Squash and White Bean Soup FAQs
- Soup Canning Recipes
- Canning White Bean Soup with Butternut Squash Recipe
- Meal in a Jar Canning Recipes
This recipe has been reviewed for safety and accuracy by a Master Food Preserver certified through the University of Cornell Cooperative Extension.
This is a brothy soup canning recipe, with a flavor combination I adapted from Pressure Canning for Beginners and Beyond by Angi Schneider, canned using the half filled jar method from the NCHFP that keeps a soup like this safe.
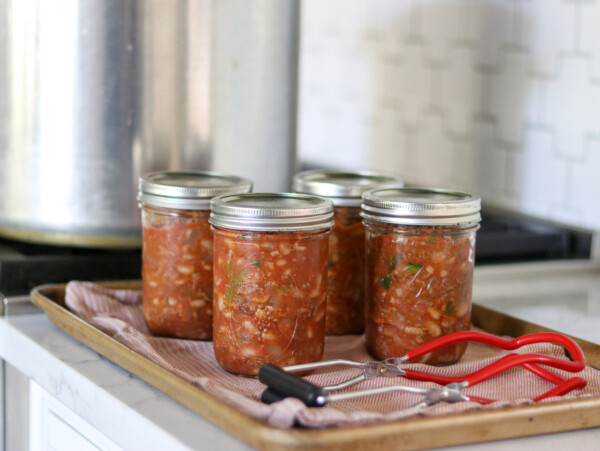
The creamy cannellini beans and the subtly sweet squash do most of the work, and a bit of crushed tomato adds just enough acidity to round out the flavor. Like every soup, it is low acid, so it is processed in a pressure canner, the same way as my chicken soup and split pea soup.
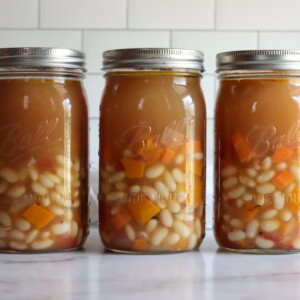
If you have made the butternut squash soup base before, this one will feel familiar, but the beans make it heartier and turn it into more of a meal in a jar. It is a brothy soup, which means the jars go in half filled with the squash, beans, and vegetables and the rest topped up with broth, and that half and half pack is part of what keeps it safe (more on that below).
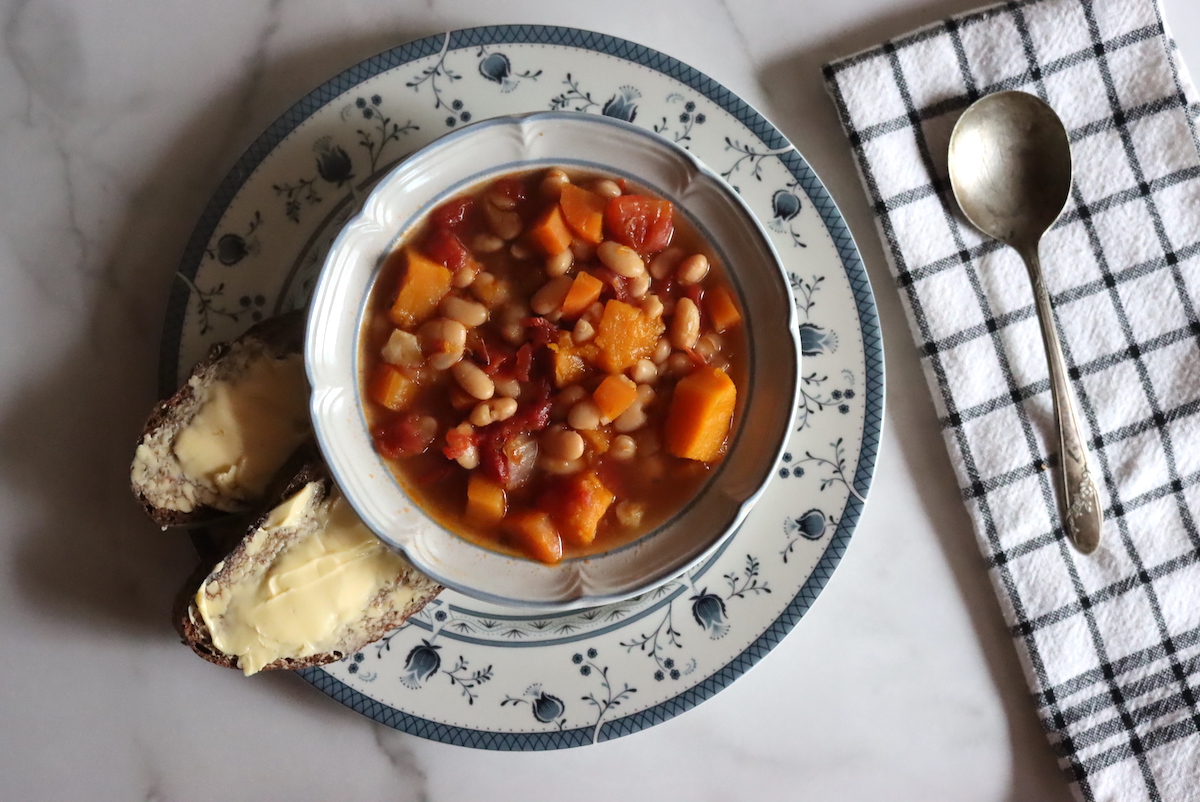
You blend it smooth right before serving, so even though the jars look brothy going in, the bowl comes out thick and creamy. (Or, you can serve it as is, without blending, maybe topped with a bit of cheese, for a simpler meal.) A full batch makes 8 pints or 4 quarts, with maybe a little extra to eat fresh while you wait for the canner.
Notes from My Kitchen

I started canning this one the year I had a glut of butternut squash that needed using up, and it has stayed in my rotation ever since. The broiling step is the part I would tell you not to skip if you have the time. Tossing the cubes in oil and running them under the broiler for a few minutes before they go in the jars gives the finished soup a deeper, almost roasted flavor that you really notice once it is pureed.
A canner load gives me eight pints, which works out to plenty of single-serving lunches plus a couple of dinners for the four of us. My kids will eat it without the cream, but I almost always stir a splash in when I reheat a jar, along with a handful of chopped chives if I have them. It tastes like something that took all afternoon, and the canning is the part that actually does.
Quick Look at the Recipe
- Recipe Name: Butternut Squash and White Bean Soup
- Recipe Type: Soup Canning Recipe (brothy soup, jars half filled with solids)
- Canning Method: Pressure Canning
- Prep Time: About 45 minutes (plus overnight bean soaking)
- Cook Time: About 20 minutes
- Canning Time: Pints 60 minutes, Quarts 75 minutes
- Yield: About 8 pints or 4 quarts
- Jar Sizes: Pints and quarts
- Headspace: 1 inch
- Ingredients Overview: Butternut squash, dried cannellini beans, crushed tomatoes, onion, carrot, broth, garlic, thyme, and cider vinegar
- Safe Canning Recipe Source: Canned as a brothy soup following the choice soup canning protocol (half filled jars, 60 minute pints and 75 minute quarts), with the flavor combination adapted from Pressure Canning for Beginners and Beyond by Angi Schneider
- Difficulty: Moderate
- Similar Recipes: Canning this soup works a lot like other pressure-canned bean soups, such as squash soup with beans and white bean and kale soup. If you love putting up winter squash, try other winter squash canning recipes like the butternut squash soup base or a Thai spiced butternut soup.
Choosing Butternut Squash
Butternut is the squash I reach for here because it peels and cubes easily and holds its shape through the long pressure process without turning to mush. Look for one that feels heavy for its size with a matte, hard skin and an intact stem, which are the signs of a squash that was harvested mature and will store and cook well. A single squash in the 3 pound range usually gets me close to the 2 pounds of peeled, cubed flesh the recipe needs.
You can swap in another firm winter squash if that is what you have on hand. Hubbard, kabocha, and acorn all work, though they each bring a slightly different sweetness and texture, and acorn in particular tends to be a bit more fibrous once pureed. Whatever you choose, peel it down to the dense orange flesh and cut it into even 1-inch cubes so it cooks at the same rate. If you want more ideas for the rest of your harvest, there are plenty of other winter squash canning recipes to work through.
Ingredients for Butternut Squash and White Bean Soup
The exact amounts are in the recipe card below, so this section is more about what each ingredient is doing in the jar and where you have a little room to make it your own. The thing to keep in mind with any canned soup is that every solid you put in has to have its own tested canning basis, which is exactly why this ingredient list stays simple and skips the cream, pasta, and thickeners until serving.
- Butternut Squash: The backbone of the soup, lending body and a gentle sweetness that balances the savory beans. Choose a firm winter squash, peel it, and cube it evenly so it holds up through processing. See the section above for substitutes among other winter squashes.
- Dried Cannellini Beans: These soft white beans give the soup its creamy, filling quality. They have to be fully rehydrated by soaking before they go in the jars, since dried beans expand and need to be pre-soaked for the heat to penetrate safely. Other white beans, like Great Northern or navy, can stand in for cannellini.
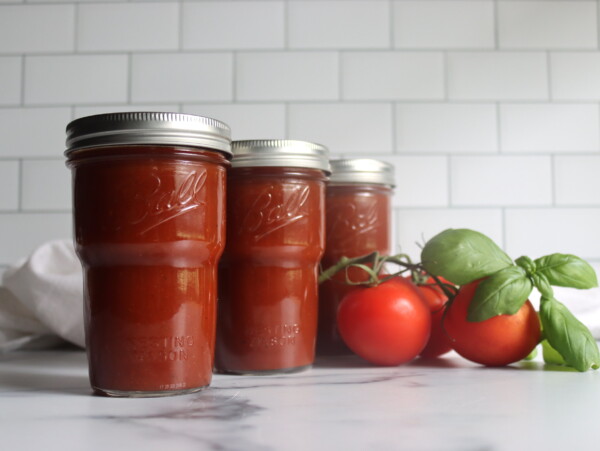
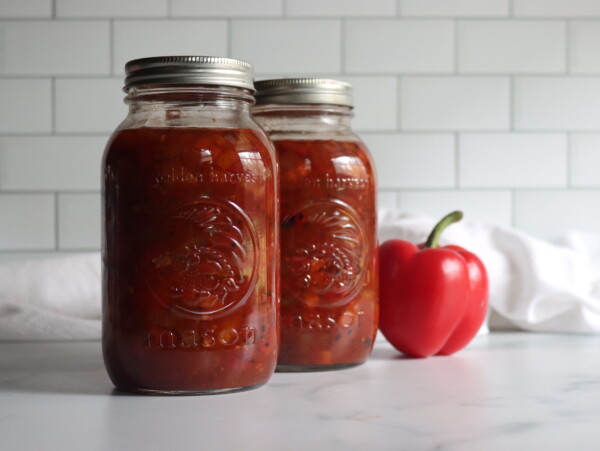
- Crushed Tomatoes: The tomatoes add a little acidity and brightness that keeps the soup from tasting flat. You can use home-crushed or store-bought, and if you would rather leave them out entirely, you can, just make up the difference with extra broth. There are loads more ideas in the tomato canning recipes if you want to put up your own.
- Onion and Carrot: The aromatic base of almost any soup. Yellow or white onions give the mildest flavor here, and the carrots add a touch of sweetness and color. Both have their own canning recommendations, which is what keeps them in bounds for a canned soup, and you can read more in my notes on canning carrots.
- Broth: The liquid that fills the jars around the solids. Chicken broth gives a richer result and vegetable broth keeps it meat-free, so use whichever suits you. Homemade is lovely if you have it, and you can put up your own following my chicken broth or vegetable broth recipes.
- Garlic, Thyme, and Salt: The seasoning. Garlic and thyme give it warmth, and the salt is for flavor. Seasonings like these are the one part of a canned soup you can adjust freely, since they do not affect the safety of the process.
- Apple Cider Vinegar: Just a tablespoon, and Angi notes it is there for flavor rather than preservation. A little acidity makes the other flavors pop, but it is not what makes the soup safe, so you can leave it out if you prefer.
The cream, the chopped chives, and any thickening all wait until serving, which is both a safety rule and the reason the finished bowl tastes so fresh. You can read more on why in the variations box just below.

Butternut Squash and White Bean Soup Variations
This is canned as a brothy soup, which is the part that keeps it safe, so it matters that you follow it. A brothy soup is packed with the jars only half filled with the solid squash, beans, and vegetables, and the rest of the jar topped up with broth to a 1 inch headspace. That half solids and half liquid pack is not just a suggestion, it is what lets the heat move all the way through the jar during processing, and it is the reason the NCHFP soup canning guidelines set the process the way they do. Pack the jars half full of solids, process pints for 60 minutes and quarts for 75 minutes, and do not crowd extra solids in, shorten the time, lower the pressure, or try a water bath canner. Soup is low acid, and a pressure canner is the way to reach a temperature high enough to make it shelf stable.
You have plenty of room to make it your own at serving time, though. The cream, any flour or other thickener, and add-ins like cooked pasta or rice all go in after you open a jar and reheat the soup, never before canning, because thickeners and dairy keep heat from moving through the jar safely. Within the recipe itself you can swap one firm winter squash for another, use a different white bean, choose chicken or vegetable broth, and adjust the garlic, thyme, and salt to taste. Just keep the squash, beans, broth, and process the way they are written.
How to Make Butternut Squash and White Bean Soup
The whole process comes together in an afternoon, and the one thing you have to plan ahead for is soaking the beans. Use the overnight method or the quick-soak method, but do it before you start so it does not hold up the rest of your project. For the quick soak, cover the beans with water, bring them to a boil for 2 minutes, then take them off the heat and let them sit in the hot water for an hour before draining.
From there it is mostly browning the squash, getting everything to a brief boil, and packing the jars. Nothing here is complicated, but it helps to read through the steps once before you begin so you have the canner heating while you work.
Prepare the Ingredients
Start by turning the oven to broil. Toss your 2 pounds of cubed butternut squash with the 2 tablespoons of olive oil, spread the cubes on a baking sheet, and broil them until they are browned, which takes about 3 to 5 minutes. Pull the pan out once or twice to stir so the cubes brown on all sides. They will not all brown evenly, and that is fine, but watch them closely so they do not burn, and do not let them cook all the way through, or they will turn mushy after processing.
This broiling step is optional, so if you would rather skip it you can, but it does build a deeper flavor in the finished soup. While the squash browns, drain your soaked beans, put them in a large stockpot, cover them with fresh water, and bring them to a boil. Pull them off the heat right away and drain the water again.
Simmer and Pack the Jars
Put the drained beans back in the stockpot and add the broiled squash along with the onions, carrots, tomatoes, broth, vinegar, garlic, and thyme. Bring the mixture to a boil over high heat, then reduce it to a gentle boil for about 5 minutes. The squash and beans will not be fully cooked at this point, and that is exactly right, because they finish cooking in the jars during processing. Do not keep simmering them on the stove or they may end up too soft.
Take the pot off the heat and pack the jars as a brothy soup, which means filling each jar only about halfway with the solid squash, beans, and vegetables, then ladling in broth to cover them and bring the jar up to a 1 inch headspace. That half solids, half liquid pack is the part that keeps the soup safe, so resist the urge to crowd in extra chunks. Run a bubble removal tool around the inside of each jar and recheck the headspace, topping up with hot broth or boiling water if you come up short on liquid. Wipe the rims with a clean, damp cloth, then set the lids in place and screw the bands on until they are fingertip tight.
Canning Butternut Squash and White Bean Soup
This is a hot-pack recipe, and the smallest batch you would want to run is 4 pints or 2 quarts so the jars sit properly in the canner. A full batch fills eight 1-pint jars or four 1-quart jars, and in my experience the recipe delivers right on that yield, sometimes with a little soup left over to enjoy fresh.
To can, prepare your pressure canner, jars, and lids. Fill the canner with a few inches of water according to your manufacturer’s instructions and keep the empty jars hot inside it until you are ready to fill them, since this is a hot pack and the water should be heated to about 180 degrees Fahrenheit. Fill the jars half full of solids and top them with broth to a 1 inch headspace, remove the air bubbles, wipe the rims, and apply the lids and bands fingertip tight. Lock the lid and vent the canner for a full 10 minutes before you bring it up to pressure.
Process pints for 60 minutes or quarts for 75 minutes at 10 pounds pressure in a weighted gauge canner or 11 pounds in a dial gauge canner, adjusting for altitude using the table below. When the time is up, turn off the heat and let the canner cool and depressurize naturally. Never force cool it. Once it has returned to zero pressure, remove the jars and let them sit undisturbed for at least 12 hours before checking the seals.
Altitude Adjustments
With pressure canning, the processing times stay the same at higher altitudes, but the pressures change. Here are the altitude adjustments for pressure canning butternut squash and white bean soup:
For dial gauge pressure canners:
- 0 to 2,000 feet: 11 lbs pressure
- 2,001 to 4,000 feet: 12 lbs pressure
- 4,001 to 6,000 feet: 13 lbs pressure
- 6,001 to 8,000 feet: 14 lbs pressure
For weighted gauge pressure canners:
- 0 to 1,000 feet: 10 lbs pressure
- Above 1,000 feet: 15 lbs pressure
Tips for Success
The broiling step is worth the few extra minutes, but the key is to brown the squash without cooking it through. You are after color on the outside, not soft cubes, because the jars do the real cooking. The same goes for that 5 minute boil on the stove, which is just meant to heat everything through, not to finish the soup.
Keep an eye on your solids-to-liquid balance as you pack. The jars should go in only about half full of squash, beans, and vegetables, with broth making up the rest, so spoon the solids in first to gauge that halfway point, then add broth to a 1 inch headspace. Beans and squash soak up broth, so it is common to come up a little short on liquid as you go, and that is what the extra hot broth or boiling water is for. Filling much past half with solids slows the heat moving through the jar, which is why the half and half pack matters.
Serving Ideas for Butternut Squash and White Bean Soup
This soup is made to be pureed at serving. Empty a jar into a blender and blend it smooth, or use an immersion blender right in the pot, then warm it through over medium heat until it is bubbling, about 10 minutes. Once it is hot, stir in a splash of heavy cream (roughly a quarter cup per quart jar) and let it heat another minute or two. The cream is one of those things that has to wait until now rather than going in before canning, and it turns the soup silky. A scatter of chopped green onions or chives on top finishes it off.
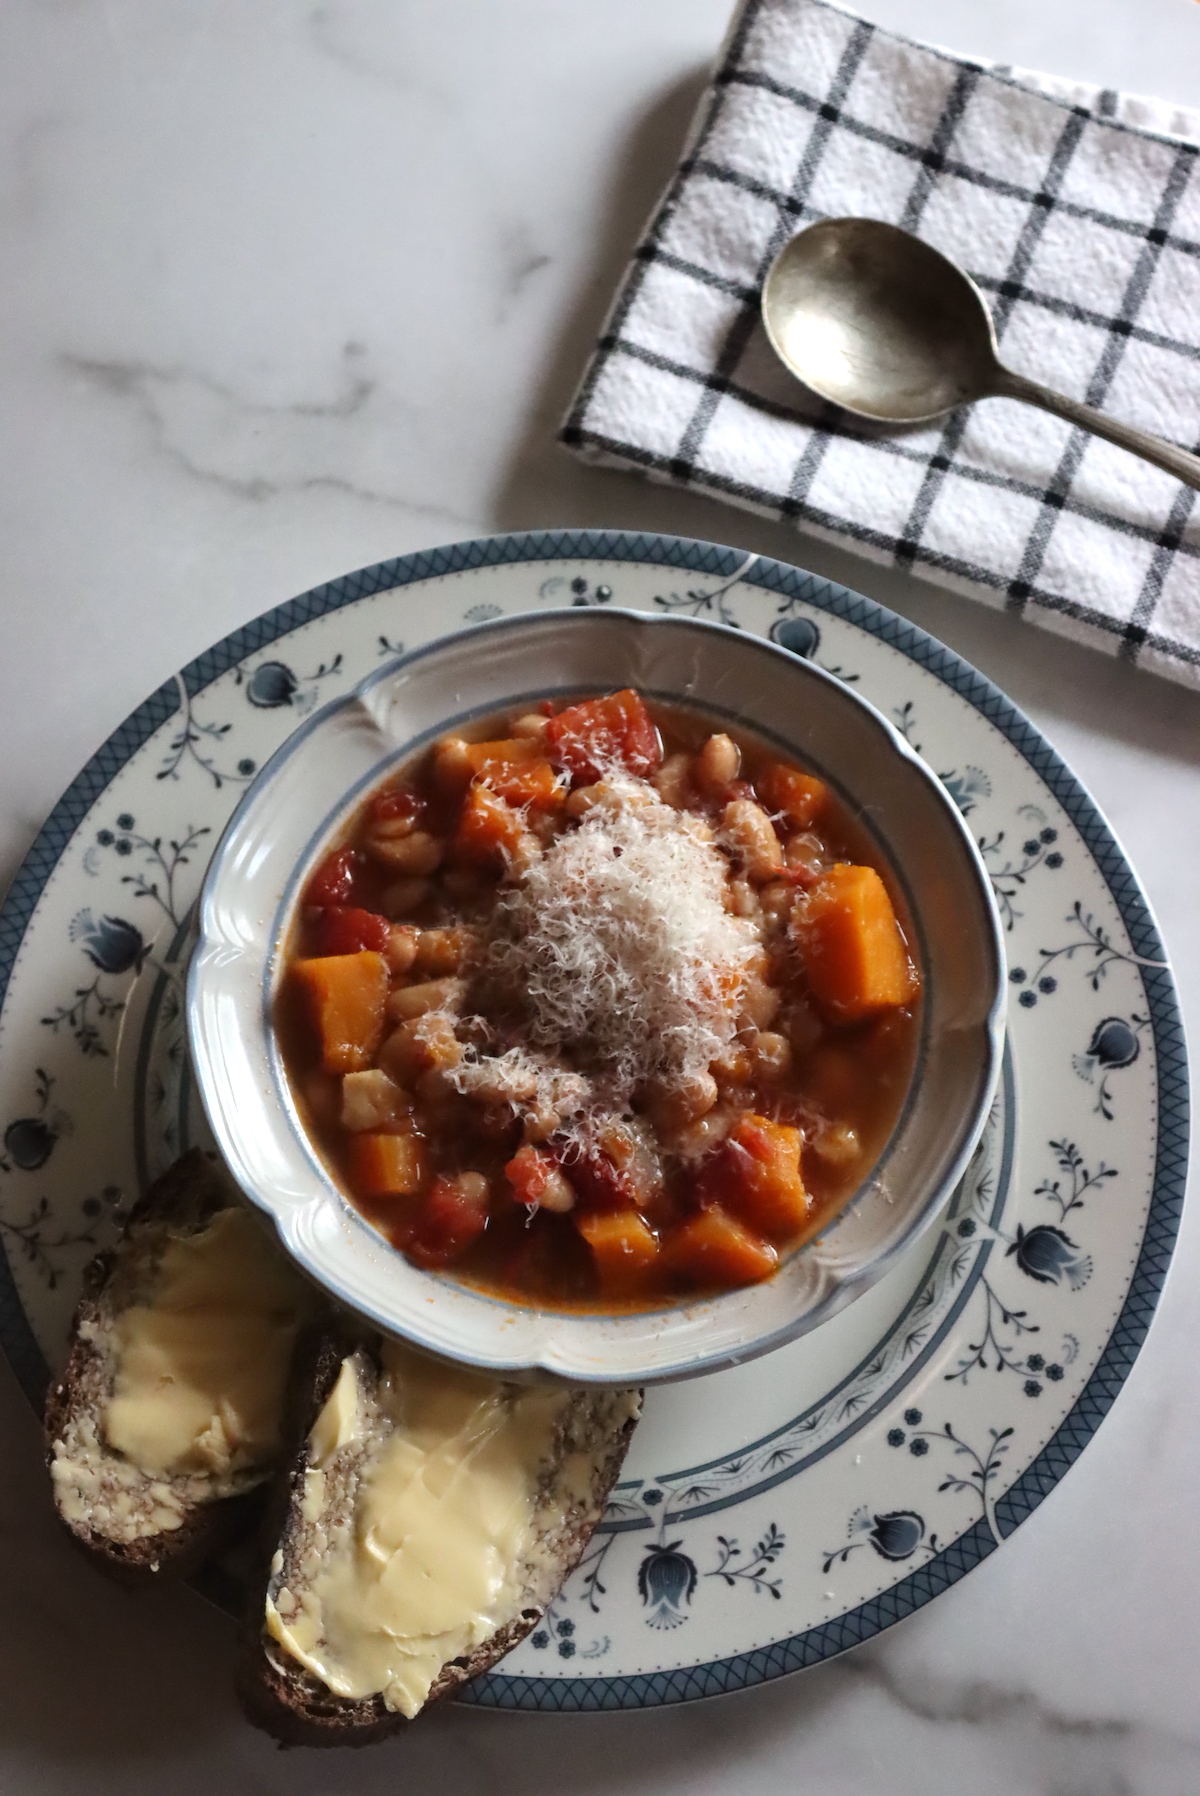
It eats like a full meal on its own, but it is lovely with a hunk of crusty bread, a handful of crackers, or a simple green salad alongside. On the coldest nights I like it with grated cheese melted over the top instead of cream. If you want to round out a pantry of quick dinners like this, it sits nicely next to the other meal in a jar canning recipes and the heartier sausage, potato, and kale soup.
Yield Notes
A full batch makes 8 pints or 4 quarts, which comes out to about 16 cups of soup (one cup is one serving). Because it packs half solids and half broth, the exact count can shift a little depending on how much the beans and squash soak up the liquid, so do not be surprised if you finish with seven and a half pints one time and a touch over eight the next.
You can scale the recipe up or down as long as you stay at or above the 4 pint or 2 quart minimum batch, since a single jar or two will not sit correctly in the canner. The processing time and pressure never change with batch size, only with your jar size and altitude.
A few more questions tend to come up with this one, so here are the answers I get asked about most.
Butternut Squash and White Bean Soup FAQs
No. This soup contains low-acid ingredients, so it is not safe for water bath canning. You need to use a pressure canner to reach a high enough temperature for safe, shelf-stable jars.
No. Flour, cornstarch, and other thickeners are too dense to let heat move through the jar safely, so they are never added before canning. Thicken the soup on the stove when you reheat it to serve, or simply puree it, which gives it a thick texture on its own.
Yes. The tomatoes are there for flavor and a bit of acidity, not for safety, so you can leave them out and make up the volume with extra chicken or vegetable broth to fill the jars to a 1 inch headspace.
No. Broiling the squash cubes before canning is an optional step that deepens the flavor of the finished soup. You can skip it and pack the raw cubes, and the soup will still be safe and good, just a little less roasted in flavor.
Properly processed and sealed jars keep for about 12 to 18 months in a cool, dark place, though they stay safe longer. Refrigerate after opening and use within 3 to 4 days.
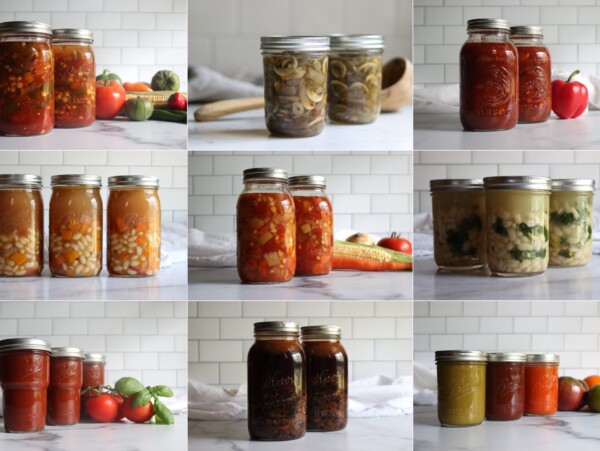
There are so many different soups worth putting up for the pantry. Here are a few more to try:
Soup Canning Recipes
If you tried this Butternut Squash and White Bean Soup recipe, or any other recipe on Creative Canning, leave a ⭐ star rating and let me know what you think in the 📝 comments below!
And make sure you stay in touch with me by following on social media!
Canning White Bean Soup with Butternut Squash
Equipment
- Canning Jars, Lids and Bands
Ingredients
- 2 lbs butternut squash, peeled, cubed, and de-seeded, cut into 1-inch or 2.5 cm cubes
- ¾ lbs dried cannellini beans, presoaked
- 2 tbsp olive oil
- 2 cups onions, diced
- 1 cup carrots, peeled and diced
- 6 cups broth, chicken or vegetable
- 5 cups tomatoes, peeled and crushed, fresh or canned
- 4 cloves garlic, minced
- 1 tbsp apple cider vinegar
- 1 tbsp canning salt
- 1 tsp dried thyme
Instructions
- Prepare the pressure canner, jars, and lids. Fill the canner with a few inches of water according to the manufacturer's instructions and keep the jars hot inside it. This is a hot pack recipe, so heat the water to about 180 degrees F.
- Turn the oven to broil. Toss the cubed butternut squash with the olive oil, spread it on a baking sheet, and broil until browned, stirring once or twice, about 3 to 5 minutes. Do not fully cook the squash. This step is optional, but it adds flavor.
- Drain the soaked beans, put them in a large stockpot, cover with fresh water, and bring to a boil. Remove from the heat and drain.
- Return the beans to the pot and add the broiled squash, onions, carrots, tomatoes, broth, vinegar, garlic, and thyme. Bring to a boil over high heat, then reduce to a gentle boil for 5 minutes. The squash and beans will not be fully cooked, and that is fine, since they finish cooking in the jars.
- Pack the jars as a brothy soup, filling each one only about halfway with the solid squash, beans, and vegetables, then ladling in broth to cover and bring the jar up to a 1 inch headspace. Keeping the jars half solids and half liquid is what keeps the soup safe, so do not crowd in extra solids.
- Remove the air bubbles and recheck the headspace, topping up with hot broth or boiling water if you come up short on liquid. Wipe the rims with a clean, damp cloth, then apply the lids and bands fingertip tight.
- Process pints for 60 minutes or quarts for 75 minutes at 10 lbs pressure in a weighted gauge canner or 11 lbs in a dial gauge canner, adjusting for altitude.
- Allow the canner to depressurize naturally, then remove the jars and let them cool undisturbed for at least 12 hours before checking the seals.
Notes
- 0 to 2,000 feet in elevation – 11 lbs pressure
- 2,001 to 4,000 feet in elevation – 12 lbs pressure
- 4,001 to 6,000 feet in elevation – 13 lbs pressure
- 6,001 to 8,000 feet in elevation – 14 lbs pressure
- 0 to 1,000 feet in elevation – 10 lbs pressure
- Above 1,000 feet – 15 lbs pressure
Nutrition
Nutrition information is automatically calculated, so should only be used as an approximation.
This soup earns its spot next to the rest of my pressure canning recipes, and it is worth brushing up on the altitude adjustments for pressure canning before you start so your process is dialed in for where you live. If you would rather invent your own combination, the tested choice soup canning recipe framework lets you build a soup from scratch, and the vegetarian soup canning recipes gather the meat-free options in one place.
Meal in a Jar Canning Recipes

Find the perfect recipe
Searching for something else? Enter keywords to find the perfect recipe!

Hi Ashley!
I can’t have tomatoes- what other veg could I use instead? Equal amount of kale?
This recipe follows the “choice” soup protocol for canning. You can read more about that here and what changes you can make: https://creativecanning.com/choice-soup-canning-recipe/
In short, yes, you can substitute kale for the tomatoes (or just skip the tomatoes), just make sure you don’t fill the jars more than half way with solids.
This is so good! I just canned it this fall.
When I served the first jar, I cooked up ground chicken with sausage seasonings, added a package of kale and a quart of broth. Once those were cooked I added the jar of soup to the pot. It made a nice hearty meal.
That sounds amazing!
New favorite comfort soup! I find that the squash gets too soft, so I put the whole thing in the blender and I now have my favorite mug of soup! Thank you for the inspiration!
Wonderful, so glad you enjoyed it! (I guess it depends on your squash, some stay firmer than others.)