This post may contain affiliate links. Please see our disclosure policy.
Canning pumpkin at home requires a pressure canner, but it’s not all that complicated if you know the steps. There’s currently only one safe method for pressure canning pumpkin, approved by the National Center for Food Preservation, and this is it!
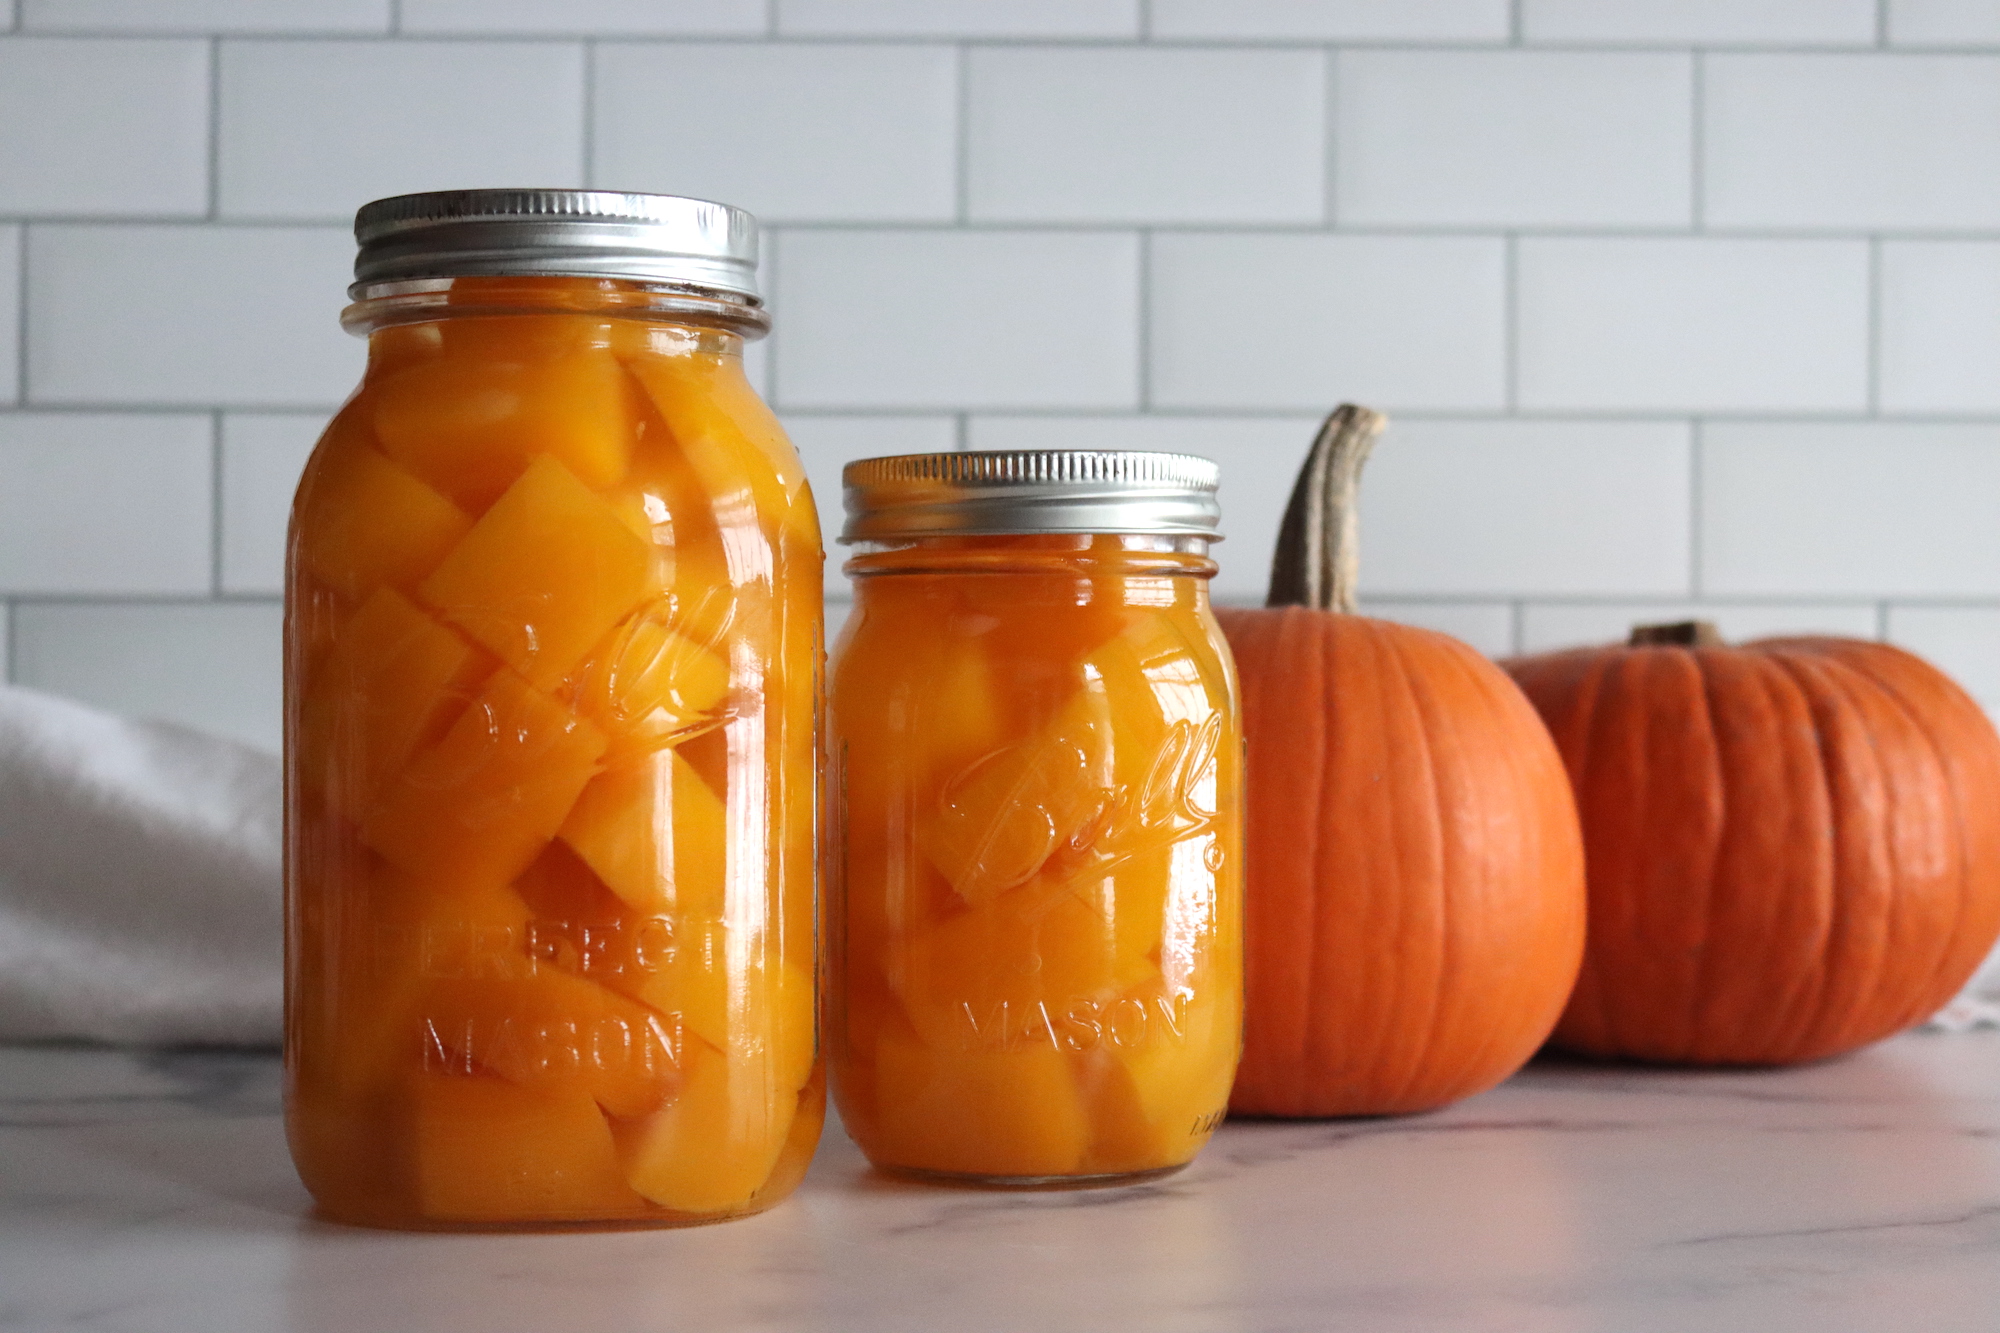
Pumpkin was the very first thing I pressure canned, more than 15 years ago. We had a bumper crop of luscious heirloom pumpkins and no way to store them, and canning came to the rescue.
Pumpkins do pretty well in a root cellar, but few people have one of those on hand these days, and they’re incredibly bulky to store whole. Once you’ve pulled out the seeds and peeled them, they take up very little space in canning jars on your pantry shelf.
Freezing cooked pumpkin works too, but that’s a lot of freezer space and you’re always at risk of losing it all in a power outage. Canning pumpkin at home means you can store it worry free, and you don’t have to worry about spoilage in a root cellar or freezer.
Pressure Canning Pumpkin
Pumpkin is a low-acid food, meaning it must be canned in a pressure canner. Water bath canning, which is fine for high-acid foods like fruits and pickles, won’t work for pumpkin because it doesn’t reach a high enough temperature to kill harmful bacteria.
You might have heard about the old days when people water bath canned pumpkin, but please don’t try that! It’s simply not safe.
Pumpkin Puree vs. Pumpkin Cubes
I know, everyone’s bummed to hear that you can’t can pumpkin puree. Pumpkin and all winter squash must be canned as cubes instead. Puree is thick and doesn’t always heat evenly in a home canner. Commercially, they’re using a standardized density of pumpkin inside the cans, and subjecting those tin cans to a lot more than most what we’re doing with glass at home.
But no worries, you can always puree the pumpkin after it comes out of the jars, and having cubes actually gives you a bit more versatility in recipes later. Cooked pumpkin cubes do well in chili, thai curries, and soups, too.
Choosing the Right Pumpkin
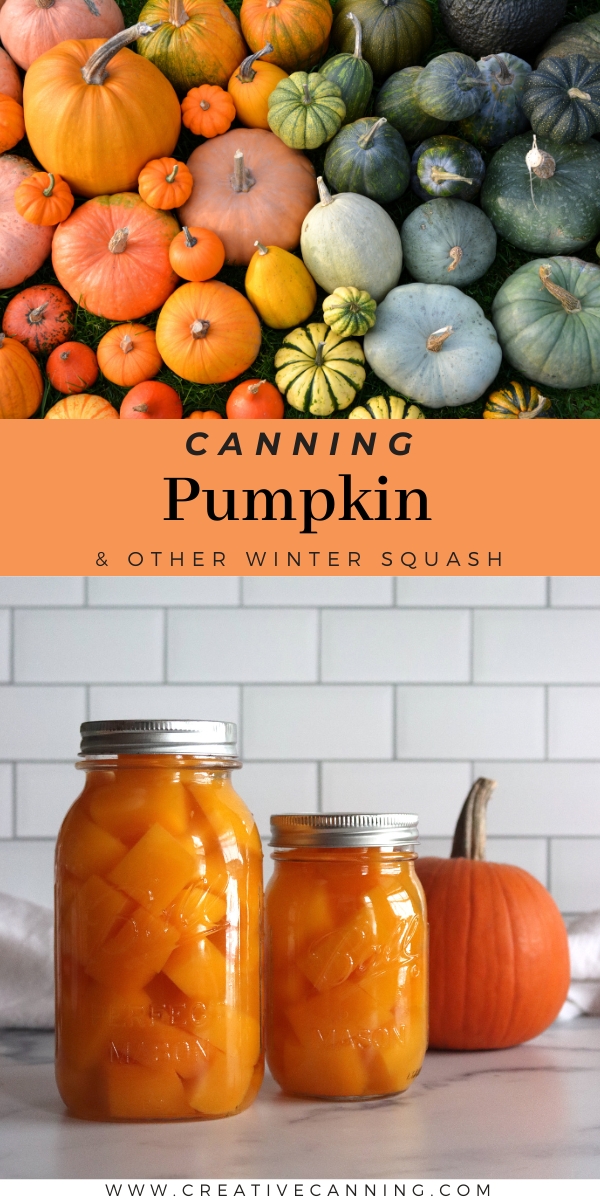
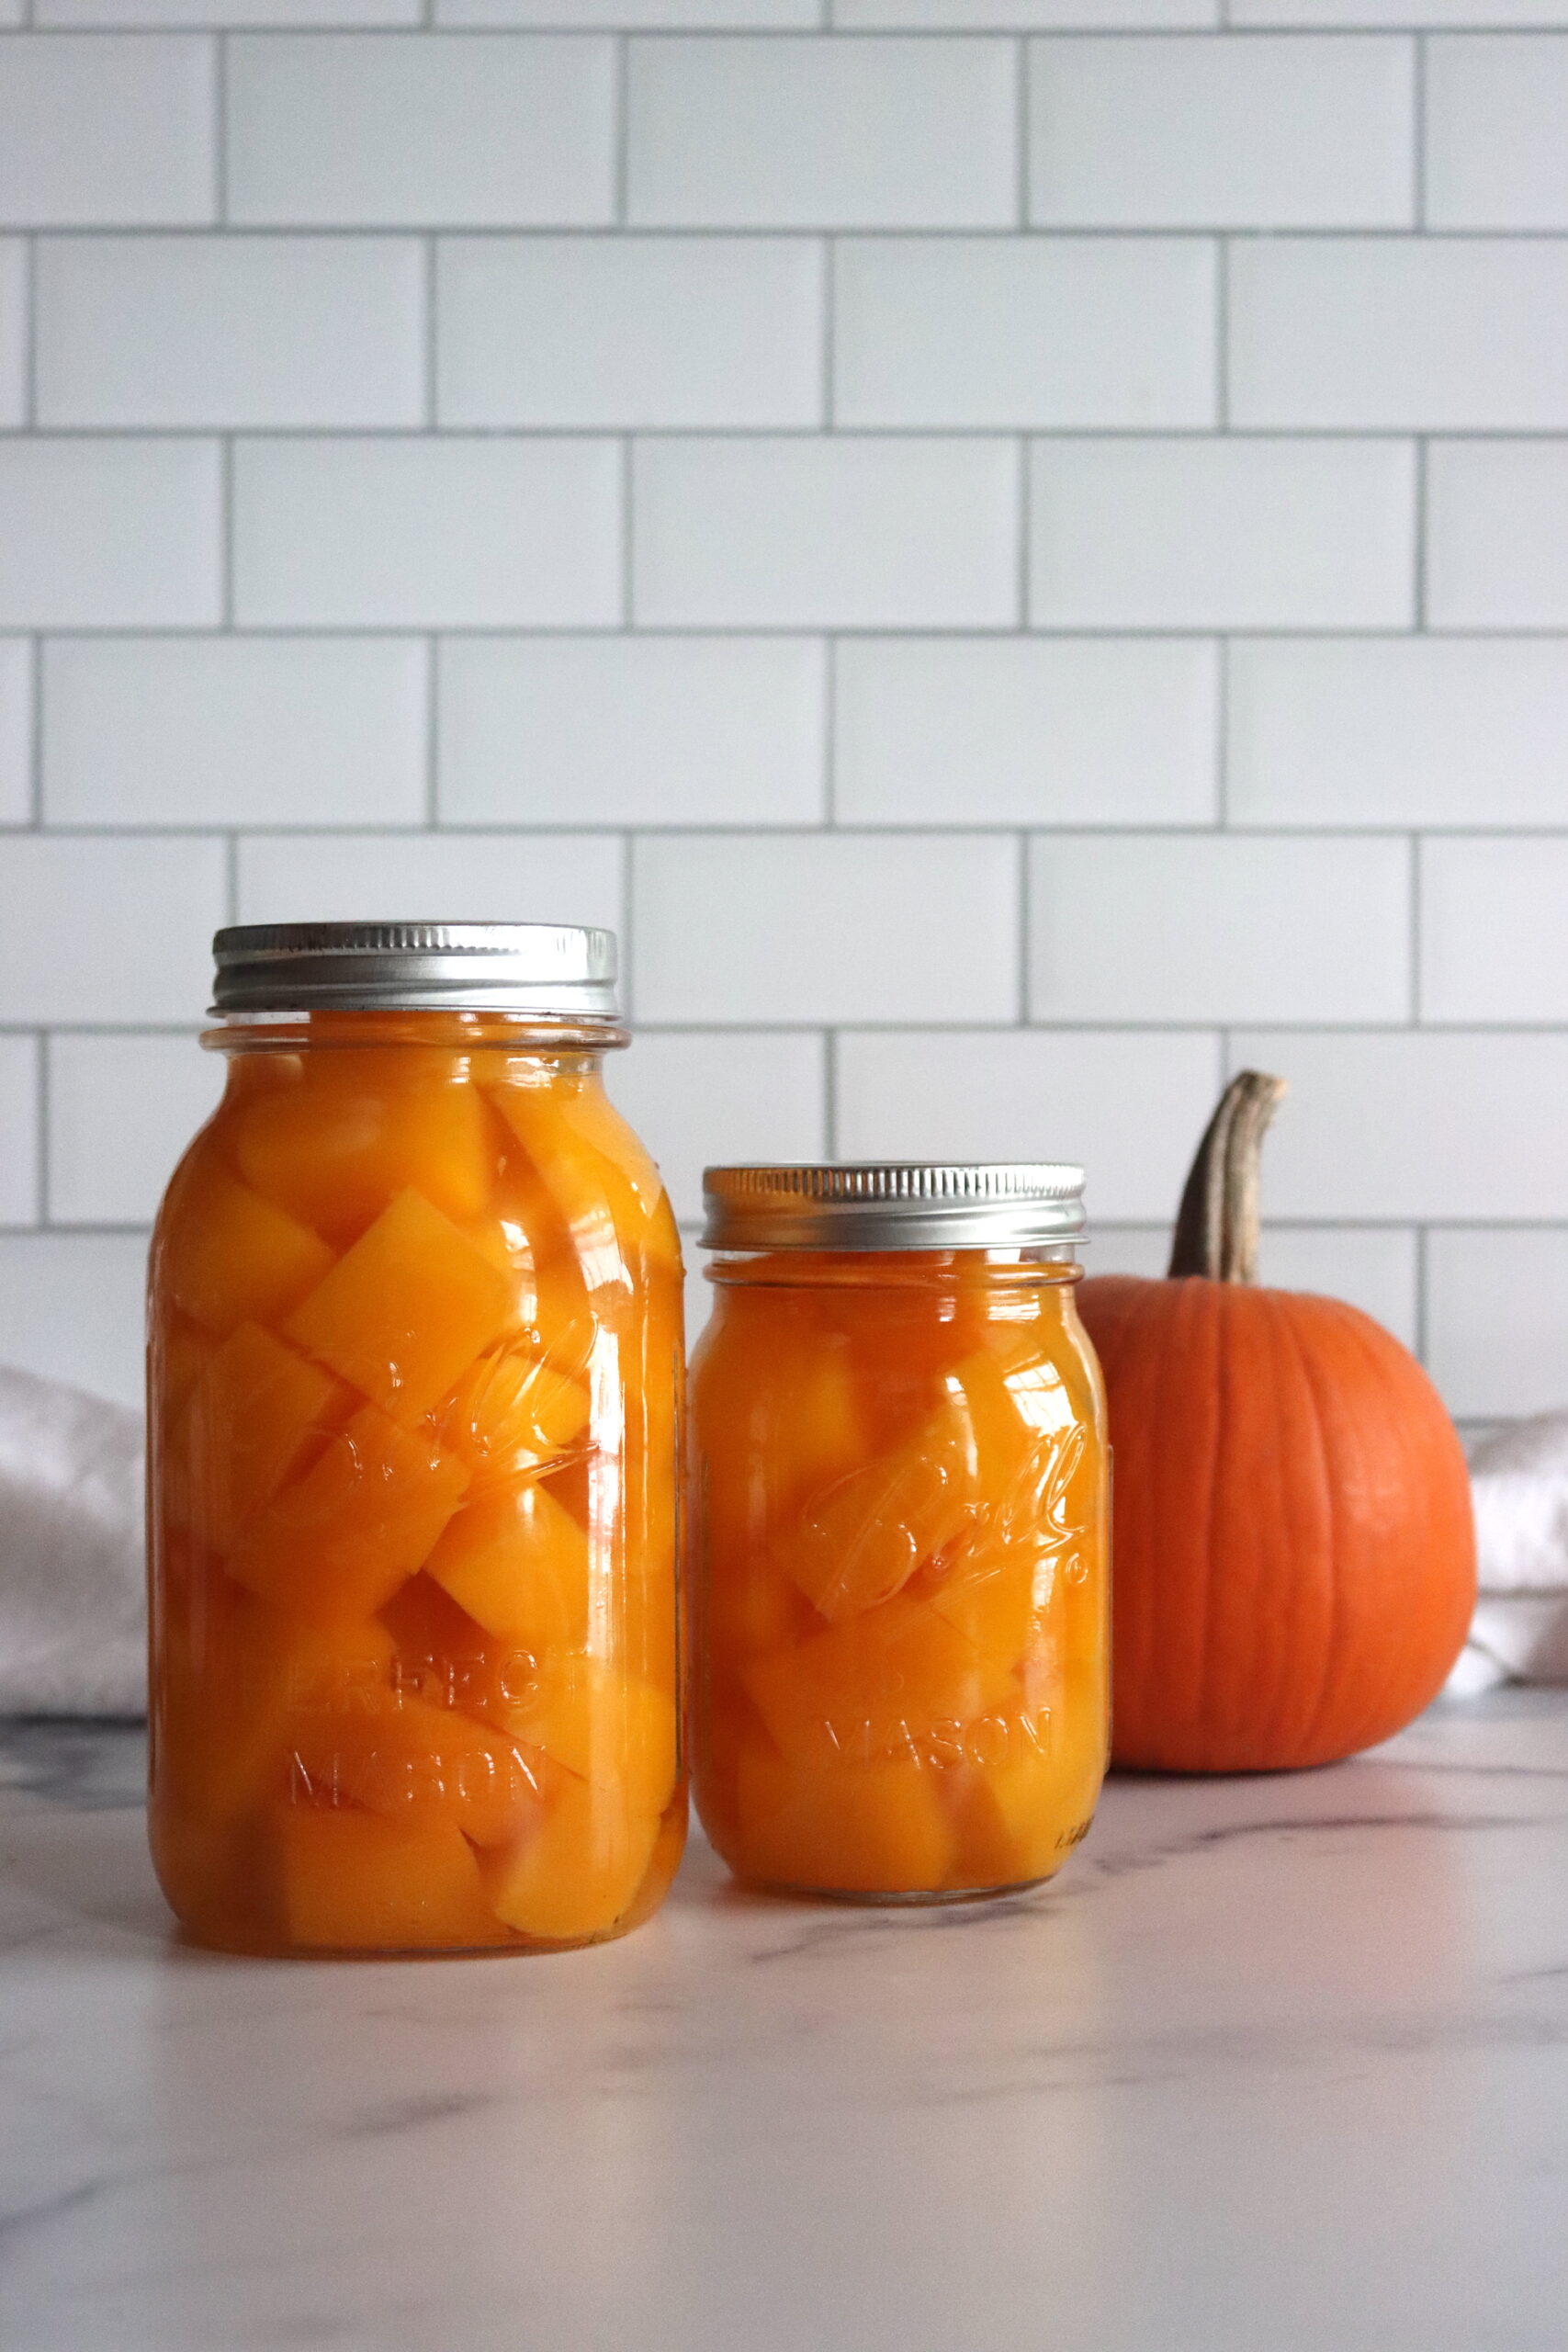
For canning, look for pie pumpkin varieties, which have a firm, non-stringy texture. My favorite is the New England Cheese pumpkin; it’s rich in flavor and holds up beautifully in a jar. The classic pie pumpkin varieties that are available at the grocery store in the autumn work well too.
Other good winter squash options include blue Hubbard and butternut squash, and this same process can be used for those varieties as well. Just steer clear of spaghetti squash, which falls apart during cooking. Since it won’t stay in cubes, spaghetti squash isn’t approved for canning.
Summer squash like zucchini, crookneck and patty pan squash also fall apart in the jar, and those are not approved for canning either.
Stick with firm, flavorful winter squash varieties.
How Much Pumpkin Do You Need?
The actual amount of pumpkin needed for a canner batch can vary widely by variety. Some pumpkins have a lot more flesh than others, so it’s tricky to generalize accurately.
Still, the National Center for Home Food Preservation does give some guidance. They suggest roughly these amounts:
- An average of 16 pounds is needed for a canner load of 7 quarts.
- An average of 10 pounds is needed for a canner load of 9 pints.
This averages out to about 2¼ pounds of whole pumpkin per quart. When I prepared and canned pumpkin at home I was able to fit 1 ½ pounds of prepared pumpkin cubes into a quart jar, so you do lose quite a bit of weight peeling and seeding the pumpkins.
That’s going to be a bit different for something like a butternut squash that has a small seed cavity, so you’ll have to adjust a bit, but at least these quantities give you a rough idea where to start.
Preparing the Pumpkin
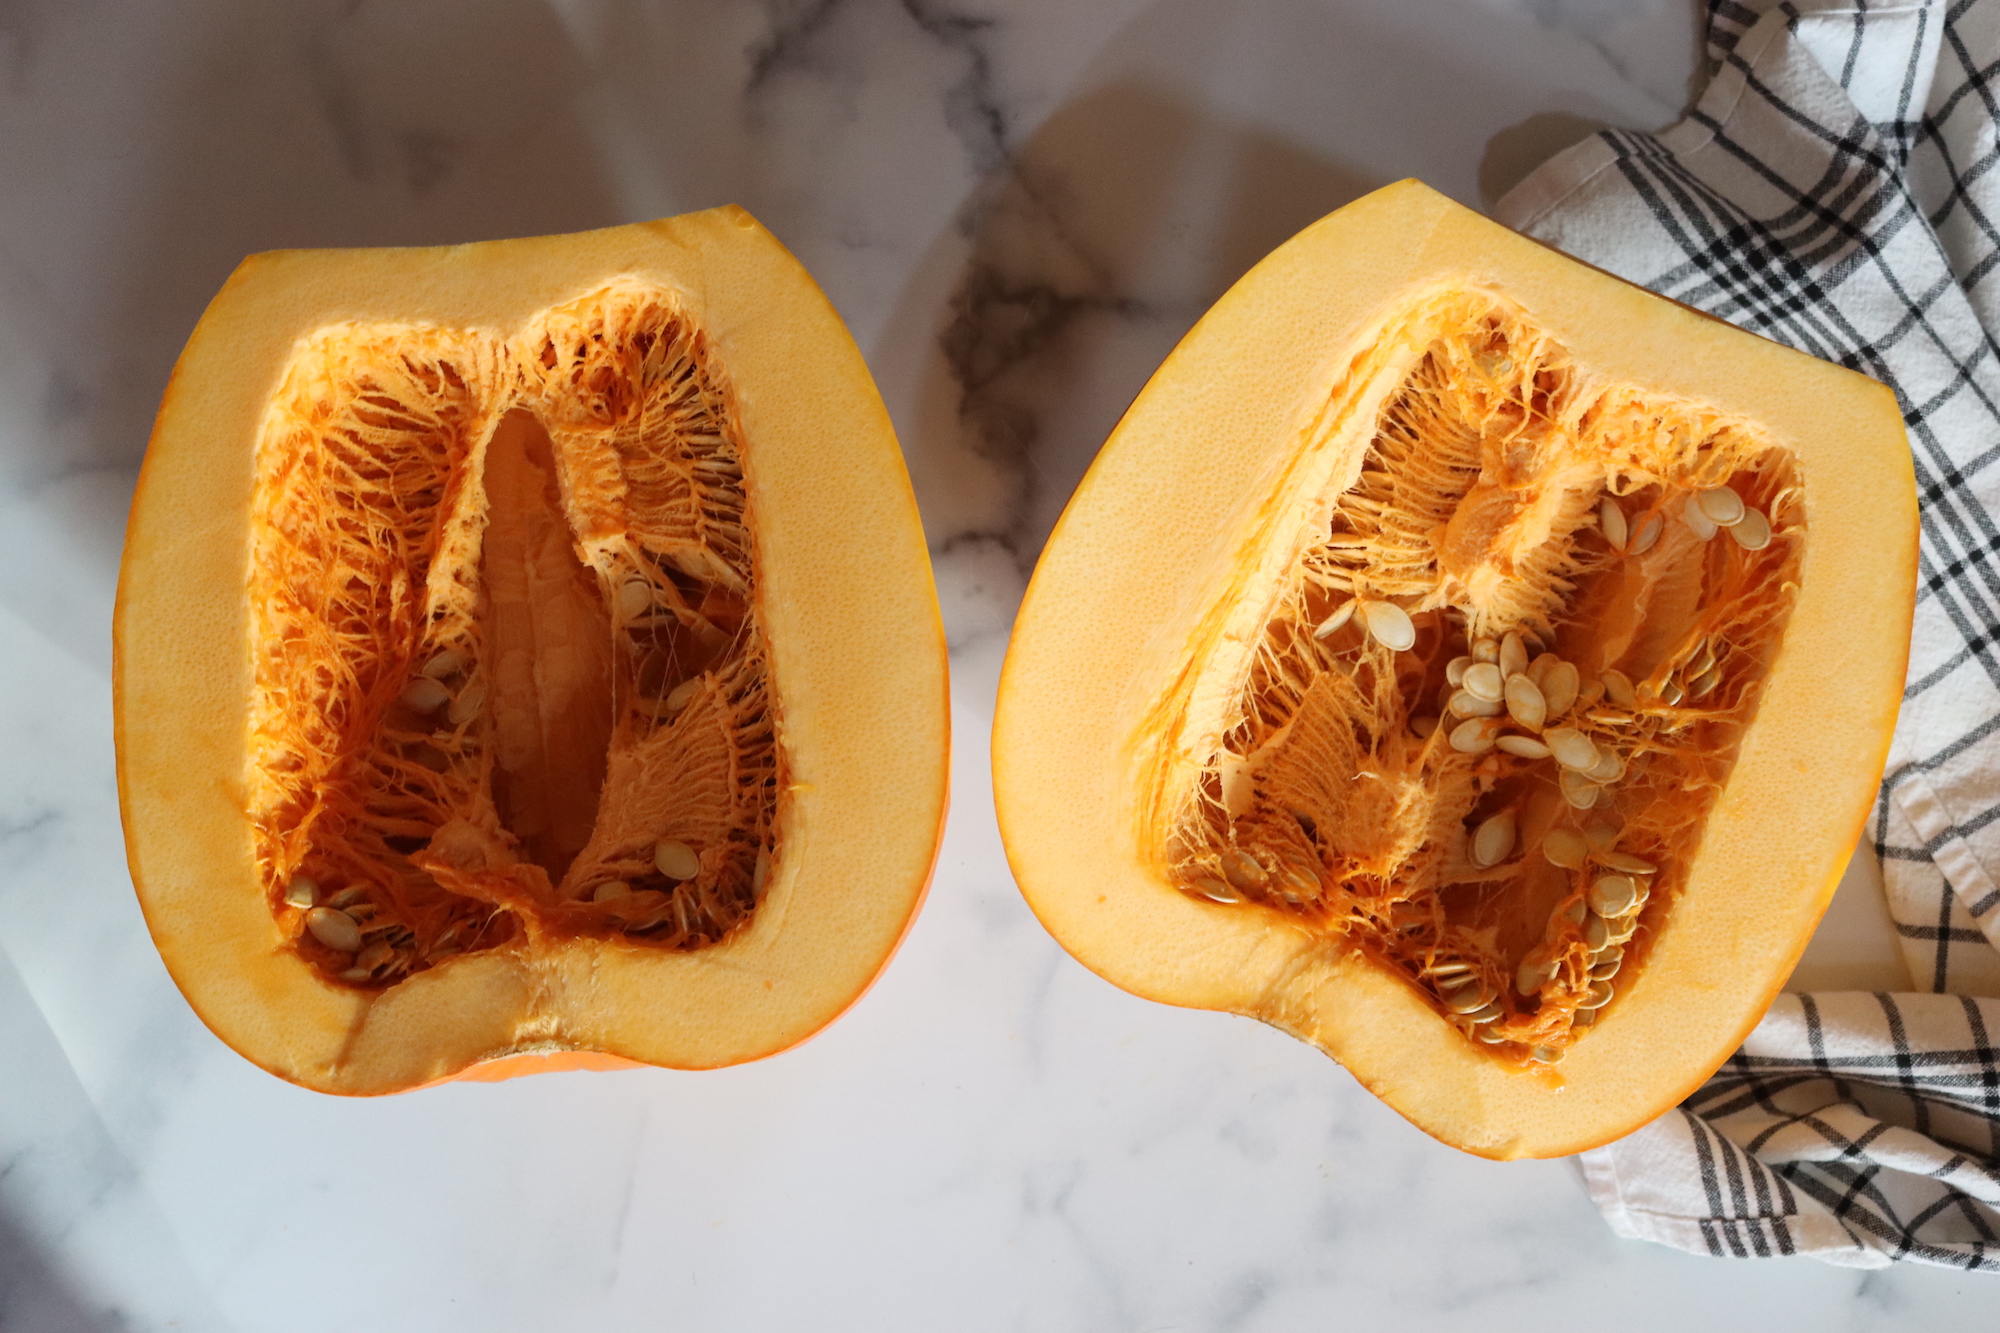
The hardest part of the process is preparing the pumpkin. Though it’s just a few quick steps in theory, it’s kind of a pain in practice. Be careful here, pumpkins are tough to cut when whole, make sure your knife doesn’t slip!
Here’s what you need to do:
- Cut in Half: Start by carefully slicing the pumpkin in half with a large cleaver.
- Scoop Out Seeds: Remove the seeds and stringy insides, leaving just the flesh.
- Slice: Cut the halves into 1-inch-wide slices.
- Peel and Cube: Cut the flesh into 1-inch cubes.
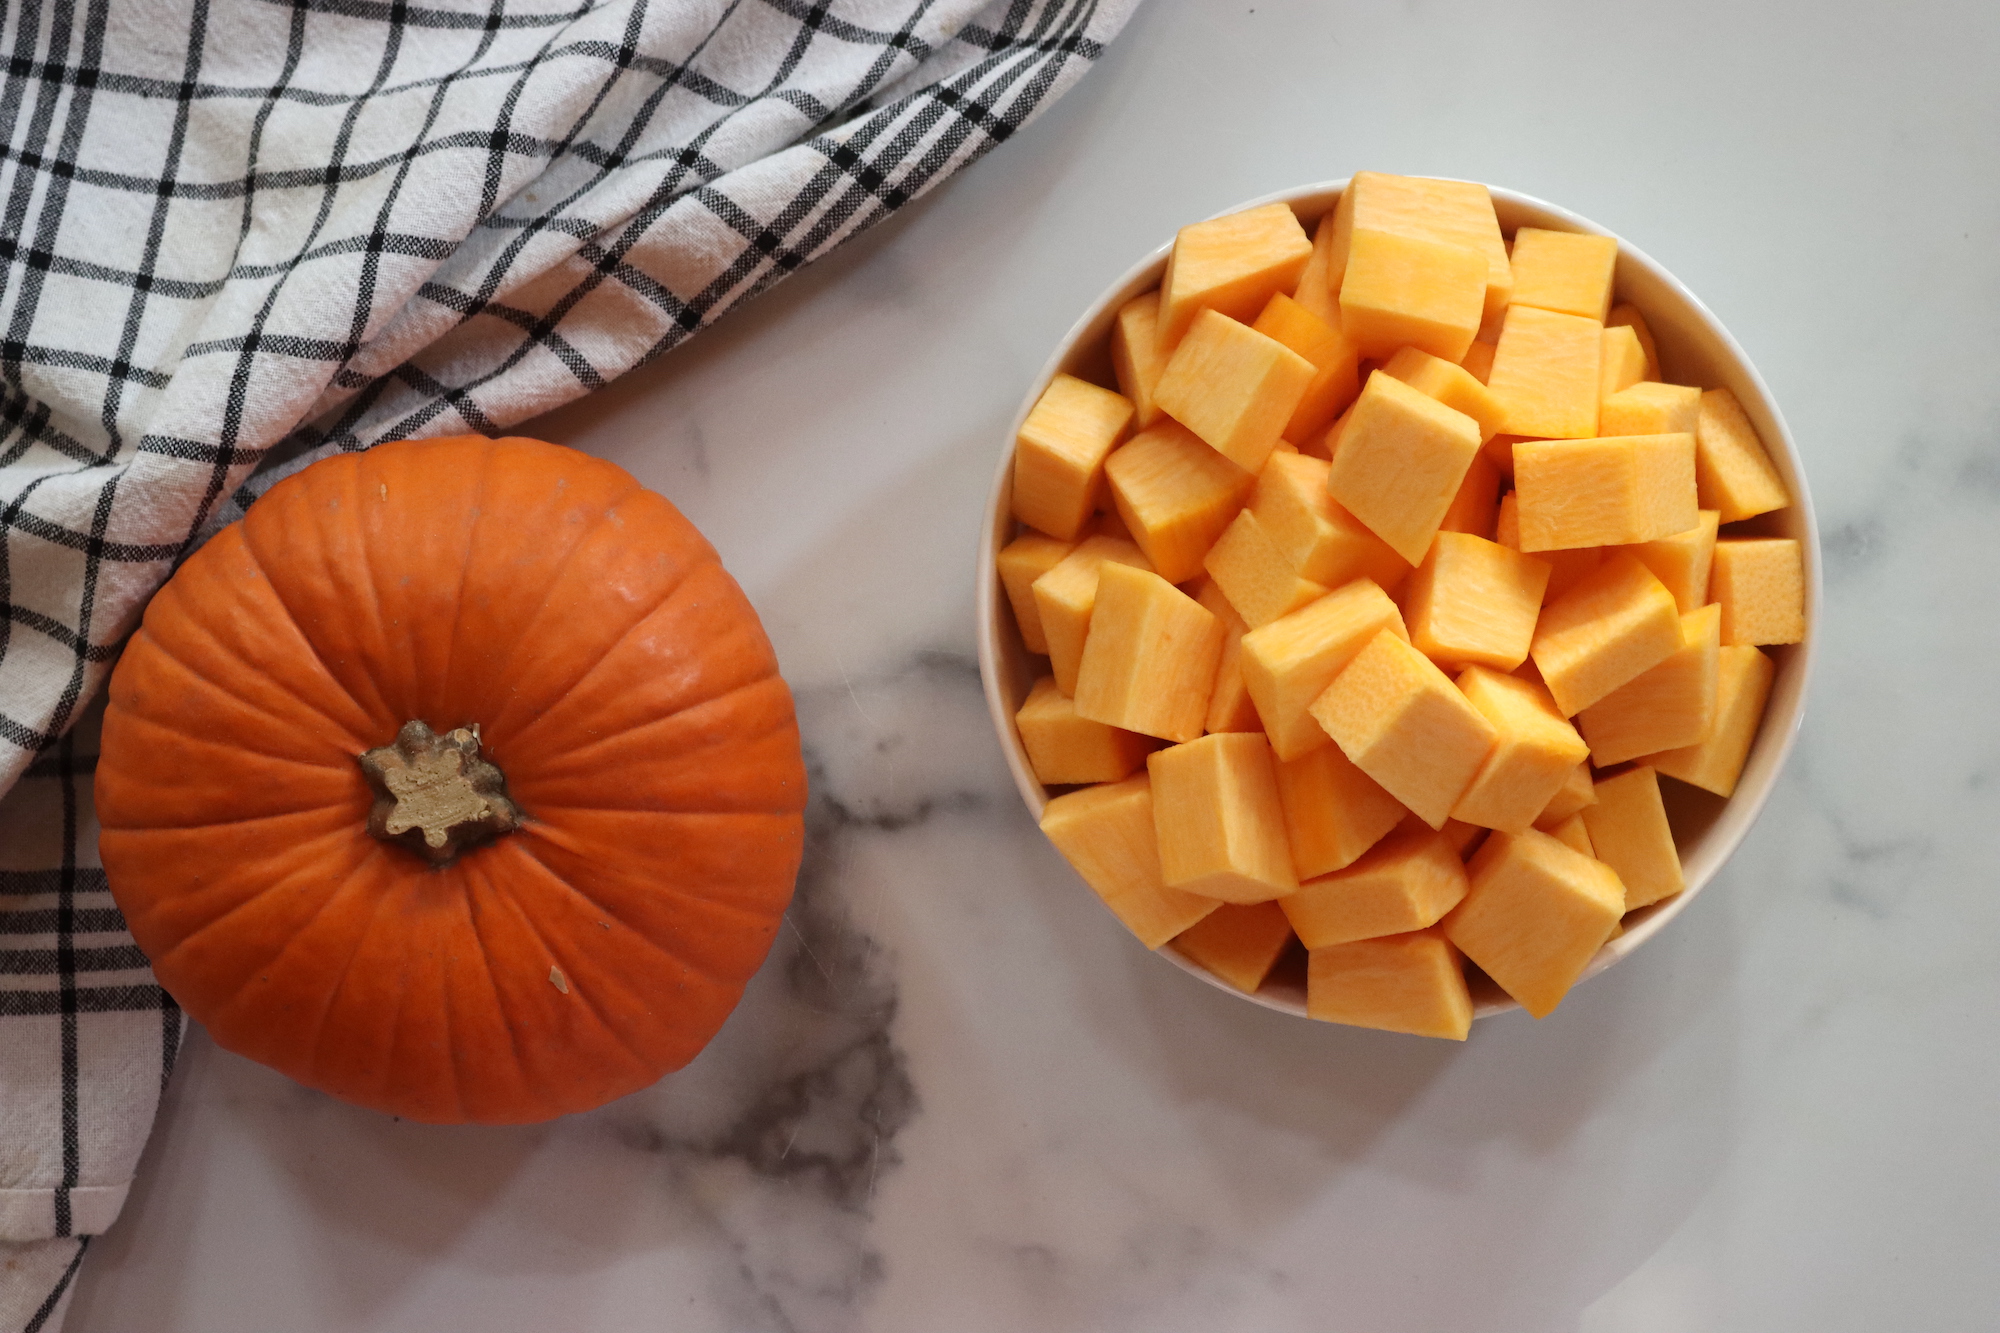
You should end up with about 1 1/2 pounds of prepared pumpkin cubes for each quart jar.
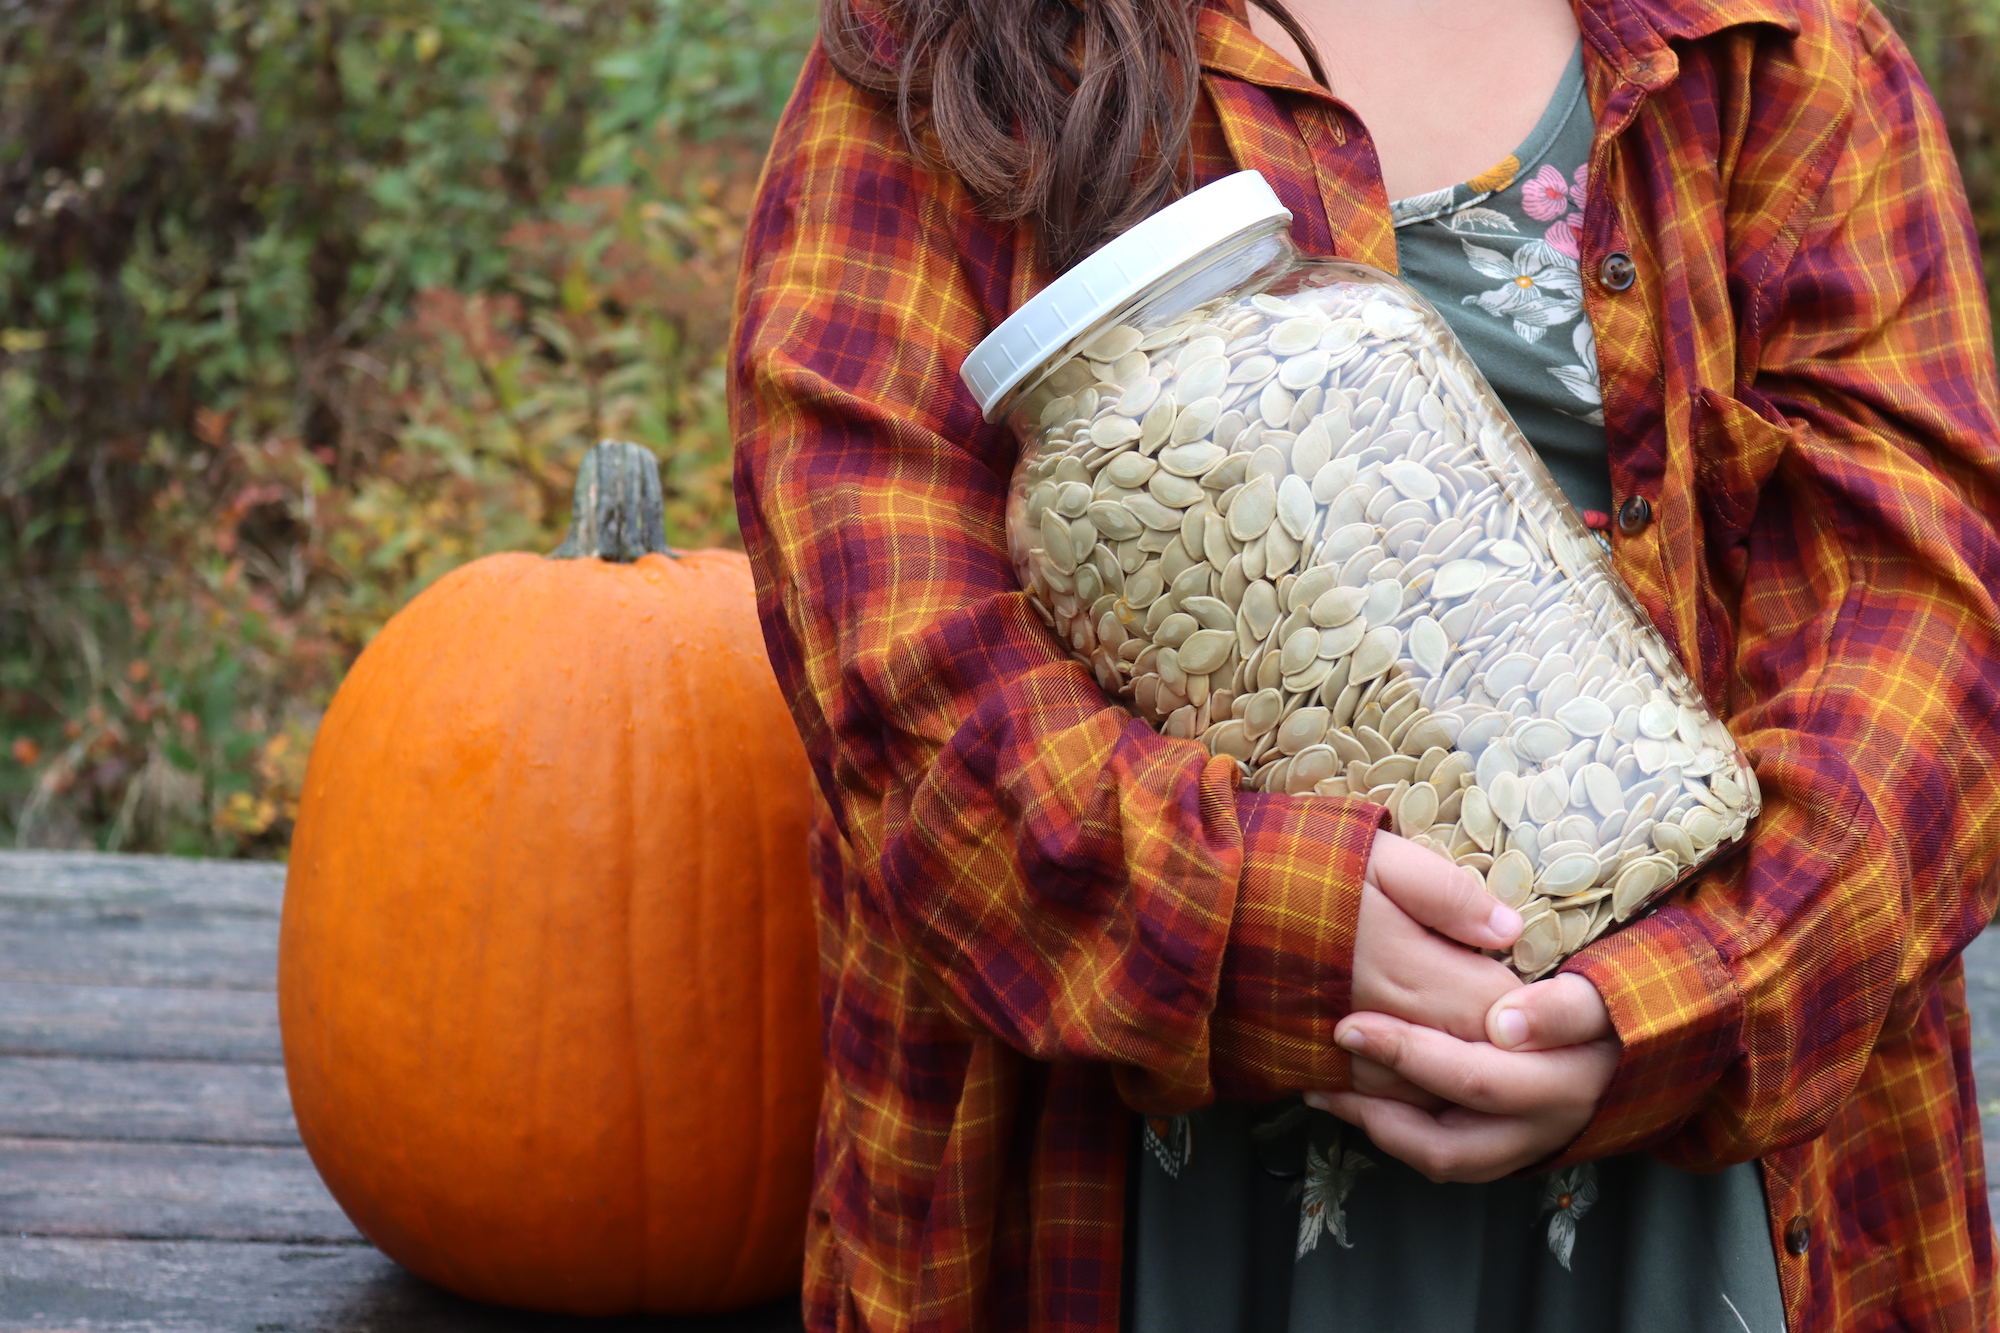
The seeds are perfect for feeding to poultry or other livestock, but you can also roast pumpkin seeds at home and they’re delicious. Just be sure to wash all the stringy bits off before roasting.
Canning Pumpkin in a Pressure Canner
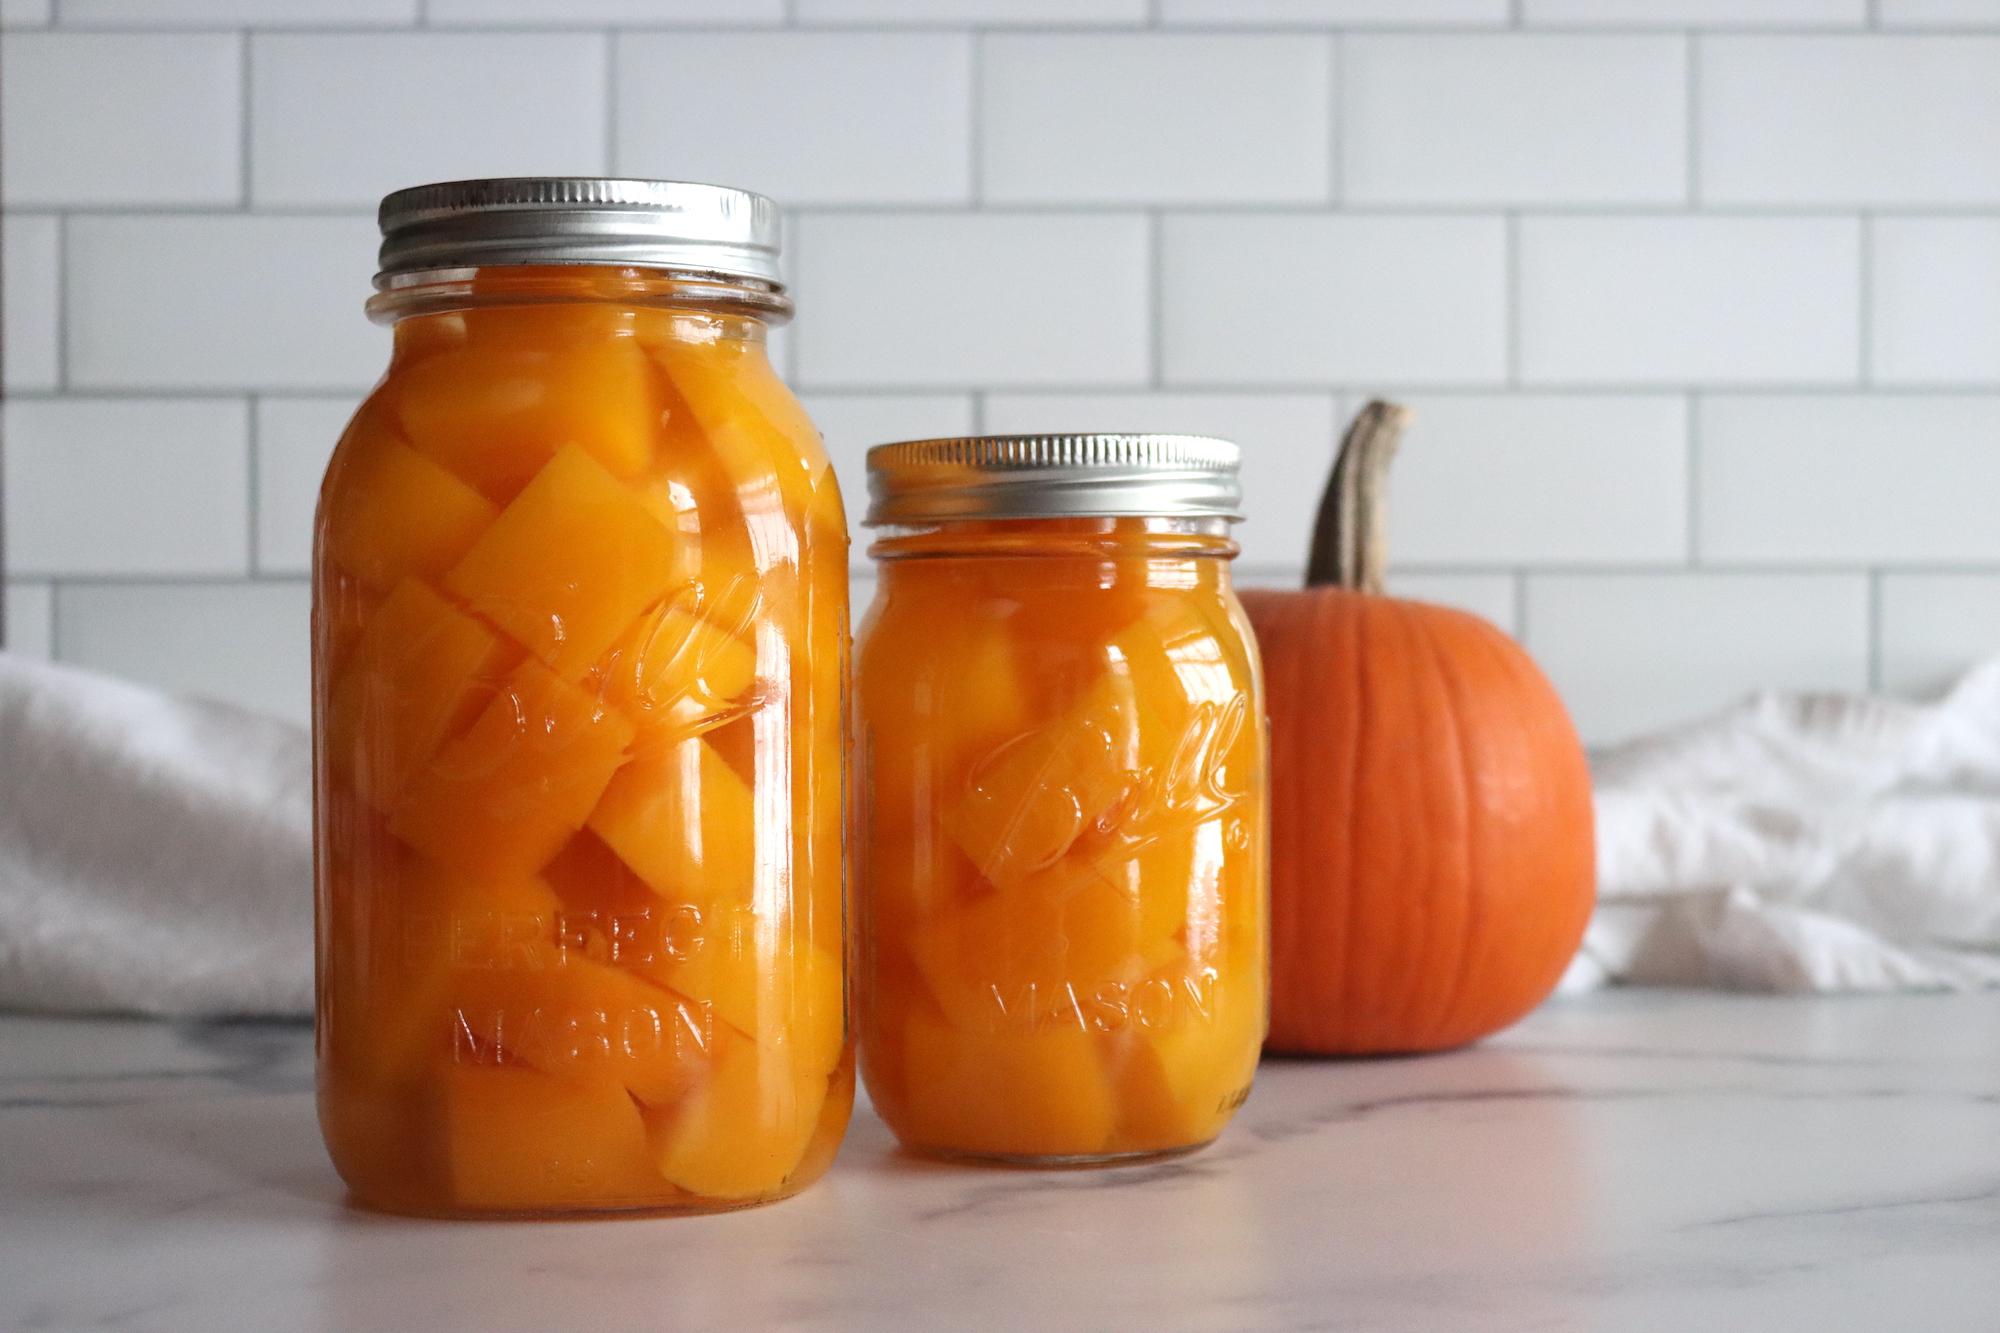
Now that you have your cubes ready, the actual canning process is pretty straightforward:
- Blanch the Pumpkin: Boil a large pot of water. Once it’s boiling, add your pumpkin cubes and blanch for 2 minutes. This heats them through without making them mushy, and drives off the trapped air inside the pumpkin flesh, so they’ll actually hold together better in the jars after blanching. If you skip the blanching step, the cubes may break apart easily in the pressure canner as air escapes when they’re brought to a high temperature.
- Prepare the Canner: Set up your pressure canner according to the manufacturer’s instructions. For most canners, that means adding about 2 to 3 inches of water to the bottom and inserting the bottom trivet. Preheat the canner while you prepare the jars. The canner should be at a low simmer (roughly 180 degrees) when you load the jars because this is a hot pack canning recipe.
- Fill the Jars: Use a slotted spoon to pack the hot pumpkin cubes into clean jars, leaving 1 inch of headspace. Pour the hot boiling water over the cubes, ensuring they’re covered, and remove any air bubbles. You can also can pumpkin in syrup for a sweeter treat, and I’d recommend using light or extra light syrup if you’re going to use your home canned pumpkin for pie (but just use plain water if you’re going to use it for soups or savory recipes.
- Seal the Jars: Wipe the rims, apply the lids, and tighten the bands to fingertip tight. You want to use canning safe two-part canning lids for this.
- Process the Jars: Cap the canner and turn the heat to high. Let it vent steam for 10 minutes before adding the canning weight. Process the jars at pressure for 55 minutes for pints and 90 minutes for quarts. The pressure should be set to 10 pounds at sea level, but adjust according to your altitude (see below).
- Cool Down: Once processed, allow the canner to cool down naturally. After cooled completely, remove the jars and let them cool completely on a towel or cooling rack.
- Check Seals and Store: Once the jars are cooled completely, check seals, label and store the jars on your pantry shelf. (Remove the rings for storage.) Any unsealed jars can be re-processed or stored in the refrigerator for immediate use.
Altitude Adjustments For Canning Pumpkin
With pressure canning, the processing times stay the same at higher altitudes, but the pressures change. The canning times for pressure canning pumpkin should always be 55 minutes for pints, and 90 minutes for quarts. Do not can in jars larger than a quart. (And for smaller jars, use pint canning times).
Here is how you adjust the pressure for canning pumpkin:
For dial gauge pressure canners:
- 0 to 2,000 feet in elevation – 11 lbs pressure
- 2,001 to 4,000 feet in elevation – 12 lbs pressure
- 4,001 to 6,000 feet in elevation – 13 lbs pressure
- 6,001 to 8,000 feet in elevation – 14 lbs pressure
For weighted gauge pressure canners:
- 0 to 1,000 feet in elevation – 10 lbs pressure
- Above 1,000 feet – 15 lbs pressure
Serving Home Canned Pumpkin
Working with home-canned pumpkin can be a bit tricky, since you have cubes of pumpkin in a canning liquid (water or syrup). Personally, I often dump the whole jar into a saucepan and cook it down into pumpkin puree, which puts the flavor from the canning liquid back into the mix.
You can also strain out the chunks and just use those anywhere you’d use cubes of cooked pumpkin.
Home canned pumpkin makes a perfect base for pumpkin soup, and in that case, the extra liquid works out just fine. Simply puree and you’re ready to go.
I’ve used my canned pumpkin and winter squash to make pumpkin pie, bread, chili, gnocchi, ravioli and creamy pumpkin risotto.
It’s remarkably versatile and works more or less anywhere you’d use cooked pumpkin.
Canning Pumpkin (& Other Winter Squash)
Ingredients
- Pumpkin
- Water or Syrup, see notes
Instructions
- Preheat a pressure canner to simmering, and prepare jars and lids.
- Cut pumpkin in half, scoop out seeds, cut into 1-inch-wide slices, and peel. Cut flesh into 1-inch cubes. Be sure to remove all the peel and stringy inside bits.
- Bring a large pot of water to a boil and blanch the pumpkin cubes for 2 minutes.
- Fill jars with blanched pumpkin cubes and cooking liquid, leaving 1-inch headspace.
- Wipe rims, apply lids, and tighten bands to fingertip tight.
- Load jars into a pre-heated pressure canner and screw down the lid. Vent steam for 10 minutes, then add the canning weight and bring the canner up to pressure. Once at pressure, process pint jars for 55 minutes and quart jars for 90 minutes. The times are the same at every altitude, but pressure increases at higher elevations. See the notes below.
- Allow the canner to cool naturally, then remove jars and let cool completely.
- Once the jars are cooled completely, check seals, label and store the jars on your pantry shelf. (Remove the rings for storage.) Any unsealed jars can be re-processed or stored in the refrigerator for immediate use.
Notes
Shelf Life
Properly pressure-canned and sealed jars of pumpkin will keep indefinitely on the pantry shelf so long as they’re sealed. However, after 12-18 months you’ll start to see a drop in quality inside the jars. They’re still safe to eat so long as they’re sealed, but it’s still best to use them within a year. Refrigerate after opening.Yield
The actual amount of pumpkin needed for a canner batch can vary widely by pumpkin variety, but generally:- An average of 16 pounds is needed for a canner load of 7 quarts.
- An average of 10 pounds is needed for a canner load of 9 pints.
Altitude Adjustments For Canning Pumpkin
With pressure canning, the processing times stay the same at higher altitudes, but the pressures change. The canning times for pressure canning pumpkin should always be 55 minutes for pints, and 90 minutes for quarts. Do not can in jars larger than a quart. (And for smaller jars, use pint canning times). Here is how you adjust the pressure for canning pumpkin: For dial gauge pressure canners:- 0 to 2,000 feet in elevation – 11 lbs pressure
- 2,001 to 4,000 feet in elevation – 12 lbs pressure
- 4,001 to 6,000 feet in elevation – 13 lbs pressure
- 6,001 to 8,000 feet in elevation – 14 lbs pressure
- 0 to 1,000 feet in elevation – 10 lbs pressure
- Above 1,000 feet – 15 lbs pressure
Canning Liquids
These instructions allow you to use water or syrup as a canning liquid, and I’d recommend water for savory uses. Light or extra light syrup works well for sweet recipes like pumpkin pie. Here’s where you can find the sugar/water ratios for various canning syrups. For a 9-Pint Canner Batch, you’ll need the following amounts:- Extra-light syrup: 3/4 cups sugar to 6 1/2 cups water
- Light syrup: 1 1/2 cups sugar to 5 3/4 cups water
- Extra-light syrup: 1 1/4 cups sugar to 10 1/2 cups water
- Light syrup: 2 1/4 cups sugar to 9 cups water
Autumn Canning Recipes
Looking for more fun fall-themed canning recipes?
- Apple Jam
- Pear Butter
- Cranberry Apple Jam
- Thai Butternut Squash Soup
- Butternut Squash and White Bean Soup
