
This post may contain affiliate links. Please see our disclosure policy.
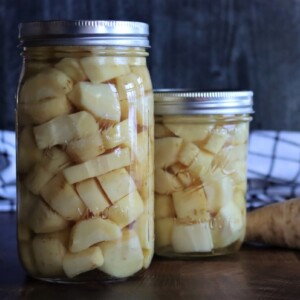
Canning parsnips is an easy way to keep a sweet root vegetable on the shelf all winter. The jars go straight into soup, stew, or a pot pie, with no peeling and no chopping when you’re already trying to get dinner on the table.
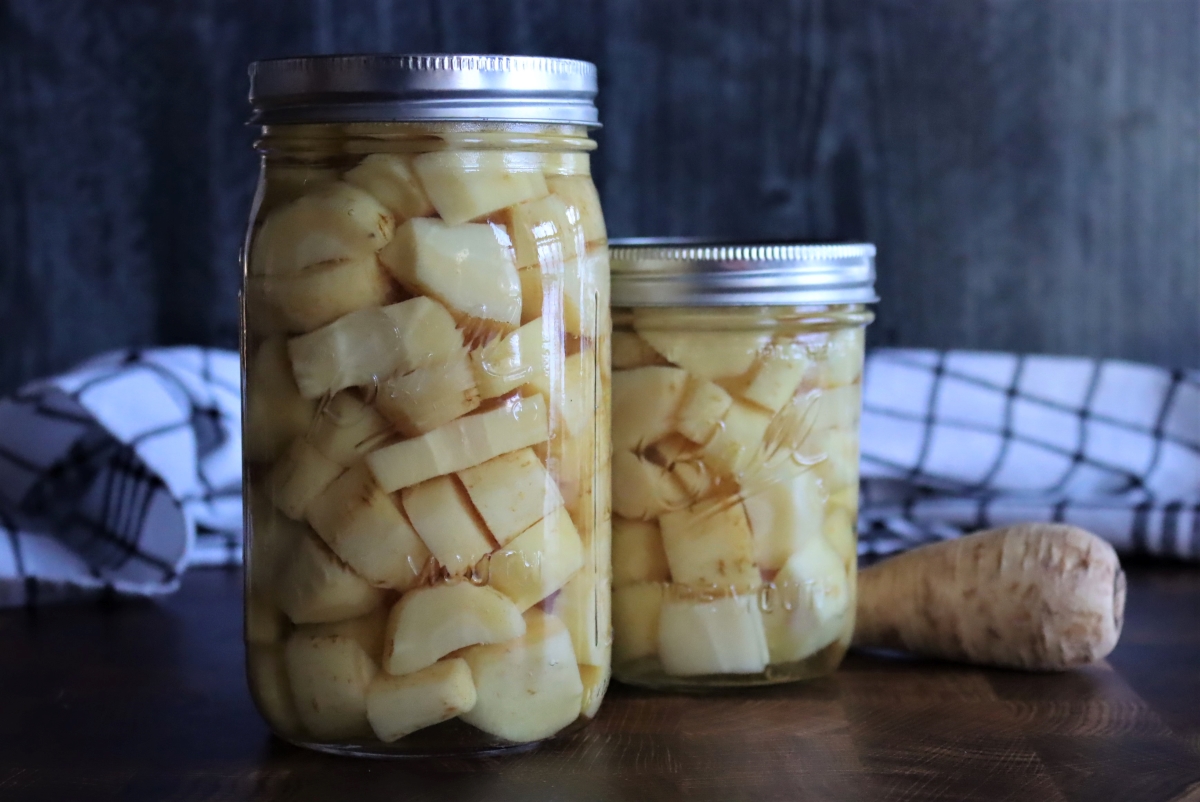
Table of Contents
- Notes from My Kitchen
- Quick Look at the Recipe
- Choosing Parsnips for Canning
- Preparing Parsnips for Canning
- Ingredients for Canning Parsnips
- Safe Substitutions
- How to Can Parsnips
- Canning Parsnips
- Altitude Adjustments
- Ways to Use Canned Parsnips
- Storage and Shelf Life
- Yield Notes
- Canning Parsnips FAQs
- Root Vegetable Canning Recipes
- Canning Parsnips Recipe
- Pressure Canning Recipes
This recipe has been reviewed for safety and accuracy by a Master Food Preserver certified through the University of Cornell Cooperative Extension.
We grow a lot of parsnips, and this is a great way to store them if you don’t have a root cellar or spare refrigerator to keep them fresh all winter. They come out sweet and tender, and having them already peeled and cut makes for easy meals right off the pantry shelf. A jar goes in the pot with no prep at all, which is a lifesaver on busy weeknights.
Parsnips are low acid, so this is a pressure canning recipe. Vegetables cannot be processed in a water bath canner. It just doesn’t get hot enough to preserve anything that’s not a jam, jelly, or pickle. If you’ve never pressure canned, my pressure canning for beginners guide walks through everything you need to know.
The process here comes from the root vegetable directions in the Ball Complete Book of Home Preserving, with specific instructions for canning parsnips from the Michigan State University Extension (Michigan Fresh bulletin HNI44). This is a tested, university extension-approved recipe.
Notes from My Kitchen

We don’t have a root cellar, so our parsnips stay in the ground all winter. It works better than it sounds. The cold turns their starch to sugar, and I can go dig some whenever we want them.
The catch is that nobody wants to go out with a spade at five o’clock on a Tuesday and then peel a pile of frozen roots. So once we’ve had a few hard frosts, I dig a big batch on a day I actually have time and can the whole lot. Those are the jars I’m glad to find in February.
They come out sweeter and a little darker than they went in, and softer than a fresh parsnip. That has never bothered me, since they go into soup and mash and anything with gravy anyway.
Quick Look at the Recipe
- Recipe Name: Canning Parsnips
- Recipe Type: Root Vegetable Canning Recipe
- Canning Method: Pressure Canning
- Prep Time: About 45 minutes for a full canner load
- Cook Time: 10 minutes
- Canning Time: 30 minutes for pints, 35 for quarts
- Yield: 7 quarts, or 9 pints
- Jar Sizes: Pints or quarts
- Headspace: 1 inch
- Ingredients Overview: Parsnips, water, and optional salt
- Safe Canning Recipe Source: Ball Complete Book of Home Preserving (root vegetables) and Michigan State University Extension bulletin HNI44
- Difficulty: Easy
- Similar Recipes: This is similar to other plain root vegetable canning recipes like canning carrots, canning potatoes, canning beets, canning sweet potatoes, and canning onions.
Choosing Parsnips for Canning
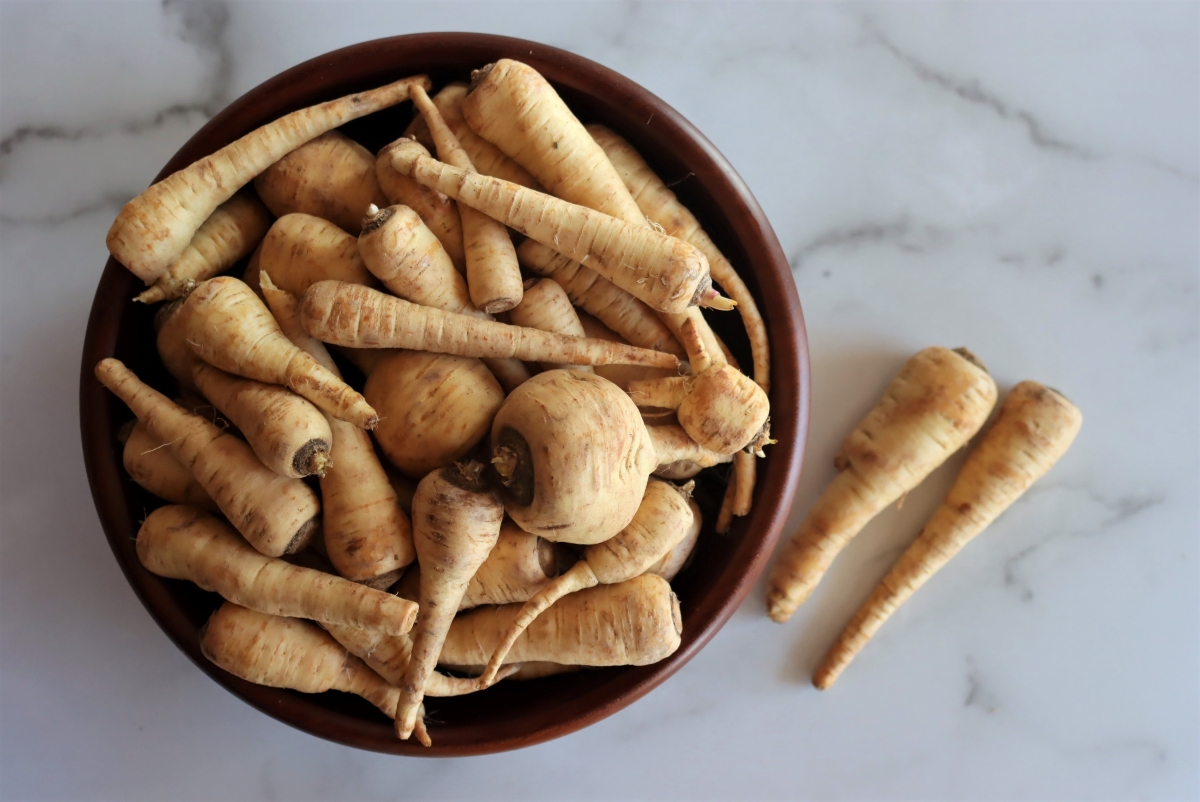
Go for small to medium parsnips. They’re the sweetest and the least woody. Skip anything wrinkled or rubbery, anything with long stringy tails, and the giant ones that look like a bargain but are mostly core.
Parsnips that have been through a hard frost are sweeter, because the cold turns their starch to sugar. Texture is harder to call. People ask me whether canned parsnips come out mushy, and honestly it depends on the parsnips more than on anything you do. I’ve had firm batches and softer ones from the same method. Bigger chunks hold up better than a fine dice.
You’ll want 16 to 18 pounds for a canner load of 7 quarts, or 10 to 12 pounds for 9 pints. That’s a lot of peeling, so put a podcast on and do it all in one go.
Preparing Parsnips for Canning
Always peel root vegetables for canning. This is a safety step, not a texture thing. Parsnips grow in the dirt, and garden soil carries microbes you don’t want sealed into a jar. Peeling takes most of it off before the jar ever goes in the canner, and it gets rid of the stringy outer layer too, which tastes bitter after processing.
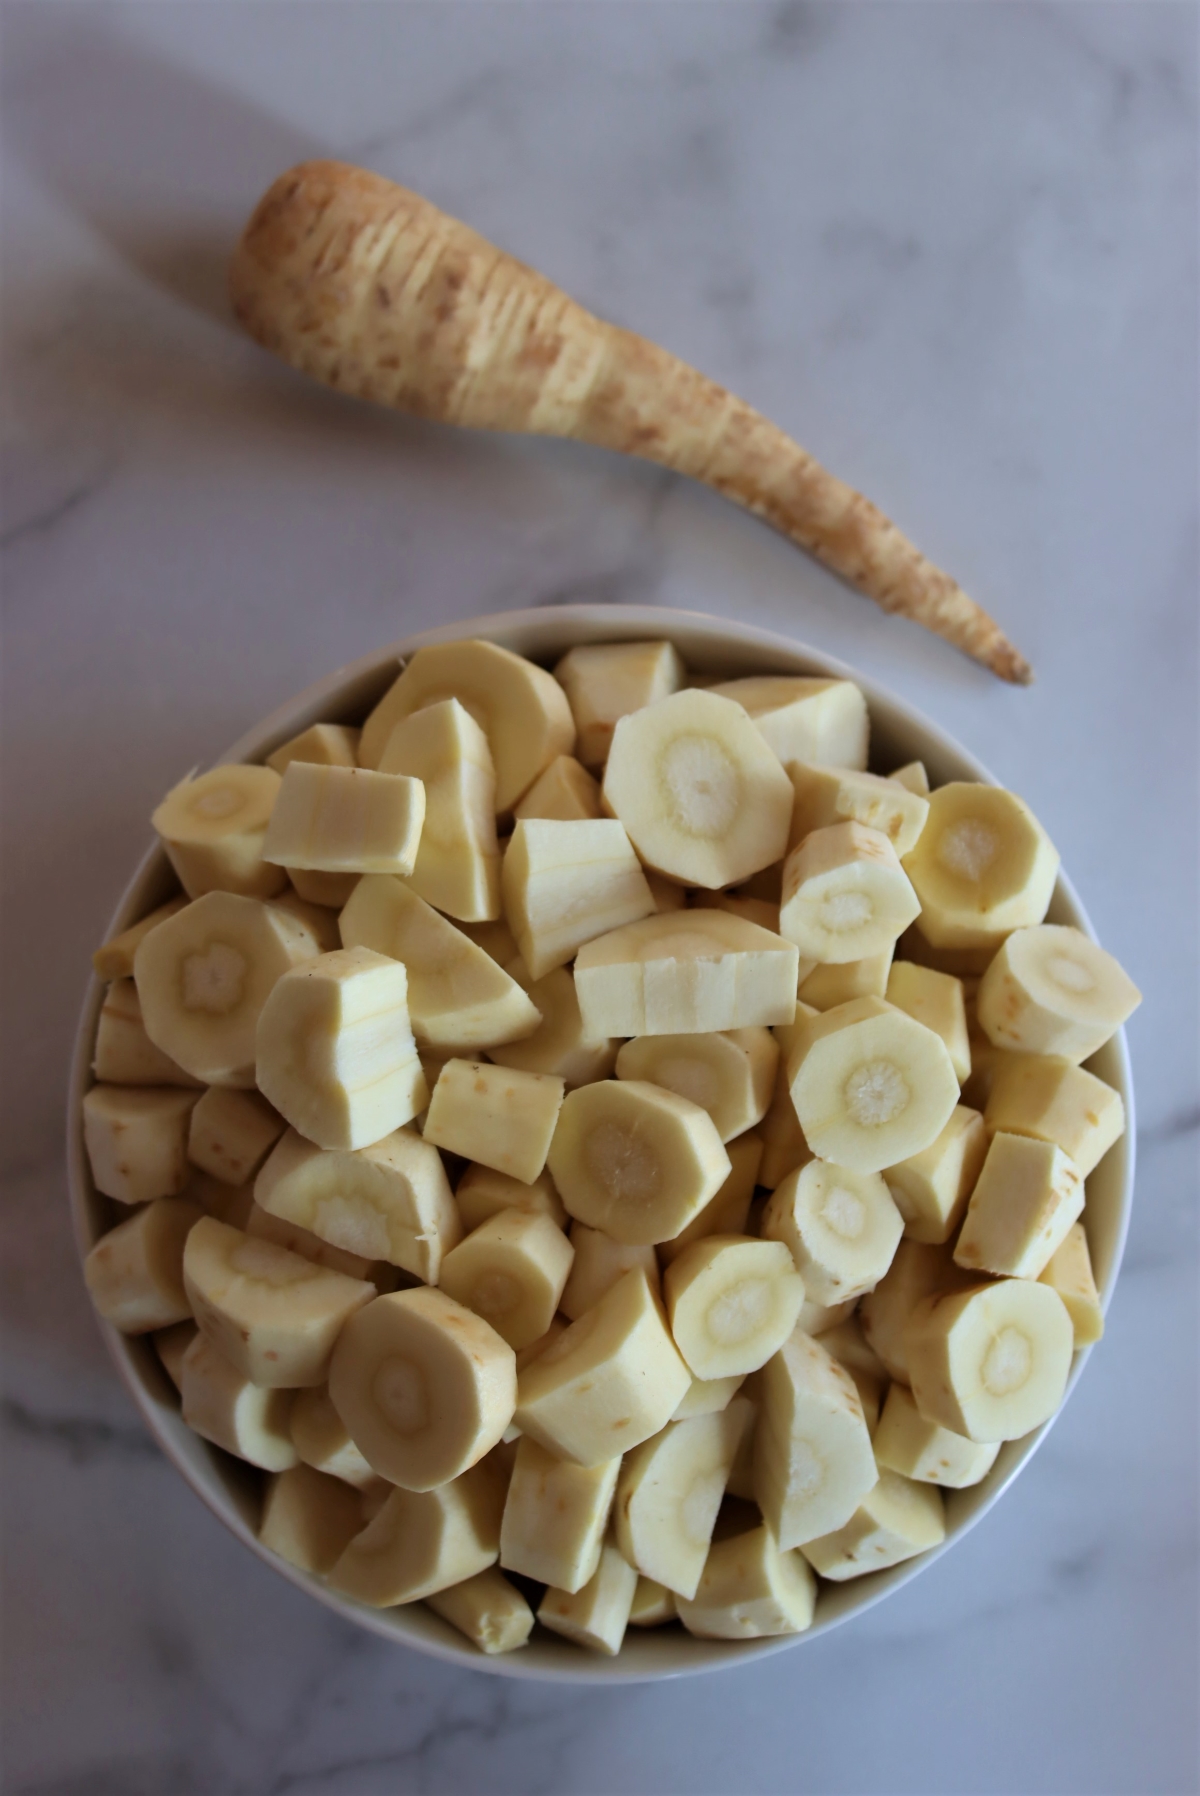
A Y-shaped peeler is fastest on a long tapered root, but any sharp peeler works. Cut the peeled parsnips into chunks of roughly the same size so they heat through evenly. The skinny tips won’t give you decent chunks, so dice those small or set them aside for dinner that night.
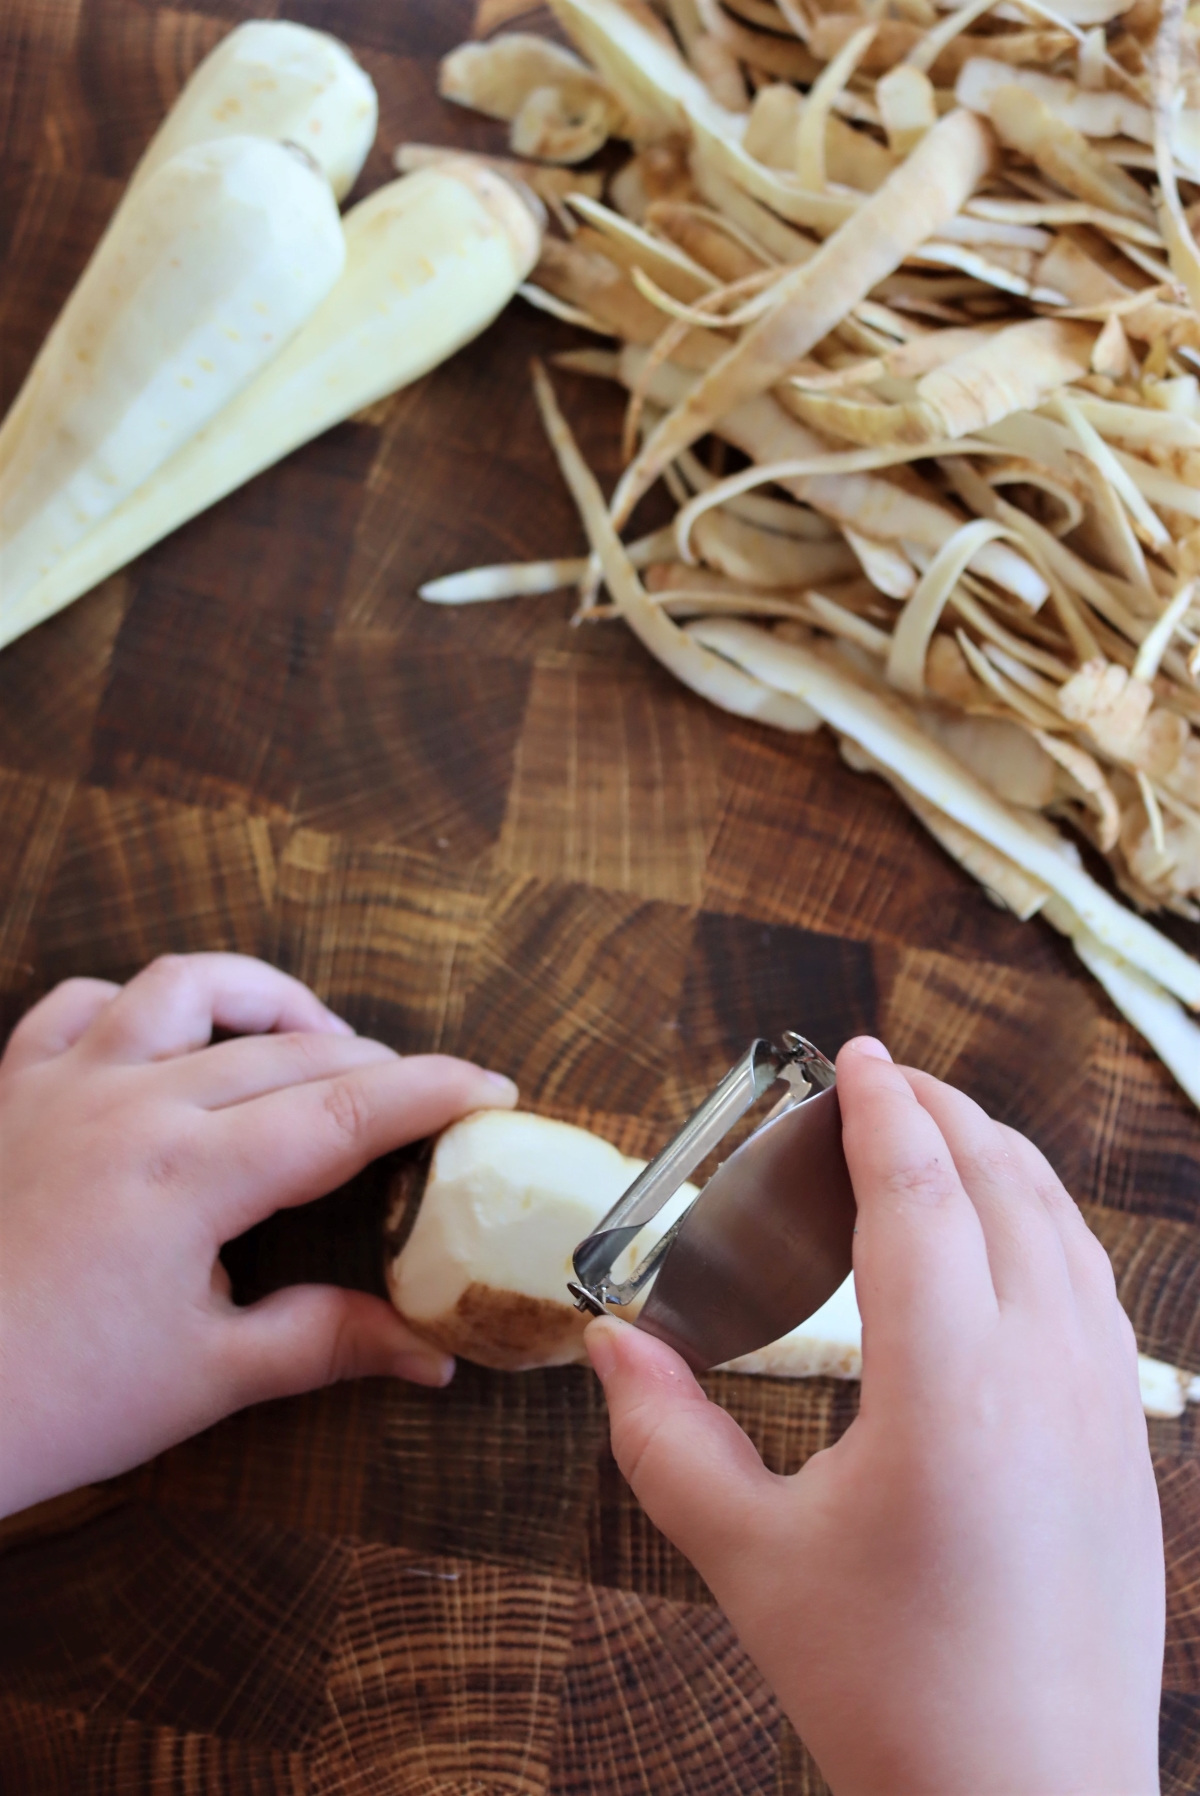
Some people core their parsnips first. I don’t bother, since young roots taste the same all the way through. If you’re stuck with big overgrown ones and the core looks pale and woody next to the rest, cut it out.
Ingredients for Canning Parsnips
Three things, and one of them is optional. Amounts are in the recipe card below.
- Parsnips: Small to medium, peeled and cut into even chunks. Fall parsnips are sweeter than summer ones. Turnips and rutabaga can be canned the same way on the same time if you want to swap.
- Water: Plain boiling water, or the liquid you blanched them in. I use the blanching liquid, since it carries a little flavor back into the jar.
- Salt: Optional, and for flavor only. It does nothing for safety. Canning and pickling salt like Morton canning and pickling salt keeps the liquid clear, while table salt clouds it up.
Nothing else goes in the jar. No butter, no broth, no flour or cornstarch, no sugar glaze. Those change how heat moves through the jar, and the tested time assumes plain parsnips in plain liquid. Save the good stuff for when you open it.
Safe Substitutions
You can leave the salt out or put it in, cut the pieces however you like as long as they’re even, use pints or quarts with the matching time. This recipe is also safe for turnips or rutabaga, so you can use it for those vegetables, or can a mix of two or three of them in the same jar. More on where the line sits in safe canning recipe changes.
What you can’t do: water bath them, shorten the time, drop the pressure, add thickeners or dairy or oil, use broth instead of water, or mash them. If what you want is glazed parsnips or parsnip soup, can them plain now and do that part when you open the jar.
How to Can Parsnips
Peel, cut, boil briefly, pack hot, process. Almost all the work is at the cutting board.
Get your pressure canner going with a few inches of water in the bottom, wash your jars and keep them warm, and set out your lids, bands, jar lifter, and canning funnel. Start with warm jars, because hot parsnips in a cold jar can give you a cracked jar from thermal shock.
Blanch the Parsnips
Cut parsnips brown a bit at the edges while they sit. It doesn’t hurt anything and evens out in the jar, so I don’t bother holding them in water. If it bugs you, keep them in cold water and drain them well before they go in the pot.
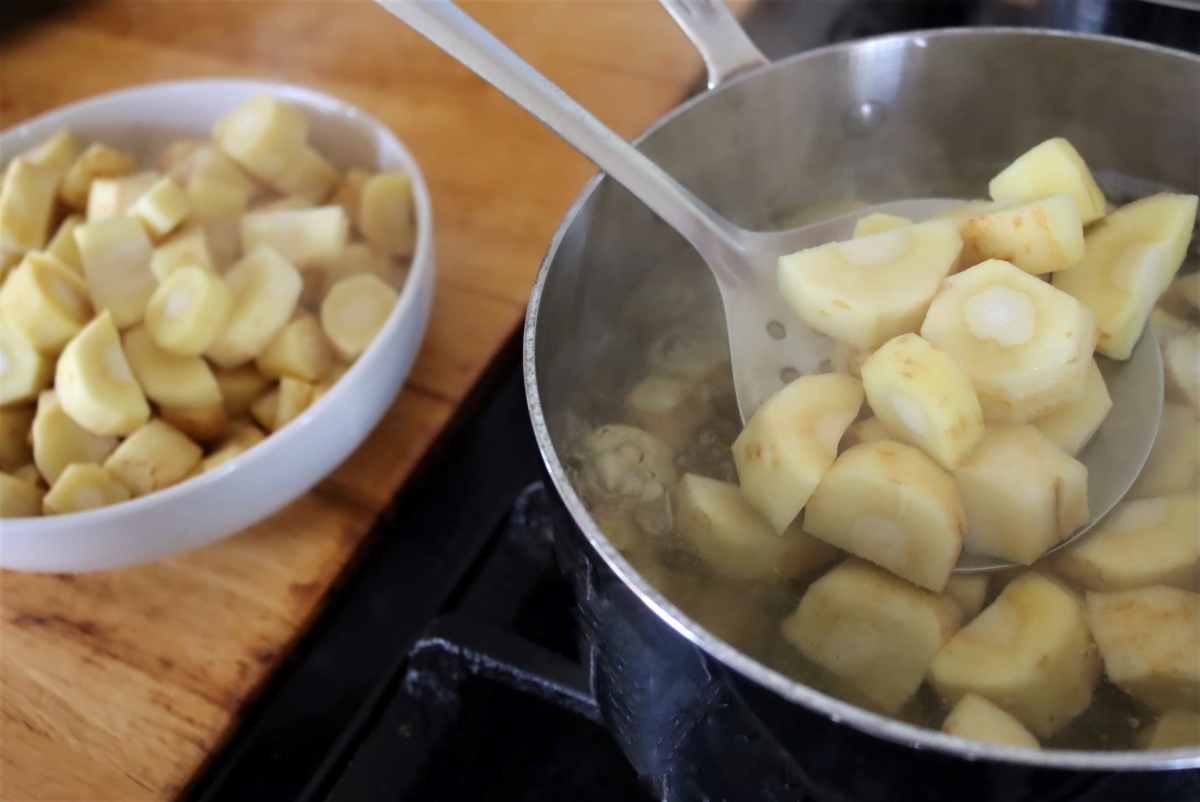
Bring a big pot of water to a hard boil and add the parsnips. Don’t start the timer until the water comes back up to a boil, and work in batches if your pot is small. Boil 5 minutes. That’s what makes it a hot pack, and it drives the air out so the pieces don’t float. Keep the water boiling, because it’s going in the jars.
Pack the Jars
Pack the hot parsnips into your warm jars, leaving 1 inch of headspace. Don’t press them down into a solid mass. If you’re adding salt, do it now.
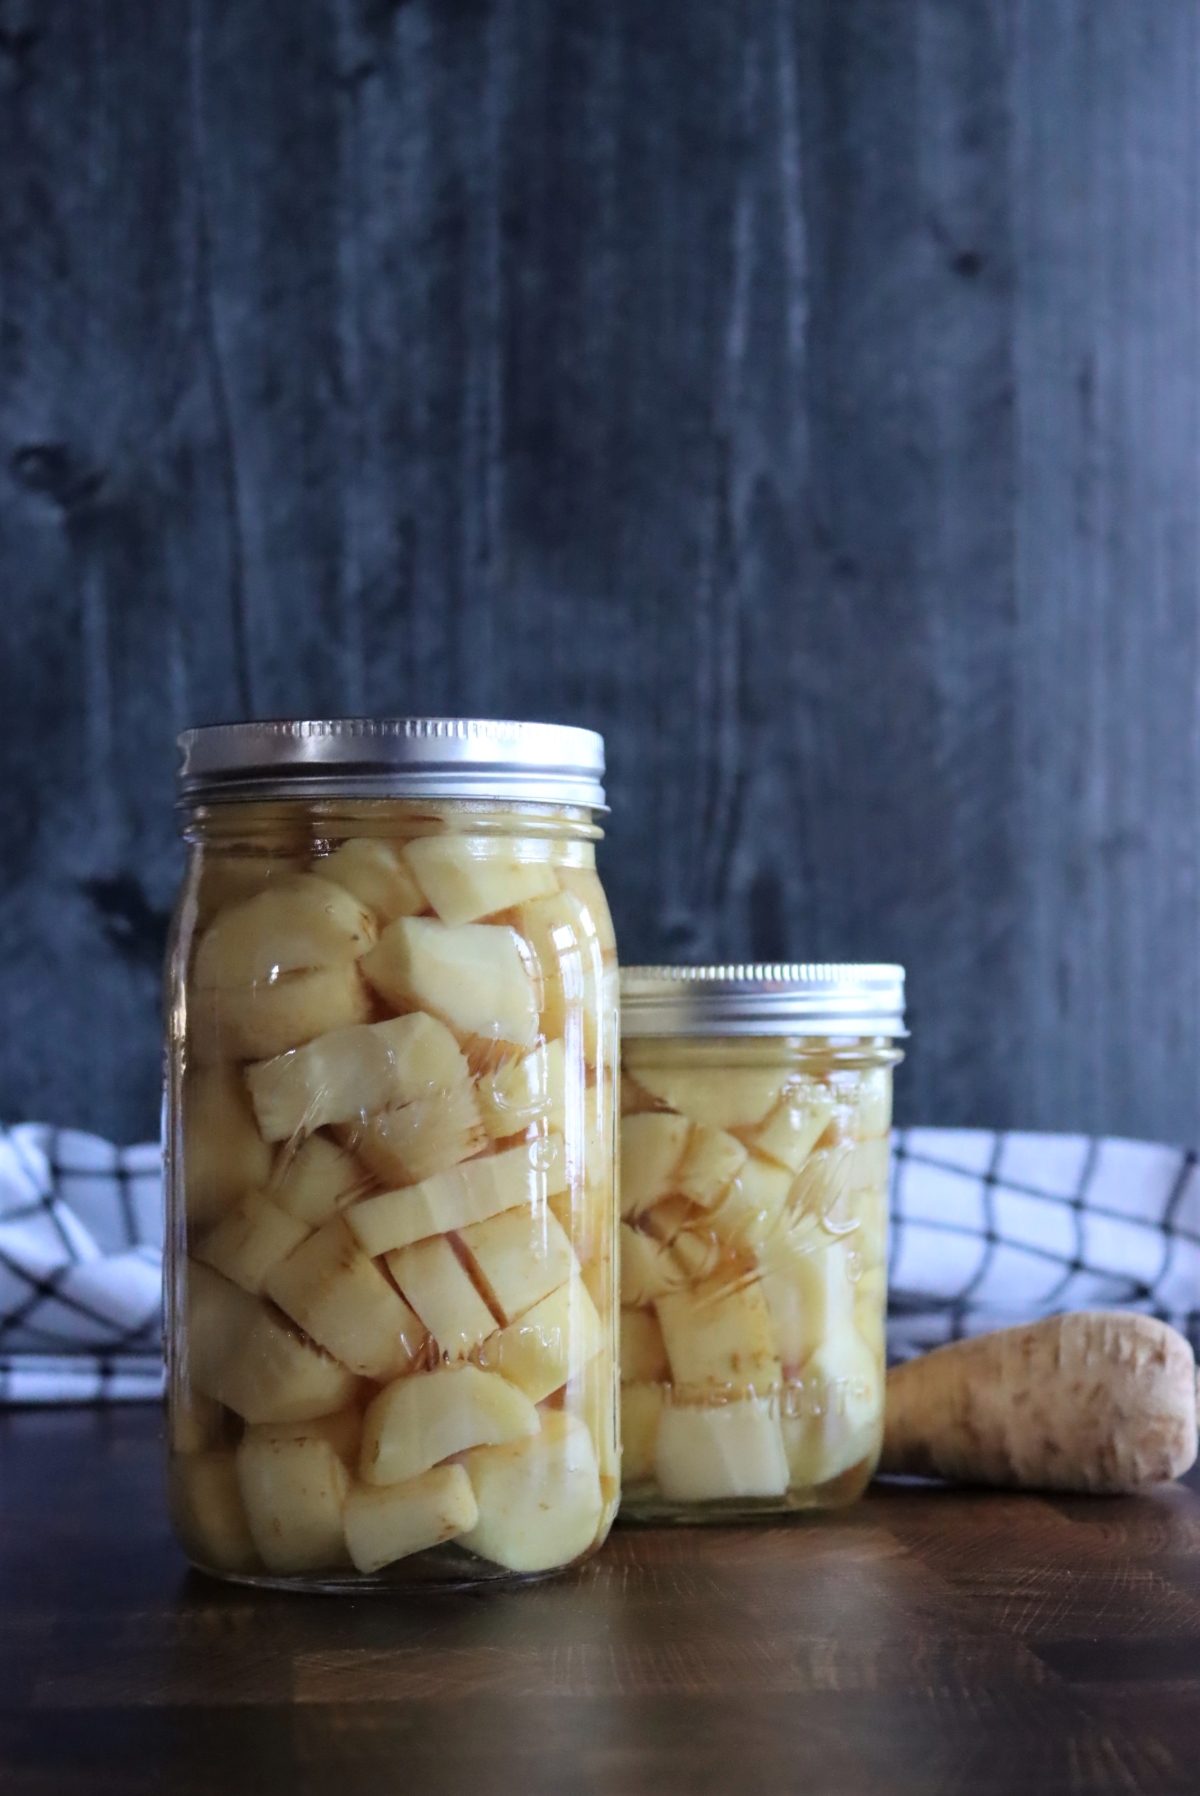
Ladle the boiling liquid over them, keeping that same 1 inch of headspace. Run a chopstick or bubble tool around the inside of each jar to let trapped air out, top up the liquid if it dropped, wipe the rims with a clean damp cloth, and put the lids on fingertip tight.
Canning Parsnips
Parsnips have to go in a pressure canner, dial gauge or weighted gauge. A water bath canner can’t get hot enough for a low-acid vegetable, and there’s no tested water bath process for plain parsnips at any jar size. No pressure canner? Freeze them instead.
Load the jars onto the rack, check the water level against what your canner’s manual says, and fasten the lid. Let steam vent in a steady stream for a full 10 minutes before you add the weight or close the petcock. Start the timer once it comes up to pressure.
Process pints for 30 minutes or quarts for 35 minutes, at 10 pounds pressure in a weighted gauge canner or 11 pounds in a dial gauge canner, adjusting for altitude with the chart below.
When the timer goes off, turn off the heat and let the canner come down on its own. Don’t run it under water and don’t lift the weight early. Once it’s down, slowly take the weight off or open the petcock, wait 2 minutes, then unfasten the lid and open it away from you.
Lift the jars out and set them on a towel with an inch of space around each one, somewhere out of a draft. Leave them 12 to 24 hours.
Altitude Adjustments
With pressure canning, the times stay the same at higher altitudes but the pressure changes. Here are the altitude adjustments for pressure canning parsnips.
For dial gauge canners:
- 0 to 2,000 feet: 11 lbs pressure
- 2,001 to 4,000 feet: 12 lbs pressure
- 4,001 to 6,000 feet: 13 lbs pressure
- 6,001 to 8,000 feet: 14 lbs pressure
For weighted gauge canners:
- 0 to 1,000 feet: 10 lbs pressure
- Above 1,000 feet: 15 lbs pressure
Ways to Use Canned Parsnips
They’re already cooked, so it’s all reheating from here. Drained and patted dry, they roast fast at high heat, faster than raw parsnips, since the water’s already out of them.
Straight from the jar they go into pot pie filling, shepherd’s pie, and any braise that wants something sweet against the meat. That’s where most of mine end up. They also drop into vegetable soup or vegetable beef stew at the last minute, jar liquid and all.
I mash them a lot too, on their own or with celeriac and white beans. But the one I keep coming back to takes two minutes: drain a jar, warm them in a pan with butter and a spoonful of maple syrup, and let them take a little color with salt and pepper. The stronger flavor canning gives them is an asset there. If you’re canning carrots at the same time, carrot soup and beef pot pie filling both take parsnips well.
Storage and Shelf Life
Once the jars have cooled, press the center of each lid. A sealed lid curves down and doesn’t move or click. Take the rings off before you store them, because a ring left on can hold a failed lid in place and hide a jar that never sealed.
Label them and store them somewhere cool, dark and dry. Canned parsnips are best within a year and stay good about 18 months. They’re safe past that as long as the seal holds, the texture just softens.
Any jar that didn’t seal goes in the fridge and gets eaten within a few days, or you can reprocess it with a new lid for the full time if you catch it within 24 hours. Once you open a sealed jar, refrigerate it and use it within three or four days.
Throw out any jar with a bulging lid, a broken seal, spurting liquid, an off smell, or cloudy liquid where it used to be clear, and don’t taste it to check. If you’d rather keep parsnips longer than a year, freeze them instead. And if you’ve got somewhere cold, root cellaring keeps them for months with no processing at all.
Yield Notes
Figure 16 to 18 pounds of parsnips for 7 quarts, or 10 to 12 pounds for 9 pints. That’s roughly 2 to 2 1/2 pounds a quart. The range is pretty big here, since peeling loss depends on how big and how gnarled the roots are.
Halve it or double it freely. The minimum batch size for pressure canning is 2 quarts or 4 pints, and no maximum beyond what fits on the rack.
I’ve had quite a few reader questions on this one, so I’ll try to answer them all in one place.
Canning Parsnips FAQs
No. Parsnips are low acid, and a water bath canner doesn’t get hot enough to make them safe on the shelf. There’s no tested water bath process for plain parsnips at any jar size, and adding vinegar doesn’t fix that. They need a pressure canner. If you don’t have one, freeze them instead.
No, dry canning isn’t tested for safety. Heat moves through a jar of water differently than through a jar of dry food, so the 30 and 35 minute times don’t apply and there’s no substitute time to use instead. Pack them hot and cover them with boiling liquid.
Somewhere in between, and it depends on your parsnips more than on anything you do. I’ve had firm batches and softer ones from the same method. With carrots the pattern is clear, storage carrots come out firm and tender summer carrots come out soft, but with parsnips it’s less predictable. Bigger chunks hold up better than a fine dice, and a soft batch is ideal for mashing.
Yes. Parsnips grow in the dirt, and garden soil carries microbes you don’t want sealed into a jar, so peeling gets rid of most of that before the jar goes in the canner. It also takes off the stringy outer layer, which tastes bitter after processing. A Y-shaped peeler makes quick work of it.
Sealed jars in a cool, dark cupboard are best within a year and stay good about 18 months. They’re safe longer than that as long as the seal holds, the texture just softens. Once you open a jar, keep it in the fridge and use it within three or four days.
Root Vegetable Canning Recipes
More root vegetables worth putting up:
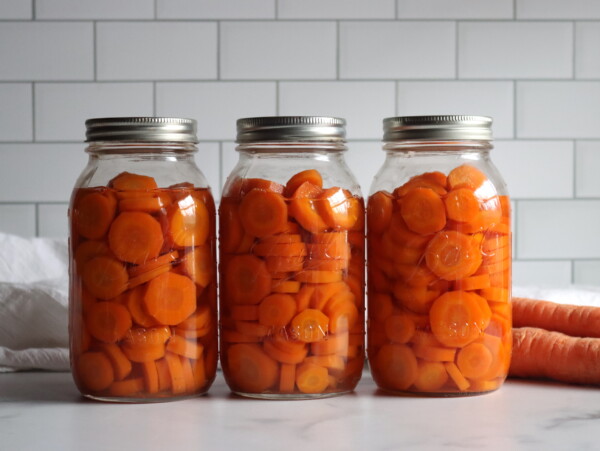
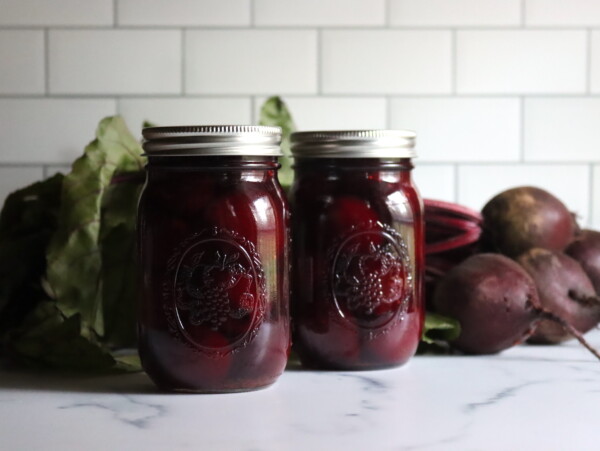
If you tried this Canning Parsnips recipe, or any other recipe on Creative Canning, leave a ⭐ star rating and let me know what you think in the 📝 comments below!
And make sure you stay in touch with me by following on social media!
Canning Parsnips
Equipment
- Canning Jars, Lids and Bands
Ingredients
- 18 lbs parsnips, as purchased, see notes
- Boiling water, to fill each jar
- Salt, optional, 1 tsp per quart or 1/2 tsp per pint
Instructions
- Peel the parsnips and trim off the crown and the thin spindly tips.
- Cut the parsnips into evenly sized chunks so they heat through at the same rate.
- Bring a large pot of water to a hard boil, add the parsnips, wait for the water to return to a boil, and then boil for 5 minutes. Work in batches if the pot is small.
- Pack the hot parsnips into warm, clean jars, leaving 1 inch headspace.
- Add salt to each jar if you are using it, then cover the parsnips with the boiling cooking liquid, keeping 1 inch headspace.
- Release trapped air bubbles, top up the liquid if the level dropped, wipe the rims and threads clean, and apply two piece lids until fingertip tight.
- Load the jars into the pressure canner, fasten the lid, and vent a steady stream of steam for 10 minutes before adding the weight or closing the petcock.
- Process pints for 30 minutes or quarts for 35 minutes at 10 pounds pressure in a weighted gauge canner or 11 pounds in a dial gauge canner, adjusting for altitude (see notes).
- Turn off the heat and let the canner depressurize on its own, then slowly remove the weight or open the petcock.
- Wait 2 minutes, then unfasten the lid and open it away from your face.
- Remove the jars to a towel lined counter, leaving space between them, and let them cool undisturbed for 12 to 24 hours.
- Check the seals, remove the rings, label the jars, and store them in a cool, dark place.
Notes
- Dial gauge: 11 lbs to 2,000 feet, 12 lbs to 4,000, 13 lbs to 6,000, 14 lbs to 8,000
- Weighted gauge: 10 lbs to 1,000 feet, 15 lbs above that
Nutrition
Nutrition information is automatically calculated, so should only be used as an approximation.
Pressure Canning Recipes
Fill the canner the rest of the way with these:
Find the perfect recipe
Searching for something else? Enter keywords to find the perfect recipe!

We love parsnips, and lacking a root cellar, this is the best way I’ve found to preserve them.
I am not a fan of mushy parsnips. Do they come out mushy or slightly firm? Can I dry pressure can them
Dry pressure canning isn’t something that’s tested for safety, as heat transfers differently in a jar with water than without. I’ve found that whether or not they come out firm really depends on your parsnips, and I’ve had firm batches and less firm batches. With carrots, using storage carrots (rather than tender summer carrots) gives you firm carrots when you can them. With parsnips, the pattern is less clear in my experience.