This post may contain affiliate links. Please see our disclosure policy.
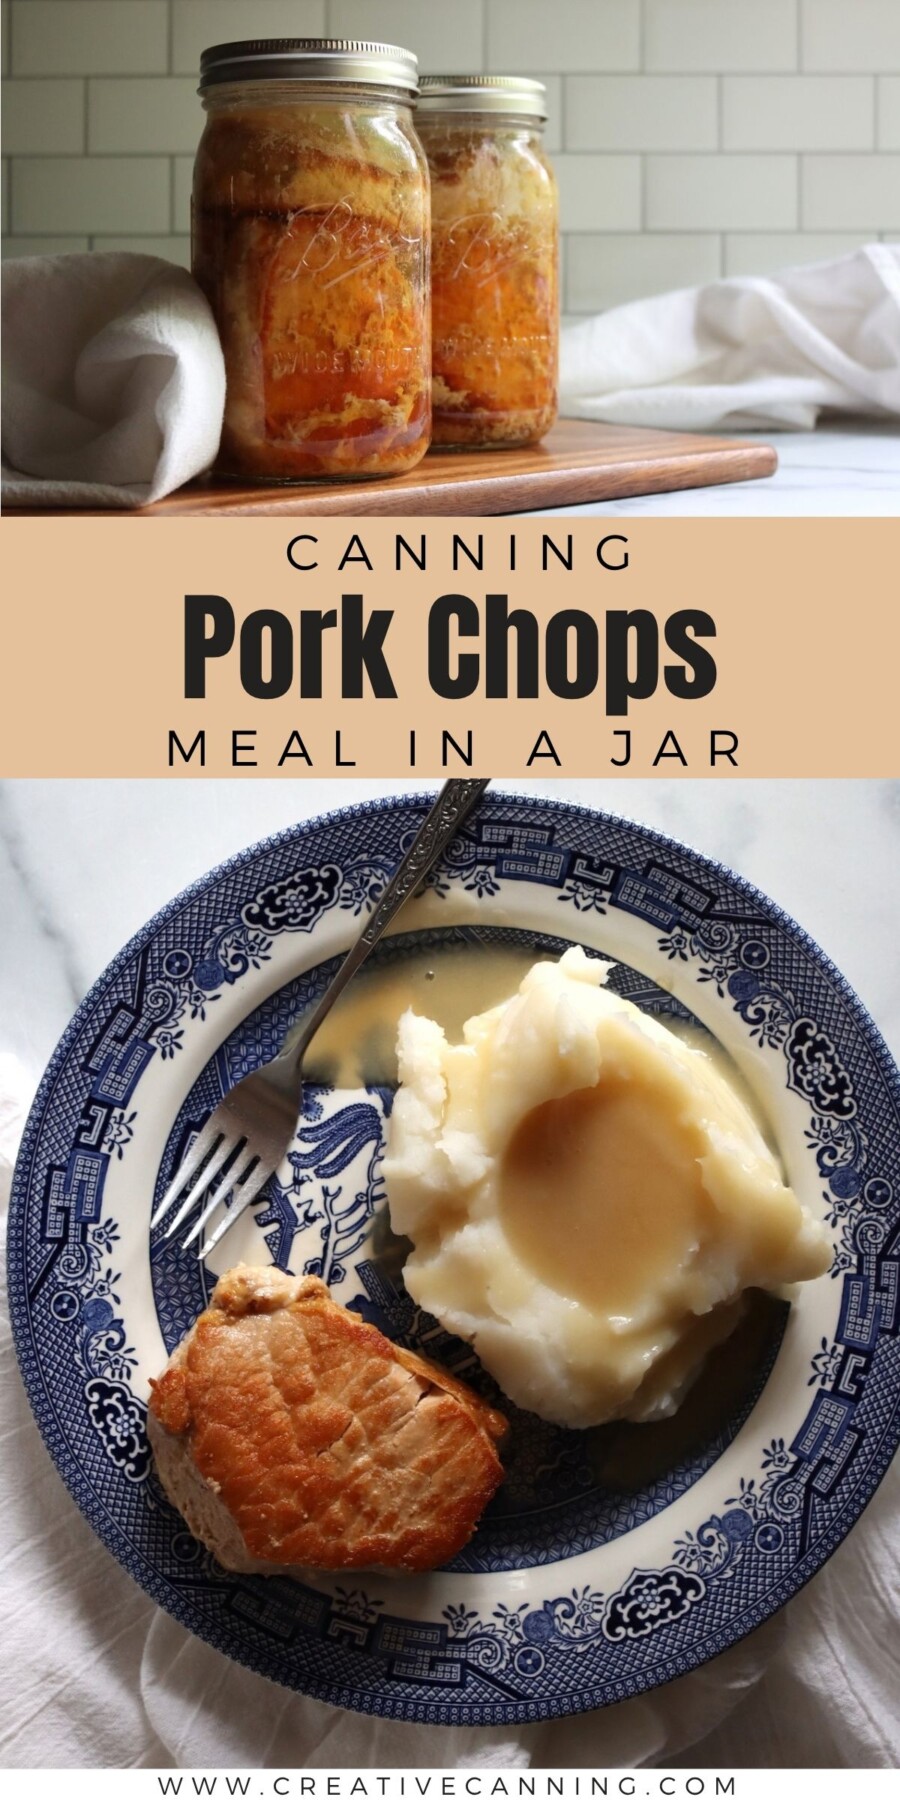
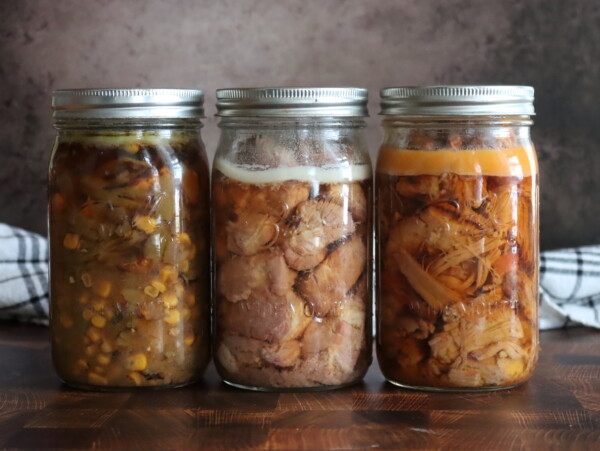
Canning pork chops is an easy way to stock up when chops go on sale. You end up with jars of fully cooked pork that only need browning in a skillet. Add a quick gravy from the broth in the jar, and dinner’s ready in minutes.
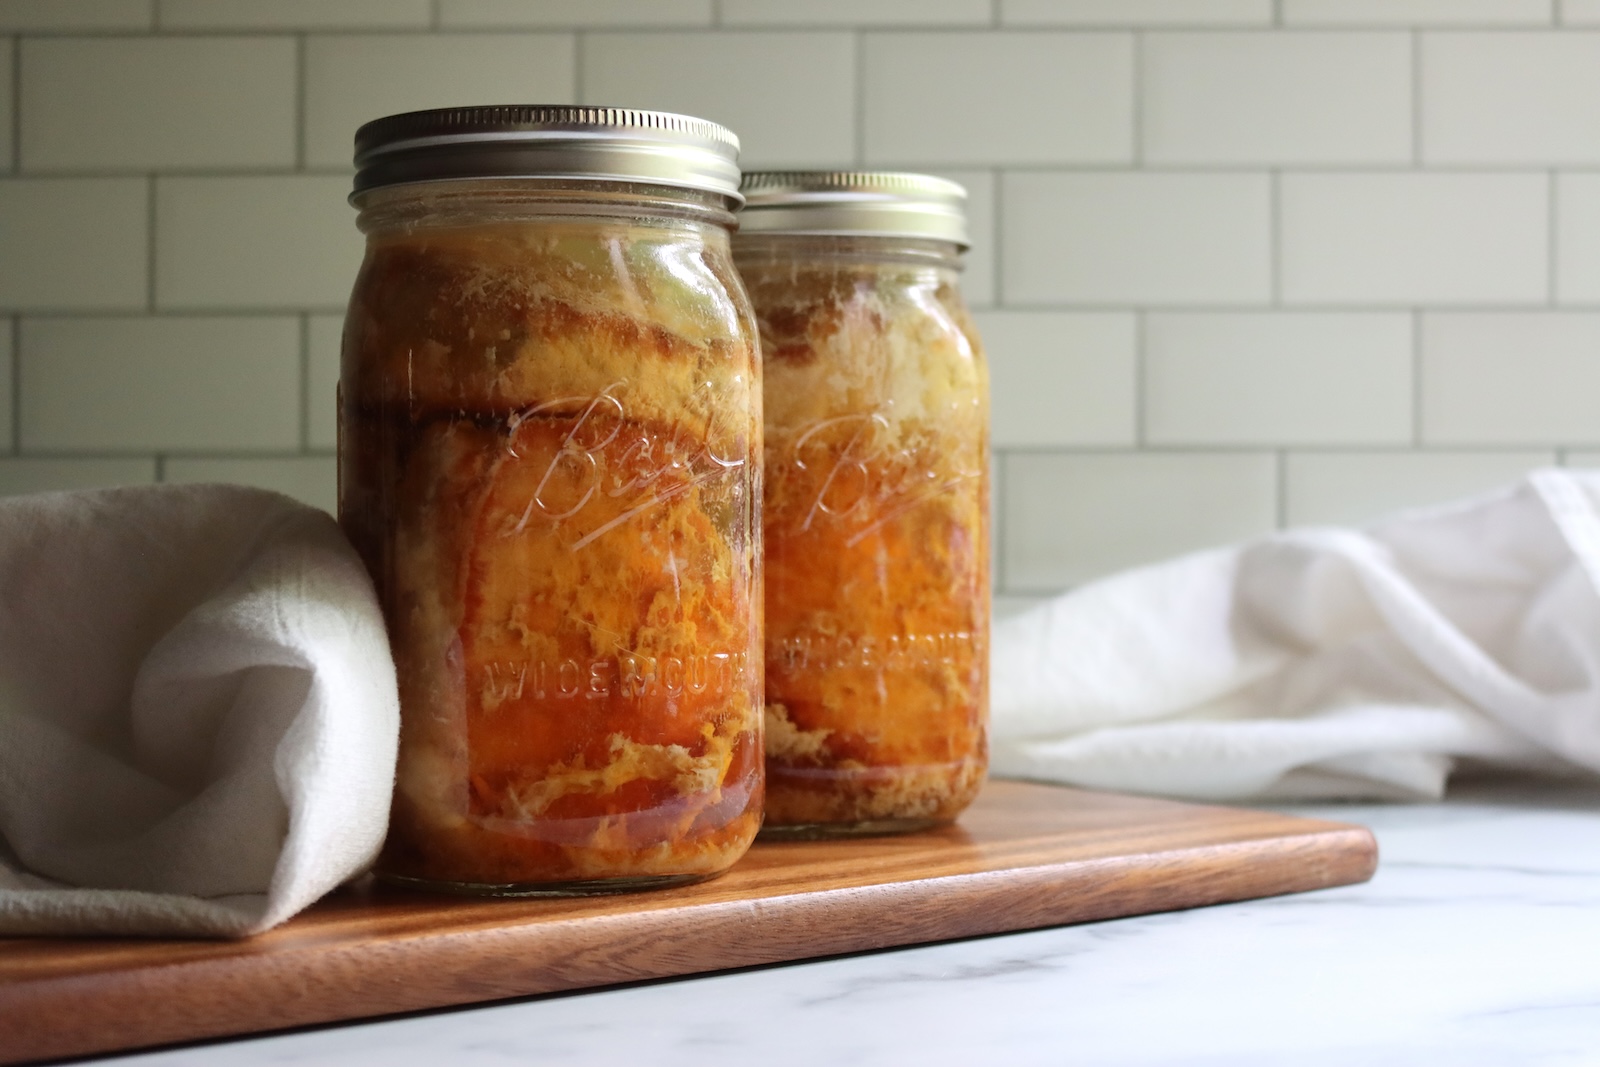
Table of Contents
- Notes from My Kitchen
- Quick Look at the Recipe
- Ingredients for Canning Pork Chops
- Safe Substitutions
- Canning Pork Chops Step by Step
- Altitude Adjustments
- Ways to Use Canned Pork Chops
- Storage and Shelf Life
- Yield Notes
- Raw Packing Pork Chops
- Canning Pork Chops FAQs
- Pork Canning Recipes
- Canning Pork Chops Recipe
- More Pressure Canning Meat Recipes
This recipe has been reviewed for safety and accuracy by a Master Food Preserver certified through the University of Cornell Cooperative Extension.
When I can pork, it’s usually shoulder. I like the richer cuts, and canning pork in chunks gives me jars that pull apart for tacos and soups.
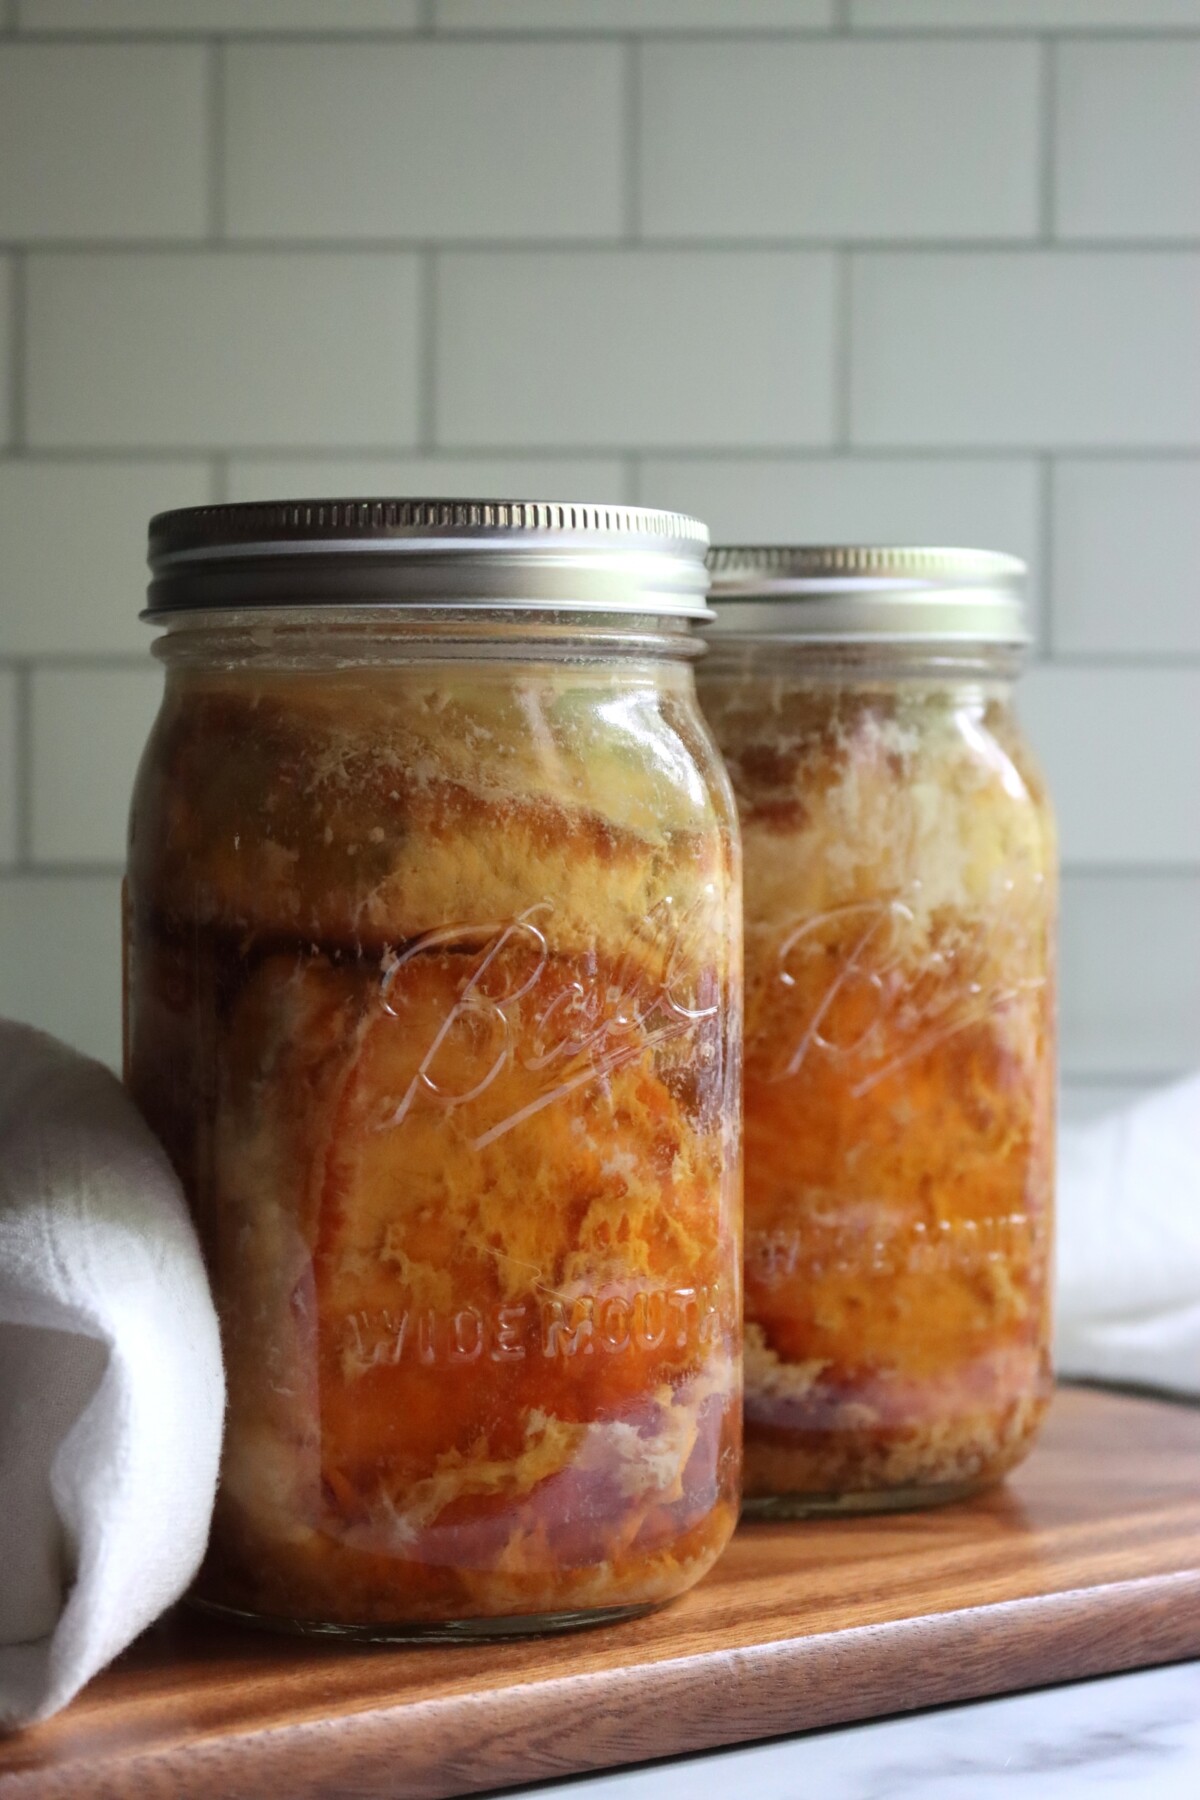
Chops are a different story. They come out of the jar as whole slices, so they go on the plate as a pork chop instead of shredded meat.
There’s no thawing, either. A frozen chop needs a day in the fridge before dinner, but a jar is ready as soon as you open it.
I use the steaks and chops recipe from the Ball Blue Book Guide to Preserving, which matches the USDA Complete Guide to Home Canning on time and pressure.
Canning pork ribs is another one to try. There are plenty more pork canning recipes after that, from soups to meals in a jar.
Notes from My Kitchen

Ball has you remove large bones, so I buy boneless when I know I’m canning, and any bones I do cut out go straight in the stock pot for pork broth.
The texture surprised me. They’re not quite the same as fresh chops, but they’re tender, and they slice well. I’d be happy pulling a jar of these out of the pantry on a weeknight.
Quick Look at the Recipe
- Recipe Name: Canning Pork Chops
- Recipe Type: Pork Canning Recipe
- Canning Method: Pressure Canning
- Prep Time: About 45 minutes for a full canner load
- Cook Time: About 20 minutes to brown the slices
- Canning Time: 75 minutes for pints, 90 minutes for quarts
- Yield: 7 quarts, or 9 pints
- Jar Sizes: Pints or quarts
- Headspace: 1 inch
- Ingredients Overview: Boneless pork chops, broth or water, optional salt
- Safe Canning Recipe Source: Ball Blue Book Guide to Preserving, 38th edition, p. 128 (steaks and chops)
- Difficulty: Easy
- Similar Recipes: Canning pork in chunks, canning pork ribs, and canning sausage.
Ingredients for Canning Pork Chops
The ingredient list is short: the meat, something to cover it, and salt if you want it.
How well you trim the meat matters more here than anything you could add to the jar.
- Pork chops: Fresh and plain, never pre-marinated, cured, or smoked. Blade and shoulder chops come out more tender, and loin and rib chops come out firmer. Frozen chops work too, as long as you thaw them in the fridge first. Beef, lamb, veal, and venison steaks and chops all use this same recipe and time.
- Broth or water: Whatever you cover the meat with. Broth makes a noticeably better jar than water does, so it’s what I use. Home-canned pork broth is the obvious one, especially when it came from these bones, and chicken broth is a good second choice. Plain water is fine if that’s what you have.
- Salt: Optional, since it does nothing for safety, but I leave it in. In my jars, the salt kept the meat from drying out. Any salt works in a jar of meat, and I use Redmond’s Real Salt because it tastes better. Canning and pickling salt like Morton canning and pickling salt only matters for keeping a pickle brine clear.
Nothing else goes in the jar. No flour, cornstarch, or gravy mix, no dairy, no oil, and nothing cured. Thickeners change how heat moves through a jar, and the tested time assumes plain meat in plain liquid.
The gravy comes later, once you open the jar.
Safe Substitutions
Salt in or out is up to you, at 1/2 teaspoon per pint or 1 teaspoon per quart.
You can add up to 1 teaspoon per pint or 2 teaspoons per quart of dried seasoning, following University of California Master Food Preserver guidance. I like garlic powder and paprika, but these are also wonderful plain. Skip sage, which turns bitter, and see safe canning recipe changes for the rest.
What you can’t do: water bath it, shorten the time, drop the pressure, thicken the liquid, add oil or dairy, or use cured pork. Sauce it when you open the jar, not before!
Canning Pork Chops Step by Step
I hot pack pork chops, which means browning the slices before they go in the jars. Start your pressure canner heating with a few inches of water in the bottom, and bring it to about 180 degrees F. Keep the jars warm too, since hot meat in a cold jar is how you crack one.
Set out the lids, bands, jar lifter, and canning funnel, and bring a pot of broth to a boil. If you’re salting, put the salt in the empty jars before any meat goes in, since that’s the step that’s easiest to forget.
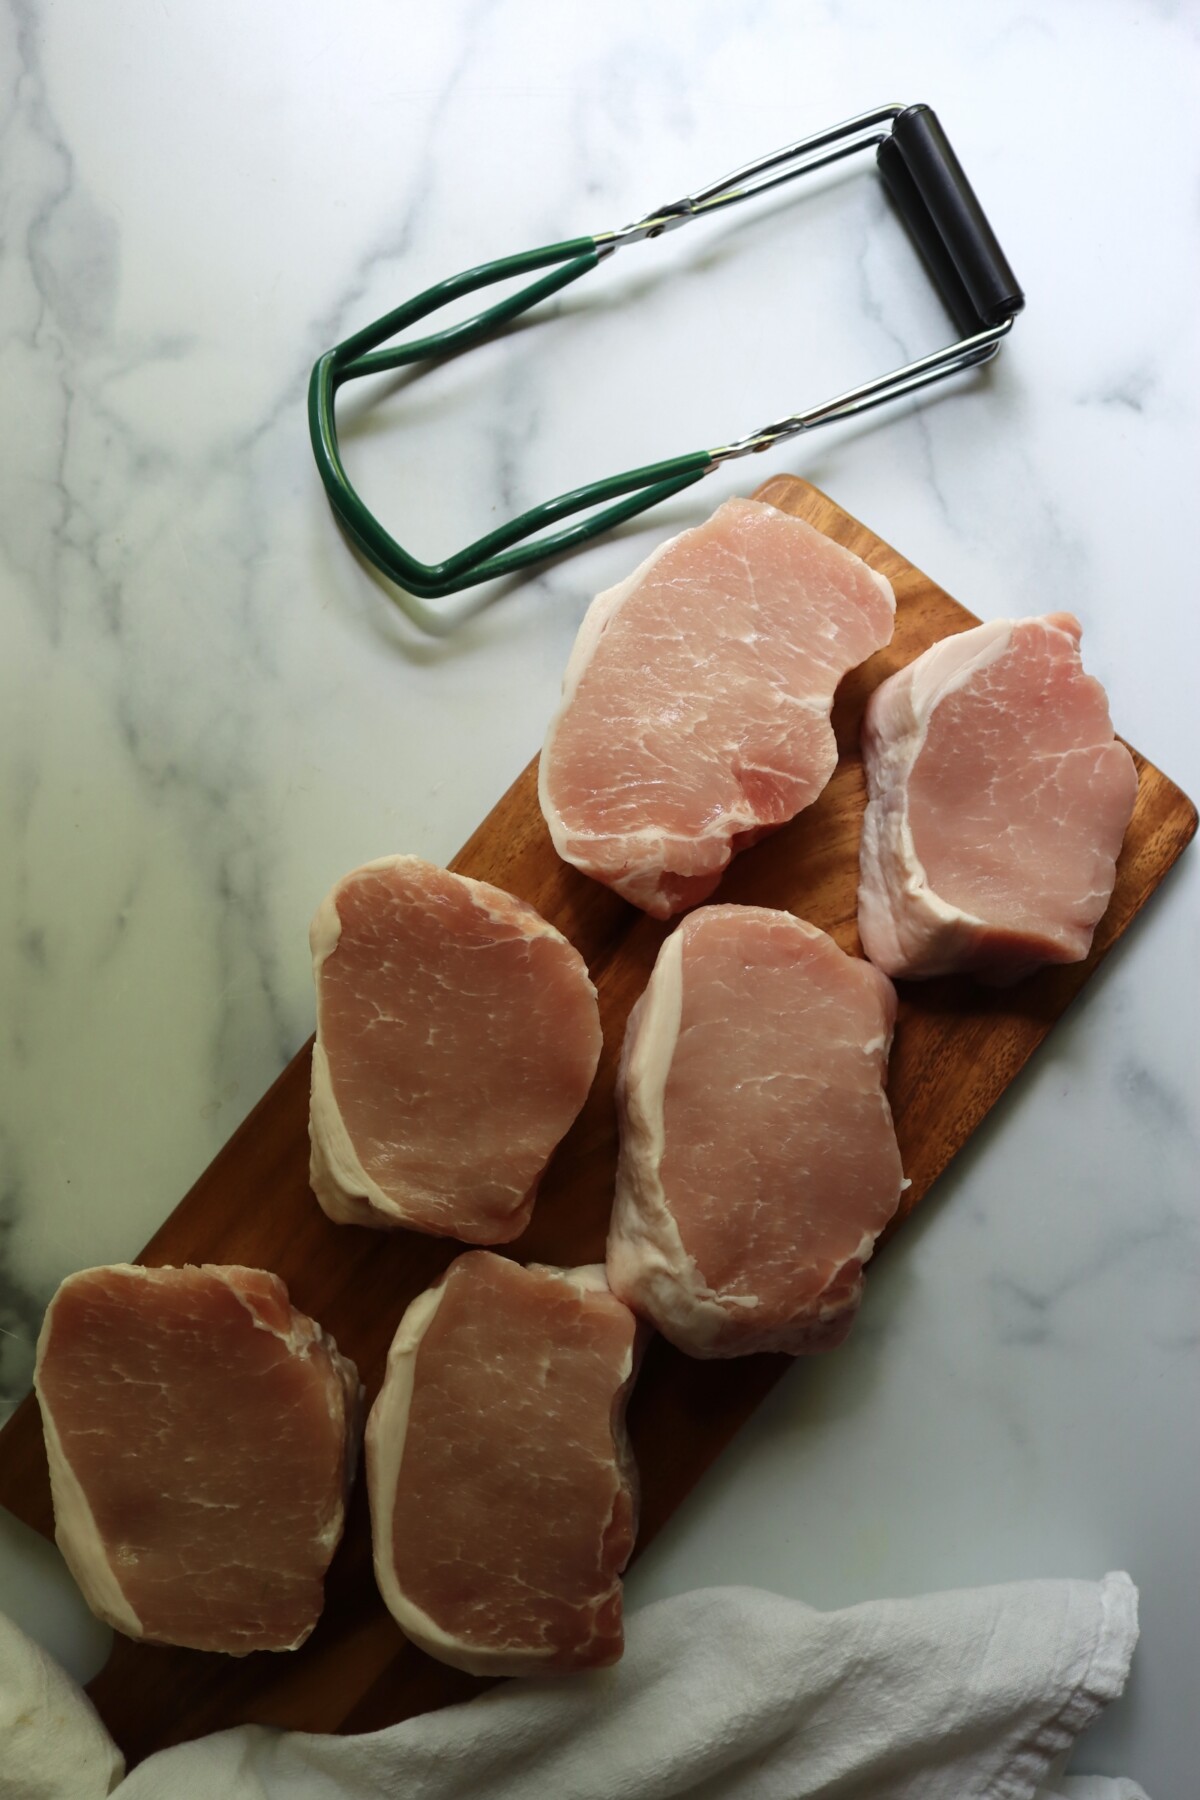
- Cut the large bones out of any bone-in chops, and save them for pork broth. Trim the fat cap down to a thin edge, since extra fat can taste strong in storage and work its way onto the rims. Slice the meat 1 inch thick, which is how Ball writes the recipe, and keep the slices close to the same size. Cold meat cuts cleaner, so work with it straight from the fridge.
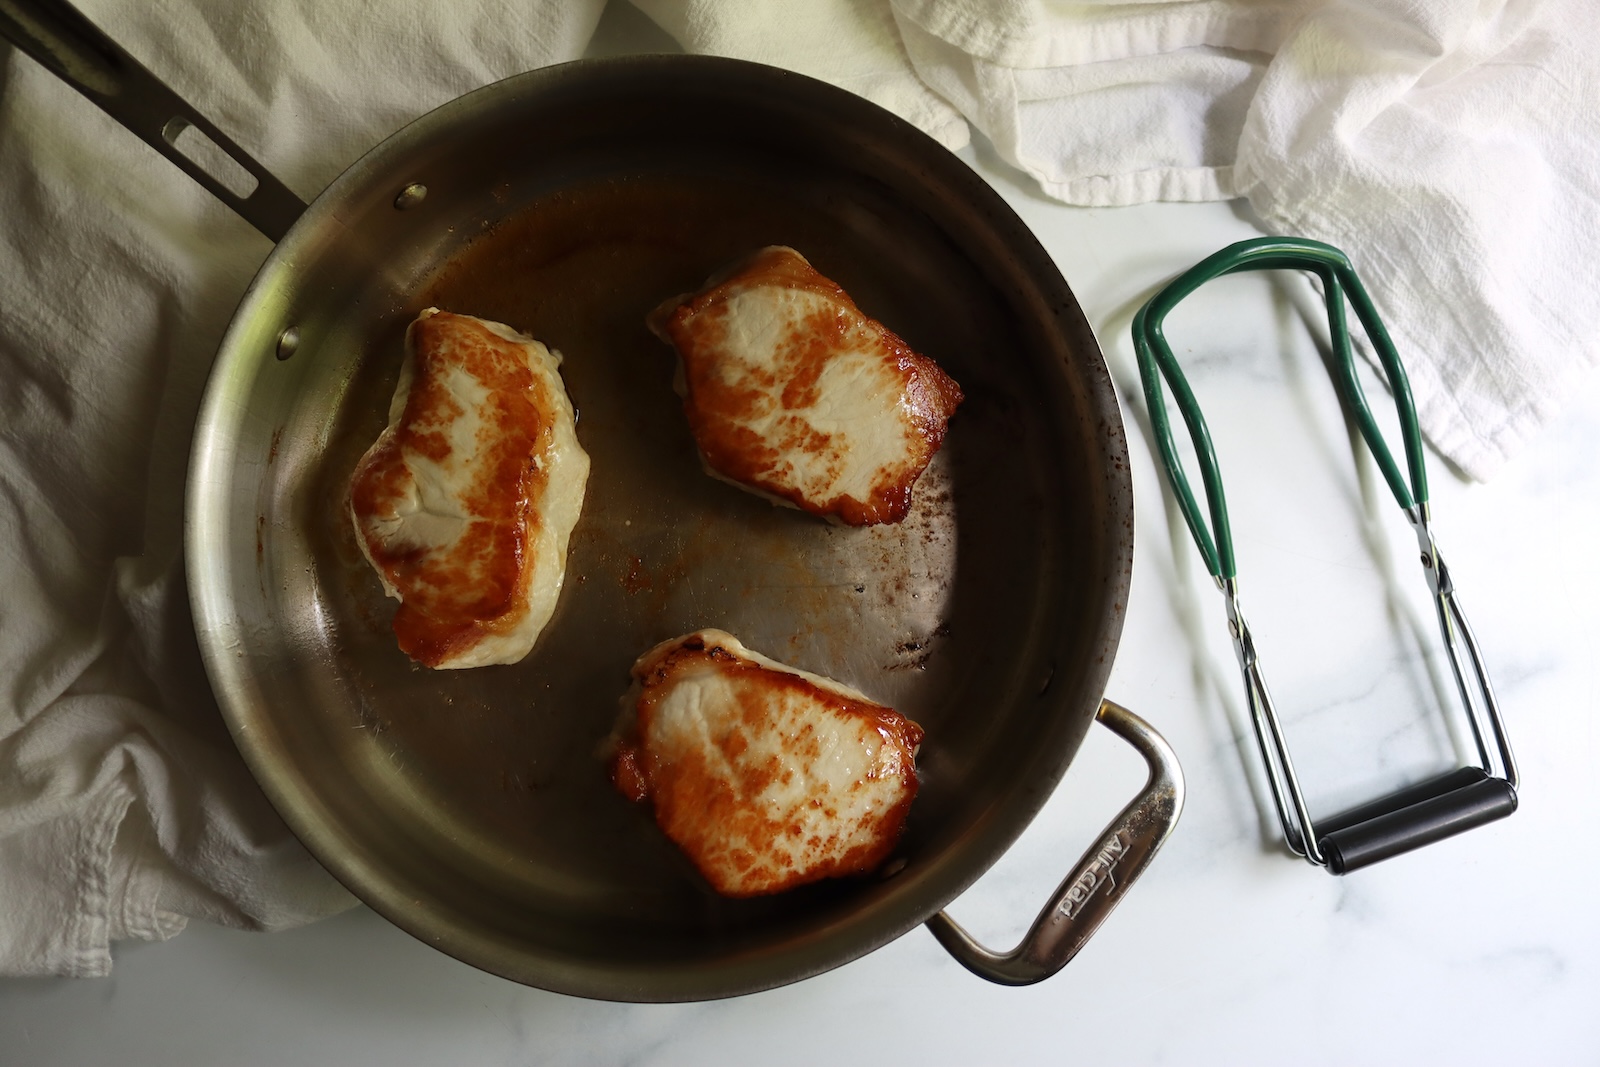
- Heat a little fat in a large skillet and brown the slices on both sides, working in batches so the pan stays hot. You’re after color, not doneness, so take them out while the middle is still raw. Deglaze the pan with a splash of the hot broth, let the fat rise, skim it off, and add those juices back to the broth.
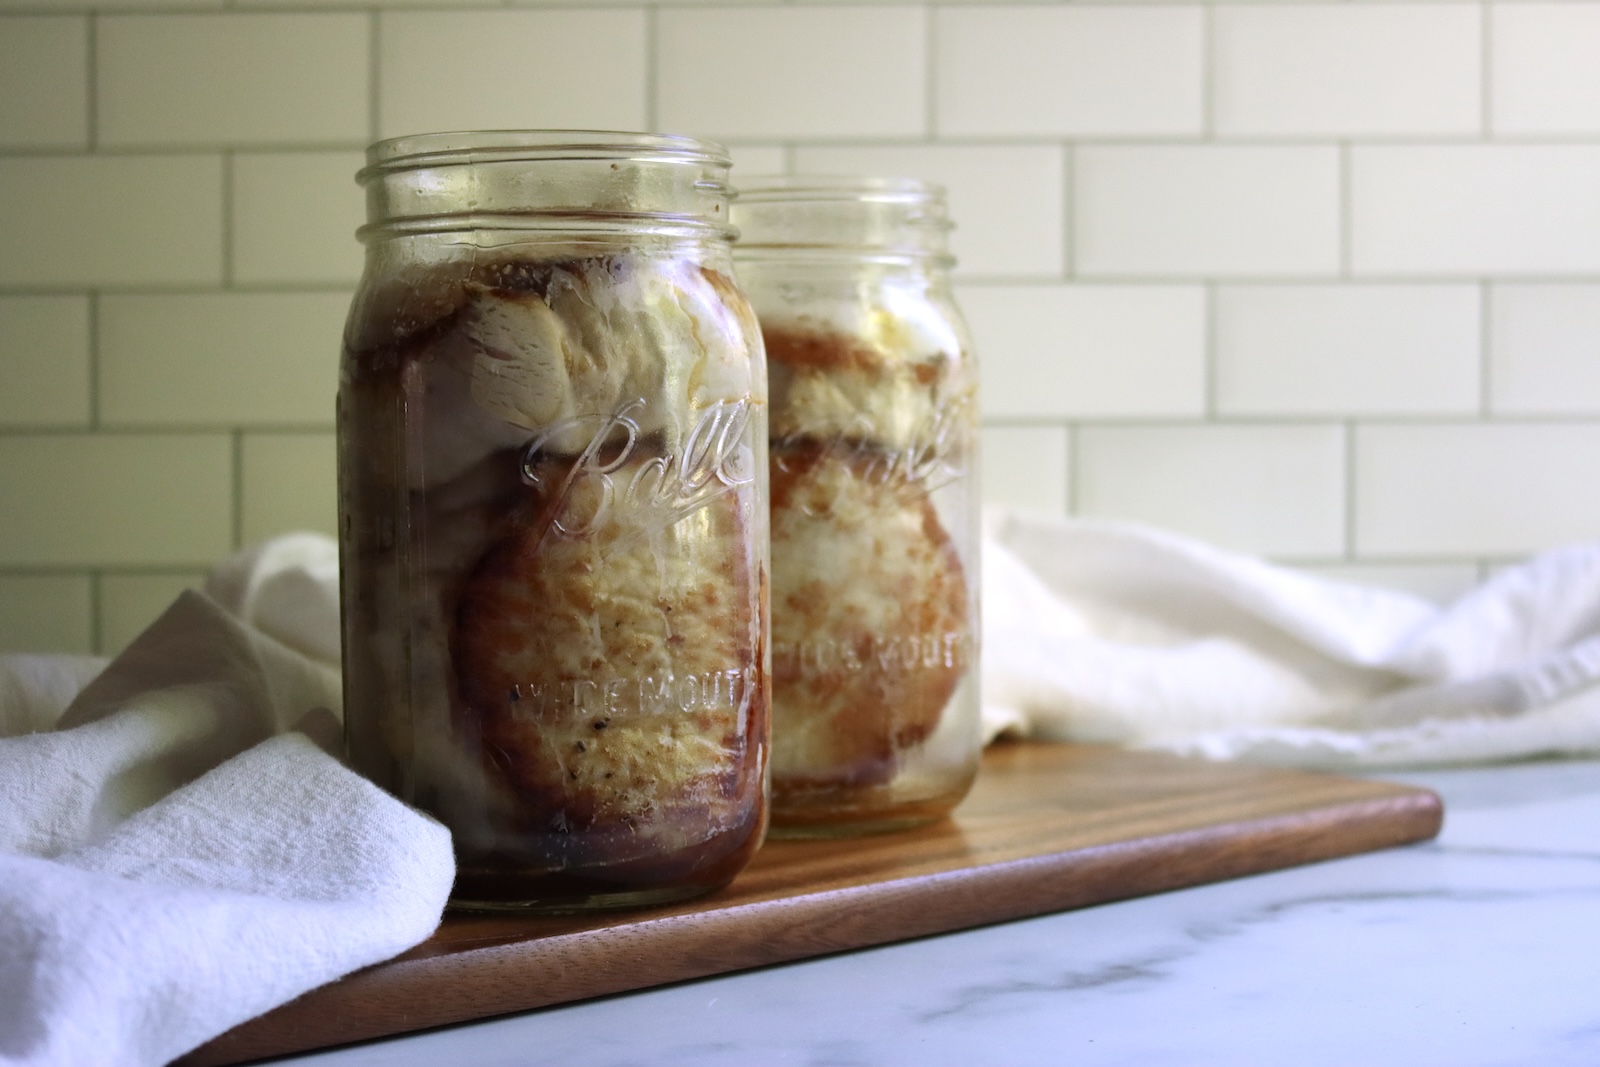
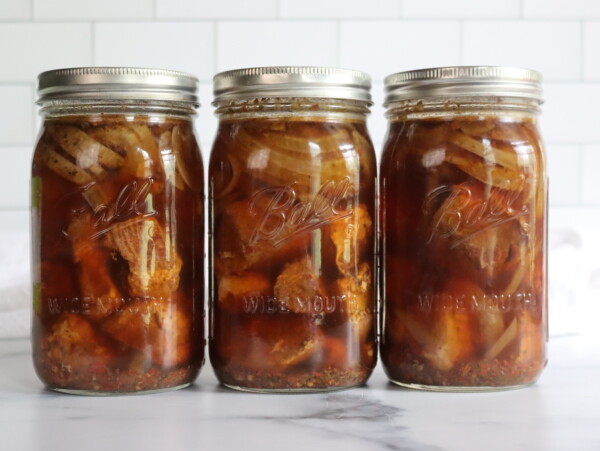
- Pack the hot slices into warm jars, standing them on edge, and leave 1 inch of headspace. Wide-mouth jars make them easier to get back out in one piece. Ladle the boiling broth over the meat to the same 1 inch. Run a bubble tool around the inside of each jar, and top up the broth if the level drops. Wipe the rims and put the lids on fingertip tight.
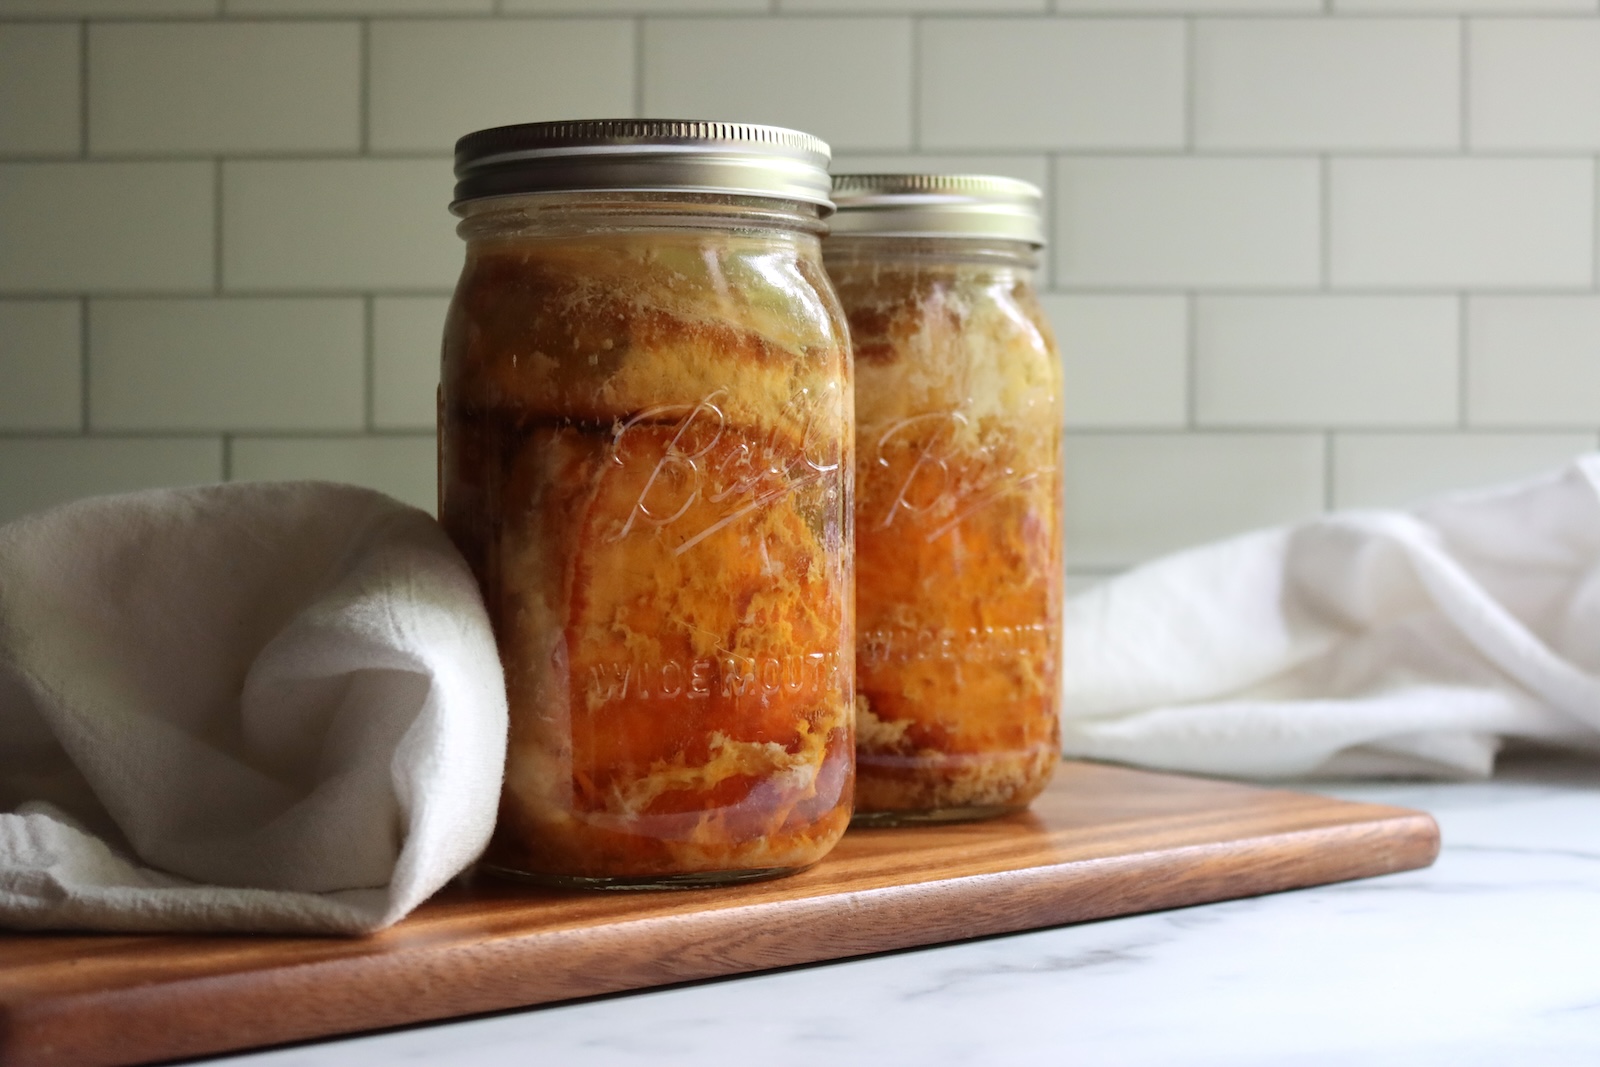
- Load the jars onto the canner rack, fasten the lid, and let a steady stream of steam vent for 10 minutes before you add the weight or close the petcock. Process pints for 75 minutes or quarts for 90 minutes at 10 pounds pressure in a weighted gauge canner or 11 pounds in a dial gauge canner, adjusting for altitude with the chart below. When the time’s up, turn off the heat and let the canner come down to zero on its own.
Don’t rush the cooldown by running the canner under water or lifting the weight early. Once it reads zero, remove the weight or open the petcock, and wait 10 minutes before you take the lid off, tilting it away from you. Then lift the jars out onto a towel and let them cool undisturbed for 12 to 24 hours.
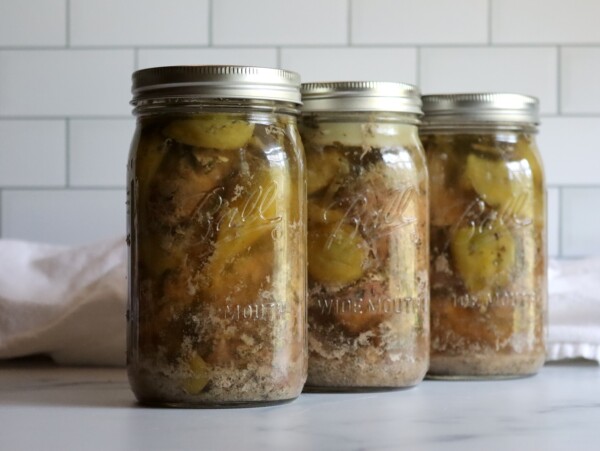
A little fat floating at the top and cloudy liquid underneath are both normal in a jar of meat. So is a jar that lost some liquid in the canner, as long as it sealed, though any meat above the liquid may darken in storage.
Altitude Adjustments
With pressure canning, the canning time is always 75 minutes for pints and 90 minutes for quarts, at any altitude. Only the pressure changes as you go up. Here are the altitude adjustments for pressure canning.
For dial gauge pressure canners:
- 0 to 2,000 feet: 11 lbs pressure
- 2,001 to 4,000 feet: 12 lbs pressure
- 4,001 to 6,000 feet: 13 lbs pressure
- 6,001 to 8,000 feet: 14 lbs pressure
For weighted gauge pressure canners:
- 0 to 1,000 feet: 10 lbs pressure
- Above 1,000 feet: 15 lbs pressure
Ways to Use Canned Pork Chops
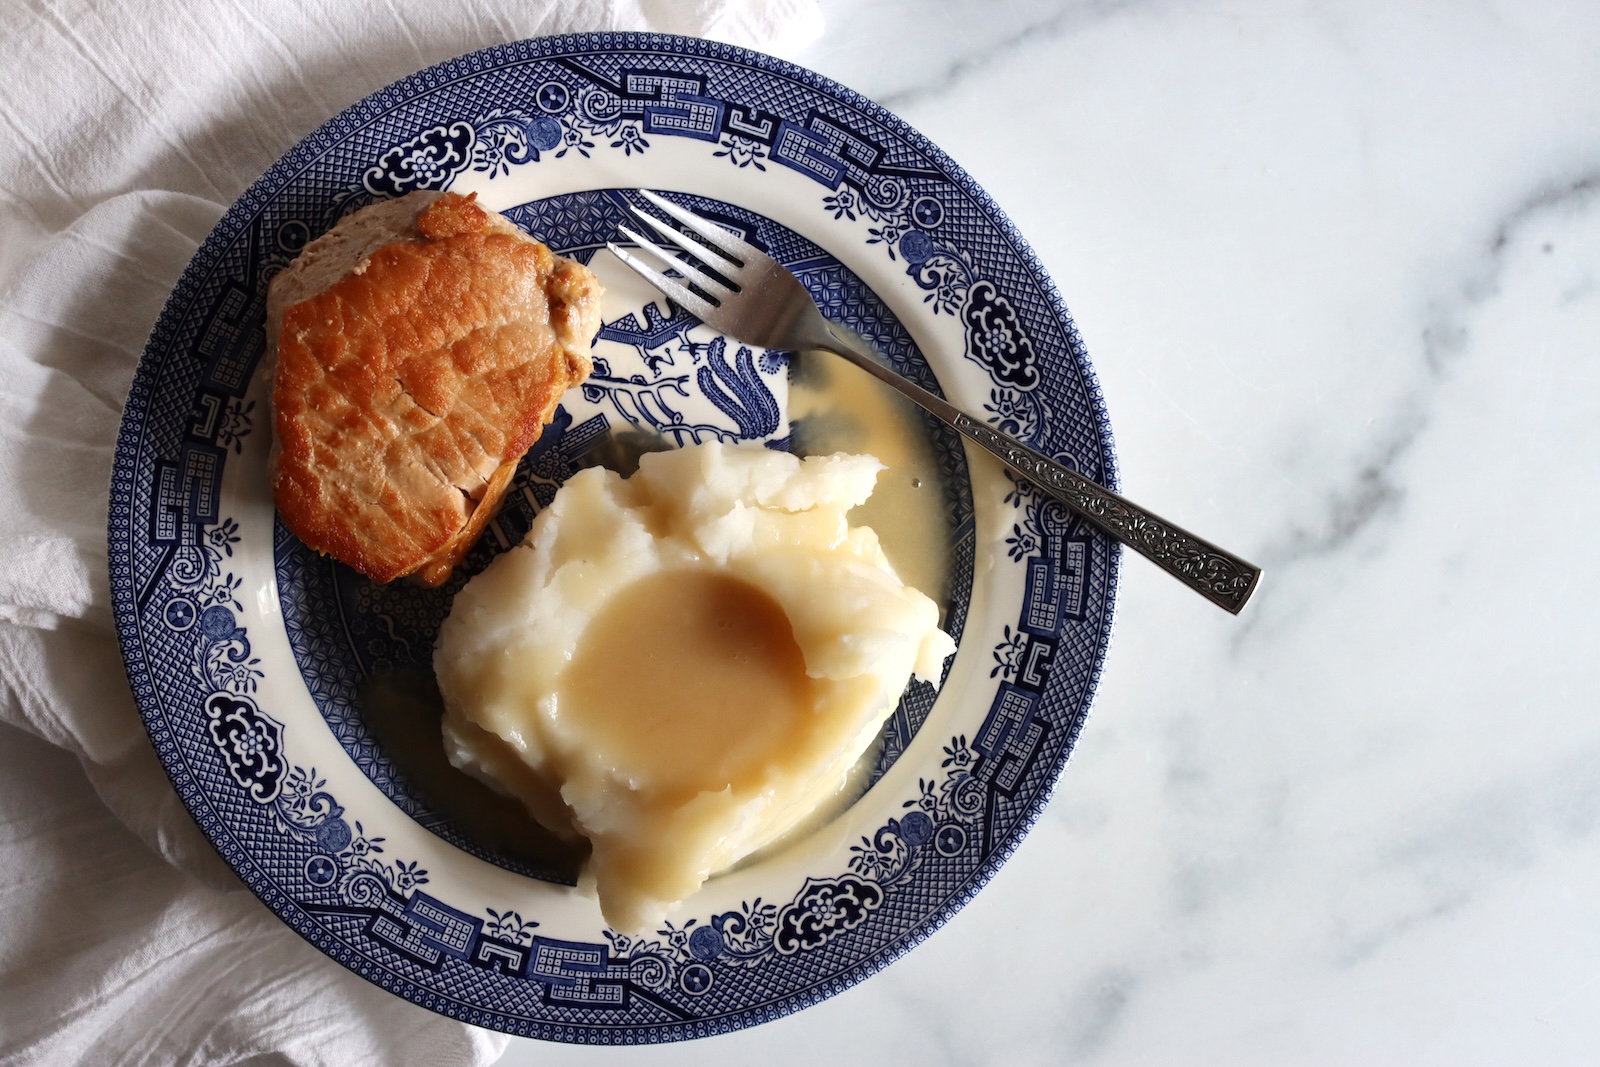
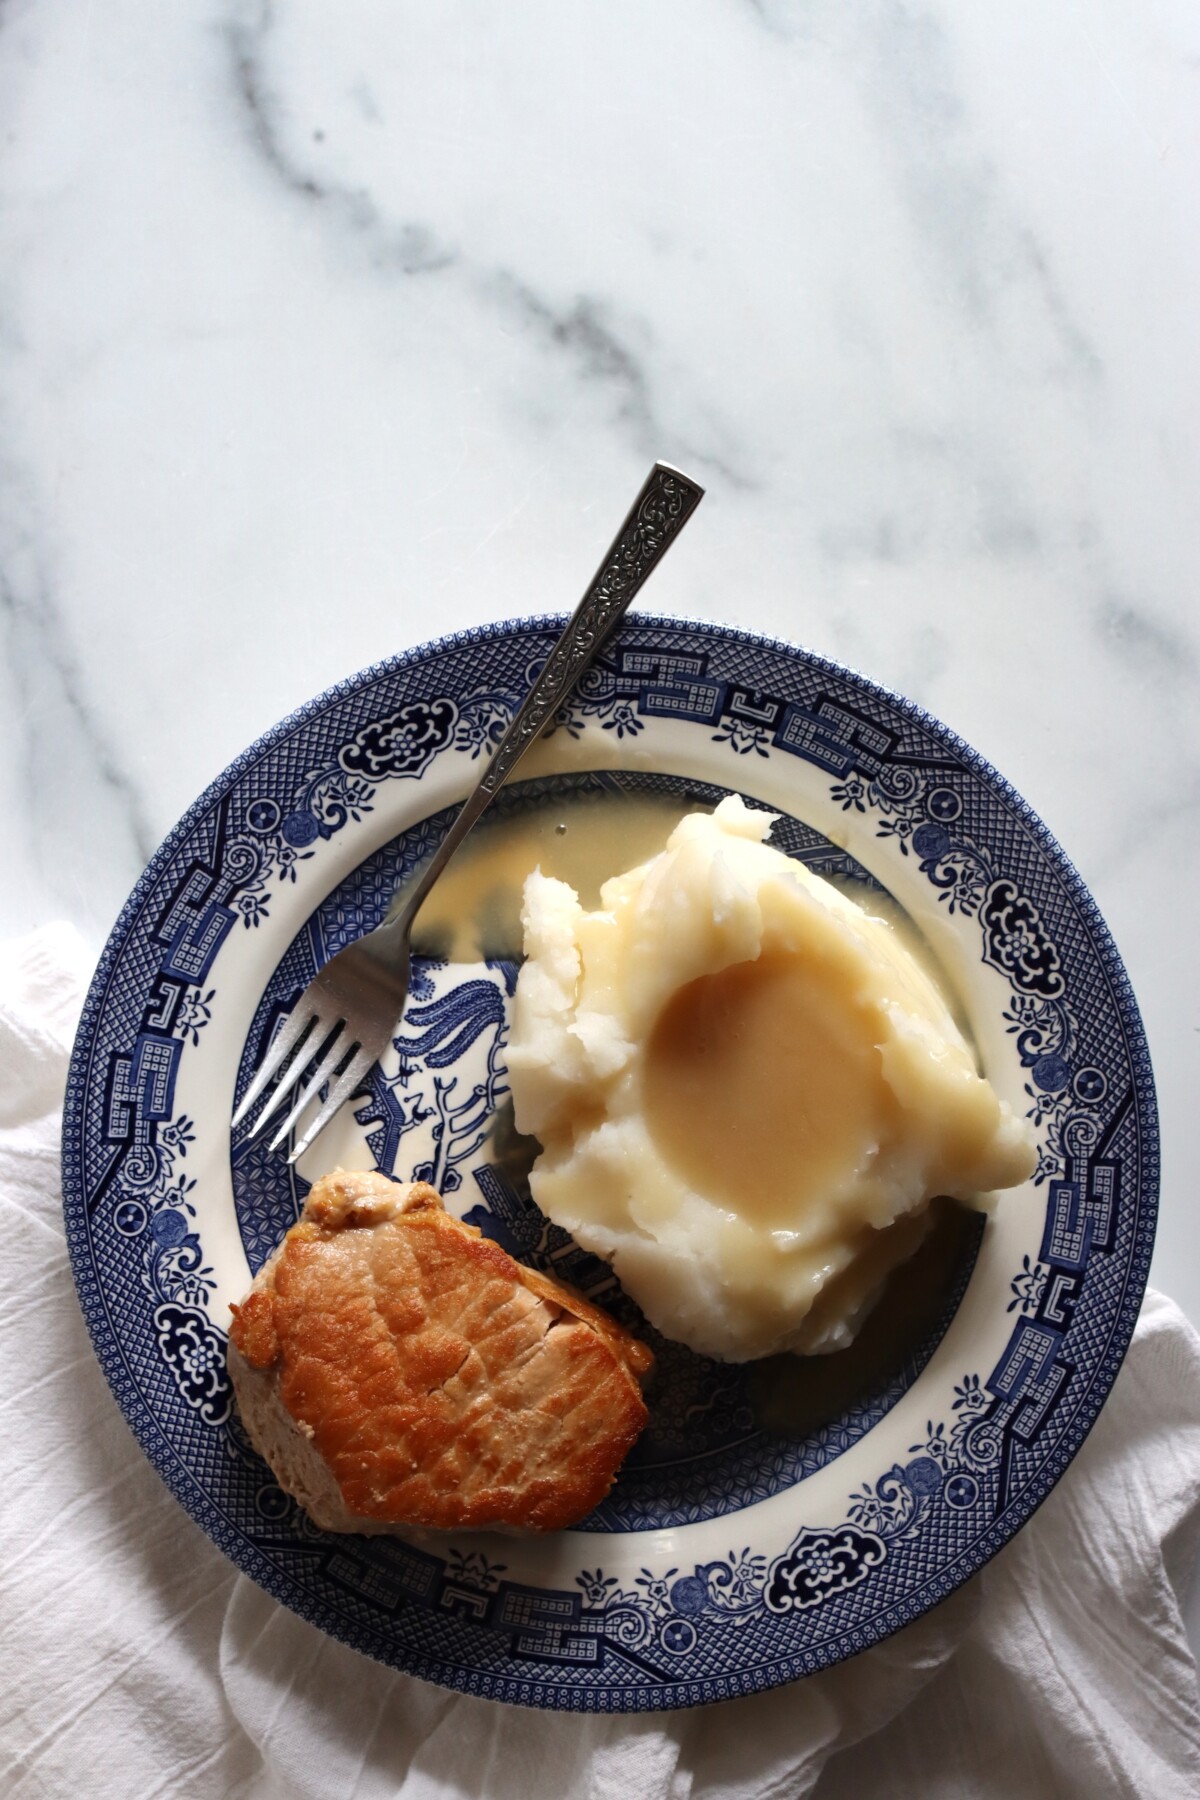
Canned pork chops come out of the jar fully cooked, so dinner is mostly browning them and making gravy. That’s how I serve them, with mashed potatoes on the side.
Drain the broth into a small saucepan first, and save all of it, because that’s your gravy.
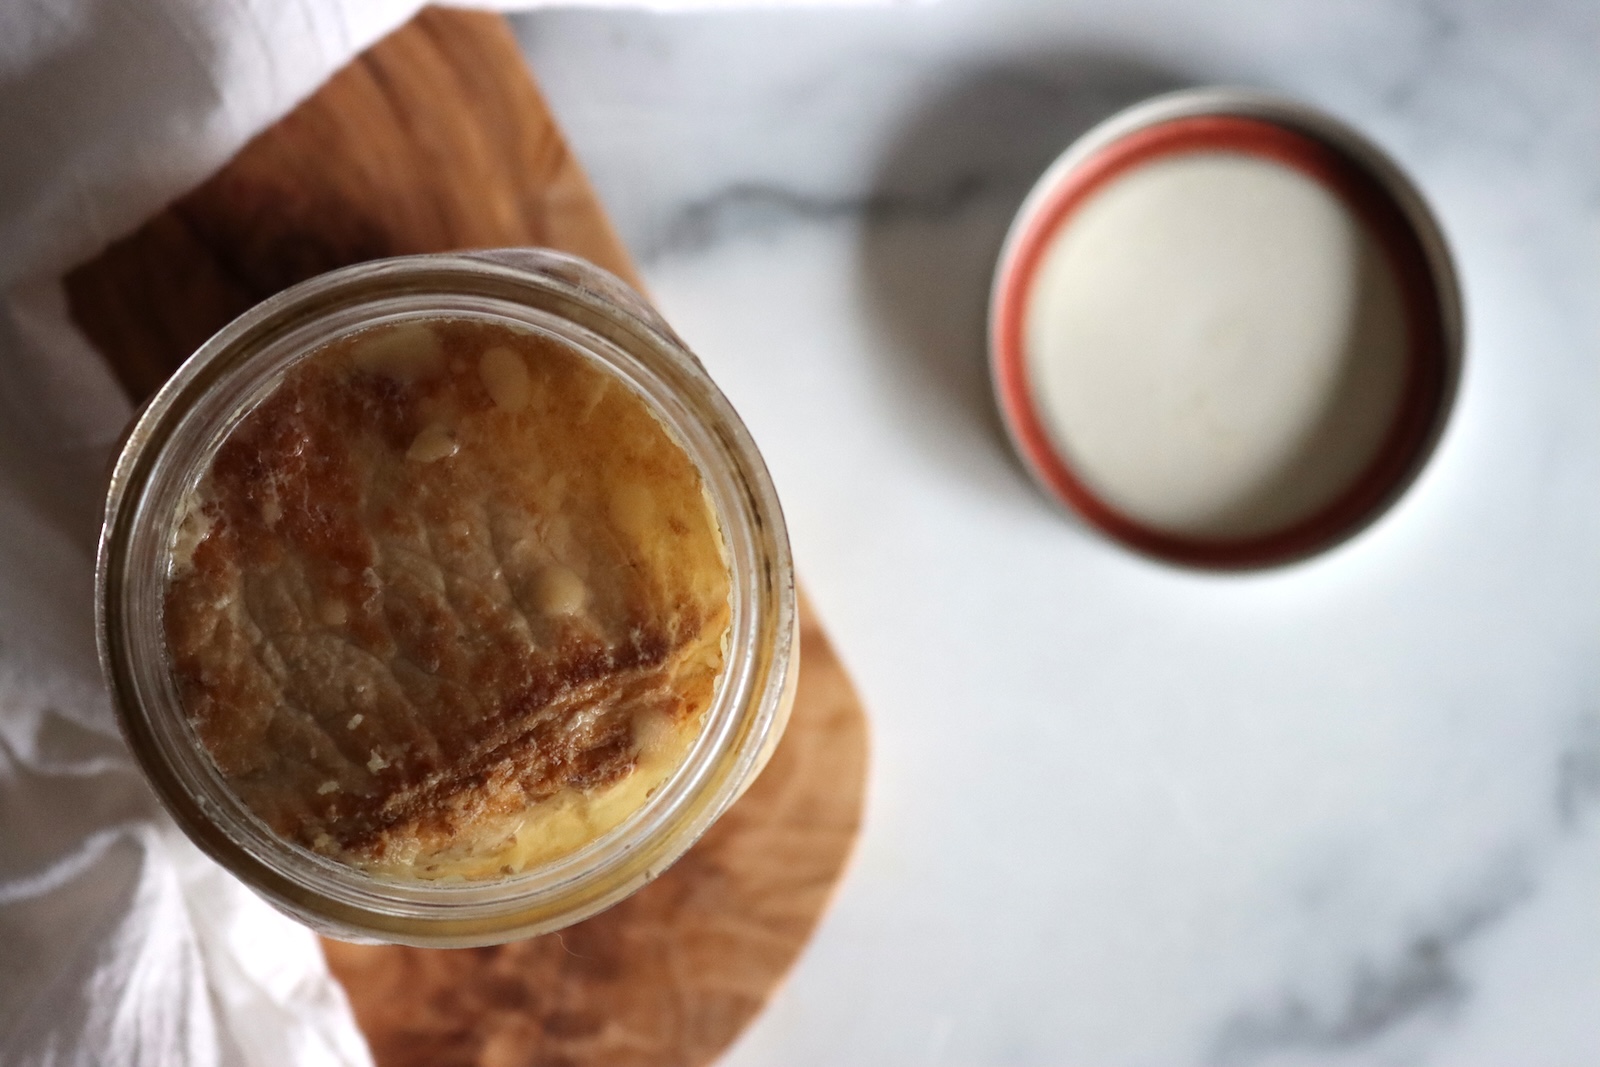
The broth stays liquid in a sealed jar on the shelf. Once you chill or open a jar, it can set up like jelly, so spoon it out instead. It melts as soon as it warms up.
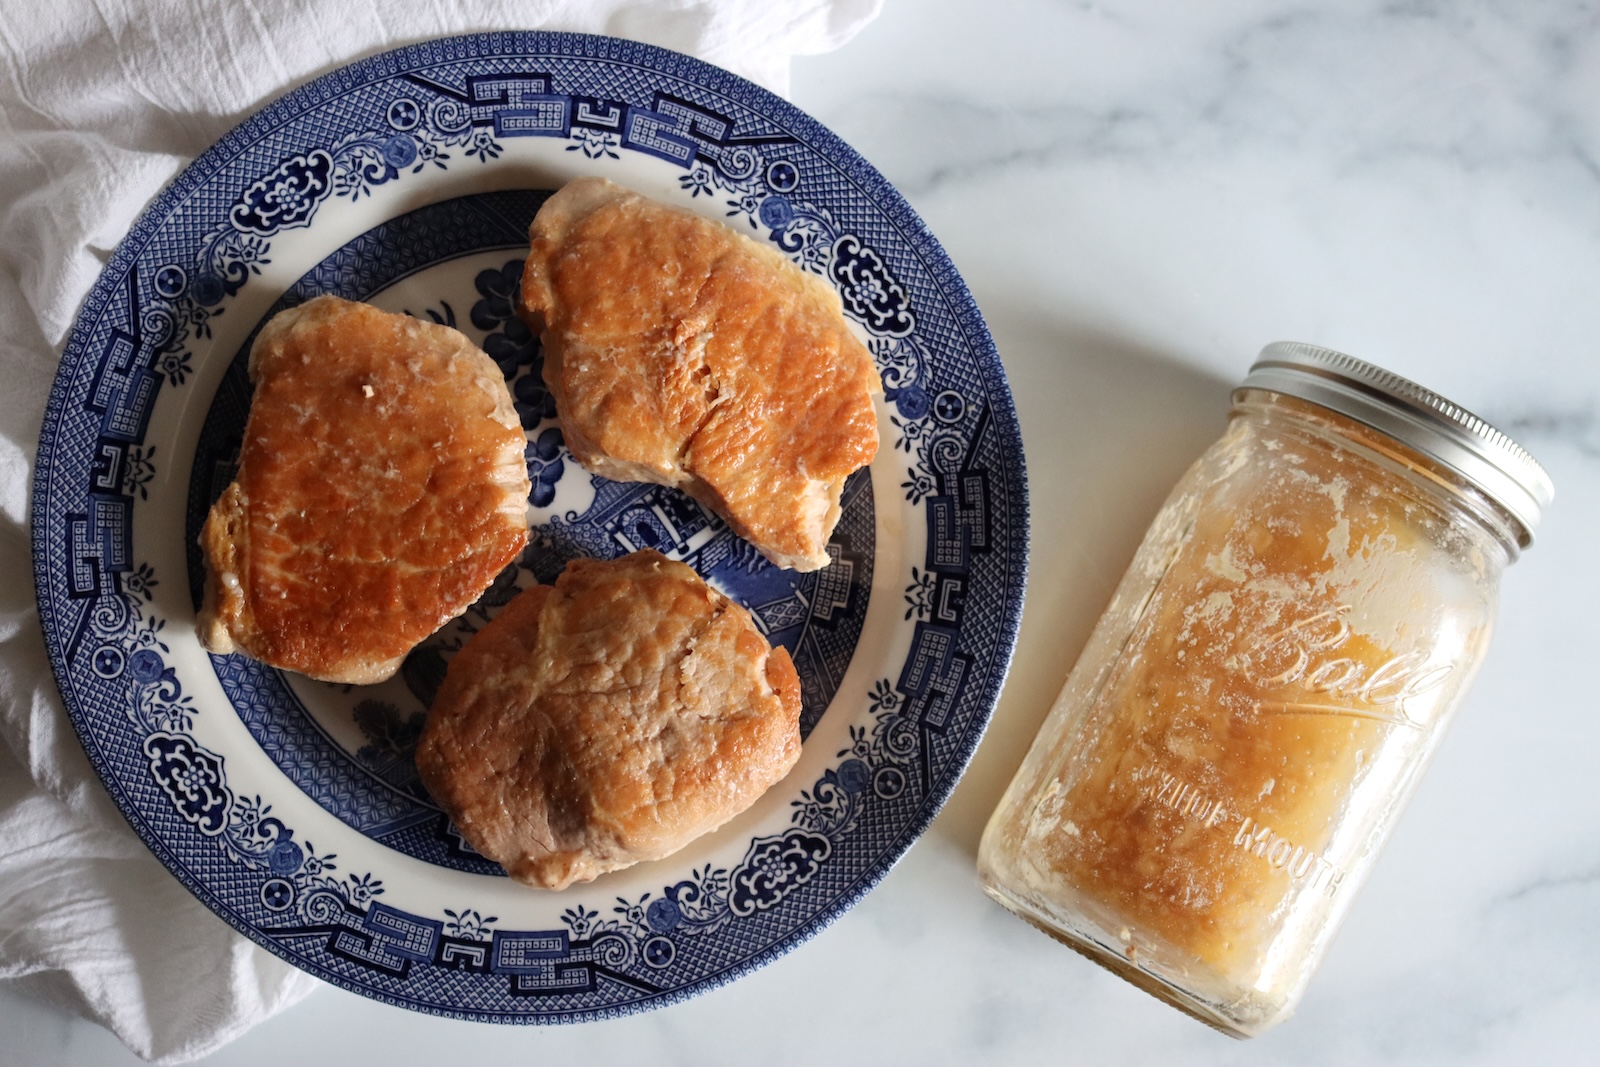
Then ease the slices out of the jar carefully. They’re tender enough to break apart if you pry at them.
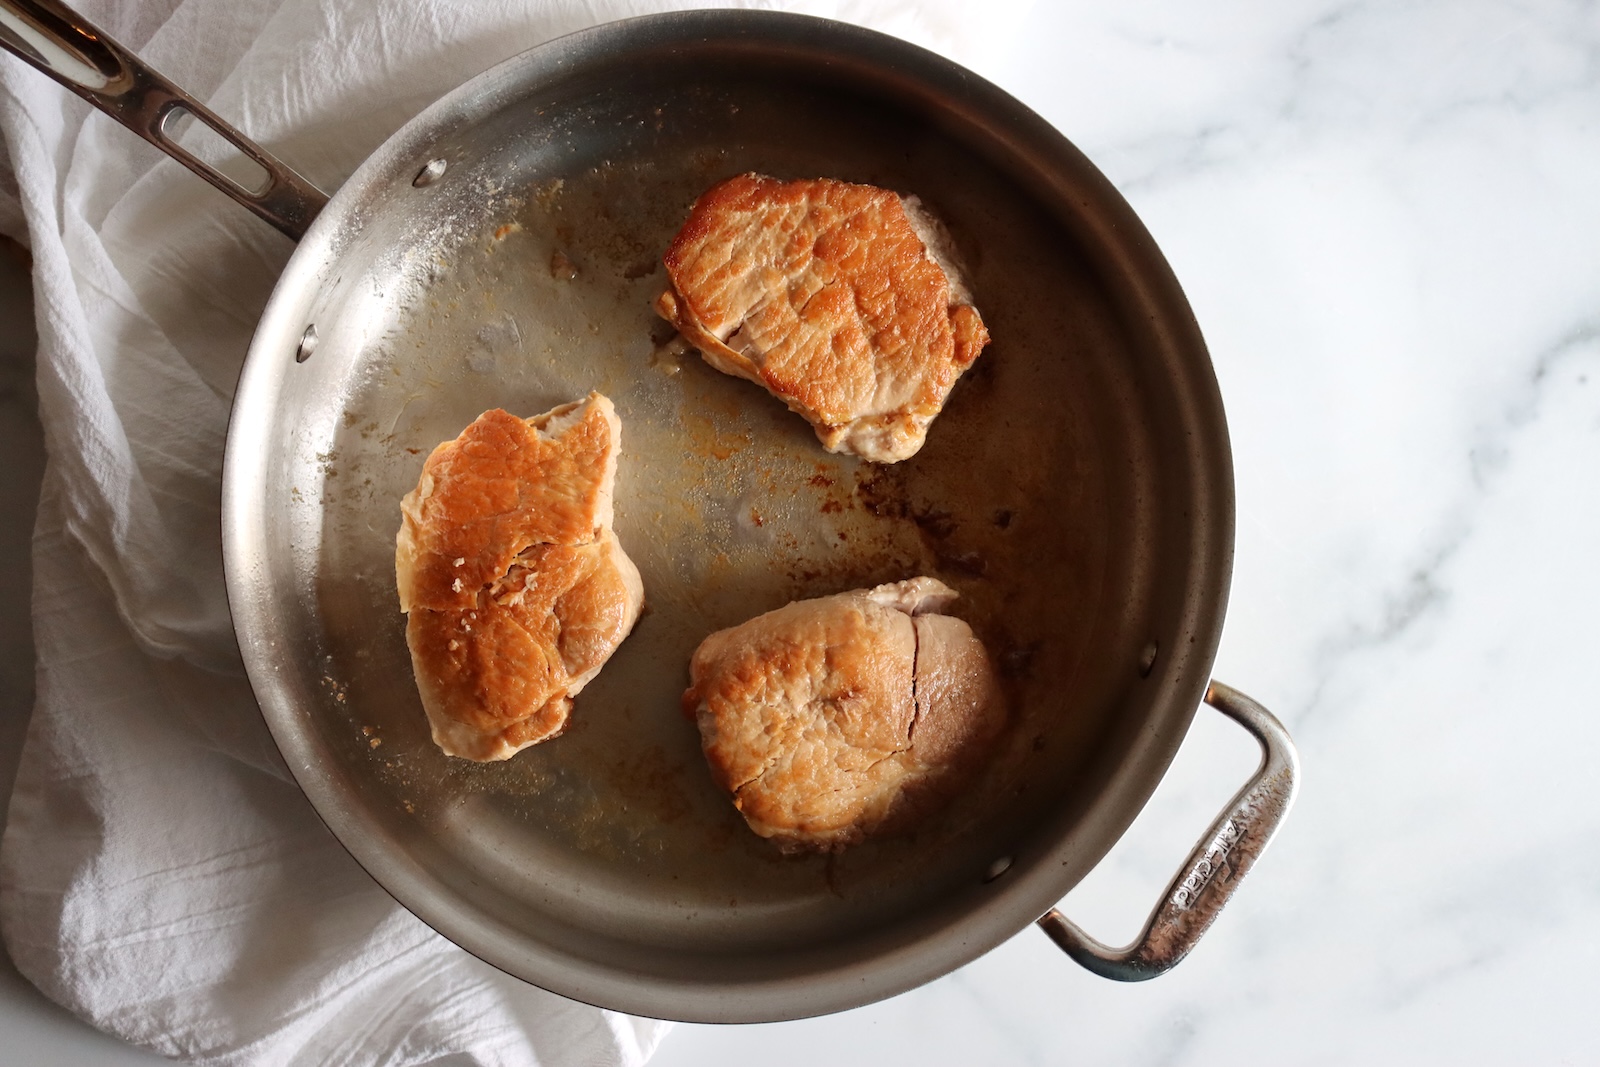
Brown the slices on both sides in a hot skillet with a little fat, and the fat from the top of the jar works fine. They’re already cooked through, so you’re only after color and heating them up. I like 1-inch slices better than thick chops for this, since every piece gets more browned surface.
While they brown, bring the broth to a simmer and thicken it into gravy with a little flour or cornstarch. Taste it before you add any salt, since the jar already has some if you salted it.
Serve the chops with mashed potatoes and plenty of gravy, and you have a pork chop dinner straight from the pantry.
You can pull them apart for tacos if you’d like. For pulled pork, though, shoulder does a better job, and I’d go with canning pork in chunks instead. These jars are for the nights you want a chop.
Storage and Shelf Life
Once the jars have cooled, press the center of each lid. A sealed lid curves down and doesn’t move or click. Take the rings off before you store them, because a ring can hold a failed lid in place and hide a jar that never sealed.
Put any jar that didn’t seal in the fridge and eat it within a few days. You can also reprocess it with a new lid for the full time, as long as you catch it within 24 hours.
Label the sealed jars and store them somewhere cool, dark, and dry. Canned pork is best within a year and stays good for about two. It’s safe past that as long as the seal holds, and the texture just keeps softening.
Once you open a jar, refrigerate it and use it within three or four days.
If you’re putting up more than chops this year, there’s a full beginner’s guide to canning meat with more than 30 recipes to work through, and plenty more in my list of pressure canning recipes.
Yield Notes
Plan on about 2 pounds of boneless chops per quart and 1 pound per pint. A full load of 7 quarts takes 12 to 14 pounds boneless, or 16 to 18 pounds bone-in.
Budget about a cup of broth a jar, since browned slices pack loosely.
Halve it or double it freely. Your canner’s minimum load is usually 2 quarts or 4 pints.
Raw Packing Pork Chops
You can raw pack pork chops at the same 75 and 90 minutes. Pack the raw slices into the jars, cover them with boiling broth or water, and load them into canner water at about 140 degrees F.
I don’t recommend it for chops, though. Raw-packed pork tends to fall apart, more like pulled pork than a chop you can brown and serve whole.
Canning Pork Chops FAQs
The water bath question comes up on my meat recipes all the time, and chops add two of their own: the bone and the cut size.
No. Pork is low acid, and a water bath canner doesn’t get hot enough to make meat safe on the shelf. There’s no tested water bath process for any meat at any jar size, and boiling it longer doesn’t substitute for pressure. Chops need a pressure canner. If you don’t have one, freeze them instead.
Yes. The tested recipe says to remove large bones, so the bone comes out before the meat goes in the jar. Bone changes how heat moves through a packed jar, and the tested time assumes meat without it. Cutting it out takes a few minutes per chop with a sharp knife, and the bones themselves make good pork broth. Buying boneless chops skips the step entirely.
Not whole. Ball’s recipe has you cut the meat into 1-inch slices, so slice a thick chop down before it goes in the jar. The slices also brown better than a whole chop when you fry them after opening the jar. They pack best standing on edge, and wide-mouth jars make them easier to get back out in one piece.
No. They’re not quite the same as fresh chops, but they’re tender, and they slice well. In my jars, the salt kept them from drying out, and a little gravy from the juices in the jar helps too. Lean loin and rib chops come out firmer than blade or shoulder chops, which carry more fat and connective tissue.
Sealed jars in a cool, dark cupboard are best within a year and stay good about two. They’re safe longer than that as long as the seal holds, and the texture just softens. Store them with the rings off so a failed seal shows itself, and refrigerate an opened jar and use it within three or four days.
Pork Canning Recipes
More pork worth putting up:
If you tried this Canning Pork Chops recipe, or any other recipe on Creative Canning, leave a ⭐ star rating and let me know what you think in the 📝 comments below!
And make sure you stay in touch with me by following on social media!
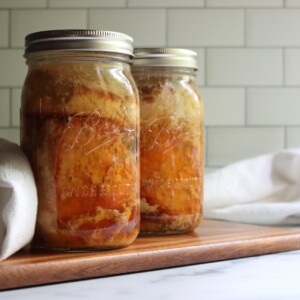
Canning Pork Chops
Equipment
- Canning Jars, Lids and Bands
- Bubble remover
- Large saucepan
Ingredients
- 13 lbs boneless pork chops, as purchased, see notes
- 7 cups broth or water, boiling, see notes
- Salt, optional, 1 tsp per quart or 1/2 tsp per pint
Instructions
- Remove the large bones from any bone-in chops, working with well-chilled meat.
- Trim the fat cap down to a thin edge and cut away any gristle.
- Cut the meat into 1-inch slices, keeping them close to the same size.
- Bring the broth or water to a boil in a large saucepan, then keep it at a simmer.
- Heat a few inches of water in the pressure canner to about 180 degrees F.
- Brown the slices on both sides in a little fat in a skillet, working in batches, until colored but still raw in the middle.
- Deglaze the skillet with a little of the hot broth, skim off the fat, and add the juices back to the broth.
- Add salt to each empty jar if you’re using it.
- Pack the hot slices into warm jars, standing them on edge, leaving 1 inch headspace.
- Ladle the boiling liquid over the meat, keeping 1 inch headspace.
- Release trapped air bubbles, top up the liquid if the level dropped, wipe the rims clean, and apply the lids and bands fingertip tight.
- Load the jars into the pressure canner, fasten the lid, and vent a steady stream of steam for 10 minutes before adding the weight or closing the petcock.
- At 10 lbs pressure in a weighted gauge canner or 11 lbs in a dial gauge canner, process quarts for 90 minutes or pints for 75 minutes, adjusting for altitude (see notes).
- Turn off the heat and let the canner return to zero pressure on its own. Remove the weight or open the petcock, wait 10 minutes, then take off the lid, tilting it away from you, and lift the jars out.
- Set the jars on a towel, leaving space between them, and let them cool undisturbed for 12 to 24 hours.
- Check the seals, remove the rings, label the jars, and store them in a cool, dark place.
Notes
- 0 to 2,000 feet: 11 lbs
- 2,001 to 4,000 feet: 12 lbs
- 4,001 to 6,000 feet: 13 lbs
- 6,001 to 8,000 feet: 14 lbs
- 0 to 1,000 feet: 10 lbs
- Above 1,000 feet: 15 lbs
Nutrition
Nutrition information is automatically calculated, so should only be used as an approximation.
More Pressure Canning Meat Recipes
Fill the canner the rest of the way with these:
Find the perfect recipe
Searching for something else? Enter keywords to find the perfect recipe!