This post may contain affiliate links. Please see our disclosure policy.
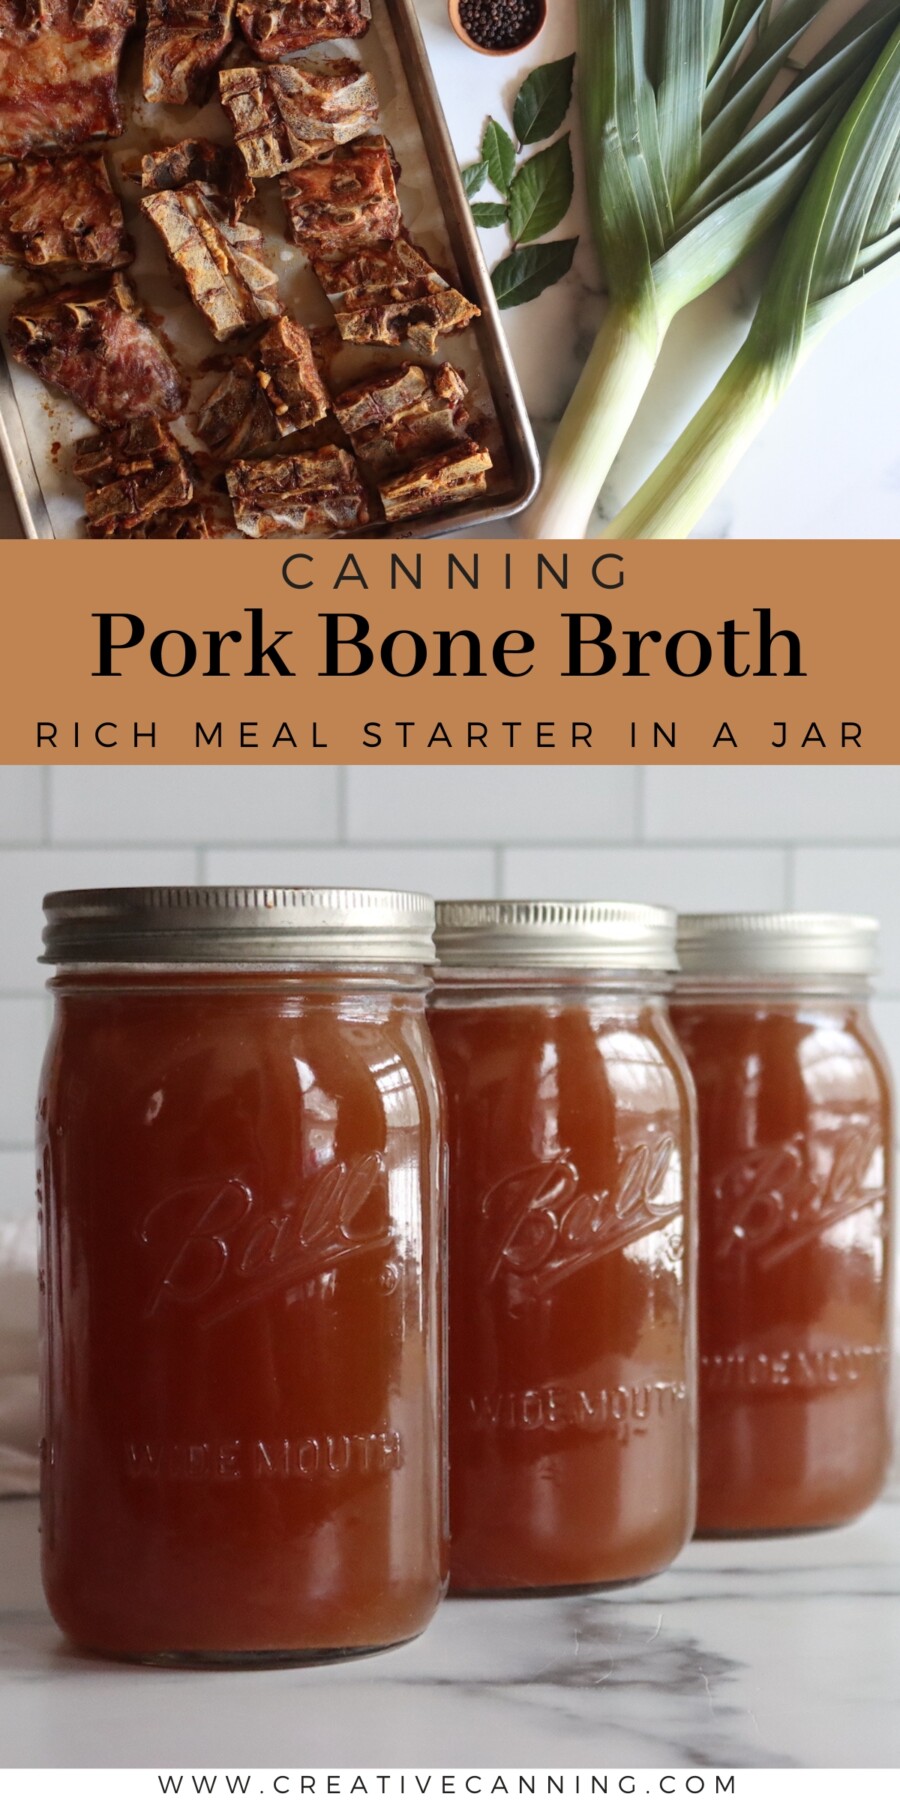
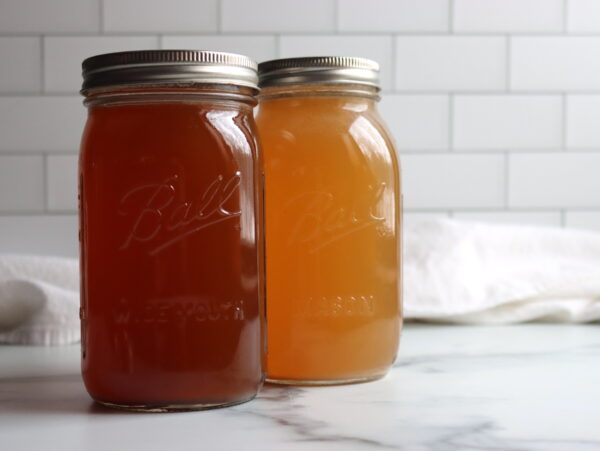
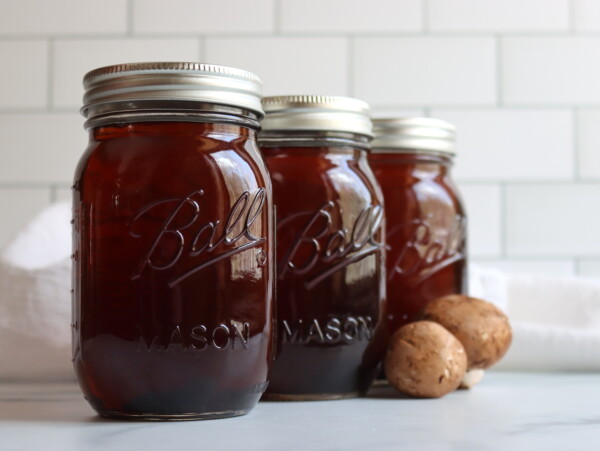
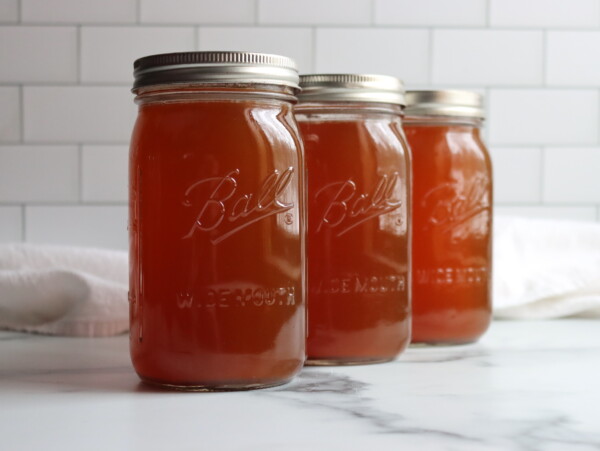
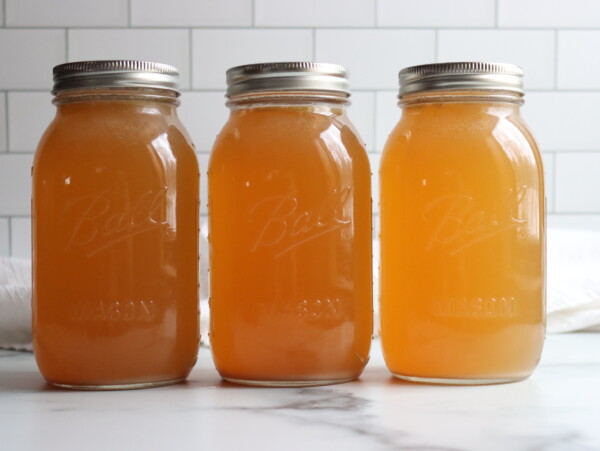
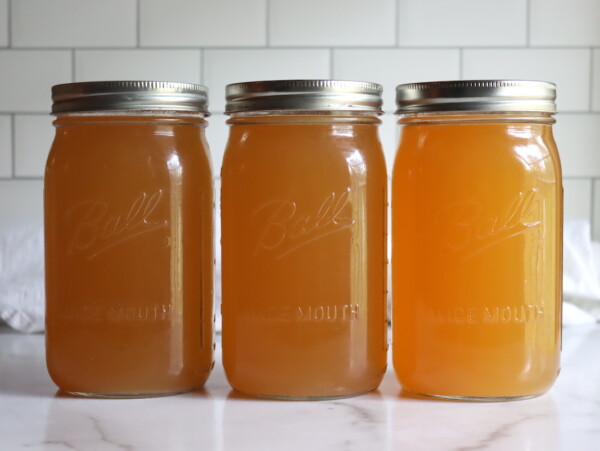
Canning pork bone broth gives you a rich, flavorful meal base for your pantry shelf. Pork broth is lighter in color than beef but just as rich in flavor, and it works in everything from ramen and braised greens to soups, rice dishes, and any recipe that calls for chicken broth.
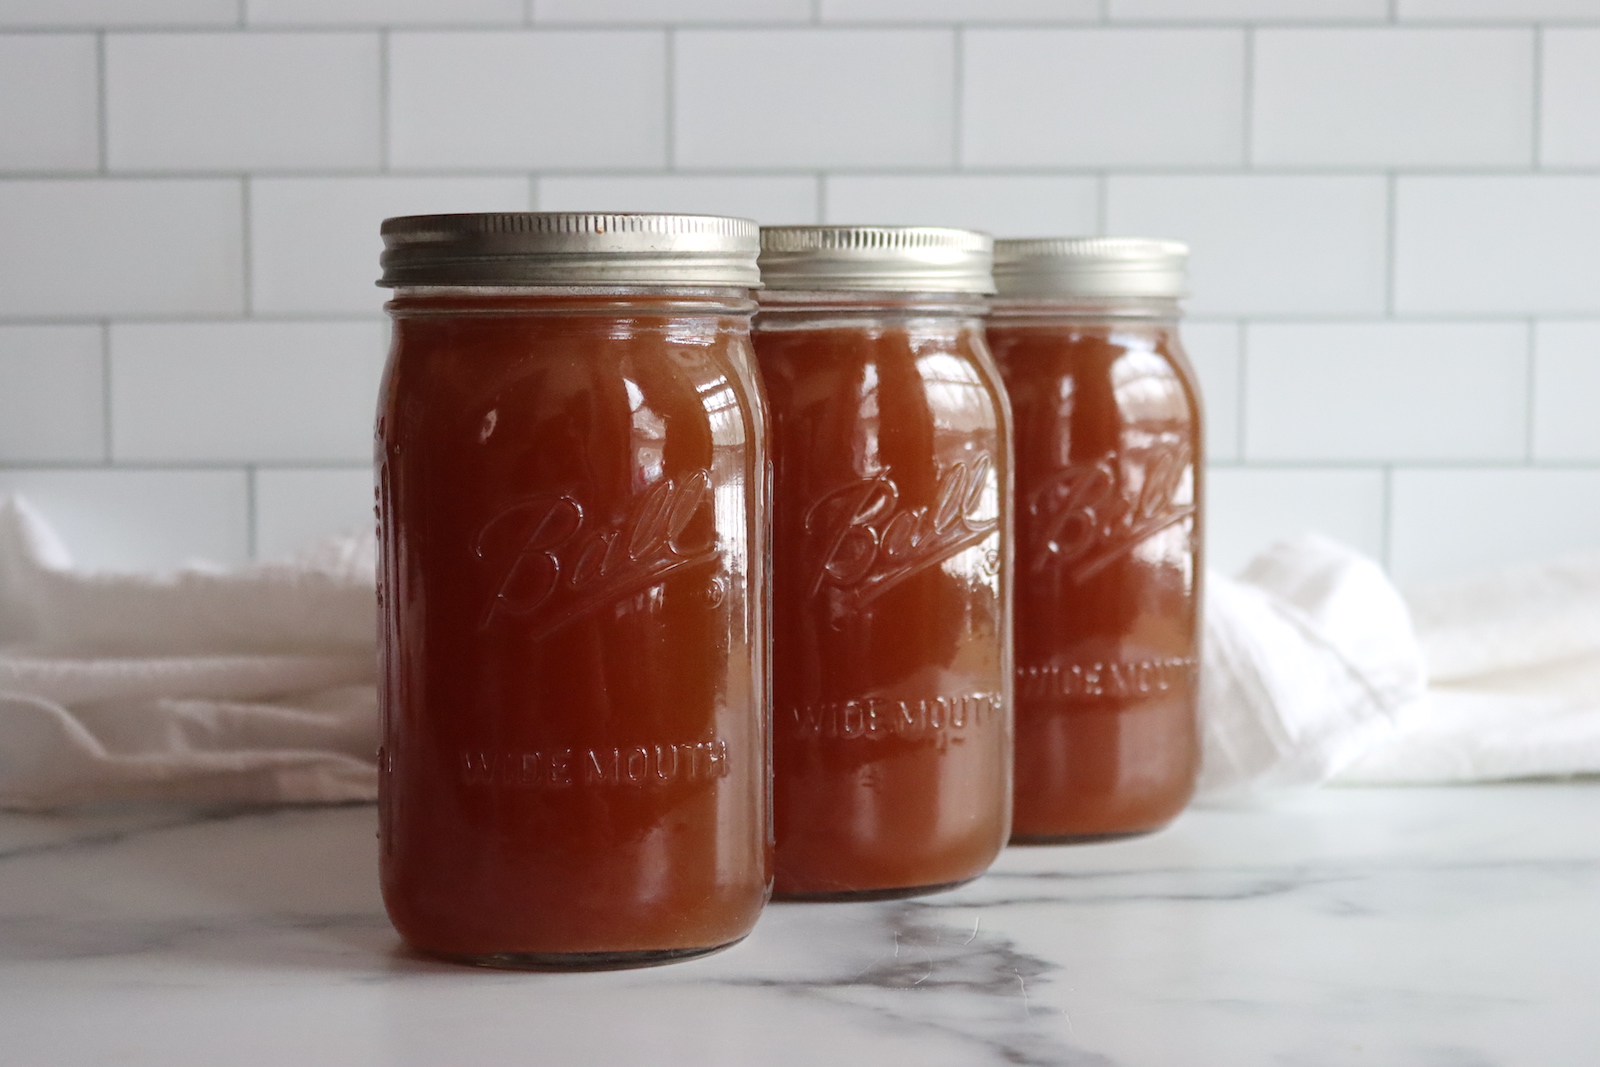
This recipe has been reviewed for safety and accuracy by a Master Food Preserver certified through the University of Cornell Cooperative Extension.
Home grown pork has been a staple on our Vermont homestead for more than 15 years now, and we’ve always tried to use the whole animal, nose to tail, after every harvest. That includes turning the bones into pork bone broth.
The first few years, we just chilled the broth and packaged it for the freezer. But, honestly, we ended up with whole freezers full of pork broth and realized there had to be another way.
When I started pressure canning pork at home, I realized canning pork broth was a natural next step. It allows us to use up every last bit, without filling a whole freezer. And, living on a solar powered homestead, non electric storage is more important than ever.
These canning instructions follow the NCHFP guidelines for meat stock, and uses the same processing times as other broth and stock canning recipes such as beef broth, venison broth and chicken broth.
Keep in mind, this is a pressure canning recipe, as there is no safe water bath canning method for any meat-based stock.
Why you’ll love this pork bone broth recipe!

Pork broth is genuinely underrated, and I think it’s because most people have never tasted a good homemade version. Store-bought pork broth is nearly impossible to find, and when you do find it the flavor doesn’t compare to what comes out of a stockpot with roasted bones. It has a savory, slightly sweet depth that makes it a better fit for ramen, bean soups, and braised greens than chicken broth, and it works just as well anywhere chicken broth is called for.
I make this whenever I have bones saved up from pork roasts, ribs, or chops. A bag of bones in the freezer is really all you need to start a batch. The yield varies by how long you simmer and how much water you use, but 3 to 5 pounds of bones will generally give you somewhere between 3 and 5 quarts of finished broth. Canning it frees up the freezer and means a jar is always ready to grab off the shelf.
Quick Look at the Recipe
- Recipe Name: Canning Pork Bone Broth
- Recipe Type: Stock and Broth Canning Recipe
- Canning Method: Pressure Canning
- Prep/Cook Time: About 45 minutes active, plus 3 to 4 hours simmering (or up to overnight)
- Canning Time: 20 minutes for pints, 25 minutes for quarts
- Yield: Approximately 3 to 5 quarts depending on bone quantity and simmer time
- Jar Sizes: Pints or Quarts
- Headspace: 1 inch
- Ingredients Overview: Pork bones, onion, celery, leek, garlic, peppercorns, bay leaves
- Safe Canning Recipe Source: NCHFP Meat Stock guidelines, adapted from the USDA Complete Guide to Home Canning
- Difficulty: Easy. Most of the time is hands-off simmering. The canning step is quick.
- Similar Recipes: This is a close cousin to Canning Beef Broth and Canning Turkey Broth. It pairs well on the shelf with Canning Pork in Spicy Broth and Canning Sausage Potato and Kale Soup. Find more on the Stock and Broth Canning Recipes and Pork Canning Recipes pages.
Ingredients for Pork Bone Broth
The ingredient proportions here are a starting point, not a strict formula. As long as you use bones, vegetables, and aromatics and strain everything out before canning, the specific amounts are flexible. Taste the broth toward the end of the simmer and adjust seasoning as needed before canning.
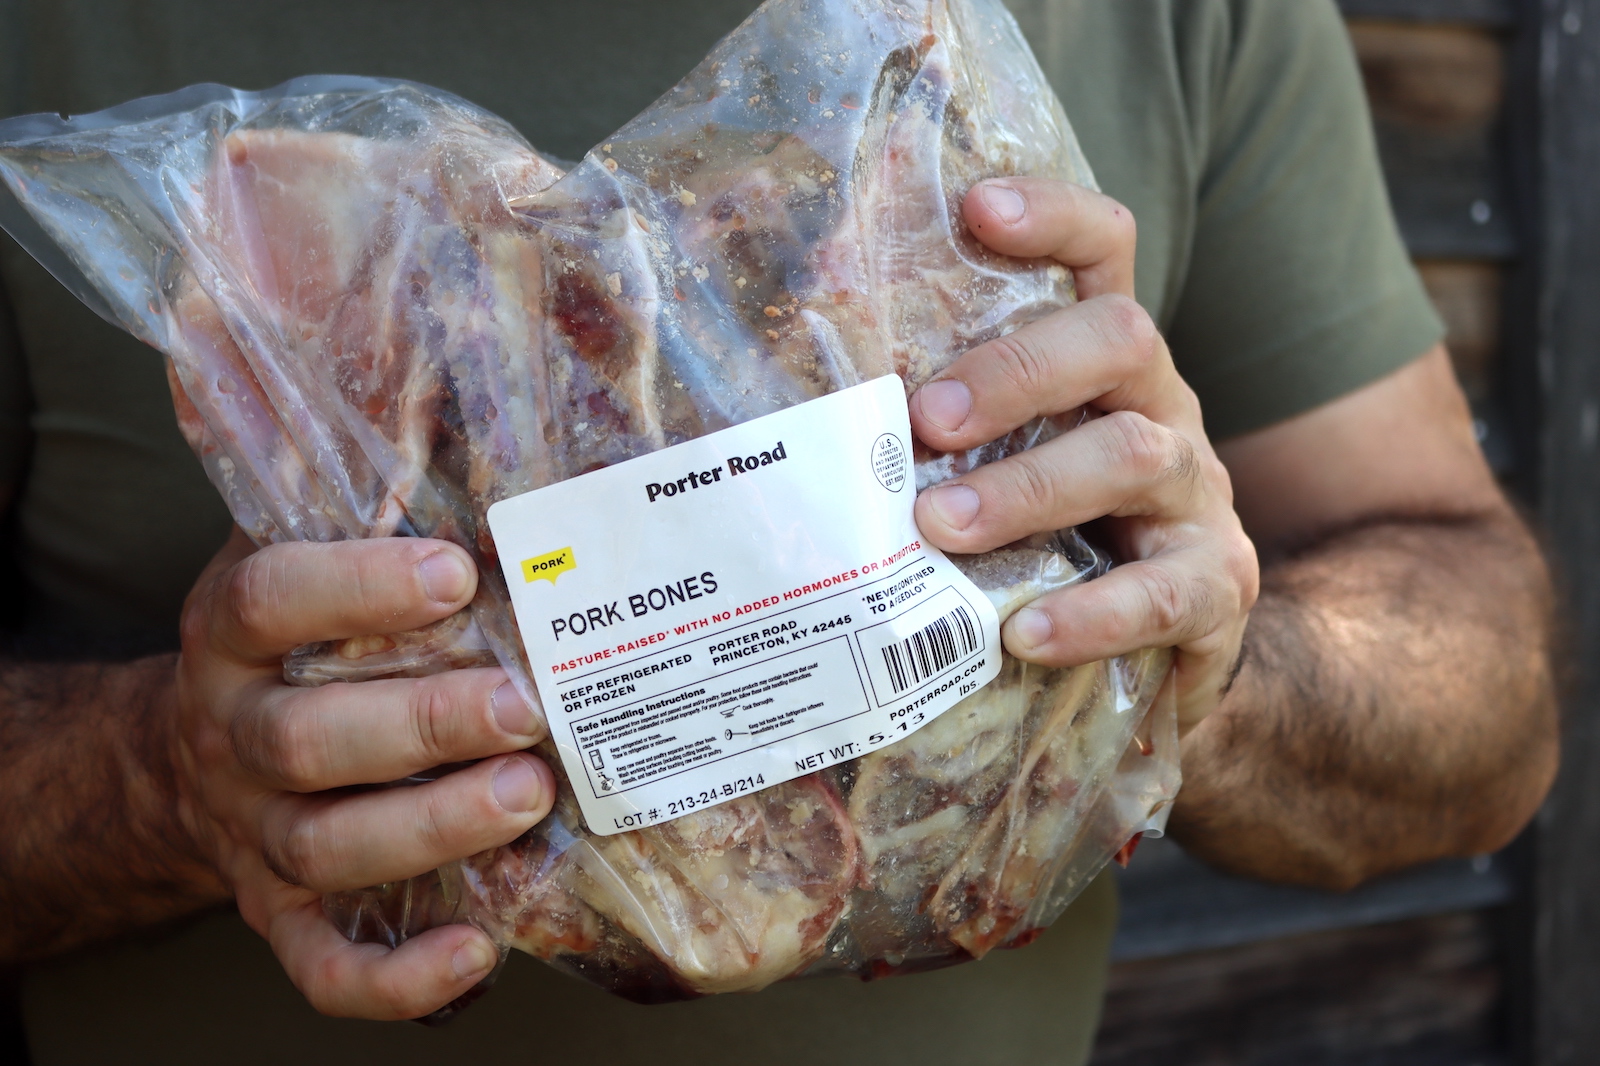
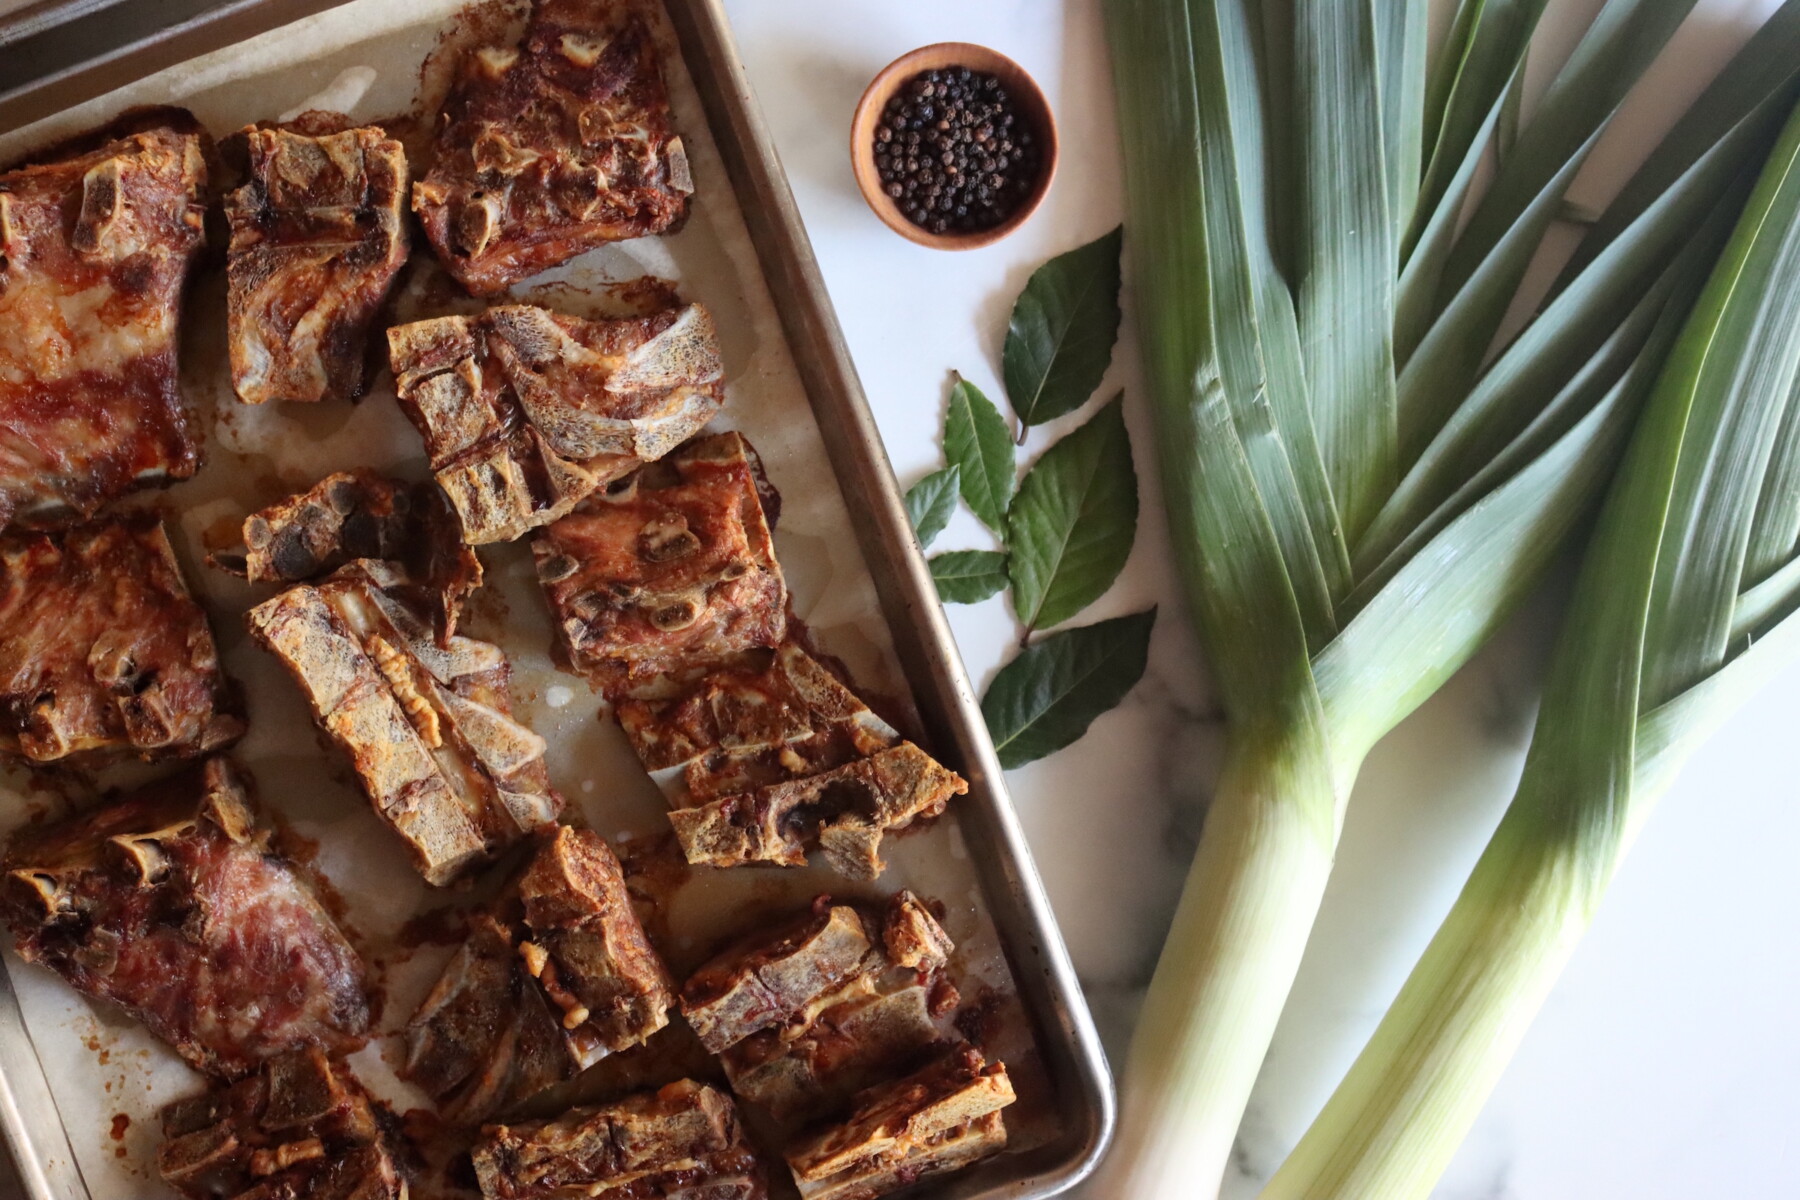
- Pork bones: 3 to 5 pounds of raw pork bones. Neck bones, spine bones, and knuckles are ideal for a rich, gelatinous broth. Rib bones, shoulder bones, and leg bones all work well. Bones saved from roasts and chops are perfectly fine. Keep a bag in the freezer and start a batch once you have enough. Collagen-rich bones produce the best texture in the finished broth.
- Onion: One large yellow onion, quartered. Leave the skins on if you like. They add color and a little extra depth to the broth.
- Celery: Two ribs of celery, roughly chopped. Adds the classic savory base note that anchors most broths.
- Leek: One medium leek, halved and thoroughly washed. Leeks have a milder, sweeter flavor than onion and add a nice complexity to pork broth specifically. Wash carefully between the layers since they trap a lot of grit.
- Garlic: Four cloves, peeled. Or cut an entire head in half horizontally and add the whole thing if you want a stronger garlic presence in the finished broth.
- Peppercorns: Added to the pot during the simmer, not ground. They contribute a gentle heat without making the broth spicy.
- Water: Enough to cover the bones by at least 2 inches, typically 5 to 6 quarts for a full batch. Top up as needed during the simmer to keep the bones submerged.
A note on fat: skim excess fat from the surface of the broth before canning. Some fat is fine, but too much can bubble up during pressure canning and interfere with the sealing process. The easiest way to remove fat is to refrigerate the strained broth overnight and lift off the solidified fat layer before reheating and canning. If you’re canning the same day, skim the surface with a wide spoon or ladle while the broth is still hot.
How to Make Pork Bone Broth
The bones need to be pre-cooked before they go into the pot or you’ll have a cloudy broth without much flavor. Make sure you roast the bones, then slow simmer the broth (not boil) for best results.
Roast the Bones
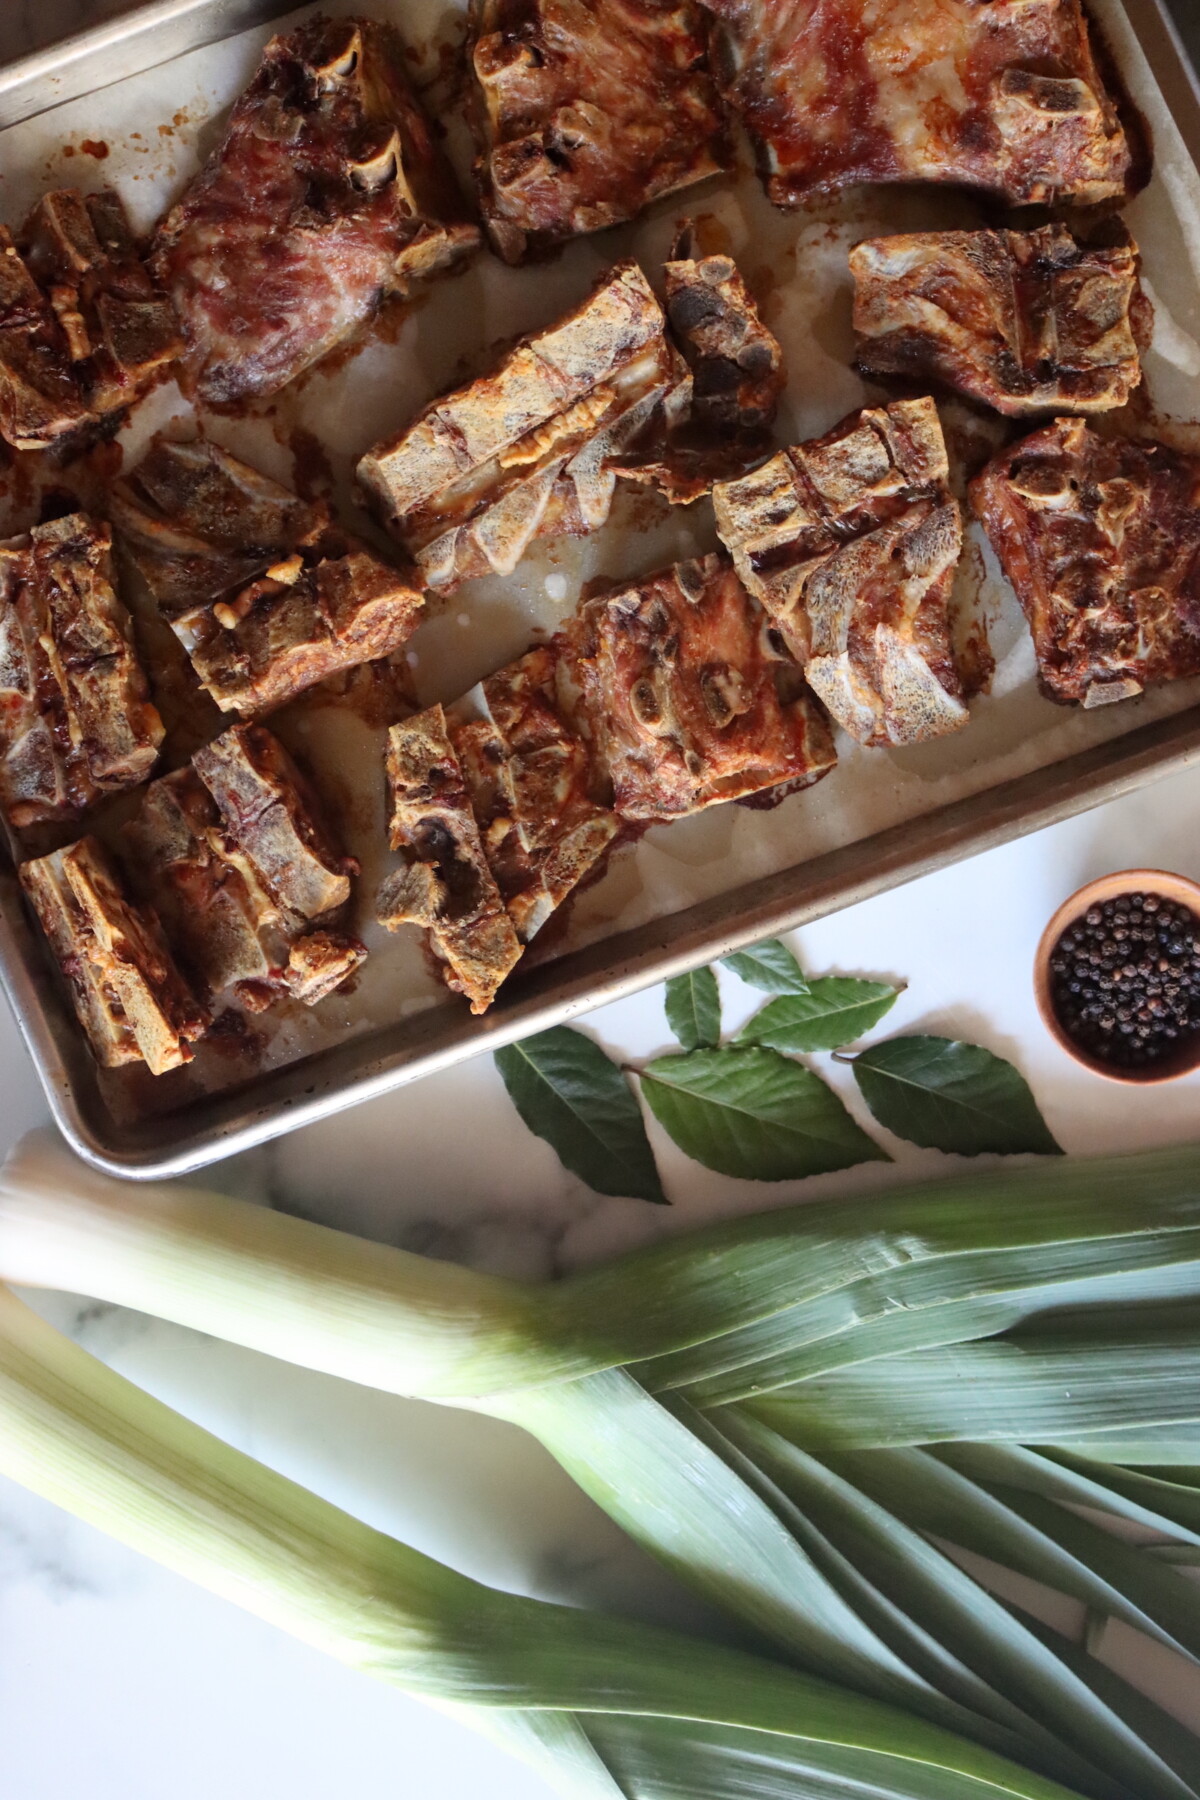
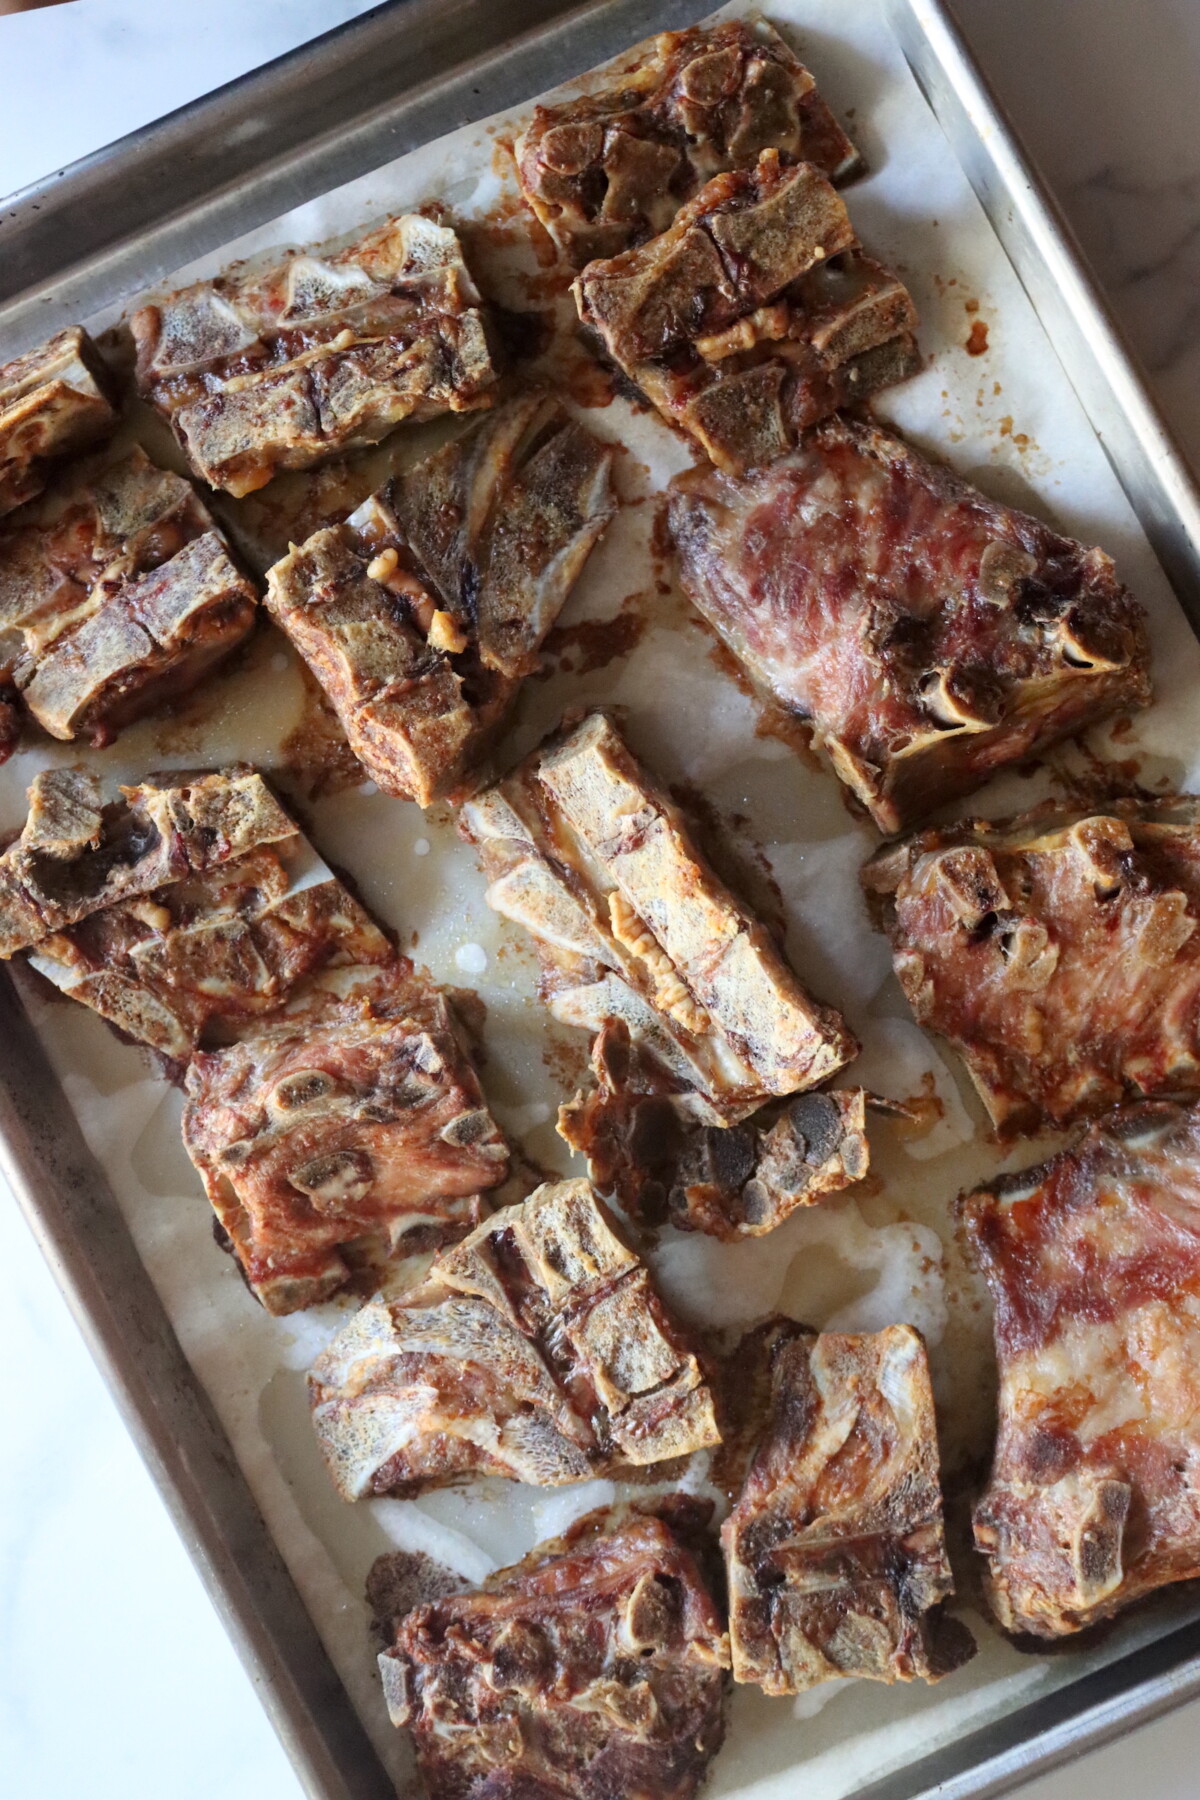
Preheat the oven to 400 to 450 degrees F. Arrange the pork bones in a single layer in a large roasting pan. Roast for 30 to 45 minutes, turning once halfway through, until the bones are a deep golden brown and very fragrant.
This step is the single most important thing you can do for flavor. Roasted bones produce a broth that is noticeably richer and more complex than unroasted bones. Don’t skip it if you have the time.
Build the Broth
Transfer the roasted bones to a large stockpot. Deglaze the roasting pan with a cup or two of water, scraping up all the browned bits from the bottom, and add that liquid to the pot. Add the remaining ingredients and cover with cold water by at least 2 inches, typically 5 to 6 quarts.
Bring to a boil, skimming any foam that rises to the surface in the first 20 to 30 minutes. Reduce heat to a gentle simmer and set a slightly askew lid on top.
Simmer
Simmer for 3 to 4 hours at minimum, or as long as 10 to 18 hours for a richer, more gelatinous result. Keep the heat low enough that the broth barely bubbles. A hard boil will make the finished broth cloudy. Add water as needed to keep the bones submerged.
A slow cooker works well for long overnight simmers if you want to set it and leave it.
Strain and Skim
When the broth has finished simmering, remove the large bones with tongs and then strain the remaining liquid through a colander lined with several layers of cheesecloth into a clean stockpot. Let it drain without pressing or squeezing. The solids will have softened considerably and you don’t want any particles making it into the finished broth.
Skim excess fat from the surface. For the clearest result, refrigerate the broth overnight and remove the solidified fat layer before proceeding to canning.
If adding salt, taste and add salt to taste at this point. I don’t add salt before canning, but that’s a matter of personal preference. If you do add salt, it doesn’t take much, round 1/2 tsp should do, but adjust to taste.
Can the Broth
Prepare your pressure canner, jars, lids, and bands. Reheat the strained broth to a full boil. Ladle the hot broth into hot jars, leaving 1 inch headspace. Wipe rims with a clean damp cloth, apply lids and bands to fingertip tight, and load into the preheated pressure canner. Vent for 10 minutes, bring to pressure, and process pints for 20 minutes and quarts for 25 minutes, adjusting pressure for altitude.
Allow the canner to depressurize naturally. Remove jars and cool undisturbed for 12 to 24 hours. Check seals, label, and store in a cool dark place.
Canning Pork Bone Broth
Pork bone broth is a low-acid product and must be pressure canned. Water bath canning is not safe for any meat-based stock, regardless of how long you process it. The NCHFP processing times for meat stock apply: 20 minutes for pints and 25 minutes for quarts.
The broth must be strained thoroughly before canning. Any solid particles in the jar can affect heat penetration and seal quality. Strain through cheesecloth for the cleanest result. Skim fat carefully before canning. Excess fat can bubble up during processing and prevent proper sealing.
Process pints for 20 minutes and quarts for 25 minutes at 10 pounds in a weighted gauge canner or 11 pounds in a dial gauge canner, adjusting for altitude.
Altitude Adjustments
With pressure canning, the processing times stay the same at higher altitudes, but the pressures change. Here are the altitude adjustments for pressure canning pork bone broth:
For dial gauge pressure canners:
- 0 to 2,000 feet in elevation: 11 lbs pressure
- 2,001 to 4,000 feet in elevation: 12 lbs pressure
- 4,001 to 6,000 feet in elevation: 13 lbs pressure
- 6,001 to 8,000 feet in elevation: 14 lbs pressure
For weighted gauge pressure canners:
- 0 to 1,000 feet in elevation: 10 lbs pressure
- Above 1,000 feet: 15 lbs pressure
Serving Ideas
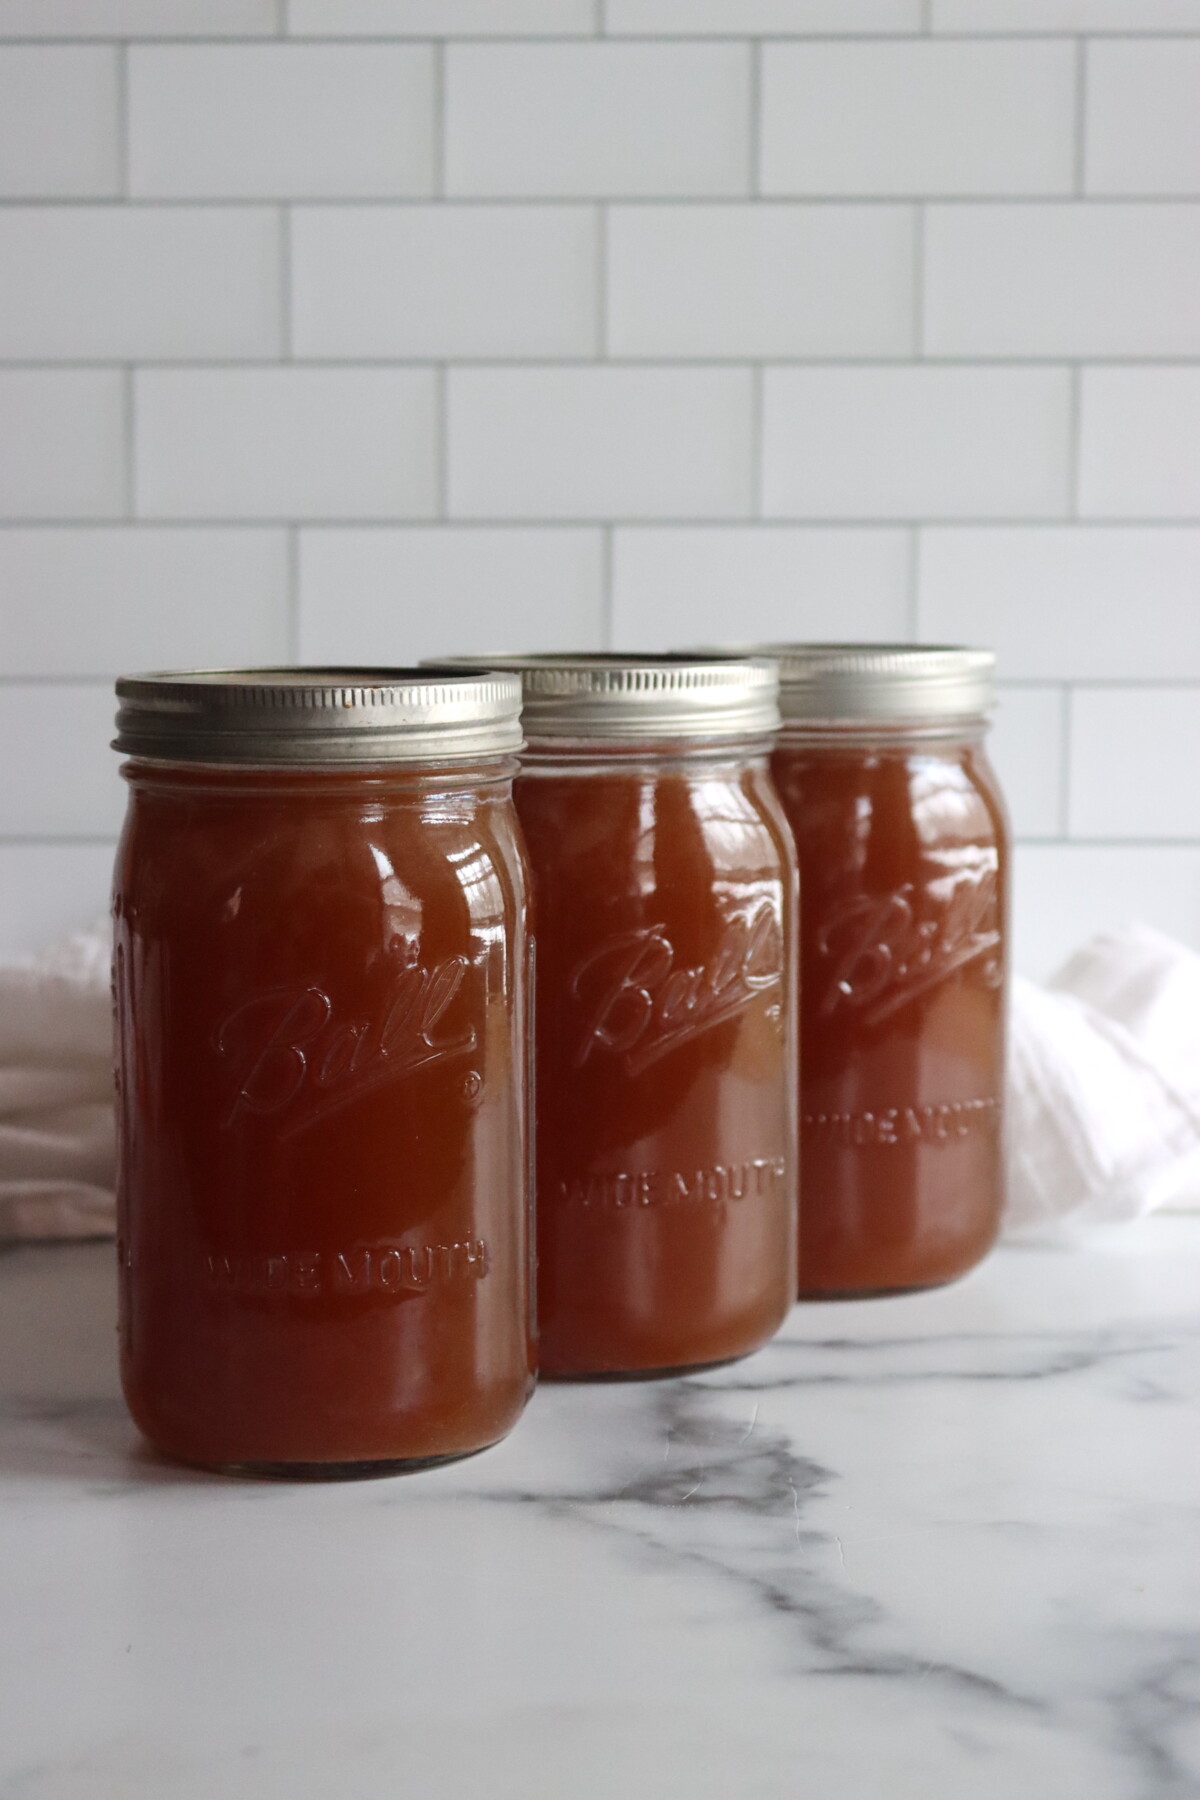
Pork broth is one of the most flexible pantry staples you can have on the shelf. The most obvious use is as a base for ramen: heat a quart jar, season with a splash of soy sauce and a little mirin, and you have a broth that already tastes like it came from a serious ramen shop. Add noodles, a soft-boiled egg, and whatever toppings you have on hand.
It also substitutes directly for chicken broth in any recipe. Soups, risotto, braised greens, bean dishes, and pan sauces all benefit from the extra depth pork broth brings. Braised cabbage or collard greens cooked in pork broth with a little garlic is a simple side dish that comes together in 20 minutes and tastes like much more work than it is.
Canning Pork Bone Broth FAQs
Yes. Bones saved from roasts, ribs, and chops work perfectly well for broth. Keep a labeled bag in the freezer and add to it over time until you have enough for a batch. Cooked bones produce a slightly less gelatinous broth than raw bones since some collagen has already been rendered, but the flavor is excellent and the broth cans just as well. With cooked bones you can skip the roasting step if you like, though a brief roast still improves the flavor.
Pork bone broth is a meat-based product with a low pH, which means it falls in the low-acid category that requires pressure canning for safe shelf storage. Water bath canning only reaches 212°F, which is not hot enough for safe preservation. Pressure canning reaches 240°F, which is required for safe processing. This applies to all meat stocks regardless of their ingredients.
Yes. The NCHFP guidelines give you flexibility on the vegetables and aromatics you use to make the broth. As long as everything is strained out before canning and the finished product is pure liquid broth with no solids, you can use any combination of vegetables, herbs, and aromatics you like. Do not add dairy, starchy thickeners, or fat-based ingredients before canning.
Broth Canning Recipes
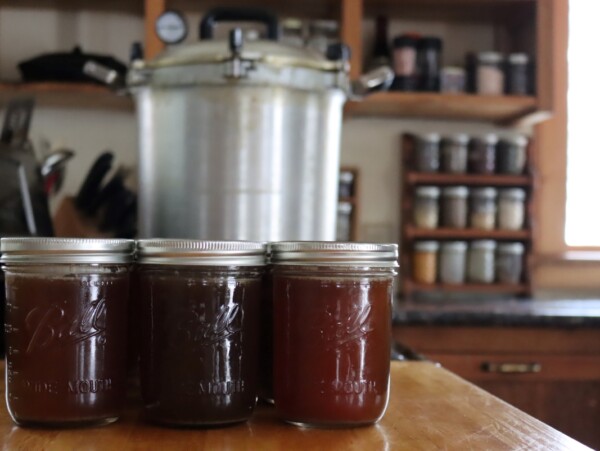
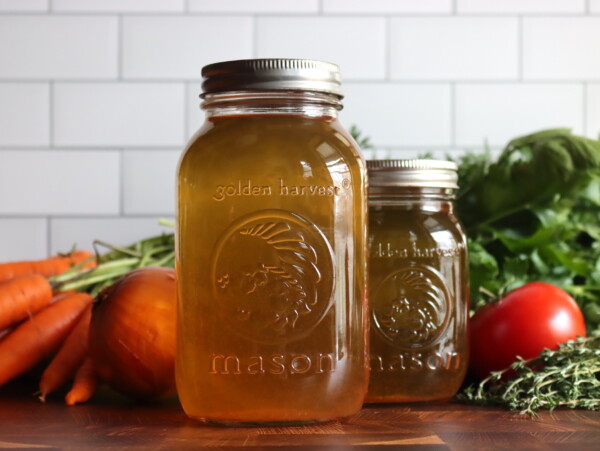
If you tried this Canning Pork Bone Broth recipe, or any other recipe on Creative Canning, leave a ⭐ star rating and let me know what you think in the 📝 comments below!
And make sure you stay in touch with me by following on social media!
Canning Pork Bone Broth
Equipment
- Large stockpot
- Cheesecloth
Ingredients
- 3 to 5 lbs pork bones, 3 to 5 lbs — neck bones, spine, knuckles, or any saved bones from roasts and ribs
- 1 large onion, quartered, skins can be left on
- 2 ribs celery, roughly chopped
- 1 medium leek, halved and thoroughly washed
- 4 cloves garlic, peeled
- 20 whole black peppercorns
- 2-3 whole bay leaves
- 6 qts cold water, approximately, enough to cover bones by 2 inches. Top up as needed during simmer.
Instructions
- Preheat oven to 400 to 450 degrees F. Arrange bones in a single layer in a large roasting pan. Roast 30 to 45 minutes, turning once halfway, until deeply browned and fragrant.
- Transfer roasted bones to a large stockpot. Deglaze the roasting pan with 1 to 2 cups of water, scraping up the browned bits, and add to the pot. Add remaining ingredients. Cover with cold water by at least 2 inches. Bring to a boil, skimming any foam that rises in the first 20 to 30 minutes.
- Reduce heat to a gentle simmer. Set a slightly askew lid on top. Simmer for 3 to 4 hours minimum, or up to 10 to 18 hours for a richer result. Keep the heat low enough that the broth barely bubbles. Add water as needed to keep bones submerged.
- Strain broth through a colander lined with several layers of cheesecloth into a clean stockpot. Do not press or squeeze. Skim fat from the surface. For the clearest result, refrigerate overnight and lift off the solidified fat layer before canning. Add salt if using, adjust to taste, see notes.
- Prepare your pressure canner, jars, lids, and bands. Reheat broth to a full boil. Ladle into hot jars leaving 1 inch headspace. Wipe rims, apply lids and bands to fingertip tight. Load into the preheated canner, vent 10 minutes, bring to pressure, and process pints for 20 minutes and quarts for 25 minutes, adjusting for altitude. Depressurize naturally. Cool 12 to 24 hours, check seals, label, and store.
Notes
- 0 to 2,000 feet: 11 lbs pressure
- 2,001 to 4,000 feet: 12 lbs pressure
- 4,001 to 6,000 feet: 13 lbs pressure
- 6,001 to 8,000 feet: 14 lbs pressure
- 0 to 1,000 feet: 10 lbs pressure
- Above 1,000 feet: 15 lbs pressure
Nutrition
Nutrition information is automatically calculated, so should only be used as an approximation.
Pork Canning Recipes
Find the perfect recipe
Searching for something else? Enter keywords to find the perfect recipe!