
This post may contain affiliate links. Please see our disclosure policy.
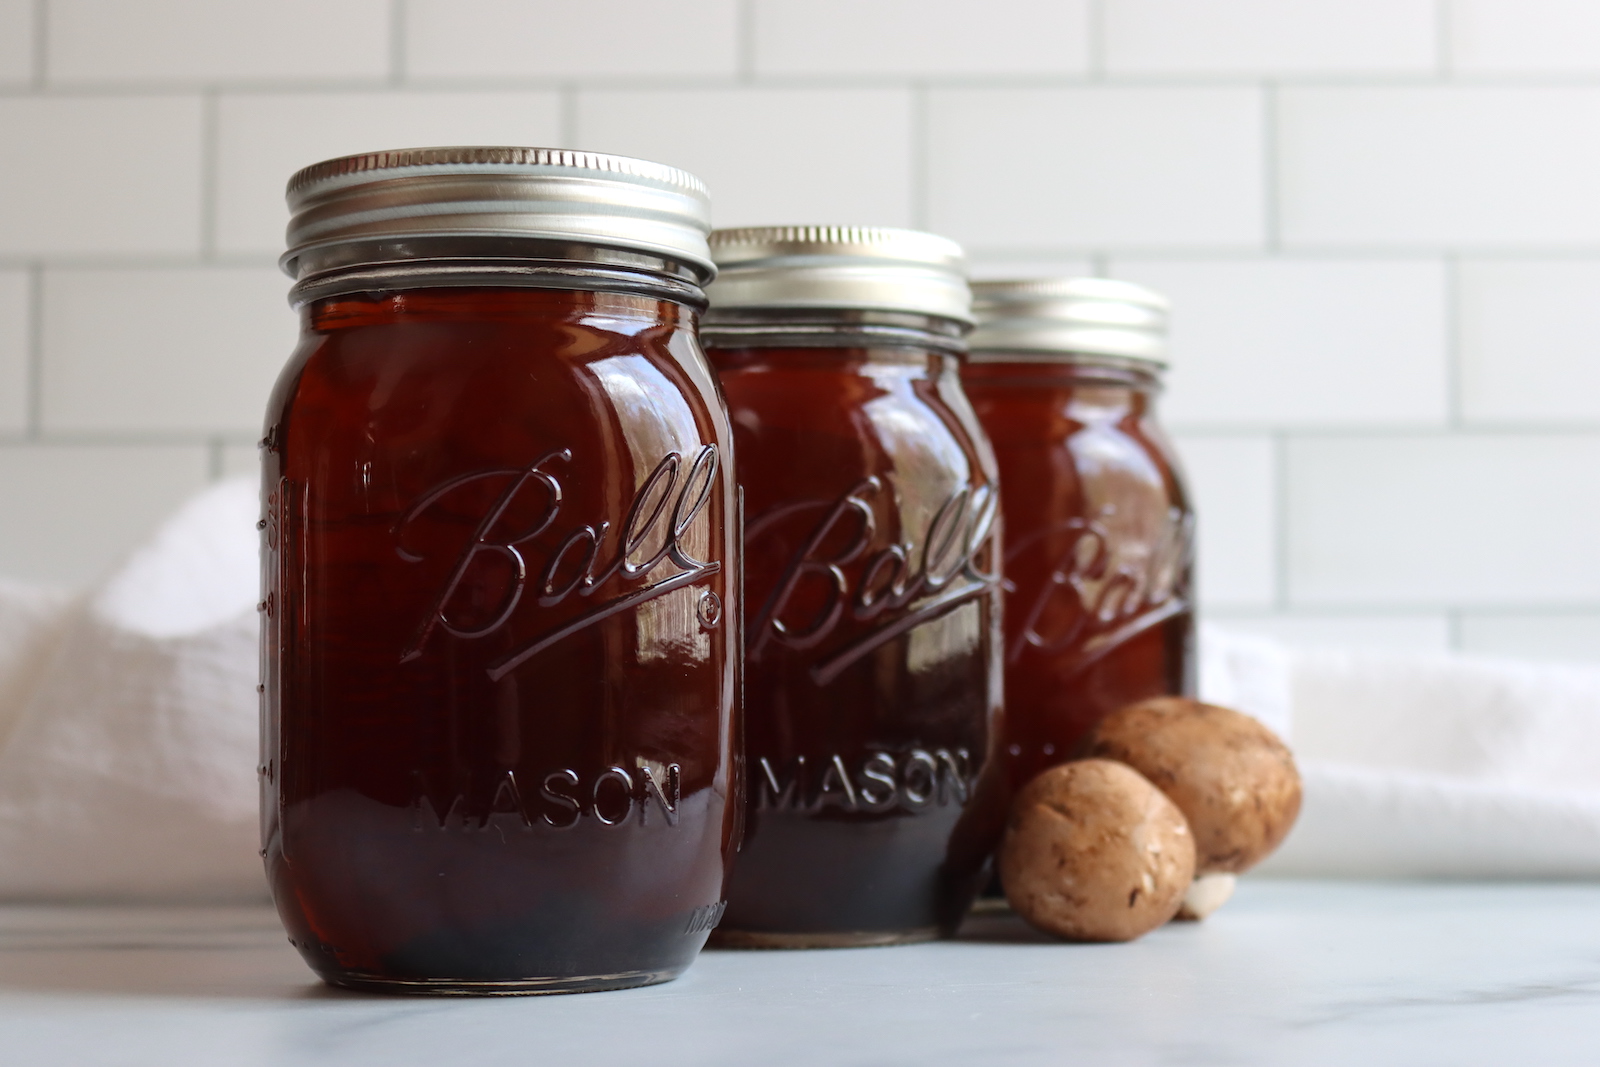
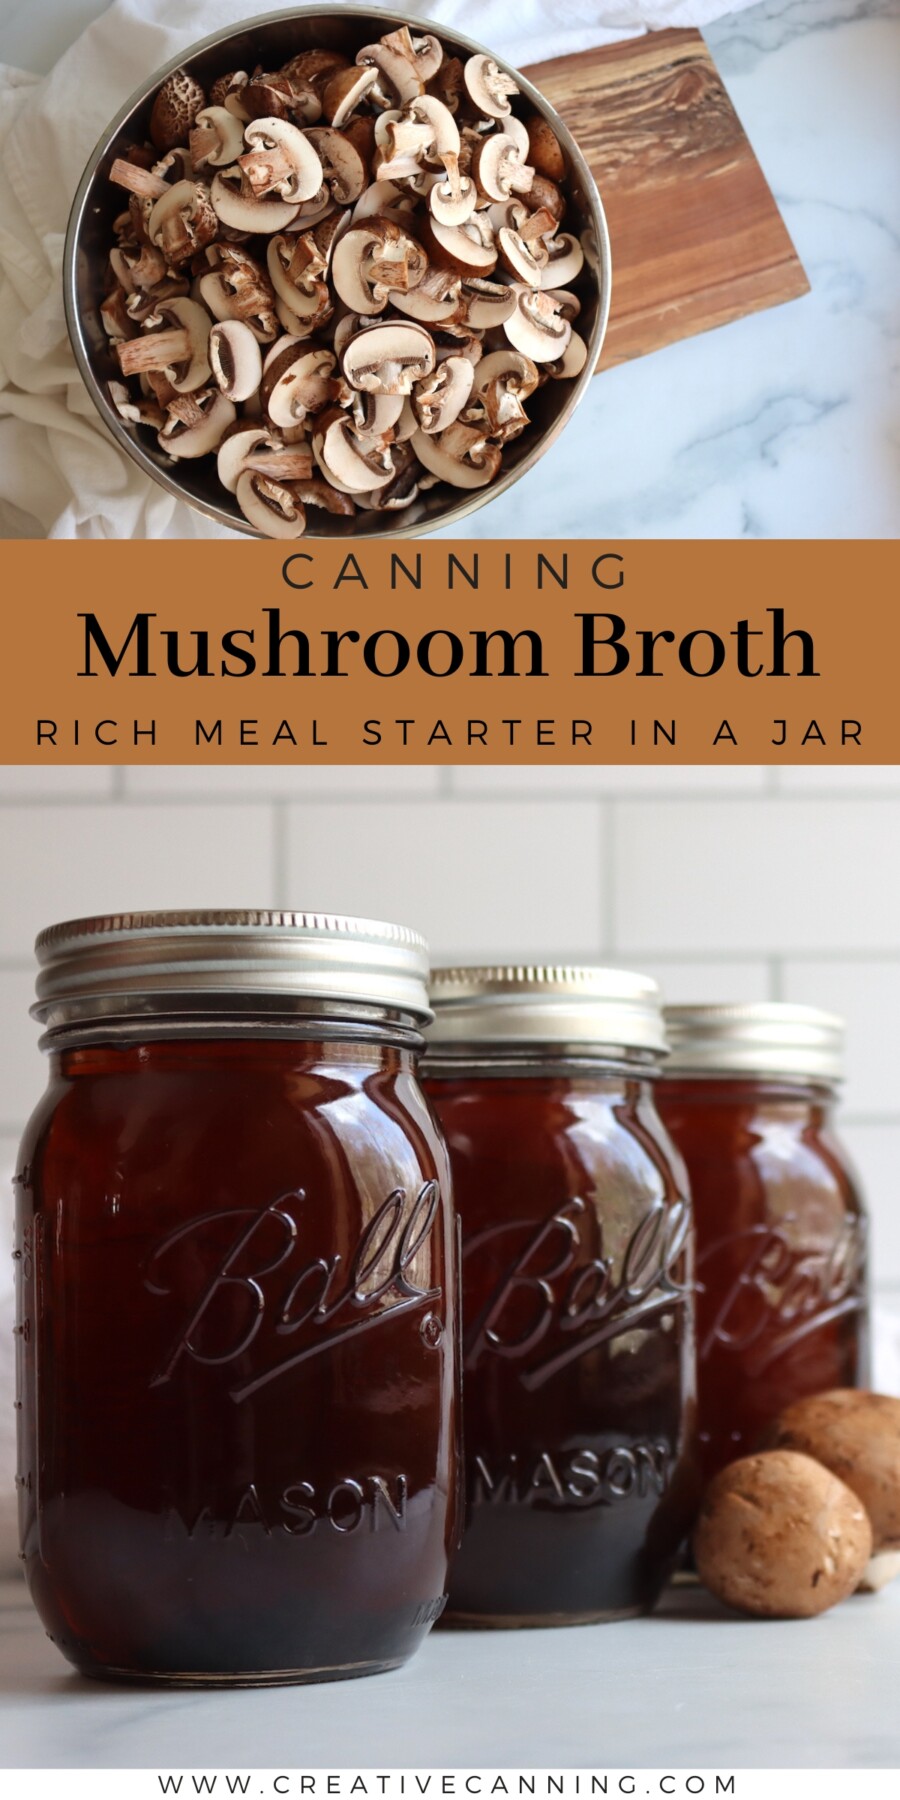
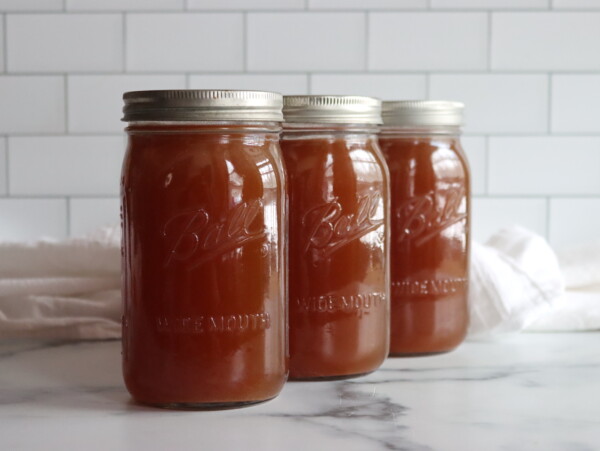
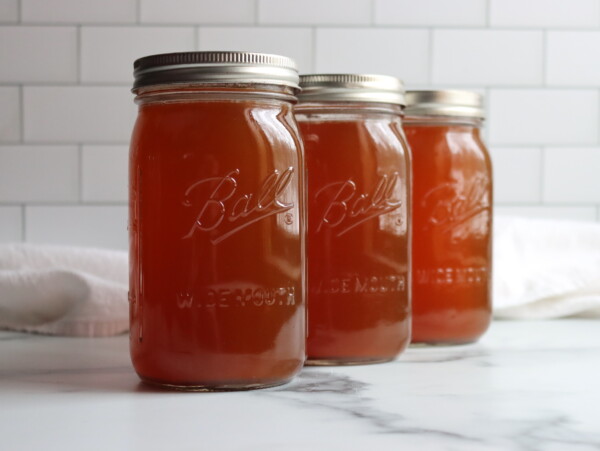
Canning mushroom broth puts a deep, savory base on your pantry shelf that turns a quick soup or a pot of rice into something that tastes like it simmered all afternoon. A jar of it is the kind of thing you reach for constantly once you have it, and home canning lets you keep a shelf stocked without giving up freezer space to it.
This recipe has been reviewed for safety and accuracy by a Master Food Preserver certified through Cornell Cooperative Extension.
We grow and cook with a lot of mushrooms here on our Vermont homestead, and between the cultivated oyster mushrooms and the trimmings left over from cooking, I always seemed to have a bowl of stems and odd pieces that felt like a waste to compost. Mushroom broth is where all of that goes now, and it has become one of the things I keep in steady rotation alongside vegetable broth and beef broth.
The processing here is different from the meat broths, and it’s worth understanding why. Mushroom broth is canned for the same length of time it takes to can plain mushrooms, because a broth made from a low-acid food is processed for the time that food itself requires. That works out to 45 minutes in half-pint or pint jars, which is longer than the meat stocks need. Living on a solar-powered homestead, I lean on shelf-stable storage like this more than most, and a strained broth that follows a tested vegetable schedule is an easy one to keep on hand.
Keep in mind this is a pressure canning recipe, as there is no safe water bath canning method for mushroom broth or any other low-acid food.
Notes from My Kitchen

Mushroom broth is one of those preserves that costs almost nothing to make and pays you back every time you open a jar. Most of mine starts from scraps, the stems and trimmings I save in a bag in the freezer, and a handful of dried mushrooms thrown in for backbone. You can absolutely build it from whole fresh mushrooms if that’s what you have, but I want people to know the scrap version is just as good, because that’s how it earns a permanent place in the kitchen.
The recipe below is a starting point, not a rule. Once you understand that the broth just needs to be strained clean, pressure canned, and built only from canning-safe ingredients, you can change the cultivated mushroom mix and the aromatics to suit whatever you have. I treat it the same way I treat a stockpot of bones: a loose framework I adjust by taste, then process by the numbers that keep it safe.
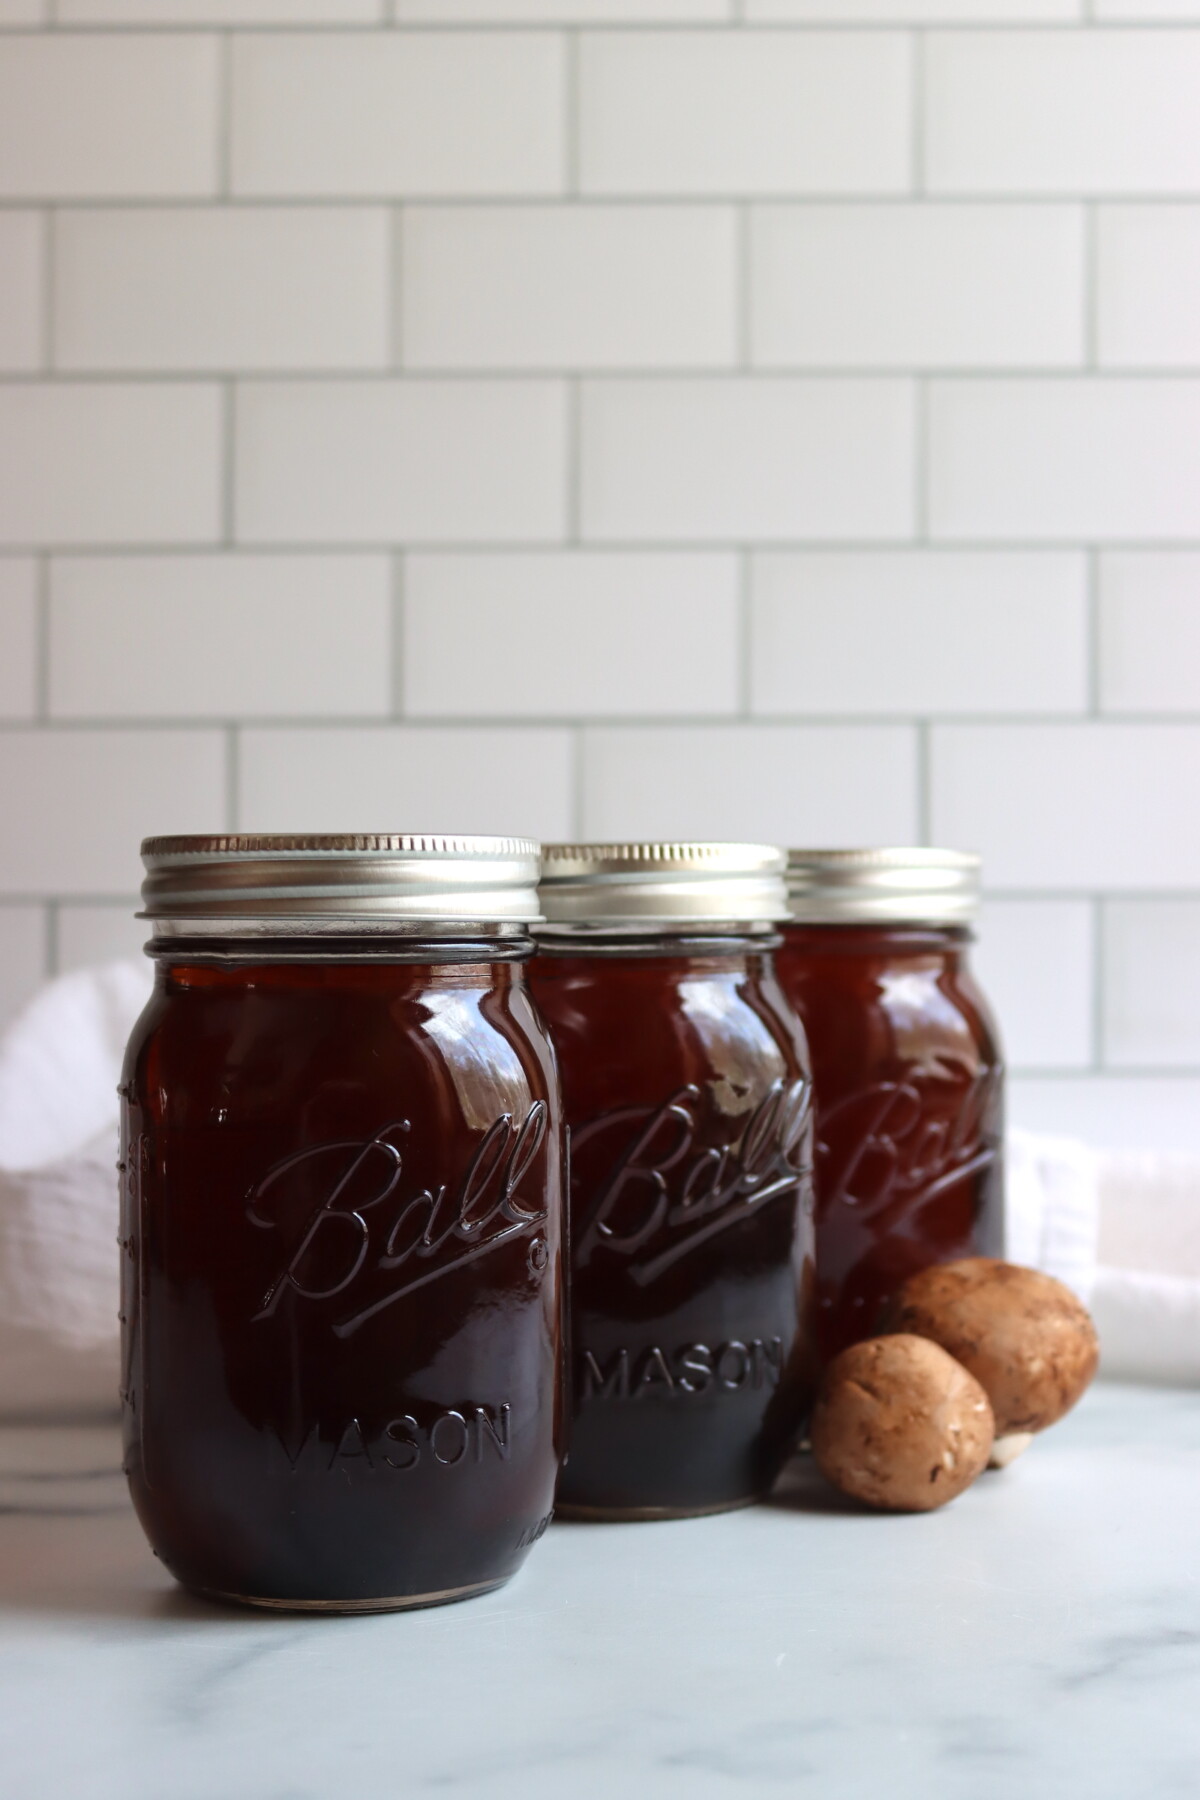
Quick Look at the Recipe
- Recipe Name: Canning Mushroom Broth
- Recipe Type: Stock and Broth Canning Recipe
- Canning Method: Pressure Canning
- Prep/Cook Time: About 30 minutes active, plus 1 to 2 hours simmering
- Canning Time: 45 minutes for half-pints or pints (mushroom broth is not canned in quarts)
- Yield: Approximately 3 to 4 quarts, depending on mushroom quantity and simmer time
- Jar Sizes: Half-pints or Pints
- Headspace: 1 inch
- Ingredients Overview: Cultivated fresh mushrooms (plus optional dried), onion, celery, carrot, garlic, peppercorns, bay leaves
- Safe Canning Recipe Source: NCHFP Mushroom Canning Guidance, applied to a strained mushroom broth
- Difficulty: Easy. Most of the time is hands-off simmering, and the canning step is quick.
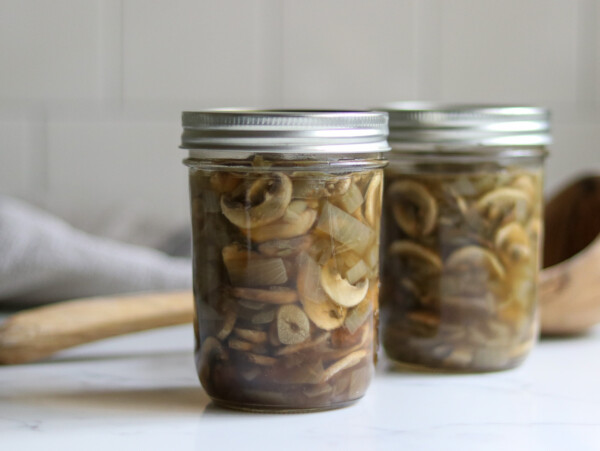
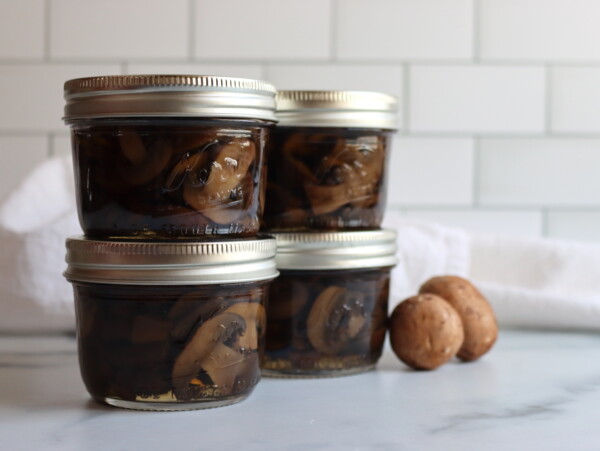
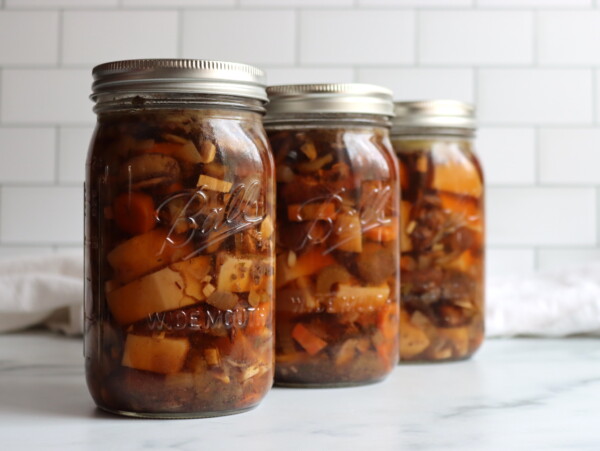
- Similar Recipes: This is a close cousin to Canning Vegetable Broth and Canning Chicken Broth. If you love cooking with mushrooms, it pairs well on the shelf with Canning Mushroom Soup Base and Zesty Marinated Mushrooms. Find more on the Stock and Broth Canning Recipes and Mushroom Canning Recipes pages.
Ingredients for Mushroom Broth
The proportions here are a baseline that gives you a rounded, savory broth, but they are flexible. As long as you use cultivated mushrooms, vegetables, and aromatics, strain everything out before canning, and stick to canning-safe ingredients, the specific amounts are up to you. Taste the broth toward the end of the simmer and adjust the seasoning before it goes into jars.
- Fresh mushrooms: Two to three pounds of cultivated mushrooms, any kind or a mix. Cremini and button mushrooms give a clean, mild base, while portobello, shiitake, and oyster mushrooms add more depth. Saved stems and trimmings work just as well as whole caps, so this is a good home for the bits you would otherwise compost. Do not use wild-foraged mushrooms in this canned broth.
- Dried mushrooms (optional): A small handful of dried cultivated shiitake or porcini adds a concentrated, almost meaty backbone that fresh mushrooms alone don’t quite reach. Toss them in dry at the start of the simmer and strain them out with everything else.
- Onion: One large yellow onion, quartered. Leave the skins on if you like, since they add a little color and depth to the finished broth.
- Celery: Two ribs, roughly chopped. It brings the savory base note that anchors most broths.
- Carrot: One medium carrot, roughly chopped. It rounds out the broth with a touch of natural sweetness that balances the earthiness of the mushrooms. Leave it out if you want a more strictly savory result.
- Garlic: Four cloves, peeled and lightly smashed. Add more if you want a stronger garlic presence in the finished broth.
- Peppercorns and bay leaves: Added whole to the pot during the simmer, then strained out. They contribute gentle warmth and aroma without overwhelming the mushrooms.
- Water: Enough to cover everything by at least 2 inches, usually 4 to 5 quarts. Top up as needed during the simmer to keep the solids submerged.
Use cultivated mushrooms only for this canned broth. This is not the place for wild-foraged mushrooms, even if you are confident in the identification.
A note on what to leave out: keep the broth to ingredients that are safe to pressure can. That means no flour, cornstarch, or other thickeners, no cream or butter, no added oil, and no puréed vegetables. For the cleanest canning recipe, skip soy sauce, tamari, miso, bouillon paste, Worcestershire sauce, or other concentrated seasonings and add those after opening the jar. The goal is a clear, thin liquid with nothing suspended in it. Anything that thickens the broth or settles to the bottom of the jar can interfere with safe heat penetration.
How to Make Mushroom Broth
Mushroom broth comes together faster than a bone broth, since the flavor pulls out of the mushrooms in an hour or two rather than half a day. The one step worth not skipping is browning the mushrooms first, which deepens the flavor the same way roasting bones does for meat stock.
Brown the Mushrooms
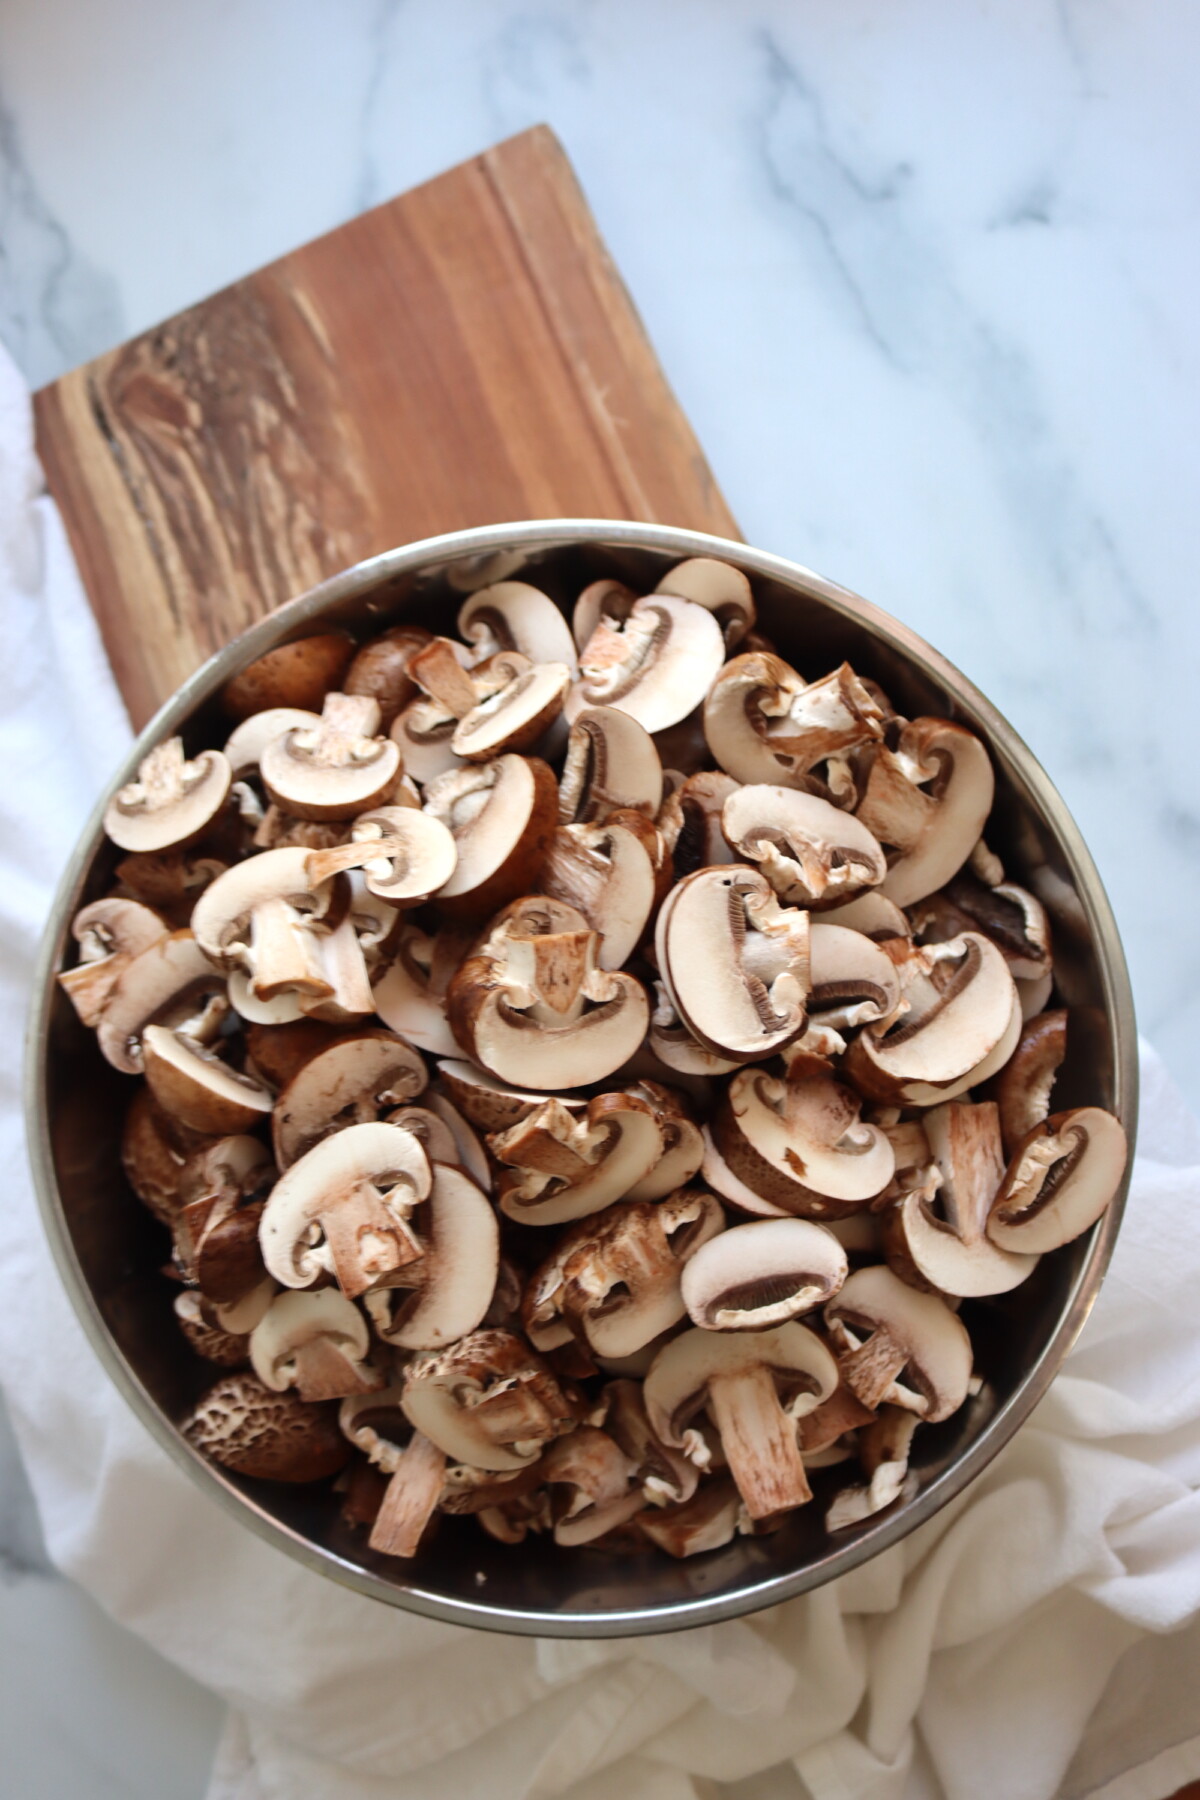
Roughly chop the fresh mushrooms. In a large stockpot over medium-high heat, dry-sauté them, working in batches if needed, until they release their liquid, the liquid cooks back off, and the mushrooms start to brown around the edges. Add a small splash of water only if needed to prevent sticking. This concentrates their flavor and gives the broth a deeper, more savory character.
If you would rather keep it simple, you can skip the browning and add the mushrooms straight to the pot with everything else. The broth will be a little lighter in flavor but still good. Do not use oil or butter when browning mushrooms for a broth that will be canned.
Build and Simmer the Broth
Add the onion, celery, carrot, garlic, peppercorns, bay leaves, and any dried cultivated mushrooms to the pot. Cover everything with cold water by at least 2 inches, usually 4 to 5 quarts. Bring it up to a boil, then reduce the heat to a gentle simmer.
Simmer for 1 to 2 hours, keeping the heat low enough that the broth barely bubbles. A hard boil clouds the finished broth, so a slow, steady simmer gives you the clearest result. Add a little water if the level drops below the solids, and taste toward the end to check the depth of flavor.
Strain Thoroughly
When the broth has simmered down to a flavor you like, strain it through a colander lined with several layers of cheesecloth into a clean stockpot. Let it drain on its own without pressing or squeezing the solids, since pressing pushes fine particles through and clouds the broth. You want a clean, clear liquid going into the jars.
If you want salt, add it now and adjust to taste. I usually can mine without salt so I can season at serving time, but a small amount is purely a flavor choice and has no effect on canning safety. Around 1/8 teaspoon per pint is plenty if you do add it.
Can the Broth
Prepare your pressure canner, jars, lids, and bands. Reheat the strained broth to a full boil, then ladle it into hot half-pint or pint jars, leaving 1 inch of headspace. Wipe the rims with a clean damp cloth, apply lids and bands to fingertip tight, and load the jars into the preheated pressure canner.
Vent the canner for 10 minutes, bring it to pressure, and process for 45 minutes, adjusting the pressure for your altitude. Allow the canner to depressurize naturally, then remove the jars and let them cool undisturbed for 12 to 24 hours before checking seals, labeling, and storing.
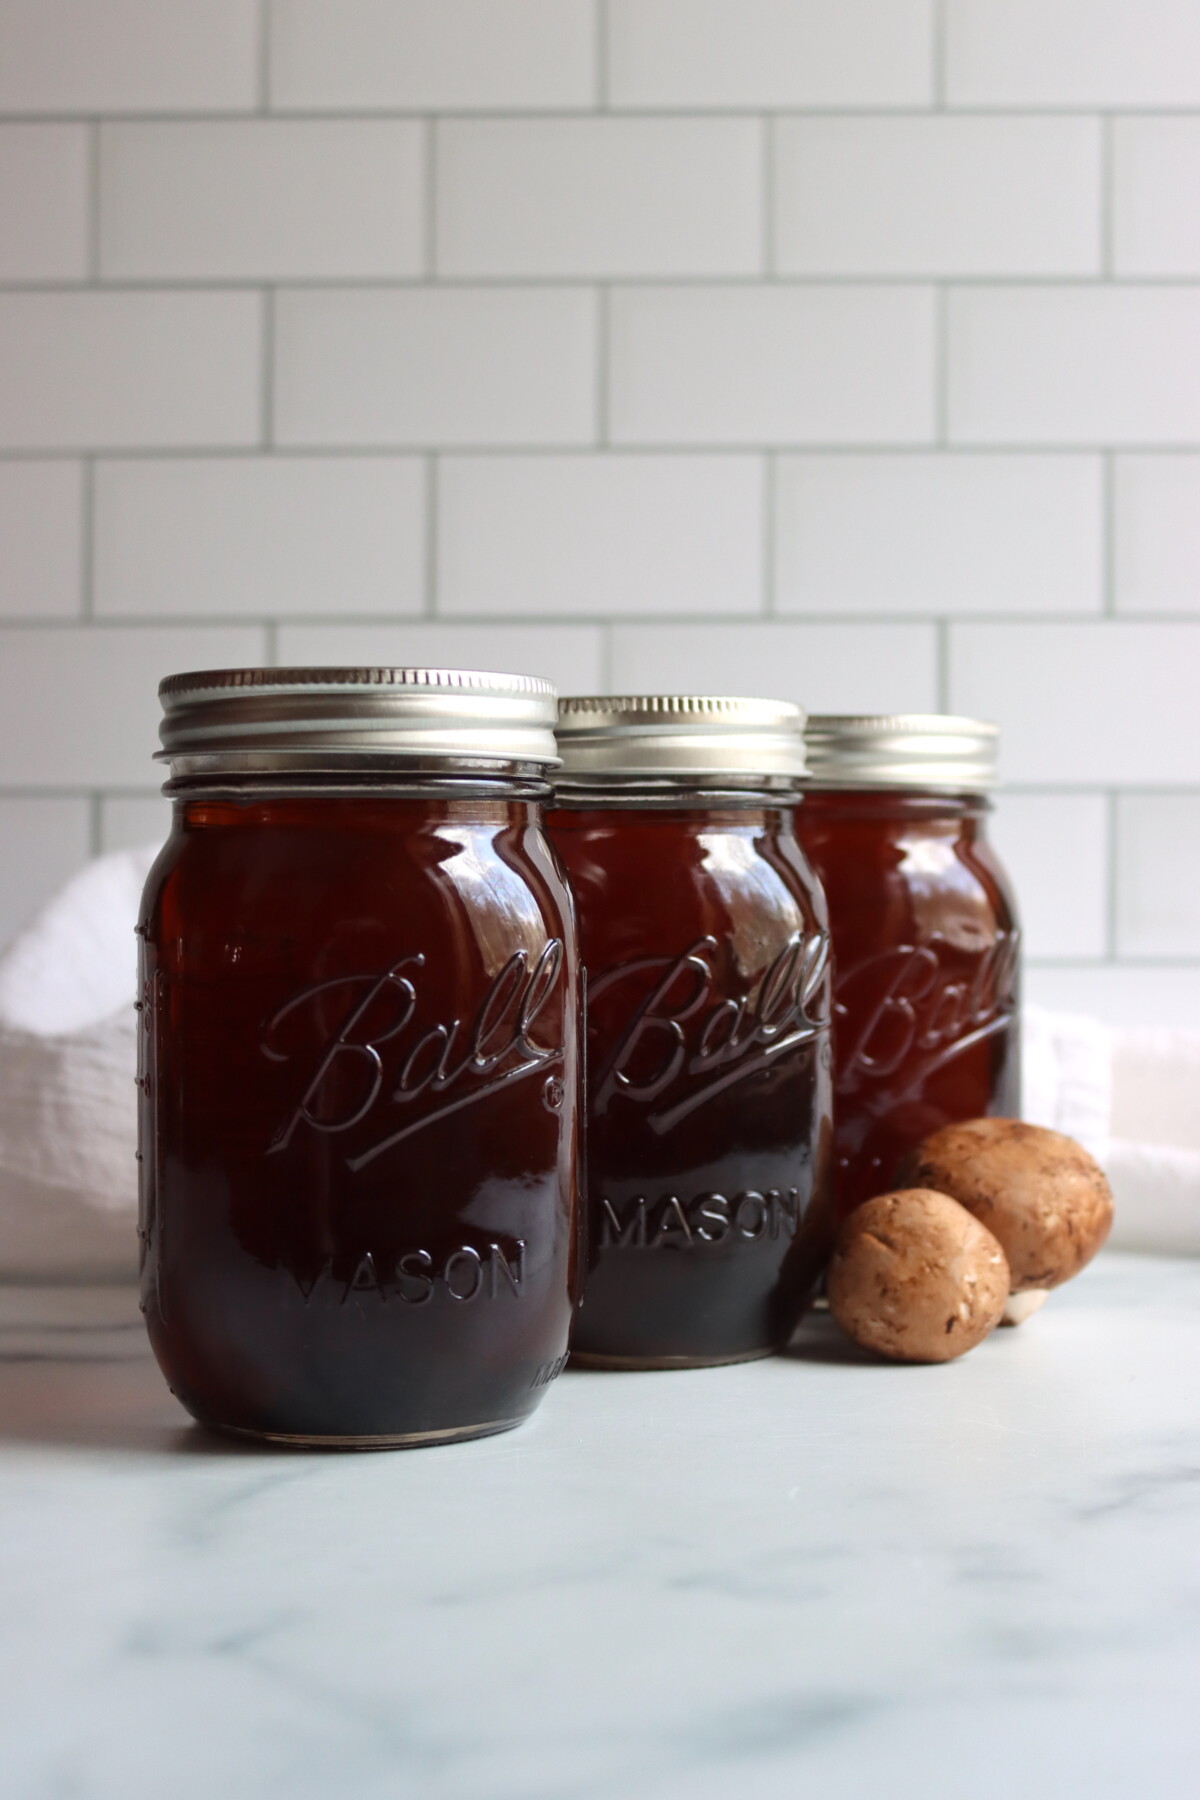
Canning Mushroom Broth
Mushroom broth is a low-acid product and must be pressure canned. Water bath canning is not safe for it no matter how long you process, because the temperature never gets high enough to make a low-acid food shelf stable. Because the broth is made from mushrooms, it follows the same processing schedule as canning whole or sliced mushrooms: 45 minutes, in half-pint or pint jars only.
That pint size limit matters. The tested mushroom process does not include a time for quart jars, so this broth is canned in half-pints or pints only. Strain the broth thoroughly before it goes into jars, since any solids suspended in the liquid can interfere with heat penetration and seal quality, and keep the broth free of thickeners, dairy, oil, and puréed vegetables for the same reason.
Process half-pints or pints for 45 minutes at 10 pounds in a weighted gauge canner or 11 pounds in a dial gauge canner, adjusting for altitude.
Altitude Adjustments
With pressure canning, the processing time stays the same at higher altitudes, but the pressure changes. Here are the altitude adjustments for pressure canning mushroom broth:
For dial gauge pressure canners:
- 0 to 2,000 feet in elevation: 11 lbs pressure
- 2,001 to 4,000 feet in elevation: 12 lbs pressure
- 4,001 to 6,000 feet in elevation: 13 lbs pressure
- 6,001 to 8,000 feet in elevation: 14 lbs pressure
For weighted gauge pressure canners:
- 0 to 1,000 feet in elevation: 10 lbs pressure
- Above 1,000 feet: 15 lbs pressure
Serving Ideas
Mushroom broth is a workhorse on the shelf. It steps in anywhere you would use vegetable or chicken broth, and it brings a savory depth that makes simple dishes taste fuller. A jar poured over rice or grains as the cooking liquid, or stirred into a risotto, gives you far more flavor than plain water for no extra effort.
It also makes a quick base for soups and braises. Heat a jar, add noodles and a handful of greens for a fast bowl, or use it to braise mushrooms, onions, or beans into something hearty. A splash in a pan sauce or gravy adds an earthy richness, and it works as a meatless stand-in in recipes that would otherwise call for beef broth.
Canning Mushroom Broth FAQs
No on both counts. Mushroom broth follows the tested process for canning mushrooms, which is 45 minutes in half-pint or pint jars at 10 pounds weighted or 11 pounds dial gauge, adjusted for altitude. There is no tested process time for mushrooms in quart jars, so the broth should be canned in half-pints or pints only. The processing time and pressure are the safety controls for this low-acid recipe, so neither one can be shortened or substituted.
Mushroom broth is a low-acid product, which means it falls in the category that requires pressure canning for safe shelf storage. Water bath canning only reaches 212°F, which is not hot enough to make a low-acid food safe for the pantry. Pressure canning reaches 240°F, which is the temperature required for safe processing. This is true regardless of which cultivated mushrooms or aromatics you use.
Yes. The mix is flexible as long as you follow a few rules. Use any combination of cultivated mushrooms, vegetables, and aromatics you like, strain everything out so the finished product is a clear liquid with no solids, and keep to canning-safe ingredients. That means no thickeners like flour or cornstarch, no dairy, no added oil, no soy sauce or concentrated seasonings in the jar, and no puréed vegetables, since those can interfere with safe heat penetration. The processing time and jar size stay the same no matter how you adjust the flavor.
Broth Canning Recipes
If you tried this Canning Mushroom Broth recipe, or any other recipe on Creative Canning, leave a star rating and let me know what you think in the comments below!
And make sure you stay in touch with me by following on social media!
Canning Mushroom Broth
Equipment
- Canning Jars, Lids and Bands
Ingredients
- 2 to 3 lbs fresh mushrooms, any kind or a mix, whole caps or saved stems and trimmings
- 1 to 2 oz dried mushrooms, optional, shiitake or porcini for depth
- 1 tbsp oil, optional, for browning
- 1 large onion, quartered, skins can be left on
- 2 ribs celery, roughly chopped
- 1 medium carrot, roughly chopped, optional
- 4 cloves garlic, peeled and smashed
- 20 whole black peppercorns
- 2 to 3 whole bay leaves
- 4 to 5 quarts cold water, approximately, enough to cover by 2 inches; top up as needed during simmer
Instructions
- Roughly chop the fresh mushrooms. In a large stockpot over medium-high heat, sauté the mushrooms in a little oil, in batches if needed, until they release their liquid, it cooks off, and they begin to brown. (Browning is optional but deepens the flavor.)
- Add the onion, celery, carrot, garlic, peppercorns, bay leaves, and any dried mushrooms. Cover with cold water by at least 2 inches. Bring to a boil, then reduce to a gentle simmer.
- Simmer 1 to 2 hours, keeping the heat low enough that the broth barely bubbles. Add water as needed to keep the solids submerged. Taste toward the end and adjust seasoning.
- Strain the broth through a colander lined with several layers of cheesecloth into a clean stockpot. Do not press or squeeze the solids. Add salt if using, adjusting to taste (see notes).
- Prepare your pressure canner, jars, lids, and bands. Reheat the broth to a full boil. Ladle into hot half-pint or pint jars, leaving 1 inch headspace. Wipe rims, apply lids and bands to fingertip tight. Load into the preheated canner, vent 10 minutes, bring to pressure, and process for 45 minutes, adjusting pressure for altitude. Depressurize naturally. Cool 12 to 24 hours, check seals, label, and store.
Notes
- 0 to 2,000 feet: 11 lbs pressure
- 2,001 to 4,000 feet: 12 lbs pressure
- 4,001 to 6,000 feet: 13 lbs pressure
- 6,001 to 8,000 feet: 14 lbs pressure
- 0 to 1,000 feet: 10 lbs pressure
- Above 1,000 feet: 15 lbs pressure
Nutrition
Nutrition information is automatically calculated, so should only be used as an approximation.
Mushroom Canning Recipes
Find the perfect recipe
Searching for something else? Enter keywords to find the perfect recipe!

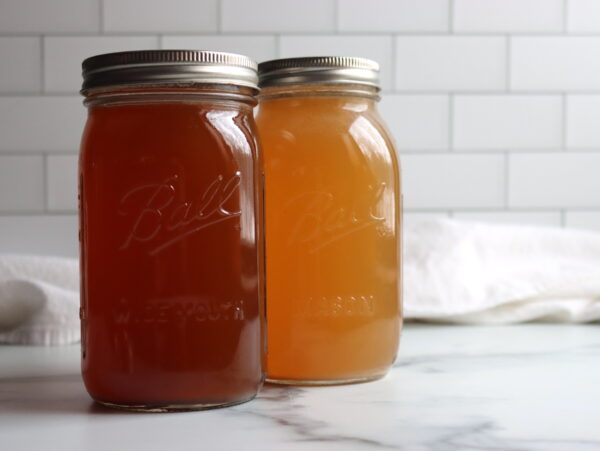
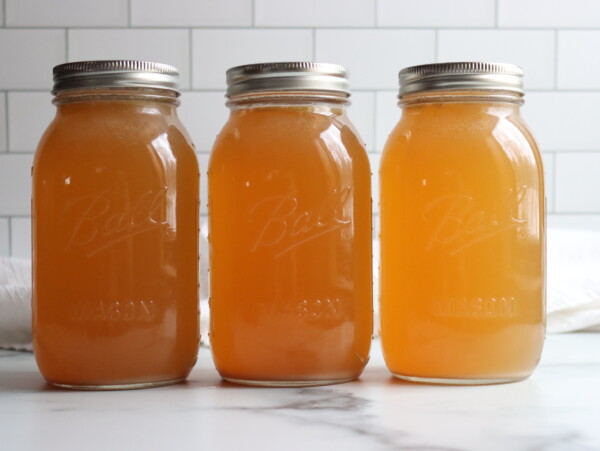
Unlike meat broth, this gives you something really unique and flavorful, but without being heavy. I can add concentrated umami to recipes, and I love it!