This post may contain affiliate links. Please see our disclosure policy.
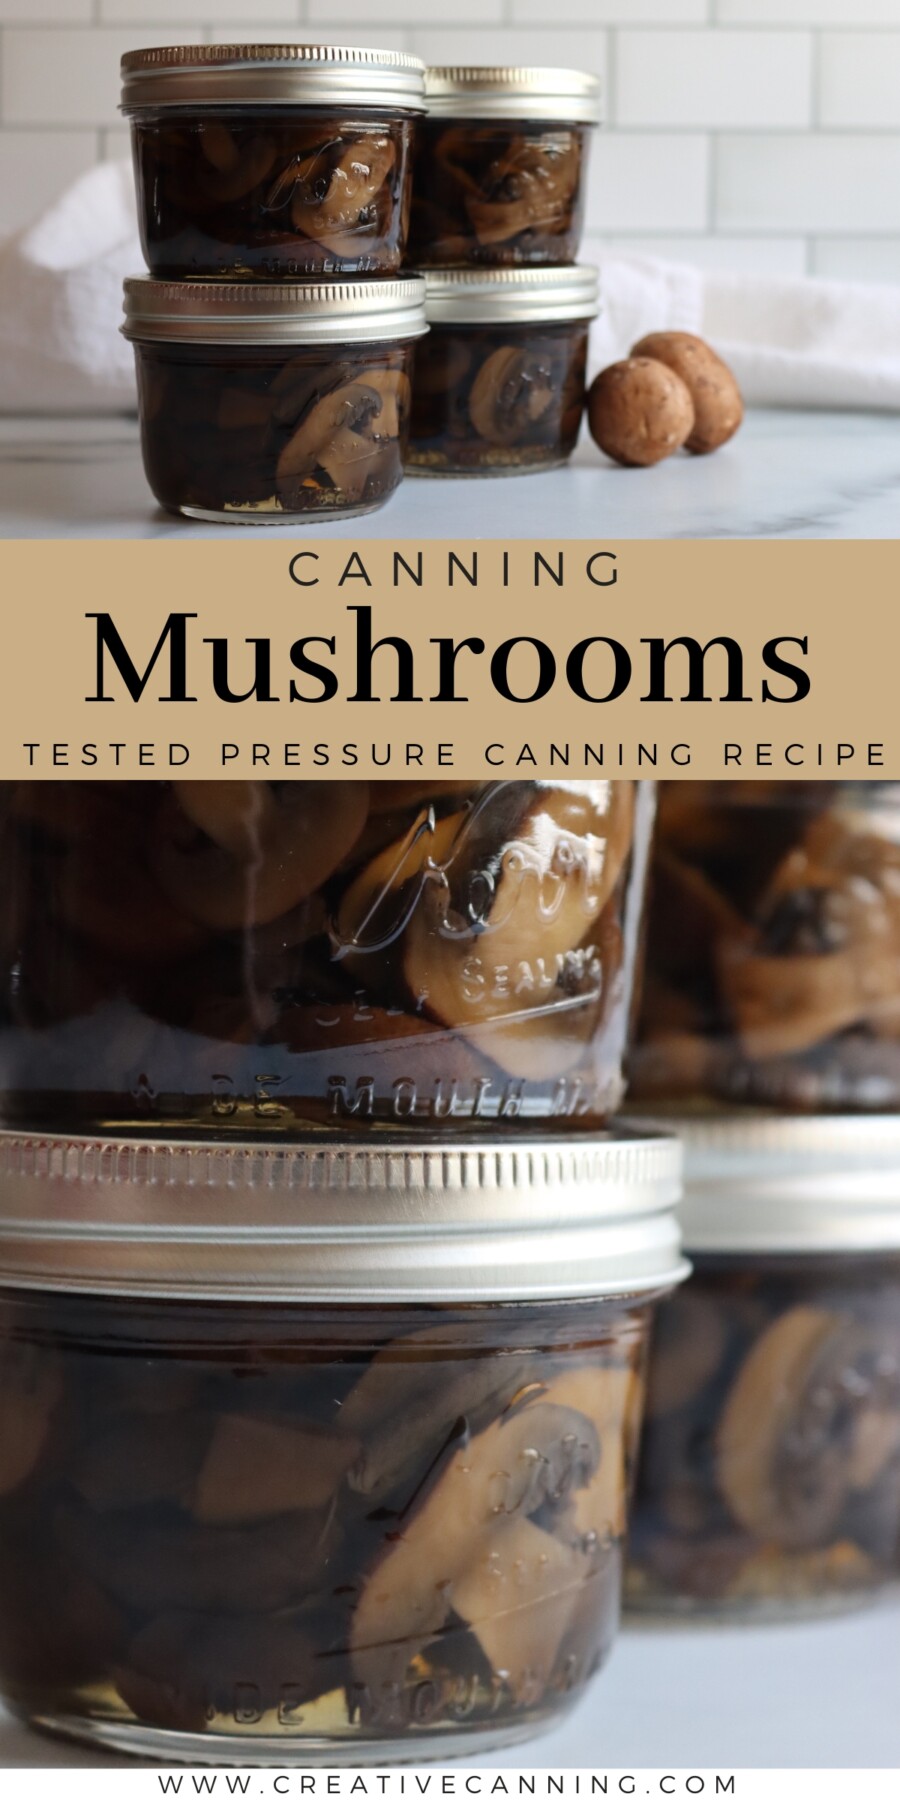
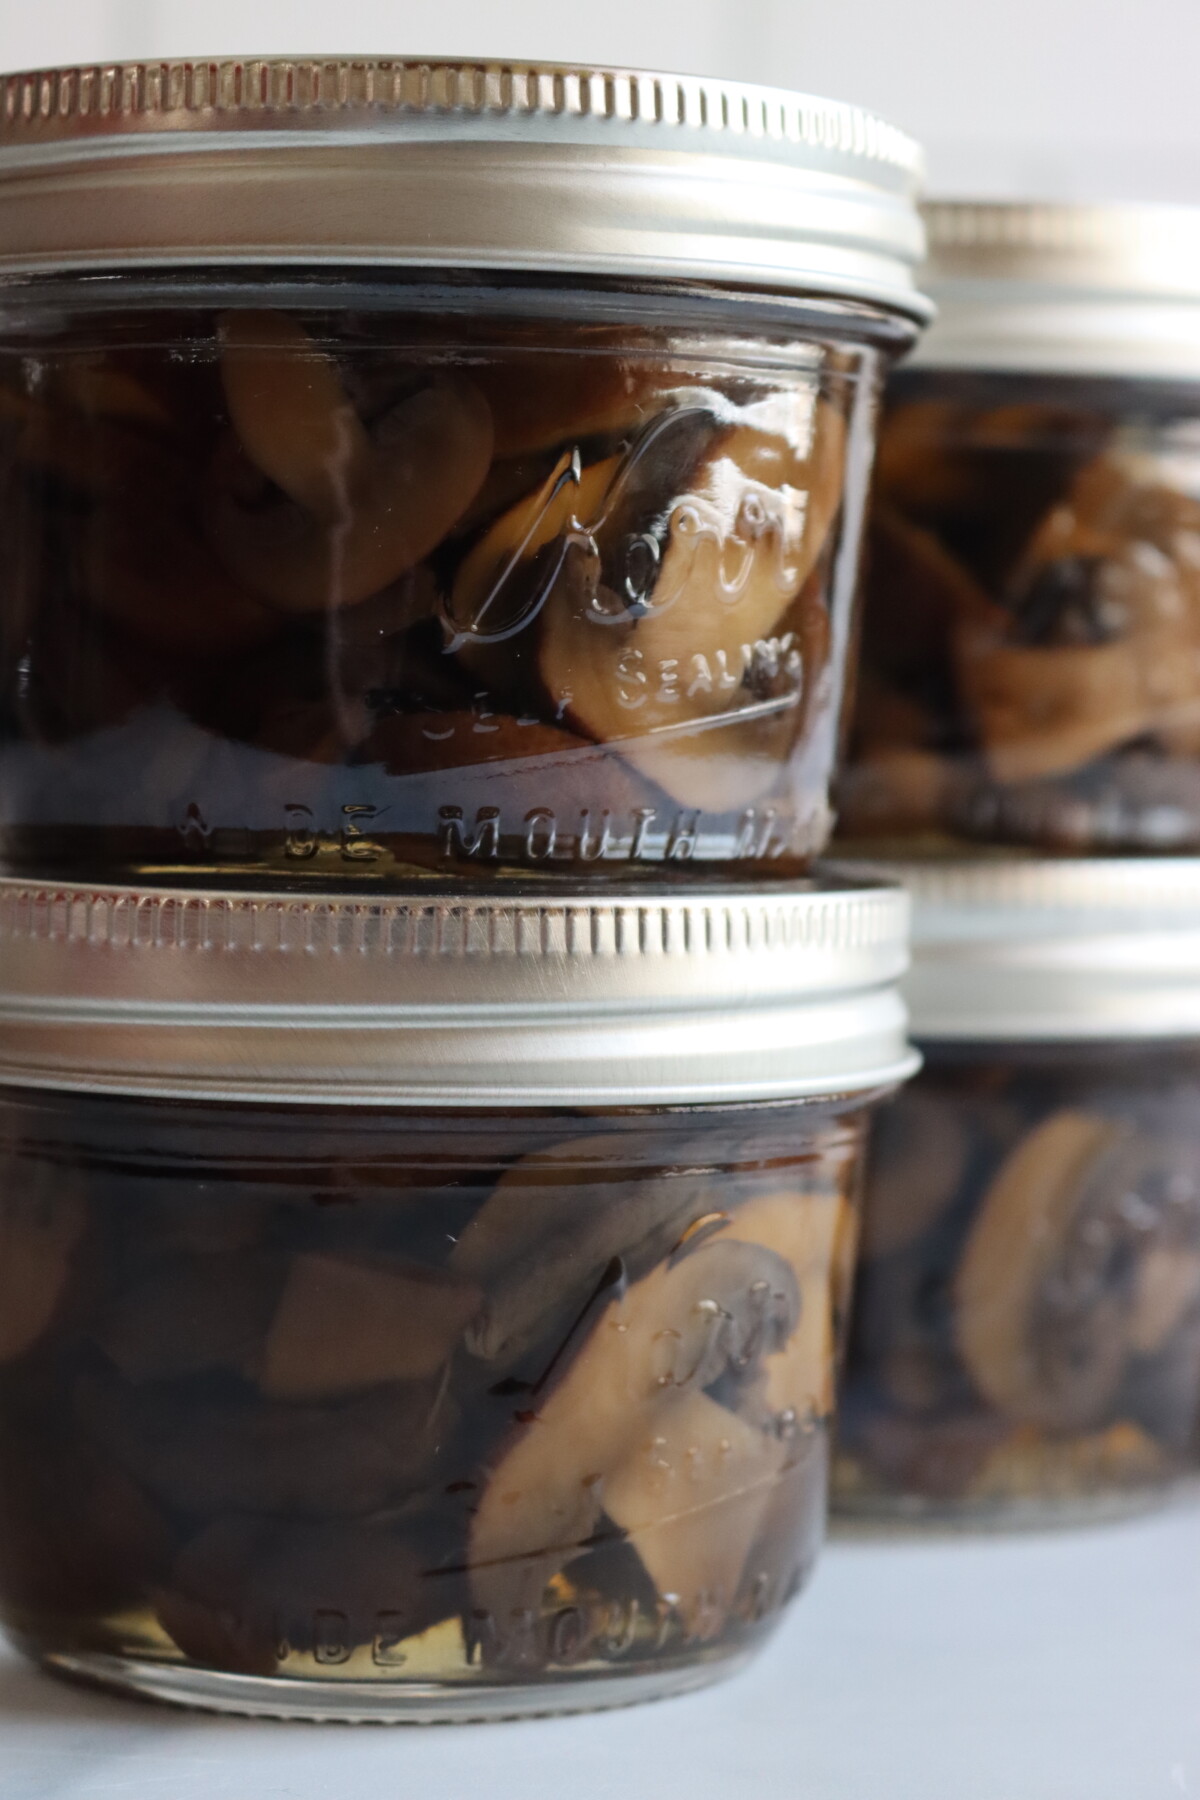
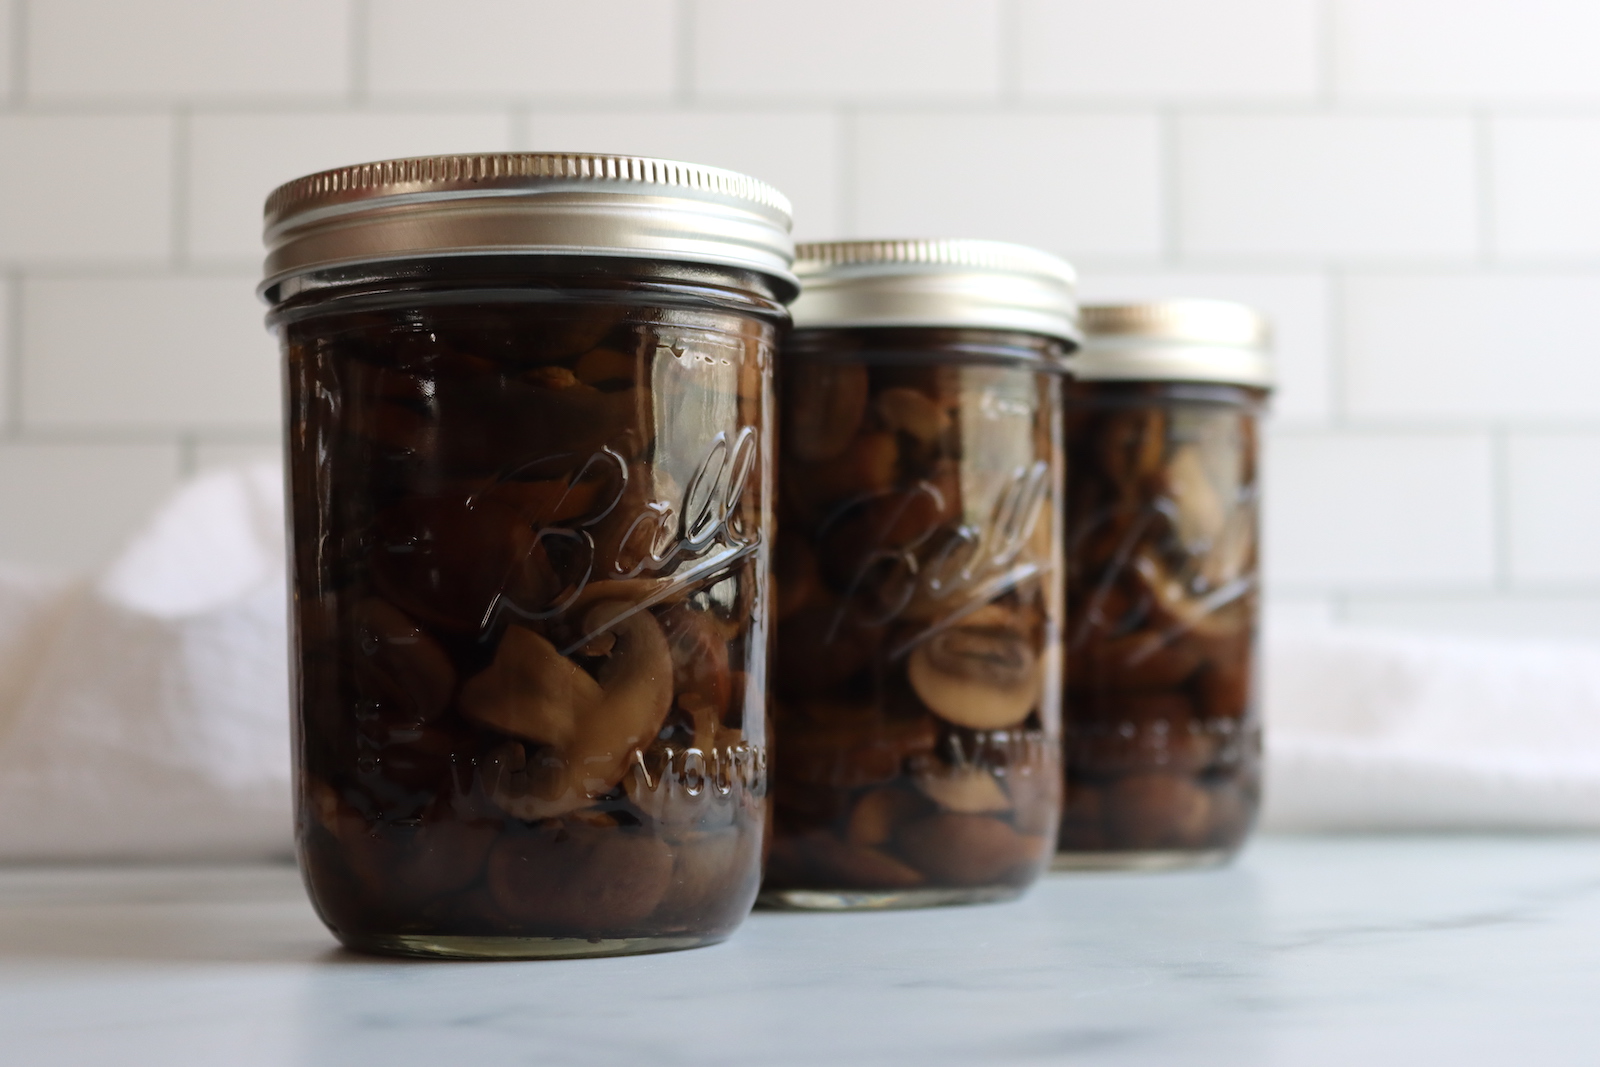
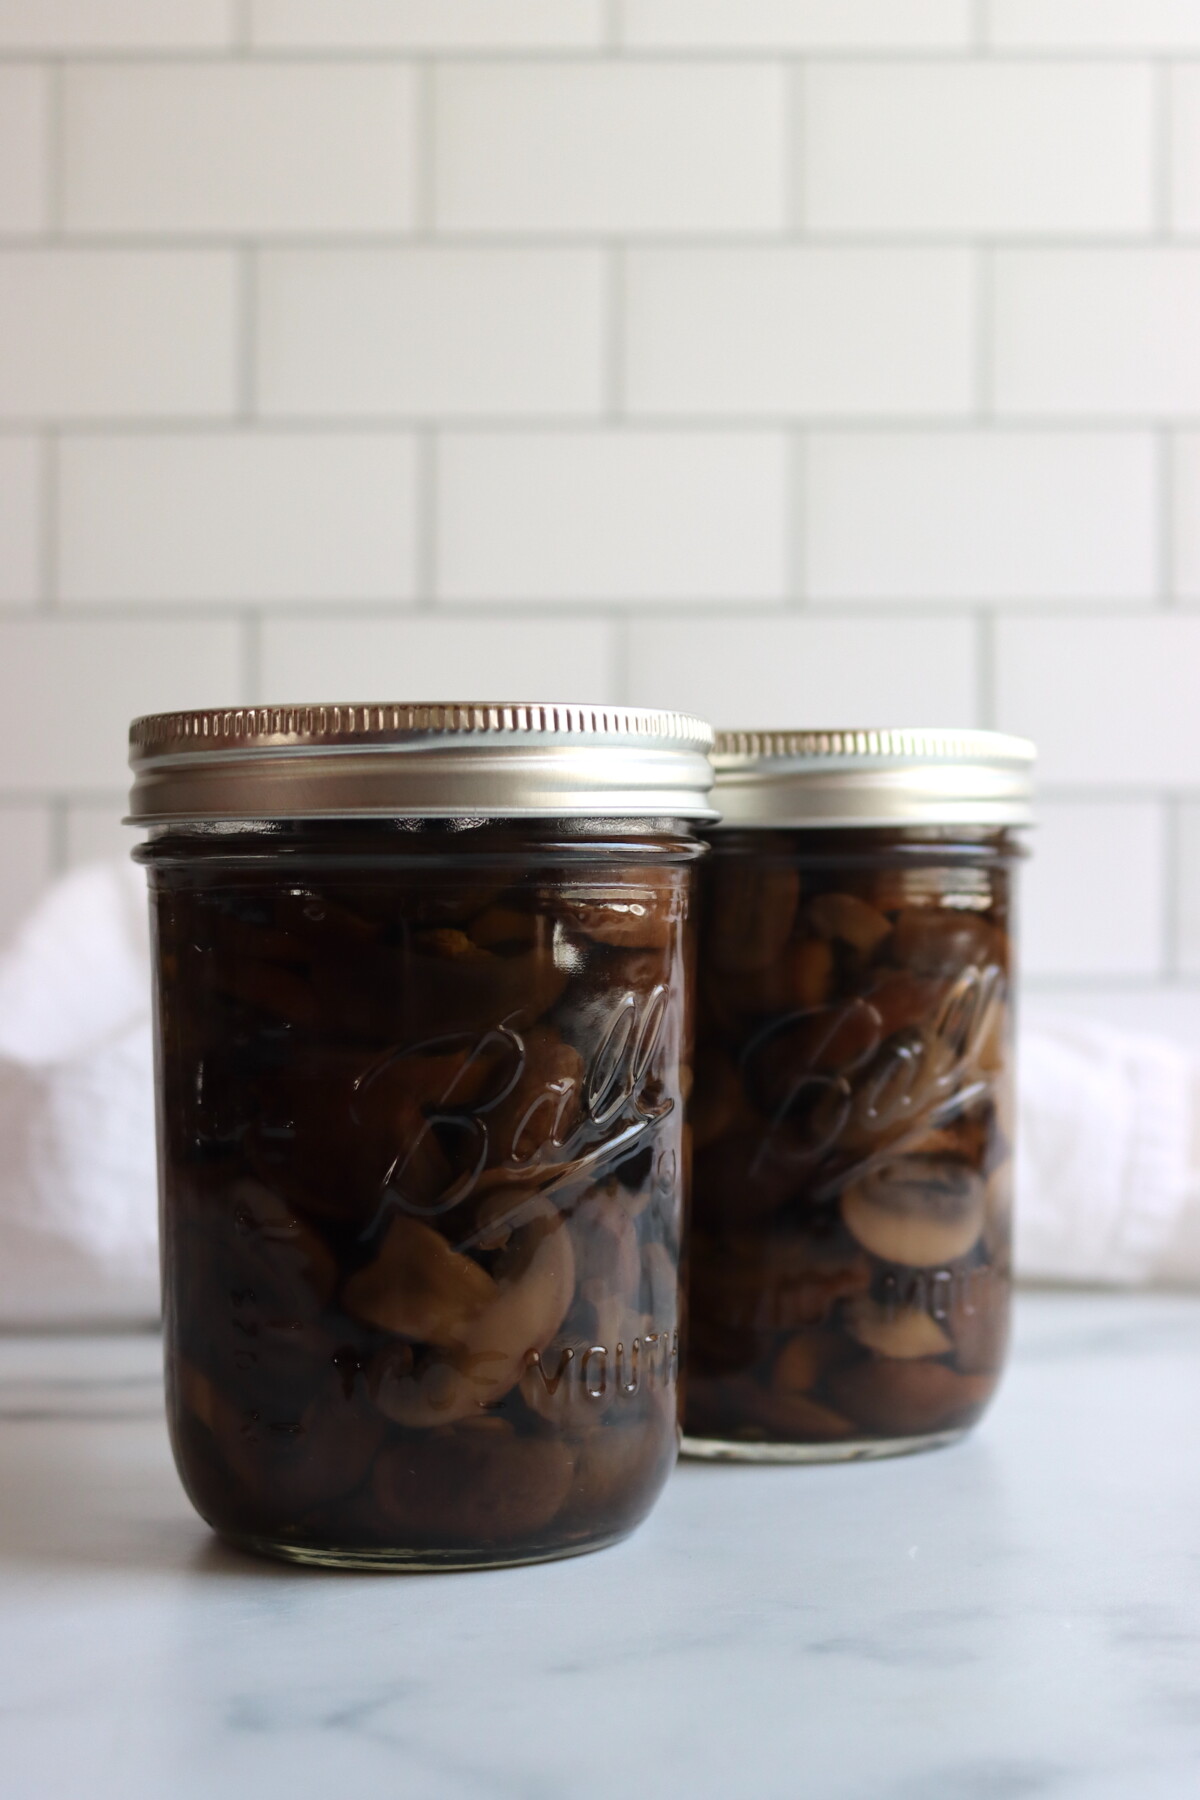
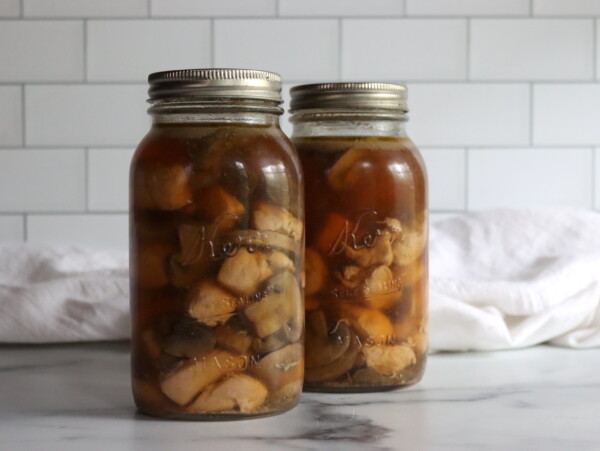
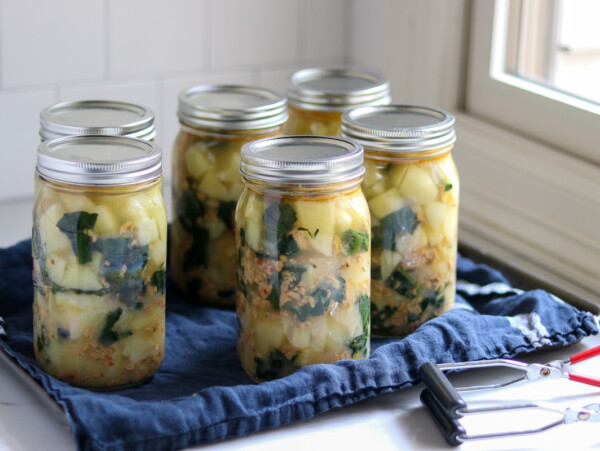
Canning mushrooms lest you store mushrooms right on your pantry shelf. These simple jars of already-cooked mushrooms won’t spoil like mushrooms in your fridge, and they’re always ready to add to soups, sauces, risotto, and pasta dishes without any prep work at the moment you need them.
This recipe has been reviewed for safety and accuracy by a Master Food Preserver certified through the University of Cornell Cooperative Extension.
This recipe follows the NCHFP guidelines for canning mushrooms, adapted from the USDA Complete Guide to Home Canning. The NCHFP specifies “domestic mushrooms” and adds a caution not to can wild mushrooms, which is worth understanding before you start.
The guideline was originally written to cover button and crimini mushrooms, which are what most home canners have access to. It was later tightened to describe suitable mushrooms as “brightly colored, small to medium-size, with short stems, tight veils, and no discoloration.” That language practically describes a button mushroom or crimini and intentionally excludes the more unusual cultivated varieties like oyster, lion’s mane, or chanterelle.
The reason isn’t that those mushrooms are unsafe to eat. It’s that some cultivated specialty mushrooms have very different textures and densities than the standard button mushroom the processing times were developed for, and the NCHFP can’t verify safe heat penetration for mushrooms that behave differently in the jar. Very woody or dense mushrooms like reishi and chaga are especially problematic for that reason.
Stick to button mushrooms or crimini for canning, which is what this recipe is written for.
Notes from My Canning Kitchen

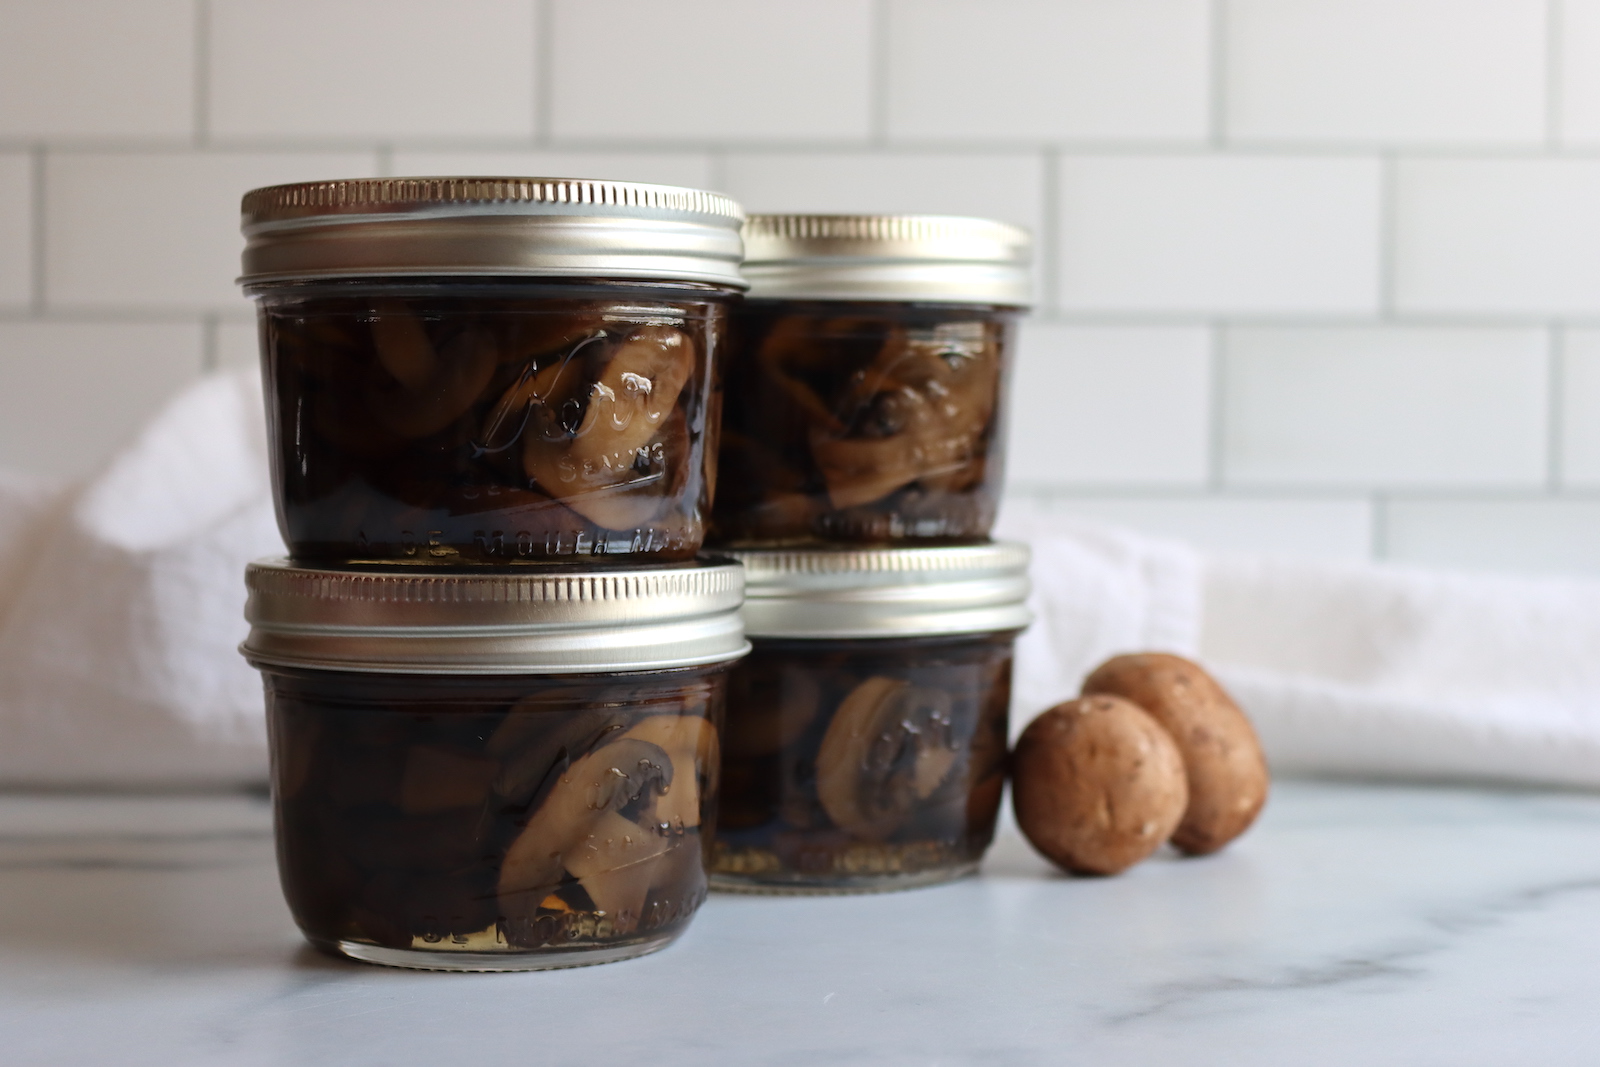
I use crimini mushrooms for this rather than white button mushrooms, and the flavor difference is real. Criminis are the same species as white buttons, just harvested a bit older and darker, and they have a noticeably earthier, richer taste that holds up better through pressure canning. They also discolor less during slicing than white buttons, which is another reason I skip the ascorbic acid. More on that in the ingredients section.
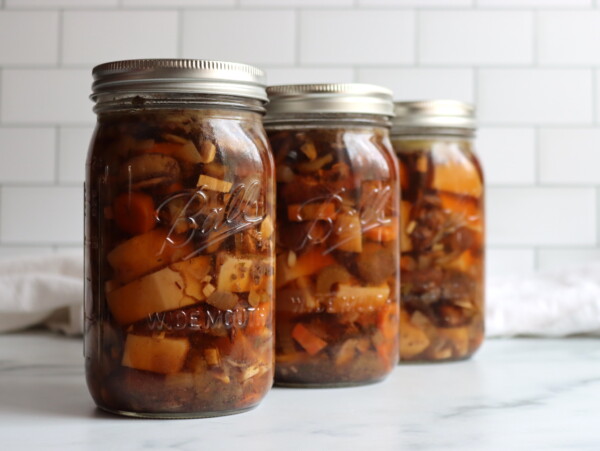
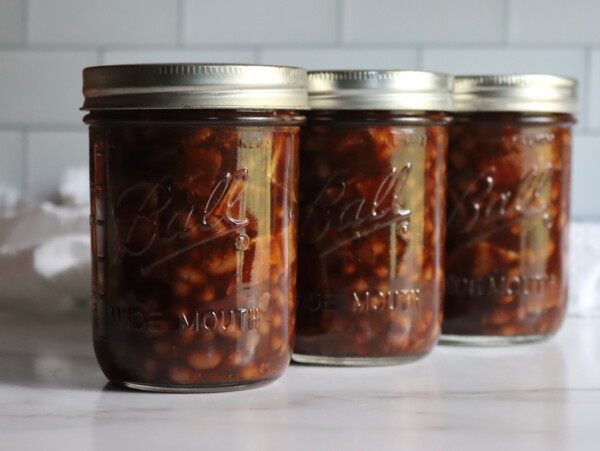
These jars get opened constantly in my kitchen. A half-pint goes into a pasta sauce without any thought, a pint goes into a soup or stew. I especially like adding them to bulk out my beef stroganoff canning recipe, opening a jar of each at serving. They’re one of those pantry items that quietly disappear faster than you expect, which is the sign of a canning project worth doing.
Quick Look at the Recipe
- Recipe Name: Canning Mushrooms
- Recipe Type: Pressure Canning Recipe
- Canning Method: Pressure Canning
- Prep/Cook Time: About 30 minutes
- Canning Time: 45 minutes for half-pints and pints
- Yield: About 1 pint per pound of prepared mushrooms (6 pounds yields 6 pints)
- Jar Sizes: Half-pints or Pints
- Headspace: 1 inch
- Ingredients Overview: Crimini mushrooms, water, optional salt, optional ascorbic acid
- Safe Canning Recipe Source: National Center for Home Food Preservation, adapted from the USDA Complete Guide to Home Canning
- Difficulty: Easy. Soak, trim, boil briefly, pack, and process. One of the simpler pressure canning projects.
- Similar Recipes: Canned mushrooms are a natural companion to Beef Stew with mushrooms, Beef Stroganoff, and Chicken and Mushrooms. Sometimes I like a bit more mushrooms in those recipes, so I open one jar of the meal in a jar recipe and one jar or plain mushrooms and combine them at serving.
Ingredients for Canning Mushrooms
This is one of the simplest canning ingredient lists you’ll find: mushrooms, water, and a couple of optional additions. The quality of the mushrooms matters more than anything else here.
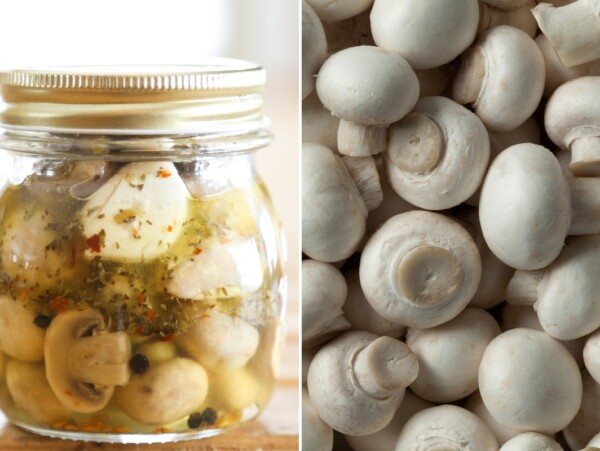
- Crimini mushrooms: The star of the recipe, and the variety worth choosing over white button mushrooms if you have the option. Criminis are the same species as white buttons (Agaricus bisporus), just harvested slightly more mature, which gives them a deeper, earthier flavor that holds up well through pressure canning. Select small to medium mushrooms with tight, unopened caps, short stems, and no soft spots or discoloration. Plan on about 1 pound musrhooms as purchased to fill a pint jar.
- Water: Used for boiling the mushrooms and for topping off the jars. Use 1½ cups of water per pound of mushrooms as purchased in your boiling pot. Bring the water to a hard boil first, then add the mushrooms. The mushrooms will foam considerably as they cook, so skim the foam as needed.
- Salt: Half a teaspoon per pint jar, optional. Salt is purely for flavor here and has no effect on canning safety. Skip it or reduce it if you prefer to control the salt level when you use the mushrooms in cooking.
- Ascorbic acid: 1/8 teaspoon of ascorbic acid powder (or a crushed 500mg vitamin C tablet) per jar, optional. The NCHFP includes this to prevent the color darkening that happens when mushrooms are sliced and exposed to air. White button mushrooms discolor noticeably; criminis much less so. I skip it entirely because it affects the flavor of the finished mushrooms in a way I don’t like, and the color difference is cosmetic with no effect on quality or safety. If you’re using white button mushrooms and want them to stay pale, add it. If you’re using criminis, it’s not worth it.
A note on mushroom variety: the NCHFP guideline specifies domestic mushrooms with tight caps, short stems, and no discoloration, which in practice means button mushrooms or criminis. This is not because other cultivated mushrooms are unsafe nessisarily, they’re just not tested.
Since the processing times were developed for the density and texture of standard cultivated button-type mushrooms. Very dense or woody mushrooms (reishi, chaga) have different heat penetration characteristics and are not suitable for this recipe.
Stick to button mushrooms or criminis for consistent, safe results.
Yield Notes
Fresh mushrooms are mostly air and water, and they shrink dramatically during cooking. One pound of fresh criminis starts as about 6 cups sliced but cooks down to roughly 2 cups after 5 minutes of boiling.
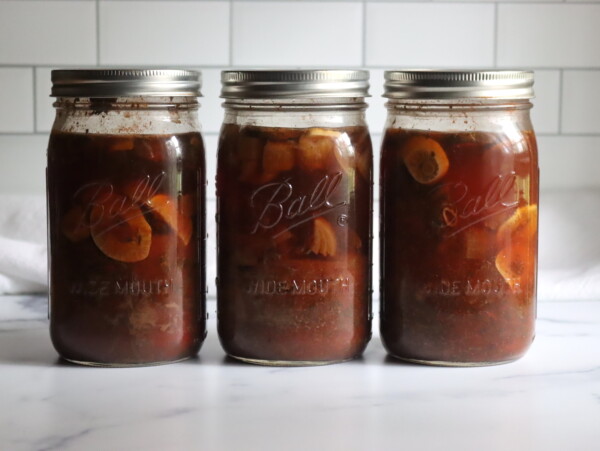
Six pounds of prepared mushrooms yields about 6 pints. If you end up with extra mushroom cooking liquid after filling your jars, you can process it as mushroom broth.
The NCHFP allows you to can vegetable broths using the same processing time as the vegetable itself, so mushroom broth processes at the same 45 minutes as the mushrooms.
Step by Step Instructions
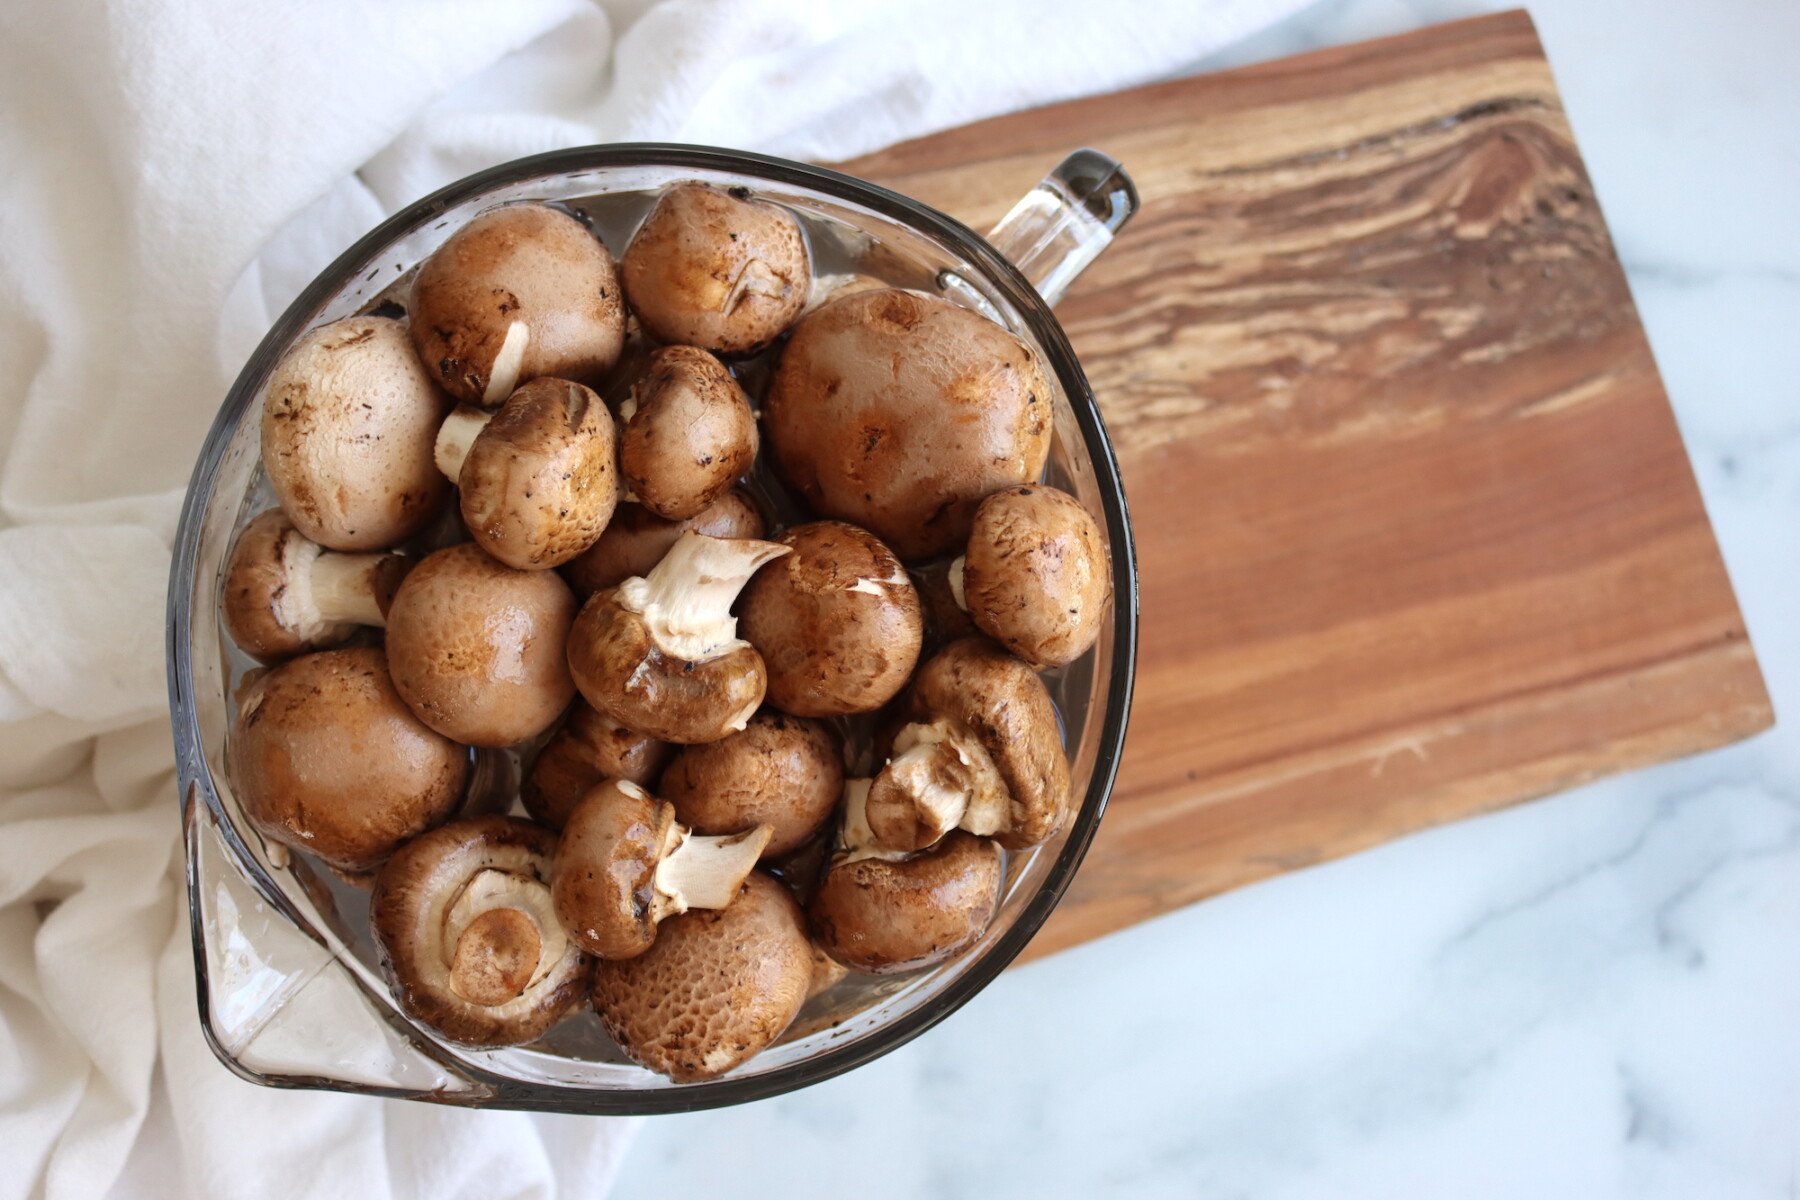
- Prepare your pressure canner, jars, lids, and bands. Trim the stems and any discolored parts from the mushrooms. Soak in cold water for 10 minutes to loosen dirt, then rinse well in clean water. Start a kettle of water heating for topping off the jars.
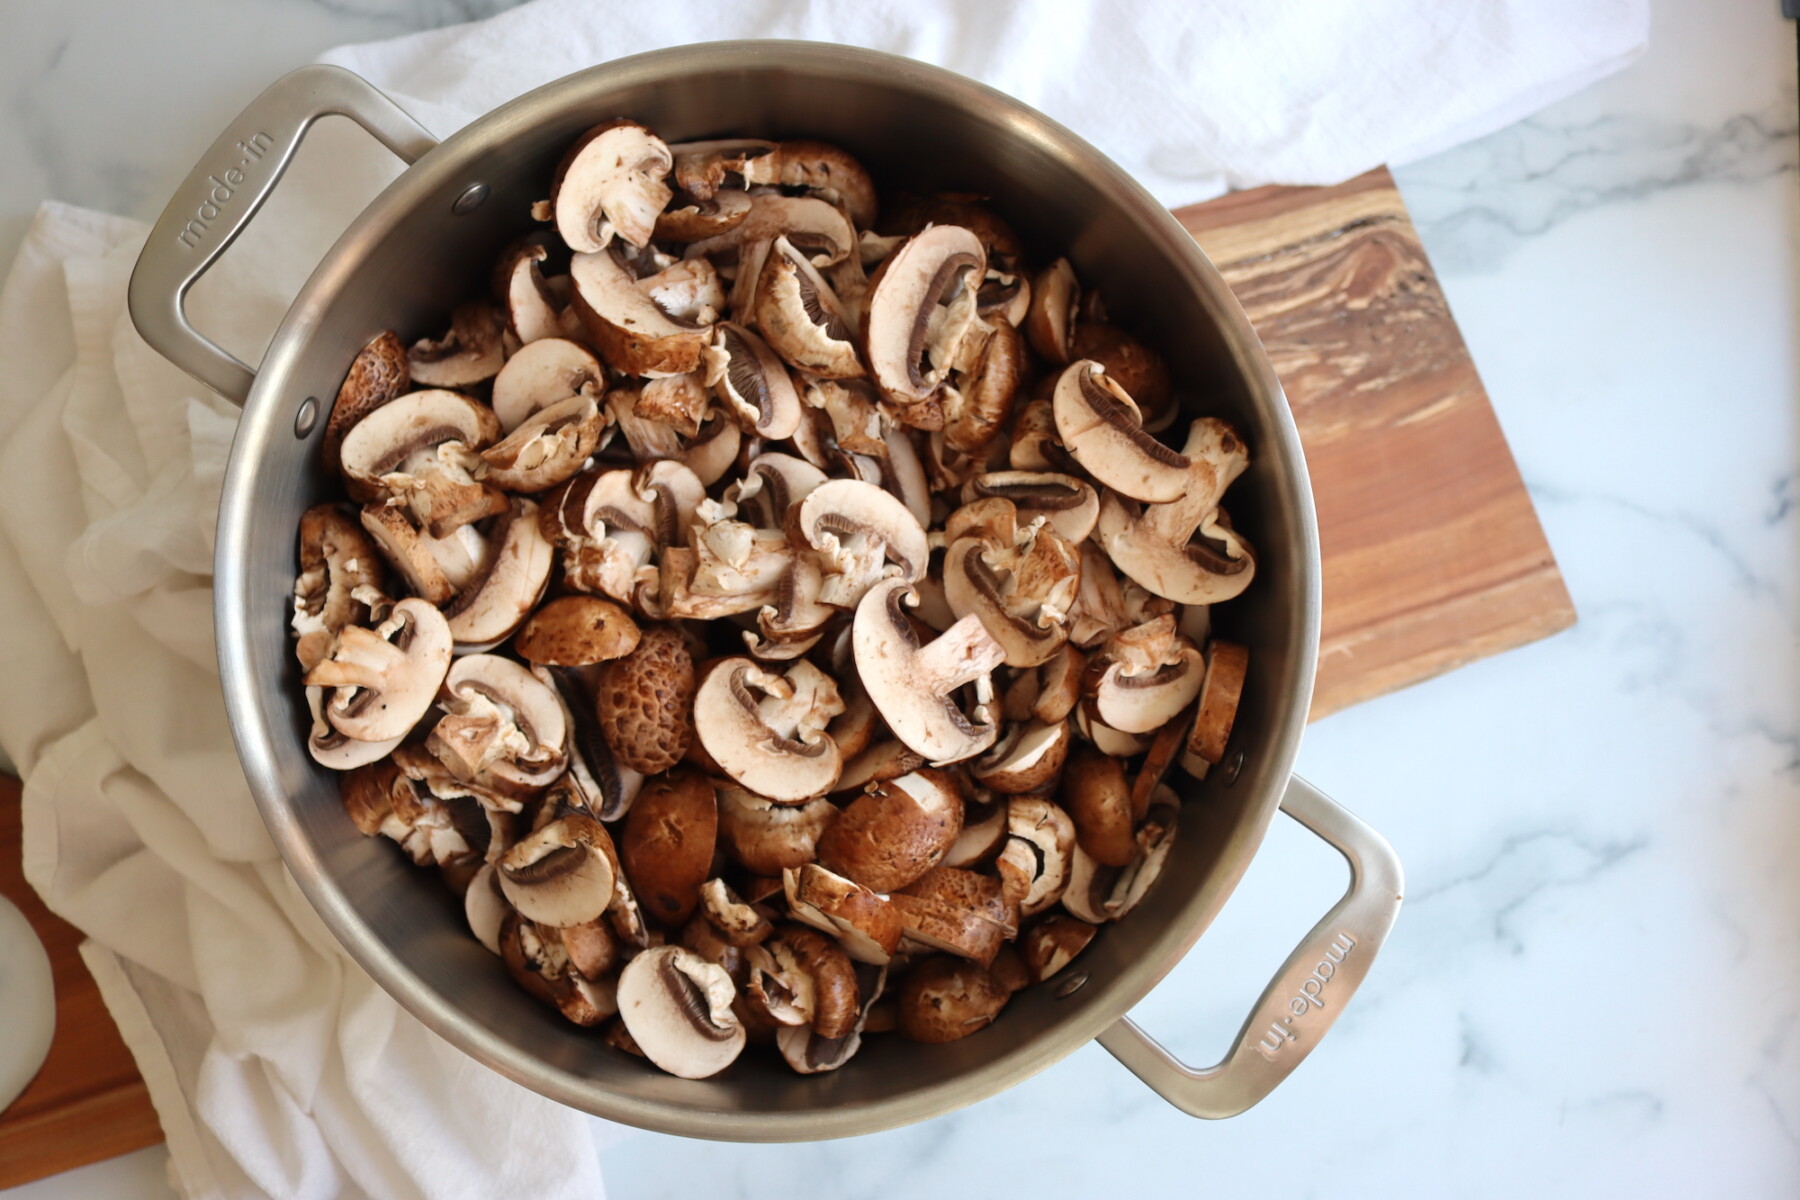
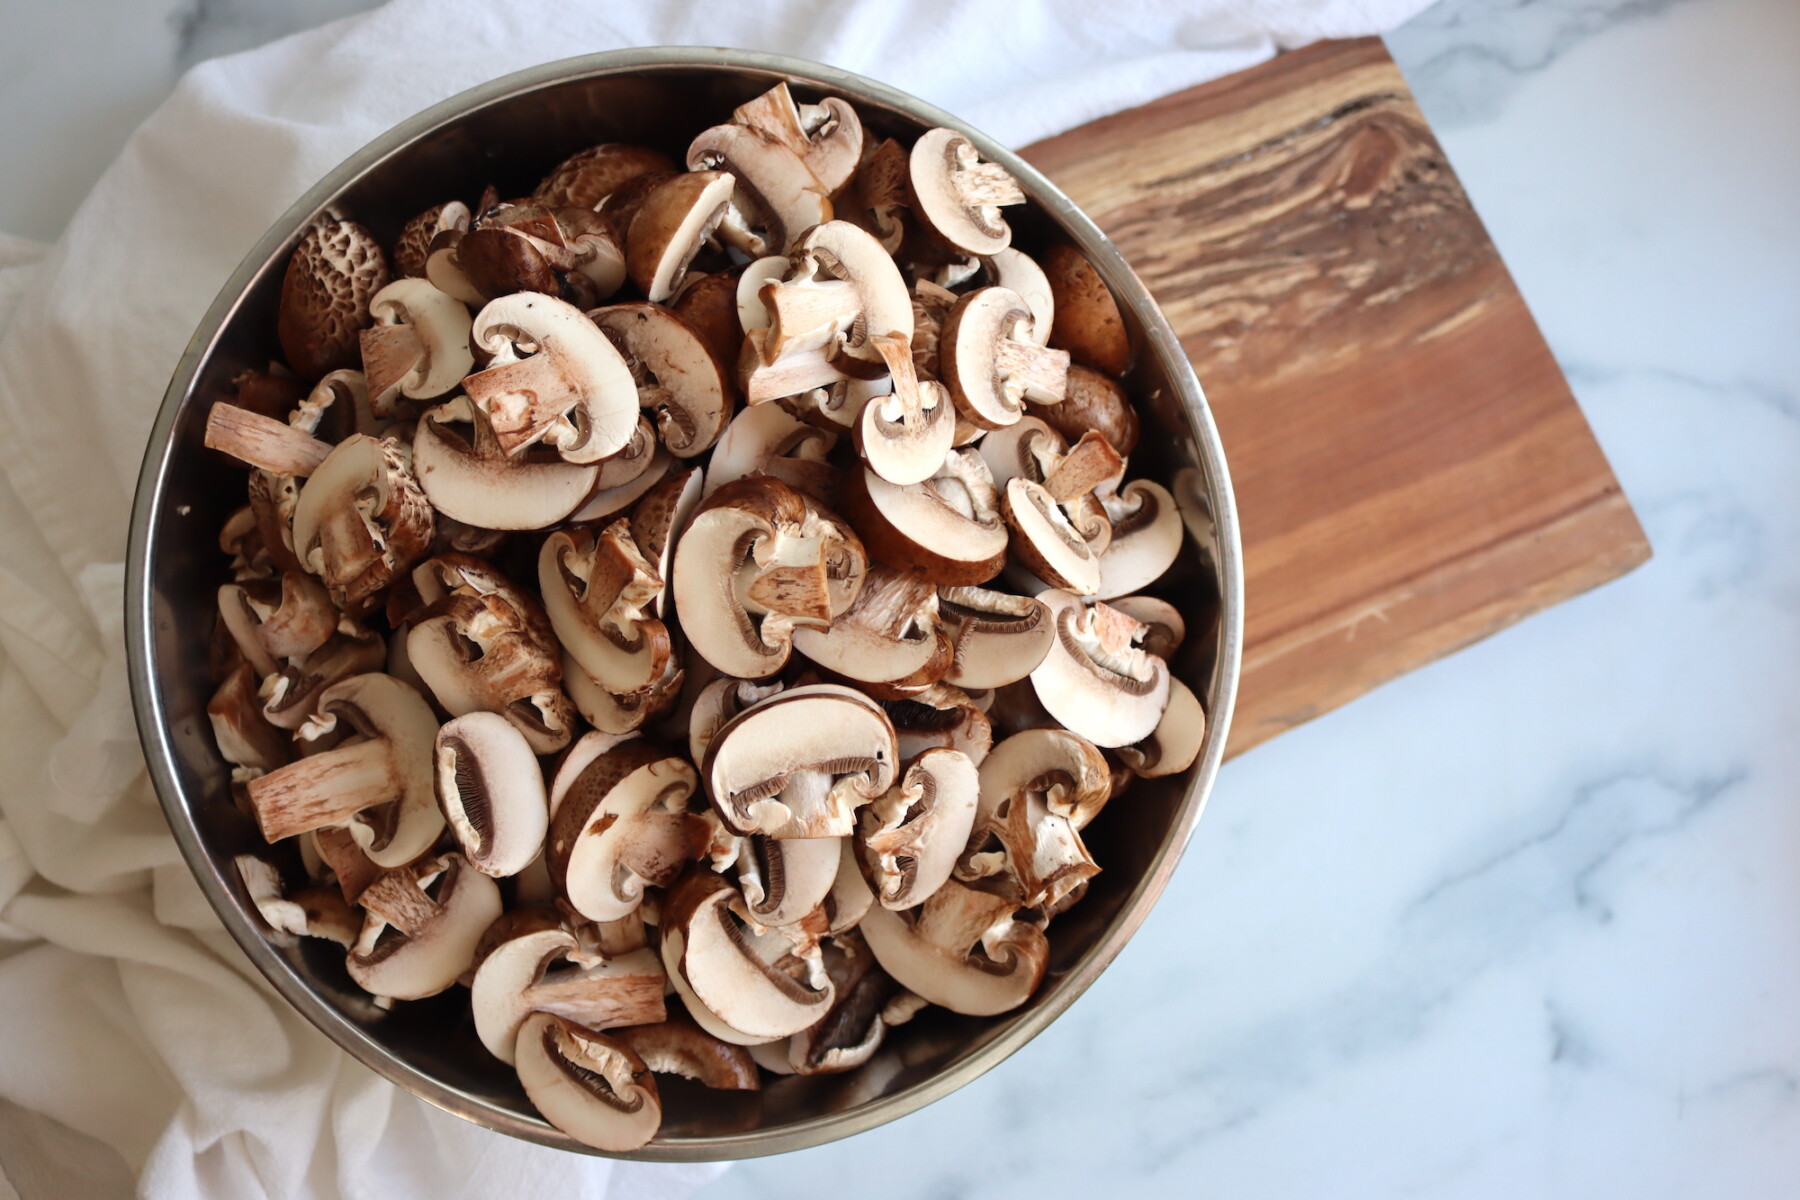
- Leave small mushrooms whole. Slice or halve larger ones so they pack compactly and heat evenly during processing. Uniform sizing helps them cook consistently in the jar.
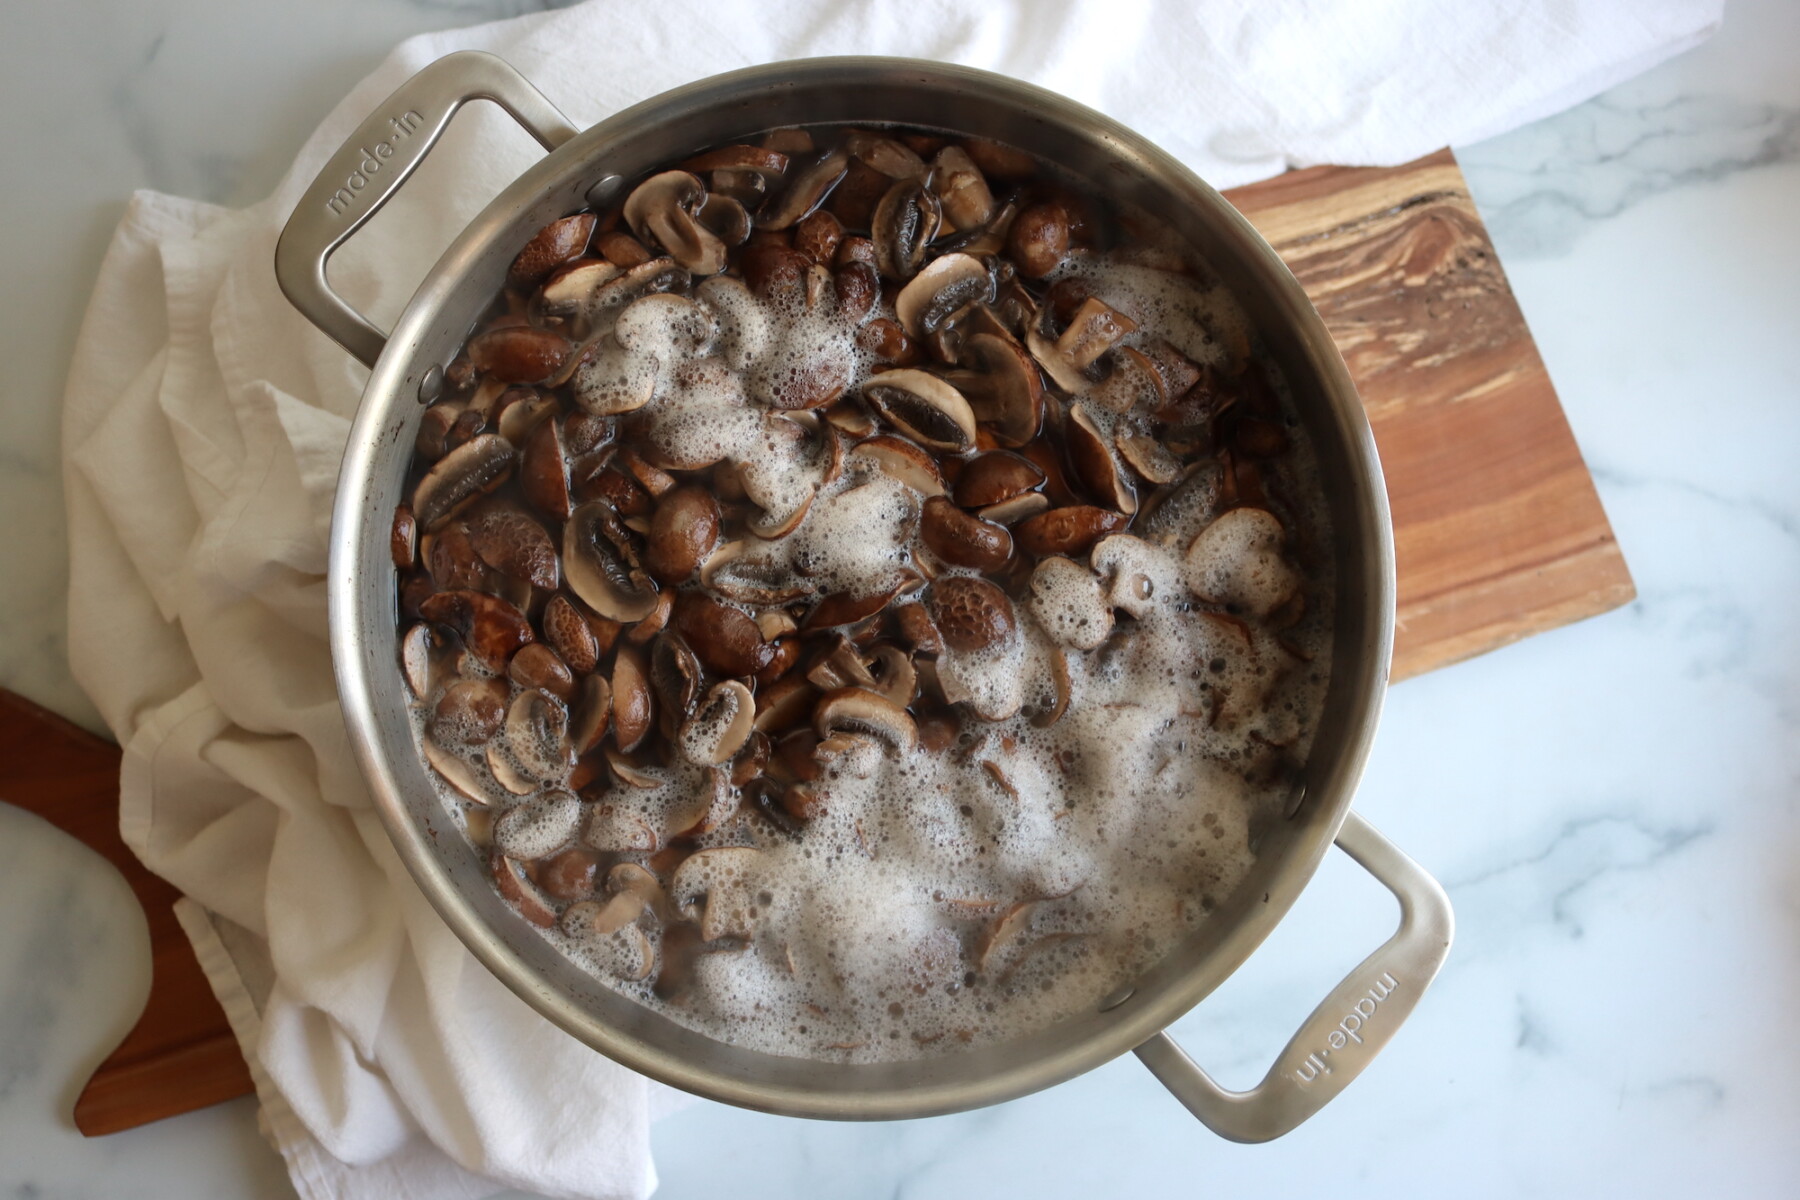
- Measure 1½ cups of water per pound of prepared mushrooms into a saucepan and bring to a hard boil. Add the mushrooms and boil for 5 minutes, skimming the foam as it rises.
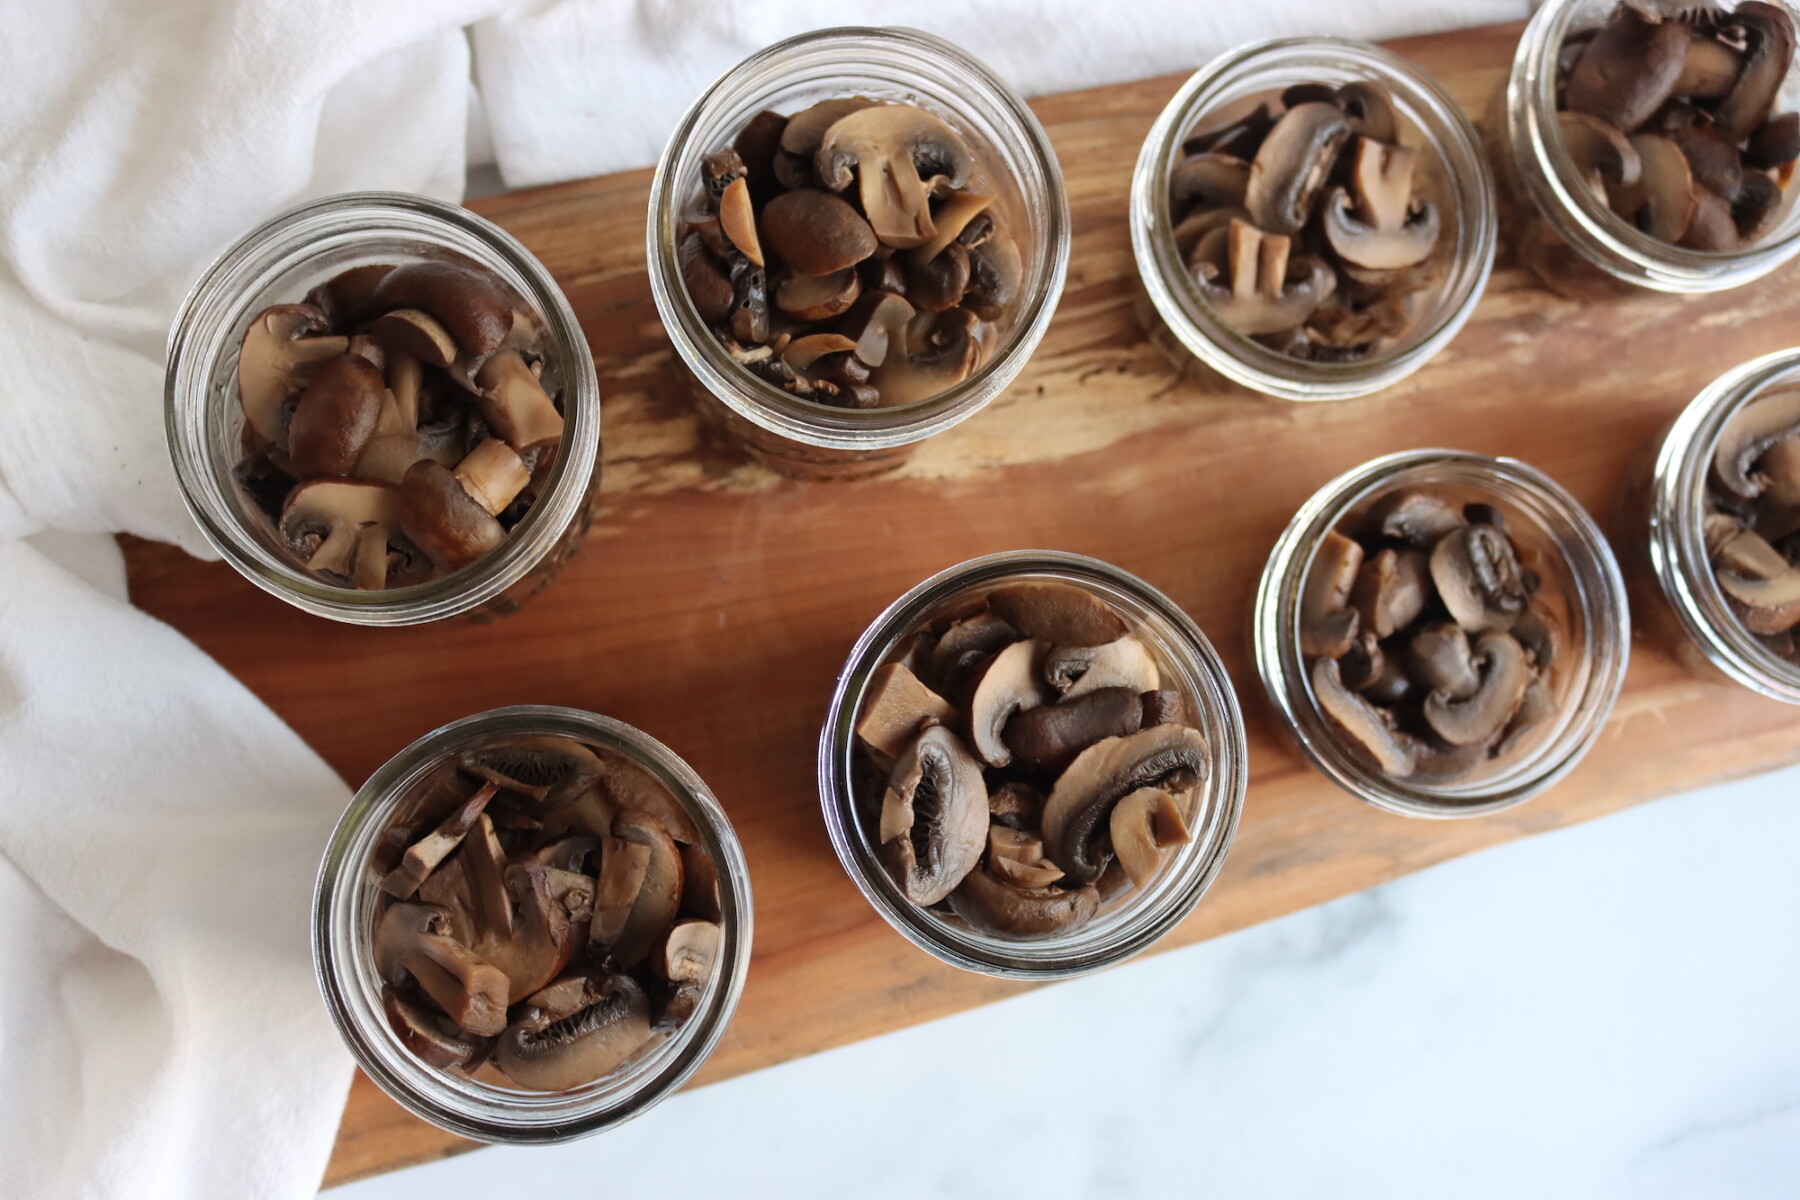
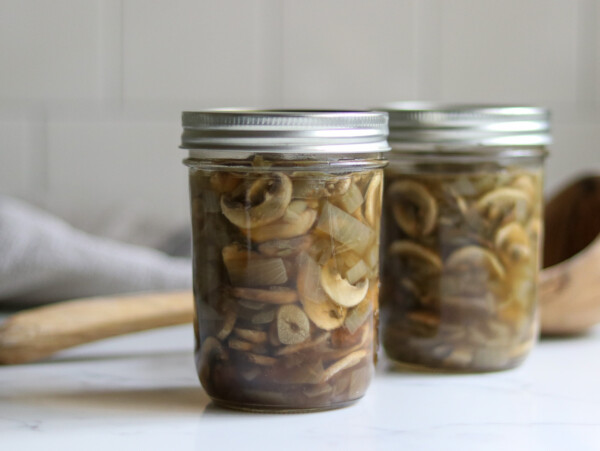
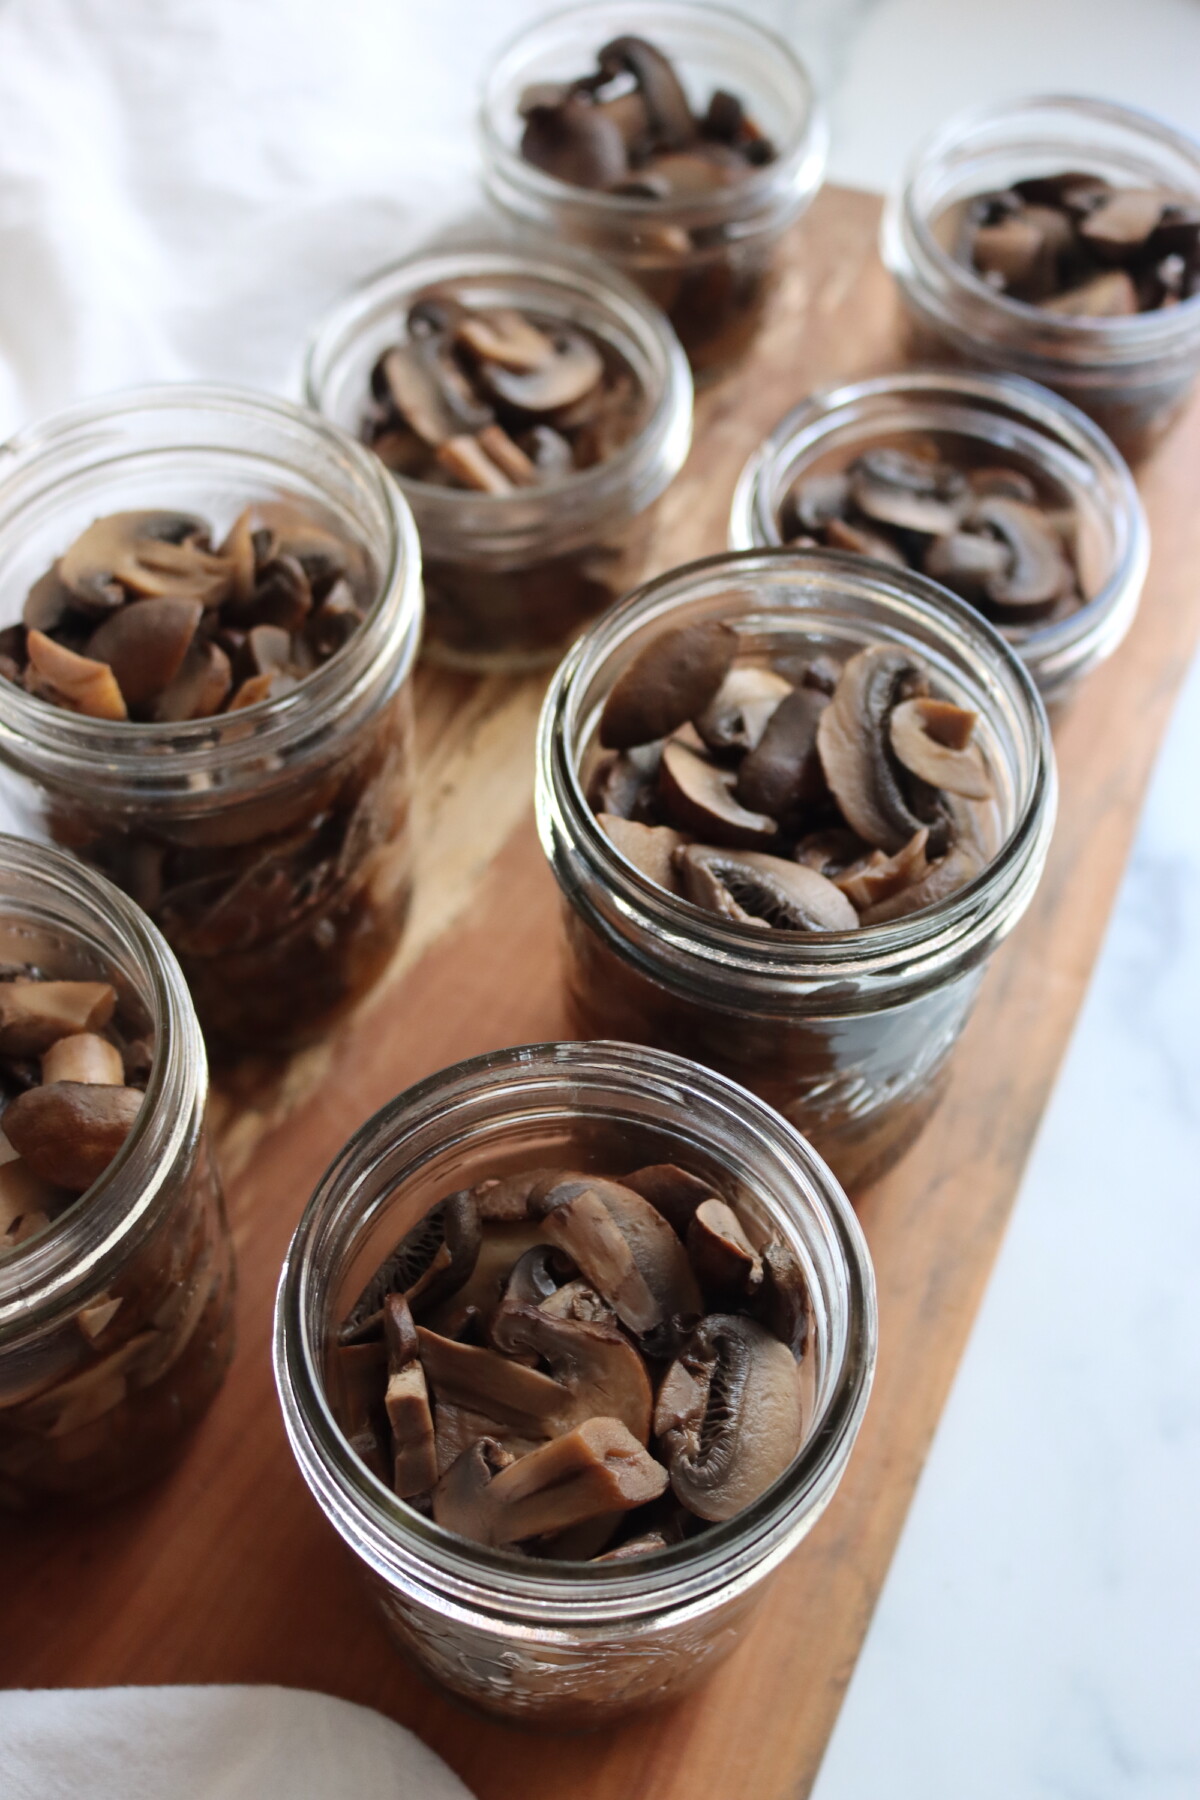
- Pack the hot mushrooms firmly into hot jars, leaving 1 inch headspace. Add ½ teaspoon salt per pint if using. Add 1/8 teaspoon ascorbic acid per jar if using. Ladle mushroom boiling liquid over the mushrooms to 1 inch headspace. Debubble, wipe rims, and apply lids and bands to fingertip tight.
- Load jars into the preheated pressure canner. Lock the lid, vent for 10 minutes, then bring to pressure. Process half-pints and pints for 45 minutes, adjusting pressure for altitude. Allow the canner to depressurize naturally before opening.
Canning Mushrooms
This is a hot pack recipe. The mushrooms are boiled for 5 minutes before going into the jars. Do not raw pack mushrooms for pressure canning. The boiling step drives out air, which helps the mushrooms pack more compactly and ensures proper heat distribution during processing.
Mushrooms shrink dramatically during boiling and again during pressure canning. Fresh criminis start at about 6 cups per pound but cook down to roughly 2 cups after boiling. The finished yield is about 1 pint per pound of prepared mushrooms. Pack them in firmly after boiling and they will fill the jar properly once settled.
If you end up with more mushroom cooking liquid than you need for topping off jars, you can process it separately as mushroom broth. The NCHFP allows canning vegetable broths using the same processing time as the vegetable itself, so mushroom broth processes at the same 45 minutes as the mushrooms.
Process half-pints and pints for 45 minutes at 10 pounds in a weighted gauge canner or 11 pounds in a dial gauge canner, adjusting for altitude.
Do not can in quarts! Jars larger than pint have not been tested.
Altitude Adjustments
With pressure canning, the processing times stay the same at higher altitudes, but the pressures change. Here are the altitude adjustments for pressure canning mushrooms:
For dial gauge pressure canners:
- 0 to 2,000 feet in elevation: 11 lbs pressure
- 2,001 to 4,000 feet in elevation: 12 lbs pressure
- 4,001 to 6,000 feet in elevation: 13 lbs pressure
- 6,001 to 8,000 feet in elevation: 14 lbs pressure
For weighted gauge pressure canners:
- 0 to 1,000 feet in elevation: 10 lbs pressure
- Above 1,000 feet: 15 lbs pressure
Serving Ideas
The best thing about a jar of canned mushrooms is that the prep work is already done. Open a half-pint, drain it, and the mushrooms go straight into whatever you’re making: no cleaning, no slicing, no waiting for them to cook down. They’re already fully cooked and just need to be warmed through. For pasta sauces, soups, and stews this is genuinely useful, especially on a weeknight when you’re working from pantry ingredients.
A pint jar goes nicely into beef stroganoff made from a pantry stash. Open a jar of canned ground beef, a jar of mushrooms, and and you’ll have a quick hamburger helper style dish from your pantry. They’re also good added to scrambled eggs, stirred into a cream sauce for pasta, or used as a pizza topping straight from the jar.
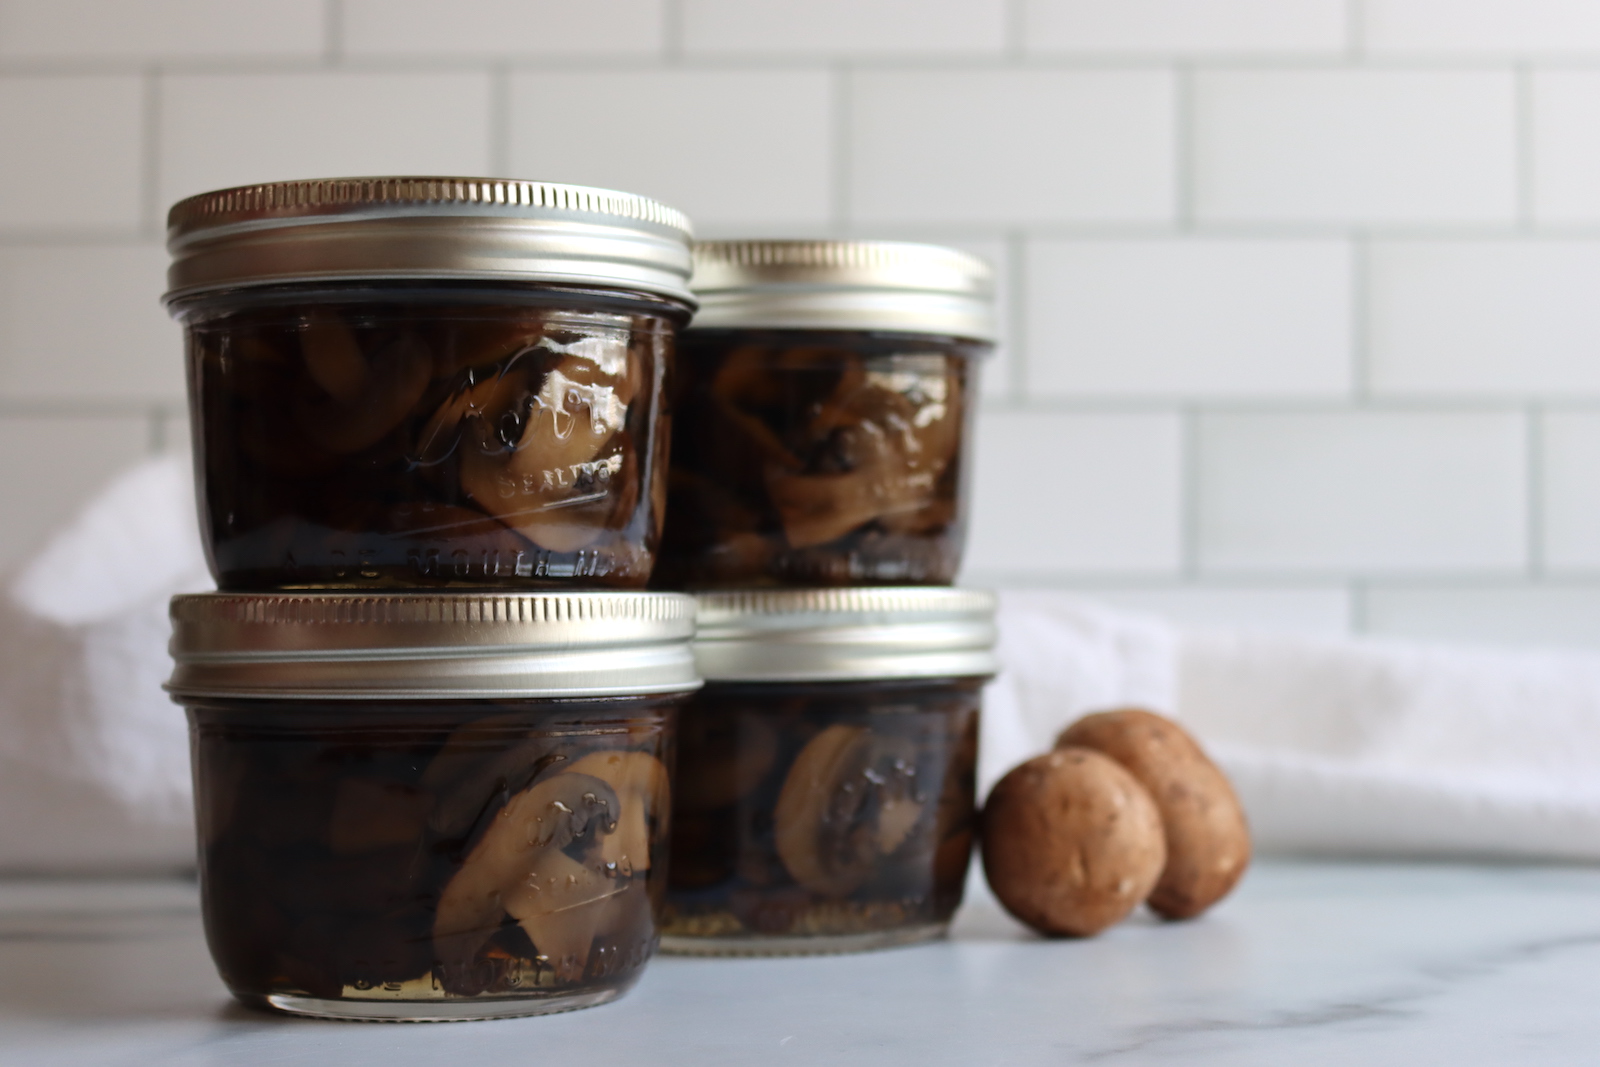
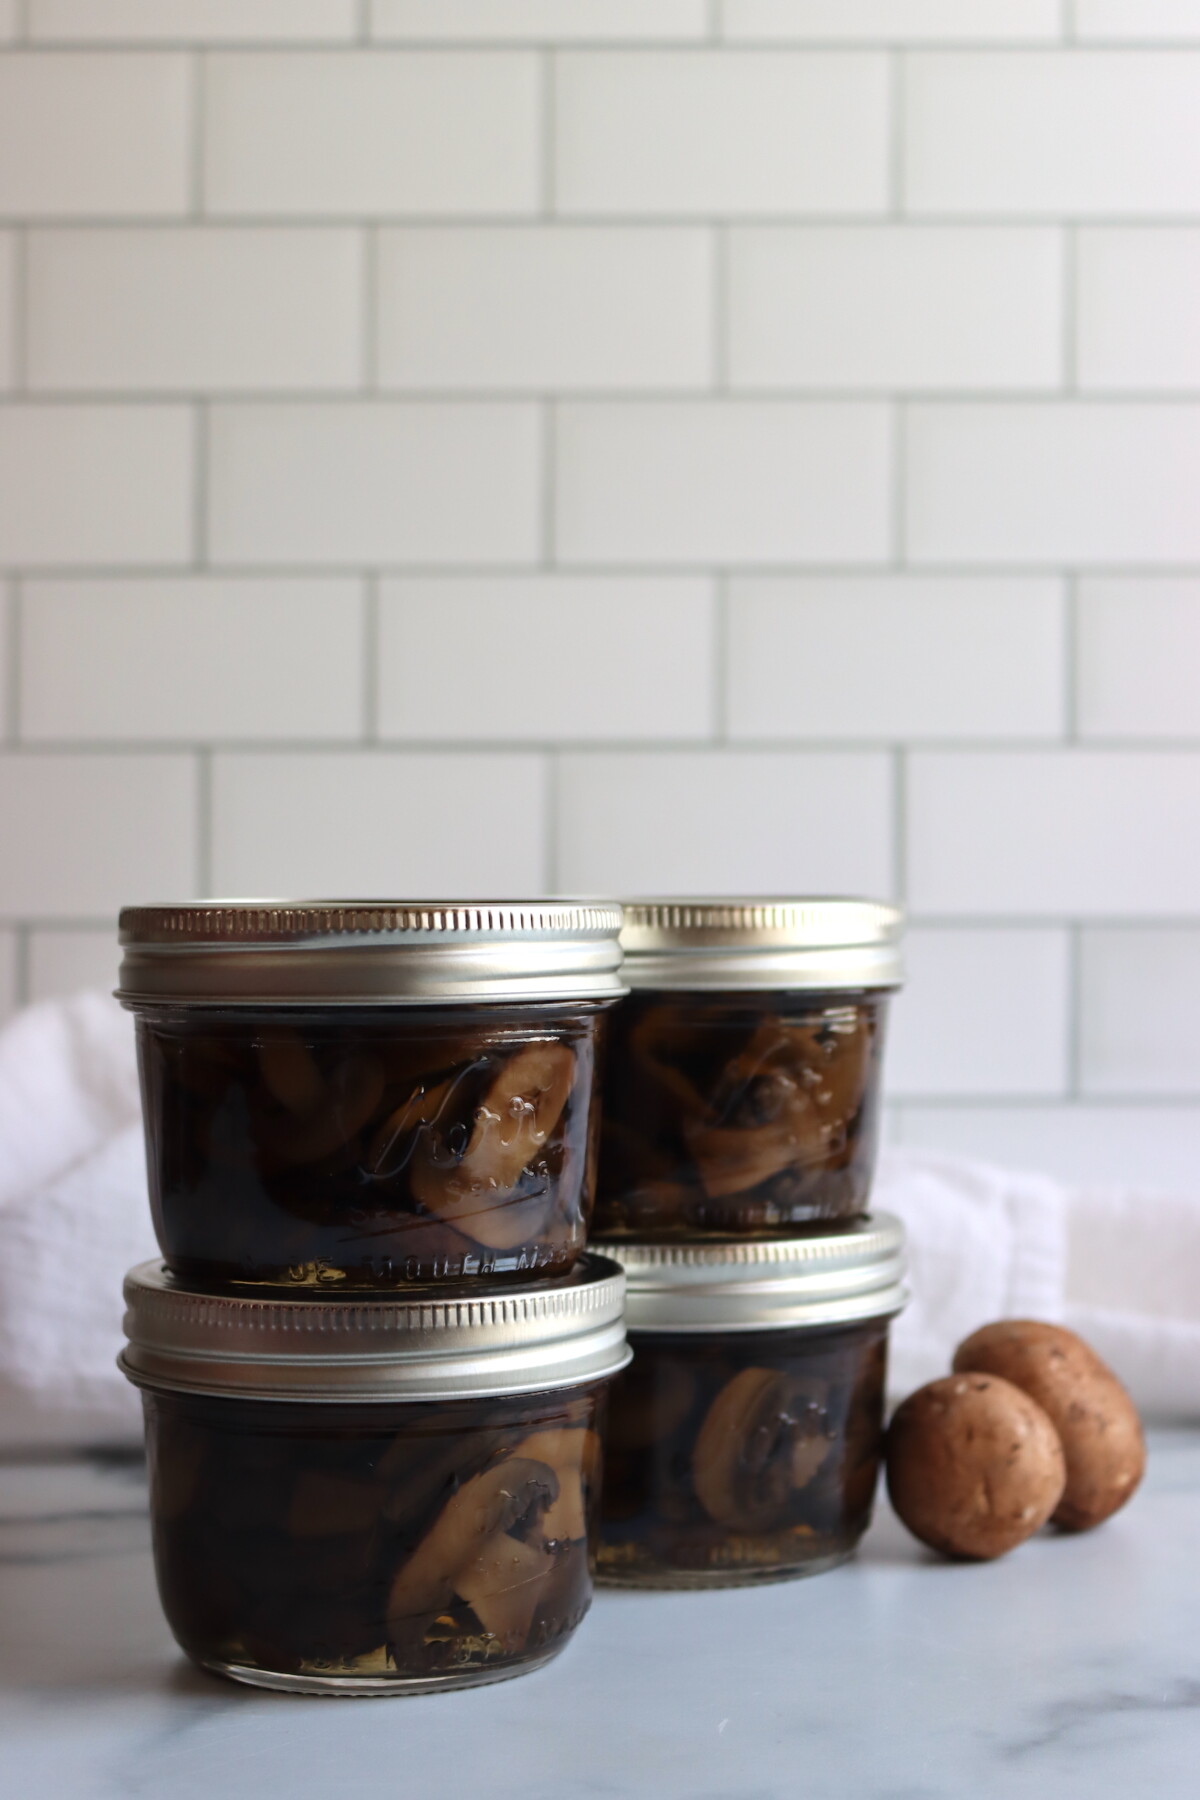
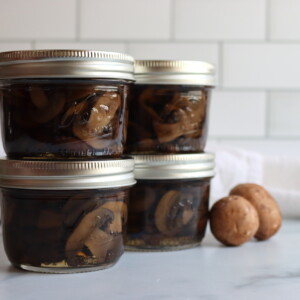
Half-pint jars are the most practical size for most uses: just the right amount to add to a single batch of soup or a pasta sauce for two without having a half-used jar sitting in the refrigerator.
Canning Mushrooms FAQs
The NCHFP guideline specifies mushrooms that are brightly colored, small to medium size, with tight caps, short stems, and no discoloration, which in practice means button mushrooms or criminis. This isn’t because other cultivated mushrooms are unsafe to eat, but because the processing times were developed for the density and texture of standard button-type mushrooms. Very dense or woody mushrooms like reishi or chaga have different heat penetration characteristics and are not suitable for this recipe. Oyster mushrooms and lion’s mane are much more delicate and would break down significantly in the canning process, so even setting aside the safety question, the quality result wouldn’t be worth it.
No. Ascorbic acid is listed as optional in the NCHFP recipe and is purely cosmetic. It prevents the color darkening that happens when mushrooms are sliced and exposed to air. White button mushrooms discolor more noticeably than criminis. If color matters to you and you’re using white buttons, it’s worth adding. If you’re using criminis, or if you simply don’t mind some darkening, skip it. It has no effect on flavor preservation, safety, or quality other than appearance.
Mushrooms are a low-acid vegetable with a pH well above the safe threshold for water bath canning. Water bath canning only reaches 212°F, which is not hot enough to destroy harmful bacteria that can develop in low-acid foods. Pressure canning reaches 240°F, which is required to safely process mushrooms and all other low-acid vegetables. Never water bath can mushrooms.
Mushroom Canning Recipes
If you tried this recipe for Canning Mushrooms, or any other recipe on Creative Canning, leave a ⭐ star rating and let me know what you think in the 📝 comments below!
And make sure you stay in touch with me by following on social media!
Canning Mushrooms
Equipment
Ingredients
- 6 lbs crimini mushrooms, 1 pound per pint jar — small to medium with tight caps and short stems. White button mushrooms also work.
- salt, 1/2 tsp per pint jar or 1/4 tsp per half pint — optional, for flavor only
- ascorbic acid powder, optional, cosmetic only. Prevents color darkening. A crushed 500mg vitamin C tablet also works. I don't use this.
- fresh hot water, about 1 1/2 cups water per pound of mushrooms.
Instructions
- Prepare your pressure canner, jars, lids, and bands. Keep jars hot until needed. Start a kettle of water heating for topping off the jars.
- Trim the stems and any discolored parts. Soak mushrooms in cold water for 10 minutes to loosen dirt, then rinse well in clean water. Leave small mushrooms whole; slice or halve larger ones.
- Place prepared mushrooms in a saucepan, add fresh water (about 1 1/2 cups per pound of mushrooms), and bring to a boil. Boil for 5 minutes.
- Use a slotted spoon to pack the hot mushrooms into hot jars, leaving 1 inch headspace. Add 1/2 teaspoon salt per pint if using. Add 1/8 teaspoon ascorbic acid per jar if using. Ladle fresh the mushroom boiling liquid over the mushrooms to 1 inch headspace. Debubble, wipe rims, and apply lids and bands to fingertip tight.
- Load jars into the preheated pressure canner. Lock the lid, vent for 10 minutes, then bring to pressure. Process half-pints and pints for 45 minutes, adjusting pressure for altitude. Allow the canner to depressurize naturally. Remove jars and cool on a towel-lined counter for 12 to 24 hours. Check seals, label, and store in a cool dark place.
Notes
Altitude Adjustments
For dial gauge pressure canners:- 0 to 2,000 feet: 11 lbs pressure
- 2,001 to 4,000 feet: 12 lbs pressure
- 4,001 to 6,000 feet: 13 lbs pressure
- 6,001 to 8,000 feet: 14 lbs pressure
- 0 to 1,000 feet: 10 lbs pressure
- Above 1,000 feet: 15 lbs pressure
Nutrition
Nutrition information is automatically calculated, so should only be used as an approximation.
Pressure Canning Recipes
Find the perfect recipe
Searching for something else? Enter keywords to find the perfect recipe!