
This post may contain affiliate links. Please see our disclosure policy.
Canning mushroom soup base puts the start of a warm, savory dinner on your pantry shelf, ready to finish into a creamy mushroom soup or stir into casseroles, gravies, and pan sauces whenever you want it. You do the chopping and simmering once, and then a jar opens to a deeply flavored base that only needs cream and a quick thickener at the stove.
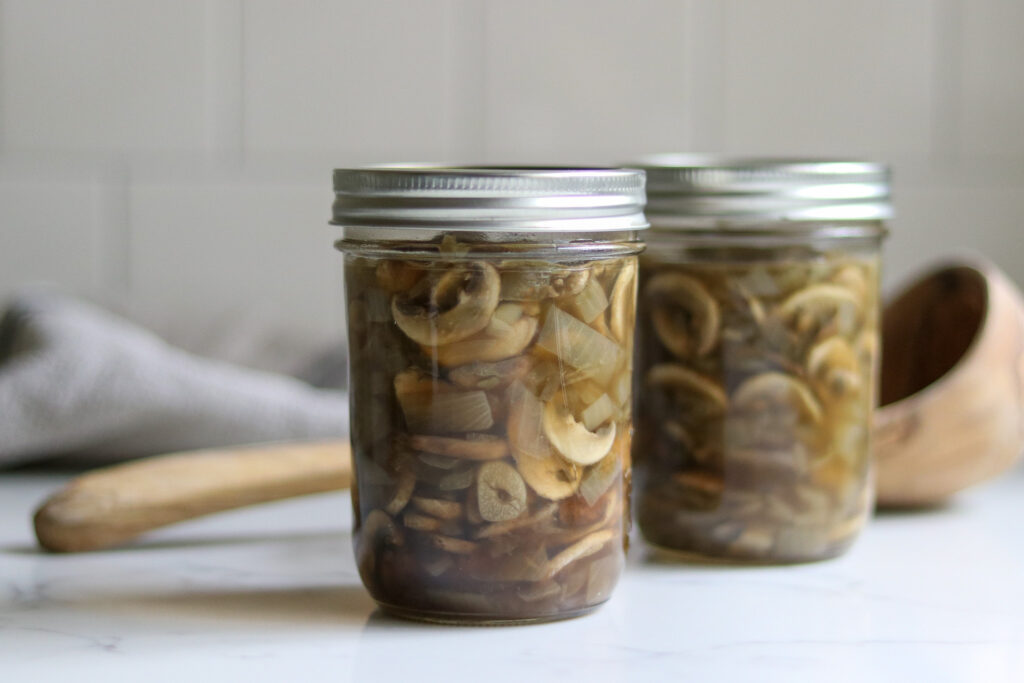
Table of Contents
- Notes from My Kitchen
- Quick Look at the Recipe
- Choosing Mushrooms for Soup Base
- Ingredients for Mushroom Soup Base
- Mushroom Soup Base Variations
- How to Make Mushroom Soup Base
- Canning Mushroom Soup Base
- Altitude Adjustments
- Tips for Success
- Serving Ideas for Mushroom Soup Base
- Yield Notes
- Mushroom Soup Base FAQs
- Soup Canning Recipes
- Meal in a Jar Canning Recipes
- Canning Mushroom Soup Base Recipe
This recipe has been reviewed for safety and accuracy by a Master Food Preserver certified through the University of Cornell Cooperative Extension.
This recipe comes from Pressure Canning for Beginners and Beyond by Angi Schneider, and she built it on the National Center for Home Food Preservation’s tested process for canning mushrooms. Every solid that goes into the jar (mushrooms, onions, garlic, and a few dry spices) has its own home canning basis, and each one processes in less time than mushrooms do, so the whole batch is held to the mushroom process to keep everything safe. It is a low acid recipe, which means it has to be pressure canned, and it lands in the vegetarian soup canning recipe category if you use vegetable broth.
One thing to know going in is that you are not actually canning finished cream of mushroom soup. You are canning the base, since cream and flour are never safe to add before processing. Everything else goes in the jar, and the cream and thickener get stirred in at serving, which takes only a couple of minutes. The recipe fills 8 pint jars, and because the mushroom process has no tested time for quarts, this one is for pints only.
Notes from My Kitchen

I went looking through every pressure canning book on my shelf for a mushroom soup base, and Angi Schneider’s was the one that laid it out as a safe, tested adaptation rather than a guess. What I appreciate about her version is that she swapped the plain water in the mushroom process for white wine and stock, which gives you a base with real depth, and she kept the changes inside what the science allows.
The batch I made came out a touch short on liquid, so I bumped up the broth and wine a little to fill all 8 jars. I would rather top off with more flavorful stock than with boiling water, though water is there as a backup if you need it. We open these on busy weeknights, finish them with a splash of cream, and dinner is on the table in about ten minutes.
Quick Look at the Recipe
- Recipe Name: Mushroom Soup Base
- Recipe Type: Soup Canning Recipe (low acid soup base)
- Canning Method: Pressure Canning
- Prep Time: About 20 minutes
- Cook Time: About 25 minutes
- Canning Time: Pints 45 minutes. There is no tested process for quarts, so this recipe is pints only.
- Yield: About 8 pints (roughly 16 cups)
- Jar Sizes: Half pints or pints. No quarts.
- Headspace: 1 inch
- Ingredients Overview: Mushrooms, onions, garlic, dry white wine, broth, salt, pepper, and thyme
- Safe Canning Recipe Source: Pressure Canning for Beginners and Beyond by Angi Schneider, built on the NCHFP process for canning mushrooms
- Difficulty: Moderate
- Similar Recipes: Canning mushroom soup base works much like other pressure canned soups, such as canning split pea soup and canning carrot soup. If you cook with mushrooms often, you might also like canning mushrooms on their own or canning beef stew with mushrooms.
Choosing Mushrooms for Soup Base
You can use any cultivated mushroom you like here, from everyday white buttons and criminis to shiitakes and oyster mushrooms, as long as they were grown for eating. The flavor and color of the finished base will shift a bit with the variety, so this is a good place to use whatever looks good at the market or whatever you grow.
The one hard line is that wild foraged mushrooms are off the table for canning. They have not been tested for home canning, their density and water content vary too much from one to the next, and there is no safe process for them in a jar. Stick with cultivated mushrooms, and if you have wild ones to preserve, dry or freeze those instead.
Look for firm, dry mushrooms with tight caps and no slimy spots. Slice them fairly evenly so they cook at the same rate and pack down to a similar density, which matters when you are filling jars by solids first.
Keep in mind that mushrooms shrink a good deal as they cook, so 2 pounds of sliced mushrooms in the pot turns into much less once they have given up their water. That shrinkage is normal and expected, and it is why the broth and wine do a lot of the work of filling the jars.
If you want to lean a base in a particular direction, shiitakes give it a meaty, savory edge that pairs well with a splash of soy sauce, while a mix of criminis and oysters keeps things milder and more rounded. Any of these can stand in for the plain mushrooms in the recipe without changing the process.
Ingredients for Mushroom Soup Base
This makes a full canner load of 8 pint jars. Everything in the list below is safe to process, and the quantities are what keep the base within the tested mushroom process, so measure the mushrooms, onions, and garlic rather than eyeballing them.
- Mushrooms: The heart of the base. Use any cultivated variety, sliced fairly thin. See the section above for more on choosing them, and the standalone canning mushrooms recipe if you want them plain in a jar.
- Onions and Garlic: Onions are safe to can on their own and process in less time than mushrooms, and a few cloves of garlic are allowed in pressure canning recipes without affecting safety. Together they build the savory foundation of the base.
- Broth or Stock: Use chicken, beef, or vegetable broth, homemade or store bought. Vegetable broth keeps the recipe vegetarian. Homemade vegetable broth or chicken broth both work beautifully here.
- Dry White Wine: Adds depth and a little acidity to balance the earthy mushrooms. Wine is fine for pressure canning. You can leave it out and use extra broth or water in its place if you prefer.
- Salt, Pepper, and Thyme: Dry spices in reasonable amounts are allowed, meaning enough to season but not enough to turn the mix into a paste. The salt is for flavor, not preservation, so adjust it to taste.
The cream and a spoonful of flour for thickening are left out on purpose, and they get added at serving rather than before canning. Dairy and thickeners are too dense to let heat move safely through the jar, so they always wait until you reheat a jar to serve.
For the wine, any dry white you would cook with is fine, and you do not need anything fancy. The alcohol cooks off during the simmer, leaving behind acidity and flavor that round out the base.
If you would rather skip the wine entirely, add an extra cup of broth or water in its place. The base will be a little less complex but still good, and the process stays exactly the same either way.
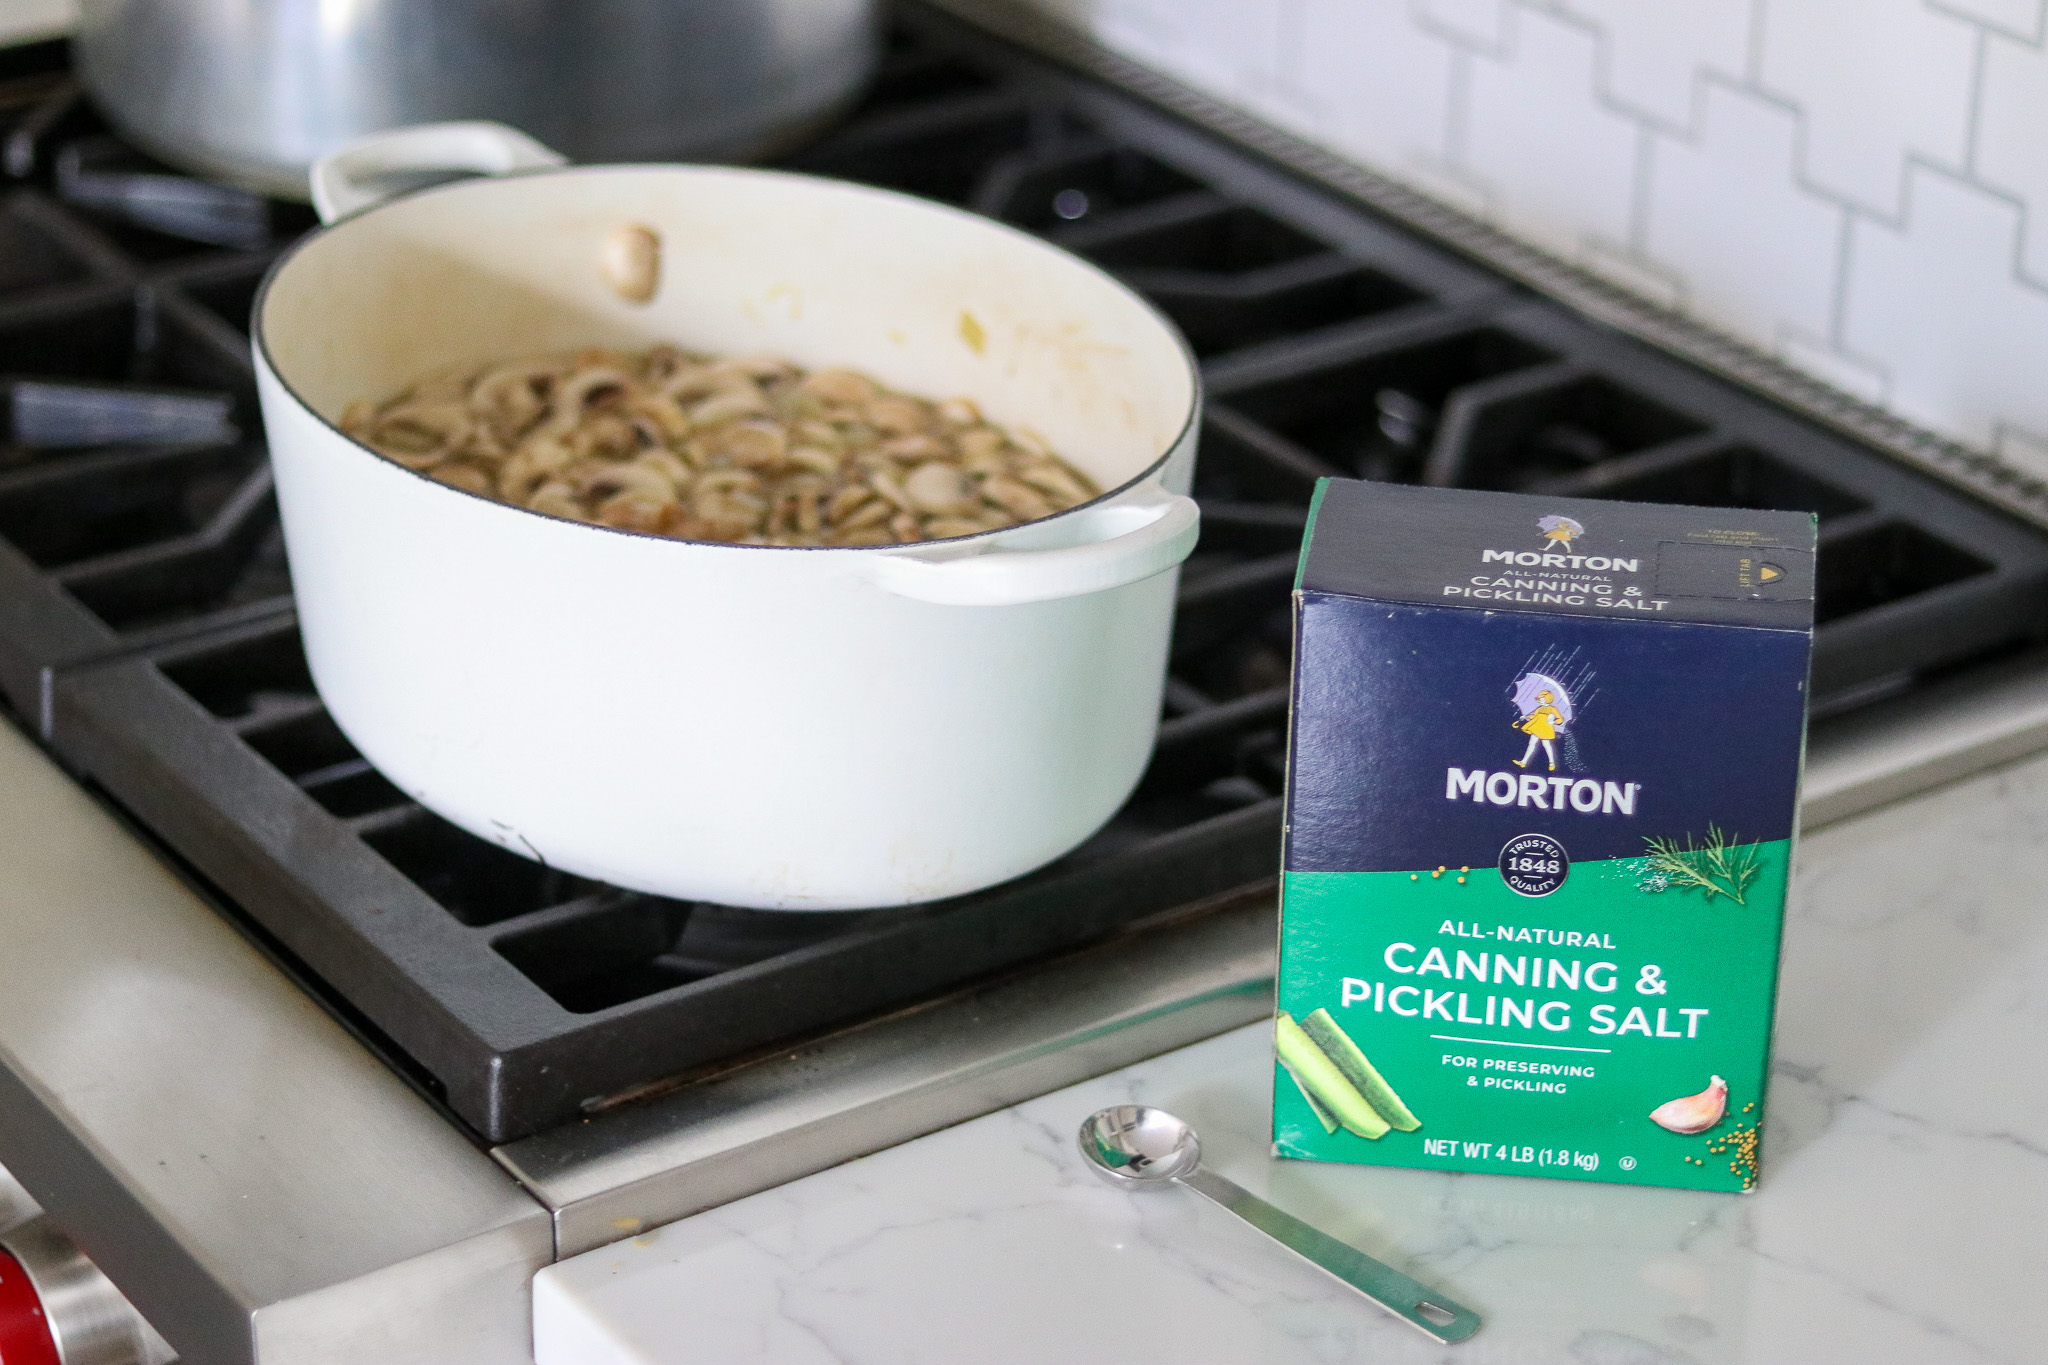
The recipe uses 4 teaspoons of salt across the whole batch, which brings out the flavor of the mushrooms. Since the salt is there for taste and not for safety, you can reduce it or leave it out and season later when you use the base.
I use canning salt, which is a fine grained, additive free salt. Other additive free salts like sea salt, kosher salt, and Himalayan salt also work. Skip iodized table salt, since the additives can cloud or discolor the jars. There is more in my guide to canning salt and substitutions if you want options.
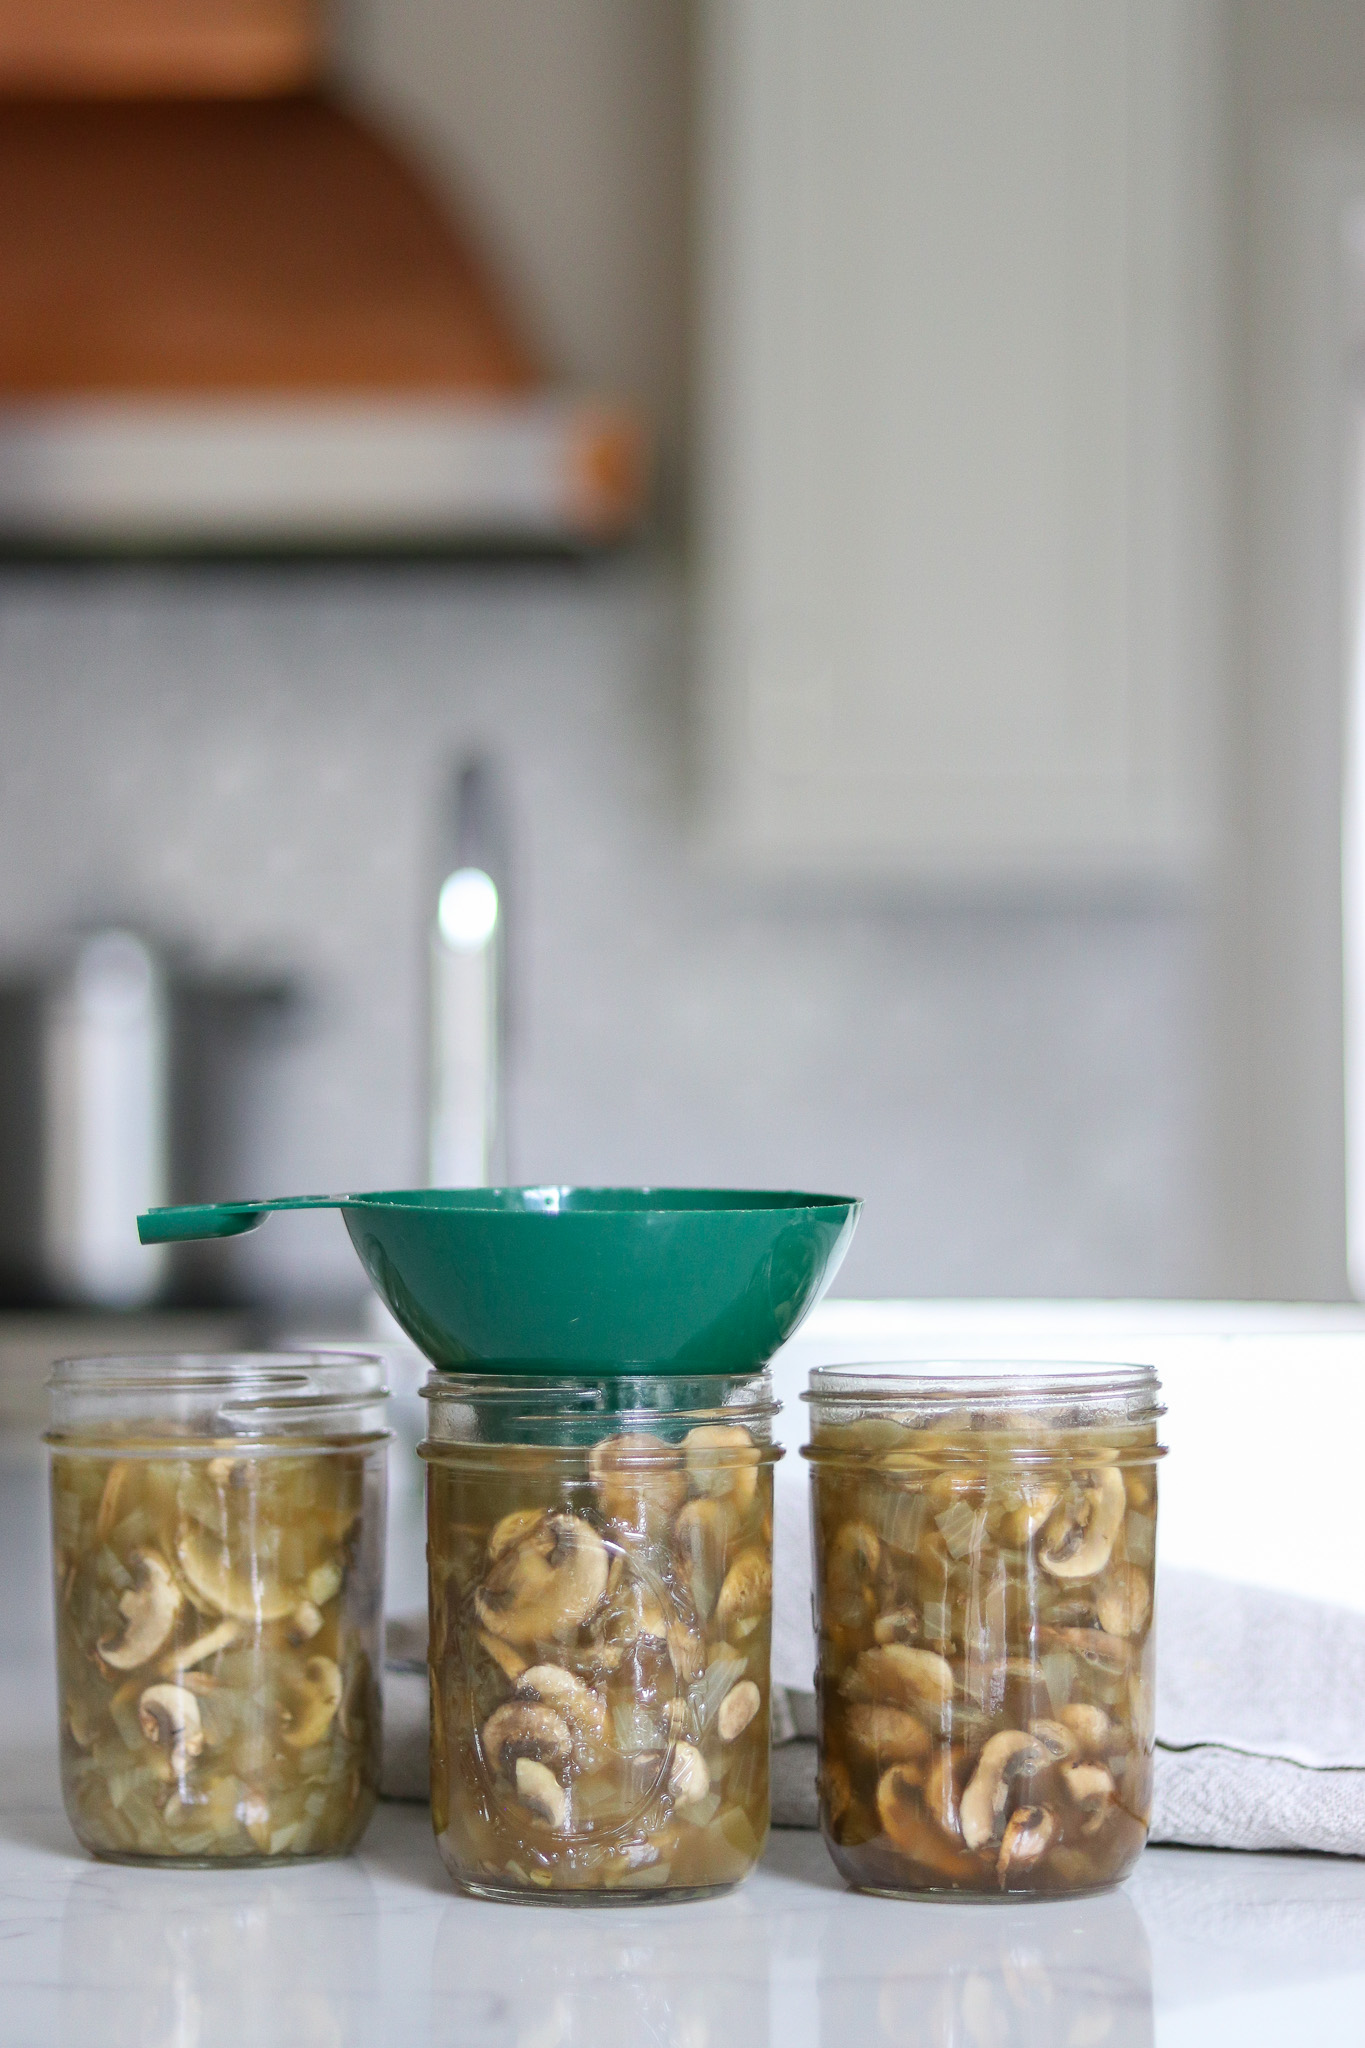
When it comes time to fill the jars, you will leave a generous 1 inch of headspace, which is standard for pressure canning a chunky, brothy pack like this one. That space gives the contents room to move during processing without pushing up against the lid.
Have a kettle of water going while you fill, just in case the jars come up a little short on liquid. A splash of boiling water tops them off to the right headspace, though I usually reach for more broth first.
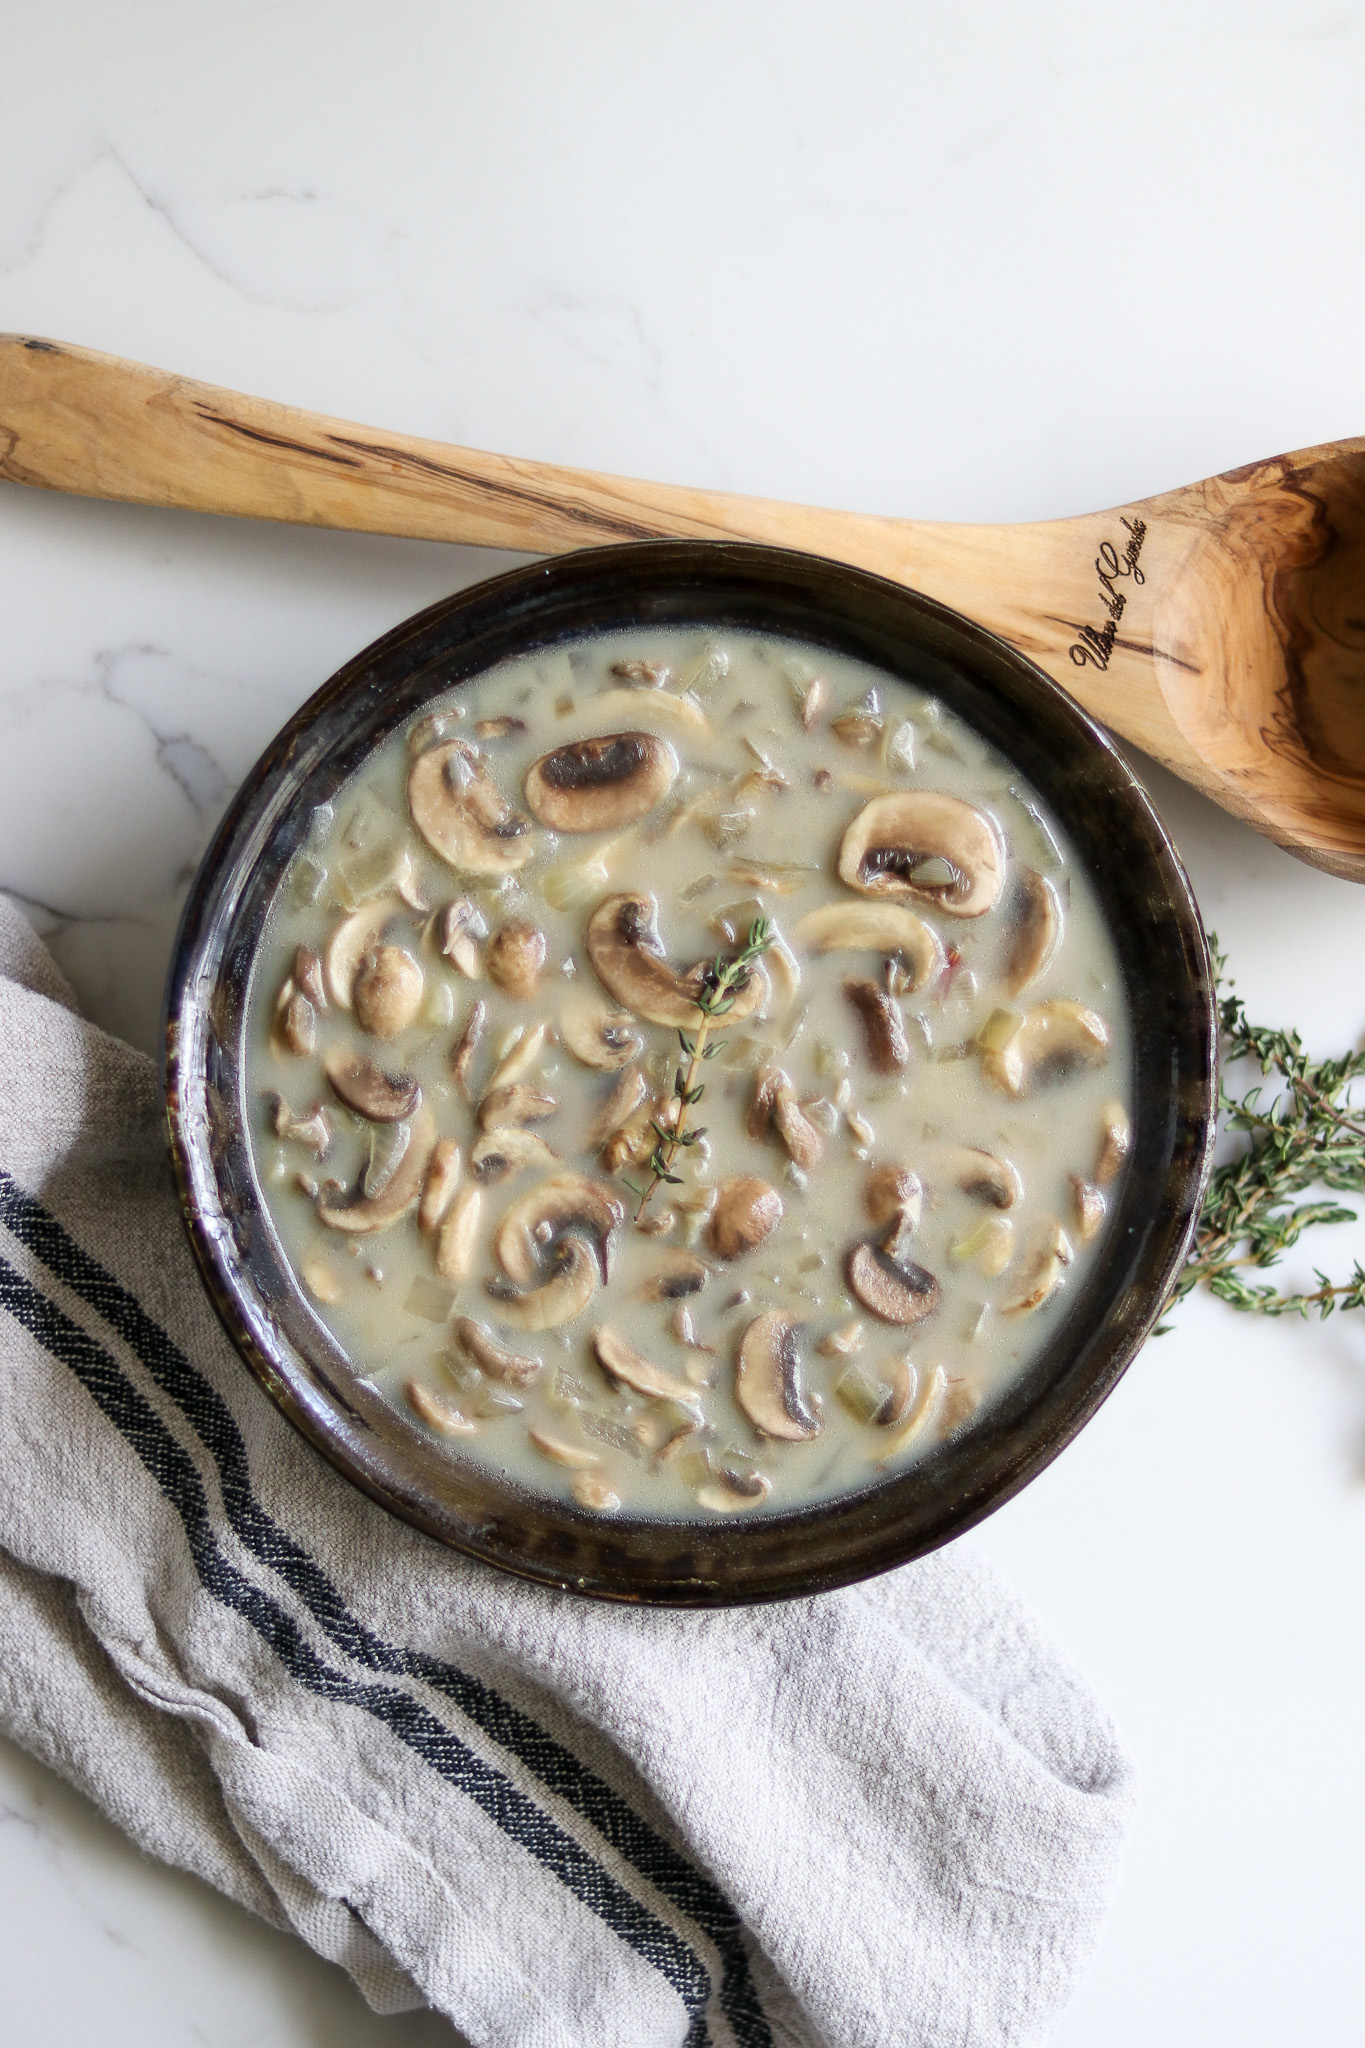
At serving, you will also add, per pint jar, about a quarter cup of heavy cream, a tablespoon of flour for thickening, and fresh thyme or parsley to taste. None of those go in before canning, so set them aside for later.
Mushroom Soup Base Variations
This recipe is a tested adaptation from Pressure Canning for Beginners and Beyond by Angi Schneider, built on the NCHFP process for canning mushrooms. Mushrooms, onions, and garlic each have their own home canning basis, and since mushrooms take the longest of the three at 45 minutes for pints, the whole batch is held to that mushroom process. The 45 minute processing time at the correct pressure is the safety control for this low acid base. Do not shorten the time, lower the pressure, or try to process it in a water bath canner, and do not can it in quarts, since the mushroom process has no tested quart time. This base is pints only.
You can change the flavor freely without touching the process. Swap in shiitakes with a little soy sauce for an earthier base, use port or sherry in place of the white wine, or trade the thyme for other dried herbs. What you cannot do is add the cream, flour, or any other thickener before canning. Stir those in only when you reheat a jar to serve.
If you want to design a soup from scratch rather than follow a set recipe, see the guide on how to create your own soup canning recipe, which uses its own tested protocol.
How to Make Mushroom Soup Base
The method is simple. You saute the aromatics and mushrooms, add the liquids and spices, boil everything briefly, and pack it hot into jars. The short boil before packing is not optional, since it drives air out of the mushroom tissue and makes sure everything is evenly heated before it goes into the canner.
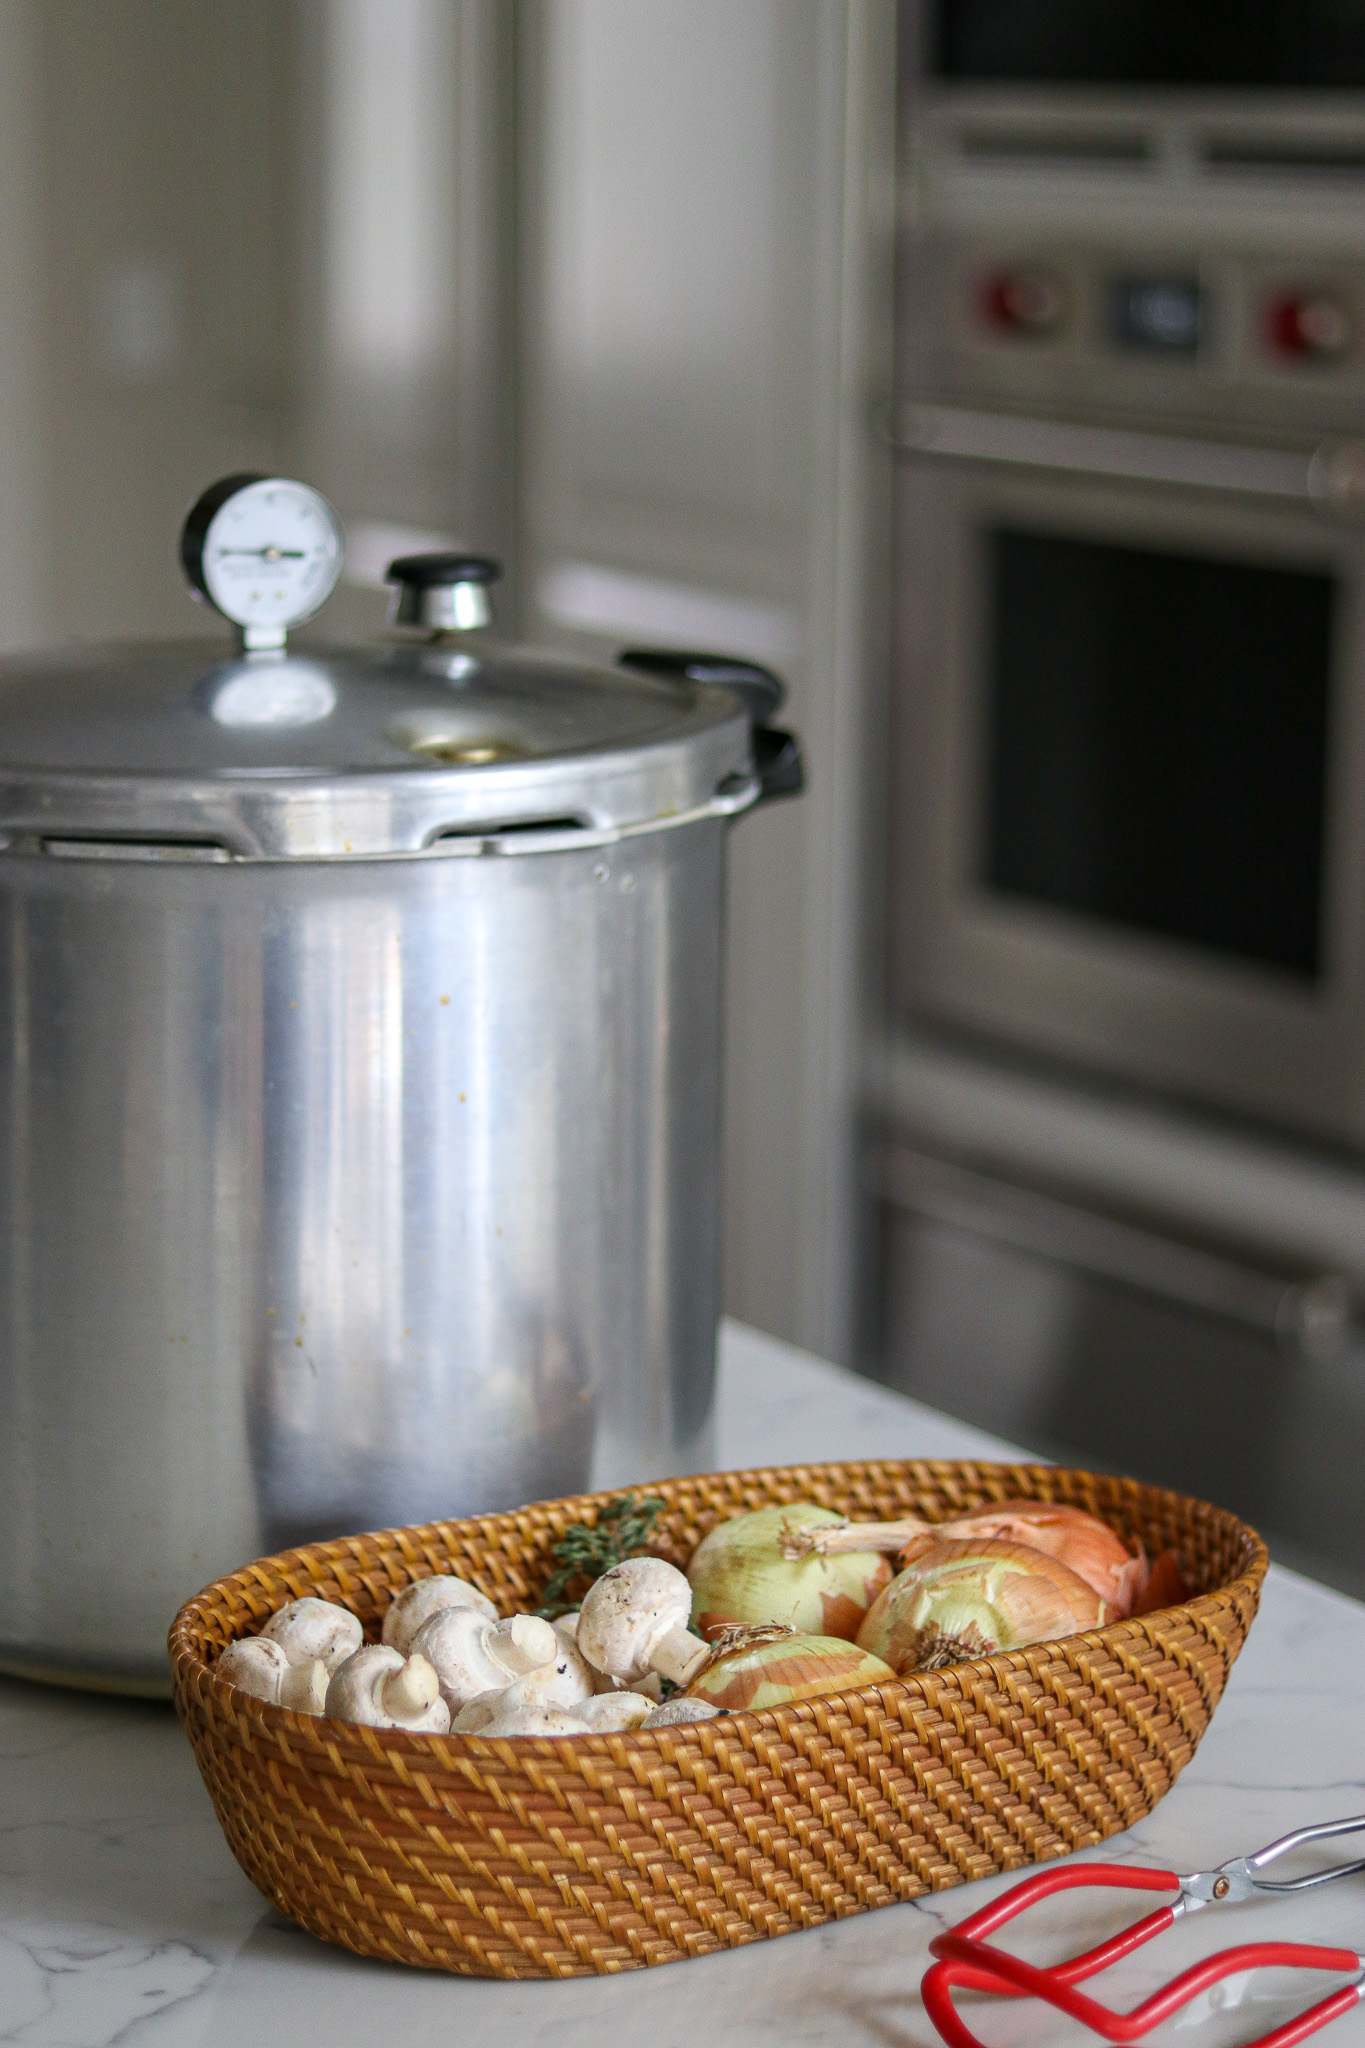
This is a hot pack recipe, so it helps to have the canner warming and the jars hot before you start filling. Read through the steps once so you have your jars, lids, and pressure canner ready to go when the base comes off the heat.
Prepare the Ingredients and Heat the Canner
Start by setting up your equipment. Put a few inches of water in the pressure canner according to your manufacturer’s instructions, set your clean pint jars inside, and bring it up to a low simmer to keep the jars hot. Since this is a hot pack, you want the canner around 180 degrees Fahrenheit, or 82 degrees Celsius, by the time you are ready to load it.
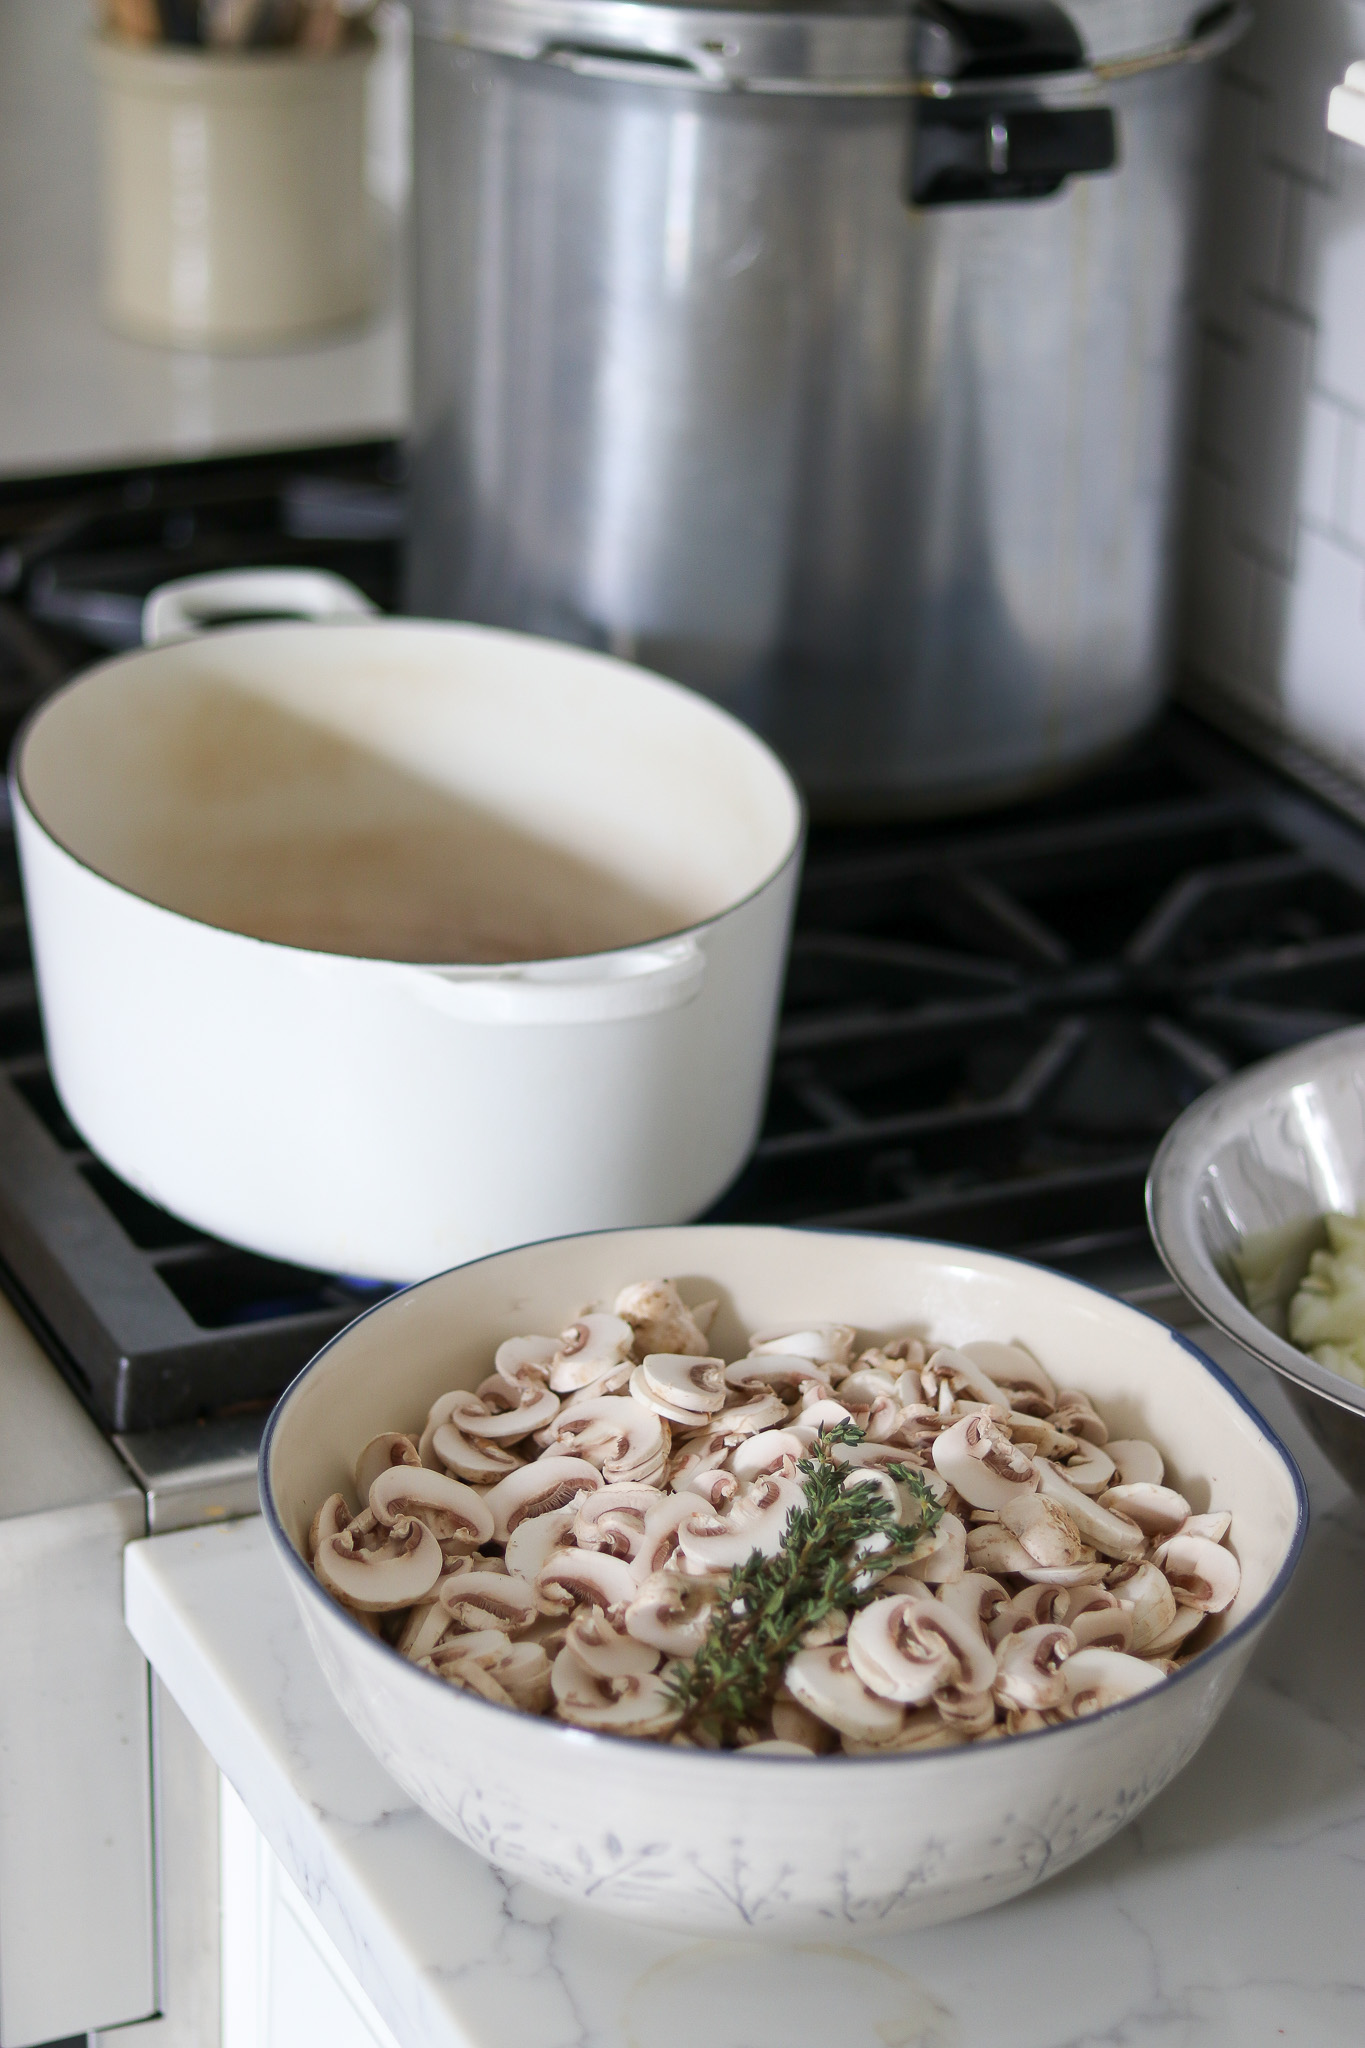
While the canner heats, prep the vegetables. Slice the mushrooms fairly thin, dice the onions, and mince the garlic. Having everything cut and measured before you turn on the stockpot keeps the cooking moving smoothly.
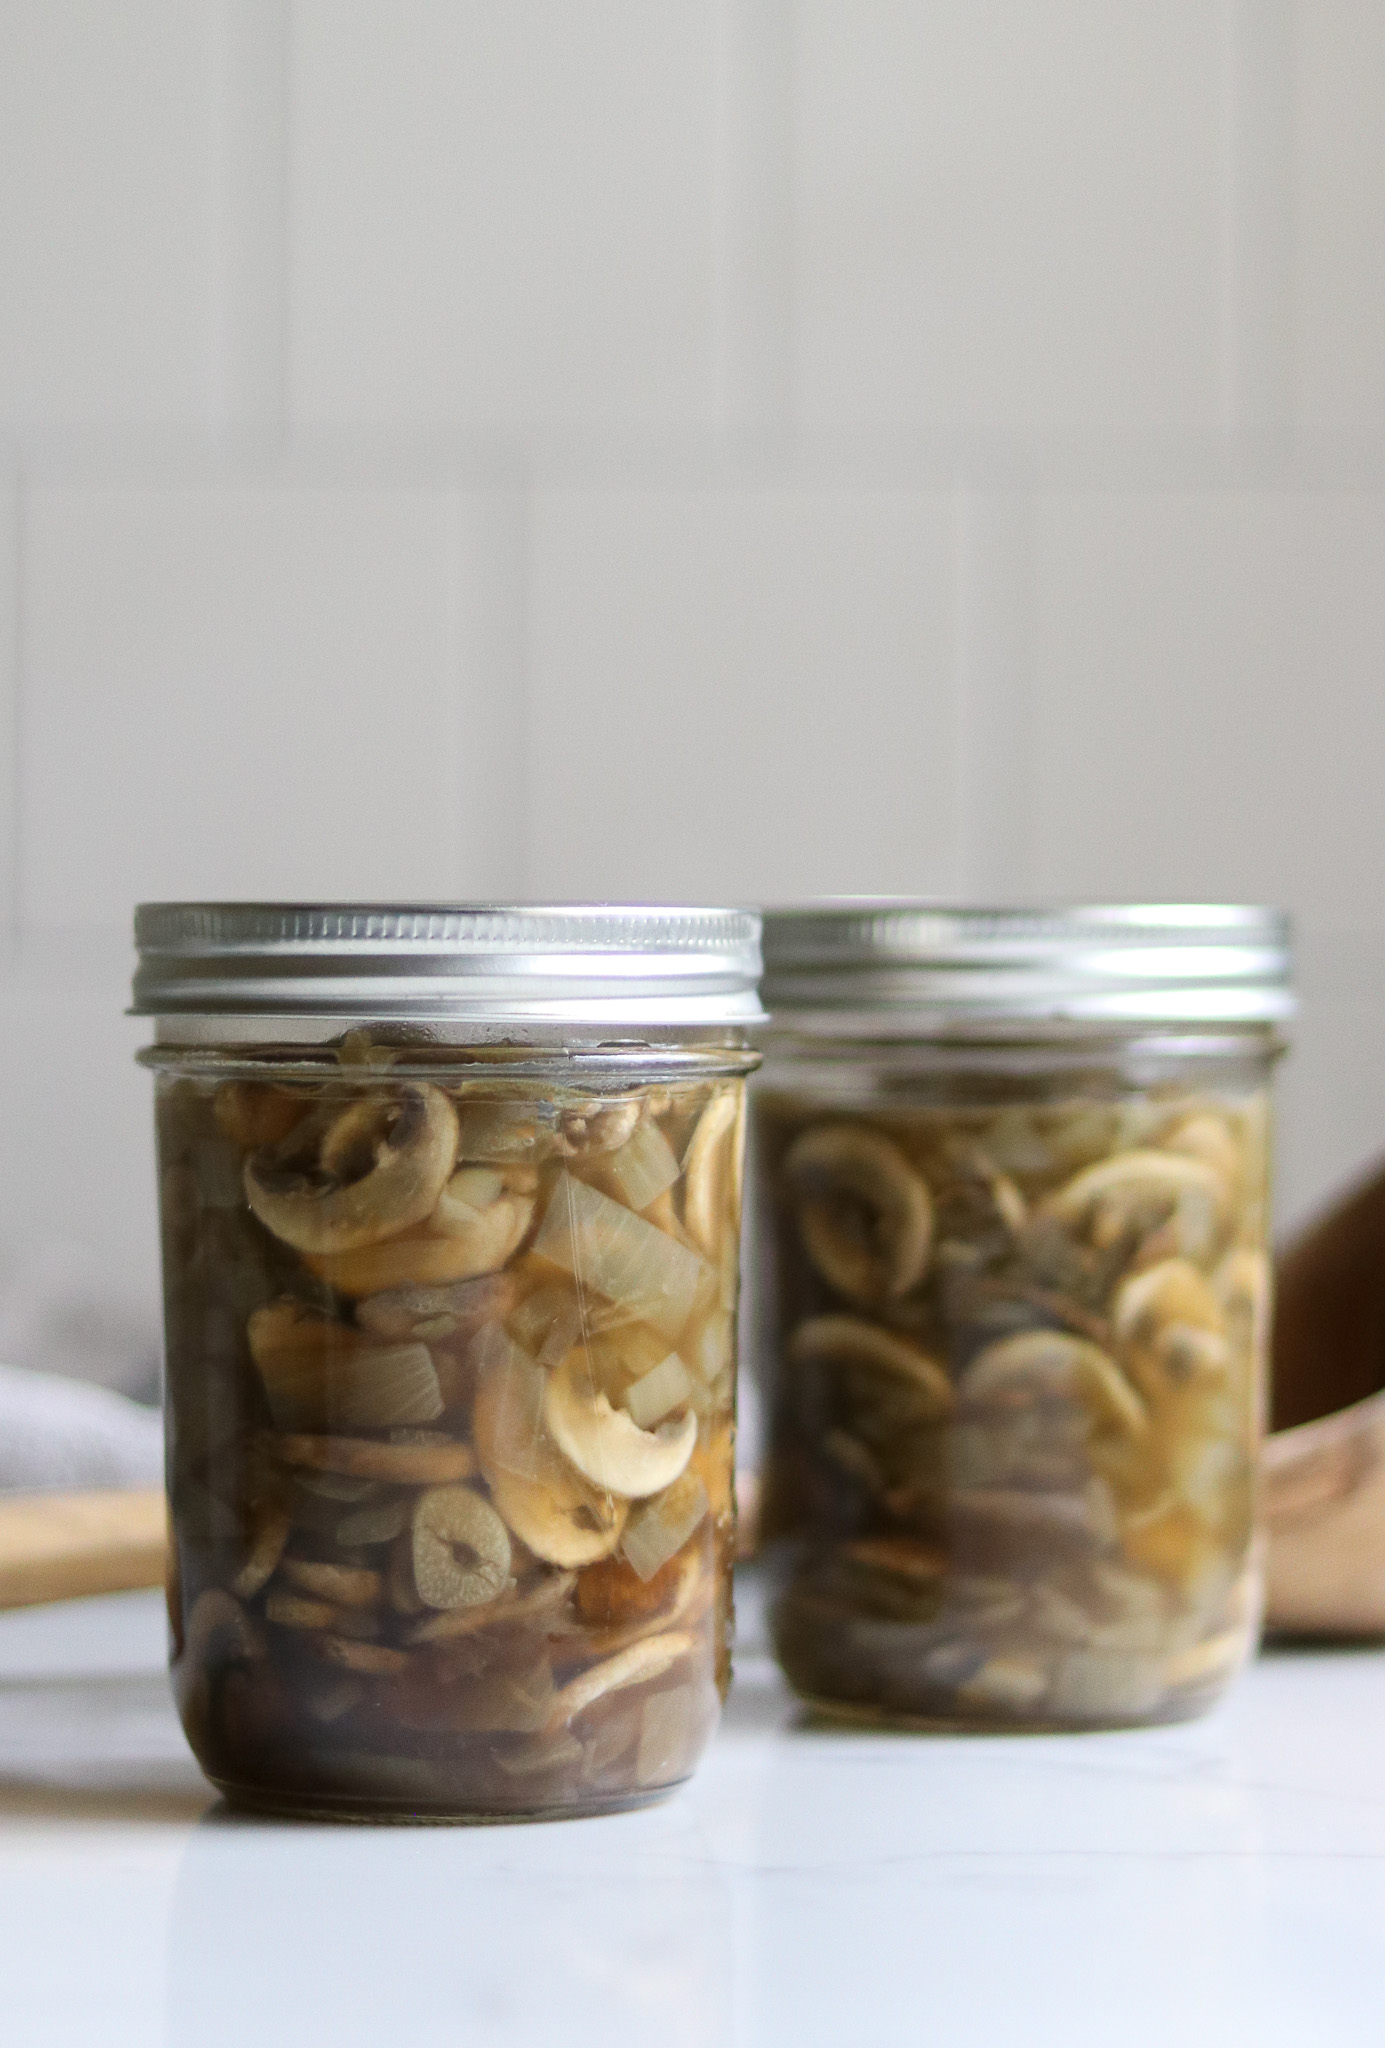
Measure your broth and wine and have them within reach, along with the salt, pepper, and thyme. Once the mushrooms hit the pot things go quickly, so it pays to have the liquids ready to pour.
If you are using homemade stock straight from the fridge, there is no need to heat it separately. It will come up to temperature in the pot along with everything else during the simmer.
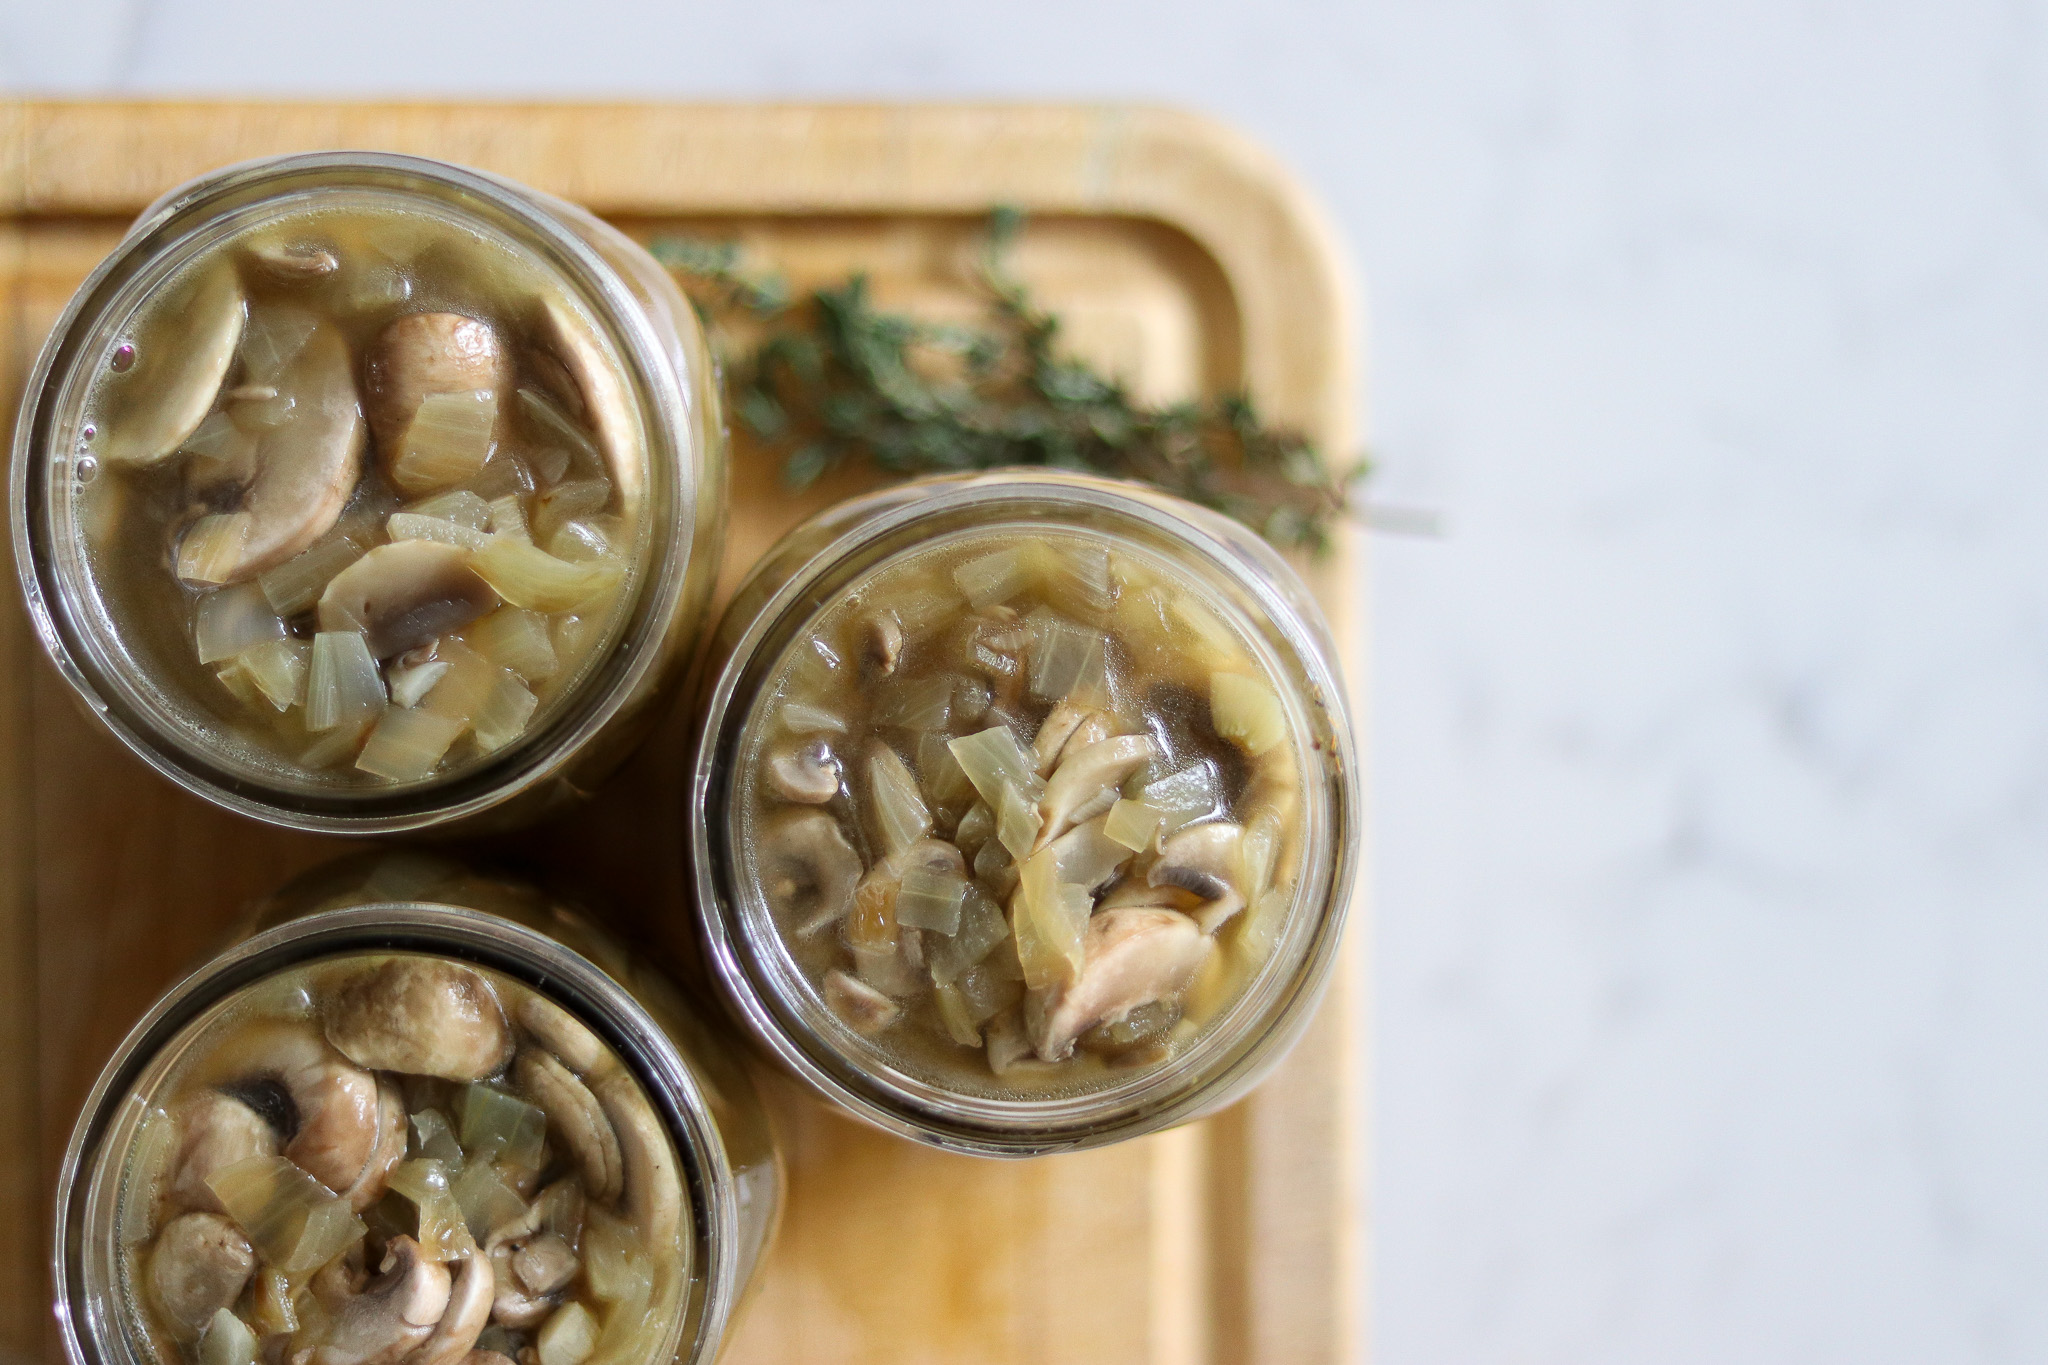
Remember that there is no approved process for canning mushrooms in quarts, so set out pint jars only. Both half pints and pints are processed for the same 45 minutes, so you can use either size or a mix of the two.
Saute the Onions, Garlic, and Mushrooms
Melt the butter in a large stockpot over medium heat, then add the onions and garlic. Cook them gently for about 15 minutes, stirring now and then, until the onions are soft and translucent and the kitchen smells like the start of something good.
You can use olive oil in place of the butter if you want to keep the base dairy free up front, which makes sense if you plan to finish some jars without cream. Either fat works the same way for sauteing.
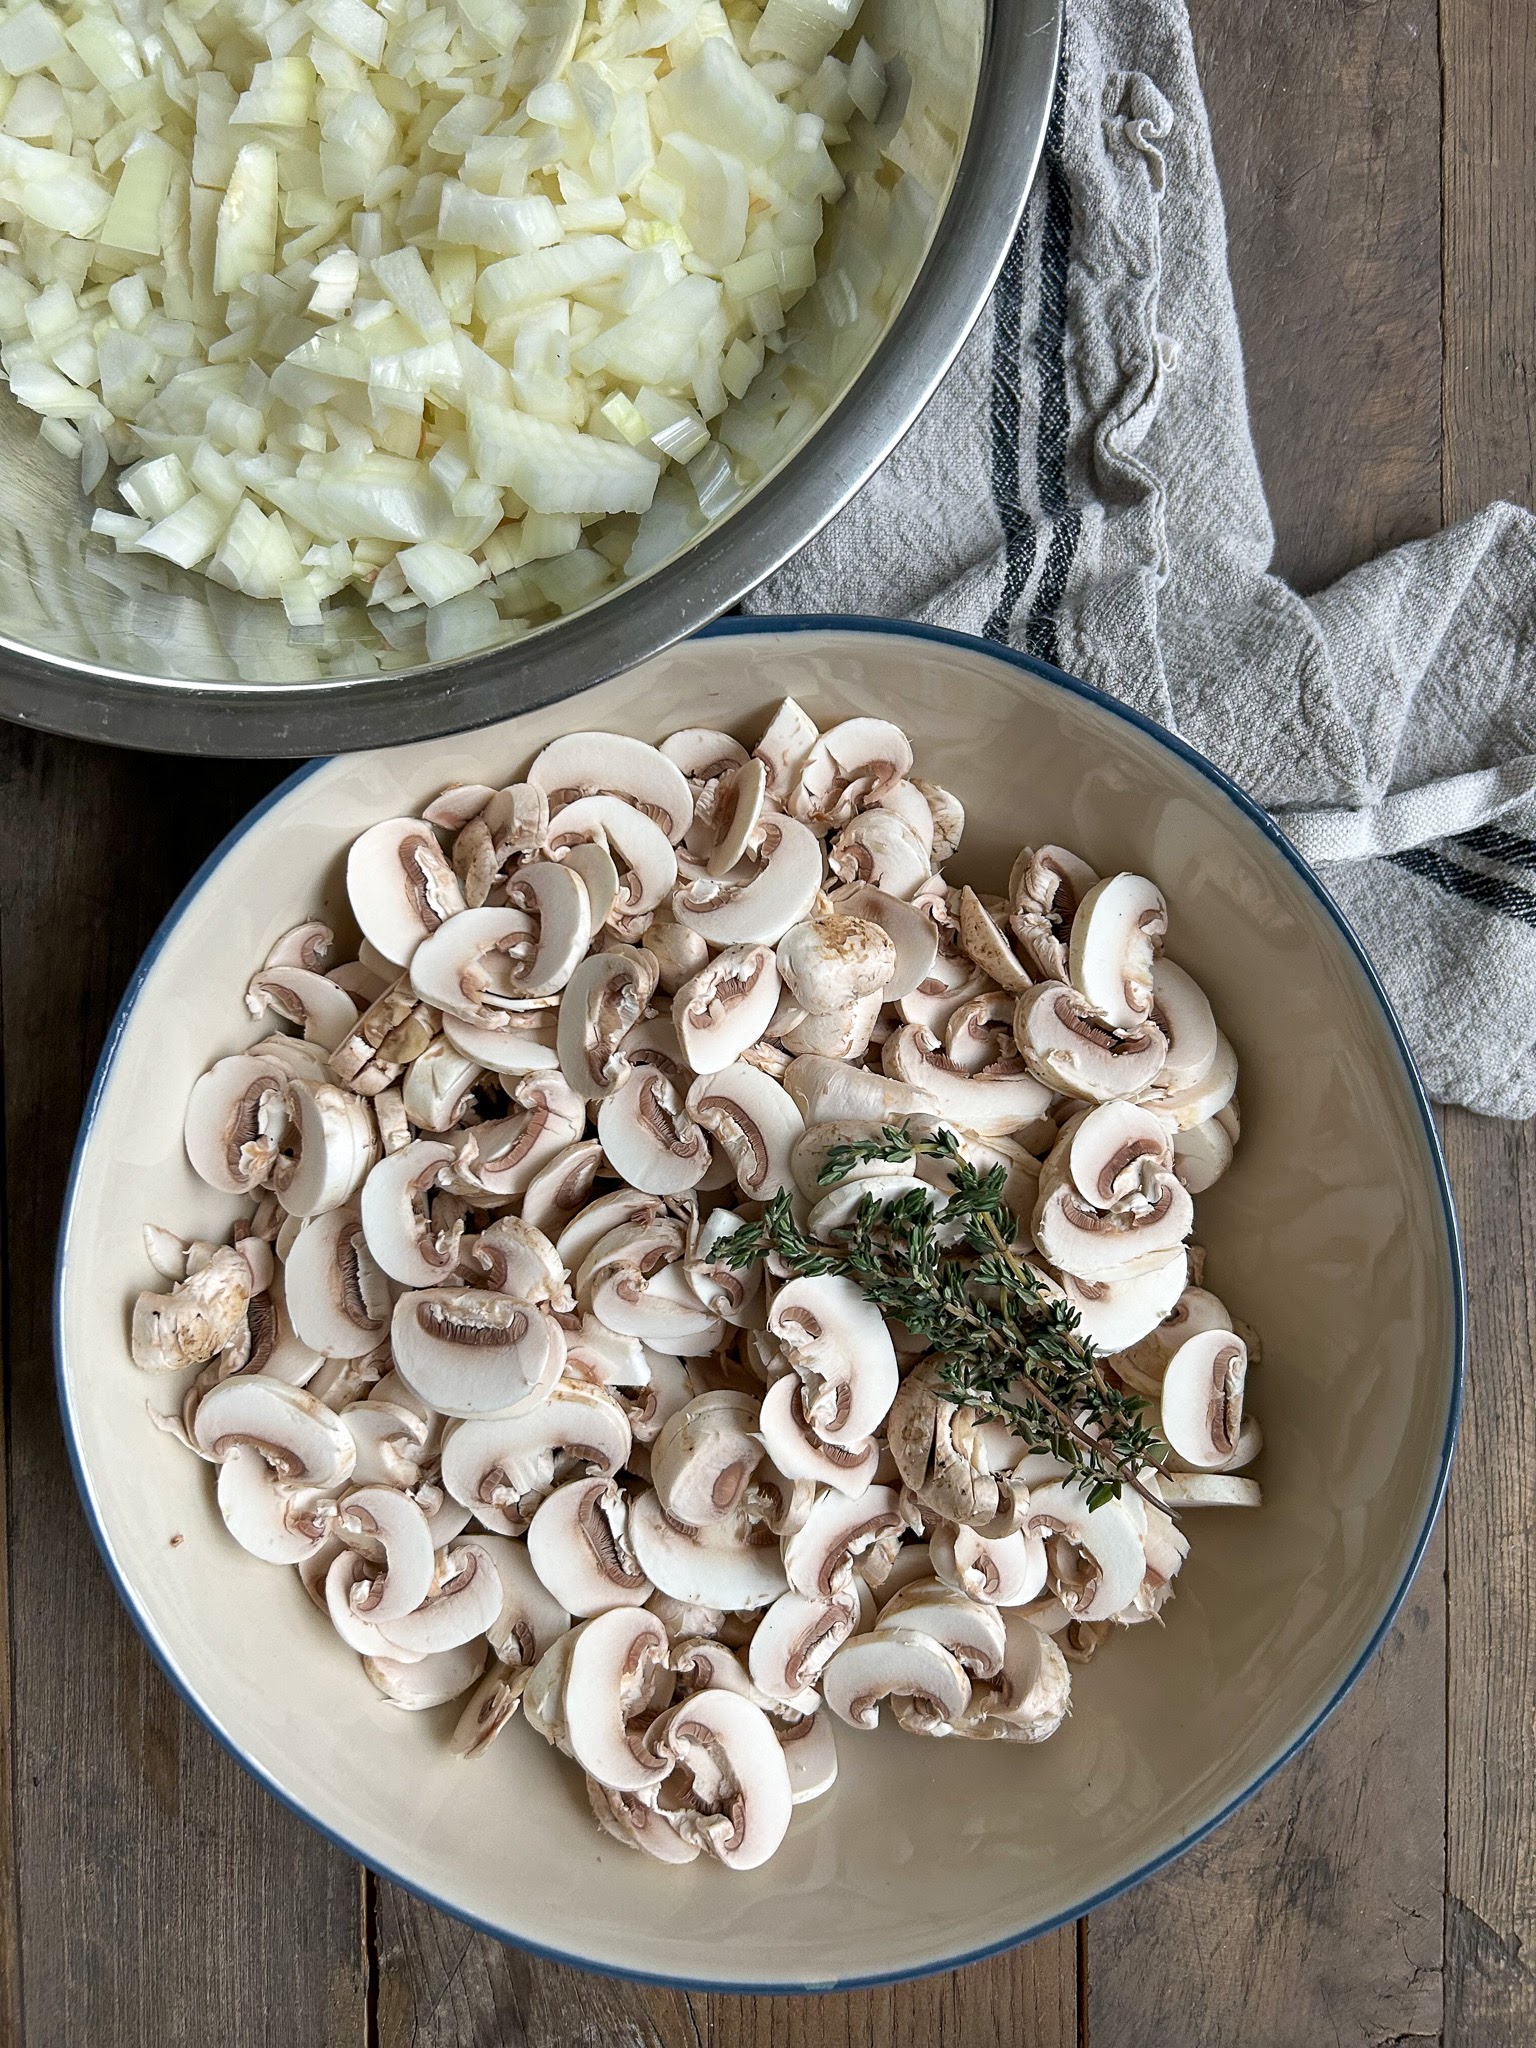
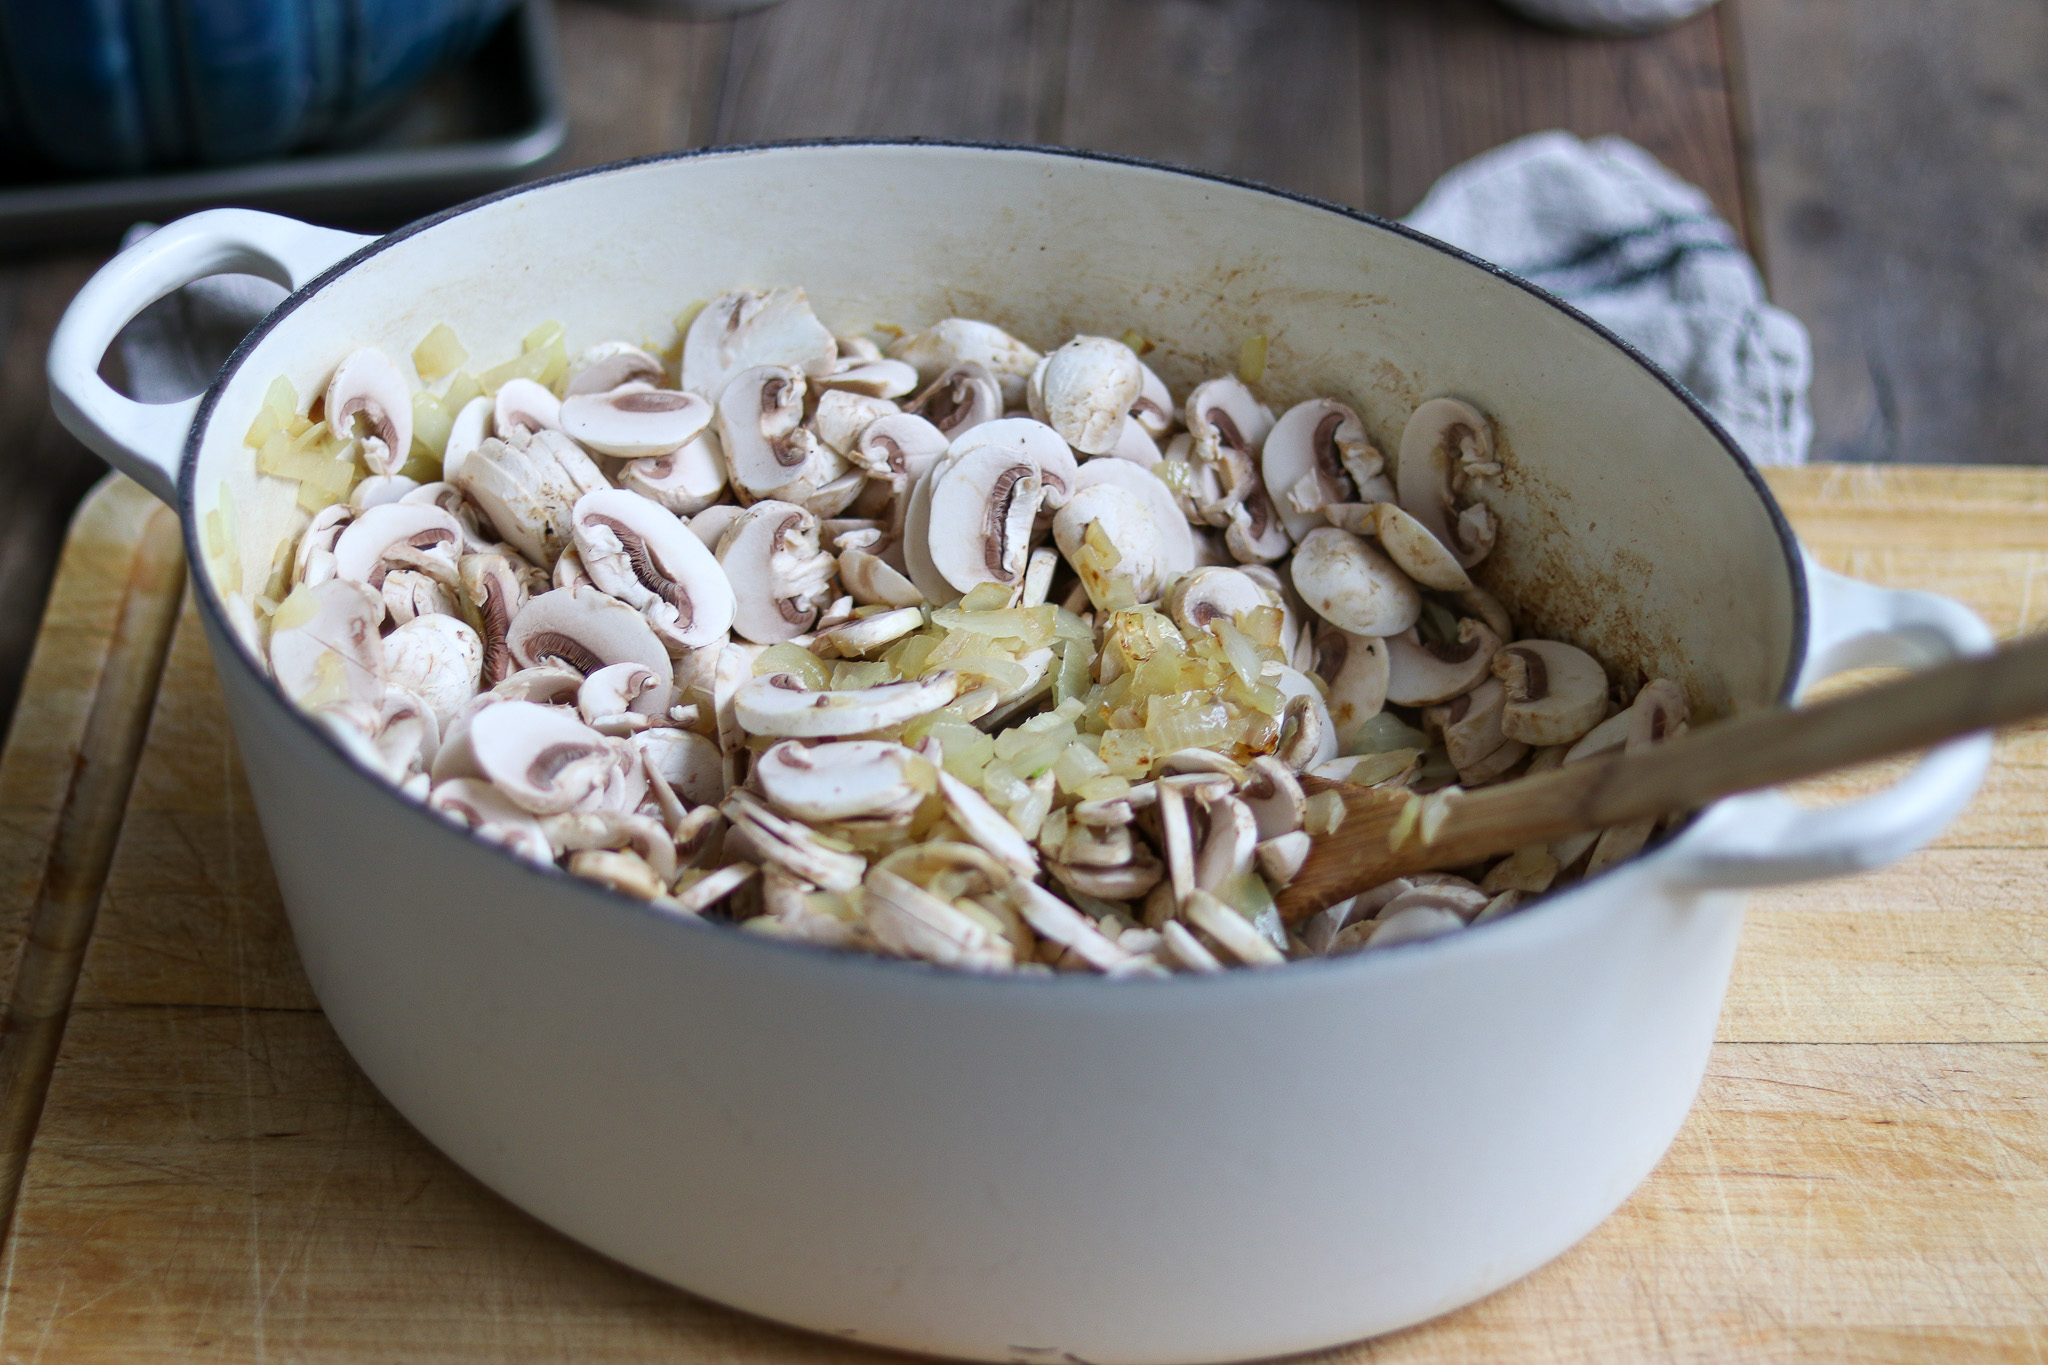
Once the onions are translucent, add the sliced mushrooms and saute for another 5 to 10 minutes. They will release their liquid, shrink down, and pick up a little color, which is exactly what you want before the broth goes in.
Give everything a good stir as it cooks so the mushrooms brown evenly and nothing sticks to the bottom of the pot. The mix will look like a lot less than what you started with, and that is normal.
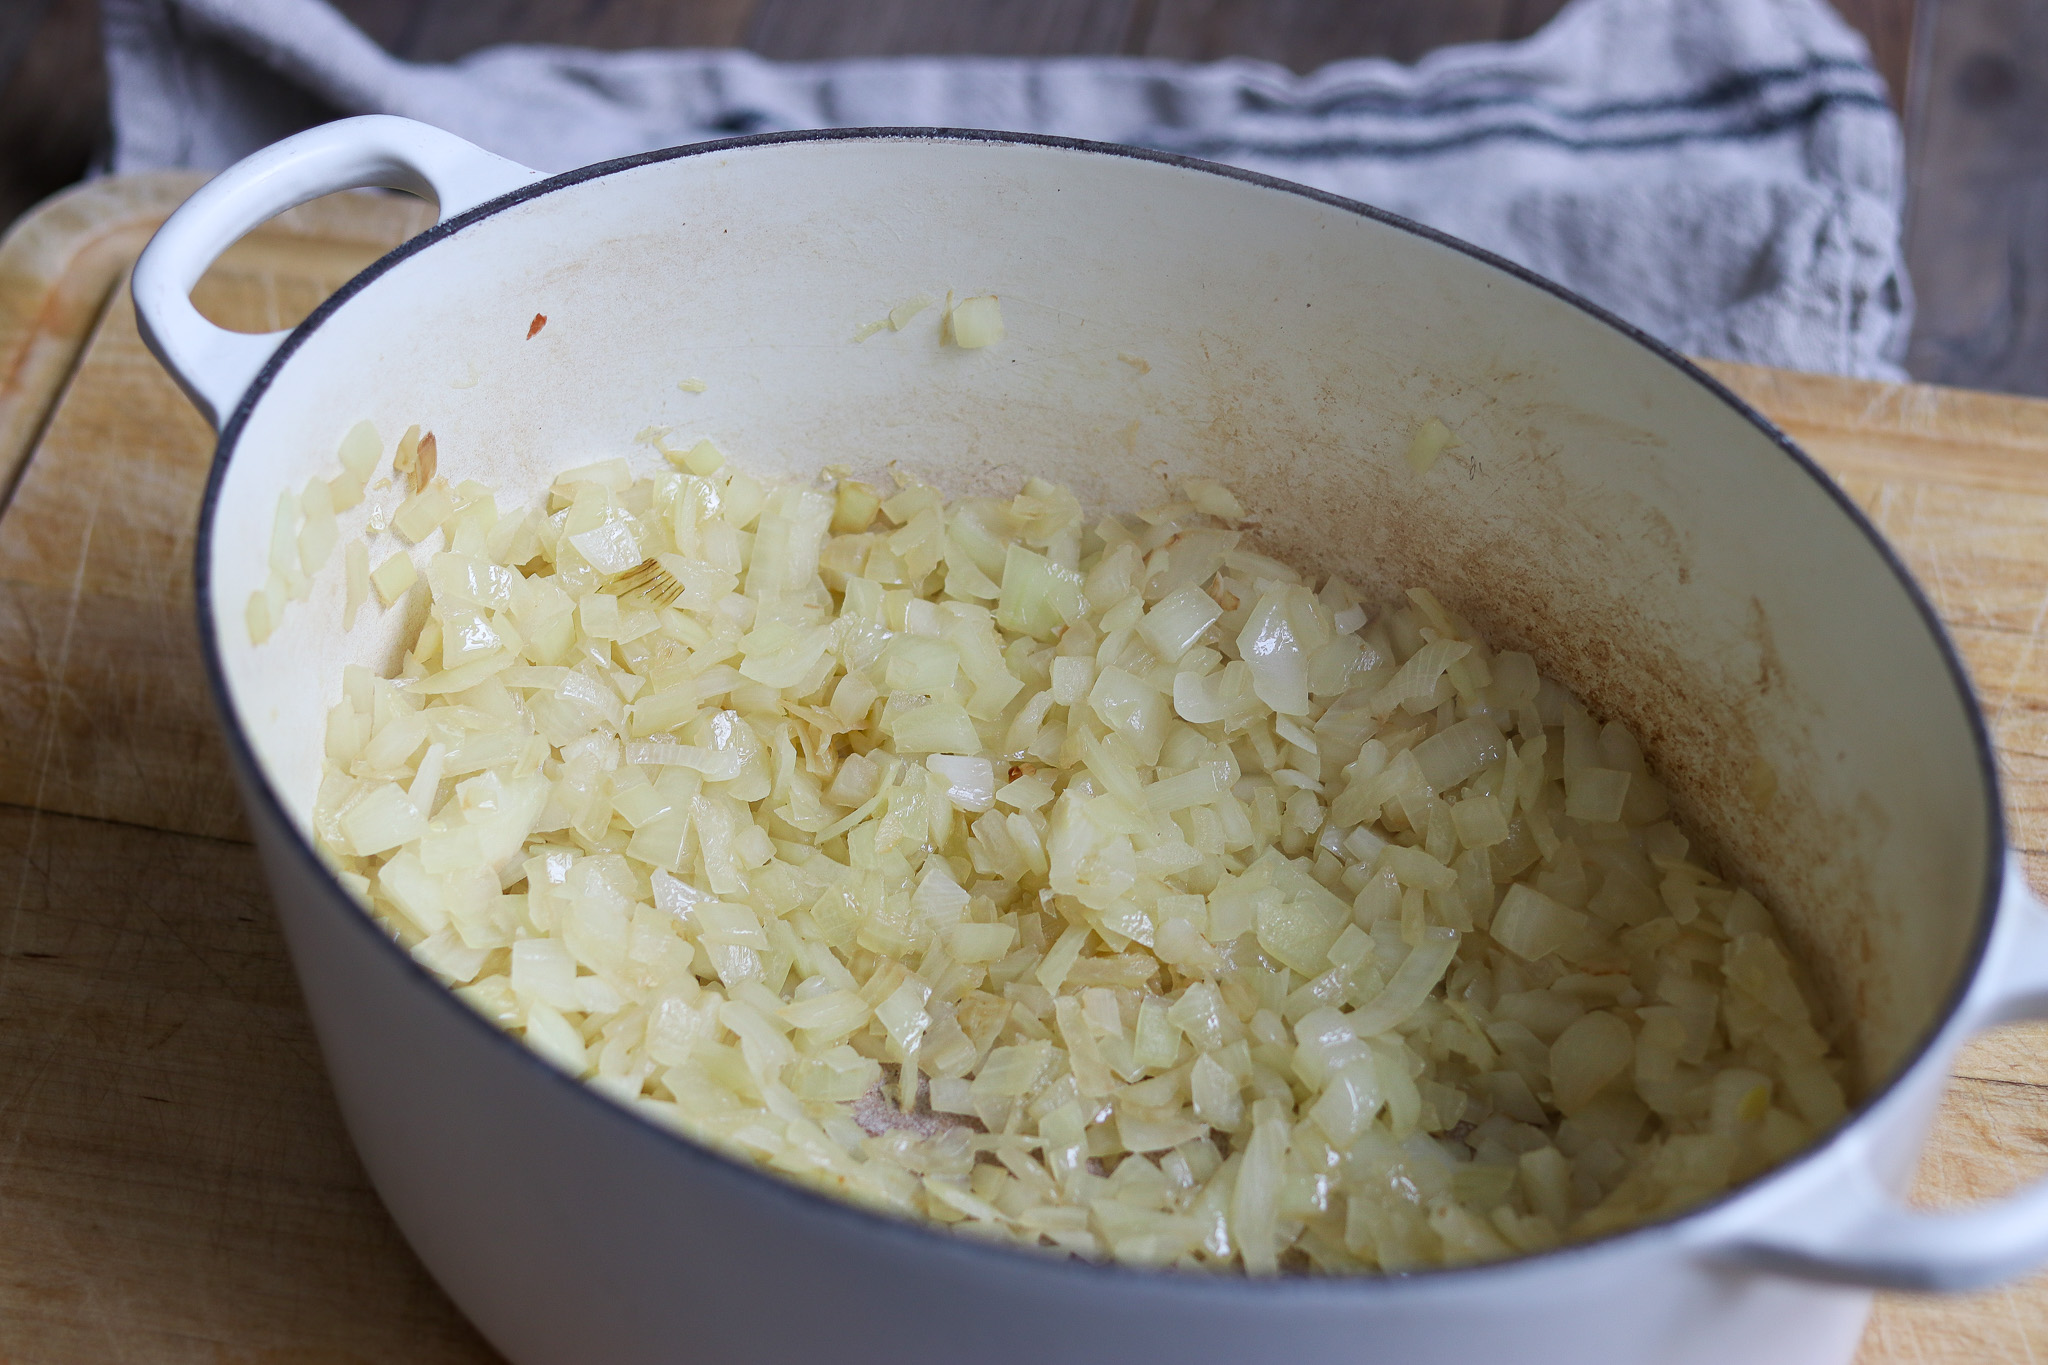
At this stage the base is all aromatics and mushrooms, concentrated and savory. Take a moment to make sure the onions are fully softened, since they will not cook much further once the liquid goes in.
If any garlic looks like it is browning too fast, lower the heat a touch. You want it fragrant and soft, not toasted, so it melts into the background of the finished base.
Simmer and Pack the Jars
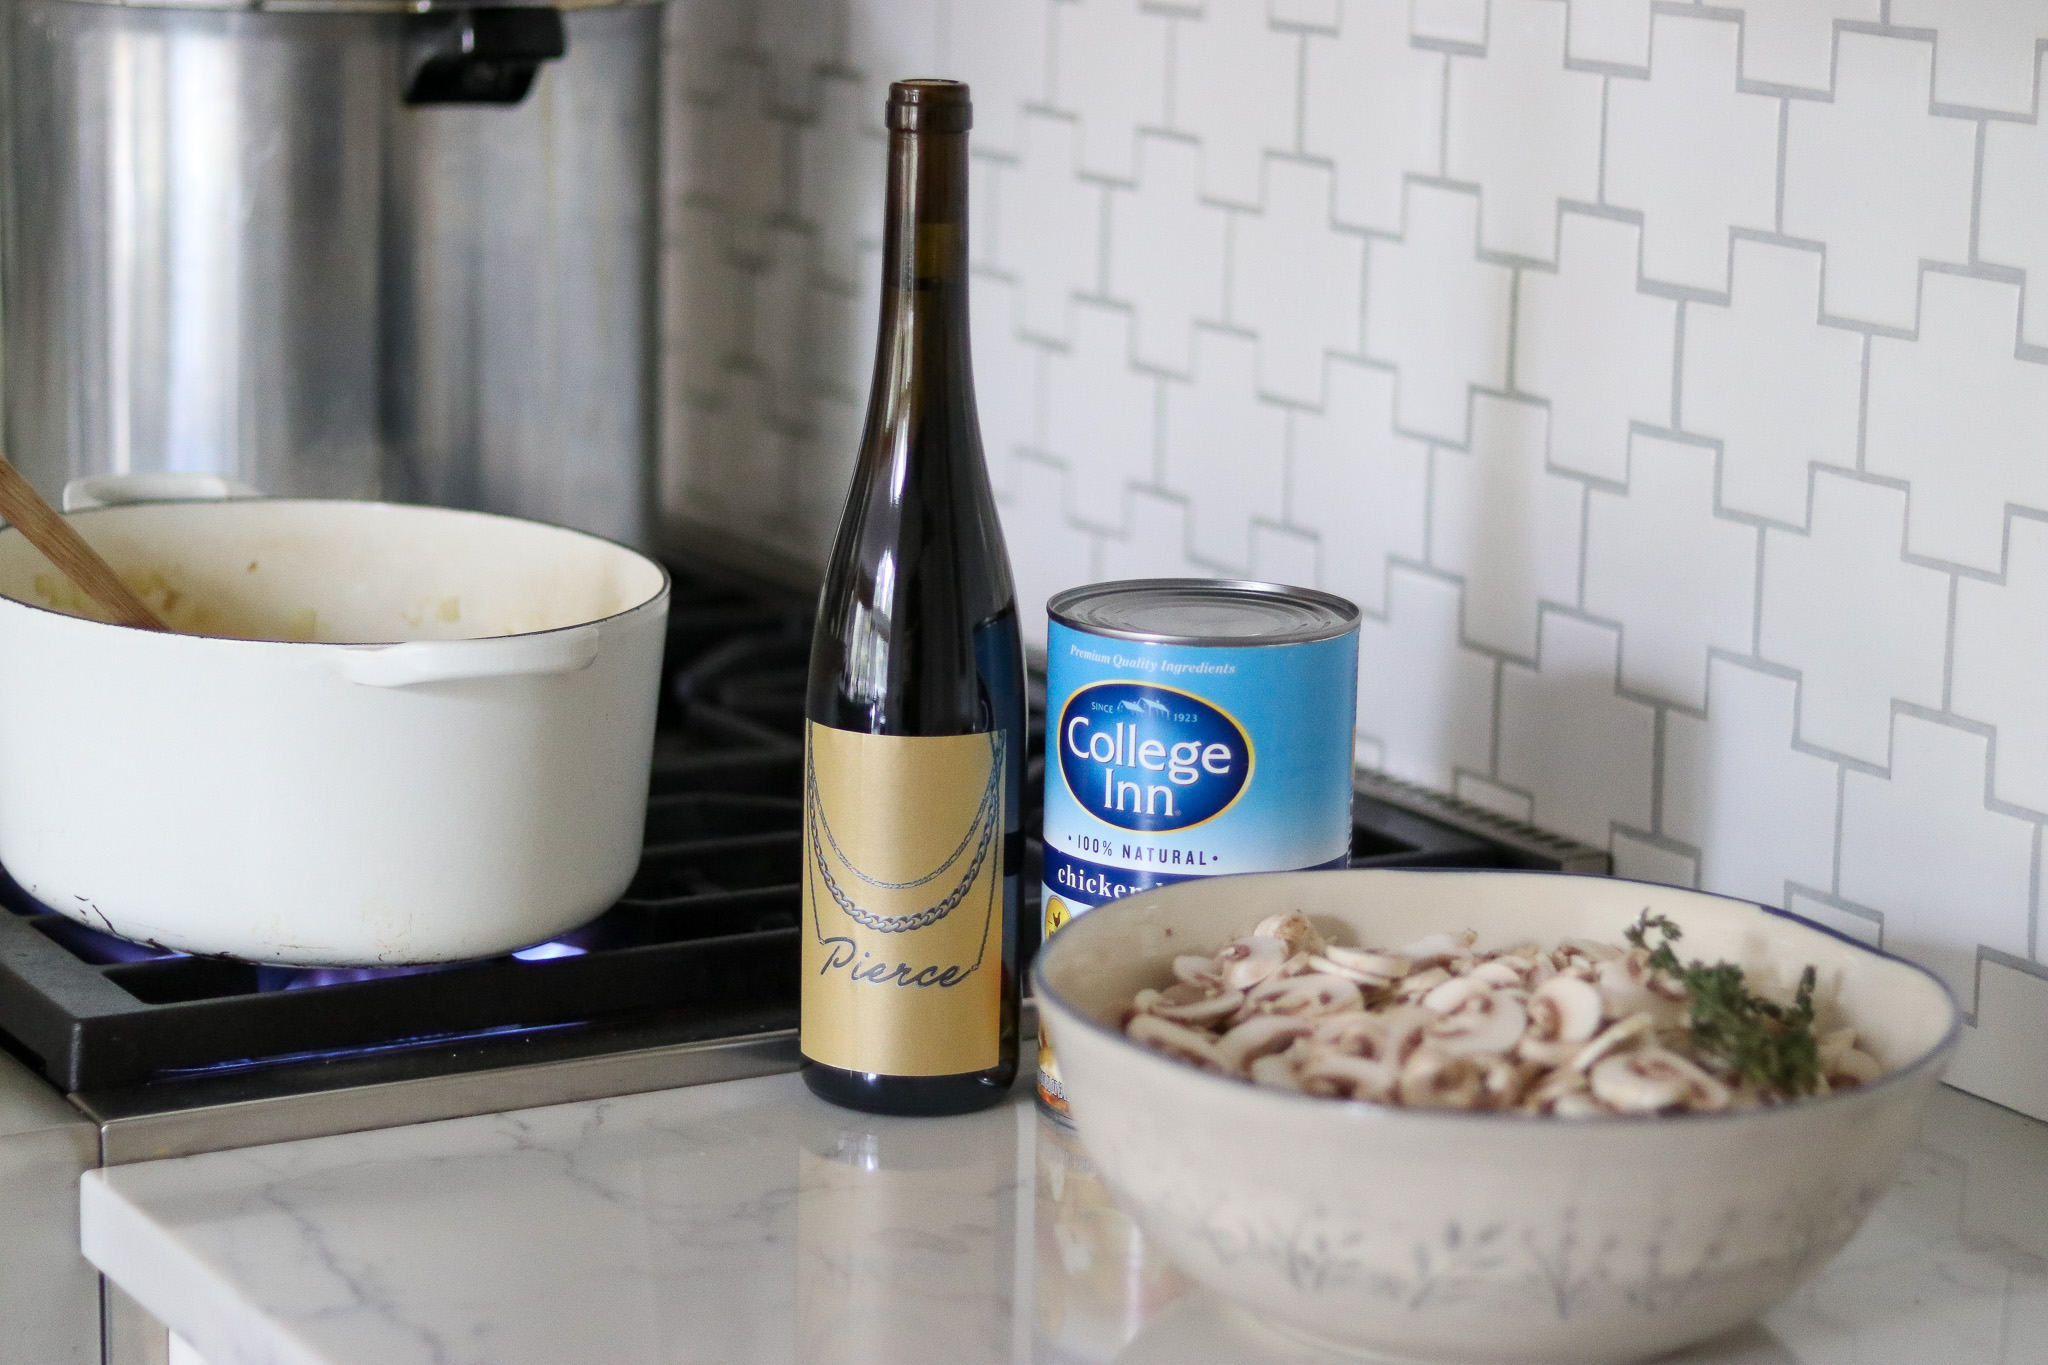
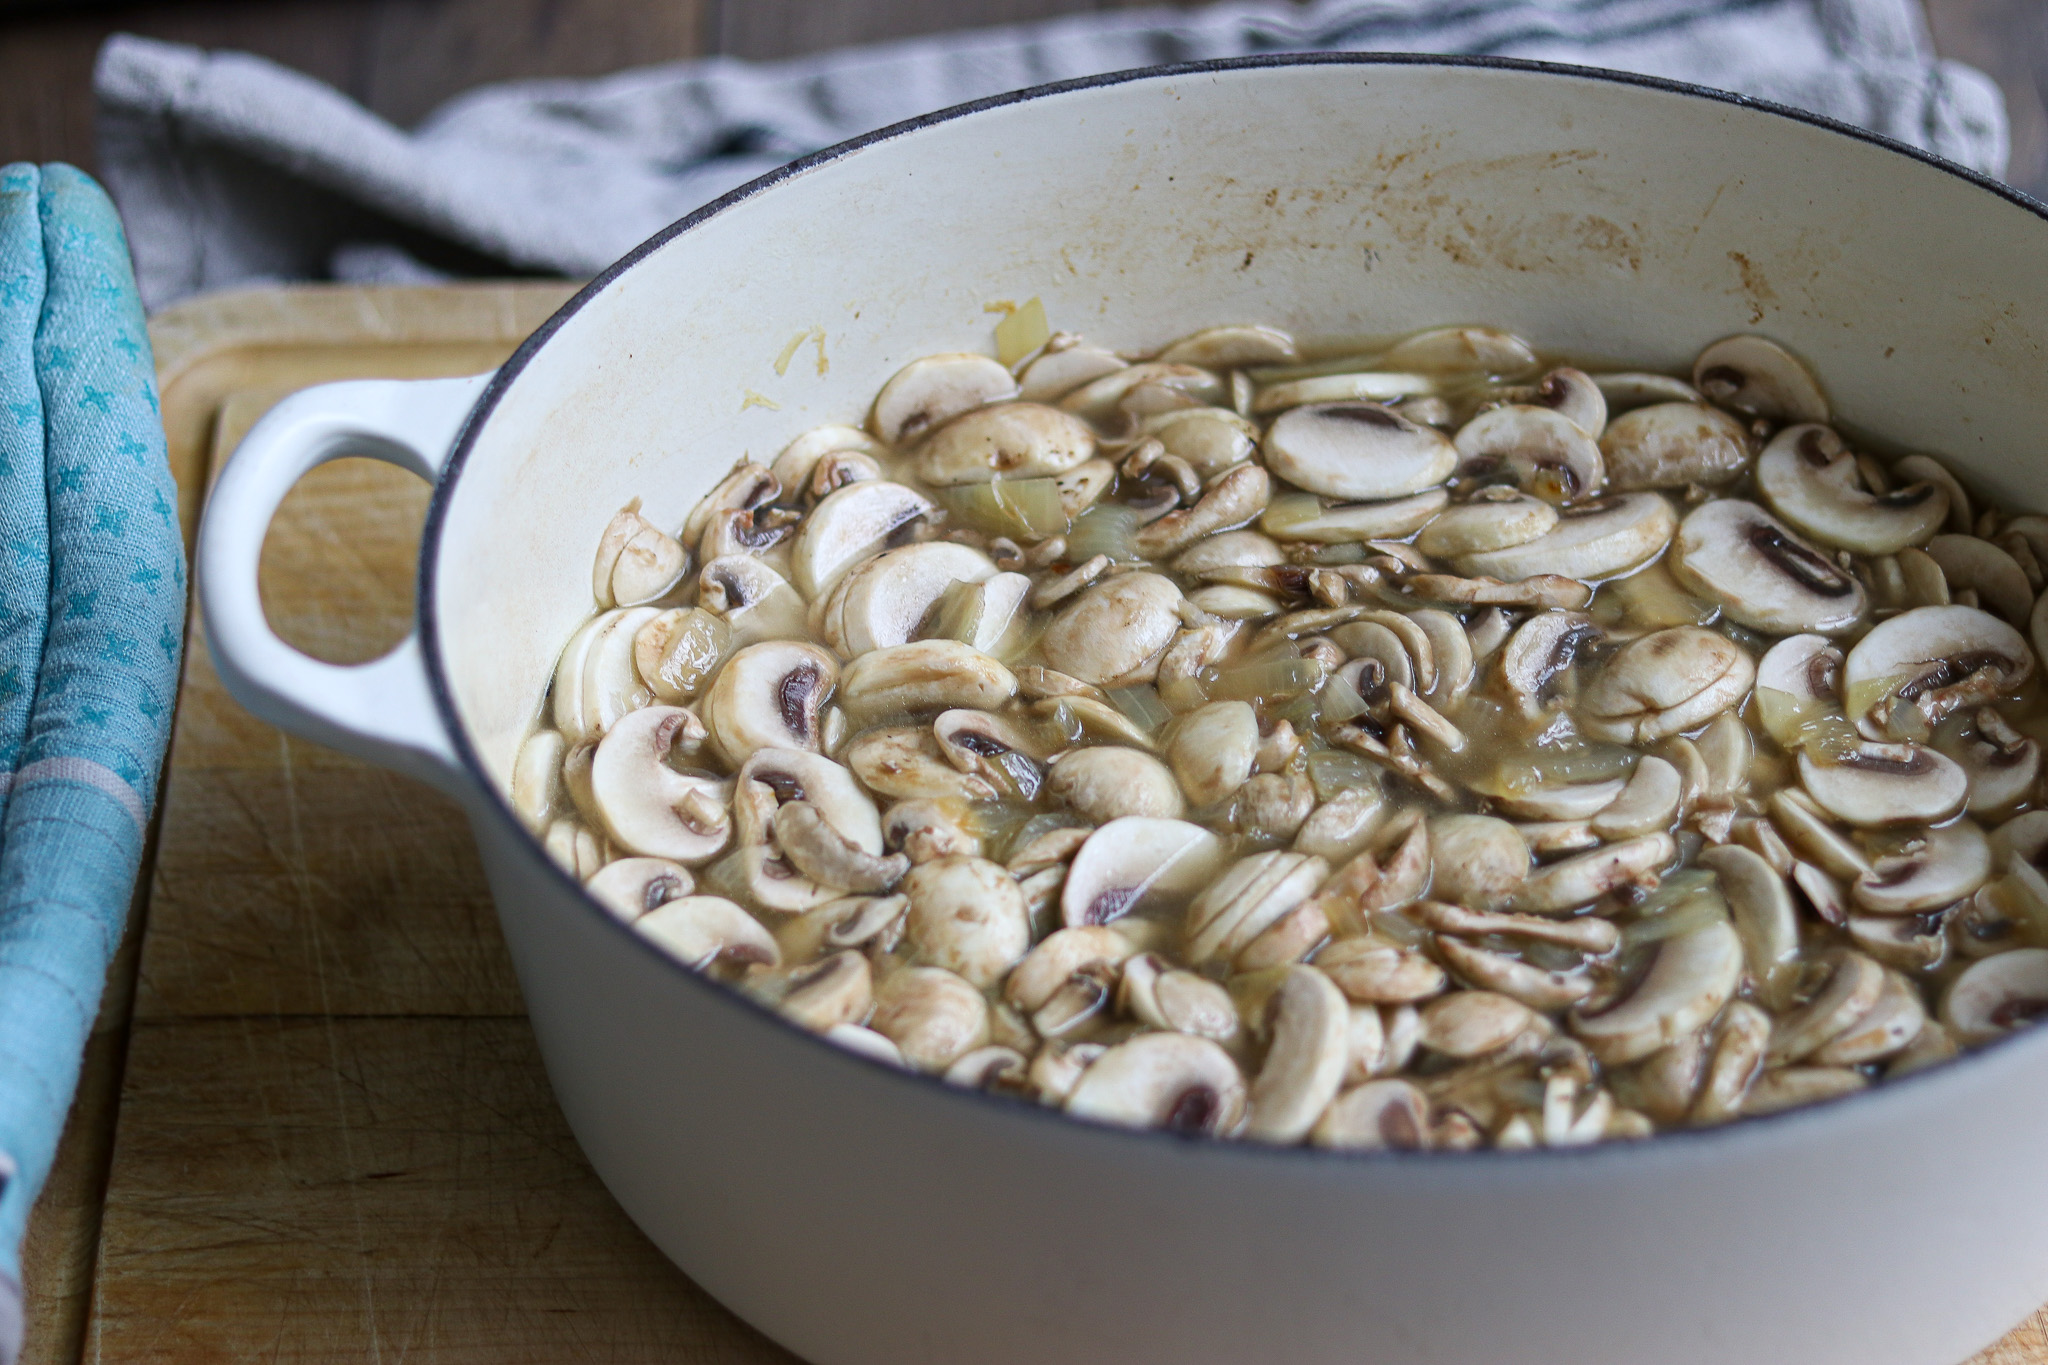
Add the broth, wine, salt, pepper, and thyme to the pot and bring everything up to a boil over medium high heat. Because the pot and the mushroom mixture are already hot, this happens fairly quickly.
Once it reaches a good rolling boil, set a timer and let it boil for a full 5 minutes. This step drives air out of the mushrooms and heats the base all the way through, so do not skip it or cut it short.
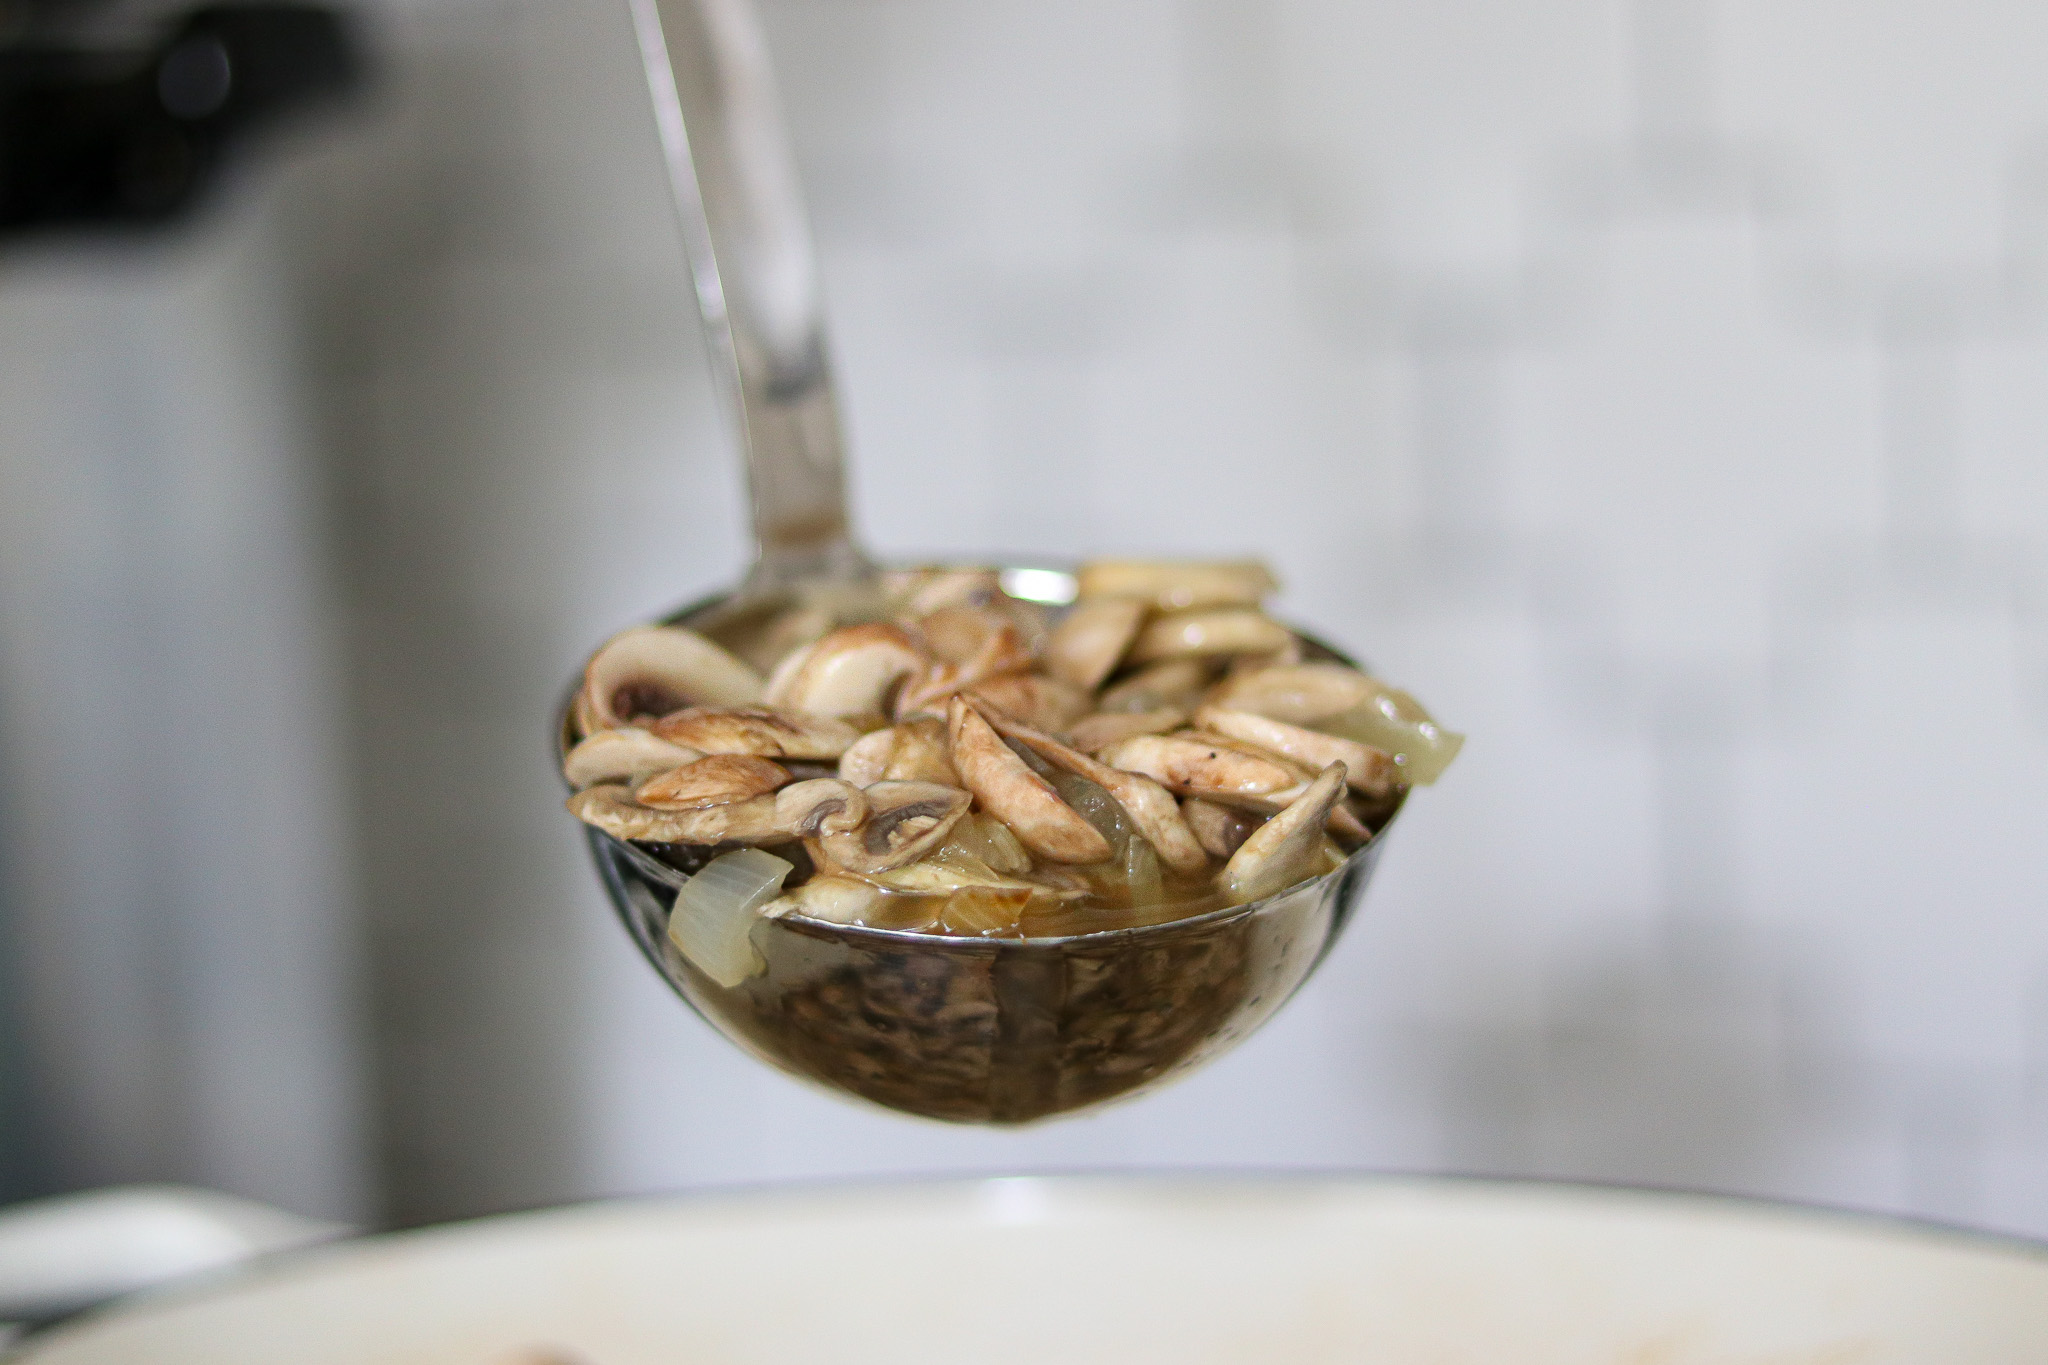
Take the pot off the heat and ladle the base into your hot pint jars. Spoon the solids in first, dividing the mushrooms and onions as evenly as you can across all 8 jars, then go back and top each one with the broth.
Distributing the solids first matters, because the mushrooms may not fill the jars on their own after shrinking. Getting roughly the same amount of solids in each jar keeps the batch consistent from one jar to the next.
Leave 1 inch of headspace in each jar. That space helps prevent siphoning and liquid loss during processing, and it gives the contents room to bubble without disturbing the seal.
Measure the headspace rather than guessing, since it does affect how the jars seal. A headspace tool or a clean ruler makes this quick.
Run a bubble removal tool around the inside of each jar to release trapped air, then check the headspace one more time. If a jar has dropped below 1 inch of liquid, top it off with a little more broth or boiling water.
Trapped air pockets can throw off the seal and leave you with less liquid than you expected after processing, so it is worth taking a minute to debubble every jar.
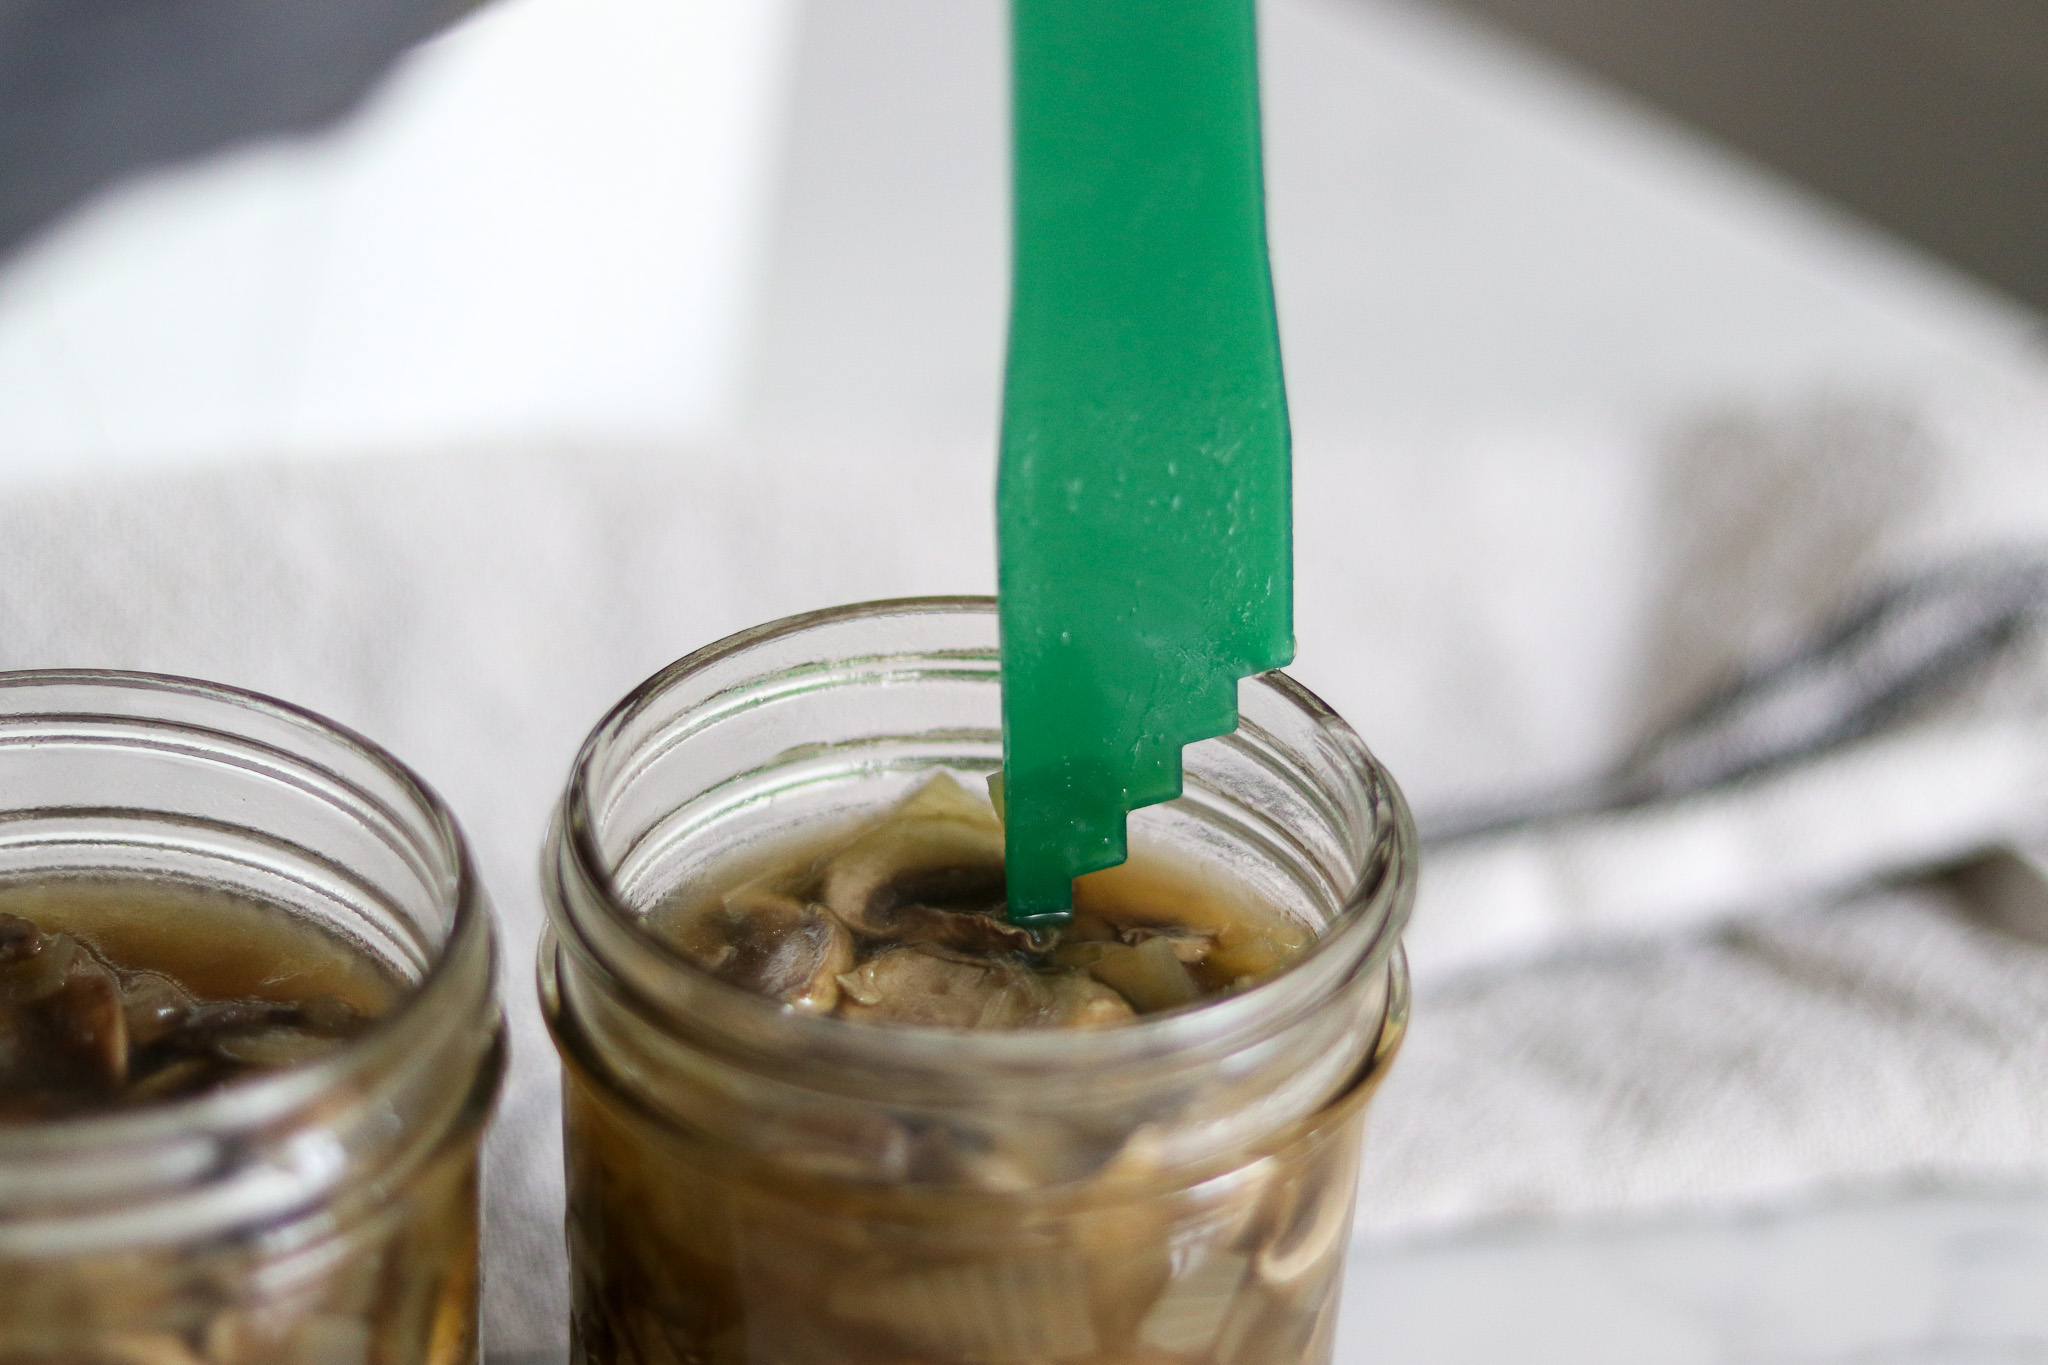
Wipe the rim of each jar with a clean, damp cloth to remove any splashes of broth, since a clean rim is what lets the lid seal properly. Center a lid on each jar and add the band, tightening just to fingertip tight.
Fingertip tight means snug but not cranked down, so air can still escape during processing. Once the jars are lidded, load them into the hot pressure canner.
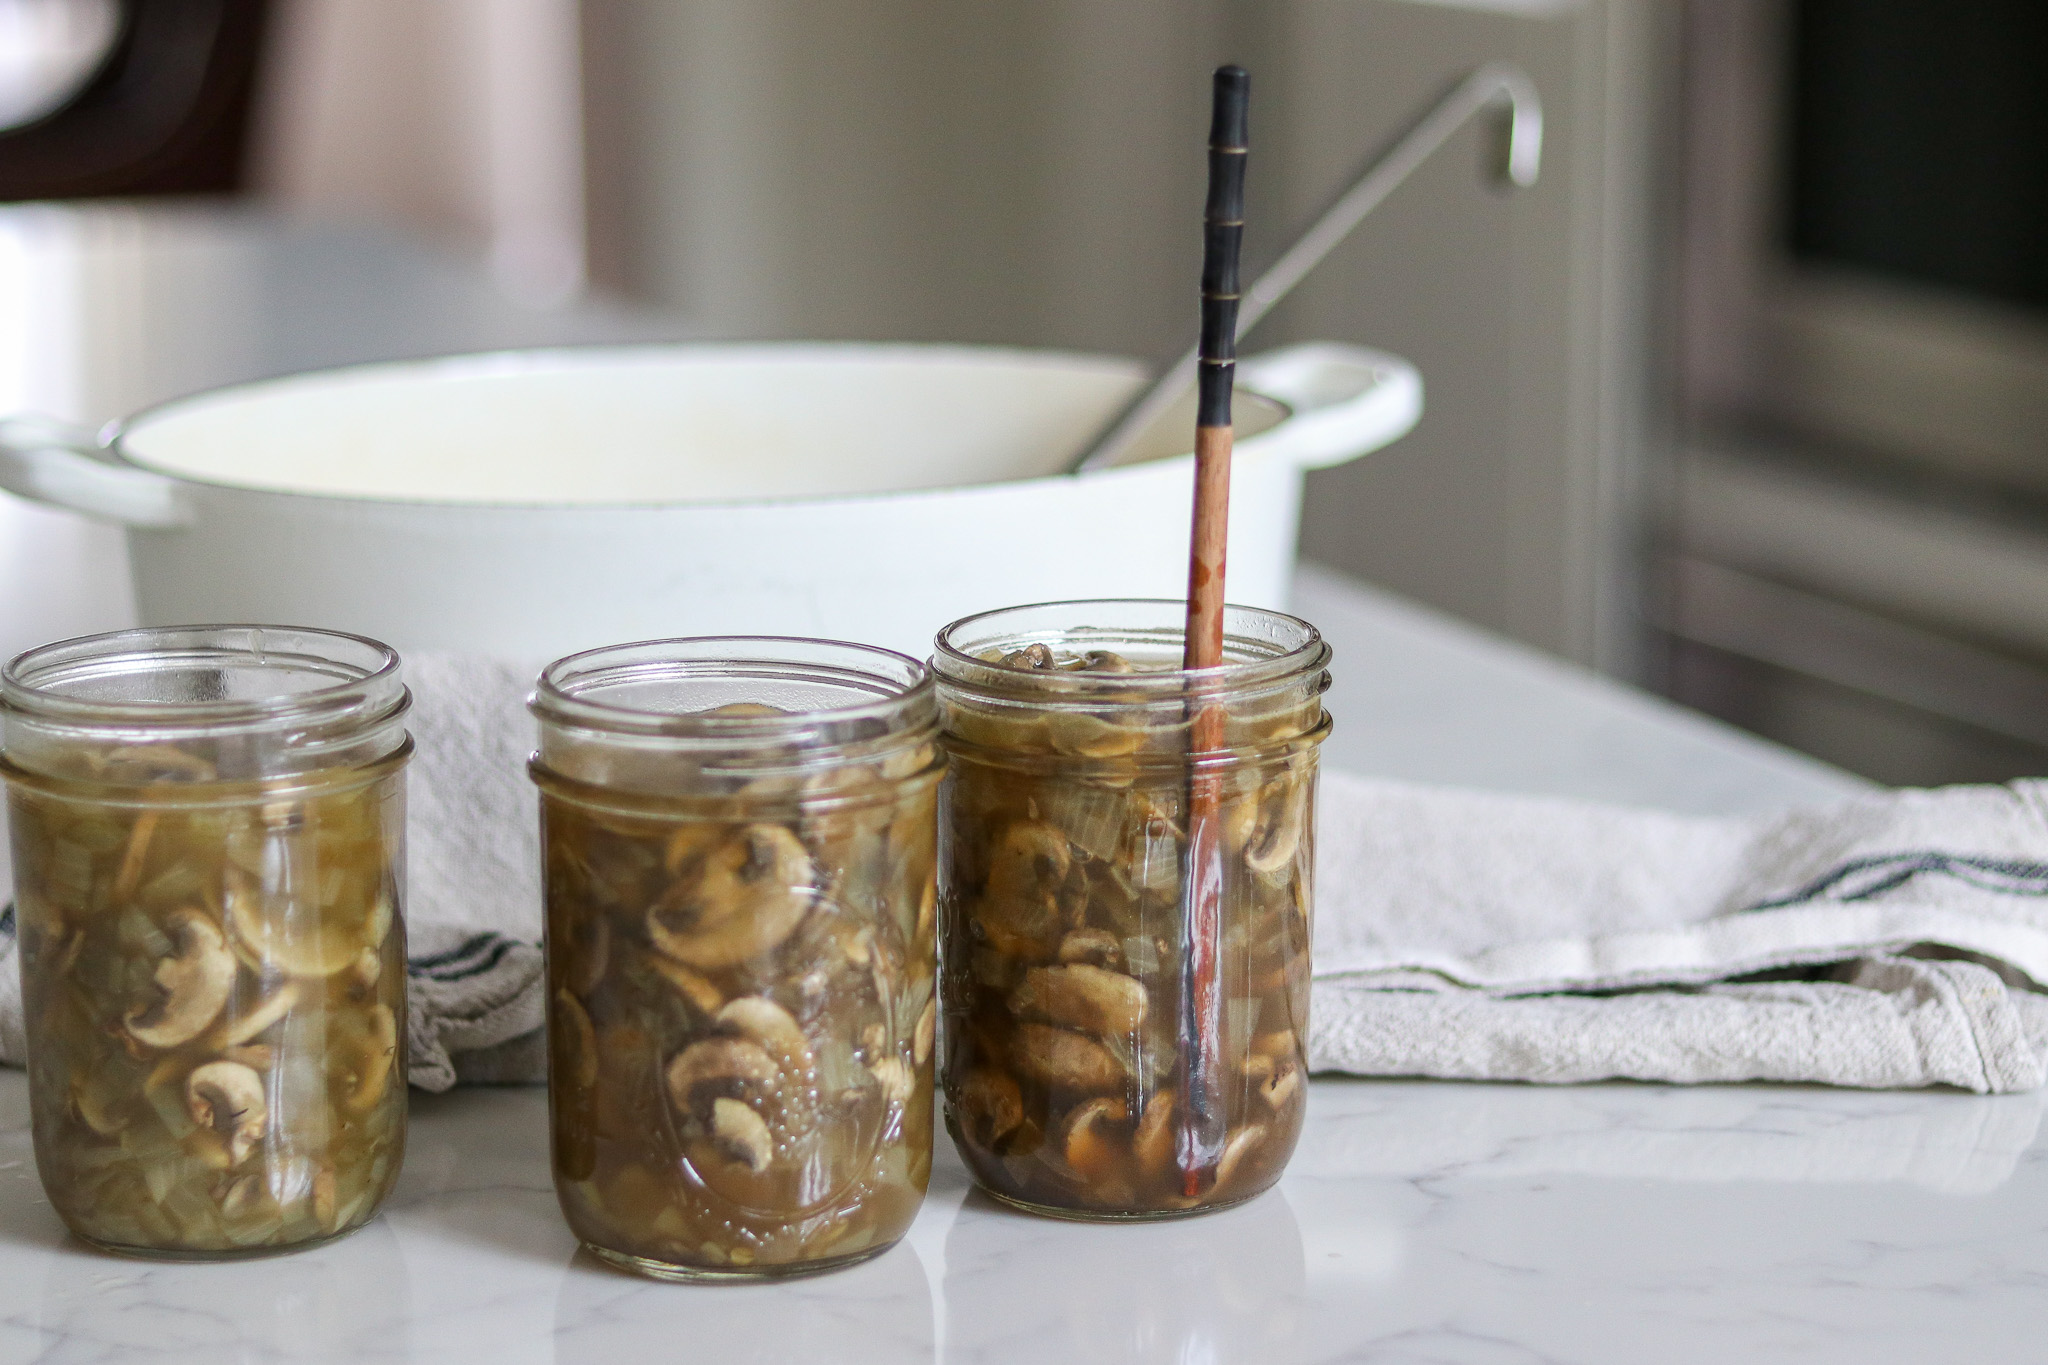
Canning Mushroom Soup Base
This is a hot pack, pressure canned recipe, and the minimum batch for safe processing is 2 quarts or 4 pints. This recipe makes a full canner load of 8 pints, so you are well above the minimum, but it is worth knowing if you ever want to scale down.
To can, prepare your pressure canner, jars, and lids. Pack the jars to 1 inch headspace, remove the air bubbles, wipe the rims, and apply the lids and bands fingertip tight. Load the jars, lock the lid, and vent the canner with a steady stream of steam for 10 minutes before bringing it up to pressure.
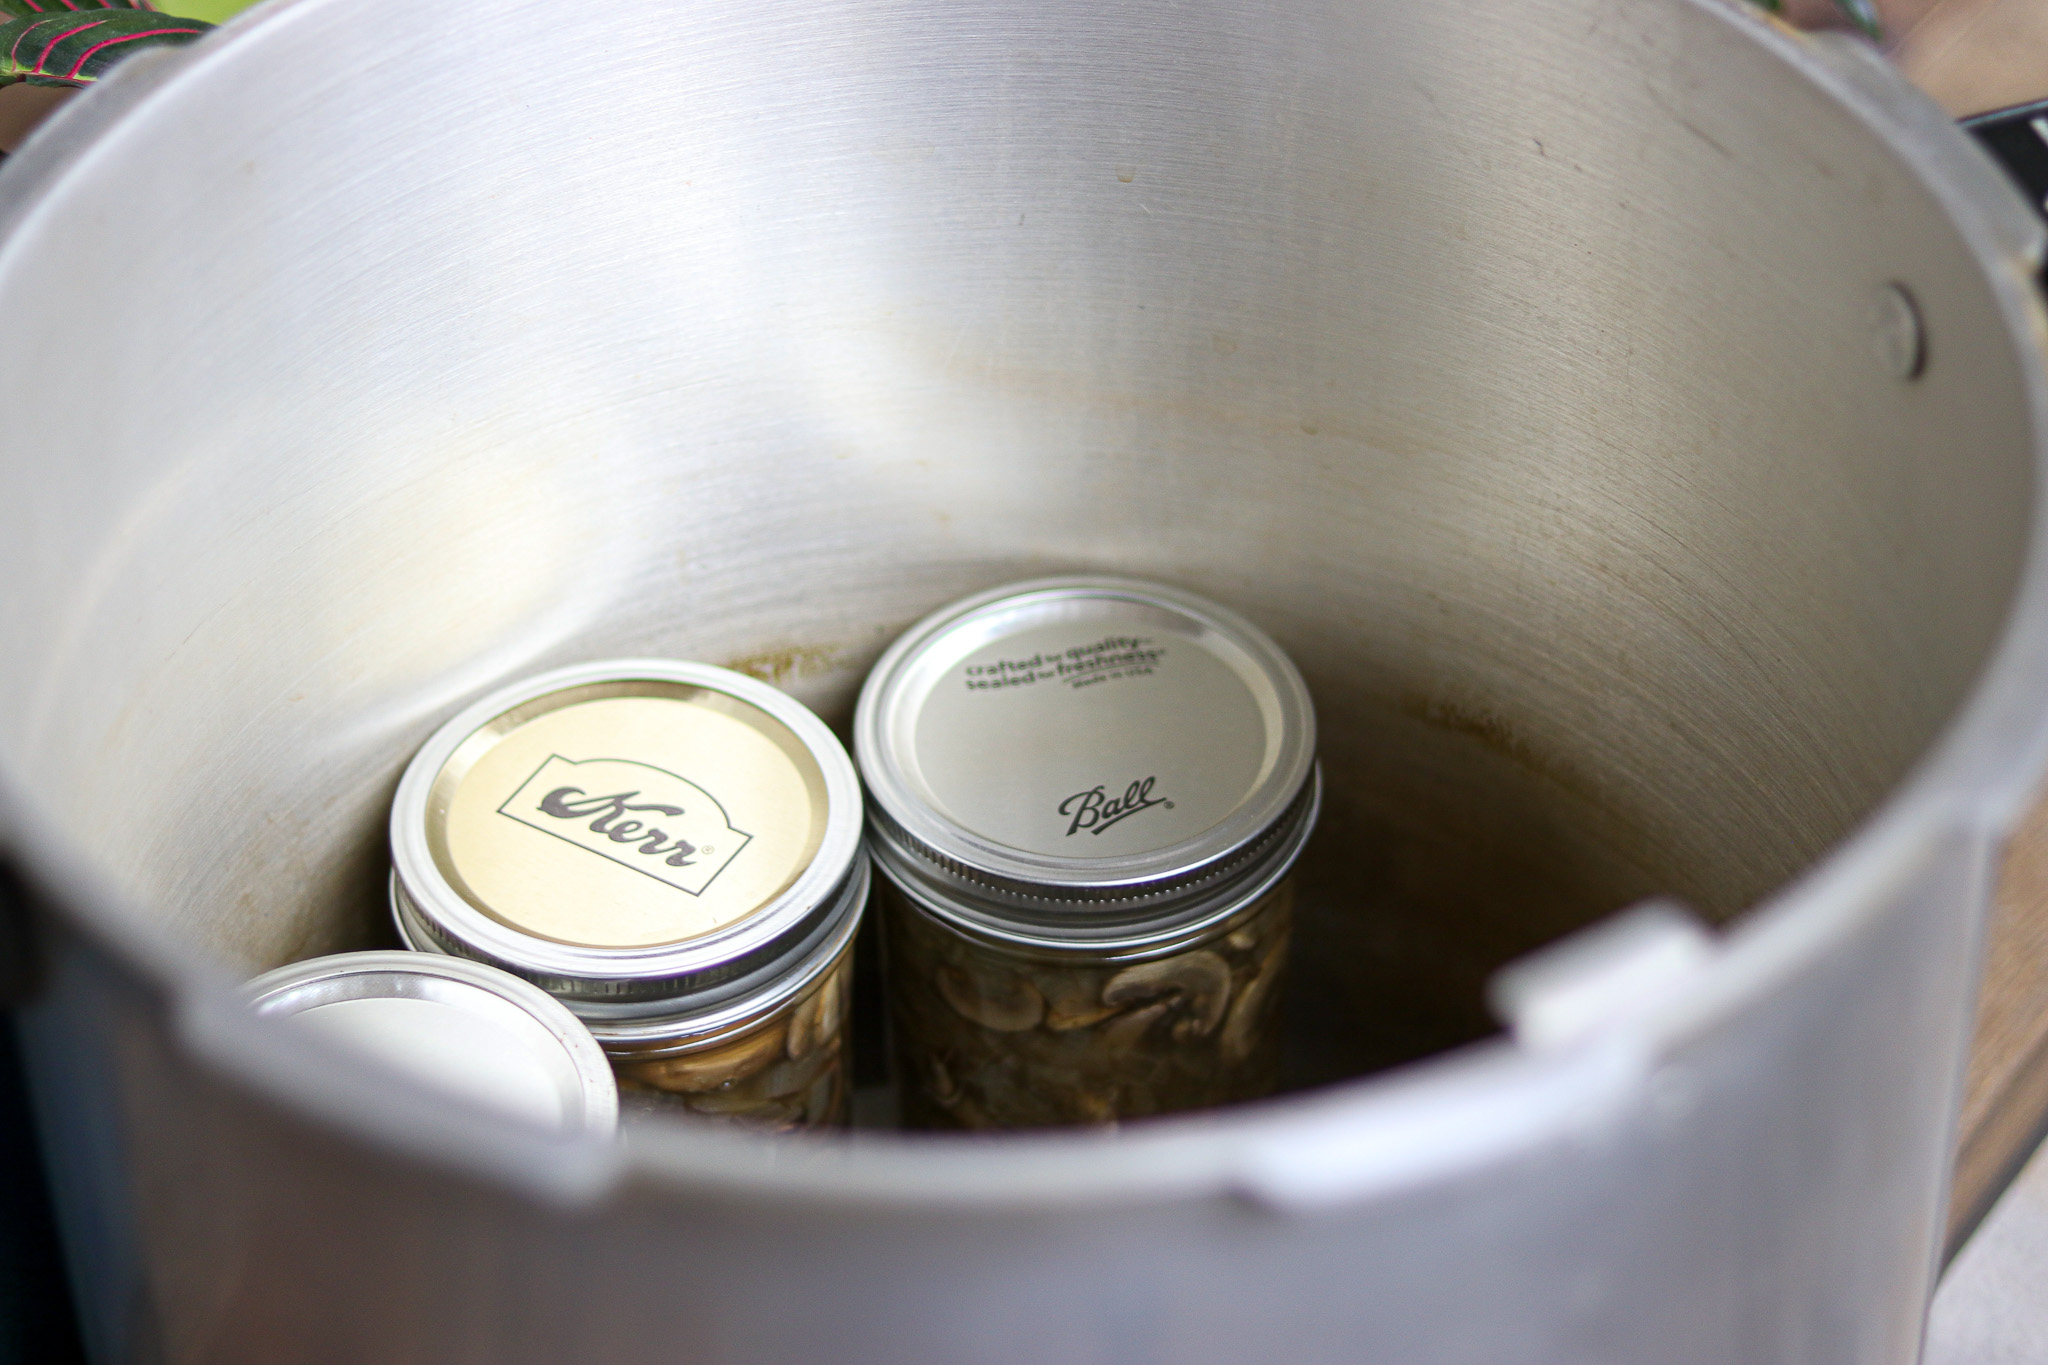
Process the pint jars for 45 minutes at 10 pounds of pressure in a weighted gauge canner, or 11 pounds in a dial gauge canner, adjusting for altitude using the table below. This recipe is for pints only, since the mushroom process has no tested time for quarts.
When the time is up, turn off the heat and let the canner depressurize on its own. Never force cool a pressure canner, since a sudden drop in pressure can cause liquid loss and seal failures.
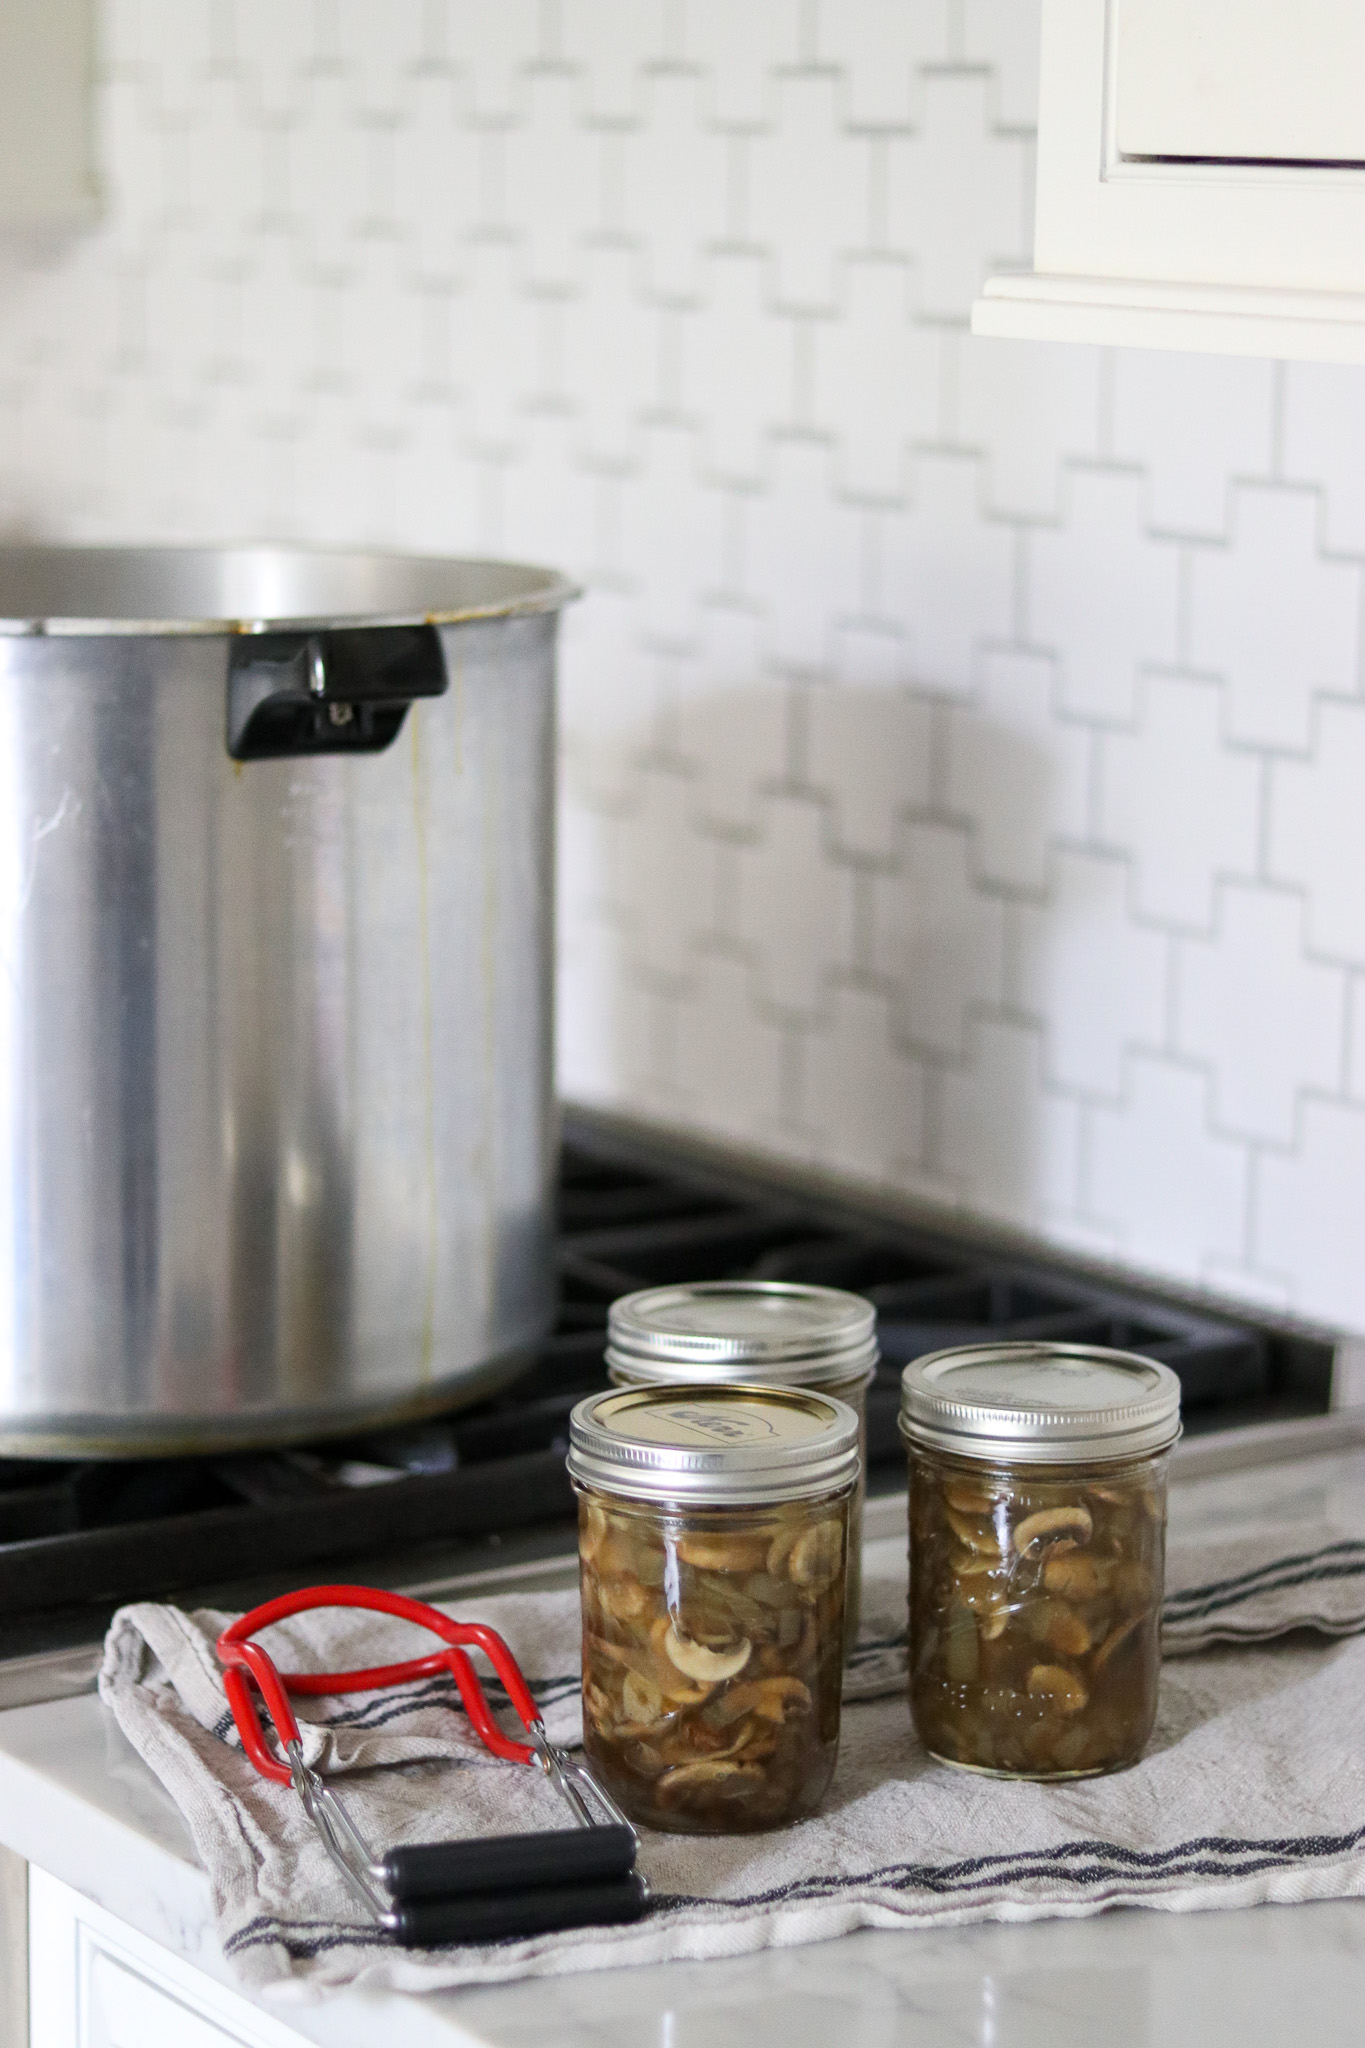
Once the canner has fully depressurized, remove the lid away from your face, lift out the jars, and set them on a towel to cool undisturbed for at least 12 hours. After that, check that every lid has sealed, label the jars, and store sealed jars in a cool, dark place for up to 12 months.
Altitude Adjustments
With pressure canning, the processing time stays the same at higher altitudes, but the pressure changes. Here are the altitude adjustments for pressure canning mushroom soup base:
For dial gauge pressure canners:
- 0 to 2,000 feet: 11 lbs pressure
- 2,001 to 4,000 feet: 12 lbs pressure
- 4,001 to 6,000 feet: 13 lbs pressure
- 6,001 to 8,000 feet: 14 lbs pressure
For weighted gauge pressure canners:
- 0 to 1,000 feet: 10 lbs pressure
- Above 1,000 feet: 15 lbs pressure
Tips for Success
The most common snag with this base is coming up short on liquid, since mushrooms shrink so much in the pot. If your batch looks like it will not fill all 8 jars, lean on extra broth and wine first, and keep a kettle of boiling water going as a backup to top off any jar that needs it.

Resist the urge to overfill the jars with solids in an effort to use everything up. The half solids, half broth balance is what lets heat move through the jar during that 45 minute process, and packing it too densely works against safe heat penetration.
Finally, label your jars with the date and contents. The base looks similar to a few other canned soups on the shelf, and a quick label saves you from guessing in six months.
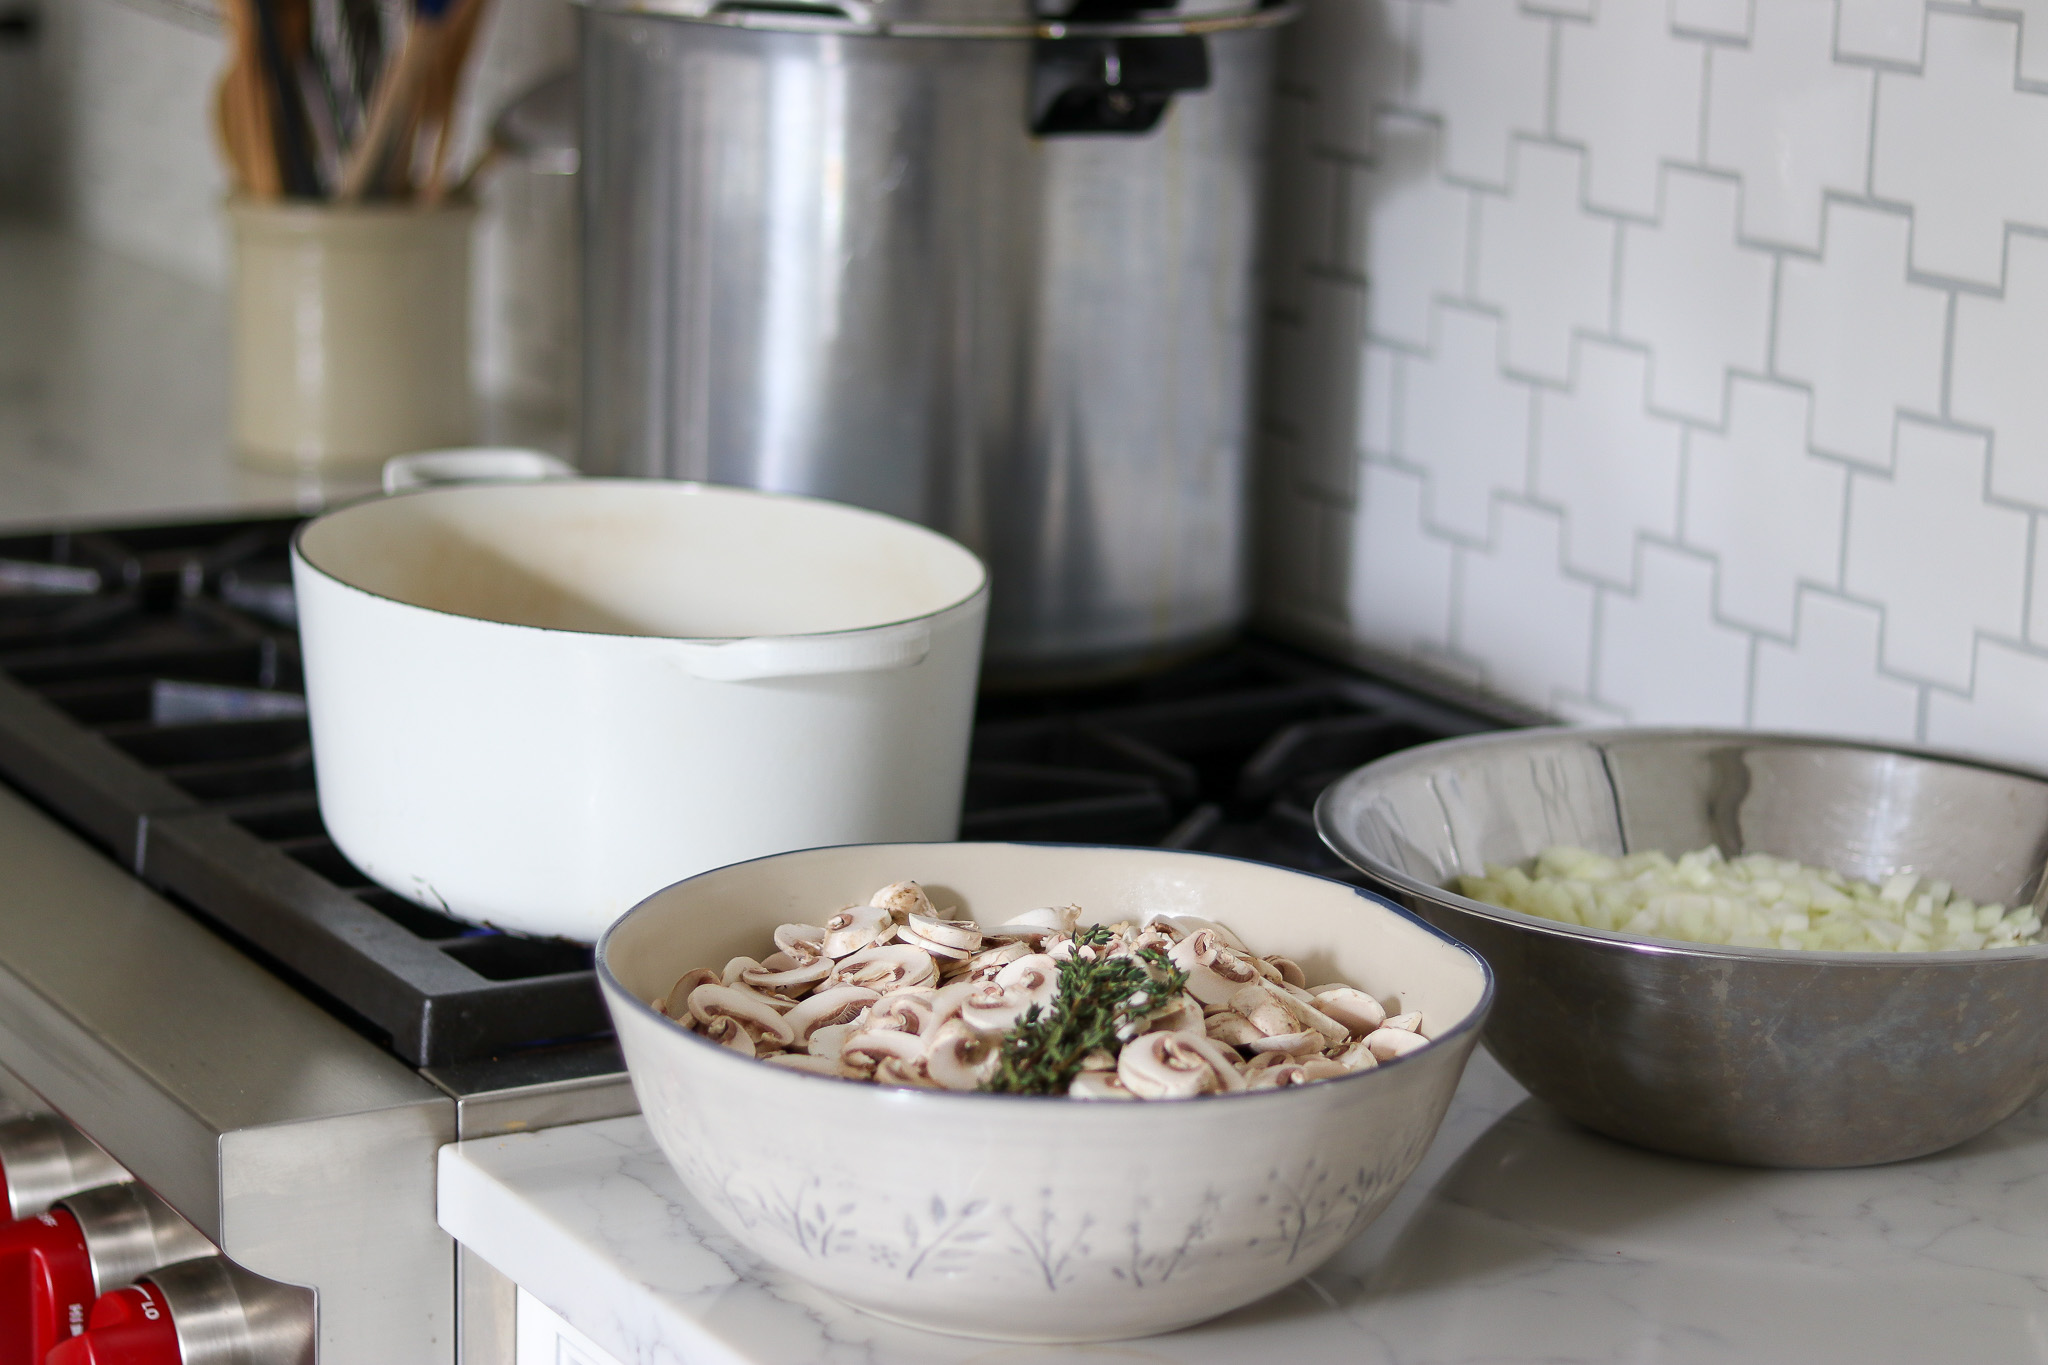
If you find yourself making this often, it scales nicely to back to back canner loads. Just keep each batch measured to the recipe so the ratios, and the process, stay correct.
Serving Ideas for Mushroom Soup Base
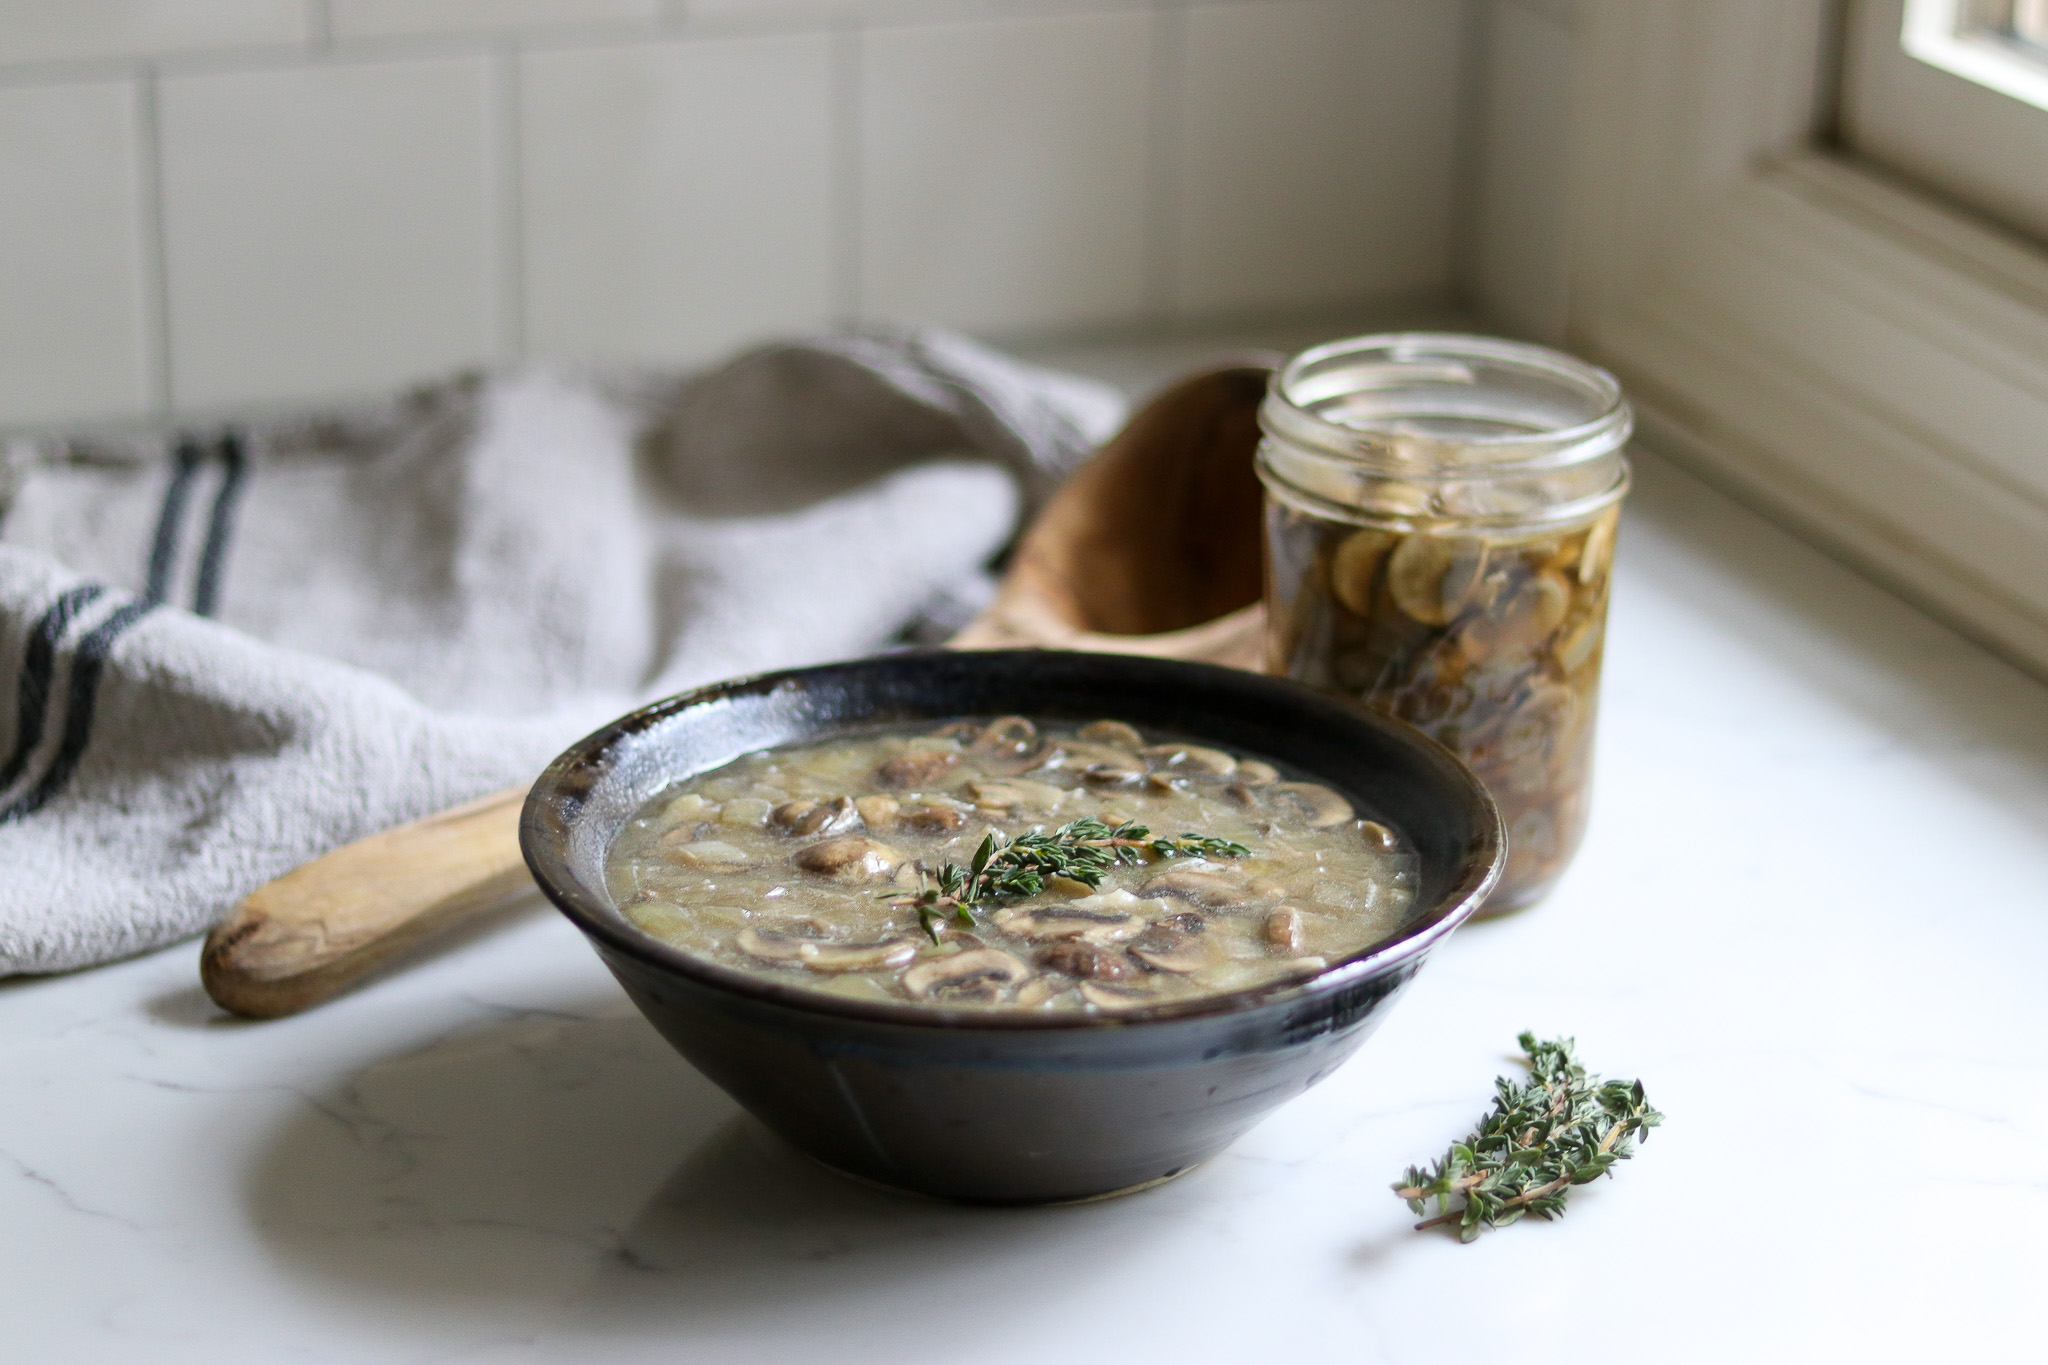
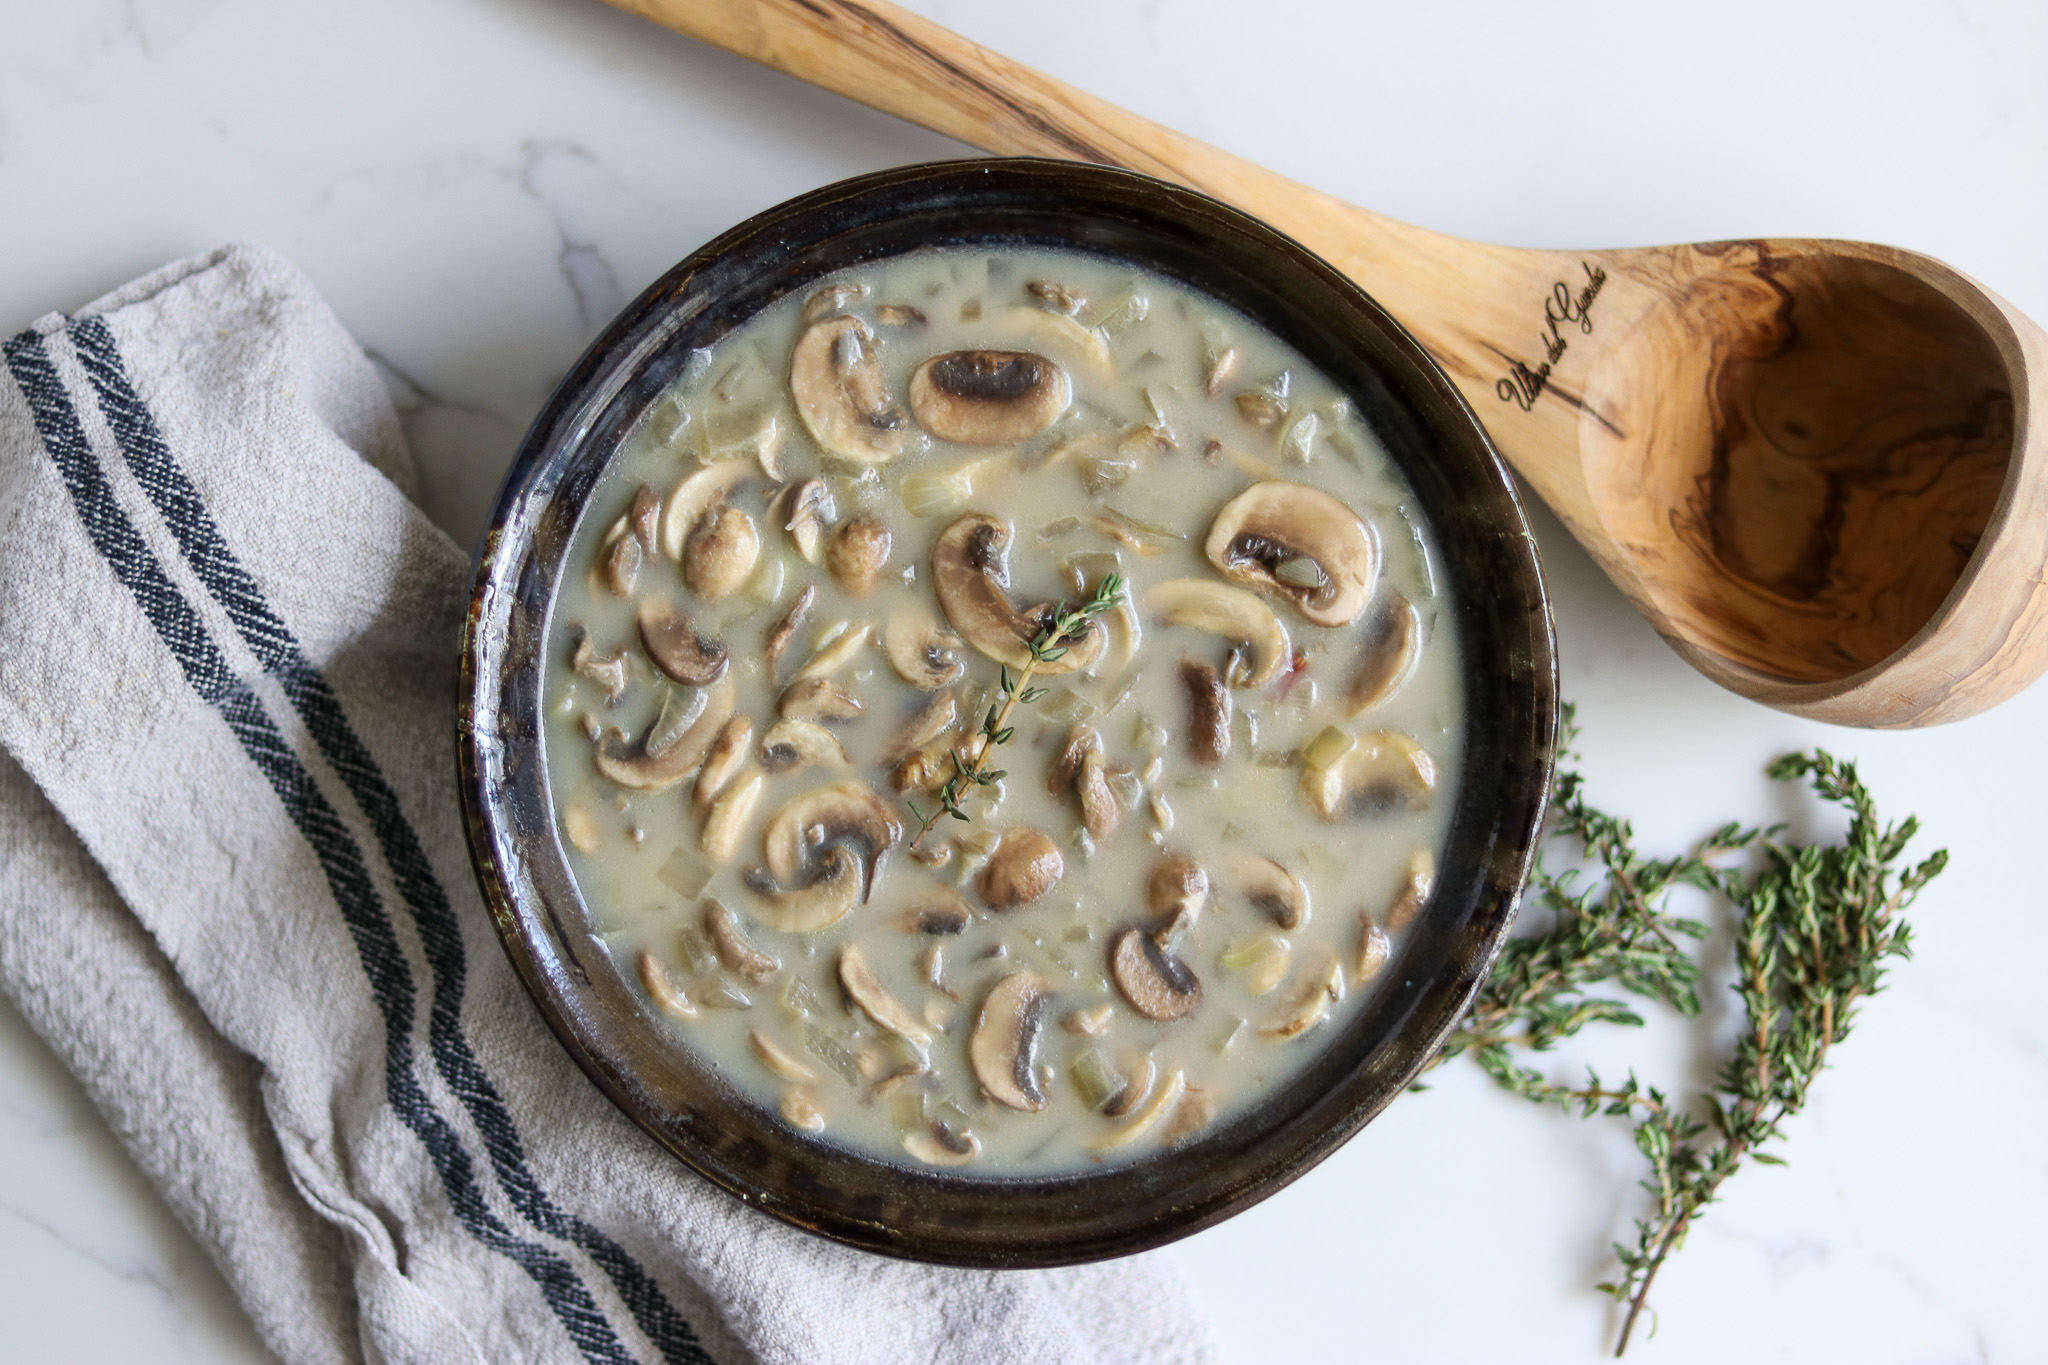
To turn a jar into cream of mushroom soup, pour the base into a medium pot and heat it over medium heat for about 10 minutes, until it is bubbling. Stir in roughly a quarter cup of heavy cream per pint, along with a tablespoon of flour whisked into a little cold water to make a slurry, then bring it back to a boil for a minute or two until it thickens. Finish with fresh thyme or parsley and serve it alongside crusty bread or a salad.
The base is just as useful as an ingredient as it is a soup. Use it in place of canned condensed soup in casseroles, pour it over chicken or pork in the slow cooker, or stir it into a pan of sauteed greens and noodles. For more pantry meals like this, browse the full collection of soup canning recipes and the meal in a jar canning recipes.
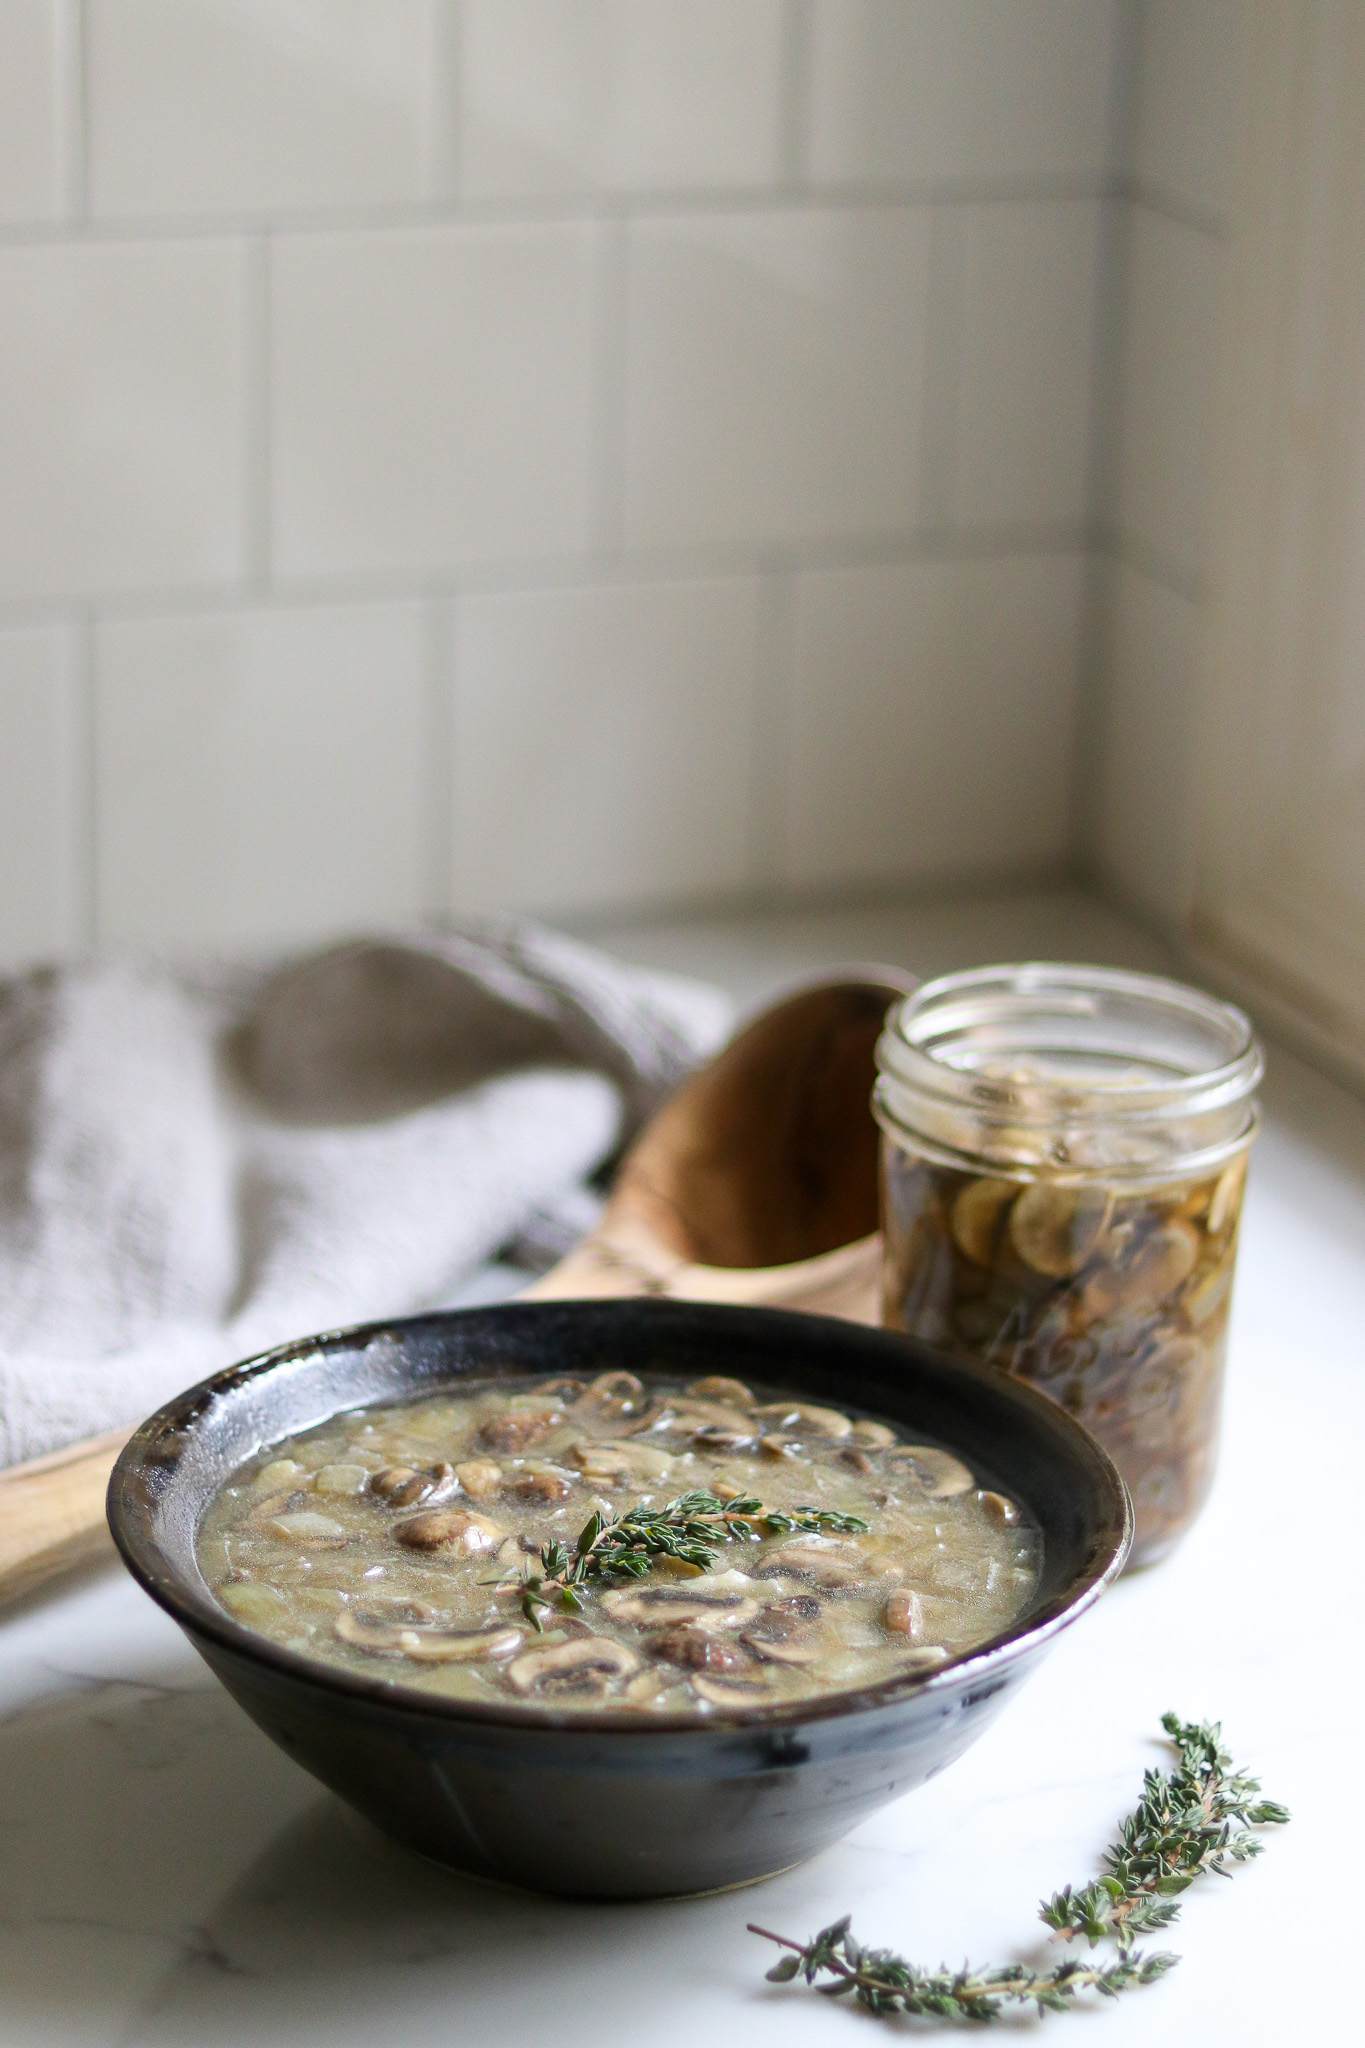
Because each jar is already seasoned and full of mushrooms and onions, it takes very little to round it into a meal. A handful of cooked rice or noodles stirred in at the end, or a piece of toast on the side, is often all it needs.
Yield Notes
This recipe is sized for a full canner load of 8 pint jars, which comes to about 16 cups of base, or roughly 16 one cup servings before you finish it with cream. The exact yield shifts a little depending on how much your mushrooms shrink and how generously you pack the solids, so you may land at 7 or 8 jars. Keep a kettle of boiling water going to top off the last jar if you come up just short.
The batch halves cleanly to 4 pints if you want a smaller run, which is still at or above the 4 pint minimum for safe pressure canning. You can also double it for back to back canner loads. Whatever size you make, keep the ingredients measured to the recipe so the ratios and the 45 minute process stay correct, and remember this base is pints only.
A few questions come up often with this one, so here are the answers before you get started.
Mushroom Soup Base FAQs
No. Mushroom soup base contains low-acid ingredients, so it is not safe for water bath canning. You need to use a pressure canner to make safe, shelf-stable jars.
No. Flour, cornstarch, and dairy are too dense to let heat move through the jar safely, so they are never added before canning. Stir the cream and a flour slurry into the base on the stove when you reheat it to serve.
No. The mushroom process this recipe is built on has no tested time for quarts, so the base is processed in half pints or pints only. Both sizes process for 45 minutes.
No. Only cultivated mushrooms grown for eating have been tested for canning. Wild foraged mushrooms vary too much in density and water content and have no safe canning process, so dry or freeze those instead.
Properly processed and sealed jars keep for up to 12 months in a cool, dark place, though they stay safe longer. Refrigerate after opening and use within 3 to 4 days.
There are so many soup canning recipes to fill your pantry. Here are a few more to try:
Soup Canning Recipes
Meal in a Jar Canning Recipes
Find the perfect recipe
Searching for something else? Enter keywords to find the perfect recipe!
If you tried this Mushroom Soup Base recipe, or any other recipe on Creative Canning, leave a ⭐ star rating and let me know what you think in the 📝 comments below!
And make sure you stay in touch with me by following on social media!
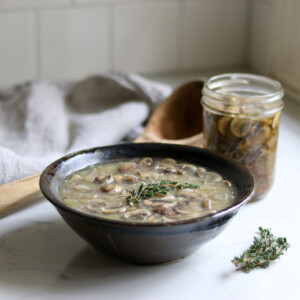
Canning Mushroom Soup Base
Equipment
- Canning Jars, Lids and Bands
Ingredients
- 4 Tbsp butter or olive oil
- 2 lbs mushrooms, thinly sliced
- 6 cloves garlic, minced
- 8 cups onions, minced
- 1 cup dry white wine
- 8 cups chicken, beef, or vegetable broth
- 4 tsp canning salt
- 1 tsp ground black pepper
- 2 tsp dried thyme
- Boiling water to fill, if needed
Instructions
- Prepare your pressure canner according to the manufacturer instructions and bring clean pint jars to a simmer to keep them hot.
- In a large stockpot, melt the butter over medium heat. Add the onions and garlic and saute until the onions are translucent and soft, about 15 minutes.
- Add the sliced mushrooms and saute for another 5 to 10 minutes, until they begin to brown.
- Add the wine, broth, salt, pepper, and thyme. Bring to a boil and boil for 5 minutes to heat everything through and drive air from the mushroom tissue.
- Ladle the solids into hot pint jars first, dividing them evenly, then top each jar with the hot liquid, leaving 1 inch of headspace.
- Remove air bubbles, recheck headspace, and add boiling water or broth to return to 1 inch if needed.
- Wipe the jar rims, center the lids, and screw on bands until fingertip tight.
- Vent the canner for 10 minutes, then process pints at 10 lbs (weighted) or 11 lbs (dial) for 45 minutes. Adjust pressure for your altitude. Process pints only; there is no tested process for quarts.
- Turn off the heat and allow the canner to depressurize naturally. Wait until fully depressurized before opening.
- Remove the jars and cool undisturbed for 12 hours. Check the seals, label, and store sealed jars up to 12 months.
Notes
- 0 to 2,000 feet in elevation – 11 lbs pressure
- 2,001 to 4,000 feet in elevation – 12 lbs pressure
- 4,001 to 6,000 feet in elevation – 13 lbs pressure
- 6,001 to 8,000 feet in elevation – 14 lbs pressure
- 0 to 1,000 feet in elevation – 10 lbs pressure
- Above 1,000 feet – 15 lbs pressure
To Serve
¼ cup (60 ml) heavy cream1 tbsp (8 grams) of flour for thickening
Fresh thyme or parsley, to taste To serve your soup, pour into a medium stock pot and heat it over medium heat for about 10 minutes, or until bubbling. Then, add the remainder of the ingredients (the cream and a flour slurry) to thicken the soup. Bring the soup back to a boil and cook for another minute or two to allow it to thicken up, being sure to stir it throughout the process. Garnish with thyme or parsley and serve with fresh bread or salad.
Nutrition
Nutrition information is automatically calculated, so should only be used as an approximation.

Can I use Baby Bella mushrooms for this receipt and also for the Canning Mushrooms receipt.
Yes, those work just fine. Enjoy!
Will fresh herbs make a difference in the canning process? I have a mushroom soup recipe that calls for fresh thyme, rosemary, and dill.
Yes, fresh herbs are fine in this one. Since it’s pressure canned, you can use fresh thyme, rosemary, and dill in place of the dried thyme. Use about three times as much fresh as you would dried (so roughly 2 tablespoons of fresh herbs in place of the 2 teaspoons dried thyme), and keep the total to a reasonable seasoning amount. You can always stir in a little more fresh when you heat up a jar to serve. Enjoy!
This is an excellent recipe. The flavours are spot on. I did add the sherry with the mushrooms as i was hoping to deglaze the mushrooms a bit but I’m not sure how much that accomplished with so much in the pan. Next time I make this I will have the broth already at a simmer before adding it to save some time. I also want to add that in my opinion you could skip the roux step when serving. I think as it is with some cream makes a delicious soup and that much less work.
Wonderful!
Can I water bath for canning. I don’t have a pressure canner
No, this is a pressure canning only recipe. Waterbath only works for jams, jellies and pickles, and other things that are acidic.
5 Stars and I haven’t even tried it. I think this is such a great plan. I do have mushrooms in the fridge and I will try this asap.
Thank you!
Lovely!
Thank you for the clear instructions on your website. One question – what can I substitute for he white wine in the mushroom recipe? I do not drink or cook with alcohol.
You can use water or stock in place of the white wine, either is fine. If you want to get that same flavor, add a tablespoon of champagne vinegar (or some other really mild salad vinegar) to the batch along with the water or stock you used to replace the wine. That’ll give it a similar flavor to a dry white wine.
Could you blend it smooth before canning?
I prefer a chunkless cream of mushroom soup.
You can’t blend it before canning unfortunately, as blended soups are not approved for canning. You have to blend it at serving time.
This looks delicious! Could I finely dice the mushrooms instead of slicing them or leaving them whole?
Yup, that’s fine!
Can you sub broth with vegetable bullion for a vegetarian version?
Yes, definitely!
Thank you so much for this recipe and detailed instructions! I made a double batch and tested the base by adding cream and flour. The result was amazing! Thank you again for allowing me to make and preserve a cream soup with known ingredients that are healthy and safe to consume.
So glad you enjoyed the recipe!