This post may contain affiliate links. Please see our disclosure policy.
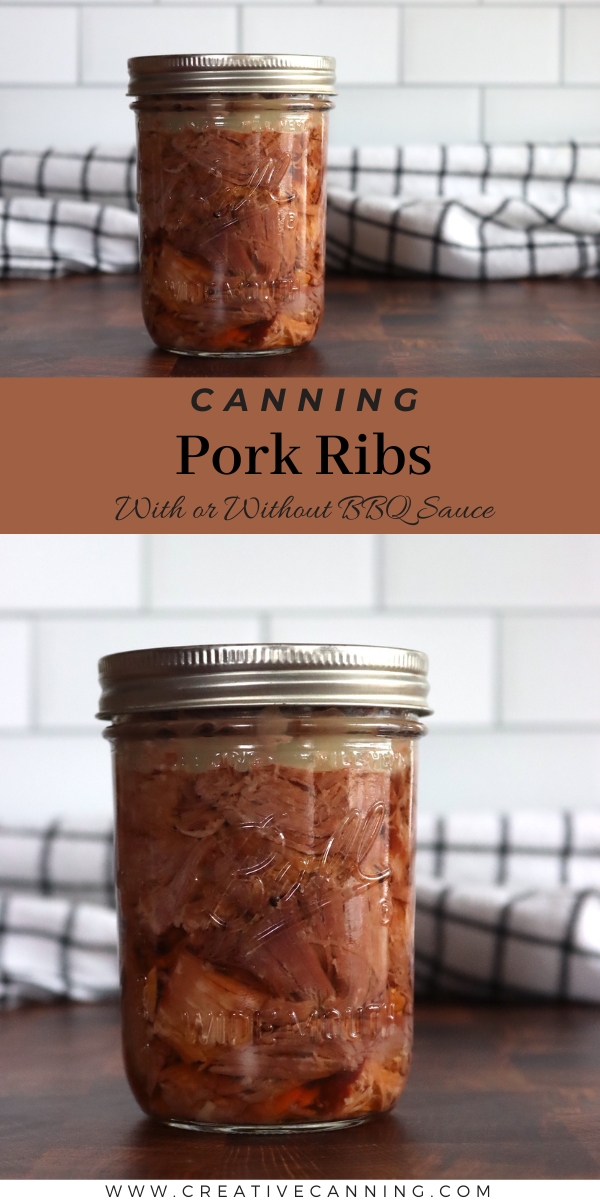
Canning pork ribs is a delicious way to put a meal in a jar, and this tough cut of meat comes out deliciously tender after canning. Pork spare ribs can be canned with or without BBQ sauce, and either boneless or bone-in.
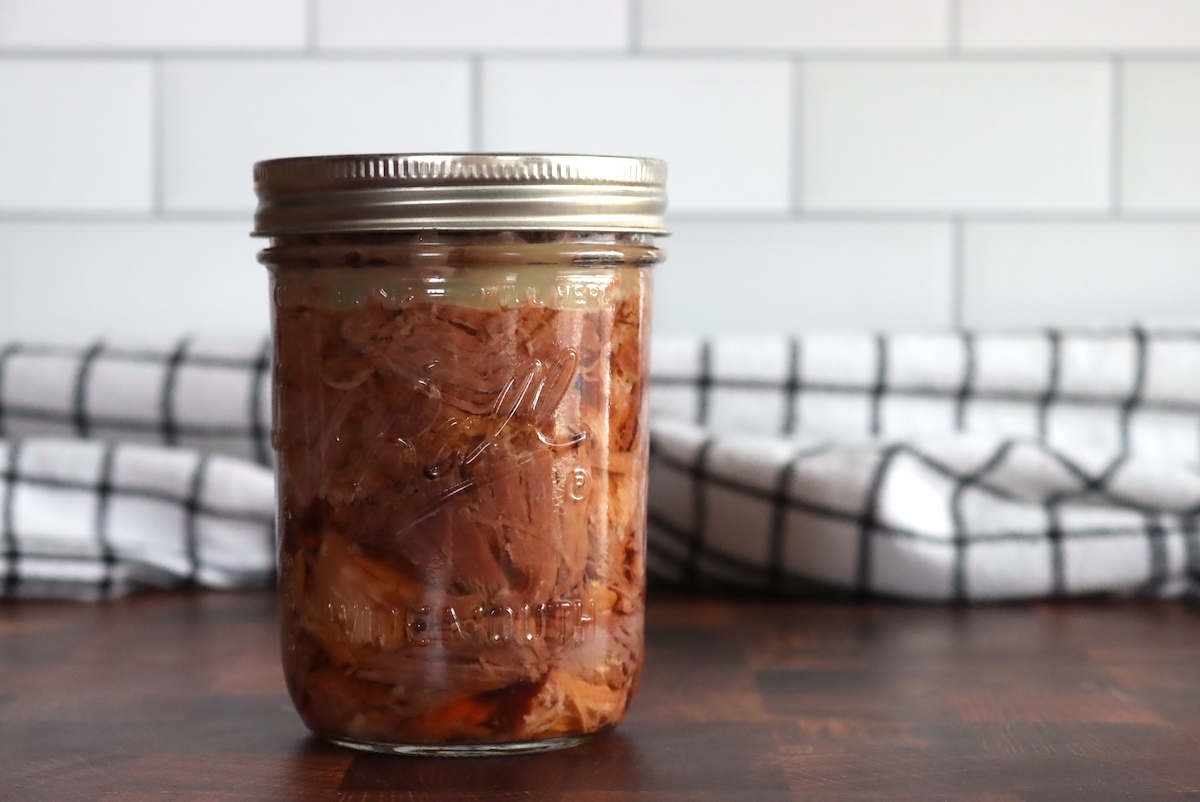
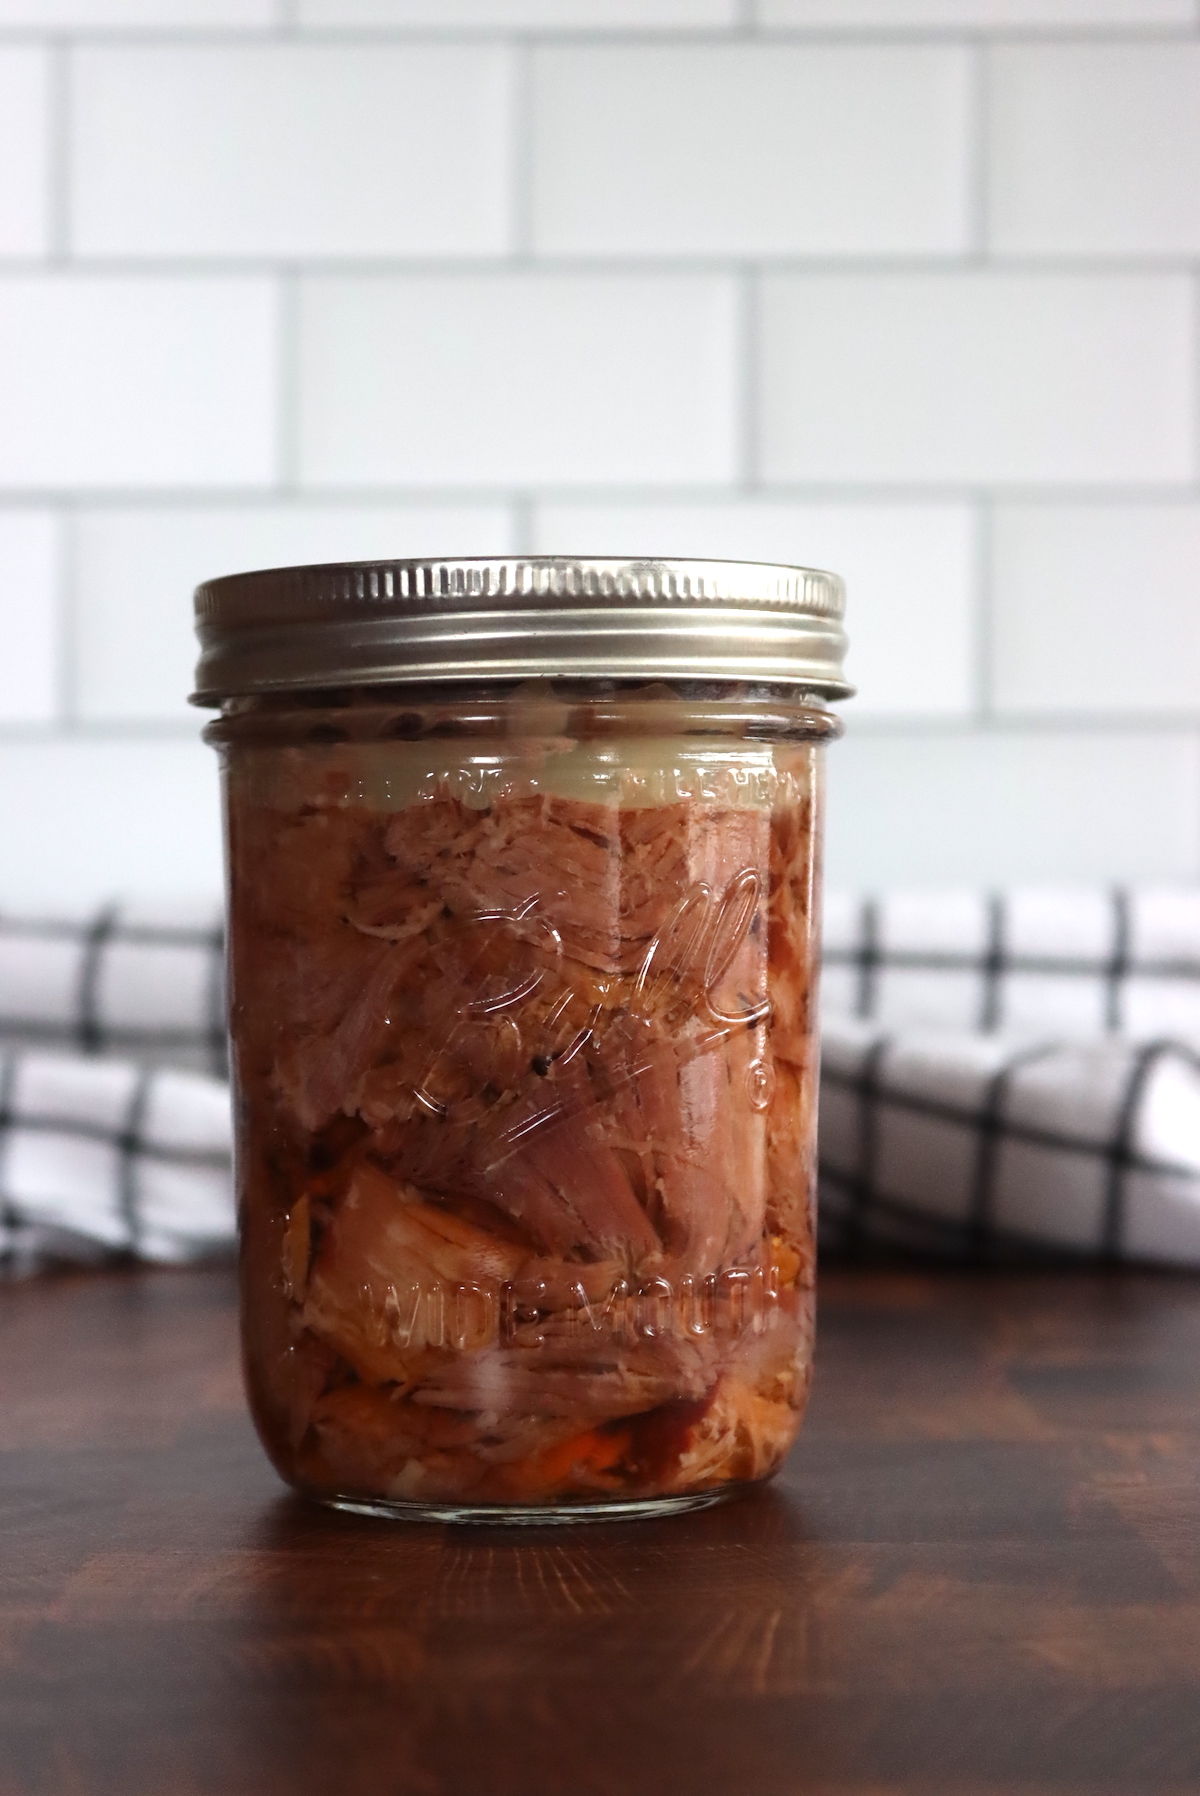
Canning pork spare ribs is a great way to cook up one of America’s favorite dishes while preserving the flavor and tenderness. The slow cooking process helps bring out the juicy, succulent texture and depth of flavor that make these spare ribs so delicious.
With canning, you don’t have to worry about overcooking and drying out the meat like with conventional methods. You can preserve the flavorful results for many months – all it takes is a bit of extra effort in the kitchen!
Plus, since these spare ribs are already cooked when canned, it makes for an incredibly easy and tasty meal when you’re ready to serve them up.
Now go ahead and fire up the pressure canner for some lip-smackingly good results! We have everything you need to know in this recipe.
Ways to Can Pork Ribs
So, believe it or not, there are plenty of ways to can pork ribs at home.
The ribs can be canned in BBQ sauce, broth, or plain water. They also can be put up boneless or bone-in, so long as the bones are small enough in the cut to fit into the jar leaving sufficient headspace.
When canning chicken, especially chicken drumsticks, those cuts are often canned bone in, so canning bone in meat is not unique to pork. Beef short ribs are also sometimes canned bone in because the pieces of bone are quite small.
The main downside to canning bone-in meat is that you’re taking up space in the jar with a bone that you’re not going to eat. Beyond that, the bones break down a bit and get brittle during pressure canning, so they may splinter a bit during serving…which I personally try to avoid.
The canning times for bone-in pork ribs are the same as boneless, and the bones actually conduct heat in the jars better than the meat itself.
(When canning bone-in chicken, the canning times are actually less than boneless chicken. Canning bone in pork is less common, so they haven’t bothered to test that variation. Since it’s going to be less time than plain meat, you can process bone in jars for the same time as boneless jars safely.)
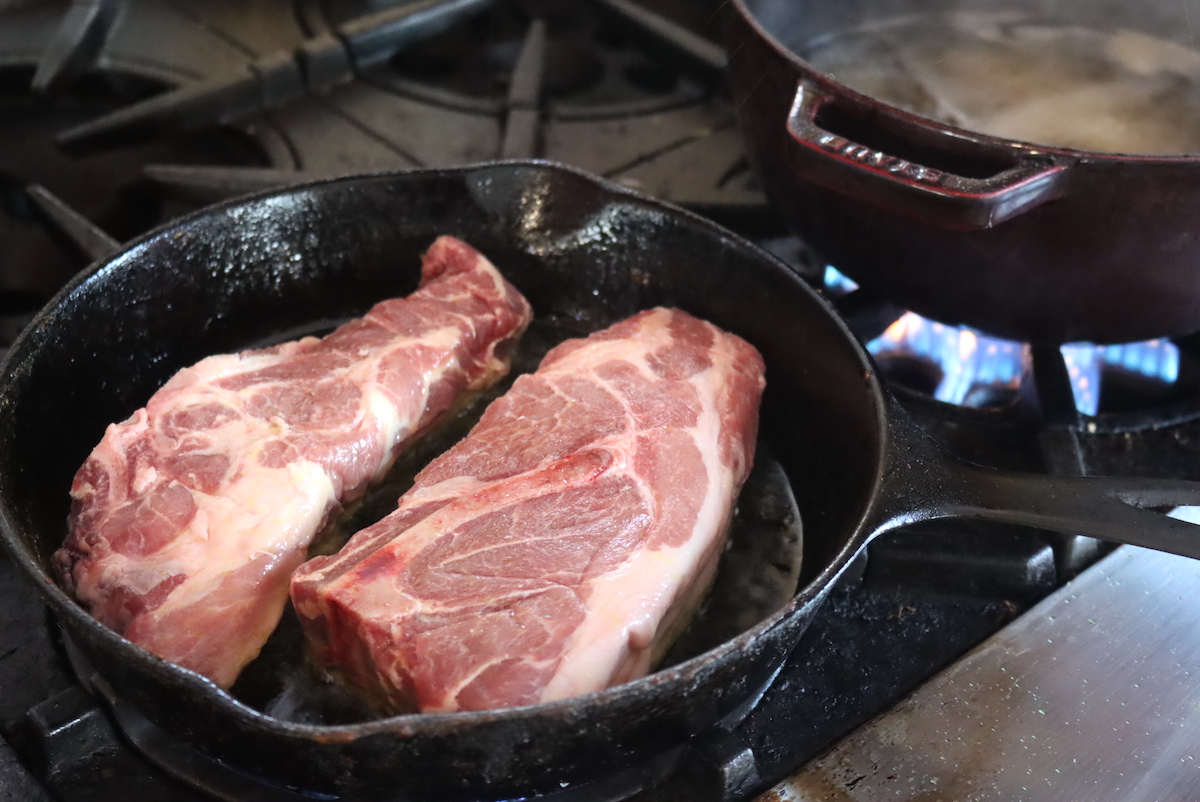
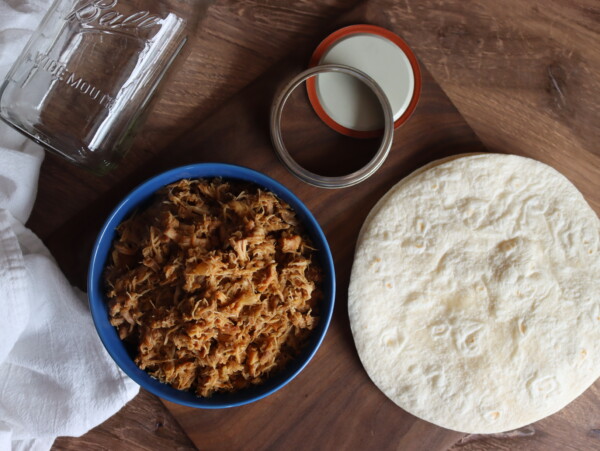
When canning pork ribs, I start by partially pre-cooking the meat so that I can easily remove the bones and cut the meat into small pieces. Or, you can slow cook the meat all the way and then can it shredded as “pulled pork ribs.”
The canning liquid when putting up pork ribs is also up to you. I generally opt for pork broth or chicken broth, but water will also work (though the meat will taste a bit washed out that way).
You are allowed to replace half the liquid with BBQ sauce, either commercially made or homemade. This adds flavor to the jars, but makes them less versatile. Some BBQ sauces will also take on a funny texture or flavor when canned with meat, so test a small batch first it you want to use sauce.
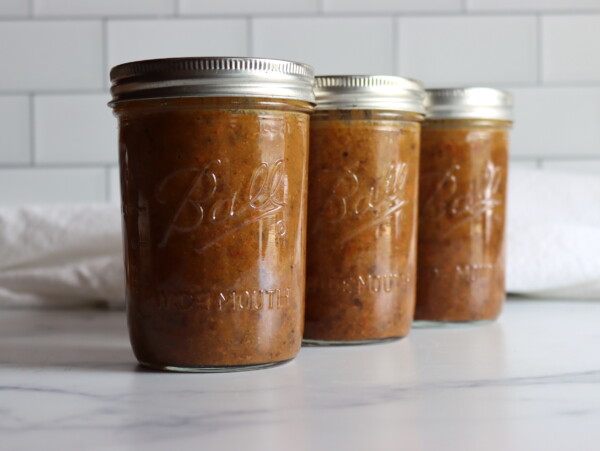
I like to can my BBQ sauce separately, and I put the pulled pork rib meat up in jars with just broth and salt. That’s the most versatile way to can it, but really the choice is up to you.
You must use a pressure canner since you’re canning a meat product. This is not optional, and you cannot safely preserve meat or any low-acid food (vegetables, soups, etc) in a water bath canner.
If you’re unfamiliar with pressure canning, please read my beginner’s guide to pressure canning before you get started.
Ingredients for Pork Spare Ribs
The ingredients for canning pork spare ribs are quite simple. To make a canner batch of 8 pints or 4 quarts, you’ll need the following:
- Pork spare ribs (about 8 lbs)
- About 4 cups liquid (all broth, or 2 cups BBQ sauce and 2 cups broth)
- Barbecue sauce (about 2 cups) or more broth
- Salt (optional, to taste)
Before we dive into the more detailed instructions for canning pork spare ribs, note that the quantities above for the required ingredients may vary slightly depending on the meat.
Some ribs will have a bit more meat on them than others, so the amount of barbecue sauce and broth required can vary slightly, as these ingredients will be used to finish filling the jars.
Don’t use more than half BBQ sauce in your canning liquid, and be sure to have extra boiling water or broth on hand to fill the jars to the specified headspace if necessary.
Canning Pork Spare Ribs
Begin by cracking the pork ribs evenly and trimming off excess fat. This will ensure that the meat cooks evenly.
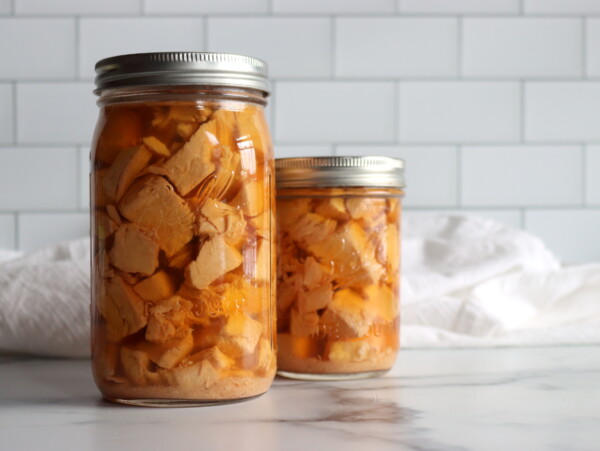
Roast or bake the meat until it’s about halfway done and cooked through. Remove the bones, then cut the meat (which will still be somewhat raw) into squares. Put the barbecue sauce into a stockpot on the stove, then bring it to a boil.
Reduce the heat to a simmer, about 180 degrees Fahrenheit, but make sure you keep it hot while you’re preparing the jars.
Do the same with the broth, warming it and keeping it hot until you’re ready to fill the jars.
Pack the hot pork meat into a hot, sterilized jar, leaving about an inch of headspace. If desired, add a half teaspoon of salt to each pint jar (or one teaspoon of salt to each quart jar). Salt is optional, and not required for safe preservation.
Ladle the hot barbecue sauce and/or broth over the meat, leaving an inch of headspace.
Remove air bubbles, then add more broth if needed. Clean the jar rims with a damp paper towel, removing any food particles or smears. Put the lids on the jars, then adjust the bands until they are fingertip tight.
Put the jars on the rack in the pressure container. Add two inches of simmering water (about 180 degrees Fahrenheit).
Put the lid on the canner, then turn it to the lock deposition. Adjust the heat to medium-high, then vent the steam for 10 minutes. Put the weighted gauge on the vent and bring the pressure to 10 lbs.
Process the pint jars for 1 hour and 15 minutes or the quart jars for 1 hour and 30 minutes. Turn off the heat, then cool the canner to zero pressure.
Once at zero pounds pressure, wait another five minutes, then remove the lid. Let the jars cool inside the canner for another 10 minutes.
Take the jars out of the canner. Do not retighten loose bands (these can be removed if desired). Cool the jars for another 12 hours, then check the seals.
Label and store the jars.
Altitude Adjustments for Canning Pork Ribs
Canning time remains the same regardless of altitude. However, the processing pressure increases as altitude increase.
Use the following table to determine the correct processing pressure if you’re above 1,000 feet in elevation.
For dial gauge pressure canners:
- 0 to 2,000 feet in elevation – 11 lbs pressure
- 2,001 to 4,000 feet in elevation – 12 lbs pressure
- 4,001 to 6,000 feet in elevation – 13 lbs pressure
- 6,001 to 8,000 feet in elevation – 14 lbs pressure
For weighted gauge pressure canners:
- 0 to 1,000 feet in elevation – 10 lbs pressure
- Above 1,000 feet – 15 lbs pressure
Serving Pork Spare Ribs
There are a few different ways you can serve up these pork spare ribs. If you want to enjoy them as-is, try to add more barbecue sauce (versus broth). Then, simply open the jars and enjoy.
If you’d rather make new recipe creations out of your canned pork spare ribs, then add more broth instead of barbecue sauce. When you want to reheat, just put the spare ribs in a shallow baking dish, then add unique additions like apricot chipotle sauce or plum sauce over the ribs.
Bake at 350 degrees Fahrenheit until they’re hot throughout.
Canning Pork Ribs
Ingredients
- Pork spare ribs, about 8 lbs
- Salt, optional, to taste
- Barbecue sauce, about 2 cups or Extra Broth
- Broth, to fill the remainder of jars - about 2 cups total
Instructions
- Crack the pork ribs evenly and trim off excess fat.
- Roast or bake the meat until it's about halfway done and cooked through.
- Remove the bones, then cut the meat into squares.
- Put the barbecue sauce into a stockpot on the stove, then bring it to a boil. Reduce the heat to a simmer, about 180 degrees Fahrenheit, but make sure you keep it hot while you're preparing the jars.
- Do the same with the broth, warming it and keeping it hot until you're ready to fill the jars.
- Pack the hot pork meat into a hot, sterilized jar, leaving about an inch of headspace. If desired, add a half teaspoon of salt to each pint jar (or one teaspoon of salt to each quart jar).
- Ladle the hot barbecue sauce and/or broth over the meat, leaving an inch of headspace.
- Remove air bubbles, then add more broth if needed.
- Clean The jar rims with a damp paper towel.
- Put the lids on the jars, then adjust the bands until they are fingertip tight.
- Put the jars on the rack in the pressure container. Add two inches of simmering water (about 180 degrees Fahrenheit).
- Put the lid on the canner, then turn it to the lock deposition. Adjust the heat to medium high, then vent steam for 10 minutes. Put the weighted gauge on the vent and bring the pressure to 10 lbs.
- Process pint jars for 1 hour and 15 minutes or quart jars for 1 hour and 30 minutes.
- Turn off the heat, then cool the canner to zero pressure.
- After five minutes, remove the lid, then let the jars cool inside the canner for another 10 minutes.
- Take the jars out of the canner. Do not retighten loose bands (these can be removed if desired). Cool the jars for another 12 hours, then check the seals.
- Label and store the jars.
Notes
Meat Canning Recipes
Chicken isn’t the only meat you can preserve in a jar! Keep your pantry stocked with these meat canning recipes:
The Amish and Mennonites have been canning meat without pressure cookers for around 300 years here in the US. Water bath canning does work with meat. Start cold and bring your water to a rolling boil and maintain the boil for three hours. No less! Refill the pot as needed to keep the jars covered. Use boiling water, like from a tea kettle, for the refills so as to not knock back the boil in the pot.
I know, not approved by the USDA. But my mother and grandmother did it for years and years didn’t kill anyone.
Great article, by the way. Thanks!
It only takes one jar to have botulism in it to kill you! You go ahead and play Russian roulette with your canned meat! I will use a pressure cooker!