This post may contain affiliate links. Please see our disclosure policy.
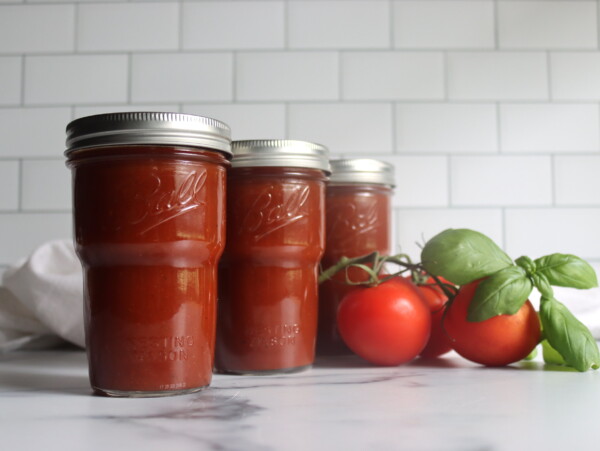
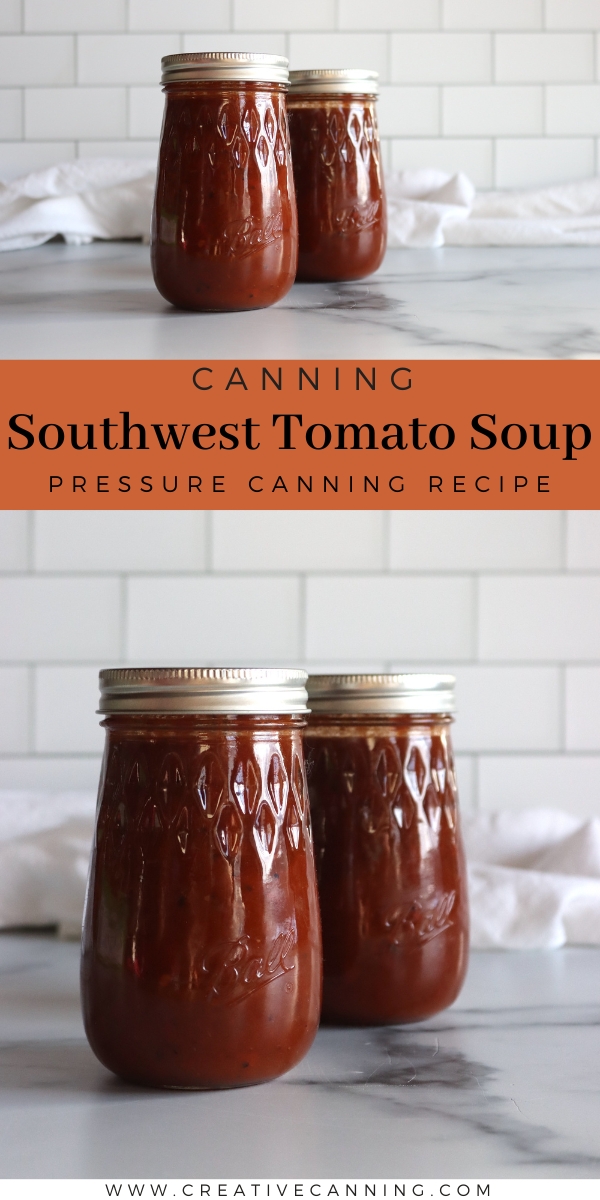
Southwest tomato soup is a smoky, warming bowl you can pull straight off the pantry shelf, with roasted New Mexican chiles giving it a gentle heat you can dial up or down to suit your table. A few pints put up now mean a cozy, satisfying soup is ready in the time it takes to heat a pot, topped however you like for a quick lunch or an easy weeknight dinner.
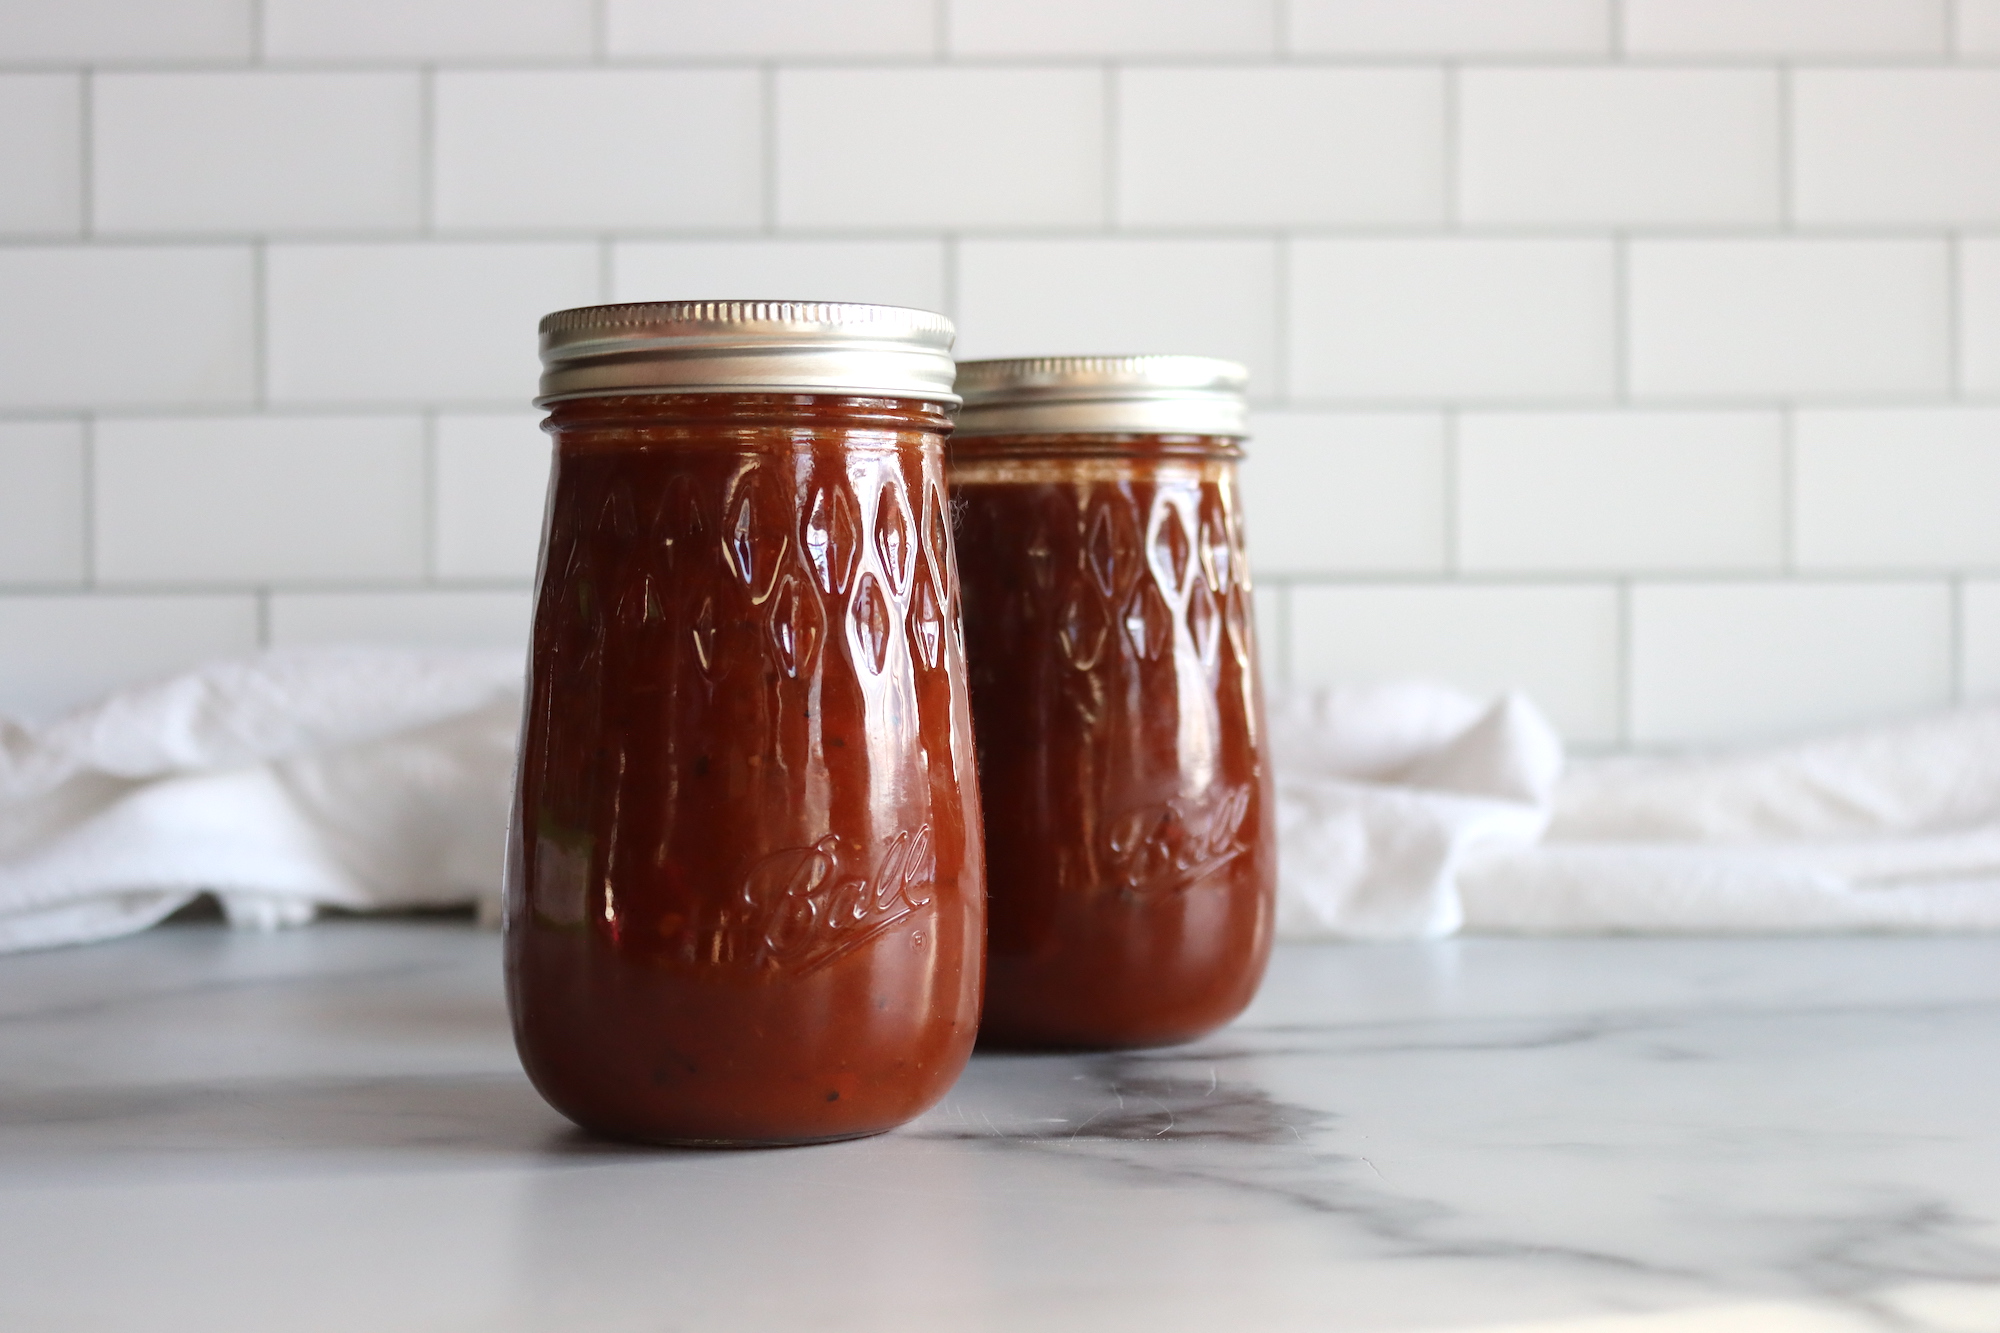
Table of Contents
- Notes from My Kitchen
- Quick Look at the Recipe
- Choosing the Chiles for Southwest Tomato Soup
- Ingredients for Southwest Tomato Soup
- Southwest Tomato Soup Variations
- How to Make Southwest Tomato Soup
- Canning Southwest Tomato Soup
- Altitude Adjustments
- Tips for Success
- Serving Ideas for Southwest Tomato Soup
- Yield Notes
- Southwest Tomato Soup FAQs
- Soup Canning Recipes
- Southwest Tomato Soup Recipe
- Meal in a Jar Canning Recipes
This recipe has been reviewed for safety and accuracy by a Master Food Preserver certified through the University of Cornell Cooperative Extension.
This soup started with Ball Canning’s enchilada sauce from the All New Ball Book of Canning and Preserving. The first time we made that sauce, it struck us how much it tasted like a rich tomato soup with a little kick from the Hatch-style green chiles, so my husband thinned a jar with some broth and we ate it as soup. It was good enough that we worked the idea into a full Southwest Tomato Soup, processed in a pressure canner the same way as other pressure canning recipes.
The result lands somewhere between an Italian-style roasted tomato basil soup and something with a southwestern edge. It is still a vegetarian soup canning recipe if you use vegetable broth, just with more warmth and depth from the toasted chiles and cumin. Because it is low in acid, it has to be pressure canned rather than processed in a water bath.
Notes from My Kitchen

The part that makes this soup for me is toasting the dried chiles. It takes only a few seconds a side on a hot pan, but that quick blistering is where the smoky, slightly sweet flavor comes from, and skipping it leaves the soup tasting flat. I keep a close eye on them, since chiles go from toasted to scorched fast, and a burnt chile turns the whole pot bitter.
We keep ours on the milder side for the kids and let everyone add heat at the table, but you can build it as warm as you like by your choice of chile and chili powder. A jar reheated with a spoonful of sour cream and a handful of tortilla strips has turned into one of our regular cold-weather lunches.
Quick Look at the Recipe
- Recipe Name: Southwest Tomato Soup
- Recipe Type: Soup Canning Recipe (Tomato)
- Canning Method: Pressure Canning
- Prep Time: About 30 minutes
- Cook Time: About 50 minutes
- Canning Time: Pints 50 minutes (half pints process at the pint time)
- Yield: About 8 pints
- Jar Sizes: Half pint or pint
- Headspace: 1 inch
- Ingredients Overview: Dried chiles, tomatoes, onion, garlic, broth, brown sugar, salt, and spices
- Safe Canning Recipe Source: The All New Ball Book of Canning and Preserving (adapted from their enchilada sauce)
- Difficulty: Moderate. Toasting and rehydrating the dried chiles is the step that gives this soup its flavor.
- Similar Recipes: Canning Southwest Tomato Soup works a lot like other tomato soup canning recipes, such as roasted tomato basil soup and heirloom tomato soup. For something in the same southwestern family, try southwestern vegetable soup or stir a jar of southwestern corn salsa into a bowl at serving.
Choosing the Chiles for Southwest Tomato Soup
The dried New Mexican chiles do most of the work here, and they come in a range of heat levels. Look for whole dried pods labeled New Mexican or Hatch-style, since they have a deep, slightly fruity flavor that holds up to the long process. Mild varieties give you almost no heat and let the toasted, smoky character come through, while hotter pods add a real kick, so check the label or ask at the market if you are not sure what you are getting.
You control the heat in two places. The chiles set the base, and the chili powder you stir in later builds on it. If you want a warmer pot, reach for a hotter chili powder. For a milder soup, swap in sweet paprika in place of some or all of the chili powder, which keeps the color and body without the burn. Either way, you are adjusting seasoning, not the tested amounts of vegetables, so the soup stays within the same recipe.
Ingredients for Southwest Tomato Soup
Here is what each part of the soup is doing, so you know where there is room to adjust and where there is not. The exact amounts are in the recipe card below, since changing the proportions of the vegetables in a pressure canned soup changes how heat moves through the jar. Think of this section as the why behind the ingredient list.
- Dried New Mexican chiles: The backbone of the soup. Toasting them brings out a smoky depth, and soaking softens them so they blend smooth. Choose your heat level by the chile variety, and reserve some of the soaking liquid, since it carries a lot of flavor back into the pot.
- Tomatoes: The body of the soup. Canned diced tomatoes keep things simple and consistent, and they give the soup its color and the gentle acidity you expect from a tomato soup.
- Onion and garlic: Cooked down until the onions caramelize, they add the sweet, savory base that rounds out the chiles. Caramelizing takes a little patience, but it is worth the time.
- Broth: Vegetable or chicken broth thins the tomato base into a soup. Homemade or store-bought both work, and a jar of home-canned broth is a nice way to use what you have put up.
- Brown sugar: Optional, and there to balance the acidity of the tomatoes and the heat of the chiles. Start with less and adjust to taste, or leave it out entirely.
- Chili powder, cumin, salt, and ground red pepper: The seasoning blend that pushes this into southwestern territory. These are flavorings, so you have room to adjust them up or down to suit your table.
A few things stay out of the jar and go in at serving instead. Sour cream, shredded cheese, and tortilla strips are toppings you add to the bowl, not the soup before canning, since dairy and starchy add-ins are not safe to process. The same goes for any thickener, which belongs on the stove at reheating, not in the canner.
Southwest Tomato Soup Variations
This soup is adapted from the enchilada sauce in The All New Ball Book of Canning and Preserving, thinned with broth and seasoned into a soup. It is a low-acid product, so the pressure and processing time are what make it safe, and they are not adjustable. You cannot process this soup in a water bath canner, and you cannot shorten the time or lower the pressure. For more on why low-acid soups have to be pressure canned, the National Center for Home Food Preservation covers the food safety reasoning.
Where you do have room is in the seasoning. Choose hotter or milder chiles, adjust the chili powder, swap in sweet paprika for a gentler pot, or leave out the brown sugar. What stays out until serving is anything that would change the safety of the jar: cream or cheese, pasta or rice, and any flour or cornstarch thickener. Stir those into a bowl after you reheat, not into the pot before canning.
How to Make Southwest Tomato Soup
The method comes together in two stages. First you build the soup on the stovetop, toasting and soaking the chiles and caramelizing the onions before everything simmers together. Then you blend it smooth, pack it hot, and pressure can it. None of it is difficult, but the chiles reward a little attention.
Prepare the Ingredients
Start by rinsing any dust off the 12 dried New Mexican chiles and patting them dry. Heat a griddle or large skillet over high heat and toast the chiles for about 8 to 10 seconds per side, just until they puff and blister. Watch them closely, since a scorched chile makes the soup bitter. Once they are cool enough to handle, pull off the stems, shake out the seeds, and tear the pods into large pieces.
Put the torn chiles in a bowl and pour 2 cups of boiling water over them, then let them soak for about 20 minutes until softened. Save 1 cup of the soaking liquid to add back to the pot later, since it carries a lot of the chile flavor.
Build and Blend the Soup
Heat 1 tablespoon of olive oil in a large Dutch oven over medium-high heat. Add the 4 cloves of minced garlic and cook for about 30 seconds, until fragrant, then stir in the 5 cups of chopped onion. Cover and cook about 10 minutes, stirring now and then, until the onions soften, then uncover and keep cooking another 5 to 10 minutes until they turn a rich caramel color.
Add the 6 cups of diced tomatoes, the quart of broth, the brown sugar, 2 tablespoons chili powder, 2 teaspoons salt, 2 teaspoons cumin, 1 teaspoon ground red pepper, the softened chiles, and the reserved soaking liquid. Stir it all together, then blend until smooth with an immersion blender or in batches in a stand blender. Return the soup to the pot, bring it to a boil, then reduce the heat and simmer uncovered for about 25 minutes, stirring occasionally, until it thickens and deepens in color.
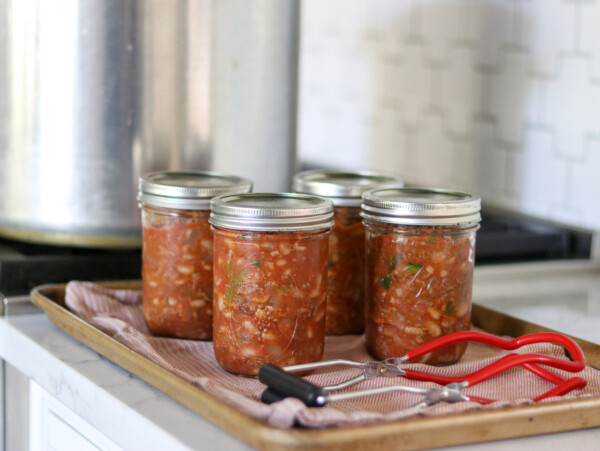
Pack the Jars
While the soup simmers, prepare your jars and lids and keep them warm. Once the soup has thickened to your liking, ladle it hot into the warm jars using a canning funnel, leaving 1 inch of headspace at the top.
Run a non-metallic bubble remover around the inside of each jar to release trapped air, then wipe the rims clean. Set the lids on top and screw the bands down until they are fingertip tight, snug but not cranked.
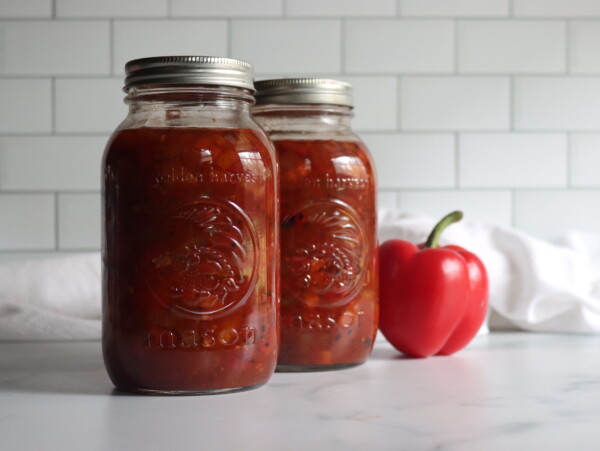
Canning Southwest Tomato Soup
This is a hot pack soup, and you will want to put up at least a small canner load at a time, a minimum of 2 quarts or 4 pints, so the canner comes up to pressure properly. A full batch fills about 8 pints, give or take, depending on how far down you simmer it.
To can, prepare your pressure canner, jars, and lids. Fill the canner with a few inches of simmering water, set the packed jars on the rack so they are not touching, lock the lid, and vent steam for a full 10 minutes before bringing it up to pressure.
Process pints (or half pints) for 50 minutes at 10 pounds pressure in a weighted gauge canner or 11 pounds in a dial gauge canner, adjusting for altitude. When the time is up, turn off the heat and let the canner return to zero pressure on its own. Never force cool it. Let it sit another 10 minutes, then remove the lid, lift the jars out, and cool them on a towel-lined counter. Once cool, check the seals, label, and store.
Altitude Adjustments
With pressure canning, the processing time stays the same at higher altitudes, but the pressure changes. Here are the altitude adjustments for pressure canning Southwest Tomato Soup, and you can find more detail in the full guide to altitude adjustments for pressure canning.
For dial gauge pressure canners:
- 0 to 2,000 feet: 11 lbs pressure
- 2,001 to 4,000 feet: 12 lbs pressure
- 4,001 to 6,000 feet: 13 lbs pressure
- 6,001 to 8,000 feet: 14 lbs pressure
For weighted gauge pressure canners:
- 0 to 1,000 feet: 10 lbs pressure
- Above 1,000 feet: 15 lbs pressure
Tips for Success
Give the chiles your full attention while they toast. A few seconds a side is all they need, and the line between toasted and burnt is thin. If a pod scorches, toss it rather than letting it turn the whole pot bitter, since one burnt chile carries a long way through 8 pints of soup.
Blend in batches if you are using a stand blender, and leave the lid cracked or vented so steam can escape, because hot soup builds pressure in a sealed jar. An immersion blender right in the pot is the easier route if you have one. And if you like a thinner soup, you can add a little more broth as it simmers to reach the consistency you want before you pack the jars.
Serving Ideas for Southwest Tomato Soup
When you are ready to eat, open a jar and heat the soup on the stovetop. This is the point to add anything that could not go in the canner, so stir in a swirl of cream if you want it richer, or thicken it with a little flour or cornstarch slurry on the stove if you prefer a heavier bowl. Fresh cilantro stirred in at the end brightens the whole thing up.
For toppings, a dollop of sour cream, a handful of shredded cheese, and some crispy tortilla strips turn a bowl into a meal. A couple of spoonfuls of southwestern corn salsa add texture and a little sweetness. It pairs well with cornbread or quesadillas, and it sits comfortably alongside other soup canning recipes like classic vegetable soup or butternut squash and white bean soup on a soup night.
Yield Notes
A full batch fills about 8 pints, though the exact count shifts with how long you simmer the soup down, since a longer simmer concentrates it into fewer jars. Half pints work well if you tend to open a single serving at a time, and they process at the same time as pints.
The recipe halves and doubles cleanly if you keep the proportions the same. Just hold to a minimum canner load of 2 quarts or 4 pints so the canner can come up to pressure and hold it, and never overfill the canner past what your model allows.
A few questions come up often with this one, so here are the answers before you get started.
Southwest Tomato Soup FAQs
No. Southwest Tomato Soup contains low-acid ingredients, so it is not safe for water bath canning. You need to use a pressure canner to make safe, shelf-stable jars.
No. Flour, cornstarch, and other thickeners are too dense to let heat move through the jar safely, so they are never added before canning. Thicken the soup on the stove when you reheat it to serve.
Adjust the heat through your choice of dried chile and the chili powder, since those are seasonings rather than safety ingredients. Use hotter chiles and chili powder for more heat, or swap in sweet paprika for a milder pot. Do not increase the total amount of peppers, which would change the recipe.
Properly processed and sealed jars keep for about 12 to 18 months in a cool, dark place, though they stay safe longer. Refrigerate after opening and use within 3 to 4 days.
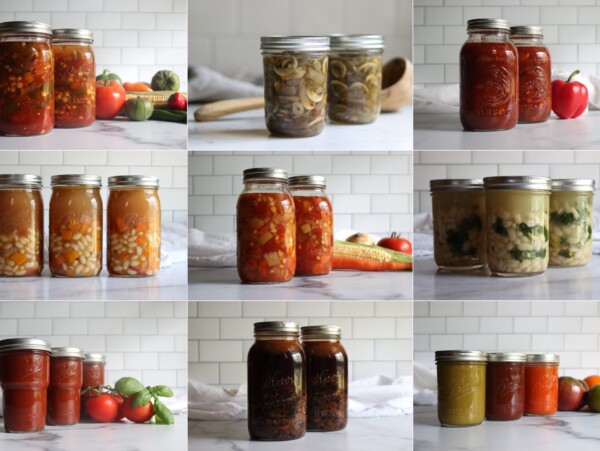
Keep your pantry stocked with more of these soup canning recipes.
Soup Canning Recipes
If you tried this Southwest Tomato Soup recipe, or any other recipe on Creative Canning, leave a ⭐ star rating and let me know what you think in the 📝 comments below!
And make sure you stay in touch with me by following on social media!
Southwest Tomato Soup
Ingredients
- 12 dried New Mexican chile peppers
- 2 cups boiling water
- 4 garlic cloves, minced
- 1 Tbsp olive oil
- 5 cups coarsely chopped onion
- 6 cups canned diced tomatoes
- 1 Quart vegetable or chicken broth, or more, for a thinner soup
- 1/2 cup dark brown sugar, firmly packed, optional, or adjust to taste
- 2 Tbsp chili powder
- 2 tsp salt
- 2 tsp ground cumin
- 1 tsp ground red pepper
Instructions
Toast and Soak the Chiles
- Start by rinsing any dirt off the dried New Mexican chiles and patting them dry with a paper towel. Toast the chiles on a very hot griddle or in a skillet for 8 to 10 seconds on each side until they puff up and blister, taking care not to burn them.
- Once they are cool enough to handle, remove the stems and seeds, tear them into large pieces, and place them in a medium bowl.
- Pour the boiling water over the chiles and let them soak for about 20 minutes to soften. Don’t discard the soaking liquid, you will need it in the soup.
Make the Soup
- In a large Dutch oven, heat the olive oil over medium-high heat. Add the minced garlic and saute for 30 seconds until fragrant.
- Stir in the chopped onions, cover, and cook for about 10 minutes, stirring occasionally. Once the onions start to soften, uncover the pot and continue cooking, stirring often, for another 5 to 10 minutes until the onions are a rich caramel color.
- Stir in the diced tomatoes, broth, brown sugar, chili powder, salt, cumin, ground red pepper, and the softened chiles, along with the reserved soaking liquid. Once everything is well combined, remove the pot from the heat and let the flavors meld for a minute or two.
- Transfer the mixture in batches to a blender and blend until smooth (you can also use an immersion blender directly in the pot). Return the pureed soup to the Dutch oven.
- Bring it to a boil over medium-high heat, then reduce the heat to low and let the soup simmer uncovered for 15 to 20 minutes. Stir occasionally, and as the soup simmers it will thicken and darken in color. Stop when it is as thick as you like your soup. You should have about 6 to 6.5 pints.
Pressure Canning
- Prepare a pressure canner and preheat it to just simmering.
- Ladle the hot Southwest Tomato Soup into the warm jars, leaving about 1 inch of headspace. Remove any air bubbles, and wipe the jar rims clean. Place the lids on the jars and screw on the bands until they are fingertip-tight.
- Carefully place the jars on the canner rack, making sure they aren’t touching. Secure the lid on the canner, vent steam for 10 minutes, and then bring the pressure to 10 pounds (psi) for a weighted-gauge canner or 11 pounds (psi) for a dial-gauge canner. Process the jars for 50 minutes, adjusting pressure for your altitude as needed.
- Once the canning time is up, turn off the heat and let the pressure in the canner return to zero and cool completely. Carefully remove the jars and let them cool on a towel on the counter.
- Once cooled completely, check the seals on the jars, wipe any residue off, and store them in a cool, dark place. Properly canned jars can be stored for 12 to 18 months on the pantry shelf. Once opened, refrigerate and consume within a few days.
Notes
- 0 to 2,000 feet in elevation – 11 lbs pressure
- 2,001 to 4,000 feet in elevation – 12 lbs pressure
- 4,001 to 6,000 feet in elevation – 13 lbs pressure
- 6,001 to 8,000 feet in elevation – 14 lbs pressure
- 0 to 1,000 feet in elevation – 10 lbs pressure
- Above 1,000 feet – 15 lbs pressure
Nutrition
Nutrition information is automatically calculated, so should only be used as an approximation.
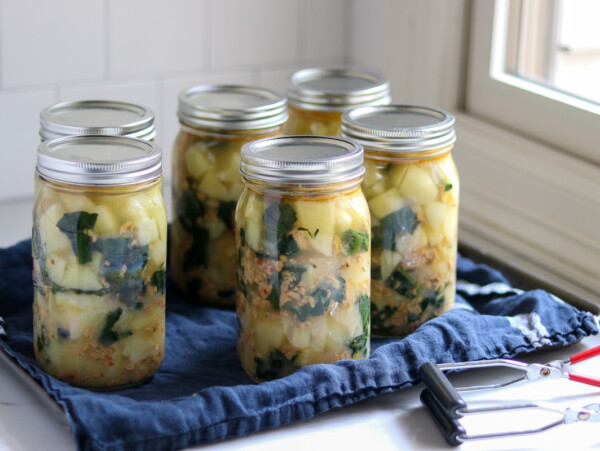
Looking for a full meal in a single jar? Browse these meal in a jar canning recipes.
Meal in a Jar Canning Recipes

Find the perfect recipe
Searching for something else? Enter keywords to find the perfect recipe!

I just made this, I haven’t canned it yet, but it’s great! Very hot. I live in a small town so I can only get 2 different kinds of chilis, mild or hot. I chose hot and used all 12 peppers. It’s a very good recipe. Thanks!
I’m so glad you like it!
My husband absolutely loved this one! It’s like classic tomato soup, but with a bit of heat and spice to keep things interesting.