This post may contain affiliate links. Please see our disclosure policy.
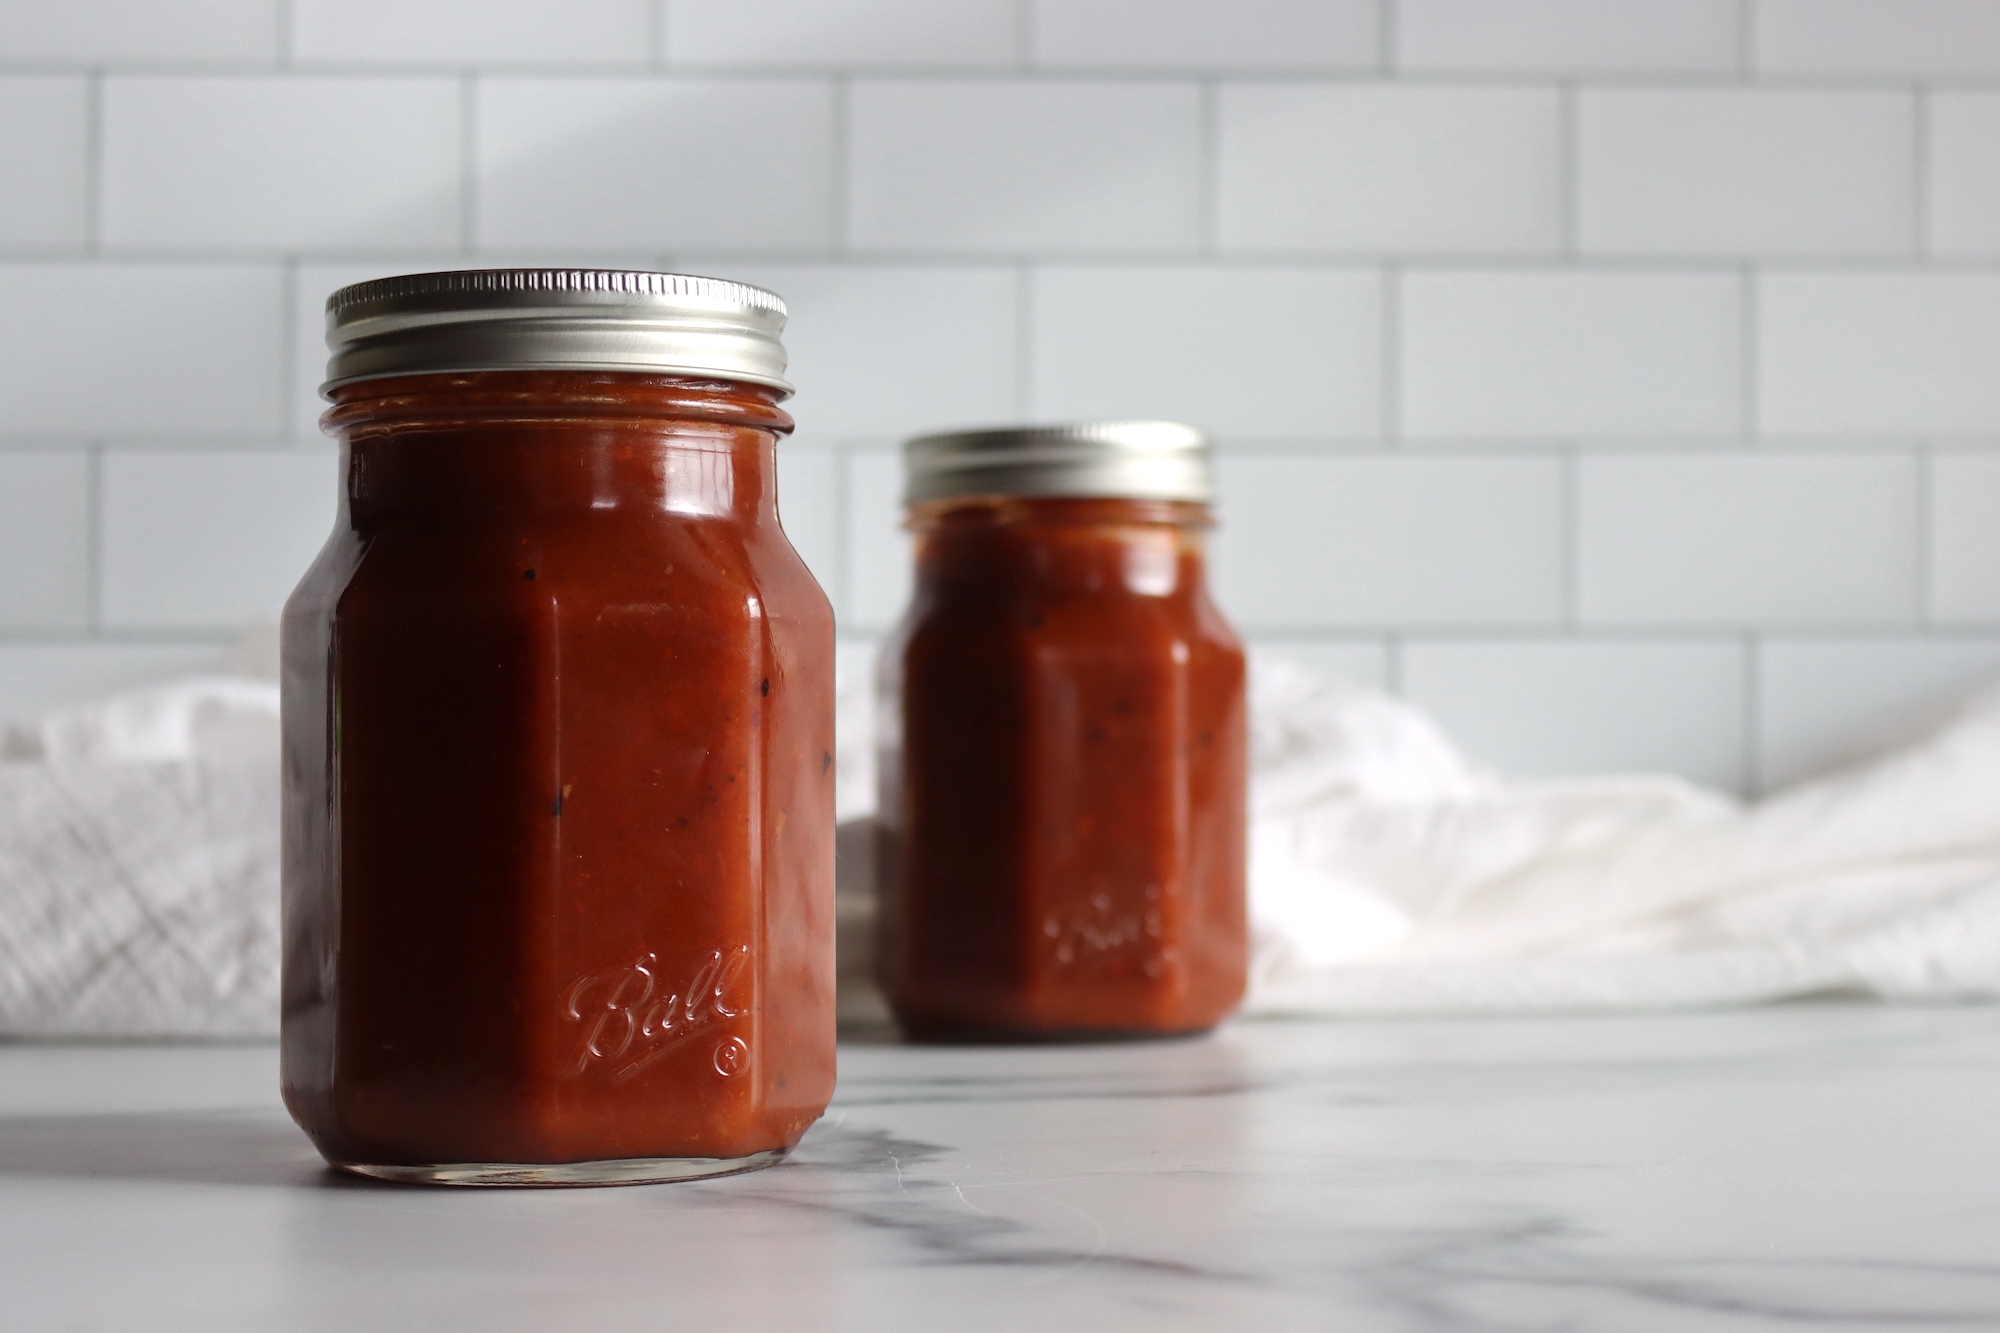
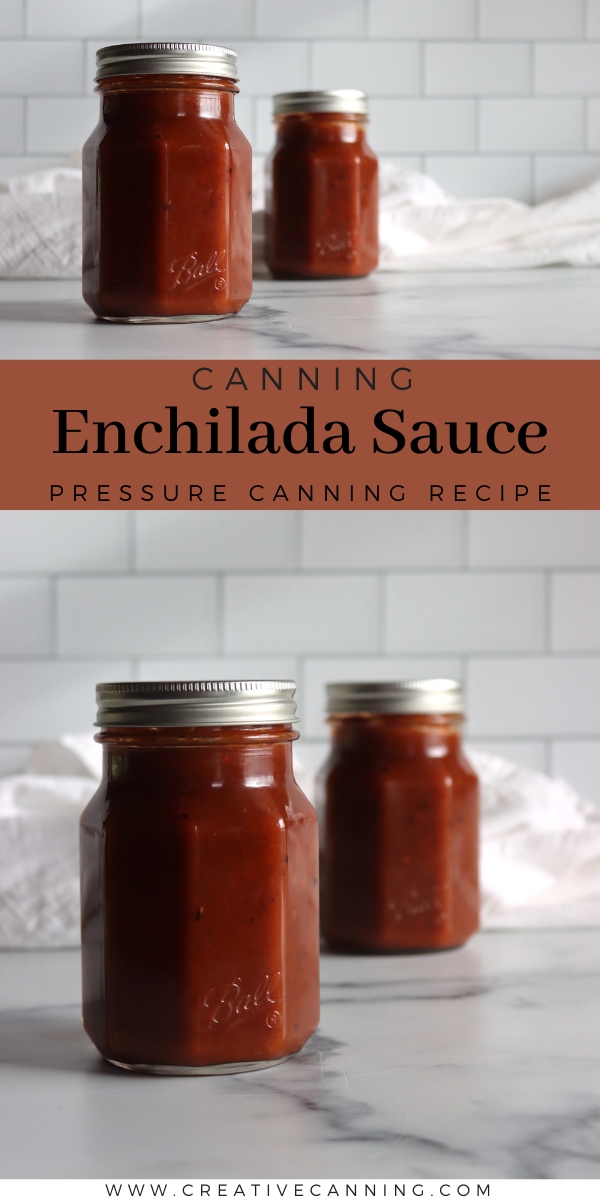
Canning enchilada sauce gives you a sweet, smoky, slightly spicy meal starter on the pantry shelf, and this pressure-canning recipe for enchilada sauce lets you make it ahead and keep it ready whenever you need it.
This recipe has been reviewed for safety and accuracy by a Master Food Preserver certified through the University of Cornell Cooperative Extension.
This classic enchilada sauce recipe is built on caramelized onions and toasted dried chiles, which give it a depth you just don’t get from a can at the store. It smothers homemade enchiladas beautifully, but it also works for braising meats, dressing up tacos, or spicing up a pot of beans or a pan of eggs.
The recipe is adapted from the All New Ball Book of Canning and Preserving, and it’s safe for pressure canning as written. One thing worth flagging up front: Ball lists the yield as 8 pints, but that isn’t actually possible from this amount of ingredients. After everything cooks down and simmers, you’ll get closer to 4 to 5 pints (more on that in the yield notes below).
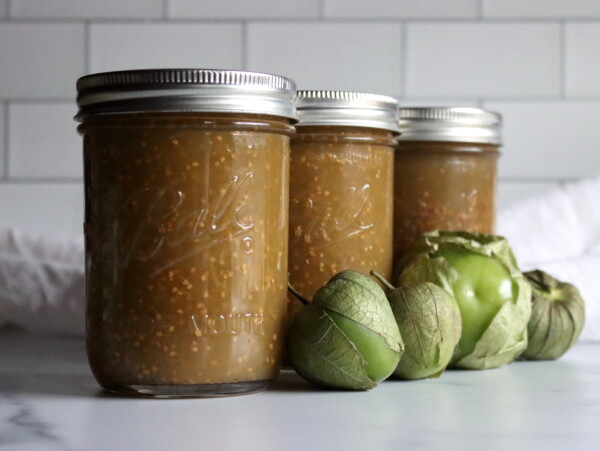
(And if you’re looking for a green sauce instead, I also have a Tomatillo Enchilada Sauce Canning Recipe made the same way.)
Notes from My Kitchen

I went into this one a little skeptical that toasting and rehydrating dried chiles was worth the extra steps, since it’s tempting to just dump in chili powder and call it done. It turns out those few minutes at the stove are where all the flavor comes from, and the sauce ends up balanced and a little smoky rather than flat.
We run the brown sugar down to about 1/4 cup because my family leans toward less-sweet recipes, and the sauce is still nicely rounded. (It’s 1/2 cup from Ball.) My batches come out at 4 to 5 pints, depending on how long I let them simmer, so I always keep an extra jar warm just in case. Make a double batch if you can fit it, because this disappears faster than you’d expect.
A Quick Look at the Recipe
- Recipe Name: Enchilada Sauce (Ball Canning Recipe)
- Recipe Type: Tomato Sauce
- Canning Method: Pressure Canning
- Prep/Cook Time: 50 Minutes
- Canning Time: 50 Minutes
- Yield: 4 to 5 pint jars
- Jar Sizes: Half Pint or Pint
- Headspace: 1 inch
- Ingredients Overview: Chili Peppers, Tomatoes, Onions, Sugar, Salt, and Spices
- Safe Canning Recipe Source: All New Ball Book of Canning and Preserving
- Difficulty: Moderate. Toasting and rehydrating the dried chiles takes a few extra minutes, but it’s what gives this sauce its flavor.
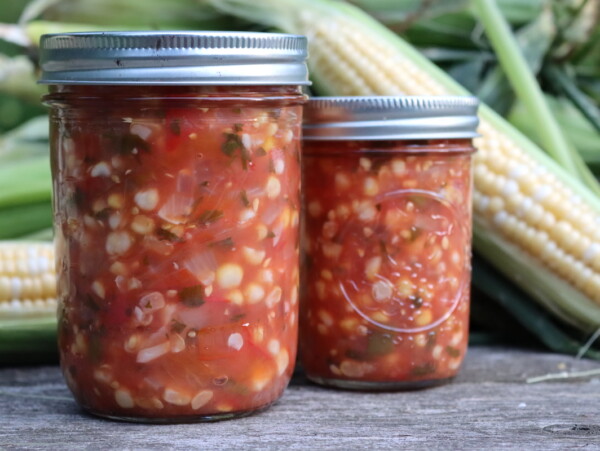
- Similar Recipes: The process is much like other smooth, blended tomato recipes, such as roasted tomato basil soup and roasted marinara sauce. Flavor-wise it sits closer to mild jalapeño salsa or southwestern corn salsa, and for a green version there’s tomatillo sauce.
Ingredients for Enchilada Sauce
This is a short ingredient list, and each piece is pulling its weight. Don’t skip toasting the dried chiles, that’s what gives this sauce amazing flavor.
- Dried New Mexican chiles: These are the backbone of the sauce, and toasting them before they soak is what brings out their flavor. Outside of New Mexico you can usually find them near the salsa and hot sauce, often in 4-ounce packages, which is just about right here. You can use whole pods or buy crumbled hatch chili flakes in 3-ounce pouches, which come stemmed and ready to go. Other dried chiles like ancho or guajillo work too, and if you want a smokier, spicier sauce you can lean on something like canned chipotles in adobo at serving time.
- Tomatoes: Canned diced tomatoes keep this simple and consistent year-round, and they blend down into a smooth base. You can use garden tomatoes instead. Dice them into a hot pot as you work, crushing as you go, then cook and mash for about 5 minutes before measuring (see the recipe notes for why that step matters).
- Onions and garlic: Caramelizing the onions gives the sauce its sweetness and body, so don’t rush them. The garlic just needs a quick sauté to wake it up before the onions go in.
- Brown sugar and salt: Both are here for flavor, not for safety, so feel free to adjust them to taste. I find the full amount of brown sugar a touch sweet and usually cut it down, but that’s a personal preference.
- Chili powder, cumin, and ground red pepper: This is the spice blend that reads as “enchilada.” If your family isn’t into heat, you can reduce or leave out the ground red pepper, and even skip the dried chiles entirely while keeping the chili powder for color and flavor.
How to Make Enchilada Sauce
To start, prep the dried New Mexican chiles. Rinse off any dirt and pat them dry, then heat a griddle or large skillet on high and toast the chiles for about 8 to 10 seconds on each side, just until they puff up and start to blister. Be careful not to let them burn, since that can make the sauce taste bitter.
Once they’ve cooled a bit, remove the stems and seeds and tear the chiles into large pieces. Place them in a medium bowl, pour 2 cups of boiling water over them, and let them soak for about 20 minutes until they soften. Drain them, but save about a cup of the soaking liquid for later.
Now caramelize the onions. In a large, heavy-bottomed Dutch oven, heat the olive oil over medium-high heat, add the minced garlic, and sauté for about 30 seconds until fragrant. Add the chopped onions, cover the pot, and let them cook for about 10 minutes, stirring occasionally, until they start to soften. Uncover and cook for another 5 to 10 minutes, stirring often, until they turn a deep caramel color.
Once the onions are caramelized, stir in the diced tomatoes, brown sugar, chili powder, salt, cumin, ground red pepper, and the softened chiles along with the reserved soaking liquid. Give everything a good mix, then pull the pot off the heat and let the flavors come together for a minute.
When the mixture is ready, blend it into a smooth sauce. Working in batches, transfer it to a blender and blend until completely smooth (an immersion blender works too). Pour the puree back into the Dutch oven and bring it to a boil over medium-high heat, then reduce the heat and simmer uncovered for about 25 minutes, stirring often. As it simmers, the sauce thickens and darkens, so keep stirring to keep it from sticking. This simmer is also where a lot of that “8 pint” volume disappears, which is why the real yield lands at 4 to 5 pints.
Canning Enchilada Sauce
Once your sauce has thickened to your liking, it’s time to get it into jars. If you’d rather not can it, this sauce keeps in the fridge for about a week, or in the freezer for up to 6 months in freezer-safe containers, so you can skip the canner entirely if you just want some on hand for the next few dinners.
To can it, fill your pressure canner with about 2 inches of simmering water (around 180°F) and keep your washed jars warm. Ladle the hot sauce into the jars, leaving 1 inch of headspace, then remove any air bubbles with a non-metallic spatula and wipe the rims clean. Center the lids and screw on the bands until fingertip-tight.
Place the jars on the canner rack so they aren’t touching, secure the lid, and vent the steam for 10 minutes. Bring the pressure up to 10 pounds for a weighted-gauge canner or 11 pounds for a dial-gauge canner, and process for 50 minutes. When the time is up, turn off the heat, let the canner return to zero pressure, and wait another 5 minutes before removing the lid. Lift the jars out, set them on a towel, and let them cool completely before checking the seals.
Altitude Adjustments
With pressure canning, the processing time stays the same at higher altitudes, but the pressure changes. Here are the altitude adjustments for pressure canning enchilada sauce:
For dial gauge pressure canners:
- 0 to 2,000 feet: 11 lbs pressure
- 2,001 to 4,000 feet: 12 lbs pressure
- 4,001 to 6,000 feet: 13 lbs pressure
- 6,001 to 8,000 feet: 14 lbs pressure
For weighted gauge pressure canners:
- 0 to 1,000 feet: 10 lbs pressure
- Above 1,000 feet: 15 lbs pressure
Yield Notes
Ball lists this recipe as making 8 pints, but that yield isn’t possible from this amount of ingredients. Between the onions caramelizing, the tomatoes blending down, and the sauce simmering uncovered for 25 minutes, a lot of volume cooks off. In practice, this batch fills 4 to 5 pint jars, or 8 to 10 half-pints.
Your exact yield depends on how thick you simmer the sauce, so keep an extra jar warm and ready in case yours reduces a little less than mine. Half-pints are handy if you tend to use a small amount at a time for tacos or eggs, while pints are right for a full pan of enchiladas.
Serving Ideas
The obvious use is smothering a pan of enchiladas, and a pint is about right for a full batch. To reheat, just warm a jar in a saucepan over low heat while you assemble everything else.
Beyond enchiladas, this sauce is a quick shortcut for all kinds of weeknight meals. Stir it into a pot of beans, simmer it with canned chicken taco meat or chipotle beef taco meat for fast tacos, braise a pork shoulder in it, or spoon it over eggs for a easy huevos rancheros. If you’re building a whole Southwest pantry, it pairs nicely with a jar of southwestern corn salsa or anything from my salsa canning recipes.
Enchilada Sauce FAQs
Ball’s listed yield of 8 pints isn’t achievable from this amount of ingredients. The raw ingredients start at less than 8 pints, and then cook down. The onions caramelize down, the tomatoes blend into a smooth base, and the sauce simmers uncovered for 25 minutes, all of which reduce the volume. The real yield is 4 to 5 pints.
Yes. Dice the tomatoes and add them to a hot pot as you work, crushing them as you go. Cook and mash them for about 5 minutes to denature the enzyme that separates juice from pulp, then measure out the 6 cups the recipe needs.
Yes. You can leave the dried chiles out entirely and rely on the chili powder for flavor and color, and you can reduce or omit the ground red pepper. The sauce will be milder but still flavorful.
No. This is a low-acid, onion-heavy sauce that must be pressure canned for safety. If you don’t have a pressure canner, you can keep the sauce in the fridge for about a week or freeze it for up to 6 months instead.
Southwest-Inspired Canning Recipes
If you tried this Enchilada Sauce recipe, or any other recipe on Creative Canning, leave a ⭐ star rating and let me know what you think in the 📝 comments below!
And make sure you stay in touch with me by following on social media!
Enchilada Sauce
Equipment
- Regular Mouth Pint Mason Jars
- Regular Mouth Canning Lids
Ingredients
- 12 dried New Mexican chile peppers
- 2 cups boiling water
- 4 garlic cloves, minced
- 1 Tbsp olive oil
- 5 cups coarsely chopped onion, about 4 large onions
- 6 cups canned diced tomatoes
- 1/4 cup dark brown sugar, firmly packed, see notes
- 2 Tbsp chili powder
- 2 tsp salt
- 2 tsp ground cumin
- 1 tsp ground red pepper
Instructions
Prep the Chiles
- Begin by rinsing any dirt off the dried New Mexican chiles and patting them dry with a paper towel. Place a griddle or large skillet on high heat and toast the chiles for 8-10 seconds on each side, just until they begin to puff and blister. Be careful not to burn them, as this will make the sauce bitter.
- Once cooled, remove and discard the stems and seeds from the chiles, then tear them into large pieces and place them in a medium-sized bowl.
- Cover the chilis with the 2 cups of boiling water and let them sit for about 20 minutes, until softened. Drain the chiles, but be sure to reserve 1 cup of the soaking liquid for later.
Make the Sauce
- In a large, heavy-bottomed Dutch oven (about 6 quarts), heat the olive oil over medium-high heat. Add the minced garlic and sauté for about 30 seconds, until fragrant.
- Add the coarsely chopped onions. Cover and cook, stirring occasionally, for about 10 minutes until the onions begin to soften. Once softened, uncover and continue cooking, stirring often, for an additional 5-10 minutes, until the onions become a deep caramel color.
- Stir in the diced tomatoes, brown sugar, chili powder, salt, cumin, ground red pepper, and the softened chiles (along with the reserved soaking liquid). Remove the pot from the heat and let everything blend together.
- Working in batches, transfer the tomato mixture to a blender and blend until smooth. (Alternately, use an immersion blender.)
- Pour the pureed sauce back into the Dutch oven and bring it to a boil over medium-high heat. Once boiling, reduce the heat and let the sauce simmer uncovered for about 25 minutes, stirring often. The sauce should thicken and darken in color as it cooks.
Pressure Canning
- Fill your pressure canner with about 2 inches of water and bring it up to a gentle simmer (around 180°F).
- Ladle the hot enchilada sauce into the warm jars, leaving about 1-inch of headspace at the top. Remove any air bubbles, and wipe the rims of the jars clean. Center the lids on the jars and screw on the bands until they are fingertip-tight.
- Place the jars on the canner rack, making sure they aren’t touching each other. Secure the lid on the canner, vent steam for 10 minutes, and then bring the pressure to 10 pounds (psi) for a weighted-gauge canner or 11 pounds (psi) for a dial-gauge canner. Process the jars for 50 minutes, adjusting pressure to altitude (see notes).
- Once the canning time is up, turn off the heat and let the pressure in the canner return to zero and cool completely. Allow the canner to cool for 5 more minutes before removing the lid. Carefully remove the jars and transfer them them to a towel on the counter to finish cooling completely.
- Check seals, clean jars, and store.
- Properly canned and sealed jars will maintain peak quality on the pantry shelf for 12 to 18 months, and be good to eat as long as they're sealed. Refrigerate after opening.
Notes
- 0 to 2,000 feet in elevation – 11 lbs pressure
- 2,001 to 4,000 feet in elevation – 12 lbs pressure
- 4,001 to 6,000 feet in elevation – 13 lbs pressure
- 6,001 to 8,000 feet in elevation – 14 lbs pressure
- 0 to 1,000 feet in elevation – 10 lbs pressure
- Above 1,000 feet – 15 lbs pressure
Nutrition
Nutrition information is automatically calculated, so should only be used as an approximation.
Salsa Canning Recipes
Find the perfect recipe
Searching for something else? Enter keywords to find the perfect recipe!
I love the flavor of this enchilada sauce. I used 1/4 cup of brown sugar and think that makes the sauce a perfect balance between sweet and spicy. I ended up with 4 and 1/2 pints of sauce.
Loved this recipe. Will never buy enchilada sauce again, my can-try is stocked!
I’m so happy you like it!
This recipe came out really balanced, with just a hint of sweet to balance the smokey heat from the peppers. It’s perfect for homemade enchiladas!
Can this be done using fresh tomatoes? I have garden tomatoes to preserve still and it seems silly for dice and can them just to blend them into enchilada sauce.
Yes, you can make them with fresh tomatoes. Dice them and toss them into a hot cooking pot as you dice them, crushing them as you work. Tomatoes have an enzyme that causes the juice and pulp to separate if you chop them and then they sit before they’re cooked. Cook and mash them for about 5 minutes to denature the enzyme, and then measure them to 6 cups required for this recipe. That’ll give you a sauce that holds together, and the right measurement for this recipe.
Hello
Can dried ancho chili be used as a substitute for the new Mexico?
Yes, you can use any type of dried chili in this recipe. Enjoy!
My family loves Mexican food, except not the spicy 🤷♀️ can the peppers be left out or replaced with a sweet bell pepper?
You can just leave those peppers out, that’s perfectly fine. And if you want, you can use paparika in place of some or all of the chili powder. Best of luck with it!