
This post may contain affiliate links. Please see our disclosure policy.
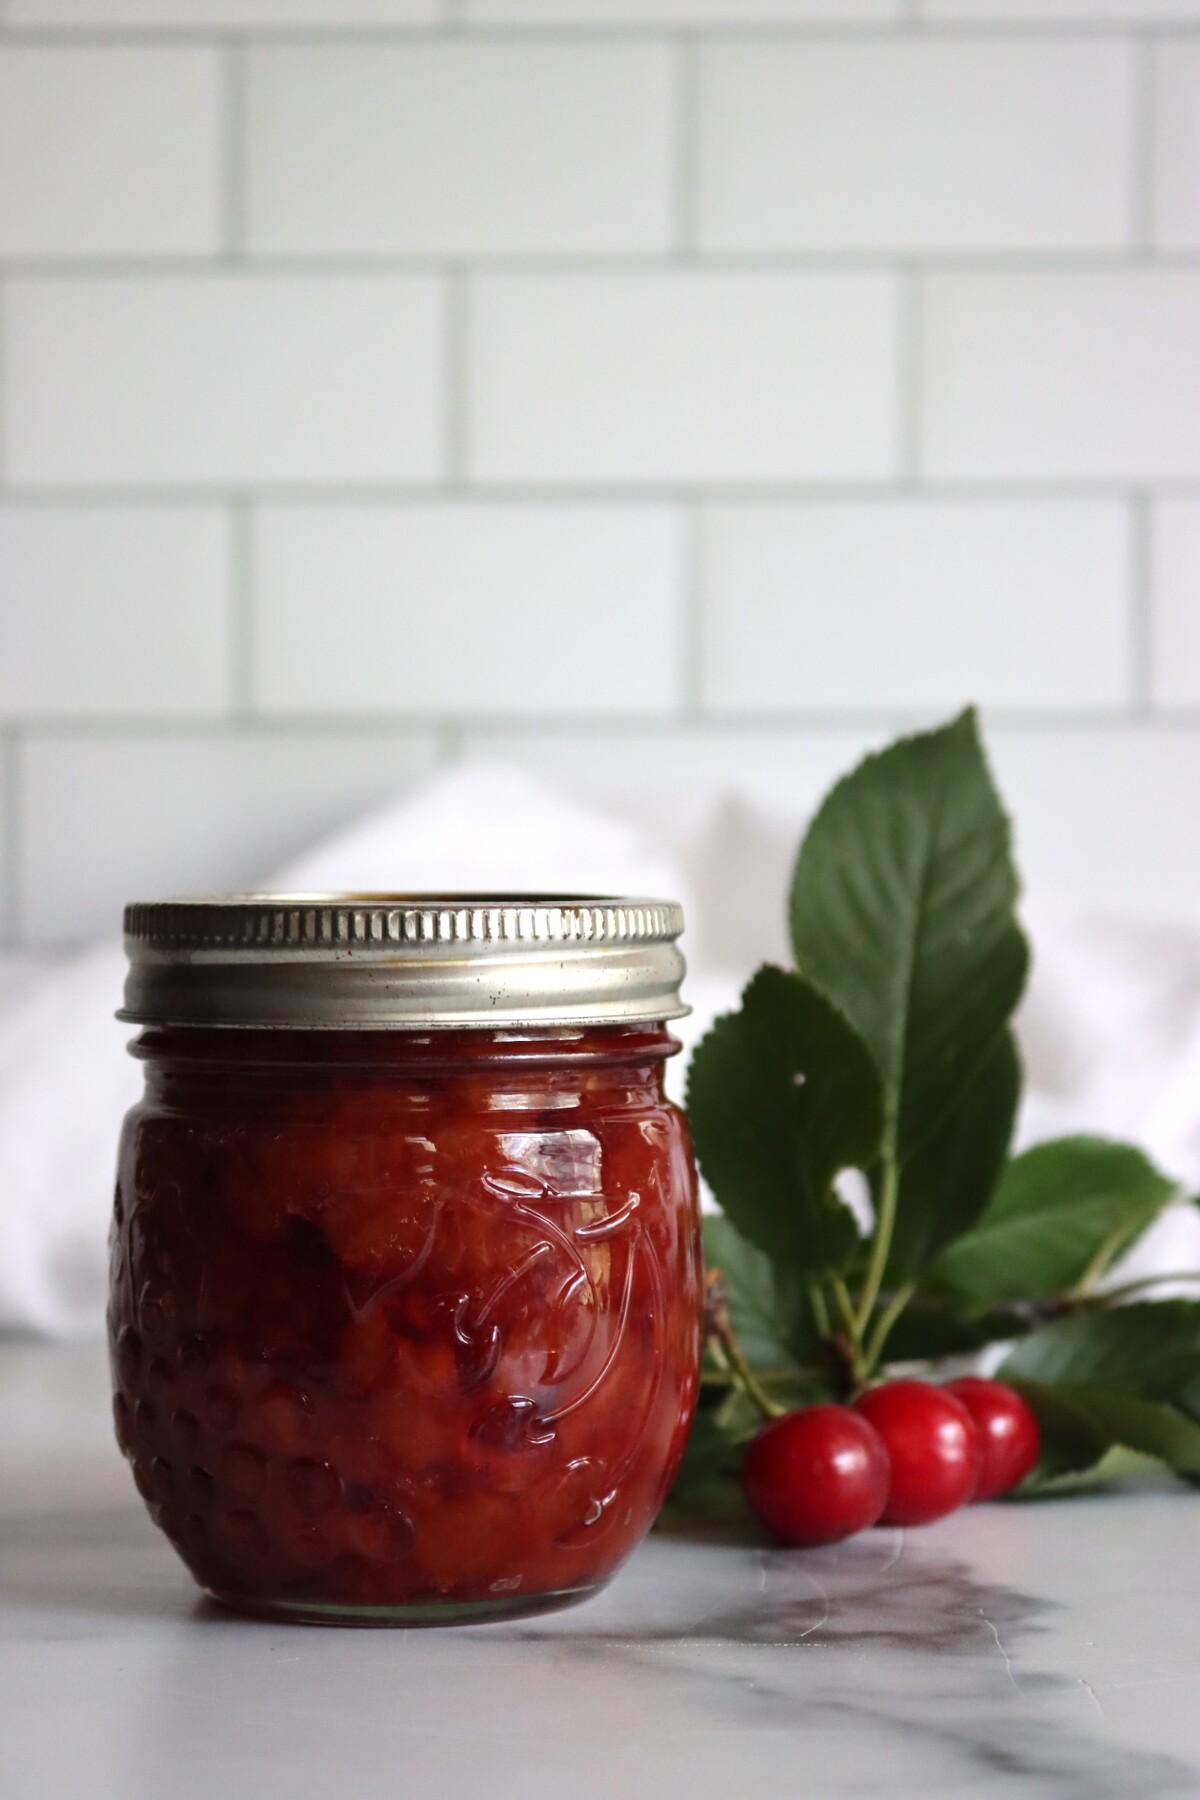
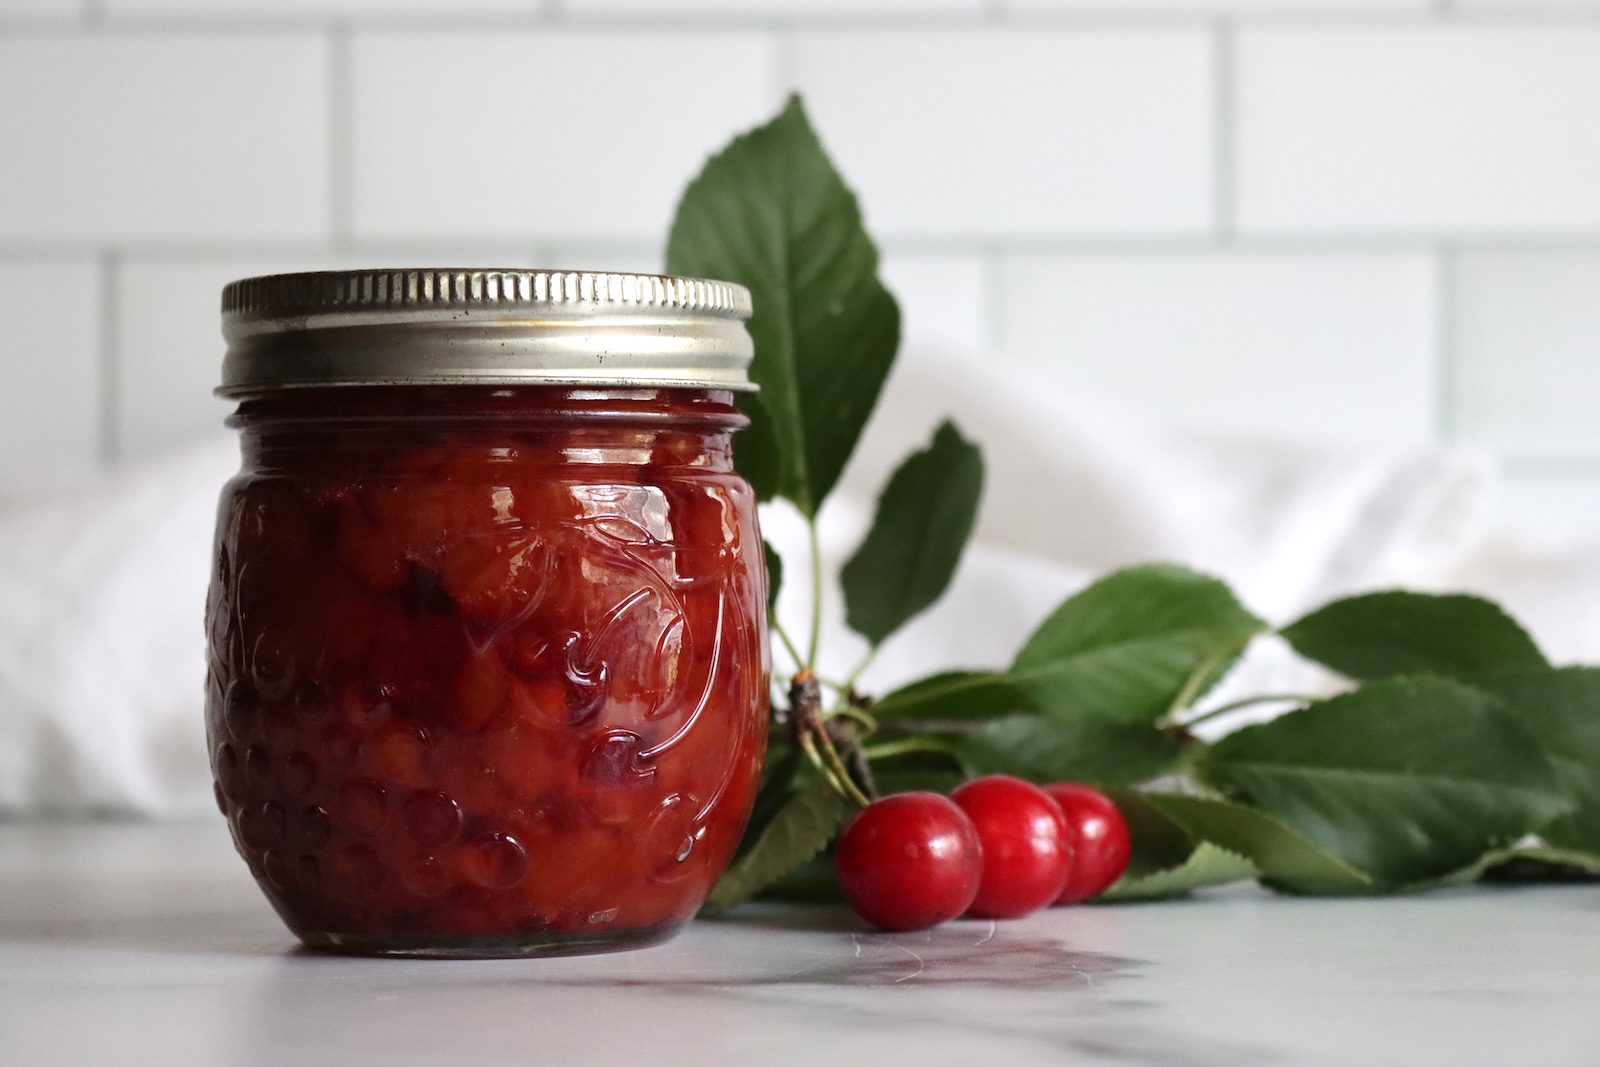
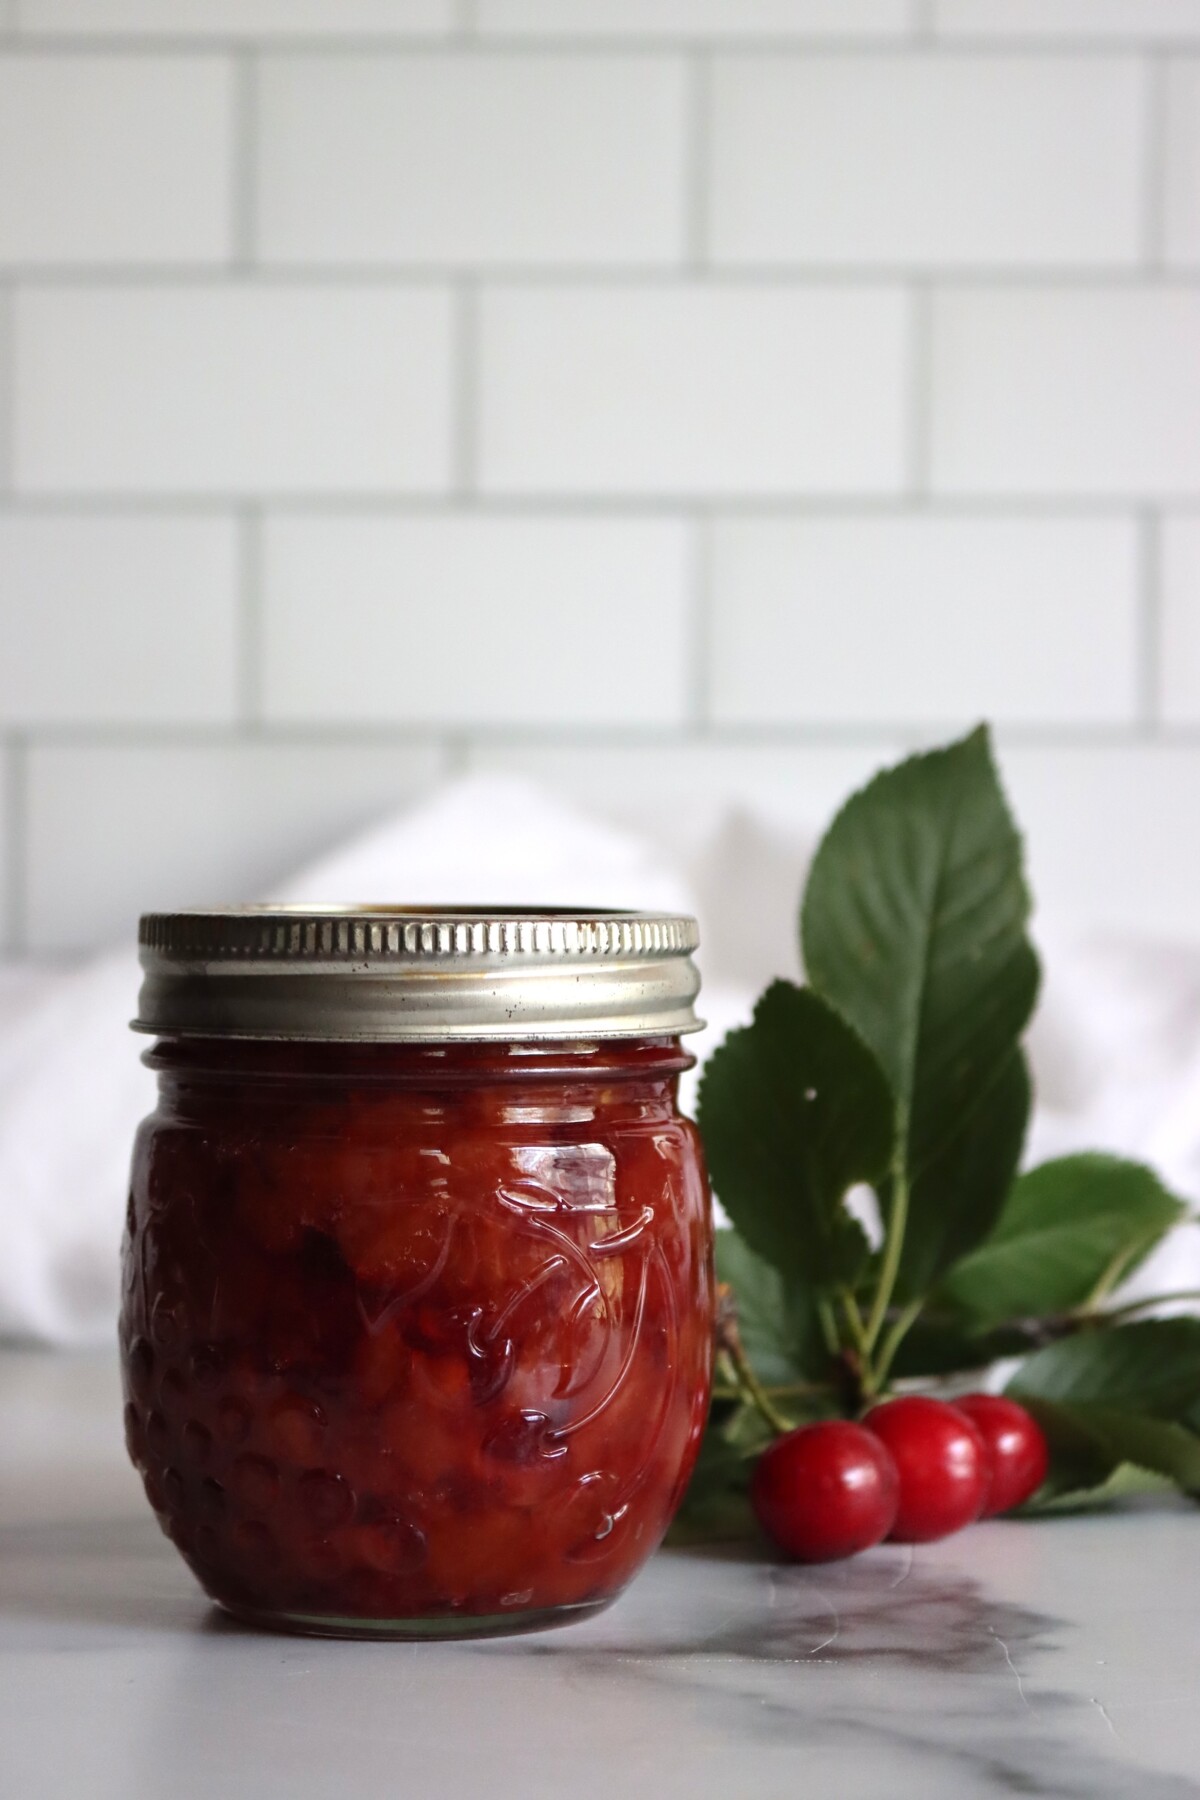
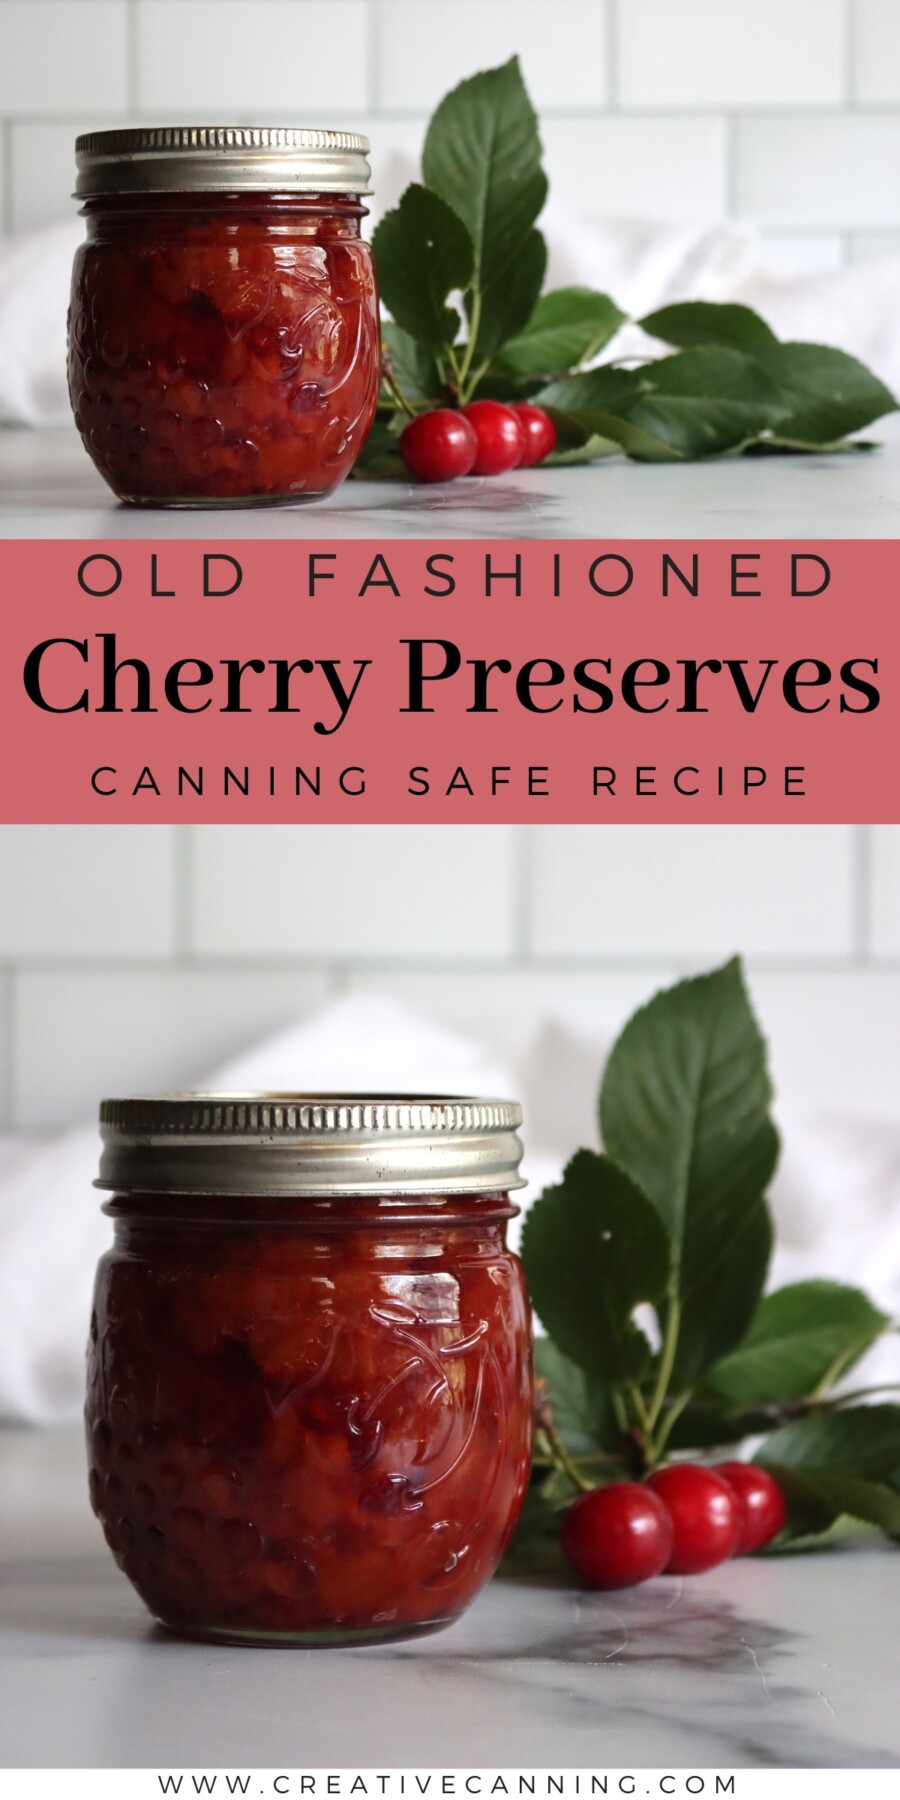
Cherry preserves give you whole cherries suspended in a thick syrup, so every spoonful comes out of the jar looking like fruit rather than spread. Set a jar on the counter next to a cheesecake or a bowl of yogurt, and it does most of the work for you.
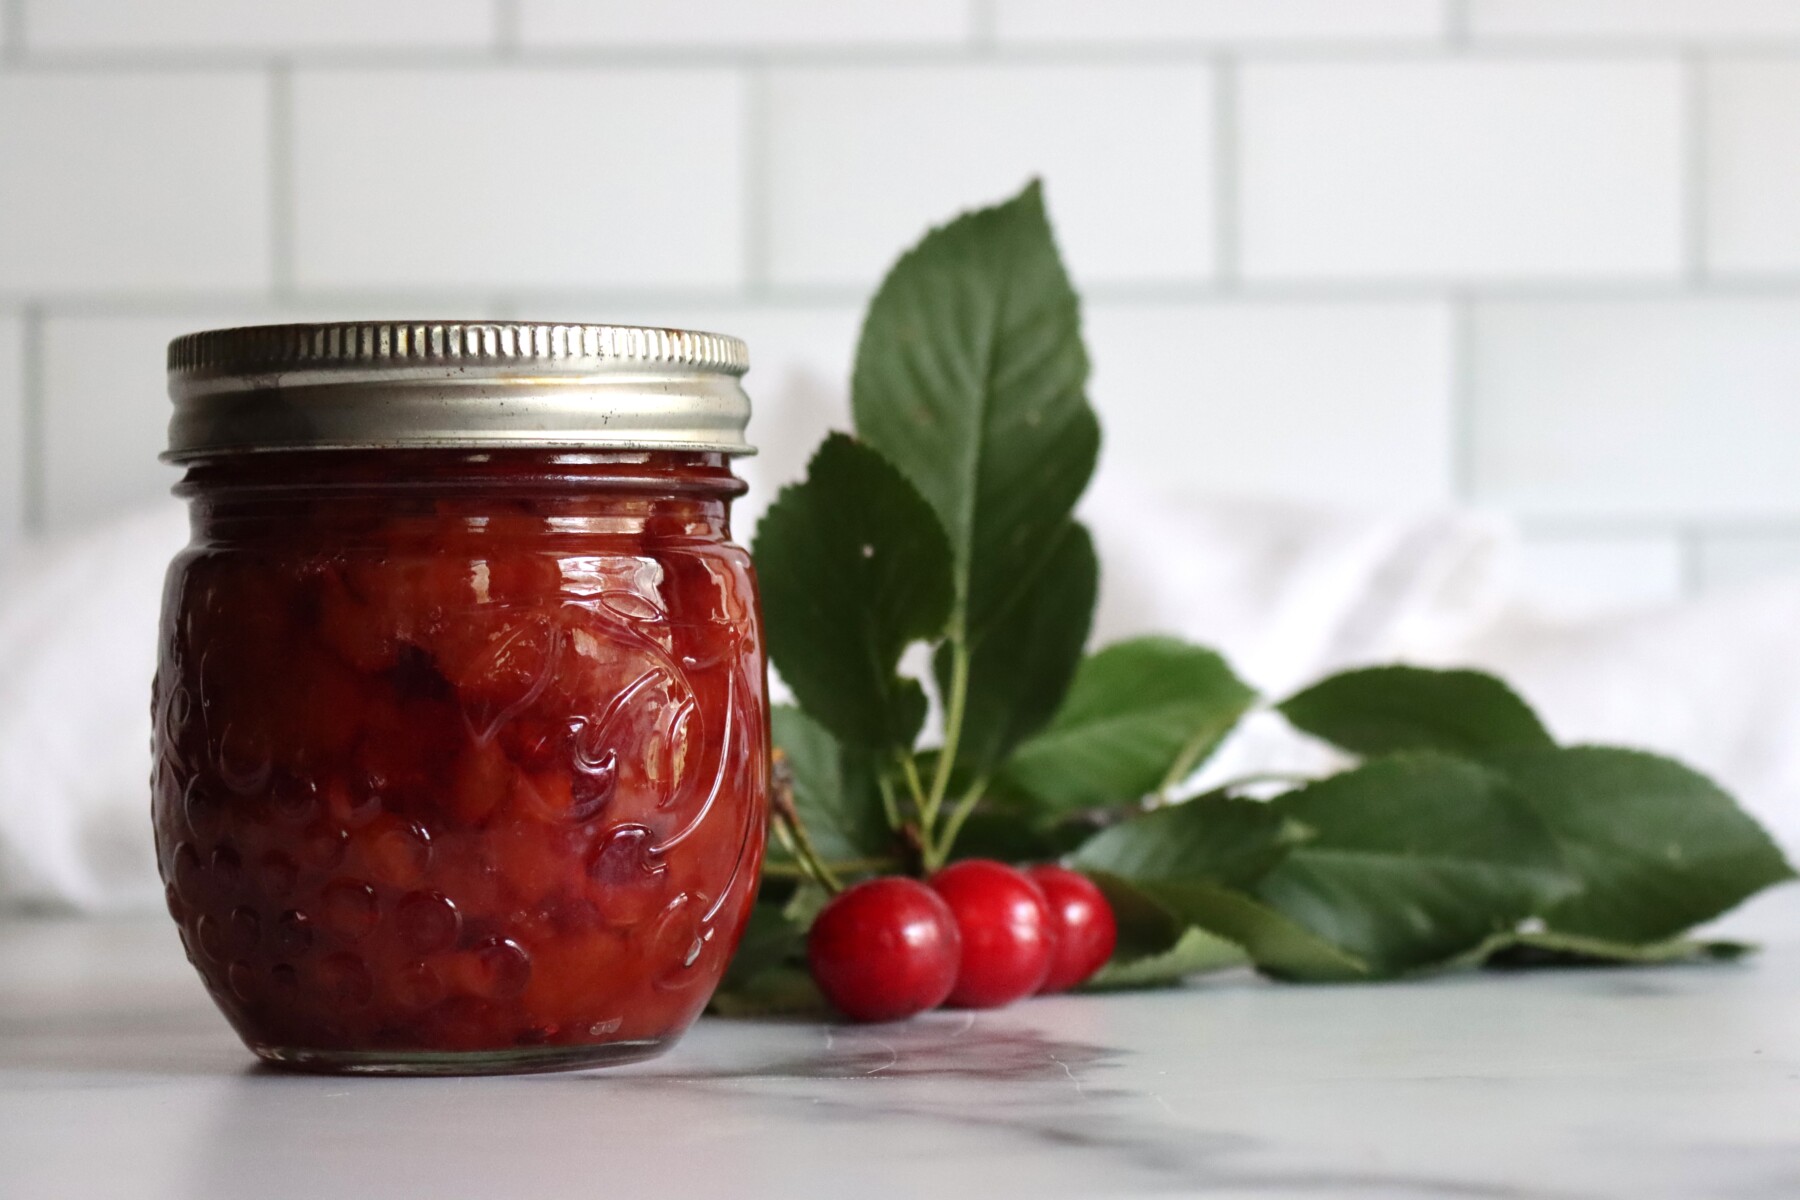
Table of Contents
- Notes from My Kitchen
- Quick Look at the Recipe
- What Are Cherry Preserves?
- Choosing Cherries for Preserves
- Ingredients for Cherry Preserves
- Sugar in Preserves
- How to Make Cherry Preserves
- Setting Notes
- Canning Cherry Preserves
- Altitude Adjustments
- Ways to Use Cherry Preserves
- Storing Cherry Preserves
- Yield Notes
- Cherry Preserves FAQs
- Cherry Canning Recipes
- Old Fashioned Cherry Preserves Recipe
- Old Fashioned Jam Recipes
This recipe has been reviewed for safety and accuracy by a Master Food Preserver certified through the University of Cornell Cooperative Extension.
There is no added pectin in this recipe, which puts it in the same family as jam recipes without added pectin, but it’s not quite a jam. The set comes from the cherries themselves, cooked long enough that their natural pectin and sugars concentrate and the syrup starts to cling. What separates a preserve from a jam is that the fruit never gets crushed.
The other difference is time. The cherries get an overnight rest in their syrup between two cooking sessions, and that rest is what firms them up so they hold their shape through the second boil. Skip it, and you have a loose sour cherry jam or black cherry jam, with some cherry pieces floating in it.
This recipe is adapted from Ball Canning Back to Basics, where it’s listed under their “long cook” chapter. Don’t let that fool you, most of their recipes use added pectin (because they’re a pectin manufacturer) and come together in minutes. In this case, a long cook is just more than the quick pectin recipes.
Their version calls for equal parts cherries and sugar by weight, that’s two pounds of cherries and four cups of sugar. It does not specify sweet or tart, so both work with a small adjustment in expectations that I get into below.
Notes from My Kitchen

Sometimes traditional preserves can be a bit much, at least in terms of sweetness. Strawberry preserves and pear preserves, for example, are very sweet, and they can be a bit much for the modern palate. But that’s not true of cherries.
Cherries, especially the tart pie cherries we grow up here in the North Country, are perfect for preserves because the sugar in the traditional recipes balances perfectly with their tart acidity.
I generally make my sour cherry jam with a good bit of sugar and no added pectin, so this recipe is similar in terms of flavor. It’s just more fruit forward, because you’re getting fruit in a thick syrup rather than a mashed-together jam. It’s perfect on toast, like a jam, or as a topping for cheesecake or ice cream.
Quick Look at the Recipe
- Recipe Name: Old Fashioned Cherry Preserves
- Recipe Type: Fruit Preserves
- Canning Method: Water Bath Canning
- Prep Time: About 30 minutes
- Cook Time: About 45 minutes, split across two sessions
- Resting Time: 12 to 18 hours, refrigerated, between the two cooks
- Canning Time: 10 minutes for half pints
- Yield: About 4 half pints
- Jar Sizes: Half pints or quarter pints
- Headspace: 1/4 inch
- Ingredients Overview: Cherries and sugar, with a splash of water if the cherries run dry
- Safe Canning Recipe Source: Ball Canning Back to Basics
- Difficulty: Easy, but spread over two days
- Similar Recipes: Cherry preserves work the same way as other whole fruit preserves, like old fashioned strawberry preserves and old-fashioned pear preserves. If you have a lot of cherries to work through, try other cherry canning recipes like black cherry jam or cherry jelly.
What Are Cherry Preserves?
Preserves sit between whole fruit canning and jam. The fruit stays intact, the way it would in a jar of canned cherries, but the liquid around it is cooked down until it thickens and clings the way jam does. You get discrete cherries in a heavy syrup rather than a uniform spread, and the texture is closer to a sundae topping than a toast topping.
Jam is similar, but not quite the same. In a jam, the fruit is crushed or chopped and cooked in one long session until it breaks down and the whole batch sets together. In a preserve, the fruit stays whole, and the batch is cooked twice with a long rest in between. That rest is doing something specific, which is letting sugar work its way into the cherries so they firm up instead of collapsing.
The last piece is the set itself. A preserve is cooked to a slightly looser consistency than a jam on purpose. Push it to a firm gel, and the cherries turn leathery, and the syrup goes rubbery, so the target is a syrup that thickens and coats without locking up. A jar of cherry preserves should pour slowly, not hold a spoon upright.
Choosing Cherries for Preserves
Firm fruit is the requirement here. A cherry that is soft and fully ripe will fall apart somewhere in the second cook, and once that happens, the batch is a jam, and there is no getting it back. Look for cherries with taut skins and a little resistance when you press them, and pass on anything with a split, a bruise, or a soft shoulder near the stem.
Both sweet and tart cherries work, and the source recipe does not distinguish between them. Tart cherries (Montmorency and its relatives) hold their shape noticeably better and give you a preserve with some acidity behind the sugar, which is why they are the traditional choice. Sweet cherries make a mellower preserve and are more likely to soften, so buy them a touch underripe if you can.
Two pounds of cherries runs to somewhere between five and six cups once pitted, and that is a manageable amount to pit by hand while you listen to something.
If you have wild cherries rather than orchard fruit, they belong in pin cherry jelly or chokecherry jelly instead, since you can’t pit those cleanly.
Ingredients for Cherry Preserves
There are two ingredients in this recipe, which is part of why preserves have stayed on farmhouse shelves for as long as they have. Everything the batch needs to thicken is already in the cherries, so the only decisions are which cherries and how carefully you handle them.
- Cherries: The whole point of the recipe, so treat them gently. Pit them over a bowl and keep every drop of juice that comes out, because that juice is what dissolves the sugar in the first cook. Tart cherries hold together better than sweet, and firm fruit holds together better than ripe. Never use a low-acid fruit in place of the cherries here, since the recipe’s safety rests on cherries being high acid.
- Sugar: Plain granulated white sugar, and quite a lot of it. Sugar draws liquid out of the cherries, firms them during the rest, and thickens the syrup during the second cook. In a thick syrup preserve, it is a preservation ingredient and essential for texture, so don’t reduce the sugar if you want a true preserve.
- Water: Optional, and usually unnecessary. If your cherries were on the dry side and there is not enough juice in the bowl to dissolve the sugar, add just enough water to get it moving. A tablespoon or two, not a cup.
You do not need bottled lemon juice for safety in this recipe. Cherries are high acid on their own, which is what lets them water bath can without acidification, the same as they do in cherry pie filling and other cherry canning recipes. Some cooks add a spoonful of lemon juice to sweet cherries for brightness, and that is a flavor choice rather than a safety one.
Sugar in Preserves
Sugar is the set. There is no pectin here, so the syrup thickens because sugar and the cherries’ own pectin concentrate together over a long cook. Cherries are low in natural pectin, which is why a preserve made from them stays slightly jellied rather than firm.
Sugar is also doing preservation work in a thick syrup preserve, and it’s what’s making this a “preserve” rather than plain canned cherries or cherry jam. Reducing it will give you something different, not a preserve.
How to Make Cherry Preserves
Plan for two days, though the actual work adds up to well under two hours. Day one is pitting, a short cook, and then the batch goes into the refrigerator overnight. Day two is a single hard boil to the set point, and then straight into jars.
Pit the Cherries and Save the Juice
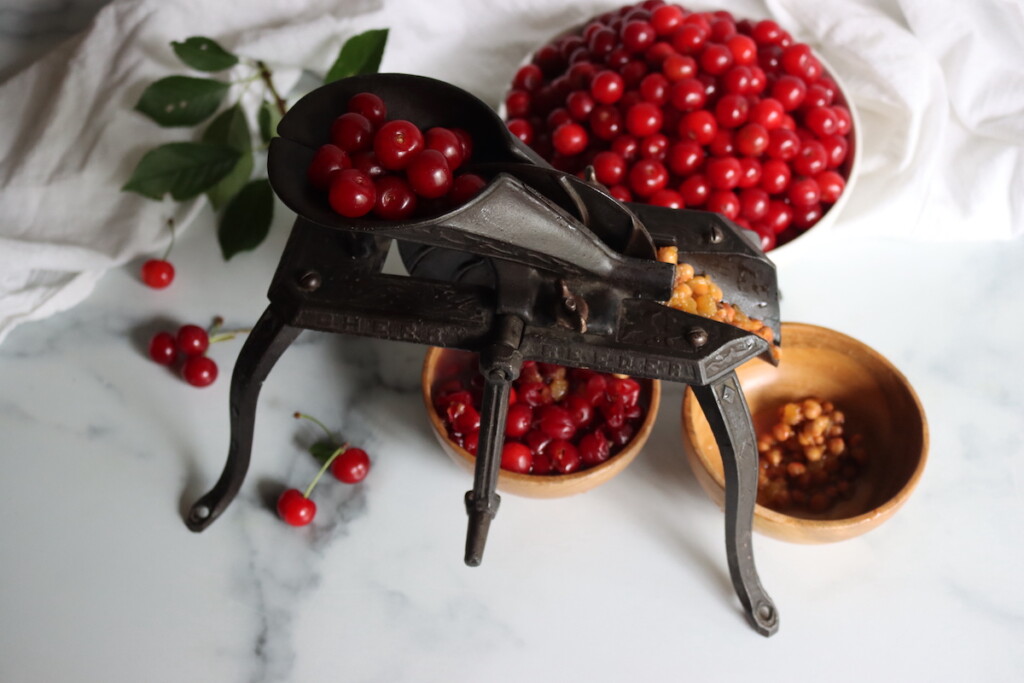
Rinse two pounds of cherries under cold running water and drain them well. Pull the stems, then pit them working over a bowl so that every bit of juice lands in the bowl rather than on the counter. That juice is the liquid the sugar dissolves into, and there is not much of it, so it matters.
Set the pitted cherries aside separately from the juice, because they go into the pot at different moments. If you are pitting by hand with a straw or a paperclip, expect the cherries to look a little rough. They tidy up considerably once they have been through the syrup.
Cook the Cherries in Syrup
Combine the reserved cherry juice and four cups of sugar in a large stainless steel or enameled saucepan. Bring it to a boil, stirring until the sugar has fully dissolved, and add a small splash of water if there is not enough juice to get the sugar moving. Make sure the sugar fully dissolves and doesn’t scorch. If your cherries are dry, you might need more than a splash of water, so watch your pot. Then add the cherries.
Boil the whole thing over high heat until the cherries turn glossy, which is a visual cue rather than a timed one and usually takes several minutes. The skins tighten, and the fruit takes on a wet shine. Pull the pan off the heat as soon as you see it, because this is not the cook that sets the batch.
Rest the Cherries Overnight
Cover the pan and put it in the refrigerator for 12 to 18 hours. During that rest, sugar migrates into the cherries, and water migrates out, and the fruit firms up from the inside. It is the same principle behind the maceration step in strawberry preserves, just running in the other direction because the cherries are already cooked.
This step is the difference between a preserve and a jam, so do not shorten it. Cherries that go straight from the first boil into the second one have not had time to take up sugar, and they disintegrate the moment the syrup gets hot enough to thicken. Overnight is convenient, but anywhere in the 12 to 18 hour window works.
Cook to the Set Point
Bring the whole mixture back to a rolling boil, meaning a boil so active that it will not stir down. Cook it rapidly over high heat, stirring constantly now that the syrup is thick enough to catch on the bottom of the pan, until the temperature reaches about 220°F at sea level.
The source recipe says to cook almost to the gelling point rather than past it, so right up to 220°F rather than past it (see below for elevation adjustments). Cook it too long, and it’ll set up into hard candy. Remove the pan from the heat, skim any foam off the surface, and move to the jars while it is still hot.
Setting Notes
The gel point is 220°F at sea level, and it drops about 1°F for every 500 feet of elevation. At 2,500 feet, that puts your target near 215°F. Preserves are taken to that point and not past it, so the syrup thickens without the cherries turning tough.
Cook time on that second boil varies more than you might expect, since it depends on how much liquid your cherries gave up and how wide your pan is. Twenty minutes is common, and forty is not unusual, so watch the thermometer rather than the clock.
Canning Cherry Preserves
Once the syrup has reached the set point, it is time to get it into jars. If you would rather skip the canner entirely, cherry preserves keep in the refrigerator for a few weeks and in the freezer for up to six months, and a small batch destined for the breakfast table does not need to be processed at all.
To can, prepare your water bath canner, jars, and lids while the preserves are on their second cook. Because the processing time is a full ten minutes, there is no need to sterilize the jars in advance. They just need to be clean and hot so they do not crack when the hot syrup goes in.
Ladle the hot preserves into hot half pint jars, leaving 1/4 inch of headspace. A canning funnel with headspace measurements makes this easier than eyeballing it. Run a bubble tool around the inside of each jar, wipe the rims clean, center the lids, and screw the bands down to fingertip tight.
Process the jars in a boiling water bath canner for 10 minutes, adjusting for altitude. A steam canner works here too, on the same schedule. When the time is up, turn off the heat, remove the lid, and let the jars sit in the canner for 5 minutes before lifting them out to cool undisturbed for a full day.
Altitude Adjustments
For water bath canning, processing times increase at higher elevations:
- 0 to 6,000 feet: 10 minutes
- Above 6,000 feet: 15 minutes
Ways to Use Cherry Preserves
Because the cherries stay whole, this is a preserve that wants to be seen. Spoon it over cheesecake, panna cotta, or a slice of pound cake and the fruit does the decorating on its own. It works the same way over vanilla ice cream, where the cold syrup thickens further, and the cherries stay distinct instead of dissolving into a sauce.
On the savory side, a spoonful stirred into pan drippings makes a quick sauce for duck or pork, and a jar sits well on a cheese board next to something sharp. For breakfast it goes on yogurt, oatmeal, and thick toast, though a chunkier preserve is harder to spread than cherry butter if toast is the main destination. It earns a place on the shelf next to the rest of my fruit canning recipes.
Storing Cherry Preserves
Sealed jars keep for 12 to 18 months in a cool, dark cupboard, and they taste noticeably fresher in the first year. Take the bands off before you store them, since a band left on can hold down a lid that has quietly failed and hide the problem. Label the lids with the date so you rotate through them in order.
Once a jar is opened, keep it in the refrigerator and use it within one to two weeks. Before you open any jar, check that the lid is still concave and does not flex when you press the center. Discard the contents of any jar with a bulging or loose lid, mold on the surface, or an off smell, and do not taste it first.
Yield Notes
Two pounds of cherries as purchased comes to roughly five to six cups pitted, and yields about four half-pint jars. Juicy fruit gives you a fuller fourth jar, and drier fruit can leave you short, so have a spare quarter pint on hand.
Do not double this recipe. A double batch takes so long to reach the set point that the cherries break down and the syrup darkens, and you end up with a mediocre jam. Halving works fine, and two separate batches beat one large one every time.
A few questions come up often enough with this recipe that they are worth answering before you start.
Cherry Preserves FAQs
Cherry preserves hold whole cherries suspended in a thick syrup, while cherry jam is made from crushed or chopped fruit cooked until it breaks down into a uniform spread. Preserves are also cooked in two stages with a long rest in between, which firms the fruit so it stays intact.
No. There is no added pectin in this recipe. The syrup thickens because the cherries’ own pectin and sugars concentrate over a long second cook, the same principle behind any no-pectin jam.
Yes. The source recipe does not specify a type, so both work. Tart cherries hold their shape better and give the preserve some acidity behind the sugar, while sweet cherries make a mellower preserve and are more likely to soften, so choose firm fruit if you use them.
Properly processed and sealed jars keep for about 12 to 18 months in a cool, dark place. Discard any jar with an unsealed lid, mold, or an off smell. Once opened, refrigerate and use within 1 to 2 weeks.
If you have more cherries than you know what to do with, there are plenty of other places to put them.
Cherry Canning Recipes
If you tried this Old Fashioned Cherry Preserves recipe, or any other recipe on Creative Canning, leave a ⭐ star rating and let me know what you think in the 📝 comments below!
And make sure you stay in touch with me by following on social media!
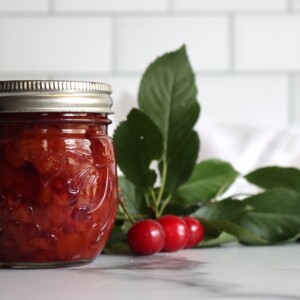
Old Fashioned Cherry Preserves
Equipment
- Canning Jars, Lids and Bands
Ingredients
- 2 pounds cherries, sweet or tart
- 4 cups granulated sugar
- 1/4 to 1/2 cup water, only if needed to dissolve the sugar if your cherries didn't give up much juice
Instructions
- Pit the Cherries: Rinse the cherries under cold running water and drain. Remove the stems and pits, working over a bowl so all of the juice is retained. Set the pitted cherries aside separately from the juice.
- Make the Syrup: Combine the reserved cherry juice and the sugar in a large stainless steel or enameled saucepan. Bring to a boil, stirring until the sugar dissolves. If there is not enough juice to dissolve the sugar, add a small amount of water.
- First Cook: Add the cherries. Boil over high heat until the cherries turn glossy. Remove from heat.
- Rest Overnight: Cover the pan and let it stand in the refrigerator for 12 to 18 hours. Do not shorten this step.
- Cook to the Set Point: Bring the mixture to a rolling boil that cannot be stirred down. Cook rapidly over high heat, stirring constantly, until it reaches 220°F, adjusting for altitude. Remove from heat and skim the foam.
- Fill the Jars: Ladle the hot preserves into hot half pint jars, leaving 1/4 inch headspace. Remove air bubbles, wipe the rims, center the lids, and apply the bands to fingertip tight.
- Process: Process in a boiling water bath canner for 10 minutes, adjusting for altitude. Turn off the heat, remove the canner lid, and let the jars stand 5 minutes before removing them to cool undisturbed for 12 to 24 hours.
Notes
Nutrition
Nutrition information is automatically calculated, so should only be used as an approximation.
Preserves are one branch of a much larger family of old-fashioned sweet spreads, and the rest of my jam canning recipes are worth a look too.
Old Fashioned Jam Recipes
Find the perfect recipe
Searching for something else? Enter keywords to find the perfect recipe!

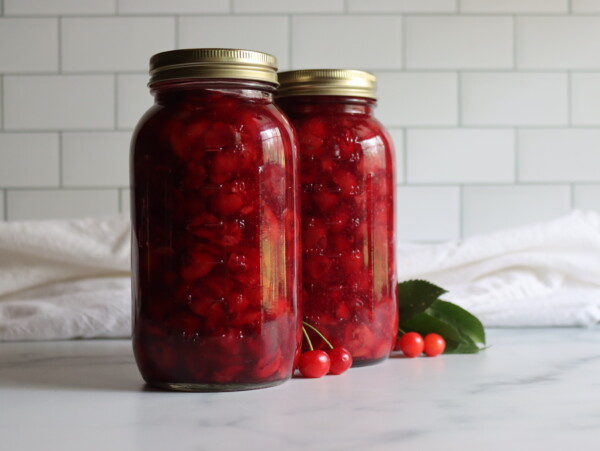
The flavor is pure cherry in this one, no added pectin, and my whole family loves this old-fashioned recipe.