
This post may contain affiliate links. Please see our disclosure policy.
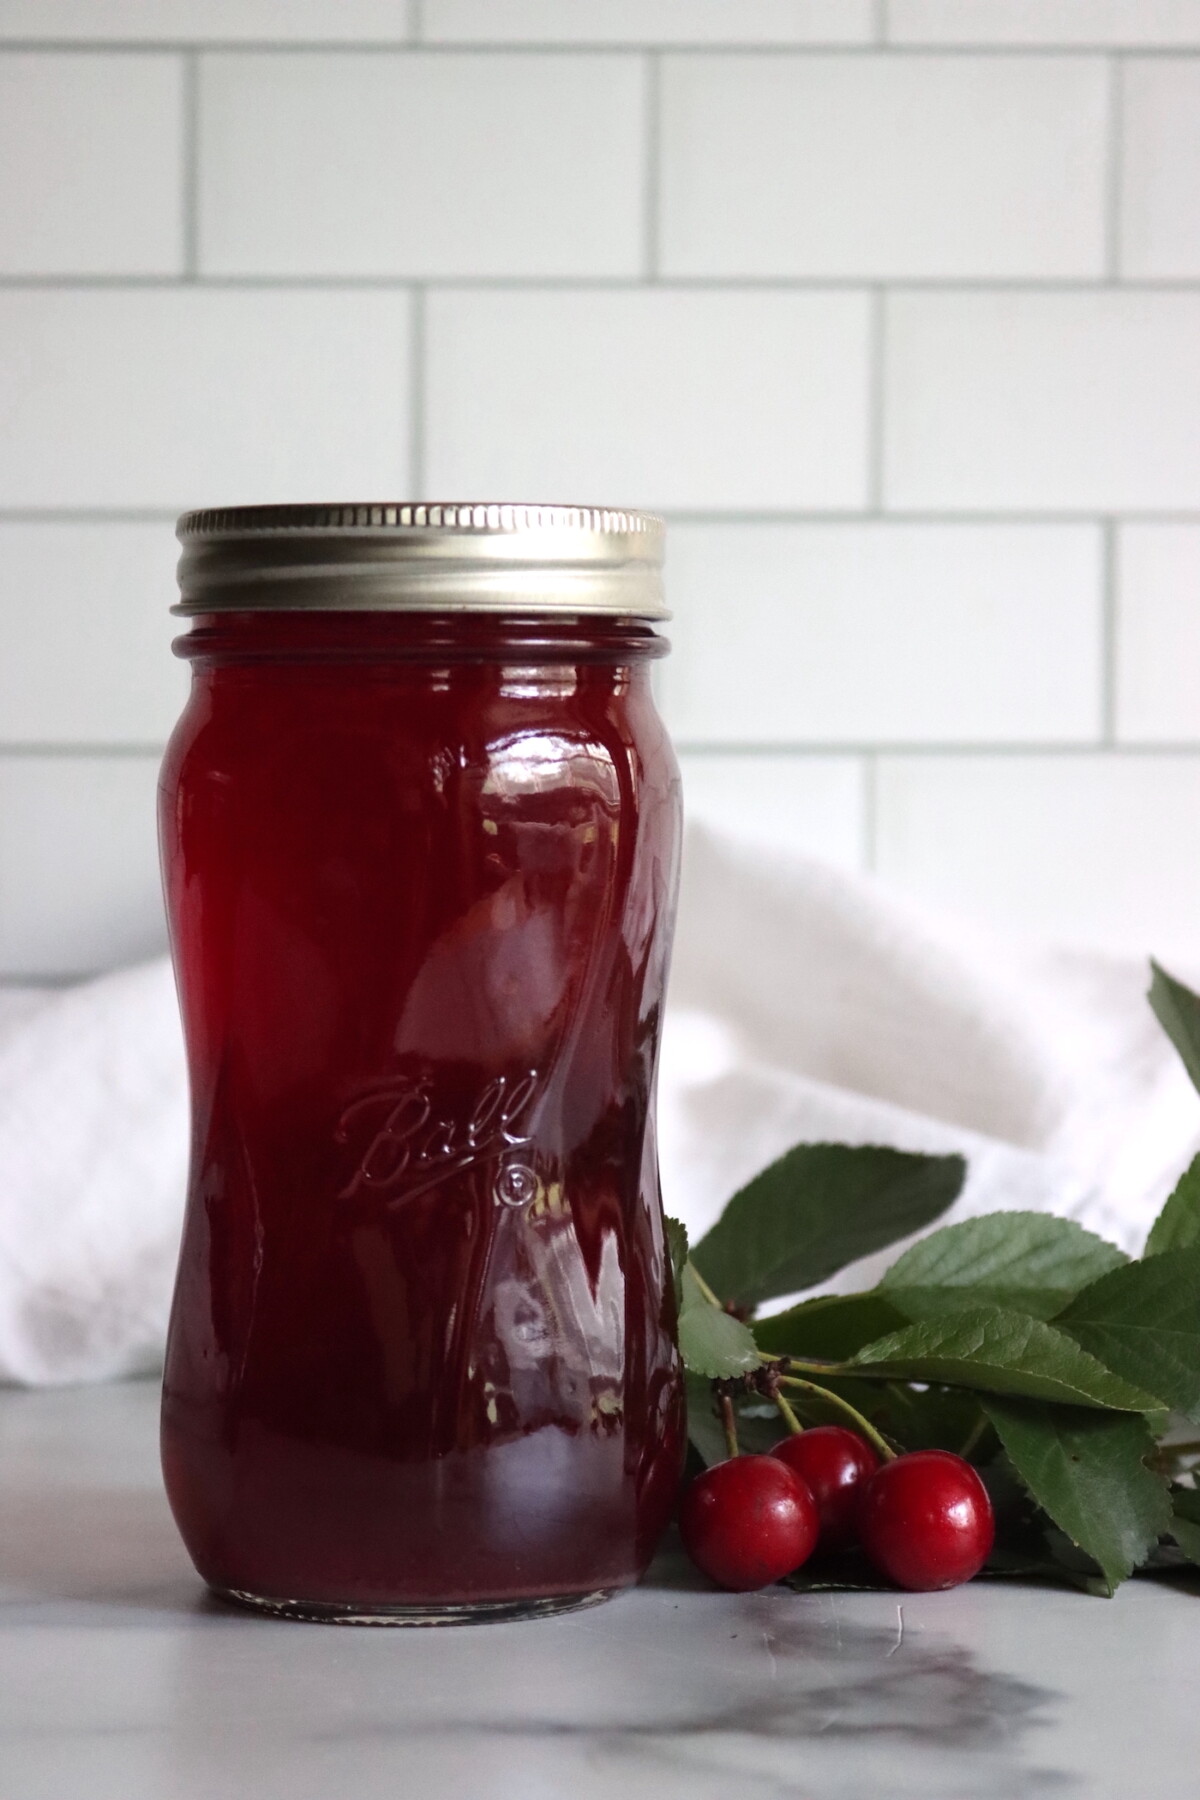
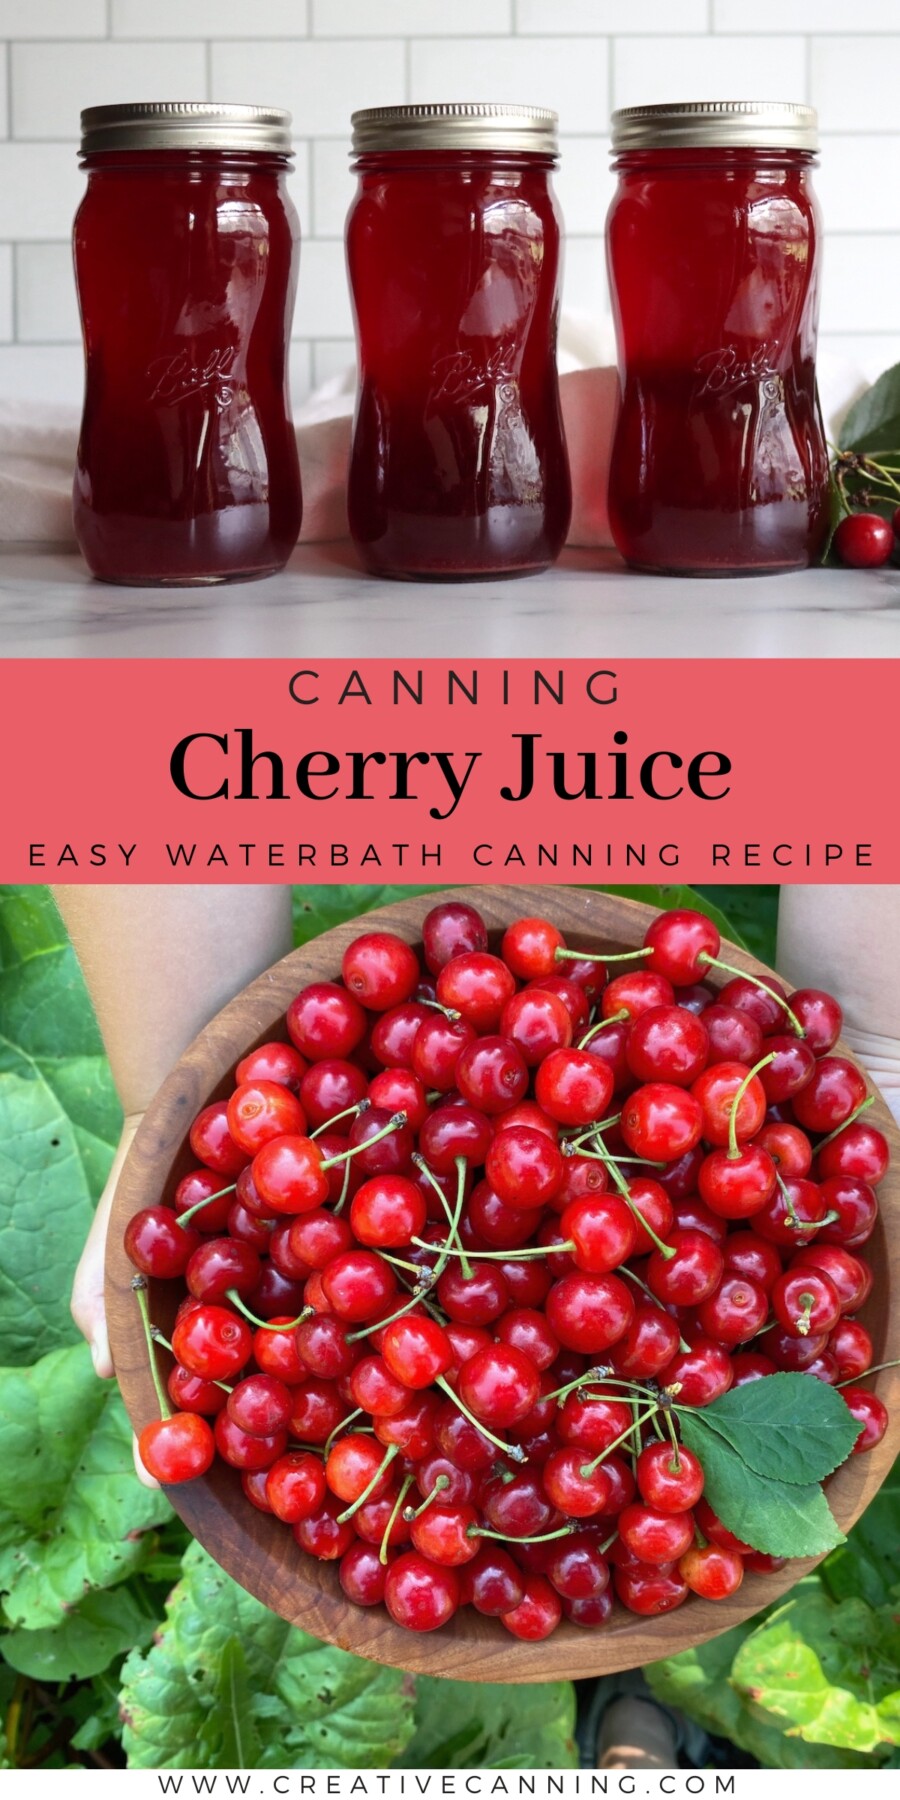
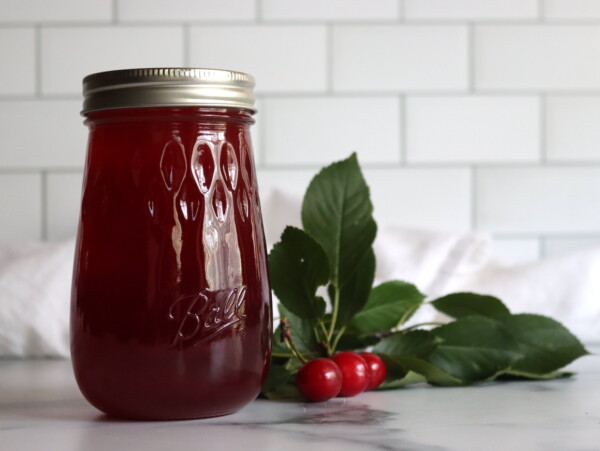
Canning Cherry juice captures the rich flavor of fresh-picked cherries in a glass you can pour any month of the year. Canning it puts that taste on the pantry shelf for the long stretch after the trees are done, ready to drink straight, splash into sparkling water, or pour over ice on a hot afternoon.
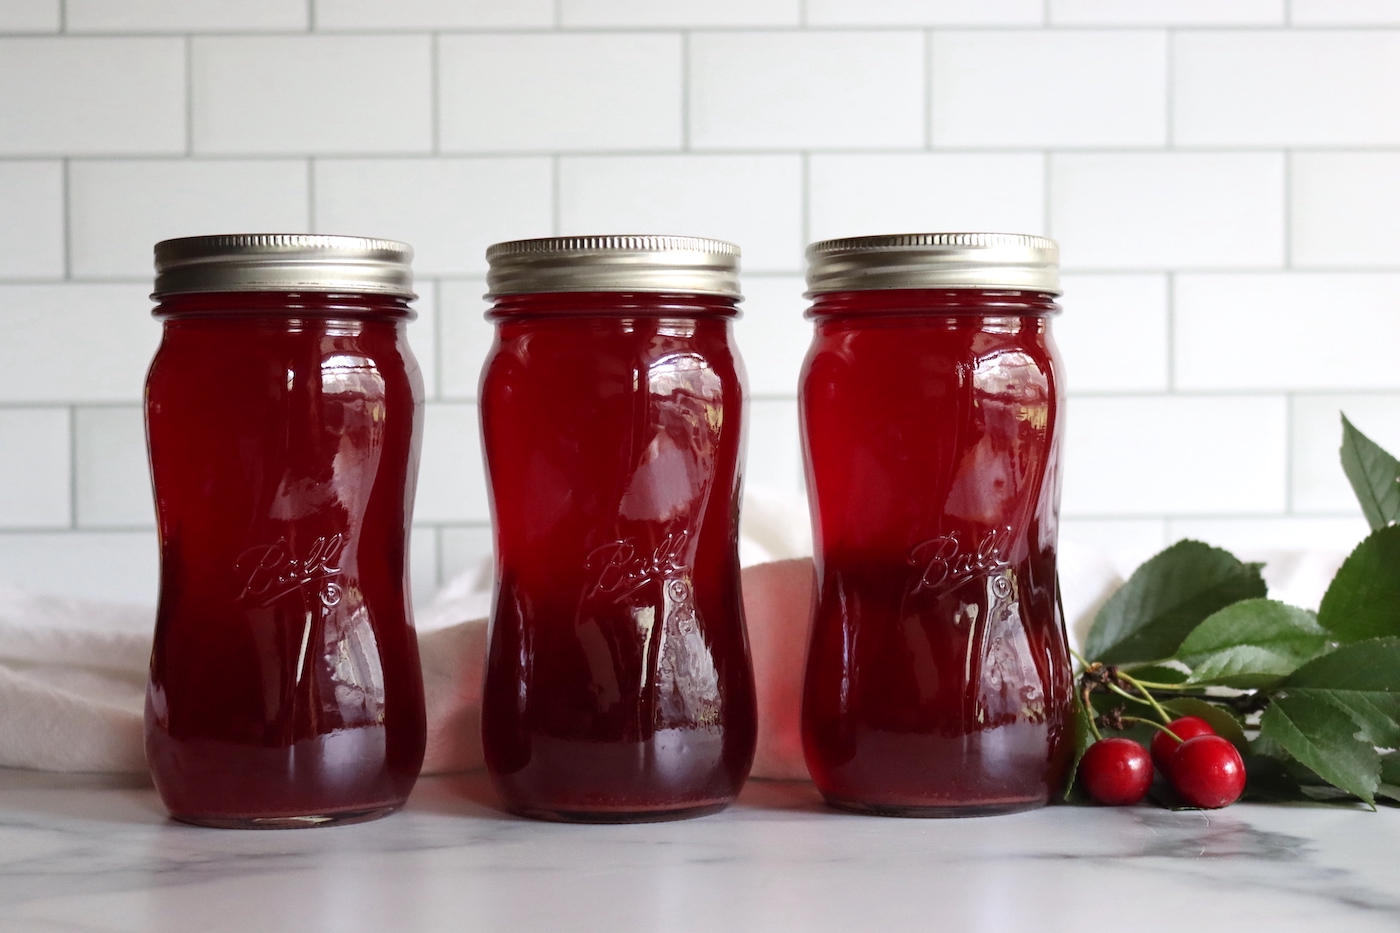
Table of Contents
This recipe has been reviewed for safety and accuracy by a Master Food Preserver certified through the University of Cornell Cooperative Extension.
Cherry season lands all at once here in high summer, and there’s only so much you can keep up with by pitting. Canning cherry juice is a way to put up a flush of cherries without touching a pitter, since you cook them whole and strain. It sits right alongside the rest of my cherry canning recipes, from cherry jelly to cherry butter, and it uses the very same cook-and-strain step you’d use to get juice for the jelly.
Unlike the sweet spreads, this one goes into the jar as a drink. There’s no pectin to fuss with and no gel to set, so it comes together quickly once the juice is strained. If you’ve already made a cherry limeade concentrate or a batch of sour cherry jam, plain juice is a good way to use up whatever cherries are left at the end of the season.
Both sour and sweet cherries are acidic enough to can on their own, which makes canning plain cherry juice a simple water bath project. (If you’re new to the process, my guide to water bath canning for beginners walks through the whole setup.) The processing times here follow the National Center for Home Food Preservation guidance for canning fruit juices, the same basis used for canning grape juice and apple juice.
You can pull the juice two ways, with a steam juicer or on the stovetop with a jelly bag. The stovetop method is the one most people already have the gear for, so that’s the one I’ll walk through first, with the steam juicer as an option right after.
Notes from My Kitchen

I started canning cherry juice in the years when the trees came on faster than I could process them. Canning Cherry Pie filling and black cherry jam both mean pitting, and some summers I just ran out of hands for it. Juice was the answer, because the cherries go in whole and the pits and skins stay behind in the bag.
I keep it unsweetened most years and sweeten by the glass when I pour it, which leaves it open to use as a base for everything from cherry soda to a quick batch of jelly. About four pounds of cherries gives me a couple of pints, so I scale the pot up to fill a full canner load when the picking is good. It’s one of the few canning projects where you can put up as much or as little as the harvest allows.
Quick Look at the Recipe
- Recipe Name: Canning Cherry Juice
- Recipe Type: Fruit Juice
- Canning Method: Waterbath Canning
- Prep/Cook Time: About 1 hour, most of it hands-off straining
- Canning Time: 10 minutes
- Yield: About 2 pints per 4 pounds of cherries (see Yield Notes)
- Headspace: 1/4 inch
- Jar Sizes: Pint or Quart
- Ingredients Overview: Cherries, water, and sugar (optional)
- Safe Canning Recipe Source: Fruit juice canning times consistent with National Center for Home Food Preservation guidance
- Difficulty: Easy.
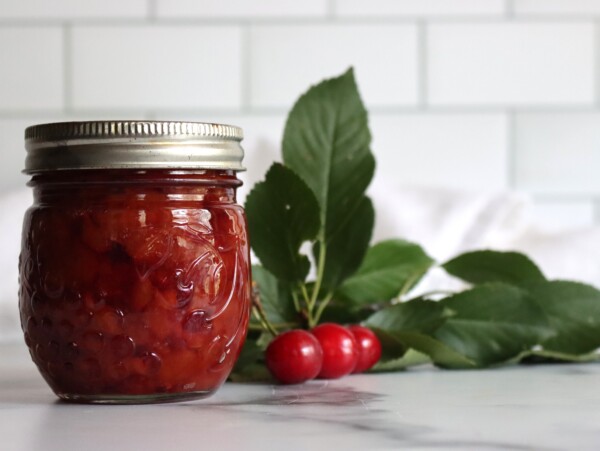
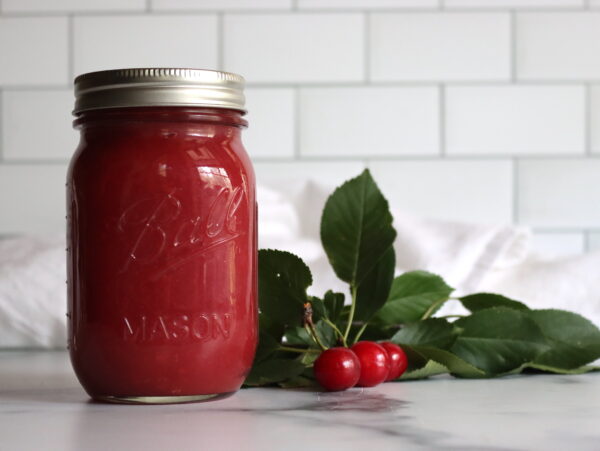
- Similar Recipes: Making cherry juice is much like putting up other home-canned fruit drinks, such as Cherry Limeade Concentrate, and it shares its cook-and-strain step with Cherry Jelly. If you love cherries, there are dozens more cherry canning recipes to work through, like Sour Cherry Jam and Cherry Pie Filling.
Cherry Juice Ingredients
There’s not much to it. The cherries do all the work, and a little water on the stovetop keeps them from scorching while they release their juice. Sugar is optional, added only if you want a sweeter glass.
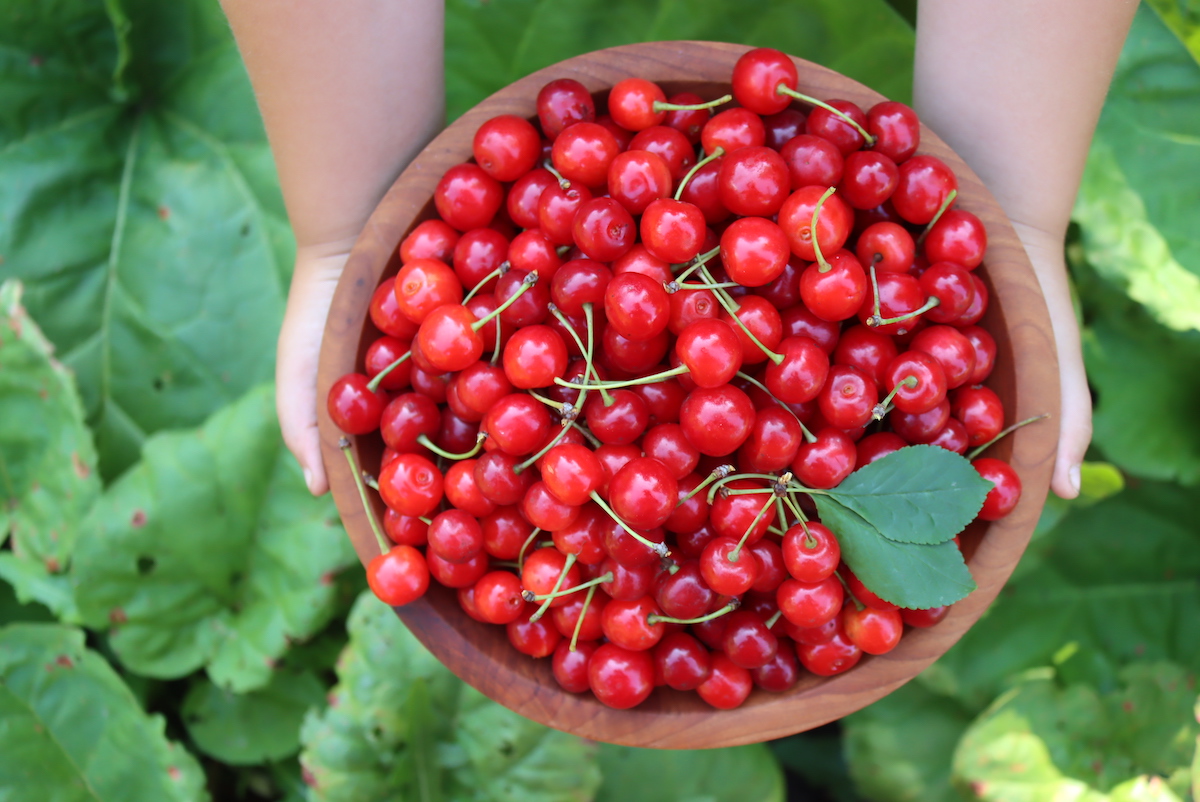
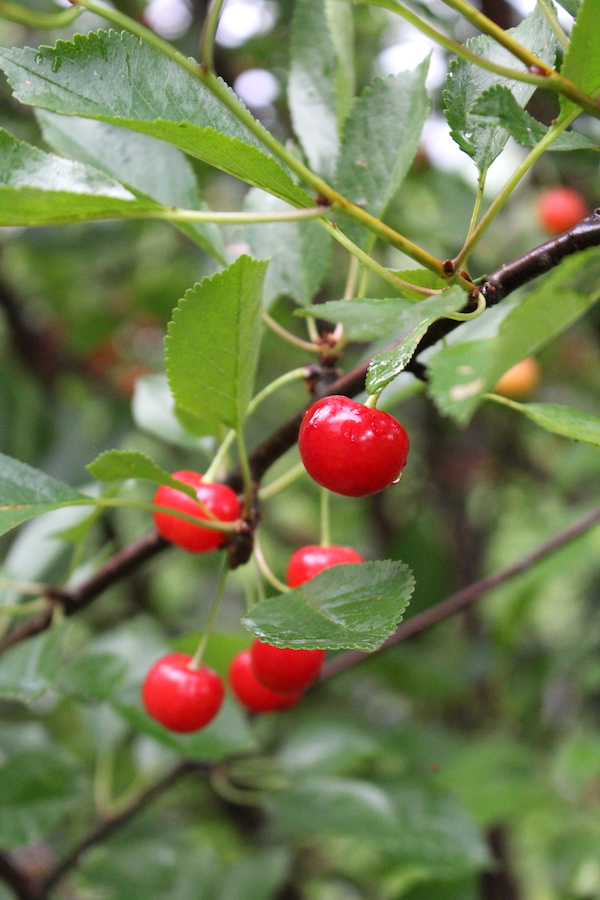
- Cherries: Tart (sour) cherries give the most flavor and acidity, but sweet, black, and Rainier cherries all work. You cook them whole and strain, so no pitting is required.
- Water: A little water in the pot helps the cherries start releasing their juice without scorching. It’s used in the stovetop method only; a steam juicer needs none in with the fruit.
- Sugar: Optional, and only for taste. Cherry juice cans safely with or without it.
Plan on about 3 to 4 pounds of sour cherries (roughly 2 quarts) to reach 4 cups of juice. Sweet cherries are a little less juicy, so plan closer to 4 pounds. You can also skip fresh cherries and use bottled tart cherry juice from a health food store. If it’s a concentrate, dilute it back to regular strength before canning.
Sweeten It to Your Taste
The sugar here isn’t a canning requirement. Both sour and sweet cherries are acidic enough to can on their own, using these same instructions and times, so you can leave the juice plain or sweeten it as much as you like without affecting whether it’s safe to can.
With sweet cherries, a tablespoon or two of lemon juice is a nice addition to round out the flavor, though that too is for taste rather than safety.
Straining is the other choice that’s yours to make. Letting the juice drip on its own gives you a clear, clean pour, while pressing the bag forces more juice through along with a little pulp, so the finished juice is cloudier but you get more of it.
Neither one changes the safety, so go by whether you want clarity or yield.
Yield Notes
A batch of cherry juice uses:
- About 4 pounds of cherries (sour or sweet), cooked whole and strained into about 4 cups of juice
- 1 cup water (stovetop method only)
- Sugar to taste (optional)
That makes about 2 pints of juice. Cherry juice multiplies cleanly, so to fill a full canner load just keep the same proportions and scale the pot up, or run several batches back to back. (See notes on yields.)
How to Make Cherry Juice
Start with good, sound cherries, and pass over any that are overripe, bruised, or showing soft spots near the stem, since a few bad ones can throw off a whole batch. There’s no pitting to do, since the cherries are cooked whole and strained, so the pits and skins are left behind and only the juice goes into the jar.
From there it’s two short stages: pull the juice, then reheat it and fill the jars. Here’s how each one goes.
Extract the Juice on the Stovetop
Rinse the cherries and place them in a medium saucepan or jelly pot with a little water in the bottom to keep them from scorching. Cook over medium-high heat, stirring often at first, until the juices start bursting from the cherries, then bring them to a boil, reduce the heat to medium-low, cover, and simmer for about 10 minutes until all the cherries have popped and given up their juice.
Take the pot off the heat and pour the mixture into a jelly bag set over a deep bowl, letting it drip until it slows right down.
For the clearest juice, don’t squeeze the bag; let it run through on its own, leaving the pulp behind. (If you don’t have a jelly bag, use several layers of cheesecloth inside a strainer instead.)
Or Use a Steam Juicer
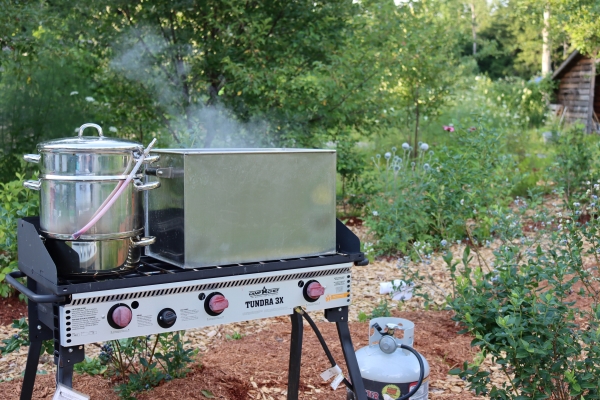
A steam juicer pulls nearly every last bit of juice from the fruit, which means you get the most out of your cherries, especially if you’re buying them. Place the cherries in the top basket and add water to the bottom tray, then set the juicer on the stove and let the cherries steam for about 45 minutes to an hour, until the juice has collected in the middle chamber.
There’s no jelly bag to deal with, since the juice comes off already strained, so it’s worth the gear if you put up juice in any quantity.
Heat and Fill the Jars
Measure the strained juice into a clean pot. If you want it sweetened, stir in sugar to taste now, along with a little lemon juice if you’re using sweet cherries, and heat the juice until it just begins to boil.
Ladle it into prepared jars right away, leaving 1/4 inch headspace, and it’s ready for the canner.
Canning Cherry Juice
Prepare a water bath canner, jars, lids, and rings before you begin filling jars, and keep the jars hot until you need them. Since the juice is filled hot and the cherries are naturally acidic, this is a simple boiling water bath project with no pressure canner required.
Ladle the hot juice into prepared jars, leaving 1/4 inch headspace. Wipe the rims, adjust the lids, and load the jars into the canner. Process pints and quarts for 10 minutes, adjusting for altitude. When the time is up, turn off the heat and let the jars sit in the canner for 5 minutes before removing them, then set them on a towel to cool undisturbed for 12 to 24 hours. Check the seals, store any unsealed jars in the refrigerator, and keep the sealed jars in the pantry, refrigerating after opening.
These times follow the National Center for Home Food Preservation guidance for canning fruit juices, the same basis used for apple and grape juice.
(This same juice could also be frozen instead of canned, in freezer-safe jars with a full 1 inch of headspace to allow for expansion.)
Waterbath Canning Altitude Adjustments
The altitude adjustments for water bath canning Cherry Juice are as follows:
- For Under 1,000 Feet in Elevation – 10 minutes for pints and quarts
- For 1,001 to 6,000 Feet in Elevation – 15 minutes for pints and quarts
- Above 6,000 Feet in Elevation – 20 minutes for pints and quarts
Serving Ideas
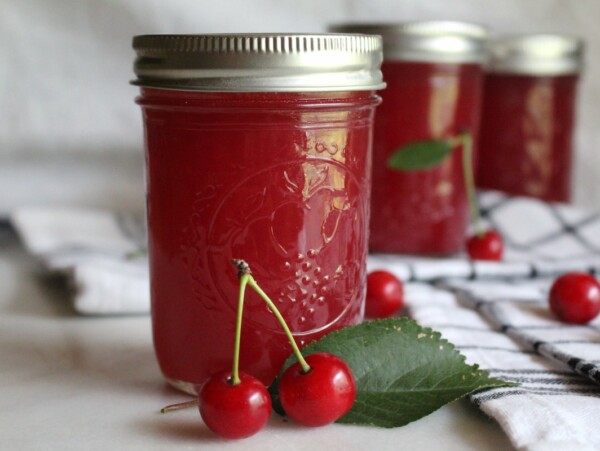
Canned cherry juice is ready to drink straight from the jar. Pour it over ice, stir it into sparkling water for a quick cherry soda, or mix it with lemonade or iced tea. It also freezes into popsicles and works as the cherry note in cocktails and punch.
Beyond the glass, a jar of cherry juice is a head start on other projects. You can open one and go straight to making cherry jelly without cooking and straining cherries again, or simmer it down with sugar into a sauce or syrup for pancakes and desserts.
Cherry Juice FAQs
No. Cherry juice cans safely with or without sugar, so it’s entirely up to your taste. Both sour and sweet cherries are acidic enough to can on their own, and the sugar is there only for sweetness. Many people can it plain and sweeten by the glass when they pour it.
No, and that’s a big part of the appeal. You cook the cherries whole, then strain the juice through a jelly bag or steam juicer, so the pits and skins are left behind and never have to be removed by hand.
Yes to both. Sweet, black, and Rainier cherries all make lovely juice; add 1 to 2 tablespoons of lemon juice if you want to round out their flavor. You can also use bottled tart cherry juice from a health food store. If it’s concentrated, dilute it back to regular strength before canning.
Once you’ve put up the juice, there’s plenty more to do with a cherry harvest. Turn some into black cherry jam or a batch of cherry butter, and save a few jars of juice back for jelly later in the year.
Cherry Canning Recipes
If you tried this Cherry Juice recipe, or any other recipe on Creative Canning, leave a ⭐ star rating and let me know what you think in the 📝 comments below!
And make sure you stay in touch with me by following on social media!
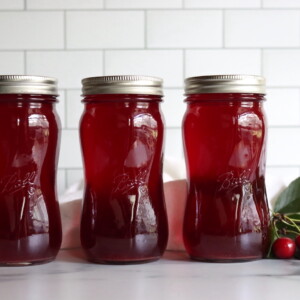
Canning Cherry Juice
Equipment
- Steam Juicer optional, or use stovetop
- Canning Jars, Lids and Bands
Ingredients
For the Juice:
- 4 pounds cherries, sour or sweet
- 1 cup water, stovetop method only
To Taste (Optional):
- Sugar, to taste
- 1 to 2 Tbsp lemon juice, optional, for sweet cherries
Instructions
- Rinse the cherries. For the stovetop method, place them whole in a pot with a little water and cook over medium-high heat, stirring, until the juices burst. Bring to a boil, then cover and simmer until the cherries pop and give up their juice.
- Pour the cooked cherries into a jelly bag set over a deep bowl and let the juice drip without squeezing, for the clearest juice. (Several layers of cheesecloth in a strainer work too.) Alternatively, extract the juice in a steam juicer.
- Measure the strained juice into a clean pot. Sweeten to taste if you like, and stir in a little lemon juice with sweet cherries to round out the flavor. Heat until the juice just begins to boil.
- Ladle the hot juice into prepared jars, leaving 1/4 inch headspace. Wipe the rims, center the lids, and apply the bands fingertip tight.
- Process in a boiling water bath for 10 minutes, adjusting for altitude (see notes). Turn off the heat, rest the jars 5 minutes, then cool 12 to 24 hours and check the seals.
Notes
Nutrition
Nutrition information is automatically calculated, so should only be used as an approximation.
Looking to put up more than juice this season? These other drink canning recipes are worth a look.
Drink Canning Recipes
Find the perfect recipe
Searching for something else? Enter keywords to find the perfect recipe!

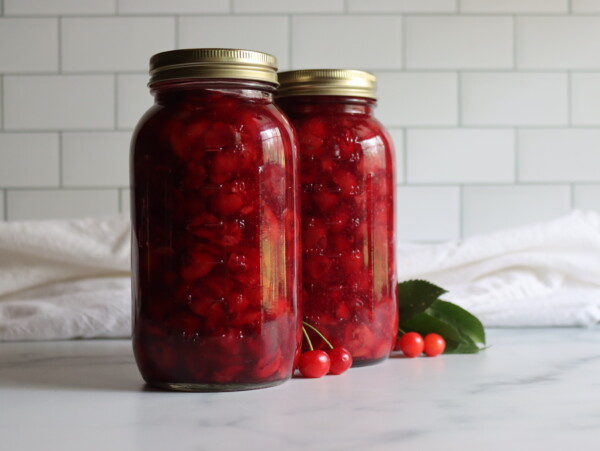
Our cherry trees bear huge crops, and I can only eat so much jelly. I love putting up my own tart cherry juice!