
This post may contain affiliate links. Please see our disclosure policy.
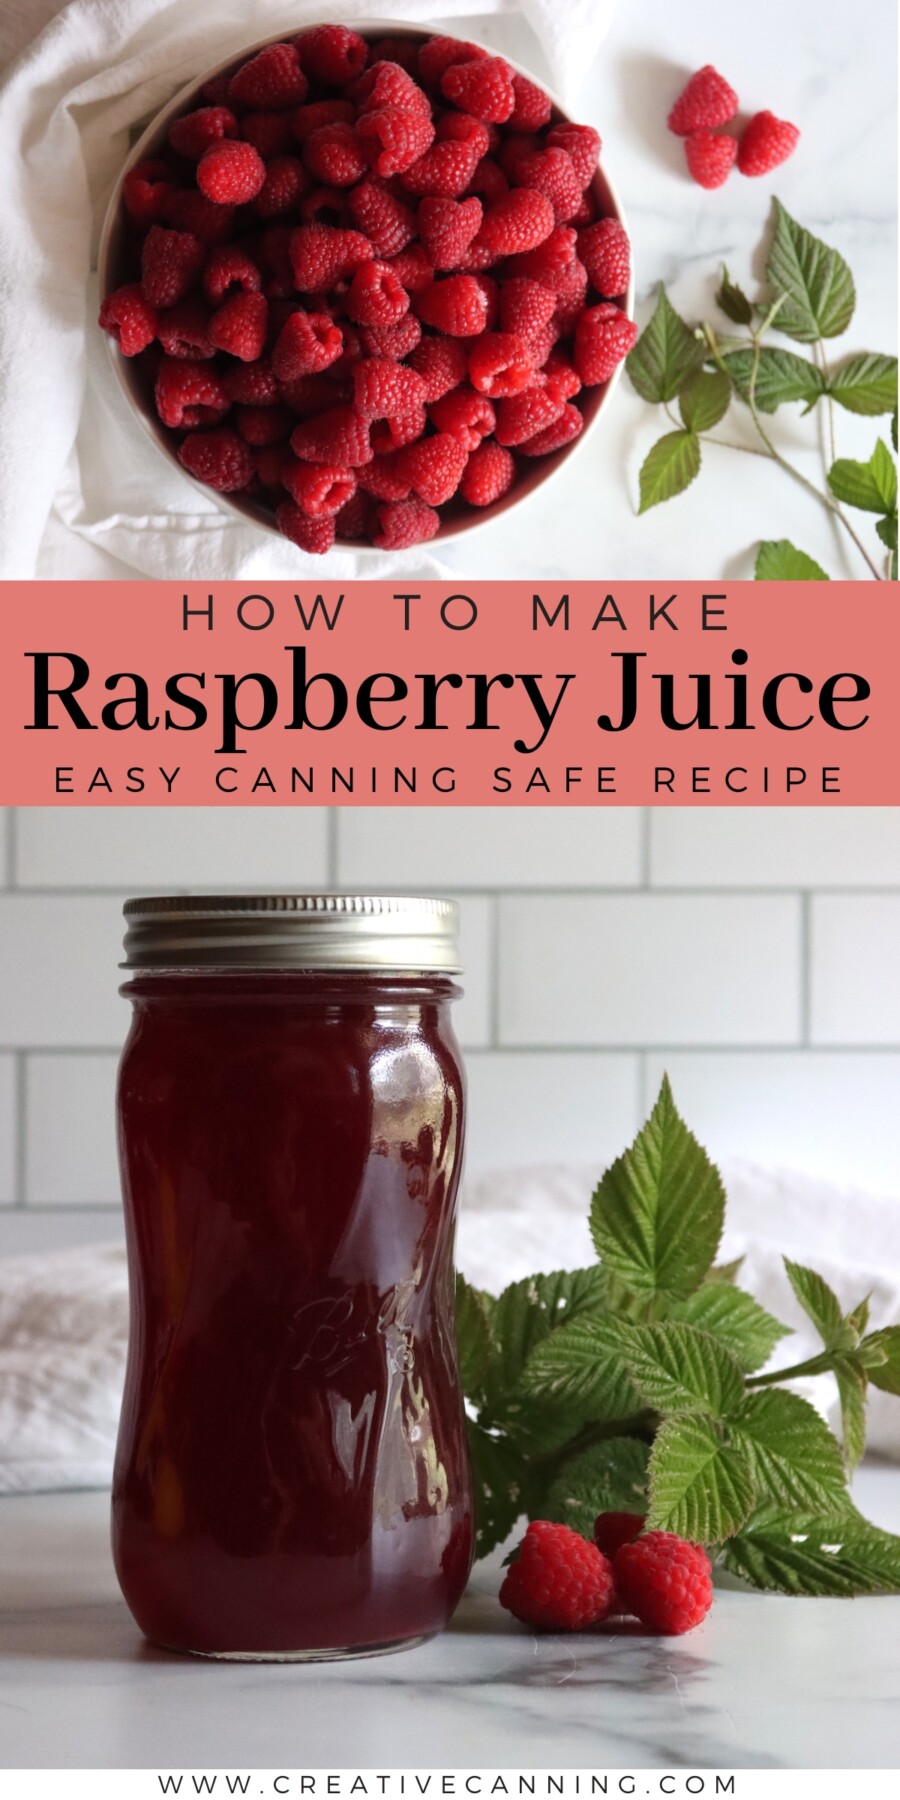
Raspberry juice is summer in a jar, ready to pour over ice, stir into lemonade, or open on a January afternoon when the canes outside are buried under snow and the whole idea of fresh fruit feels a long way off.
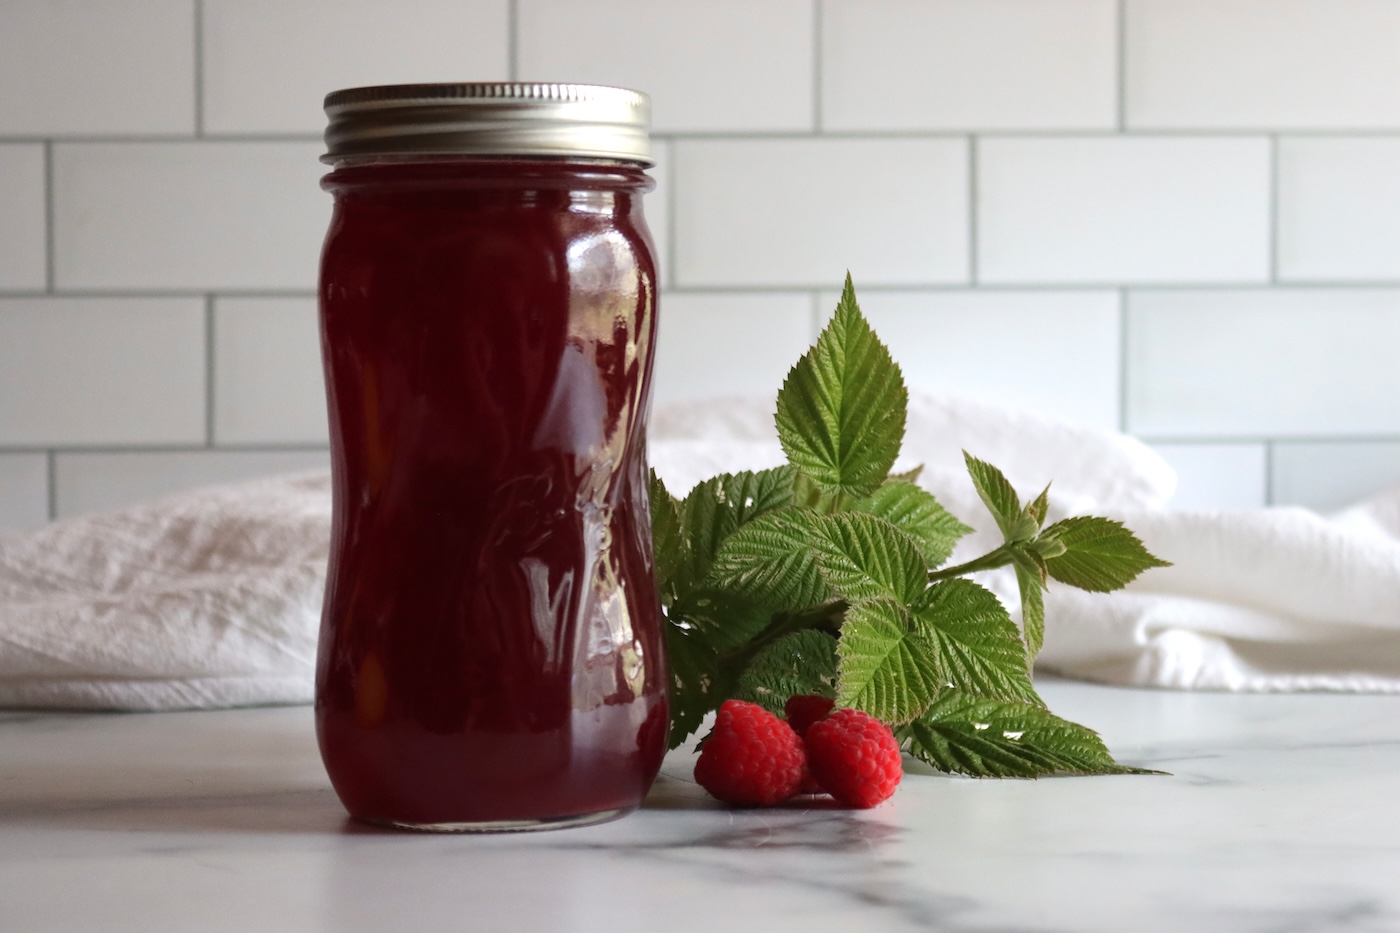
Table of Contents
- Notes from My Kitchen
- Quick Look at the Recipe
- Ingredients for Raspberry Juice
- How to Make Raspberry Juice
- Canning Raspberry Juice
- Altitude Adjustments
- Ways to Use Raspberry Juice
- Using the Leftover Pulp
- Storage and Shelf Life
- Yield Notes
- Raspberry Juice FAQs
- Raspberry Canning Recipes
- Raspberry Juice Recipe
- Juice Canning Recipes
This recipe has been reviewed for safety and accuracy by a Master Food Preserver certified through the University of Cornell Cooperative Extension.
This one follows the berry juice procedure from the Ball Complete Book of Home Preserving, which is the same method behind my general guide to canning berry juice. You crush the fruit with just enough water to keep it from scorching, simmer it until the berries fall apart, and let it drip through a jelly bag until you have clear juice. From there it is a quick hot pack and a short spell in the canner.
If you have made raspberry syrup, the first half of this recipe will look familiar, because the extraction is identical. The difference comes after the strain. A syrup gets an equal measure of sugar and a hard boil, which gives it body but also cooks the fruit flavor a little. Juice skips the sugar (or takes just a spoonful for taste) and never comes to a boil at all, so what ends up in the jar tastes much closer to the berry you picked.
Fresh or frozen raspberries both work, and frozen may actually be the better choice, since freezing bursts the cell walls and the fruit gives up its juice more willingly. There is no need to thaw first. Black raspberries work too, though they run drier and seedier, so plan on a bit more fruit for the same amount of juice. And because the strained juice is exactly what a jelly recipe starts with, a few jars of this on the shelf mean you can make raspberry jelly in February without a berry in sight.
Notes from My Kitchen

Our raspberry patch comes on all at once in the hottest stretch of the summer, faster than we can eat them and faster than I want to stand over a canner. So the berries go into the freezer in bags as we pick, and once the weather turns and I am not heating up the whole house, I pull them out and run a juice batch. (Frozen berries give up more juice anyway, so I have stopped feeling guilty about the delay.)
I put most of it up unsweetened, because an unsweetened jar can still become anything later. A splash in sparkling water is how we drink it. A jar of it, sugar, and pectin becomes jelly. Sweeten it in the jar, and you have committed. Leave it plain, and you have kept every option open, which is worth more to me in March than a little convenience in August.
Quick Look at the Recipe
- Recipe Name: Raspberry Juice
- Recipe Type: Fruit Juice
- Canning Method: Water Bath Canning
- Prep Time: About 20 minutes active, plus 2 hours or more of straining time
- Cook Time: About 15 minutes
- Canning Time: 15 minutes for half pints, pints, or quarts
- Yield: About 4 cups of juice, or 2 pints
- Jar Sizes: Half pints, pints, or quarts
- Headspace: 1/4 inch
- Ingredients Overview: Raspberries, water, and optional sugar for taste
- Safe Canning Recipe Source: Ball Complete Book of Home Preserving, Berry Juice
- Difficulty: Easy. The straining takes hours but asks nothing of you while it happens.
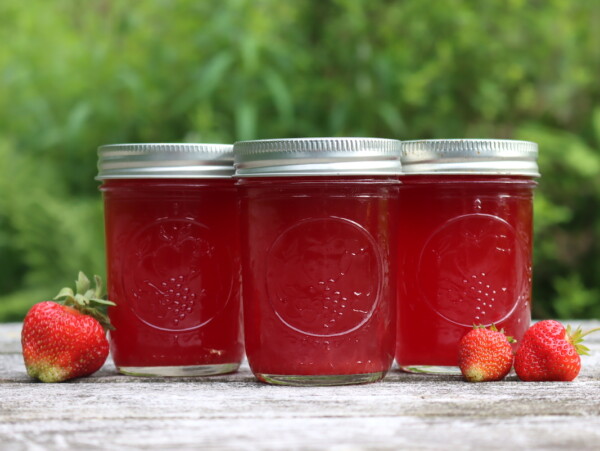
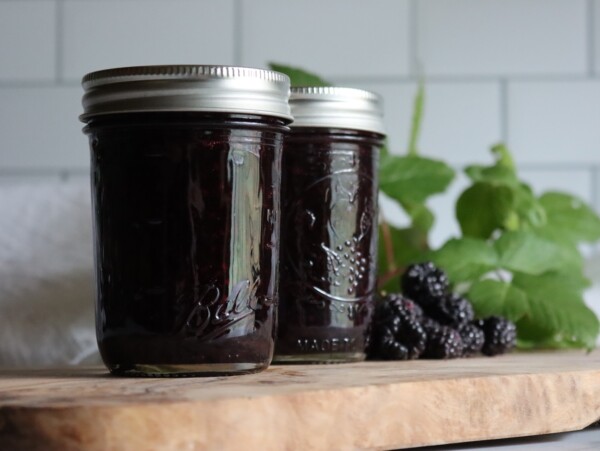
- Similar Recipes: Making raspberry juice works the same way as other canned fruit juices, like blackberry juice, blueberry juice, or strawberry juice. If the patch is still producing, there are plenty of other raspberry canning recipes to work through, including raspberry jam and raspberry pie filling.
Ingredients for Raspberry Juice
There are only three things on this list, and one of them is optional. What you are really doing is coaxing the juice out of the fruit without cooking it any harder than you have to, so the quality of the berries matters more here than in almost anything else you can put in a jar.
- Raspberries: Ripe, tender berries give the most juice and the deepest color. Slightly overripe fruit that has gone too soft for the fruit bowl is fine here, since it is going to be crushed and strained anyway, but pass over anything moldy or fermented. Fresh and frozen both work, and there is no need to thaw frozen fruit before it goes in the pot. Black raspberries can stand in for red and bring a deeper, earthier flavor, though they yield less juice per cup of fruit.
- Water: A small amount of water gets the extraction going and keeps the berries from scorching before they release their own juice. The rule of thumb is 1/4 to 1/2 cup of water for every 4 cups of berries. Resist the urge to add more, since every extra cup dilutes what ends up in the jar.
- Sugar (optional): Sugar is here for taste, not for preservation, and the juice cans exactly the same either way. If you want a ready-to-drink jar, stir in 1 to 2 tablespoons per cup of juice before filling. If you would rather keep the jar useful for jelly, syrup, and cooking, leave it out and sweeten by the glass. There is more on this in my guide to whether sugar is necessary for preservation.
You will also want a jelly bag or several layers of damp cheesecloth in a colander, since a fine mesh strainer on its own lets too much sediment through. If you juice a lot of fruit, a steam juicer extracts more juice with less mess, and the canning instructions below work the same way with juice from a steam juicer.
How to Make Raspberry Juice
This recipe only has a few simple steps. Cook the berries just until they collapse, let the juice drip out on its own, hold it at temperature without boiling, and can it. The only part that takes any real time is the dripping, and that happens whether you watch it or not.
Start the straining early, or start it the night before. If you are canning the same day, get your water bath canner, jars, and lids ready while the juice works its way through the bag, so there is nothing to scramble for once the juice comes up to temperature.
Extract the Juice
Rinse about 3 1/2 quarts of raspberries (roughly 14 cups, or 3 1/2 pounds) and pick out any stems, leaves, or spoiled fruit. Put the berries in a large stainless steel pot with 1 cup of water and crush them with a potato masher. Bring the pot to a boil over medium-high heat, stirring frequently so nothing sticks.
Reduce the heat, cover the pot loosely, and let it boil gently for 5 to 10 minutes, stirring and crushing every so often, just until the berries have softened and fallen apart. You are not cooking this down or reducing it. As soon as the fruit has given up its structure, it has given up its juice, and any more time on the stove costs you flavor.
Strain the Juice
Spoon the hot fruit into a dampened jelly bag, or into a colander lined with several layers of damp cheesecloth, set over a deep bowl. Let it drip undisturbed for at least 2 hours, or overnight in a cool spot. Do not squeeze the bag if you want clear juice, since squeezing pushes fine pulp through the cloth and clouds what comes out.
Expect about 4 cups of juice from 3 1/2 quarts of berries, which works out to roughly 3 to 3 1/2 cups of raspberries for every cup of juice. That number can vary a lot depending on how the season went and how juicy your particular berries are, and it is the reason I would rather measure the juice at the end than promise you a jar count at the start. (If you would rather have more juice than clearer juice, go ahead and squeeze. It will still taste right.)
Settle the Juice for Clarity
This step is optional, and it is purely cosmetic. Refrigerate the strained juice overnight and let the fine sediment settle to the bottom of the bowl. The next day, carefully pour off the clear juice and leave the cloudy layer behind. What you get is a jar that reads a little brighter on the shelf.
You lose a small amount of juice to the sediment, and you gain a day. I skip it more often than not, especially with juice I plan to turn into jelly later, where a little cloudiness disappears the moment the sugar goes in. Skipping it changes nothing about safety, headspace, or processing time.
Heat the Juice for Canning
Pour the strained juice into a clean saucepan. If you are sweetening it, add 1 to 2 tablespoons of sugar per cup of juice now and stir until it dissolves. Heat the juice to 190°F over medium-high heat and hold it there for 5 minutes, adjusting the burner as needed to keep it steady.
Do not let the juice come to a boil. A boil will drive off the fresh raspberry flavor you just spent an afternoon collecting and leave a cooked, jammy note in its place. An instant read thermometer earns its keep here, since 190°F looks a lot like a simmer to the naked eye and there is no visual cue telling you when you have crossed the line.
Canning Raspberry Juice
Canning is optional. Raspberry juice keeps in the refrigerator for about a week and in the freezer for up to a year, so a small batch for drinking does not need to go anywhere near a canner. For a shelf-stable jar, though, the water bath is quick, and there is nothing tricky about it.
Prepare your water bath canner, jars, and lids before the juice comes up to temperature. Ladle the hot juice into prepared jars, leaving 1/4 inch headspace, then wipe the rims clean with a damp cloth, center the lids, and apply the bands fingertip tight. A canning funnel with headspace measurements makes that last part faster than it has any right to be.
Lower the jars into the canner, making sure they are covered by at least 1 inch of water, and process for 15 minutes for half pints, pints, or quarts, adjusting for altitude as noted below. A steam canner works here too, at the same times. When the time is up, turn off the heat, let the jars rest in the canner for 5 minutes so they do not siphon, then move them to a towel-lined counter to cool undisturbed for 12 to 24 hours.
Altitude Adjustments
For water bath canning, processing times are the same for pints, half pints and quarts, but increase at higher elevations:
- 0 to 1,000 feet: 15 minutes
- 1,001 to 6,000 feet: 20 minutes
- Above 6,000 feet: 25 minutes
Ways to Use Raspberry Juice
Most of ours gets poured over ice with sparkling water, which takes about eight seconds and tastes like the patch in July. It goes into iced tea, into lemonade, and into cocktails and mocktails where a splash does more work than a whole muddled handful of fresh berries would. Warmed gently with a spoonful of honey, it makes a decent winter drink when someone in the house has a sore throat.
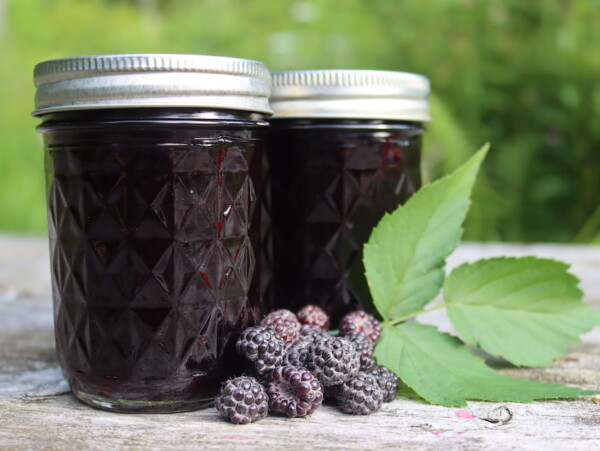
The other half of its life is as an ingredient. A jar of juice plus sugar and pectin is the starting point for raspberry jelly, and since the seeds are already gone, you skip the step that makes seedless raspberry jam such a chore. Reduce it down with sugar and you have syrup. Use it in place of the water in a gelatin dessert, or cook it into a thin sauce for cheesecake and pound cake. If you have black raspberries, the same juice makes black raspberry jelly.
Using the Leftover Pulp
What comes out of the jelly bag still has flavor in it, and throwing away several pounds of raspberry pulp feels wrong. The simplest option is a second extraction: add a little more water to the pulp, simmer it again, and strain. That juice is thinner and paler than the first run, but it is fine for drinking or for a lightly flavored lemonade.
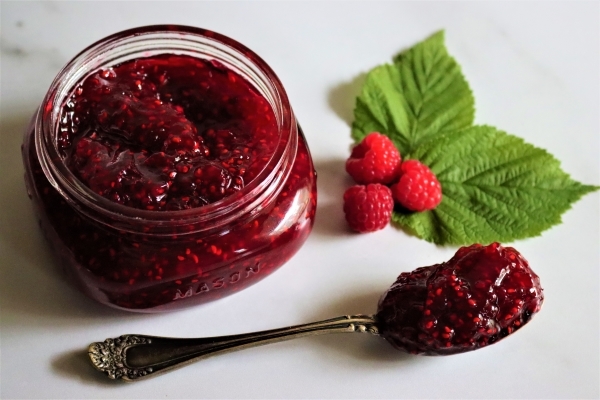
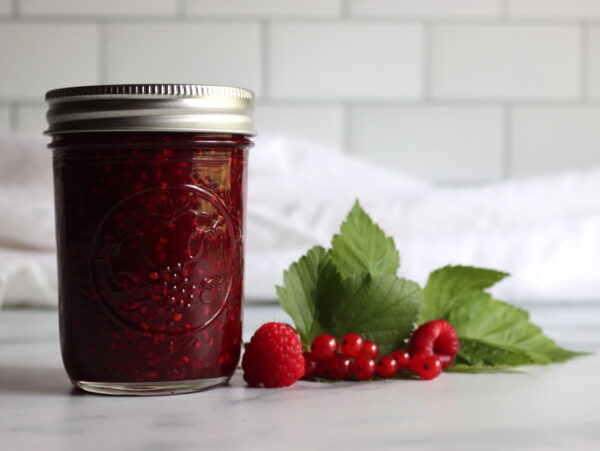
You can also work the pulp into a jam, standing in for up to half of the fresh fruit in a recipe like raspberry currant jam. Use fresh fruit for the other half, since spent pulp brings texture but not much flavor or acidity of its own. The one thing pulp will not do is set on its own, so do not try to build a whole batch of jam out of it and expect it to behave.
Storage and Shelf Life
Check the seals after 12 to 24 hours by pressing the center of each lid. A sealed lid does not flex. Remove the bands, wipe the jars, label them with the contents and the year, and store them somewhere cool and dark. Properly sealed jars hold their quality for 12 to 18 months, and the flavor and color fade gradually after that rather than becoming unsafe.
Any jar that did not seal goes straight into the refrigerator and gets used within a week, or into the freezer with 1 inch of headspace for up to a year. Once you open a sealed jar, refrigerate it and drink it within a week or so. Discard, without tasting, any jar with a bulging lid, a broken seal, mold, fizzing, or an off smell. This is the same standard for any canned fruit product, and it is covered in more detail across my other water bath canning recipes.
Yield Notes
This recipe starts with about 3 1/2 quarts of raspberries and 1 cup of water, and yields roughly 4 cups of strained juice, enough to fill 2 pint jars or 4 half pints. Working backward, plan on 3 to 3 1/2 cups of raspberries for each cup of juice you want, so a full canner load of 7 quarts would take somewhere north of 20 quarts of fruit.
Yield swings widely with the season, the variety, and how ripe the fruit is, and frozen berries reliably give up more juice than fresh. Because there is no ratio to hold, this recipe scales in either direction without any math: measure the juice you actually get, sweeten to taste if you are sweetening, and fill however many jars it fills. The processing time stays at 15 minutes no matter how many jars go in the canner.
A few questions come up often enough about canning raspberry juice that they are worth answering before you start.
Raspberry Juice FAQs
Yes, and frozen raspberries often yield more juice than fresh ones. Freezing bursts the cell walls, so the fruit releases its juice more easily during the short cook. There’s no need to thaw first. Add the berries to the pot frozen and give them a few extra minutes to break down.
No. Raspberries are high in acid on their own, so no bottled lemon juice or citric acid is needed for safe water bath canning. Elderberries are the exception among common berries and do require added acid, but raspberries, blackberries, blueberries, and strawberries do not.
Plan on 3 to 3 1/2 cups of raspberries for each cup of juice, so about 6 to 7 cups of berries per pint. Yield varies quite a bit with the variety and how ripe and juicy the fruit is, so measure the juice at the end rather than counting on an exact jar count.
Yes. Extracted juice is the first step of a jelly, so a sealed jar of raspberry juice is a jelly batch waiting to happen. Open a jar, add sugar and pectin, and follow a tested raspberry jelly recipe. If it doesn’t set, my guide to troubleshooting jelly set walks through the fixes.
Properly canned and sealed jars keep their quality for 12 to 18 months in a cool, dark place. Refrigerate after opening and use within about a week. Without canning, the juice keeps about a week in the refrigerator or up to a year in the freezer, leaving 1 inch of headspace for freezing.
If the canes are still loaded and you have more fruit than jars, there are plenty of other ways to put raspberries up for the pantry.
Raspberry Canning Recipes
If you tried this Raspberry Juice recipe, or any other recipe on Creative Canning, leave a ⭐ star rating and let me know what you think in the 📝 comments below!
And make sure you stay in touch with me by following on social media!
Raspberry Juice
Equipment
- Canning Jars, Lids and Bands
Ingredients
- 14 cups raspberries, about 3 1/2 quarts, or 3 1/2 pounds, fresh or frozen
- 1 cup water
- sugar, optional, 1 to 2 Tbsp per cup of juice
Instructions
- Prepare a water bath canner, along with jars and lids.
- Rinse the raspberries and discard any stems, leaves, or spoiled fruit.
- Add the raspberries and water to a large stainless steel pot and crush with a potato masher. Bring to a boil over medium-high heat, stirring frequently.
- Reduce the heat, cover loosely, and boil gently 5 to 10 minutes, stirring and crushing occasionally, just until the berries have softened and fallen apart.
- Transfer the hot fruit to a dampened jelly bag, or a colander lined with several layers of damp cheesecloth, set over a deep bowl. Let drip undisturbed at least 2 hours or overnight. Do not squeeze the bag if you want clear juice.
- Optional, for clearer juice: refrigerate the strained juice overnight to let sediment settle, then carefully pour off the clear juice and discard the sediment.
- Pour the juice into a clean saucepan. Add the sugar, if using, and stir to dissolve. Heat the juice to 190°F over medium-high heat and hold it there for 5 minutes, adjusting the heat as needed. Do not boil.
- Ladle the hot juice into prepared jars, leaving 1/4 inch headspace. Wipe the rims, center the lids, and apply the bands fingertip tight.
- Process in a boiling water bath for 15 minutes for half pints, pints, or quarts, adjusting for altitude (see notes).
- Turn off the heat and let the jars rest in the canner 5 minutes. Remove the jars and cool undisturbed 12 to 24 hours, then check the seals.
Notes
Nutrition
Nutrition information is automatically calculated, so should only be used as an approximation.
The same cook, drip, and hold method works for almost any high-acid fruit, so it is worth keeping a few other juices on the shelf as well.
Juice Canning Recipes
Find the perfect recipe
Searching for something else? Enter keywords to find the perfect recipe!

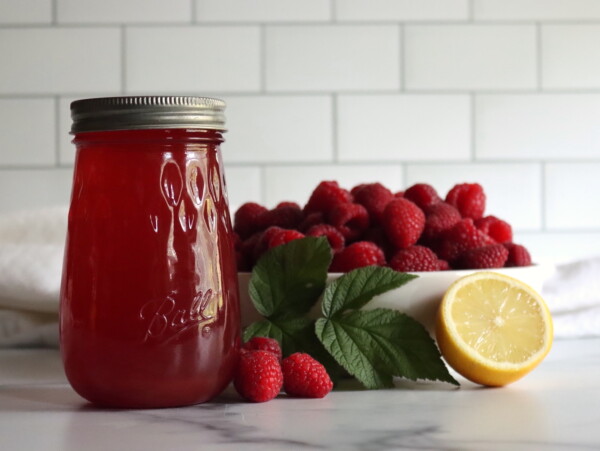
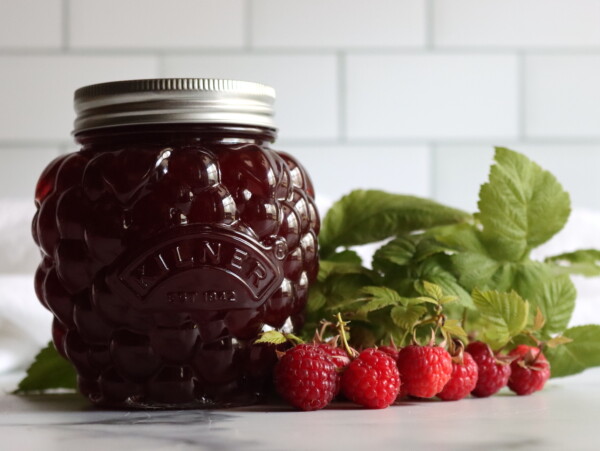
You need quite a few raspberries to make this, but it’s worth it! The flavor is so rich and absolutely incredible.