This post may contain affiliate links. Please see our disclosure policy.
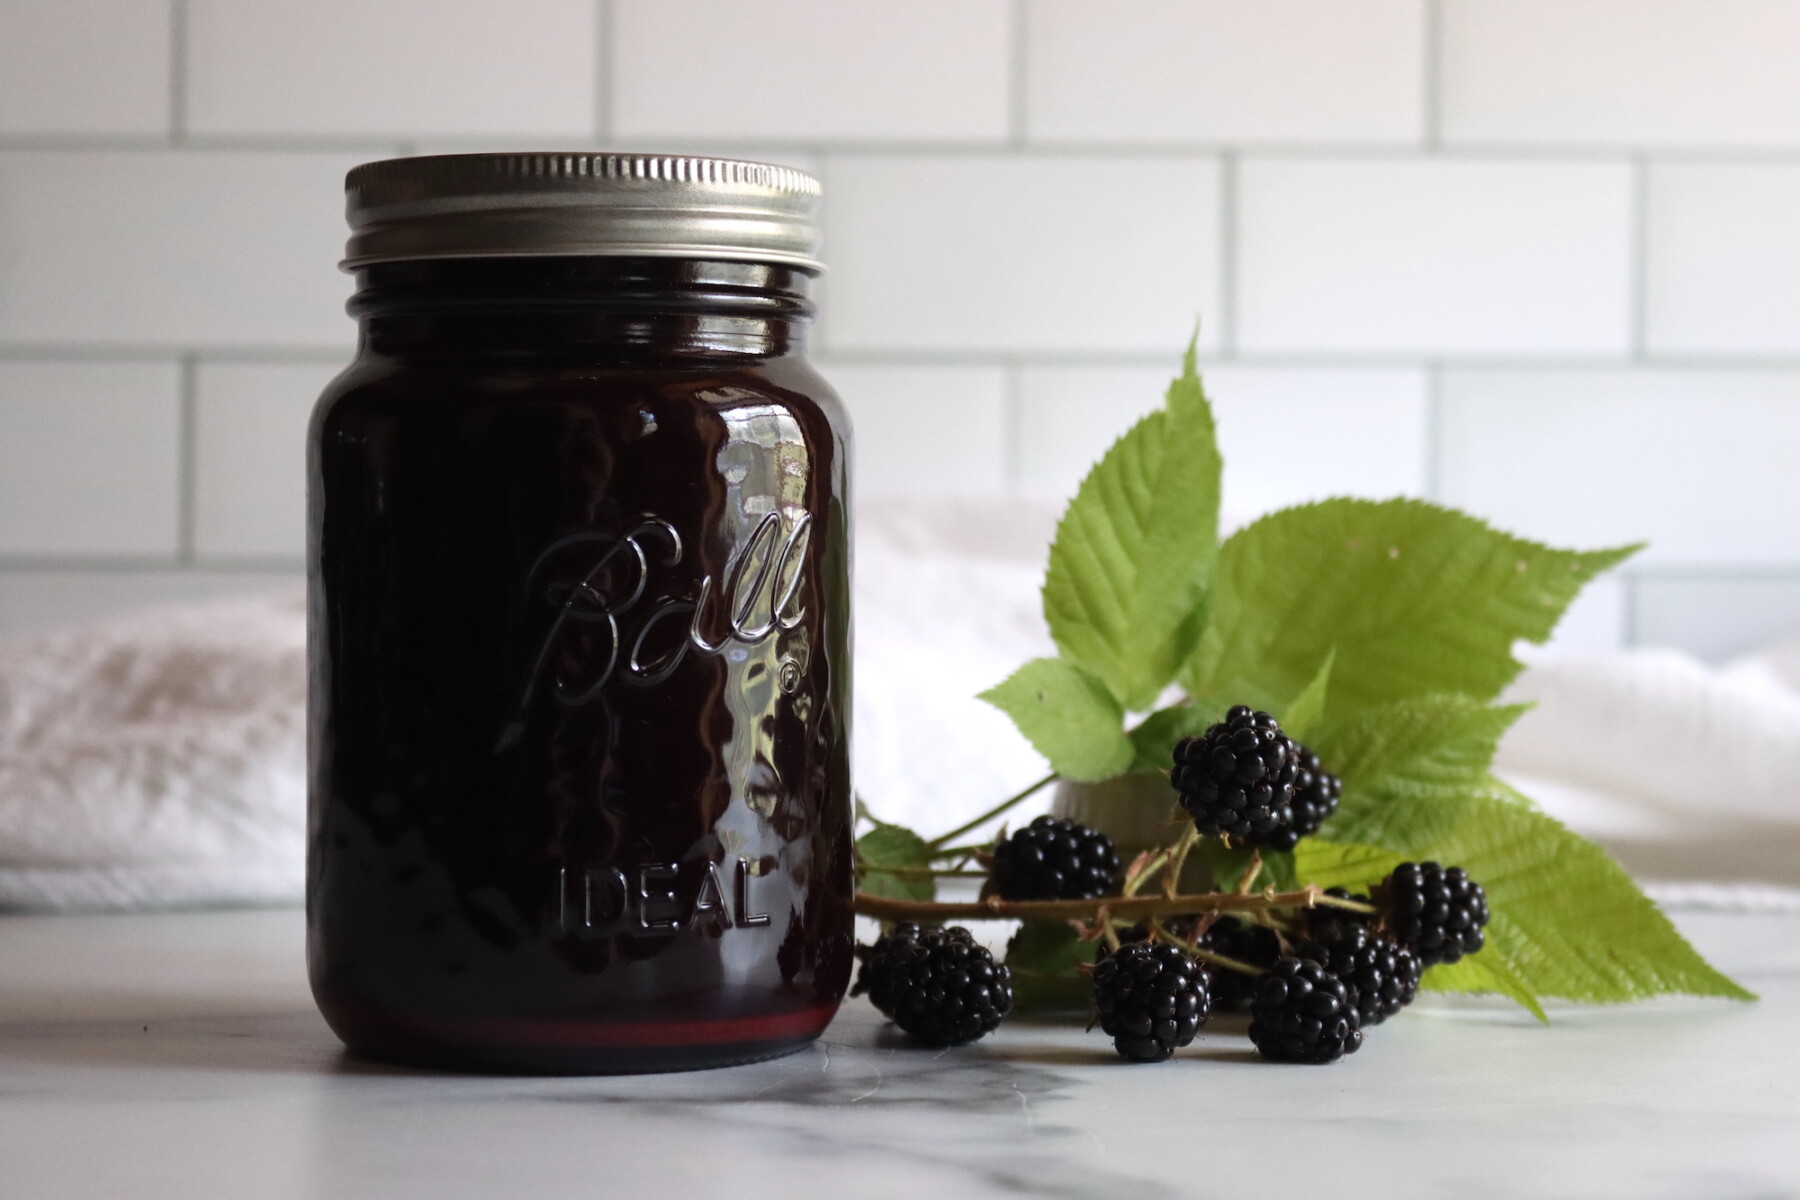
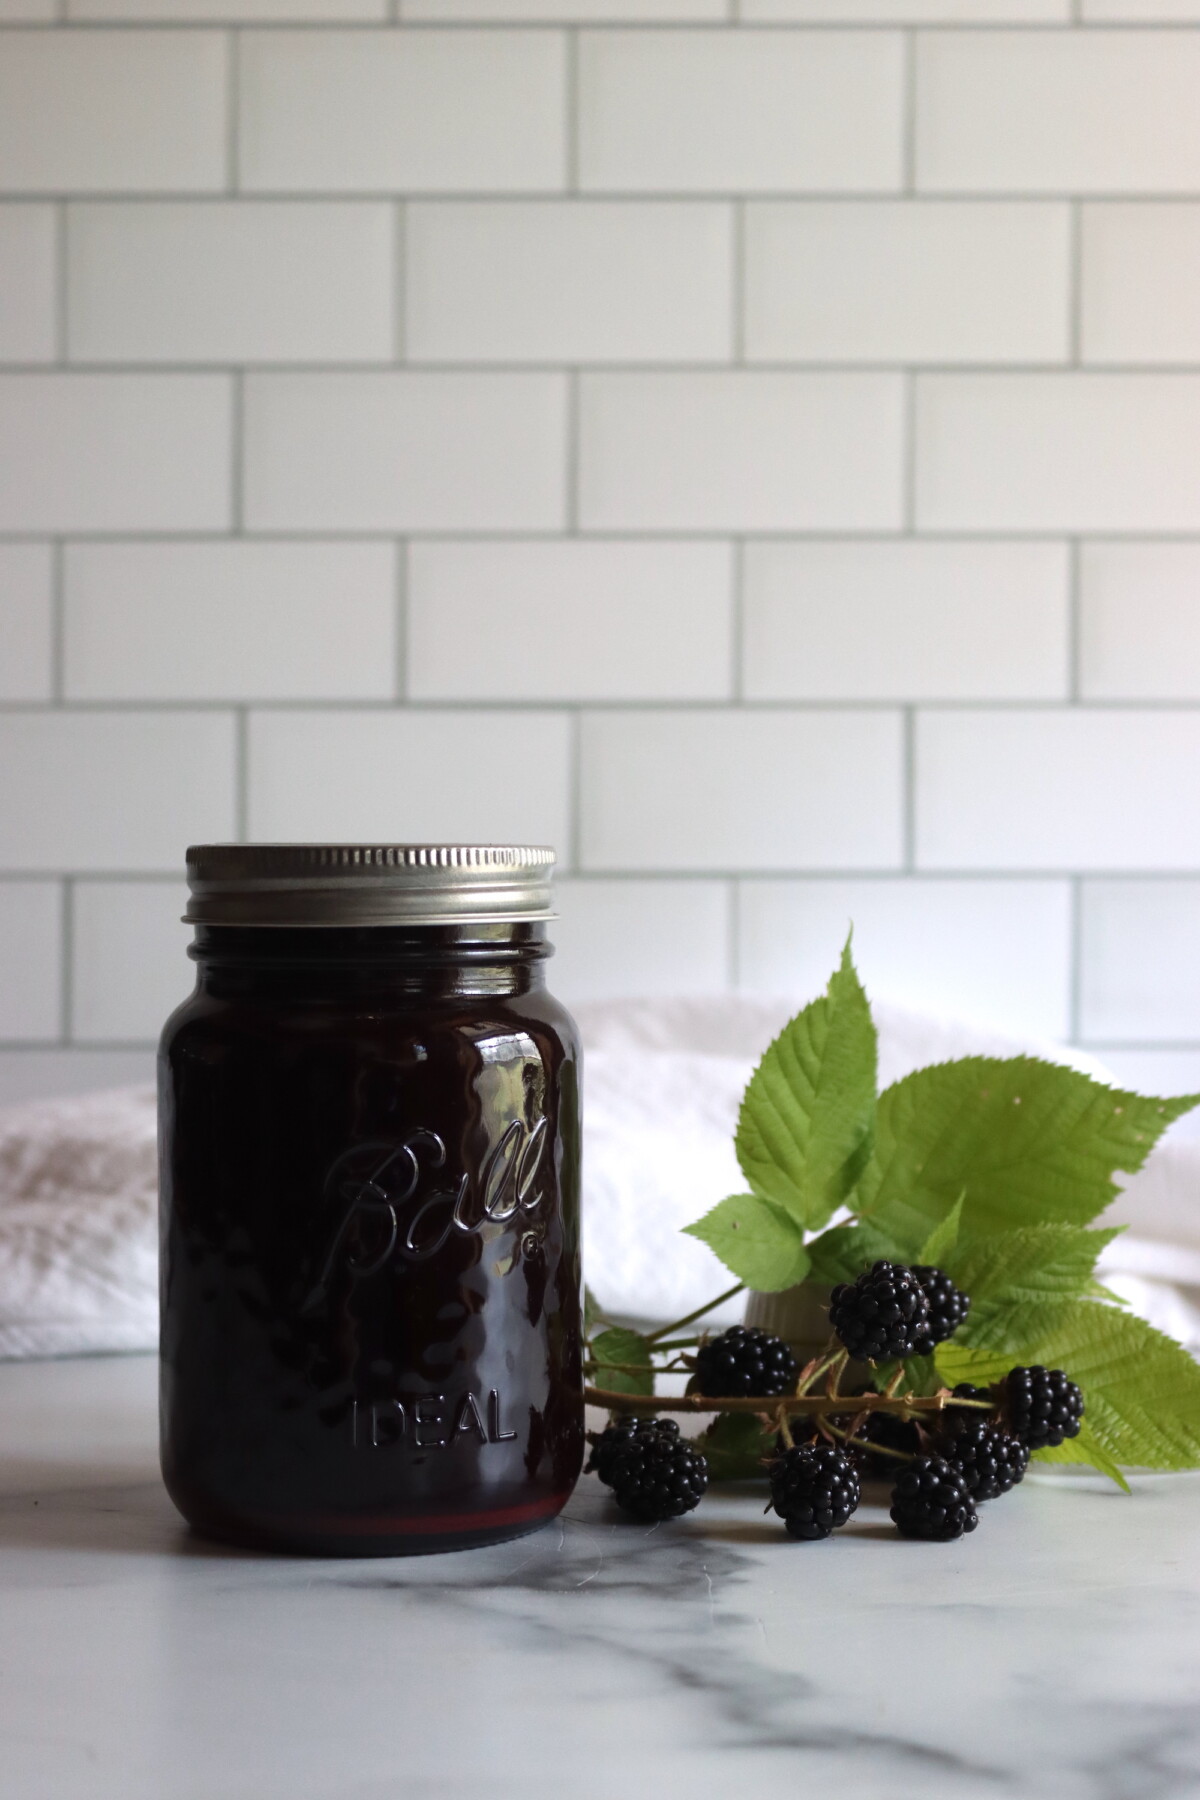
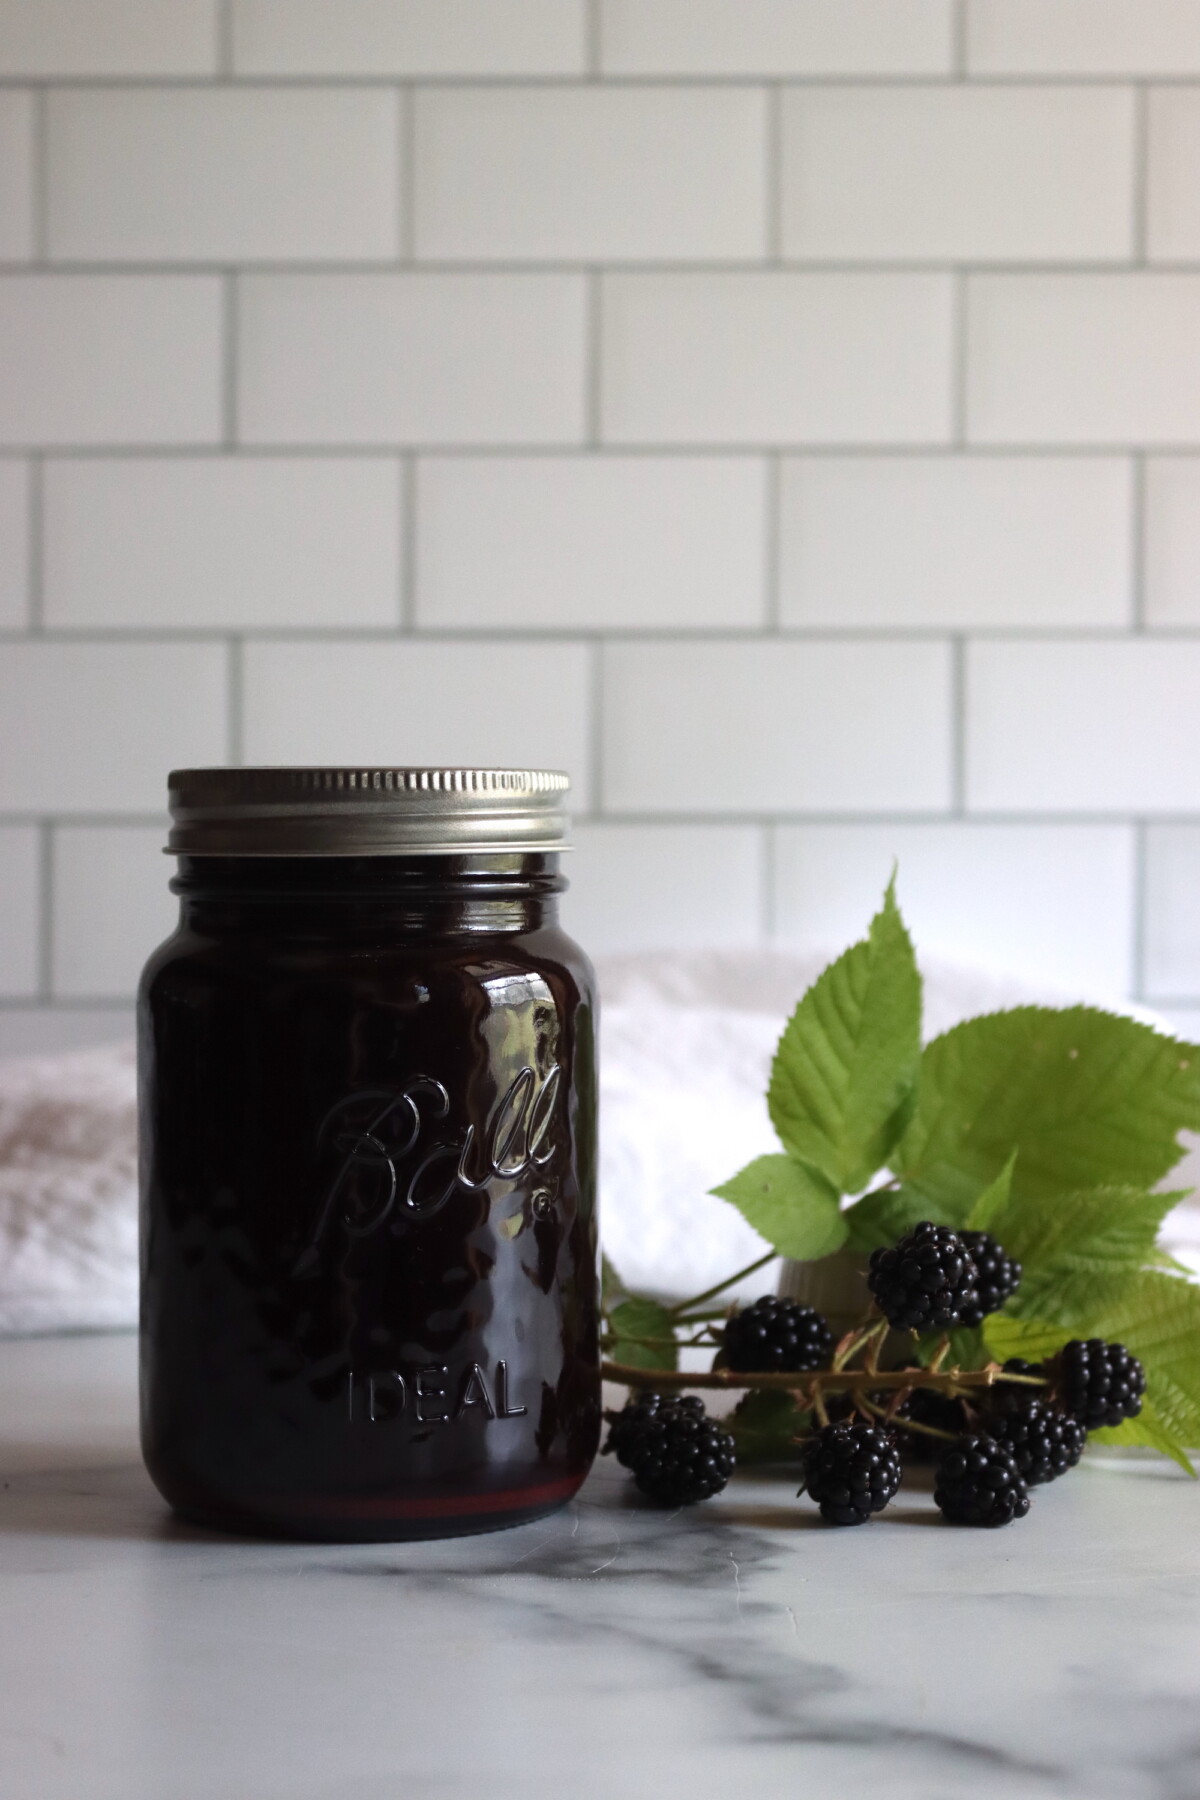
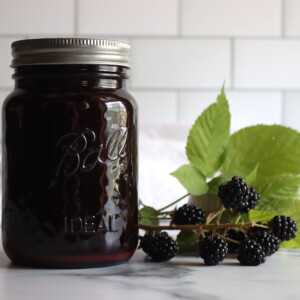
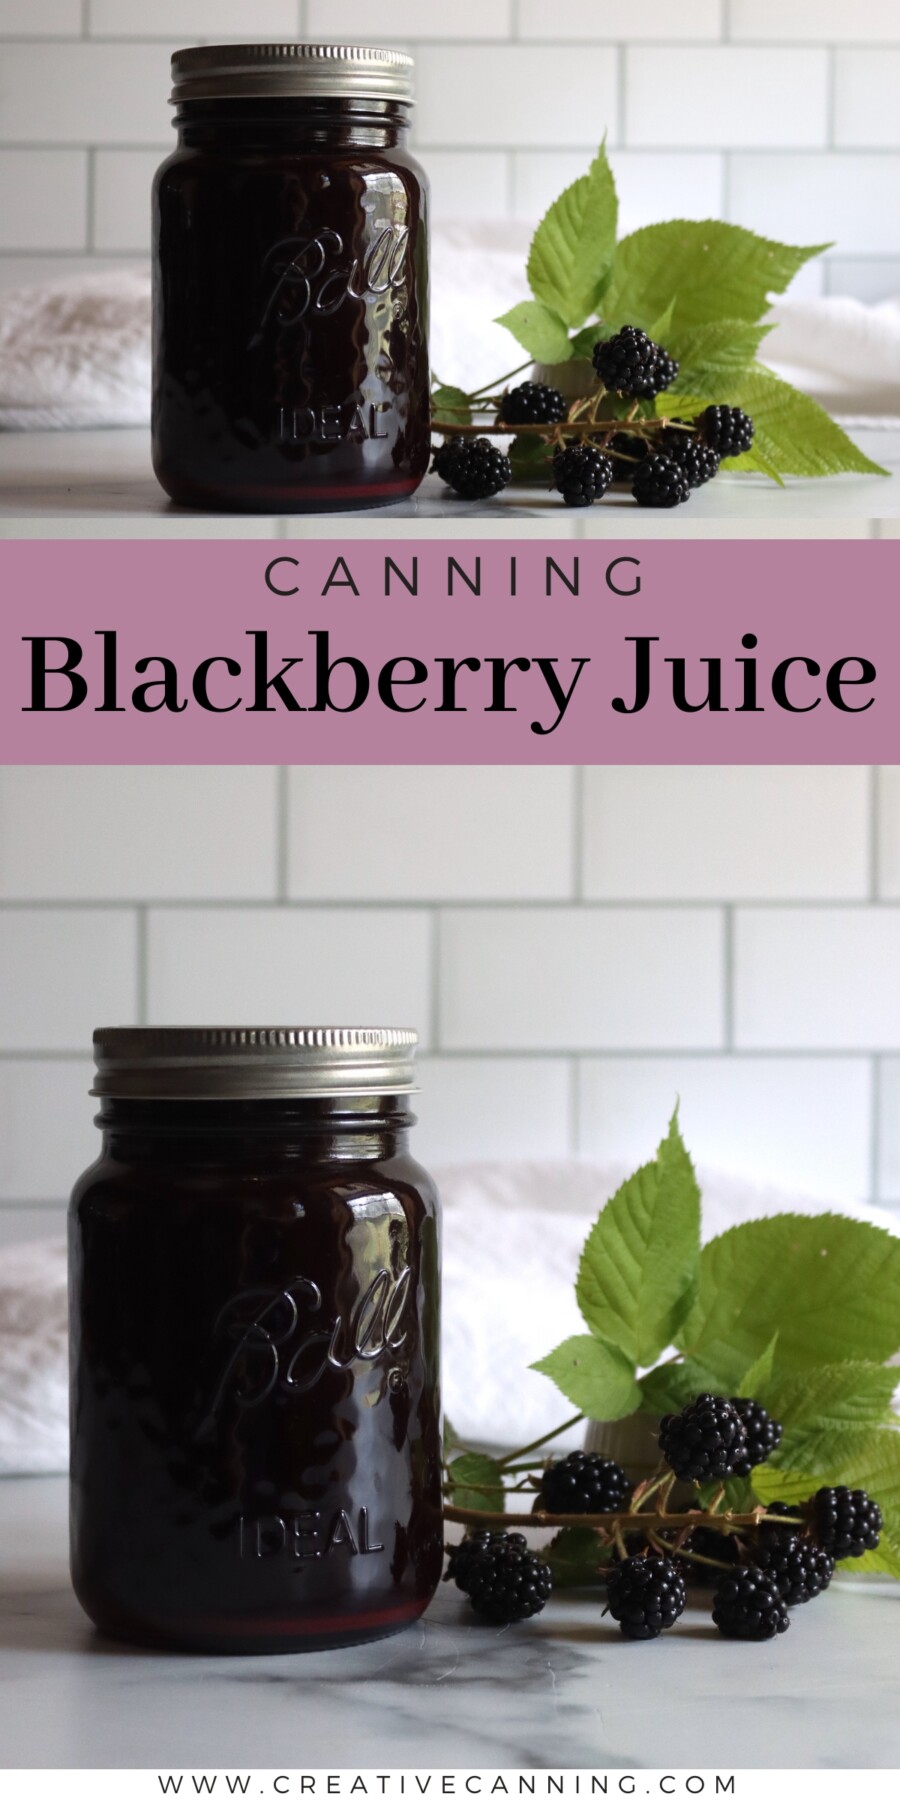
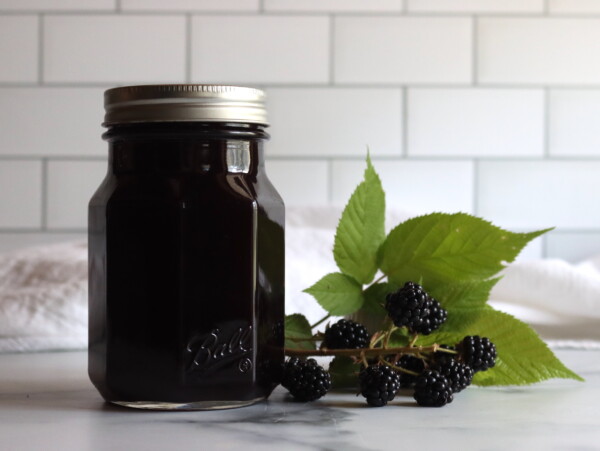
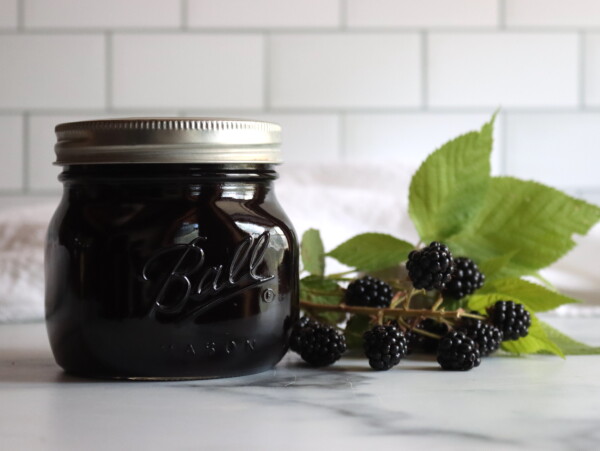
Canning Blackberry Juice is one of the simplest ways to turn a big bowl of ripe berries into shelf-stable jars you can use all year, whether you sip it straight, stir it into ice tea, or save it for homemade blackberry jelly.
This recipe has been reviewed for safety and accuracy by a Master Food Preserver certified through the University of Cornell Cooperative Extension.
This method starts with the berry-juice extraction technique from the Ball Complete Book of Home Preserving (a short cook, then a slow drip through a jelly bag), then uses standard boiling-water processing for fruit juice so it’s pantry-safe and reliable.
It’s the first step to making homemade blackberry jelly, but you don’t have to go on to finish the jelly with sugar and pectin. You can simply put up the jars as is, with or without sugar, and you’ll have a versatile shelf stable juice for drinks (or making into jelly later).
Why you’ll love this blackberry juice recipe!

If you grow blackberries (or have a good u-pick nearby), this is a practical way to preserve them that doesn’t require a mountain of sugar or any special ingredients.
The first time I canned blackberry juice, it was honestly because I ran out of freezer space. I had berries stacked everywhere, and juice felt like the fastest path to something I’d actually use. (And it’s a great way to use up blackberries that are getting a bit overripe and soft.)
Now I make at least a batch of pints every season because it’s too good to pass up. I can turn one jar into syrup, lemonade-style drinks, or even a quick sauce for desserts without starting from scratch.
A Quick Look at the Recipe
- Recipe Name: Blackberry Juice
- Recipe Type: Fruit Juice Canning Recipe
- Canning Method: Waterbath Canning
- Prep/Cook Time: 1 Hours
- Canning Time: 10 Minutes
- Yield: About 4 pints
- Jar Sizes: Quarter Pint, Half Pint or Pint
- Headspace: 1/4 inch
- Ingredients Overview: Blackberries, Water and optional sugar.
- Safe Canning Recipe Source: Ball Complete Book of Preserving Berry Juice Canning Instructions
- Difficulty: Easy! Once you’ve strained the juice it’s quickly ladled into jars for canning.
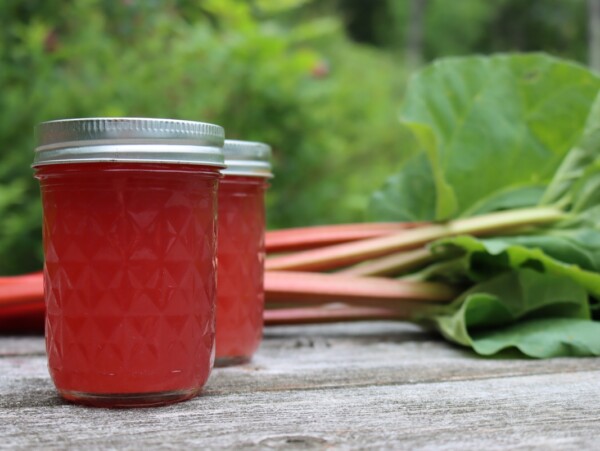
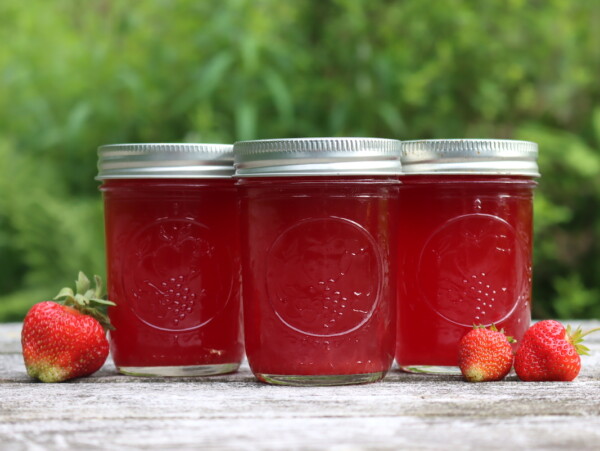
- Similar Recipes: The process is very similar to preserving other fruit juices, like strawberry juice, blueberry juice, crabapple juice or grape juice.
Ingredients for Blackberry Juice
This recipe is all about gentle extraction and a clean, clear juice. The berries soften briefly on the stove, then the juice drips out slowly without squeezing (that part matters if you want a juice that pours clear and looks pretty in the jar).
- Blackberries: the flavor and color of the juice; use ripe, tender berries for best yield
- Water: prevents scorching and helps the berries release juice during the short cook
- Sugar (optional): sweetens the finished juice to taste; not needed for safety
You can mix blackberries with other bramble berries (raspberries, loganberries, dewberries) using the same berry-juice method, as long as you keep it as a straight fruit juice (no puree thickening).
For a clearer juice, let the strained juice rest in the fridge overnight so sediment settles, then carefully pour off the clear juice before reheating and canning. This is optional, and you can simply strain the juice and can it right away as is.
If you prefer an unsweetened pantry staple, skip the sugar and sweeten by the glass later.
How to Make Blackberry Juice
This is a simple “cook, drip, reheat” process that turns whole berries into clear juice ready for the canner.
Prep the blackberries
Rinse the berries gently and drain well. Remove any stems or leaves and discard soft, moldy, or underripe berries.
Cook the berries for juice
Put the berries in a large stainless-steel saucepan with just enough water to prevent scorching. Bring to a boil, then reduce heat, cover loosely, and simmer gently while stirring and crushing occasionally until the berries are softened and releasing juice.
Strain the juice
Spoon the hot berry mixture into a dampened jelly bag or a strainer lined with several layers of damp cheesecloth set over a deep bowl. Let the juice drip undisturbed for at least 2 hours or overnight. Don’t squeeze the bag if you want clear juice.
Optional: settle for clearer juice
For extra-clear juice, refrigerate the strained juice overnight and let sediment settle. Carefully pour off the clear juice, leaving the sediment behind.
Reheat the juice
Pour the juice into a clean saucepan. If you’re sweetening, add sugar to taste and stir to dissolve. Bring the juice back up to a boil so it’s piping hot for hot-pack canning.
Canning Blackberry Juice
Prepare a boiling water canner and keep jars hot until filling time.
Ladle boiling hot juice into hot jars, leaving 1/4 inch headspace. Wipe rims, apply lids, and tighten bands to fingertip tight.
Process in a boiling-water canner for 10 minutes (or 15 minutes above 6,000 feet in elevation), then turn off the heat, remove the canner lid, and let the jars rest briefly before lifting them out to cool undisturbed.
Serving Ideas
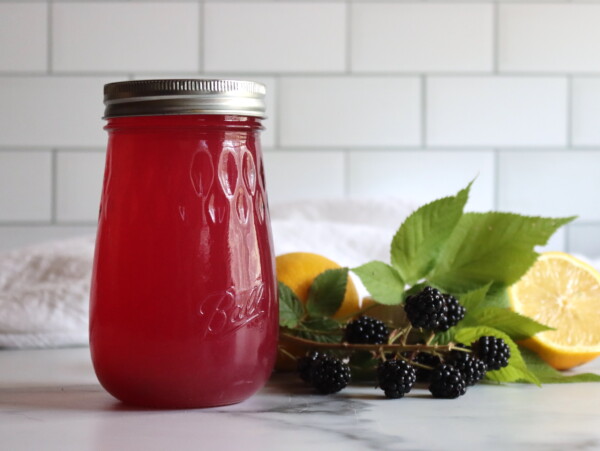
Stir blackberry juice into iced tea or sparkling water for an easy summer drink. Warm it gently with a spoonful of honey for a simple hot “berry tea.” Use it as the juice base for blackberry jelly, reduce it into a drizzle for cheesecake, or mix it into vinaigrettes for a fruity salad dressing.
If you tried this Blackberry Juice Recipe, or any other recipe on Creative Canning, leave a ⭐ star rating and let me know what you think in the 📝 comments below!
And make sure you stay in touch with me by following on social media!
Blackberry Juice
Ingredients
- 16 cups blackberries, about 4 to 5 pounds
- 2 cups water
- sugar, optional, to taste
Instructions
- Prepare a boiling water canner, along with jars and lids.
- Add blackberries and water to a large stainless-steel saucepan. Bring to a boil, stirring frequently.
- Reduce heat, cover loosely, and simmer gently 5 to 10 minutes, stirring and crushing occasionally, just until berries are softened.
- Transfer the hot berry mixture to a dampened jelly bag or a cheesecloth-lined strainer set over a deep bowl. Let drip undisturbed until it stops dripping. Most sources suggest 2 hours or overnight, but I've found that it's given all it's going to give after about 15 minutes. Do not squeeze if you want clear juice, but go ahead and squeeze if you want the best yield.
- Optional for clearer juice: refrigerate strained juice overnight to let sediment settle. Carefully pour off the clear juice and discard sediment.
- Pour juice into a saucepan. Add sugar to taste if desired. Bring juice to a gentle simmer.
- Ladle hot juice into hot jars, leaving 1/4 inch headspace. Wipe rims, apply lids, and tighten bands to fingertip tight.
- Process in a boiling-water canner for 10 minutes, or 15 minutes above 6,000 feet in elevation.
- Turn off heat, remove canner lid, and let jars rest 5 minutes. Remove jars and cool 12 to 24 hours, then check seals.
Notes
Nutrition
Nutrition information is automatically calculated, so should only be used as an approximation.
Juice Canning Recipes
Find the perfect recipe
Searching for something else? Enter keywords to find the perfect recipe!

Love the juice it tastes really good
Wonderful!