This post may contain affiliate links. Please see our disclosure policy.
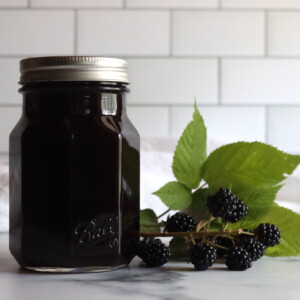
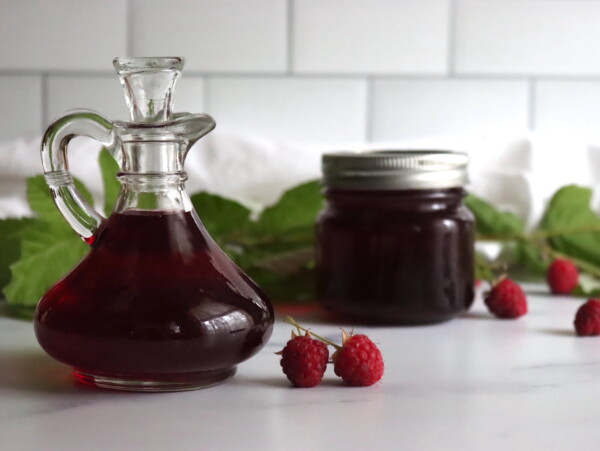
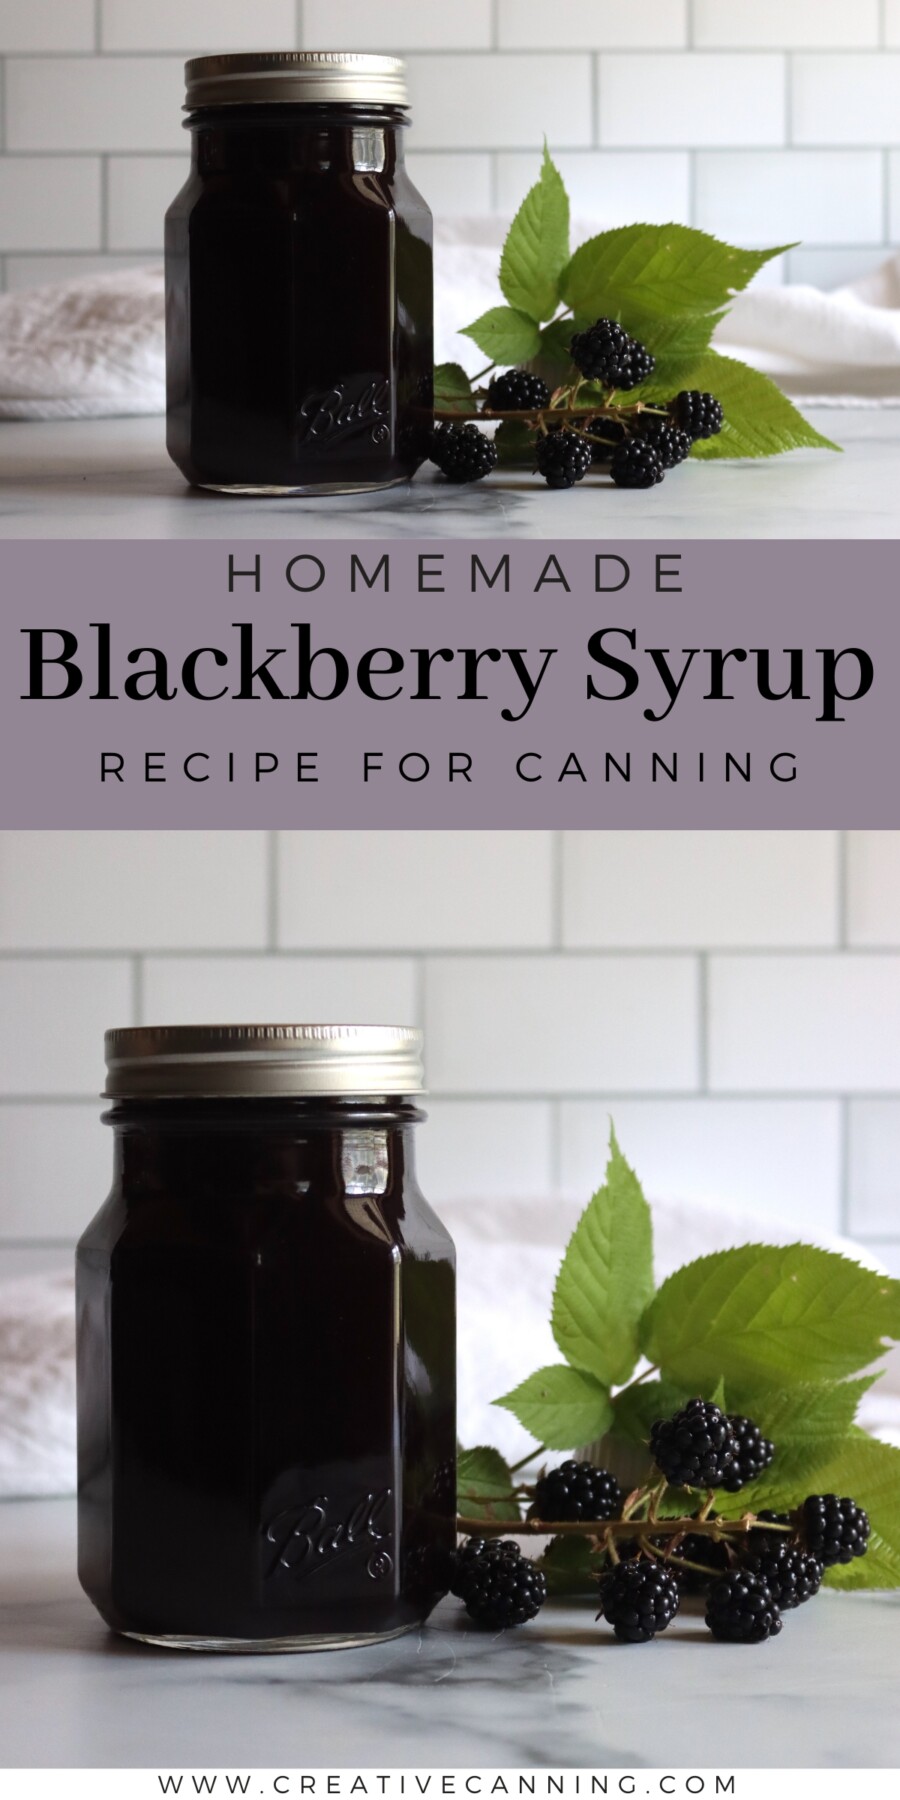
Blackberry syrup captures the deep, jammy sweetness of ripe blackberries in a pourable form that’s perfect for drizzling over pancakes, swirling into yogurt, or mixing into cocktails.
This recipe has been reviewed for safety and accuracy by a Master Food Preserver certified through the University of Cornell Cooperative Extension.
If you have access to wild blackberries or a generous backyard patch, syrup is a fast way to preserve that intense summer flavor without the fuss of making blackberry jam or Blackberry Jelly.
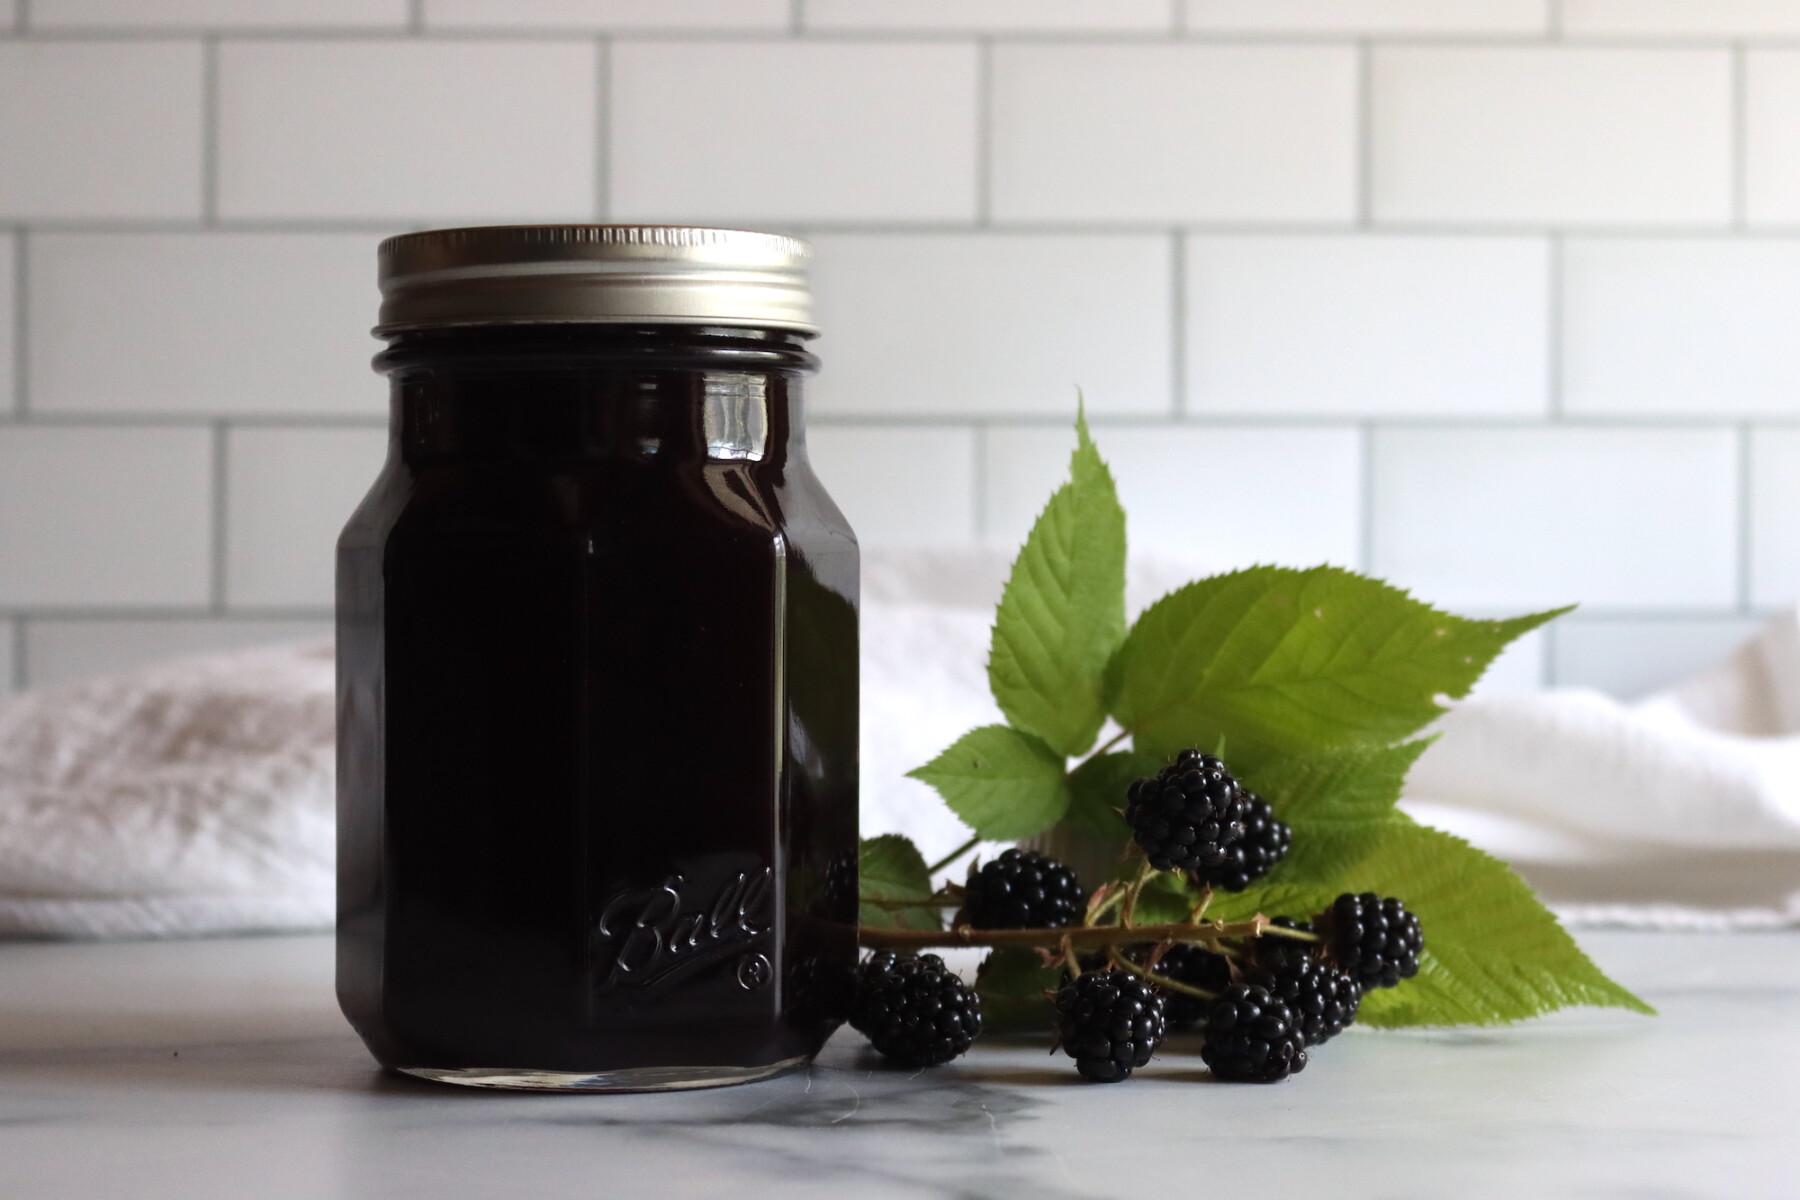
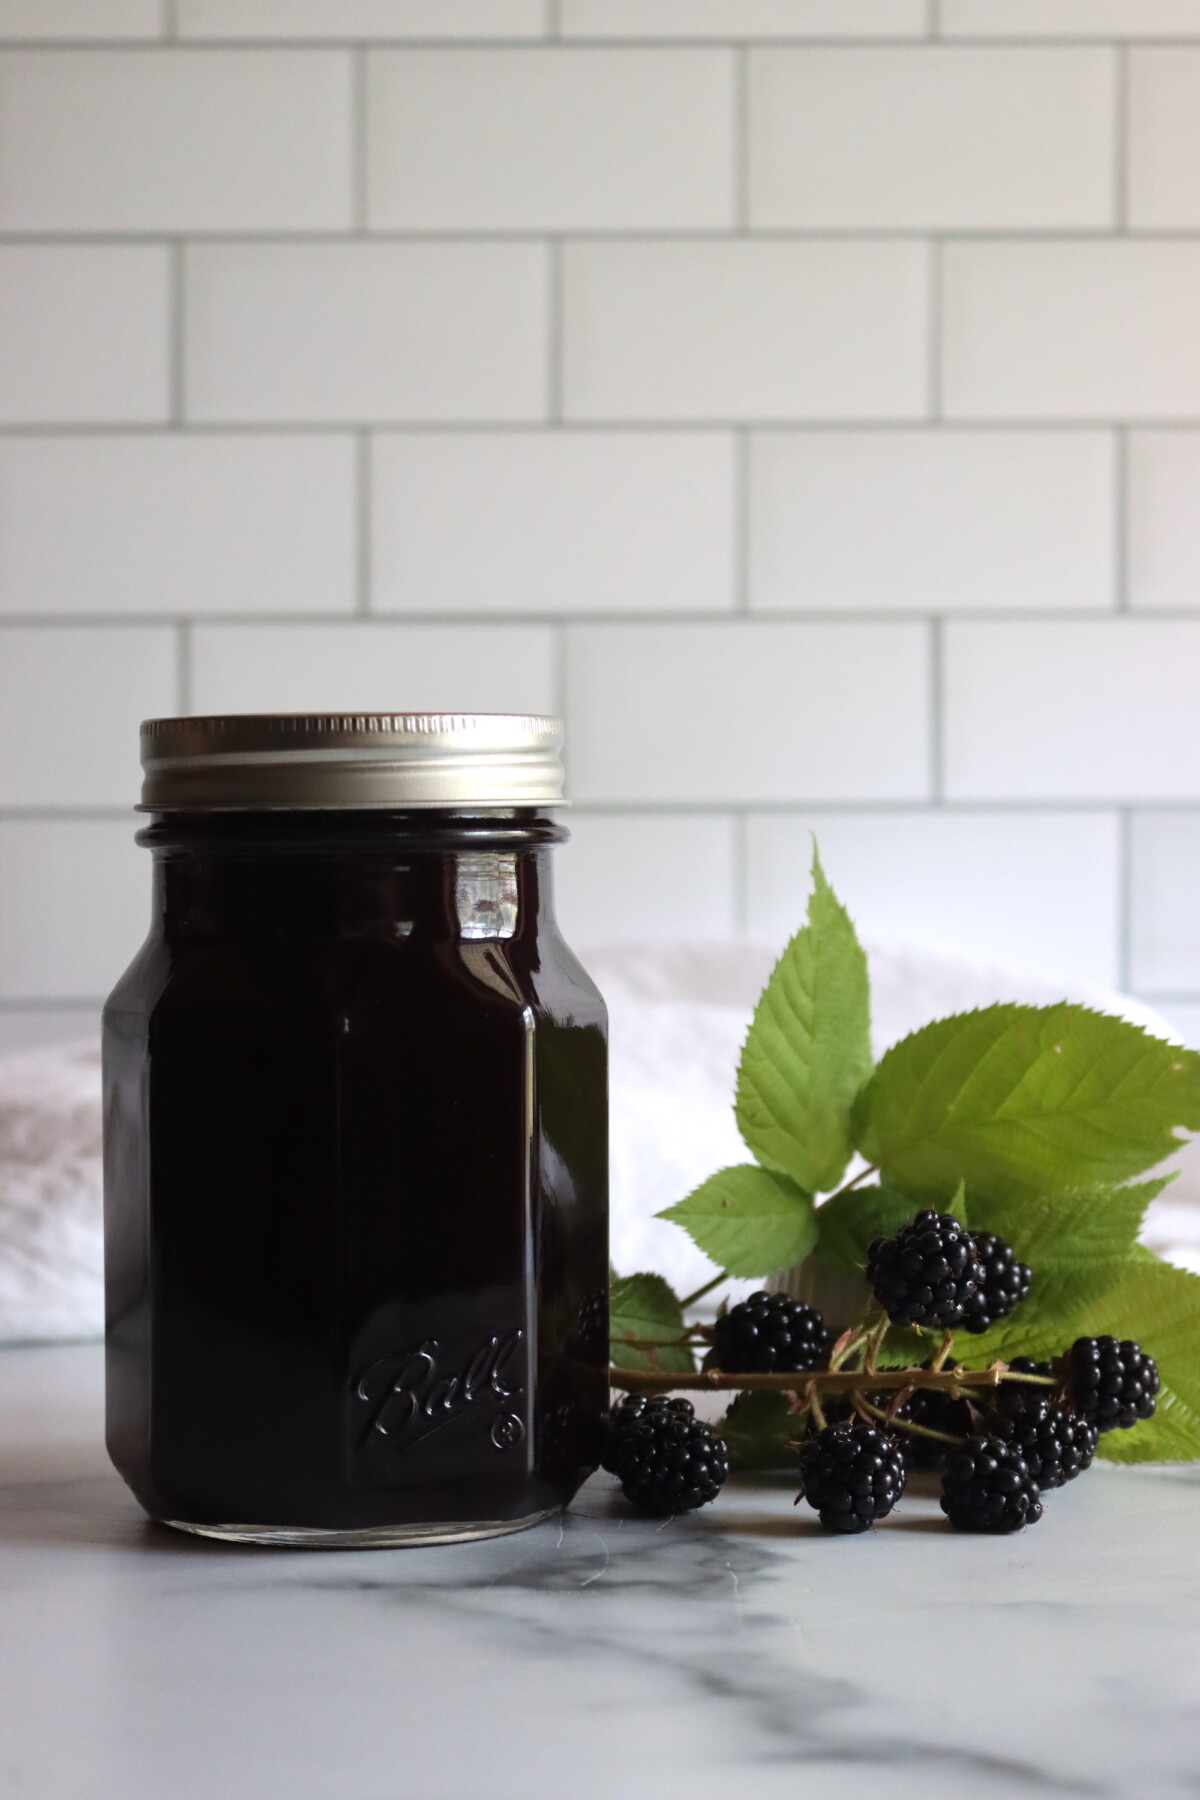
The process is simple: extract juice from fresh or frozen blackberries, combine it with an equal amount of sugar, and can. No pectin to measure, no gel point to hit. The result is a dark purple syrup with concentrated blackberry flavor that tastes like summer in every spoonful.
This recipe uses the berry juice extraction method from the National Center for Home Food Preservation. Blackberries are naturally acidic, so they can safely on their own, and a little lemon juice is optional for brightness. The 1:1 ratio of juice to sugar creates a balanced syrup that’s sweet enough to complement the berries without overwhelming their natural tartness.
Wild blackberries work beautifully for this recipe, as do cultivated varieties. Frozen berries actually yield juice more easily since freezing breaks down the cell walls, so don’t hesitate to use berries you’ve stashed in the freezer. If you’re foraging, this is an excellent way to use up slightly overripe berries that have gotten too soft for other purposes.

Notes from My Kitchen

Blackberry syrup became a staple in my kitchen after a particularly abundant wild blackberry year when I ran out of patience for making seedless blackberry jam and blackberry pie filling, but still had buckets of berries to process. Extracting juice and making syrup was faster than making another batch of jam, and the syrup turned out to be just as useful. Now it’s what I reach for on Sunday morning pancakes.
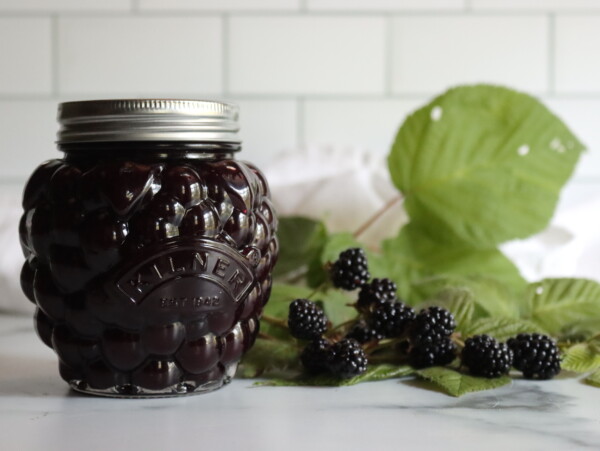
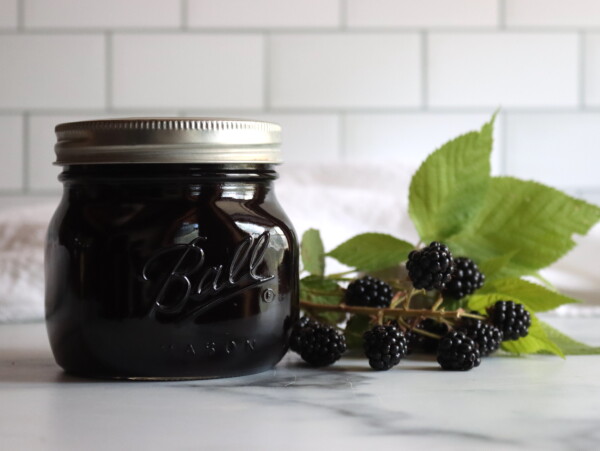
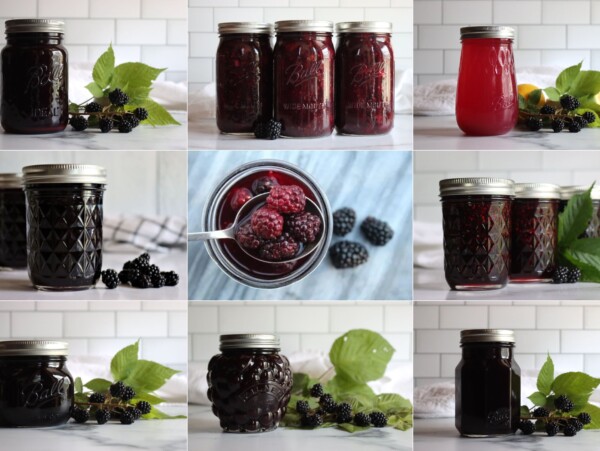
The deep purple color is stunning, and the flavor is more intense than you might expect. A little goes a long way, which makes this a great use for small harvests. Even a quart of berries will yield enough juice for a batch of syrup worth making.
Quick Look at the Recipe
- Recipe Name: Blackberry Syrup
- Recipe Type: Fruit Syrup
- Canning Method: Water Bath Canning
- Prep Time: About 20 minutes
- Cook Time: About 15 minutes (plus straining time)
- Canning Time: 10 minutes for pints or half pints
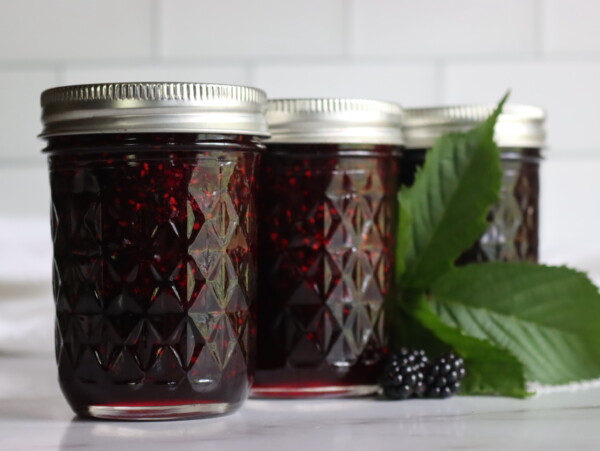
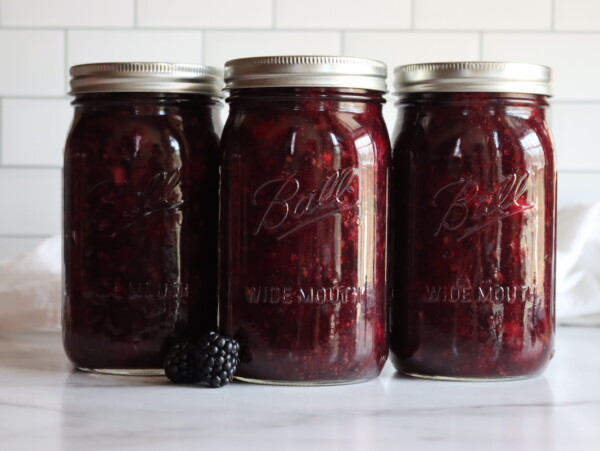
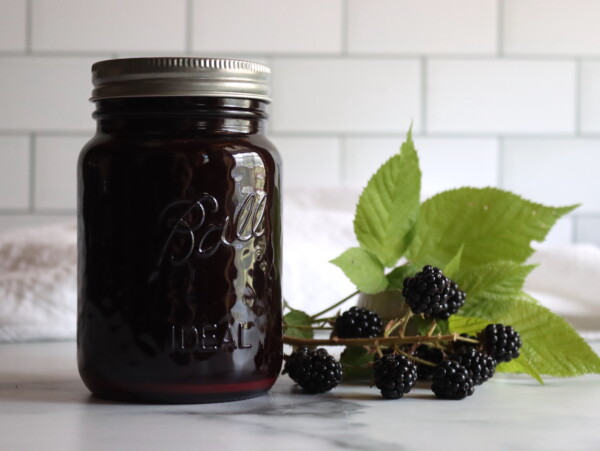
- Yield: About 3 pints or 6 half pints
- Jar Sizes: Pints or half pints
- Headspace: 1/4 inch
- Ingredients Overview: Blackberries, water, and sugar
- Safe Canning Recipe Source: NCHFP Berry Syrup
- Difficulty: Easy
- Similar Recipes: If you have more berries to process, try making Blackberry Jelly or Canning Berry Juice.
Ingredients
This recipe uses a simple 1:1 ratio of blackberry juice to sugar. You’ll need about 2½ cups of blackberries to yield 1 cup of juice, so plan on about 10 cups of berries for 4 cups of juice.
- Blackberries: About 10 cups fresh or frozen (roughly 2½ pounds). Wild or cultivated berries both work well. Frozen berries yield juice more easily since freezing breaks down the cell walls.
- Water: About 1 to 1½ cups for juice extraction (roughly ½ cup per quart of berries).
- Granulated Sugar: 4 cups (for 4 cups of juice). The 1:1 ratio creates a balanced syrup. You can reduce to 3 cups for a more tart syrup if preferred.
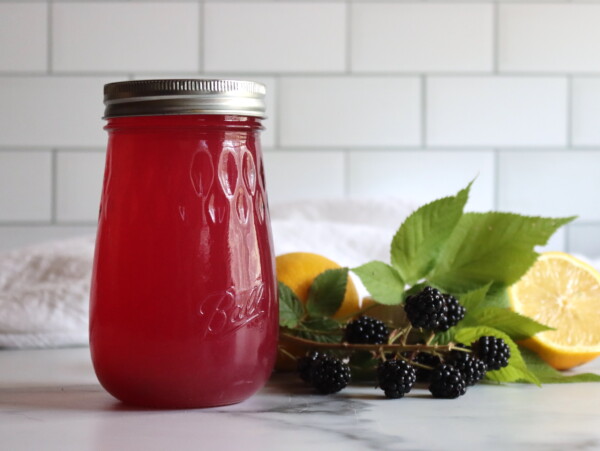
- Lemon Juice (optional): About 1/4 cup per batch, or 1 tablespoon per cup of juice, fresh or bottled. Blackberries are acidic enough to can safely without it, but a splash brightens the flavor.
This recipe scales easily. For every cup of blackberry juice, use 1 cup of sugar.
Step by Step Instructions
Once the juice is extracted, this recipe comes together quickly. Prepare your waterbath canner before you combine the sugar and juice to finish the syrup.
There are really only a few steps: cook the berries down, strain out the juice, sweeten it, and can. The straining is hands-off, so start it a couple of hours ahead, or let it drip overnight in the refrigerator if that fits your day better.
Extract the Juice
Place the blackberries in a large stainless steel saucepan with the water. Bring to a simmer over medium heat and cook, mashing frequently with a potato masher, until the berries have completely fallen apart and released their juice, about 5 to 10 minutes.
Wild blackberries tend to run smaller and seedier than cultivated ones, but both break down the same way once they hit the heat. Frozen berries work here too, and they often give up their juice a little faster since freezing ruptures the cell walls.
Strain the Juice
Transfer the blackberry mixture to a dampened jelly bag or a strainer lined with several layers of dampened cheesecloth set over a deep bowl. Let drip, undisturbed, for at least 2 hours. Do not squeeze the bag if you want clear syrup. You should get about 4 cups of juice.
The leftover seedy pulp still carries plenty of flavor, so press it through a food mill for seedless jam or spread it out for fruit leather rather than tossing it. If your berries were on the dry side and you come up short of 4 cups, top off with a little water rather than overcooking the fruit.
Make the Syrup
In a large stainless steel saucepan, combine the blackberry juice and sugar. Heat over medium-high heat, stirring constantly, until the sugar is completely dissolved. Bring to a boil, then reduce heat and simmer for 5 minutes. Stir in the lemon juice, if using.
The syrup looks thin while it’s hot and thickens slightly as it cools, so resist the urge to cook it down further. Reducing it past the 5 minute simmer concentrates the sugar and dulls the fresh blackberry color.
Fill Jars
Ladle the hot syrup into prepared jars, leaving 1/4 inch headspace. Wipe rims clean, center lids on jars, and apply bands to fingertip tight.
A canning funnel keeps the rims clean as you ladle, which matters for a reliable seal with something this sticky. Wipe away any drips of syrup before setting the lids.
Canning Blackberry Syrup
Without canning, blackberry syrup will keep in the refrigerator for several weeks or in the freezer for up to 6 months. For shelf-stable storage, process the filled jars in a boiling water bath.
Prepare your water bath canner while you’re making the syrup. Lower the filled jars into the canner, making sure they’re covered by at least 1 inch of water. Process for 10 minutes for pints or half pints, adjusting for altitude as noted below.
After processing, turn off the heat and let the jars stand in the canner for 5 minutes before removing. Let the jars cool undisturbed on a towel-lined counter for 12 to 24 hours, then check the seals before storing. Refrigerate any jars that didn’t seal and use them first. Properly sealed jars keep at room temperature for 12 to 18 months.
Altitude Adjustments
For water bath canning, processing times increase at higher elevations:
- 0 to 1,000 feet: 10 minutes
- 1,001 to 6,000 feet: 15 minutes
- Above 6,000 feet: 20 minutes
Yield Notes
This recipe yields about 6 cups of syrup, which fills 3 pints or 6 half pints. Plan on roughly 10 cups of blackberries for a batch, which cooks down to about 4 cups of juice and combines with 4 cups of sugar.
Yield can vary depending on the ripeness and variety of your berries. Wild blackberries tend to be more flavorful but may yield slightly less juice than larger cultivated varieties.
Serving Ideas
Blackberry syrup is wonderful at breakfast: drizzle it over pancakes, waffles, French toast, or yogurt. It’s also delicious spooned over vanilla ice cream, cheesecake, or panna cotta, where the deep berry flavor shines against creamy backgrounds.
For drinks, blackberry syrup makes excellent cocktails and mocktails. Mix it with sparkling water for a quick blackberry soda, add it to lemonade for a berry twist.
In savory applications, use blackberry syrup as a glaze for grilled or roasted duck, pork, or lamb. The berry sweetness pairs beautifully with rich, fatty meats. Brush it on during the last few minutes of cooking and let it caramelize.
Blackberry Syrup FAQs
Yes, frozen blackberries work just as well as fresh. Freezing actually breaks down the cell walls, making juice extraction easier. There’s no need to thaw them first; just add them to the pot frozen.
Lemon juice is optional here. Blackberries are acidic enough to can safely on their own, but a tablespoon per cup of juice, or about 1/4 cup per batch, brightens the flavor. Use fresh or bottled, whichever you have on hand.
The strained pulp still has flavor and can be used in baking. Stir it into muffin batter, fold it into oatmeal, or blend it into smoothies. You can also use it to make a second, lighter extraction of juice, or spread it on a dehydrator tray for fruit leather.
If you use a jelly bag or several layers of cheesecloth, the seeds will be filtered out along with the pulp. The resulting syrup will be smooth and seed-free. If a few tiny seeds slip through, they won’t affect the syrup’s quality.
A good blackberry year always brings more fruit than you can eat fresh, so it helps to have a few other ways to put it up for the pantry.
Blackberry Canning Recipes
If you tried this Blackberry Syrup recipe, or any other recipe on Creative Canning, leave a ⭐ star rating and let me know what you think in the 📝 comments below!
And make sure you stay in touch with me by following on social media!
Blackberry Syrup
Equipment
- Canning Jars, Lids and Bands
- Large Stainless Steel Saucepan
- Potato Masher
Ingredients
For the Juice
- 10 cups blackberries, fresh or frozen
- 1 1/2 cups water, for juice extraction
For the Syrup
- 4 cups blackberry juice, from above
- 4 cups granulated sugar, see notes for lower sugar
- 1/4 cup lemon juice, optional, fresh or bottled, for flavor
Instructions
- Place blackberries and water in a large stainless steel saucepan. Bring to a simmer over medium heat, mashing frequently with a potato masher, until the berries have completely fallen apart, about 5 to 10 minutes.
- Transfer to a dampened jelly bag or cheesecloth-lined strainer set over a deep bowl. Let drip undisturbed for at least 2 hours. Do not squeeze. You should get about 4 cups of juice.
- In a large saucepan, combine blackberry juice and sugar. Heat over medium-high heat, stirring constantly, until the sugar dissolves. Bring to a boil, reduce heat, and simmer 5 minutes. Stir in lemon juice if using.
- Ladle hot syrup into prepared jars, leaving 1/4 inch headspace. Wipe rims, center lids, and apply bands to fingertip tight.
- Process in a boiling water bath canner for 10 minutes for pints or half pints, adjusting for altitude. Let stand in canner 5 minutes before removing.
Notes
Nutrition
Nutrition information is automatically calculated, so should only be used as an approximation.
This same crush, strain, and sweeten method carries across the whole category, so it’s worth keeping a few other syrups stocked alongside the blackberry.
Fruit Syrup Canning Recipes
Find the perfect recipe
Searching for something else? Enter keywords to find the perfect recipe!
Can this and the other berry juice and syrup recipes be started in a steam juicer? Thank you
Yes, that’s perfectly fine. Steam juicers work wonderful for berry juice.
I love all my berry syrups. But I leave out 1 cup of sugar and substitute 1 cup of corn syrup instead. It’s less sweet but still keeps the vicosity you want in a syrup.