
This post may contain affiliate links. Please see our disclosure policy.
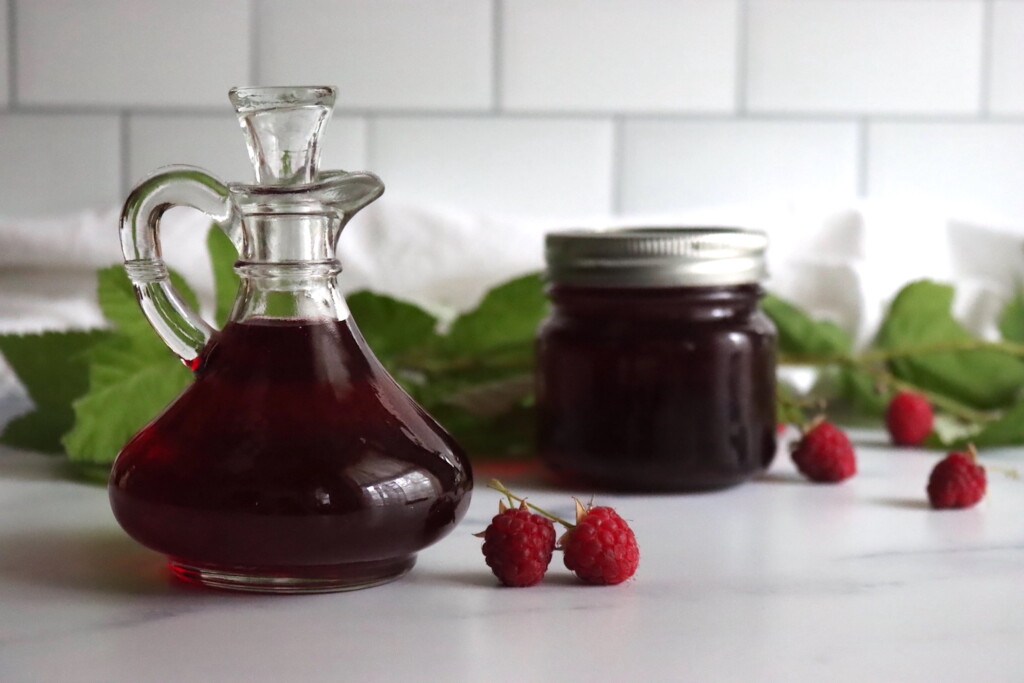
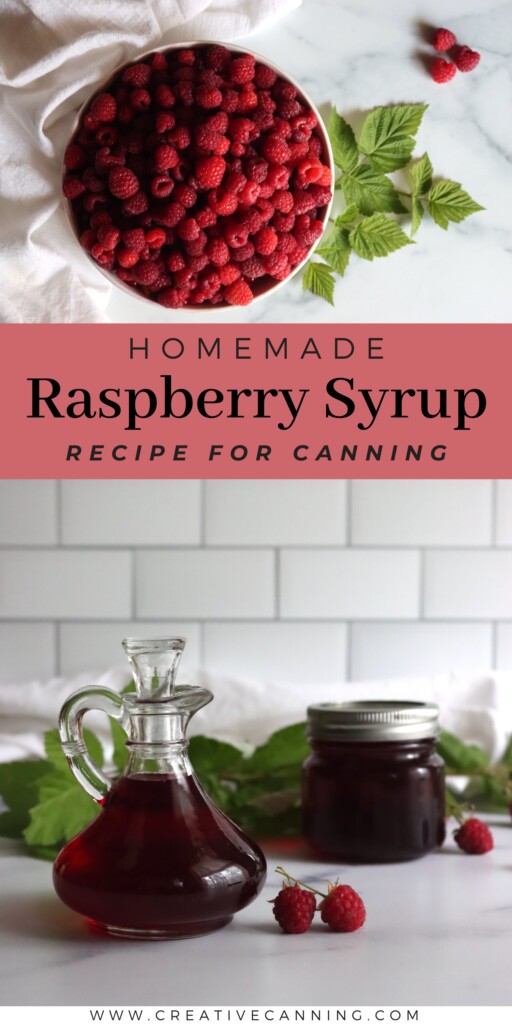
Raspberry syrup captures the sweet-tart flavor of summer berries in a shelf-stable jar, ready to drizzle over pancakes, stir into seltzer, or spoon onto cheesecake.
This recipe has been reviewed for safety and accuracy by a Master Food Preserver certified through the University of Cornell Cooperative Extension.
Raspberries ripen in the hottest stretch of summer, often faster than you can keep up with. Turning them into syrup is a simple way to capture that flavor, and unlike jam or jelly, syrup skips the pectin and the set-time testing. You just juice, simmer, and can.
This recipe works with fresh or frozen raspberries, and black raspberries work too. Since you strain out the seeds and pulp, you end up with pure raspberry juice and a smooth, pourable syrup.
It follows the Berry Syrup guidance from the National Center for Home Food Preservation, using a 1:1 ratio of juice to sugar for a true simple syrup with good body that dissolves instantly in cold drinks.
Canning is optional. The syrup keeps in the refrigerator for weeks, so you can make a small batch for cocktails or put up a larger quantity for the pantry. Either way, doubling or tripling the recipe is easy since the processing time stays the same regardless of how many jars you’re canning.
Notes from My Kitchen

I make raspberry syrup every year, usually with berries I’ve stashed in the freezer. Our patch comes on all at once in the hottest part of the season, faster than we can eat or process fresh, so I freeze the extra and pull it out for a syrup batch once the weather cools off and I’m not heating up the house with a canner.
A splash in sparkling water is how we use most of it, though it goes just as well over pancakes or stirred into lemonade. A little adds a lot of flavor, so even a few half pints last us a good while.
Quick Look at the Recipe
- Recipe Name: Raspberry Syrup
- Recipe Type: Fruit Syrup
- Canning Method: Water Bath Canning
- Prep Time: About 20 minutes active, plus straining time
- Cook Time: About 10 minutes
- Canning Time: 10 minutes for pints or half pints
- Yield: About 3 pints or 6 half pints
- Jar Sizes: Pints or half pints
- Headspace: 1/4 inch
- Ingredients Overview: Raspberries and sugar in a 1:1 juice to sugar ratio, with optional lemon juice
- Safe Canning Recipe Source: NCHFP Berry Syrup
- Difficulty: Easy (the straining takes a little time but requires no attention)
- Similar Recipes: Making raspberry syrup is similar to other fruit syrups, like Strawberry Syrup, Blueberry Syrup, or Rhubarb Syrup. For other ways to put up the harvest, try more raspberry canning recipes like raspberry jam or raspberry jelly.
Ingredients
Raspberry syrup comes together with just raspberries and sugar, plus an optional splash of lemon. The process is forgiving enough that you can adjust based on how much fruit you have.
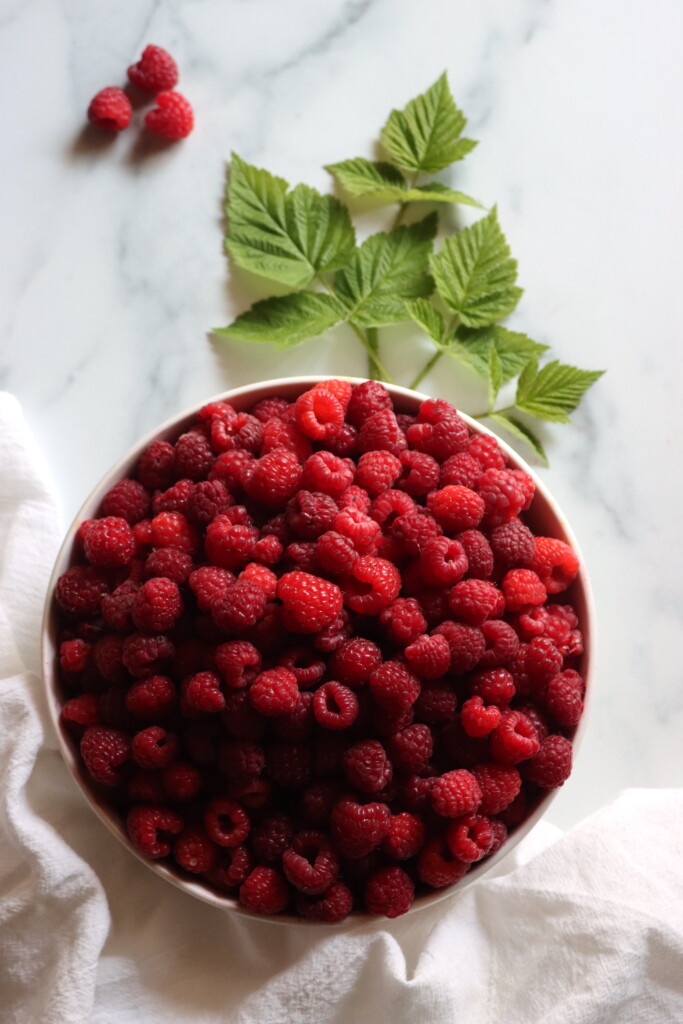
- Raspberries: Fresh or frozen both work, and there’s no need to thaw frozen berries first. Black raspberries can stand in for red for a deeper, earthier flavor, though they run drier and seedier, so you may need a bit more fruit to reach the same amount of juice.
- Sugar: Standard granulated sugar in a 1:1 ratio with the extracted juice. This ratio gives you a true simple syrup with good body and pourability. You can reduce the sugar for a thinner, less sweet syrup, but it won’t have the same consistency.
- Lemon Juice (optional): Raspberries are naturally high in acid, so lemon juice isn’t needed for safe canning here. It’s strictly for flavor, adding a little brightness that balances the sweetness. Fresh or bottled both work.
This recipe scales easily. For every cup of raspberry juice, use 1 cup of sugar.
Step by Step Instructions
This is a simple recipe with just a few steps. You extract the juice from the berries, strain it, then add sugar and simmer before ladling everything into jars.
The straining is hands-off, so plan to start it a little ahead. If you’re canning, prepare your water bath canner and jars while the juice works its way through the cheesecloth.
Extract the Juice
You’ll need about 3½ quarts of raspberries, fresh or frozen, which is roughly four 16-ounce bags. Crush the berries in a large saucepan, add 1 cup of water to keep them from scorching, and bring them to a gentle simmer over medium heat. Cover, reduce the heat, and simmer for 5 minutes.
Remove the pan from the heat and let it sit, covered, for about 15 minutes. This resting time lets the berries release more of their juice and color before you strain.
Strain the Juice
Strain the warm fruit through a fine-mesh sieve to separate the juice from the seeds and pulp. For a clearer syrup, strain a second time through 3 to 4 layers of dampened cheesecloth.
You should end up with about 4 cups of raspberry juice. If you get more or less, adjust the sugar to match, keeping the 1:1 ratio of sugar to juice.
Make the Syrup
Combine 4 cups raspberry juice, 4 cups sugar, and the optional lemon juice in a medium saucepan. Heat over medium-high, stirring, until the sugar is completely dissolved. Bring to a boil, then reduce the heat and simmer for 5 minutes, stirring occasionally.
Skim off any foam that rises to the surface for a smooth, clear finish. The syrup will look thin while hot and thicken slightly as it cools, so there’s no need to cook it down further.
Fill Jars
Ladle the hot syrup into prepared jars, leaving 1/4 inch headspace. Wipe the rims clean with a damp cloth, apply lids and bands, and tighten to fingertip tight.
A canning funnel keeps the rims clean and makes filling easier, which helps the jars seal. Either pint or half pint jars work for this syrup.
Canning Raspberry Syrup
Without canning, raspberry syrup will keep in the refrigerator for several weeks or in the freezer for up to 6 months, leaving 1 inch of headspace if you’re freezing. For shelf-stable storage, process the filled jars in a boiling water bath.
Prepare your water bath canner before you start making the syrup. Lower the filled jars into the canner, making sure they’re covered by at least 1 inch of water, and process for 10 minutes for either pints or half pints, adjusting for altitude as noted below.
After processing, turn off the heat and let the jars stand in the canner for 5 minutes before removing them. Place the jars on a towel-lined counter and let them cool undisturbed for 12 to 24 hours. Check seals before storing, and refrigerate any jars that didn’t seal for immediate use. Properly sealed jars keep at room temperature for 12 to 18 months.
Altitude Adjustments
For water bath canning, processing times increase at higher elevations:
- 0 to 1,000 feet: 10 minutes
- 1,001 to 6,000 feet: 15 minutes
- Above 6,000 feet: 20 minutes
Serving Ideas
Raspberry syrup shines in drinks. Stir a spoonful into sparkling water for a quick raspberry soda, add it to lemonade, or use it to sweeten cocktails and mocktails. A little goes a long way, so start with a small pour and adjust to taste.
At the table, drizzle it over pancakes, waffles, or French toast, or spoon it over ice cream, pound cake, and cheesecake. It’s also good swirled into plain yogurt for a little color and flavor.
For something a little different, brush it over a cake while it’s still warm so it soaks in, or fold it into whipped cream. The bright berry flavor carries well against rich, creamy desserts.
Yield Notes
This recipe starts with about 3½ quarts of raspberries (roughly 14 cups, or four 16-ounce bags of frozen berries) and 1 cup water and yields about 4 cups of juice. Combined with 4 cups of sugar, that makes about 6 cups of finished syrup, which fills 3 pint jars or 6 half pint jars.
Juice yield depends on how juicy and seedy your berries are. Black raspberries tend to run drier and seedier, so you may need a little more fruit to reach 4 cups of juice. If you end up with more or less, keep the 1:1 ratio of sugar to juice.
Raspberry Syrup FAQs
Yes, frozen raspberries work just as well as fresh. You’ll need about four 16-ounce bags to yield enough juice for one batch. There’s no need to thaw them first. Just crush them slightly and proceed with the juice extraction.
No. Raspberries are naturally high in acid, so lemon juice isn’t needed for safe water bath canning. It’s optional and strictly for flavor, adding a little brightness that balances the sweetness. Fresh or bottled both work if you choose to include it.
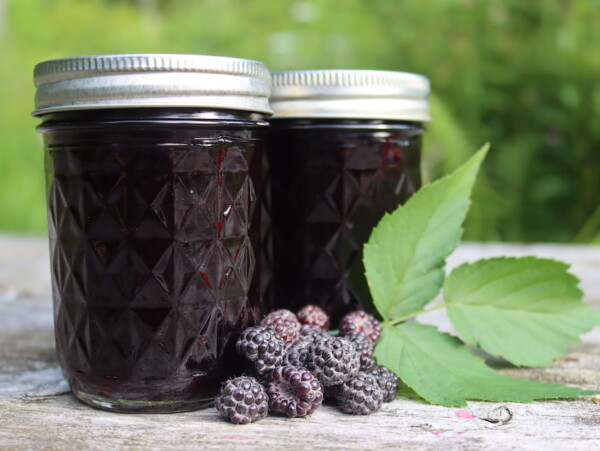
Yes. Black raspberries can be used in place of red for a deeper, earthier flavor. They’re usually drier and seedier, so you may need a bit more fruit to get the same amount of juice.
Properly canned and sealed jars keep at room temperature for 12 to 18 months. Once opened, store in the refrigerator and use within a few weeks. Without canning, the syrup keeps in the refrigerator for several weeks or in the freezer for up to 6 months.
Raspberries are one of the most flavorful berries to preserve, and there are plenty of other ways to put up a harvest beyond syrup.
Raspberry Canning Recipes
If you tried this Raspberry Syrup recipe, or any other recipe on Creative Canning, leave a ⭐ star rating and let me know what you think in the 📝 comments below!
And make sure you stay in touch with me by following on social media!
Raspberry Syrup
Equipment
- Canning Jars, Lids and Bands
Ingredients
To Make Juice:
- 3½ quarts raspberries, fresh or frozen
- 1 cup water, for juice extraction
To Make Syrup:
- 4 cups raspberry juice, extracted from berries
- 4 cups sugar
- 1/4 cup lemon juice, optional, fresh or bottled
Instructions
- Place the raspberries in a large saucepan with the water. Bring to a simmer over medium heat, crushing with a potato masher and stirring frequently. Reduce heat, cover, and simmer 5 minutes. Remove from heat, keep covered, and let sit 15 minutes to draw out the color and flavor.
- Strain through a fine mesh sieve, then again through several layers of dampened cheesecloth or a jelly bag for a clear syrup. Discard the pulp and seeds. You should get about 4 cups of juice.
- In a medium saucepan, combine the raspberry juice and sugar, along with the lemon juice if using. Heat over medium-high heat, stirring until the sugar dissolves. Bring to a boil, then reduce heat and simmer 5 minutes, skimming off any foam.
- Ladle the hot syrup into prepared jars, leaving 1/4 inch headspace. Wipe the rims, center the lids, and apply the bands to fingertip tight.
- Process in a boiling water bath canner for 10 minutes for pints or half pints, adjusting for altitude. Let stand in the canner 5 minutes before removing.
- Remove the jars to a towel-lined counter and cool for 12 to 24 hours. Check the seals, label, and store in a cool, dark place. Refrigerate after opening.
Notes
Nutrition
Nutrition information is automatically calculated, so should only be used as an approximation.
Once you’ve made one fruit syrup, the same juice-and-sugar method opens up a whole shelf of others worth trying.
Fruit Syrup Canning Recipes
Find the perfect recipe
Searching for something else? Enter keywords to find the perfect recipe!

Terrific recipe, very simple.
This recipe is easy to make. Delicious on pancakes, ice cream or in iced tea.
Only down side is it take alot of berries.
So glad you loved it. Yes, it is a lot of berries for sure!