
This post may contain affiliate links. Please see our disclosure policy.
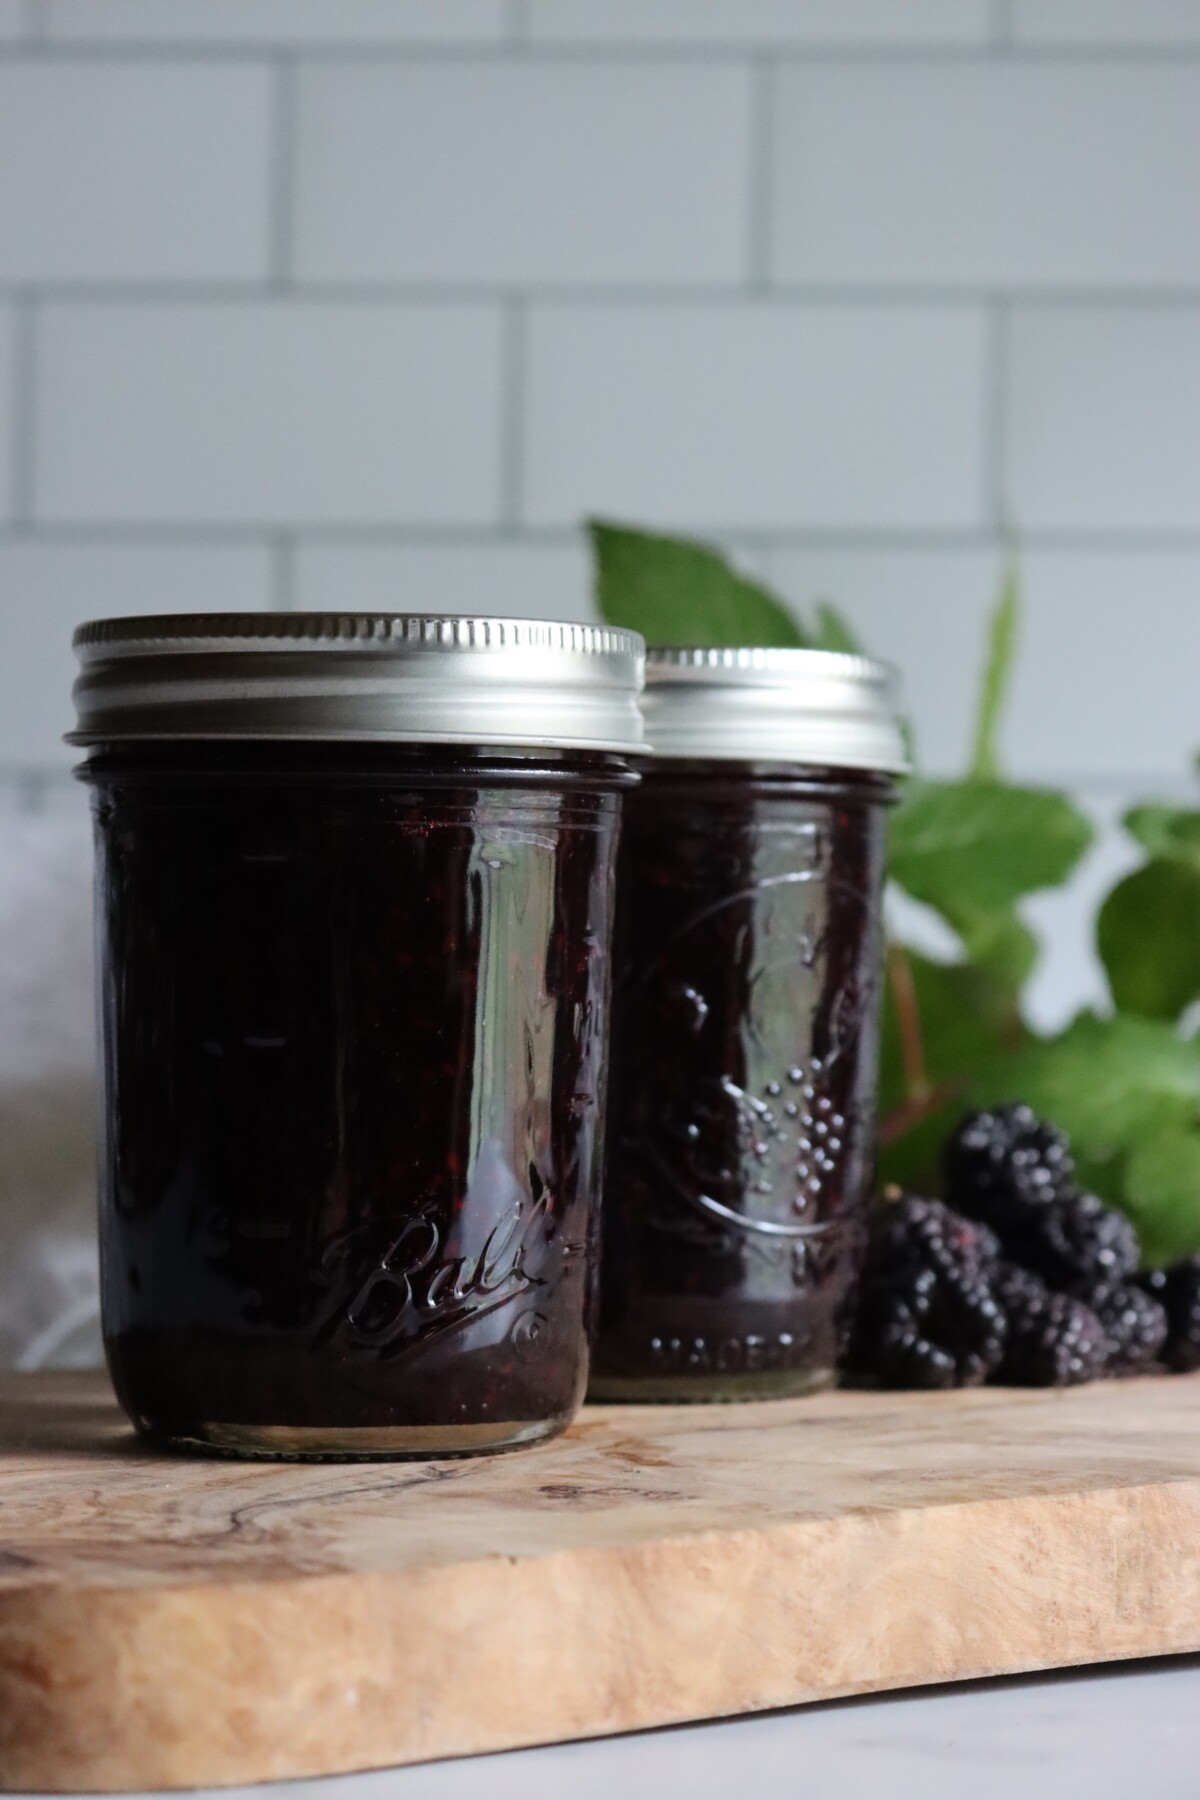
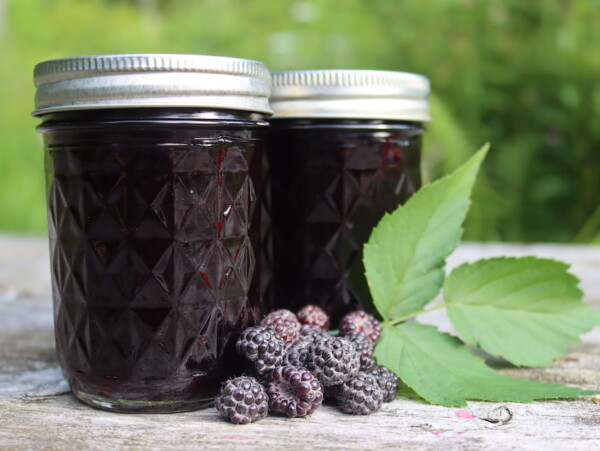
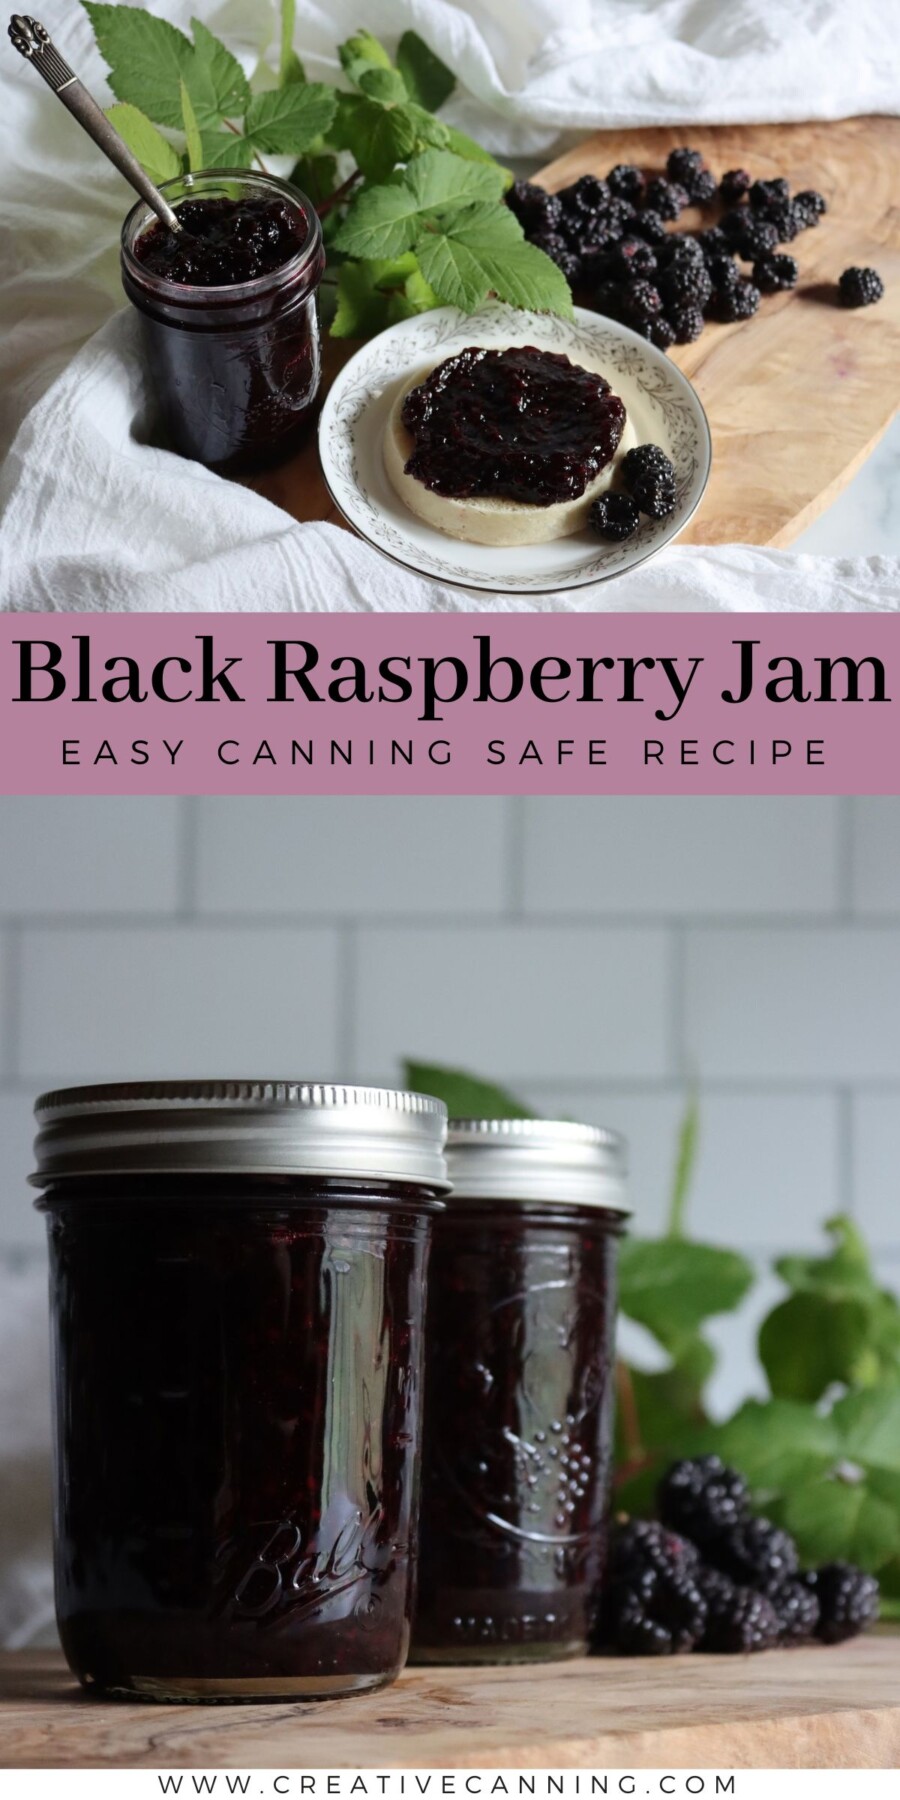
Black raspberry jam is a delicious way to preserve this short-season summer fruit, and it comes together with just a few ingredients (no boxed pectin needed).
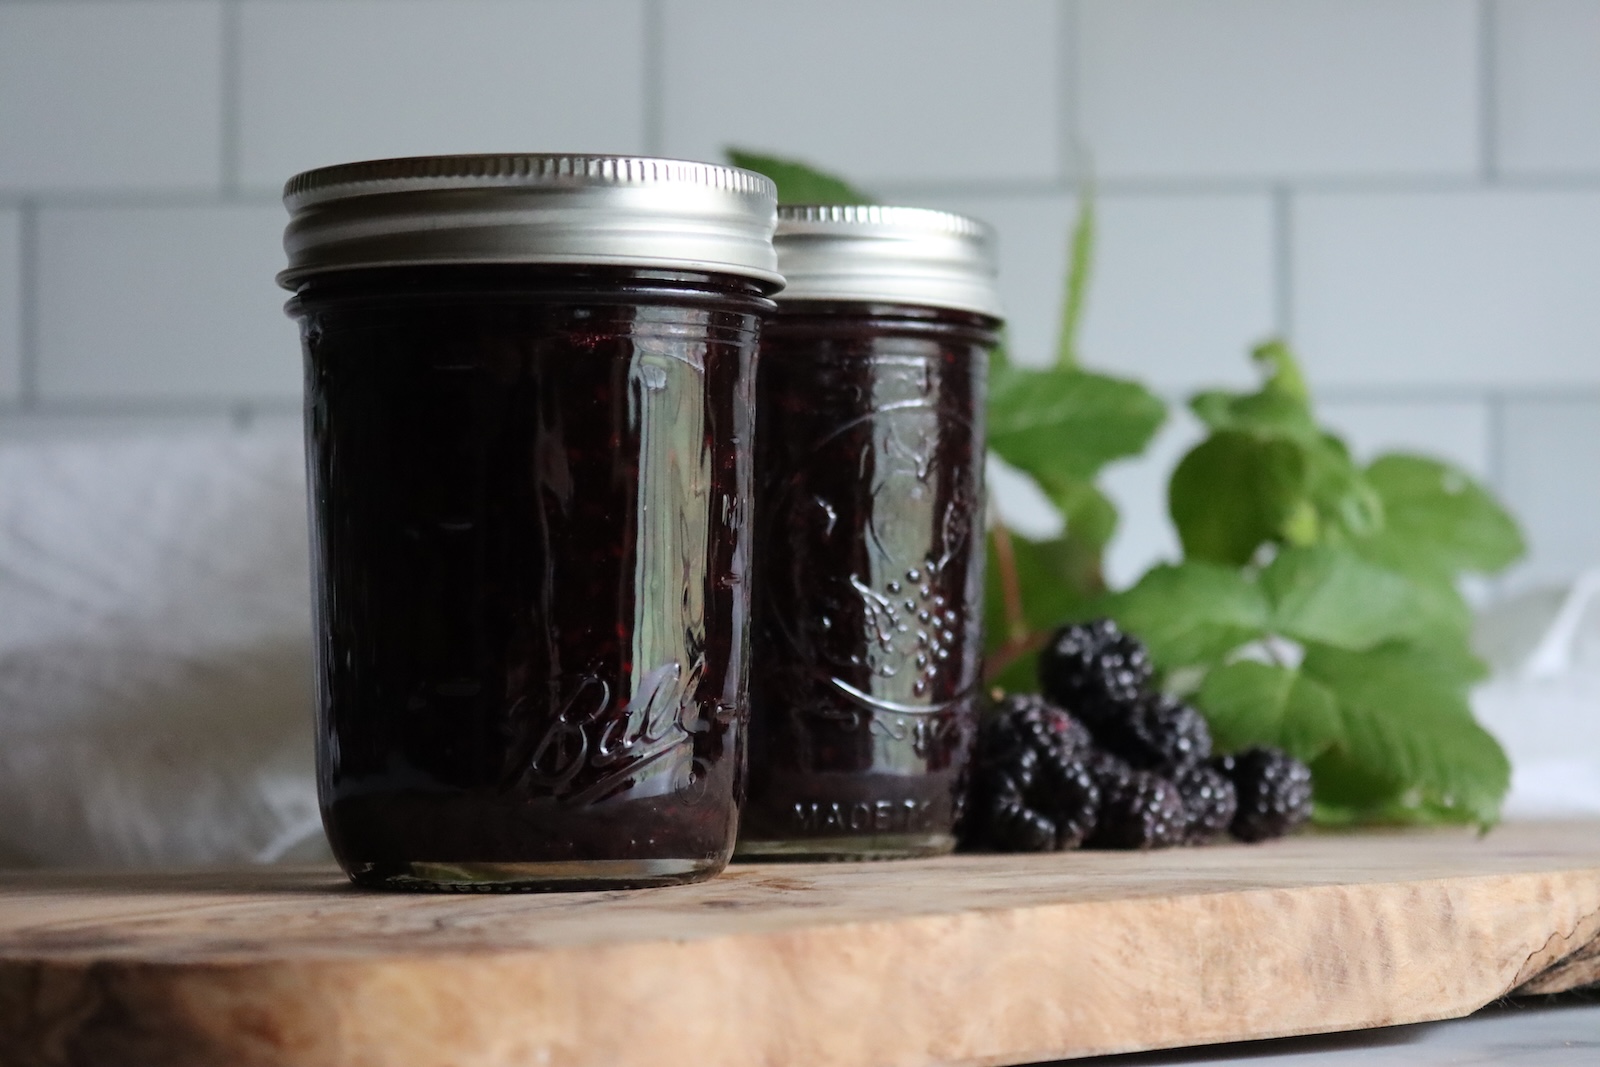
Table of Contents
- Notes from My Kitchen
- Quick Look at the Recipe
- Ingredients for Black Raspberry Jam
- Low Sugar Options
- How to Make Black Raspberry Jam
- Making Seedless Black Raspberry Jam
- Canning Black Raspberry Jam
- Altitude Adjustments
- Setting Notes
- Ways to Use Black Raspberry Jam
- Storage and Shelf Life
- More Ways to Preserve Black Raspberries
- Yield Notes
- Black Raspberry Jam FAQs
- Raspberry Canning Recipes
- Black Raspberry Jam Recipe
- Jam Canning Recipes
This recipe has been reviewed for safety and accuracy by a Master Food Preserver certified through the University of Cornell Cooperative Extension.
Black raspberries, or blackcaps, aren’t the same fruit as the red raspberries at the store. They’re smaller and darker, with more seeds and a stronger flavor that holds up to a hard boil.
You’ll rarely see them for sale. They bruise if you look at them wrong, so they don’t travel well, and most people either grow them or know a patch that comes up wild. Here in Vermont, the berries trickle in over a few weeks in midsummer.
They’re easy to mix up with blackberries. Pick one and look at the end. A black raspberry pulls free of its core and comes away hollow, like a red raspberry, while a blackberry keeps its white core inside. If what you’ve got are blackberries, make my old-fashioned blackberry jam instead.
Black raspberries have plenty of natural pectin, so this jam sets without any added boxed stuff. Cook it to the gel stage, and it firms up in the jars over the next day or two. It’s the same process as making jam without added pectin.
If you’d rather skip the seeds, my black raspberry jelly strains them all out. I also have black raspberry pie filling for a bigger harvest, plus a long list of raspberry canning recipes to put up the rest. Beyond canning, there are plenty of black raspberry recipes for the berries that never make it to the pot.
Notes from My Kitchen

Nobody planted the black raspberries in our orchard. They moved in on their own, and now every summer the kids go out hunting for them, eating about as many as they bring back.
I let them run wild in our fields (yes, both the kids and the black raspberries…). I trail along behind with a mason jar and take what they miss, the ones buried in the thorniest part of the patch or up out of the kids’ reach.
On a good day, I come back with enough for a batch of black raspberry jam, but if I run short, I can keep them in the fridge for a few days as the rest of the harvest trickles in, and I accumulate enough for the pot.
Quick Look at the Recipe
- Recipe Name: Black Raspberry Jam
- Recipe Type: Jam (no added pectin)
- Canning Method: Water Bath Canning
- Prep Time: About 10 minutes
- Cook Time: About 15 to 20 minutes, but go by temperature
- Canning Time: 10 minutes for half pints
- Yield: About 3 half pints
- Jar Sizes: Half pints or quarter pints
- Headspace: 1/4 inch
- Ingredients Overview: Black raspberries, sugar, and lemon juice
- Safe Canning Recipe Source: Follows NCHFP guidance for jams without added pectin
- Difficulty: Easy
- Similar Recipes: It’s made like other old-fashioned jams without added pectin, such as classic raspberry jam and blackberry jam without pectin. If you have more blackcaps to use, try seedless black raspberry jelly or canning black raspberry pie filling.
Ingredients for Black Raspberry Jam
Wild or garden berries both work here, and so do frozen ones. If you come up a little short, some red raspberries or wineberries can fill out the batch, and lime juice can be used in place of lemon.
- Black raspberries: Fresh or frozen, wild or cultivated. Sort out stems, leaves, and any soft or moldy berries as you rinse. A few that are a shade underripe help the set, since underripe fruit has more pectin. Frozen berries can go in straight from the freezer. Freezing breaks down some pectin, but the skins and seeds hold plenty, so the jam still sets.
- Sugar: Plain granulated sugar. It sweetens and helps the jam set, but it isn’t what keeps it safe, so you can adjust it. There’s half as much sugar as fruit here, which keeps the berry flavor up front.
- Lemon juice: There’s enough natural acid in black raspberries for water bath canning without help. The lemon brightens the flavor and adds a little pectin. Bottled lemon juice or fresh both work, and lime juice is fine in a pinch.
Pick a wide, heavy-bottomed pot with room to spare, because this jam foams up high when it boils. Put a small saucer in the freezer for the gel test, and get the canner heating before you start. A small batch moves fast at the end.
Low Sugar Options
You can cut the sugar, and the jam is still safe to can, since the berries’ own acidity is what protects it. Less sugar means a longer boil to reach the gel stage, a looser set, and a little less jam.
Honey or maple syrup can replace up to half the sugar, with organic cane juice for the rest. Both scorch more easily, so stir constantly. I don’t recommend monk fruit, stevia, or other non-nutritive sweeteners for canned jam, because they aren’t tested for canning and they don’t set.
For a firm set with very little sugar, use Pomona’s Universal Pectin and follow my guide to using Pomona’s pectin.
How to Make Black Raspberry Jam
It’s a quick jam, about 15 to 20 minutes on the stove. Everything goes into the pot together, and there’s no overnight soak. Stoves vary, so go by the thermometer and the frozen plate test instead of the clock.
The ratio is 4 cups black raspberries to 2 cups sugar and 2 tablespoons lemon juice. If you’re working by weight, that’s about 1 1/2 pounds of berries to 14 ounces of sugar.
Stay close to the stove. Once it starts to thicken, a small batch of jam can go from runny to scorched in a minute.
Prep the Berries
Rinse the berries in a colander and pick out stems, leaves, and anything soft or moldy.
Wild berries sometimes come with passengers. Let them sit for a few minutes in a bowl of water with a splash of vinegar to chase out any bugs, then rinse and drain.
Cook the Jam
Put the berries, sugar, and lemon juice in a wide, heavy pot over medium heat. Mash the berries with a potato masher as they warm, until they’ve given up their juice and the sugar has melted into it.
Once the pot is loose and syrupy, raise the heat and let it come up to a hard boil, the kind that doesn’t stop when you stir. Keep stirring and scraping the bottom while it boils.
One reader got tired of mashing and ran the berries through a blender first. That works fine too, but it’s not really necessary. The berries fall apart pretty quickly while cooking.
Test the Gel Stage
Give it 8 to 10 minutes at a hard boil, then start checking. On an instant-read thermometer, the jam is ready at 220 degrees F at sea level. Subtract roughly a degree for every 500 feet you are above sea level, so at 1,500 feet you’re looking for 217.
For the plate test, drop a little jam on the frozen saucer, give it a minute, and push it with a fingertip. If the surface wrinkles, it’s ready.
Trust the thermometer over how the jam looks. One reader stopped at 215 degrees because it looked right, and the batch never set. Don’t stop early.
Take the jam off the burner as soon as it gels. Jam without added pectin keeps thickening the longer it cooks, and a few extra minutes turns it stiff.
Making Seedless Black Raspberry Jam
Black raspberries are seedy, and some people would rather go without. I don’t mind the seeds, but if you do, simmer the berries briefly until they break down, then press them through a fine mesh strainer. My seedless raspberry jam covers the straining, and black raspberries go through it the same way.
For a smooth, clear spread, strain the juice through a jelly bag instead and make black raspberry jelly. I’ve made it with no added pectin, and it sets up well.
Use fresh berries for jelly, though. Freezing breaks down enough pectin that strained juice from frozen berries may not set.
Canning Black Raspberry Jam
Have your water bath canner hot and the jars warm before the jam is done. Fill the jars while the jam is still hot, because jam that’s cooled off won’t heat through properly in the canner.
Ladle the jam into half-pint jars through a canning funnel, leaving 1/4 inch headspace. Wipe each rim clean, and put the lids and bands on fingertip tight.
Process half pints for 10 minutes in a boiling water bath, adjusting for altitude with the chart below. Then shut off the burner and let the jars sit in the canner another 5 minutes, which keeps the jam from siphoning out under the lids. If you’re new to it, my water bath canning guide walks through the basics.
Lift the jars onto a towel and leave them alone for 12 to 24 hours before you check the seals.
Altitude Adjustments
Water boils cooler at higher elevations, so the jars need longer in the canner. These are the water bath processing times for half pints and quarter pints.
- 0 to 6,000 feet: 10 minutes
- Above 6,000 feet: 15 minutes
Setting Notes
Black raspberry jam keeps setting after it goes in the jars. It looks loose when you fill them, and that’s normal. Give it 24 to 48 hours before you decide anything.
It should set up nicely, with enough body to stay put on toast. If it’s still runny after two days, it probably didn’t quite reach the gel stage.
You can open the jars, cook the jam back up to temperature with a little more lemon juice, and can it again with new lids. My guide to troubleshooting jelly set walks through it. Or label it syrup and pour it over pancakes.
Ways to Use Black Raspberry Jam
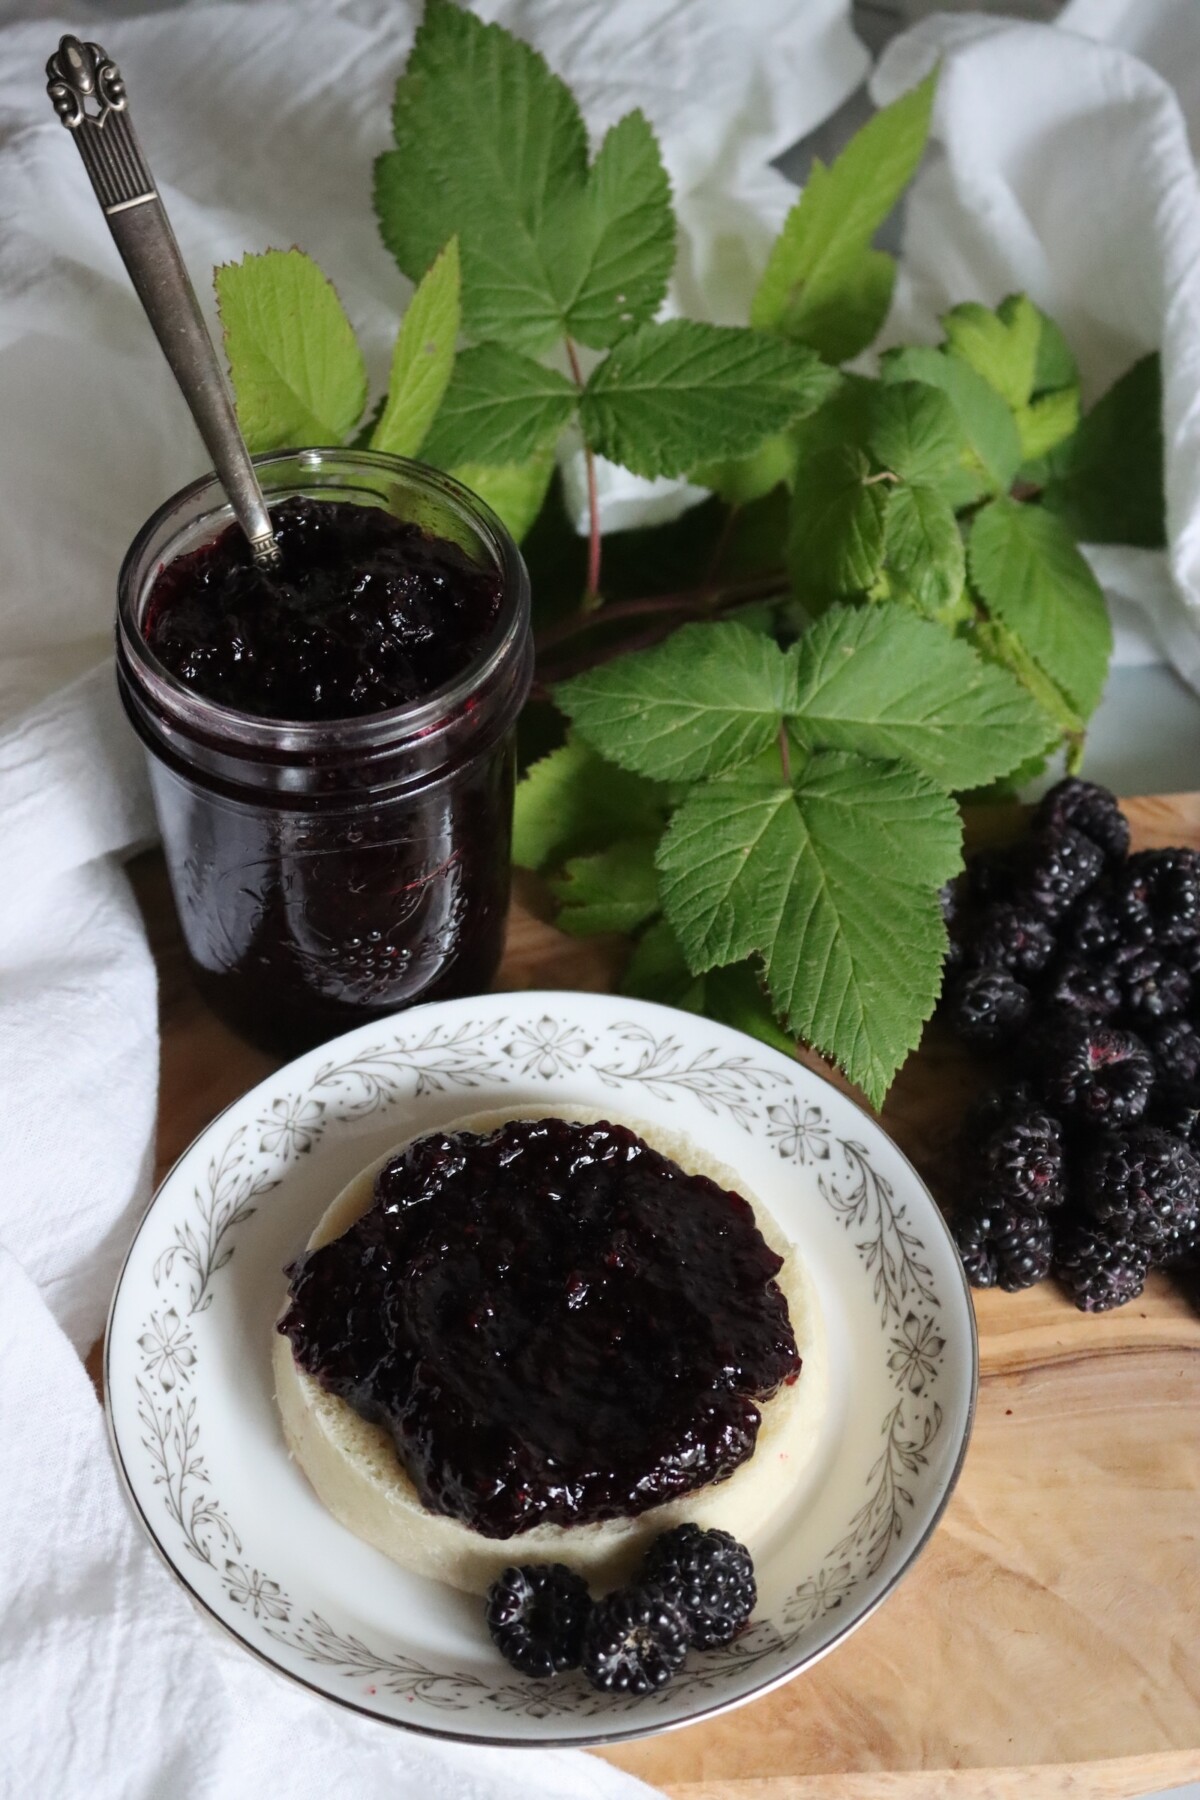
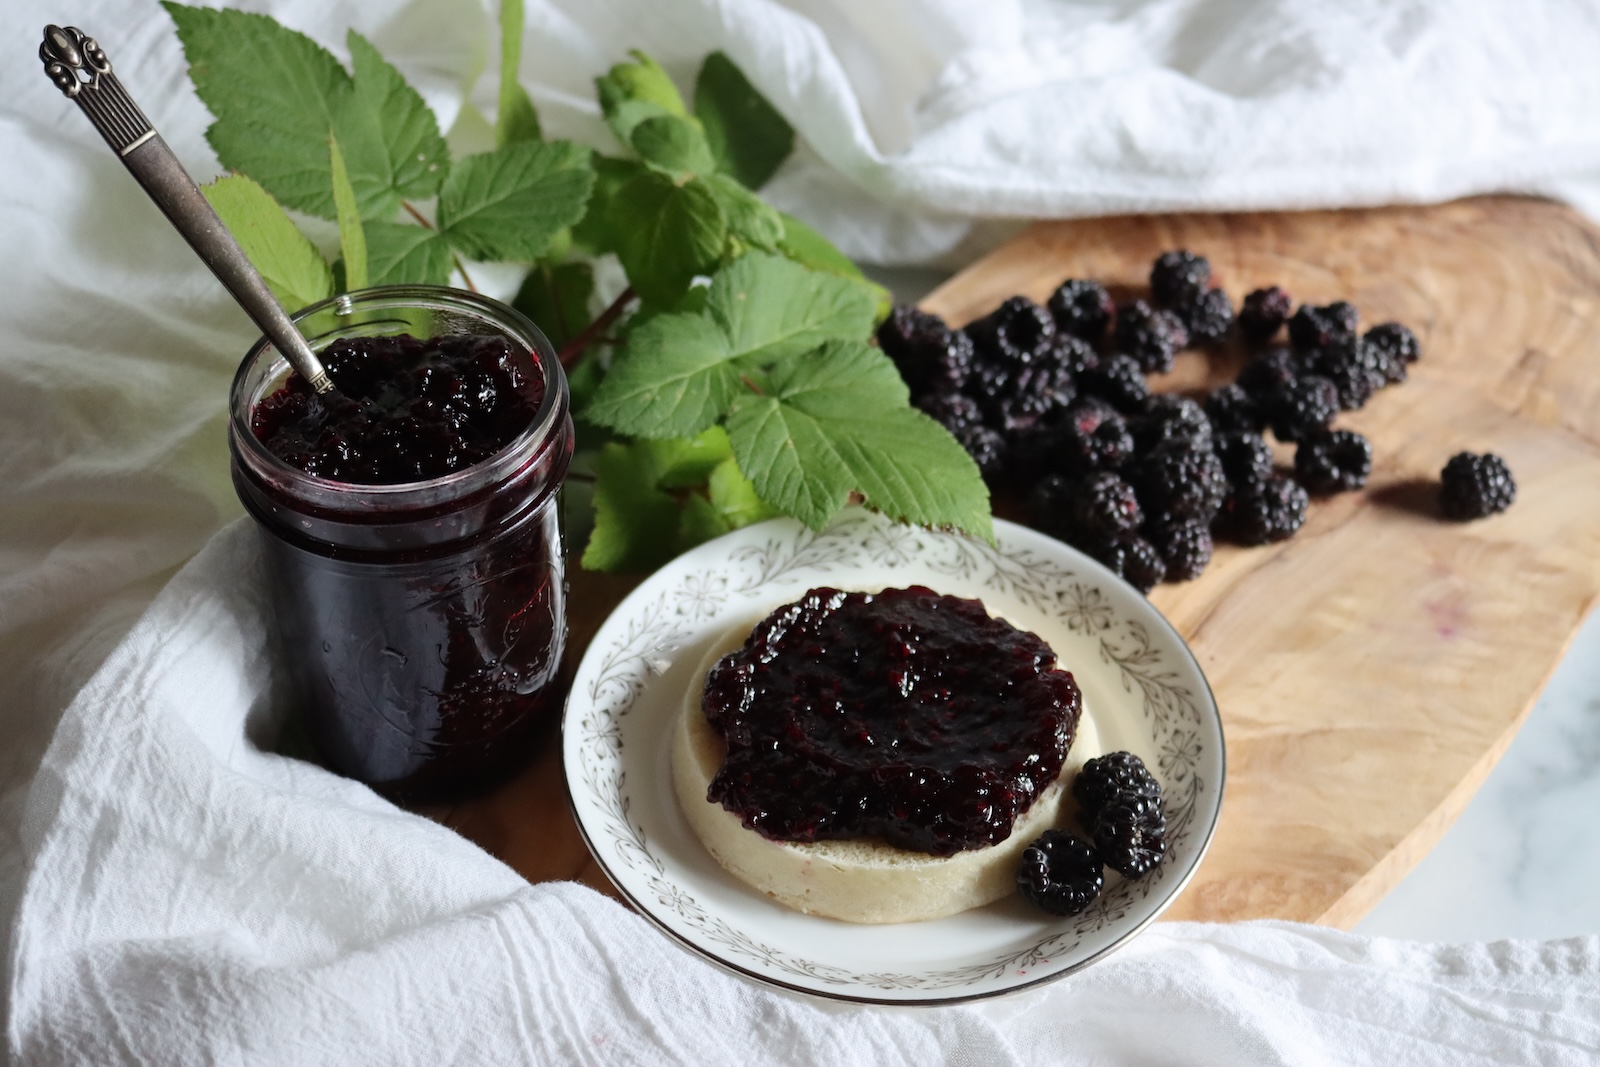
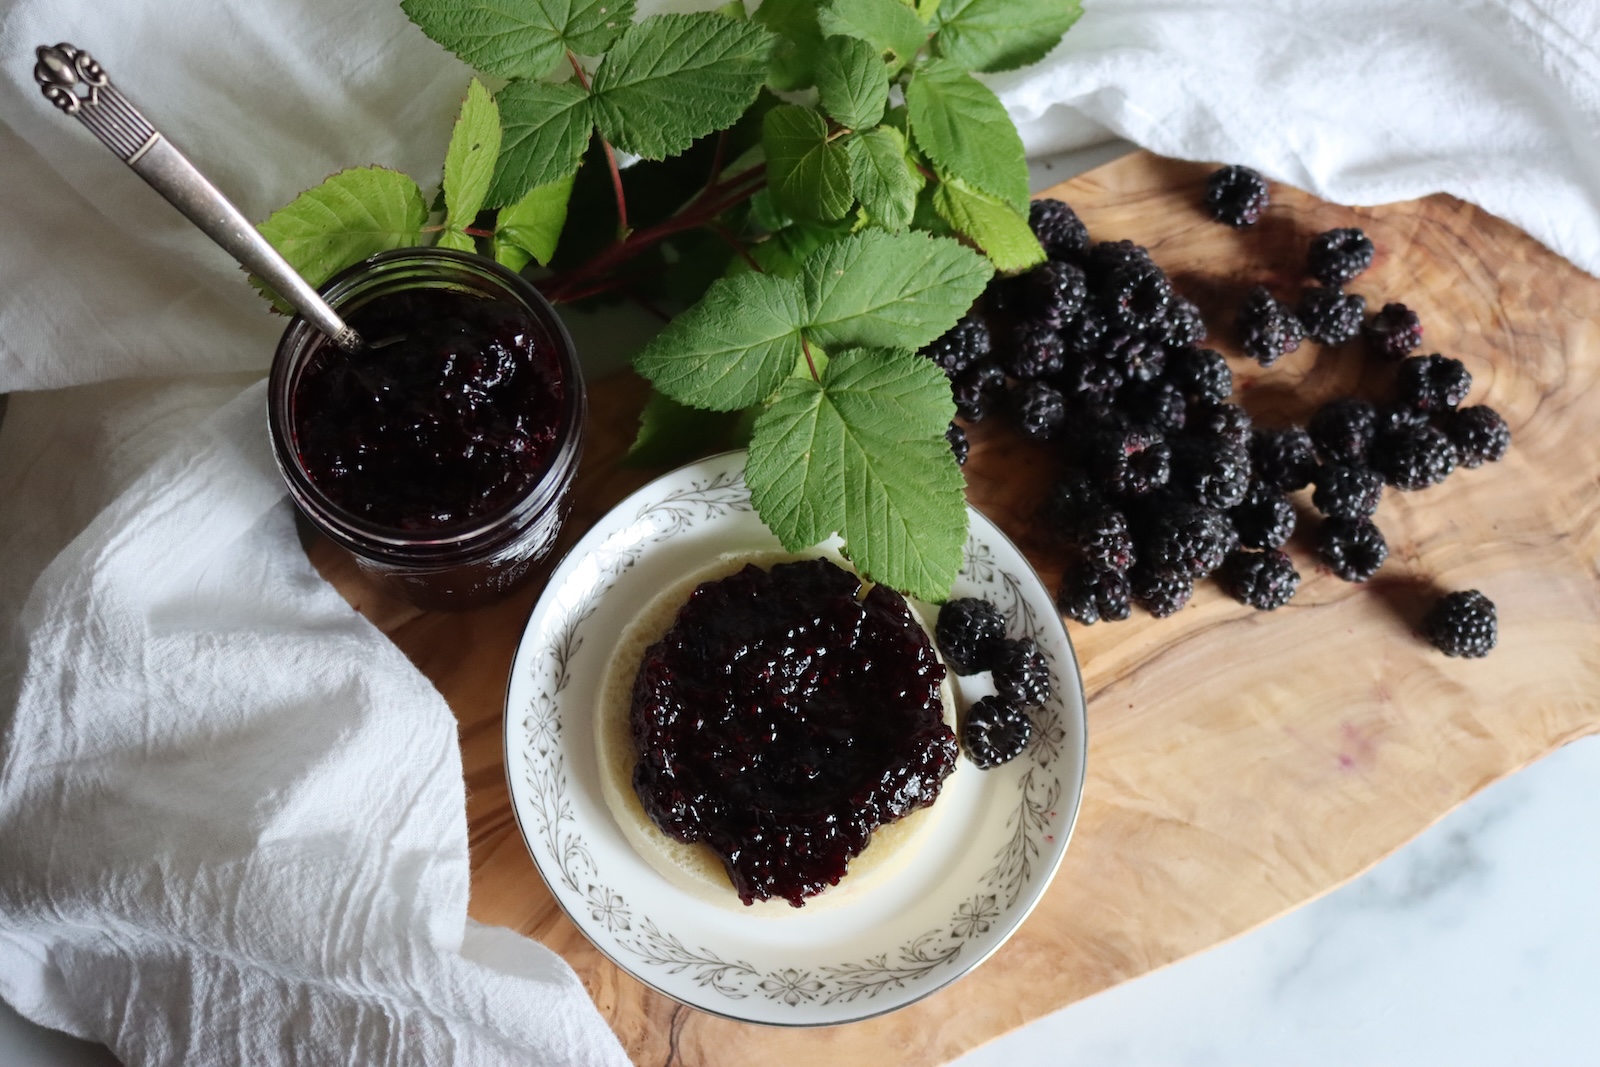
It’s a toast jam first, and it’s good on a buttered English muffin. Stir it into plain yogurt or oatmeal, or warm a spoonful and pour it over vanilla ice cream.
For baking, use it in place of red raspberry jam in Danish raspberry bars, spread it between cake layers, or spoon it into thumbprint cookies.
If you need more ideas, there’s a long list of recipes that use jam.
Storage and Shelf Life
Once the jars are cool, press the center of each lid. A sealed lid is firm and doesn’t flex. Take the rings off before the jars go on the shelf, so a seal that lets go later is easy to spot.
If a jar doesn’t seal, put it in the refrigerator and eat it within a week or two. You can also reprocess it with a fresh lid if you catch it within 24 hours.
Sealed jars stay good for 12 to 18 months on a cool, dark shelf. Once a jar is open, keep it in the fridge and use it within 1 to 2 weeks.
You don’t have to can it. Unprocessed jam holds for several weeks refrigerated, or up to 6 months in the freezer in straight-sided, freezer-safe jars with 1 inch headspace.
More Ways to Preserve Black Raspberries
Seedless black raspberry jelly is the smooth option, and black raspberry pie filling is the one for a big harvest. For more berry ideas, there’s freeze-drying raspberries as well.
If you’re still learning where they grow, there’s a guide to foraging wild black raspberries, and one on taming wild black raspberries into a patch you can pick. The rest are in my fruit canning recipes.
Yield Notes
Four cups of whole berries weighs about 1 1/2 pounds, which is 2 pints by volume, and it mashes down to around 3 cups. That fills about 3 half-pint jars. Wash a fourth jar in case your berries are juicy.
Scale by the cups of whole berries, not the mashed measure. The recipe halves easily, and it doubles to about 6 half pints with a few extra minutes of boiling. Don’t go past double, since a big pot heats unevenly and may not set.
Black Raspberry Jam FAQs
Pectin, frozen berries, and how many berries it takes are what readers ask about most.
No. Black raspberries have plenty of natural pectin, and the lemon juice adds a little more. Cooking the jam to 220 degrees F at sea level is what sets it.
Usually it’s one of three things: the jam came off the heat before it reached the gel stage or 220 degrees F, the fruit was very ripe and short on natural pectin, or the batch was scaled up too far. Give it 24 to 48 hours to finish setting, and if it still hasn’t, read through my guide on troubleshooting jelly set.
You can. Freezing berries as you pick them is an easy way to collect a batch, and they go in the pot straight from the freezer. The skins and seeds keep enough pectin for the jam to set. Jelly is different, since strained juice from frozen berries may not set.
Plan on 4 cups of whole berries, roughly 1 1/2 pounds, for about 3 half pints. You don’t need a big harvest, which helps when they come in a few at a time.
Yes. A double batch makes about 6 half pints and takes a few more minutes to reach the gel stage. Don’t go bigger than that, because a large pot heats unevenly and may not set.
Raspberry Canning Recipes
More ways to put up raspberries, black and red.
If you tried this Black Raspberry Jam recipe, or any other recipe on Creative Canning, leave a ⭐ star rating and let me know what you think in the 📝 comments below!
And make sure you stay in touch with me by following on social media!
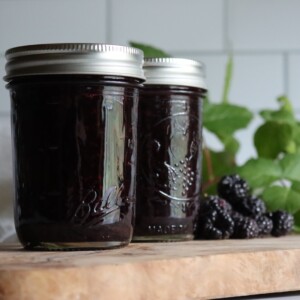
Black Raspberry Jam
Equipment
- Potato Masher
- Canning Jars, Lids and Bands
Ingredients
- 4 cups black raspberries, fresh or frozen, see notes
- 2 cups sugar
- 2 tbsp lemon juice
Instructions
- Put a small saucer in the freezer for the gel test, and start heating the water bath canner with the jars inside.
- Rinse and sort the berries, removing stems, leaves, and any soft or moldy fruit.
- Combine the berries, sugar, and lemon juice in a wide, heavy-bottomed pot with plenty of room for the jam to foam.
- Warm on medium, mashing as the berries soften, until they release their juice and the sugar dissolves.
- Turn up the heat and let the jam come to a hard boil, stirring and scraping the bottom often.
- Start testing after 8 to 10 minutes at a hard boil. Stoves vary, so go by temperature: the jam is ready at 220 degrees F at sea level, or when a spoonful wrinkles on the frozen saucer.
- Take the pot off the heat as soon as the jam reaches the gel stage.
- Ladle the hot jam into the hot jars, leaving 1/4 inch headspace.
- Wipe the rims and apply the lids and bands fingertip tight.
- In a boiling water bath canner, process half pints for 10 minutes, adjusting for altitude (see notes).
- Shut off the burner and give the jars 5 more minutes in the canner, then lift them out.
- Cool the jars undisturbed for 12 to 24 hours, then check the seals, remove the rings, and store.
Notes
- 0 to 6,000 feet: 10 minutes
- Above 6,000 feet: 15 minutes
Nutrition
Nutrition information is automatically calculated, so should only be used as an approximation.
Have the canner out already? Here are more jam canning recipes and the rest of my water bath canning recipes.
Jam Canning Recipes
More jams that set without a box of pectin.
Looking for something a little different?
Find the perfect recipe
Searching for something else? Enter keywords to find the perfect recipe!

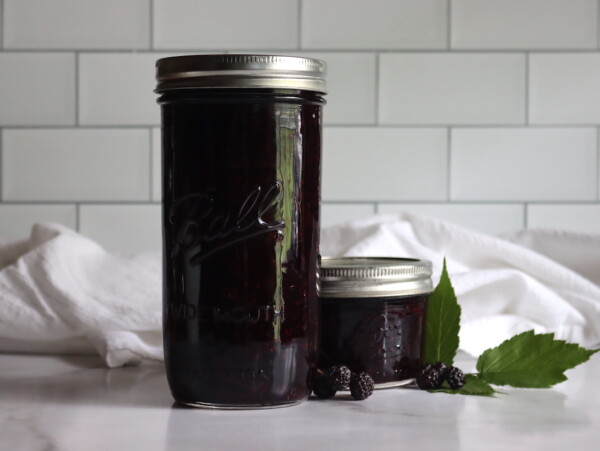
I absolutely love black raspberries, and this is my favorite way to preserve them!