This post may contain affiliate links. Please see our disclosure policy.
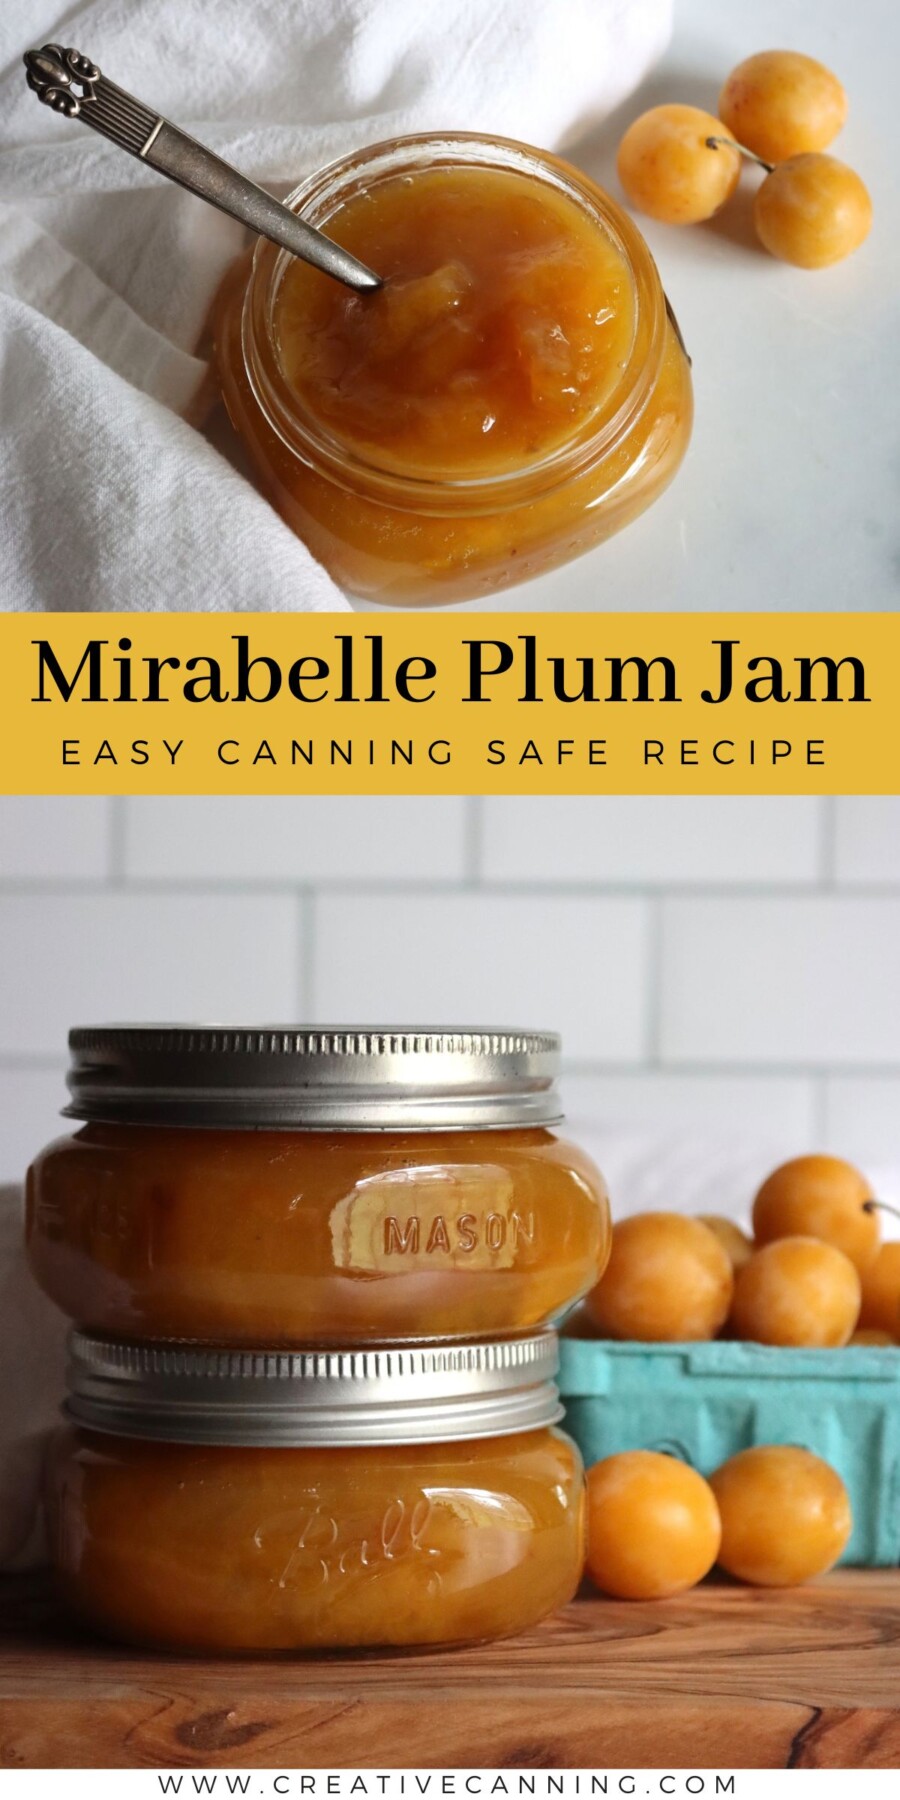
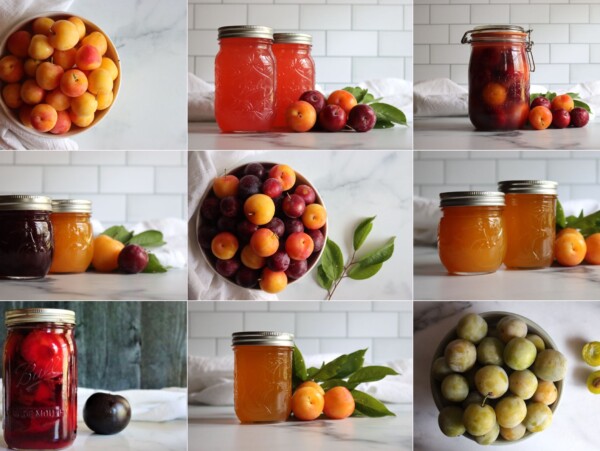
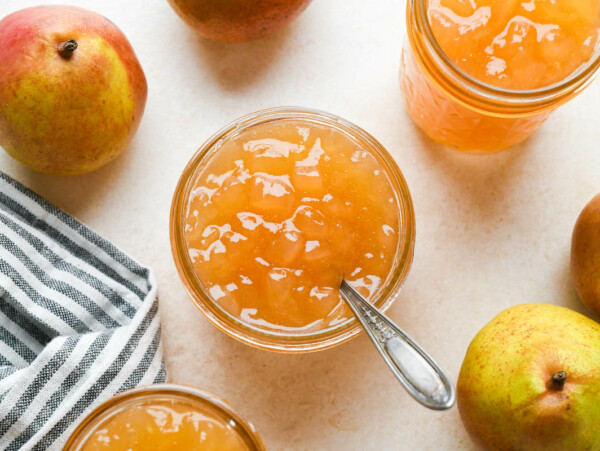
Mirabelle plum jam is bright gold, honey-sweet, and thick enough to stand on a spoon without a box of added pectin. Mirabelles are tiny, sweet, and full of natural pectin, so the jam sets fast and tastes bright and fresh.
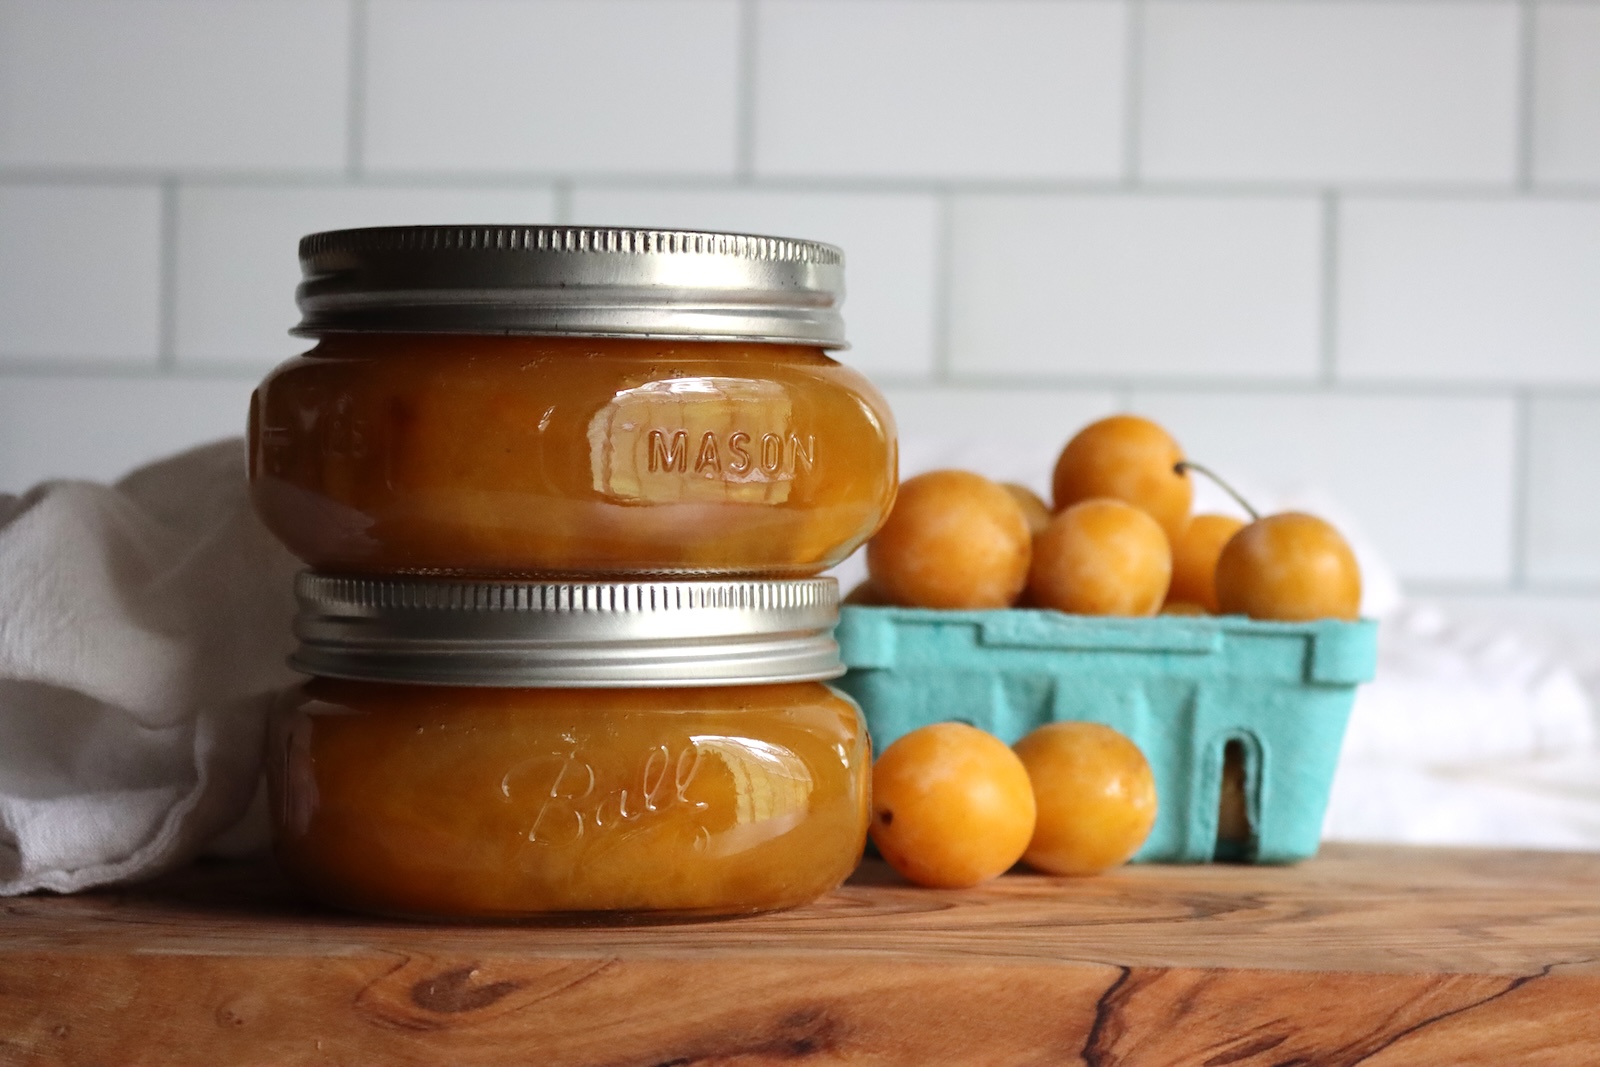
Table of Contents
- Notes from My Kitchen
- Quick Look at the Recipe
- What Are Mirabelle Plums
- Ingredients for Mirabelle Plum Jam
- Low Sugar Options
- How to Make Mirabelle Plum Jam
- Canning Mirabelle Plum Jam
- Altitude Adjustments
- Setting Notes
- Ways to Use Mirabelle Plum Jam
- Storage and Shelf Life
- More Ways to Preserve Mirabelle Plums
- Yield Notes
- Mirabelle Plum Jam FAQs
- Plum Canning Recipes
- Mirabelle Plum Jam Recipe
- Jam Canning Recipes
This recipe has been reviewed for safety and accuracy by a Master Food Preserver certified through the University of Cornell Cooperative Extension.
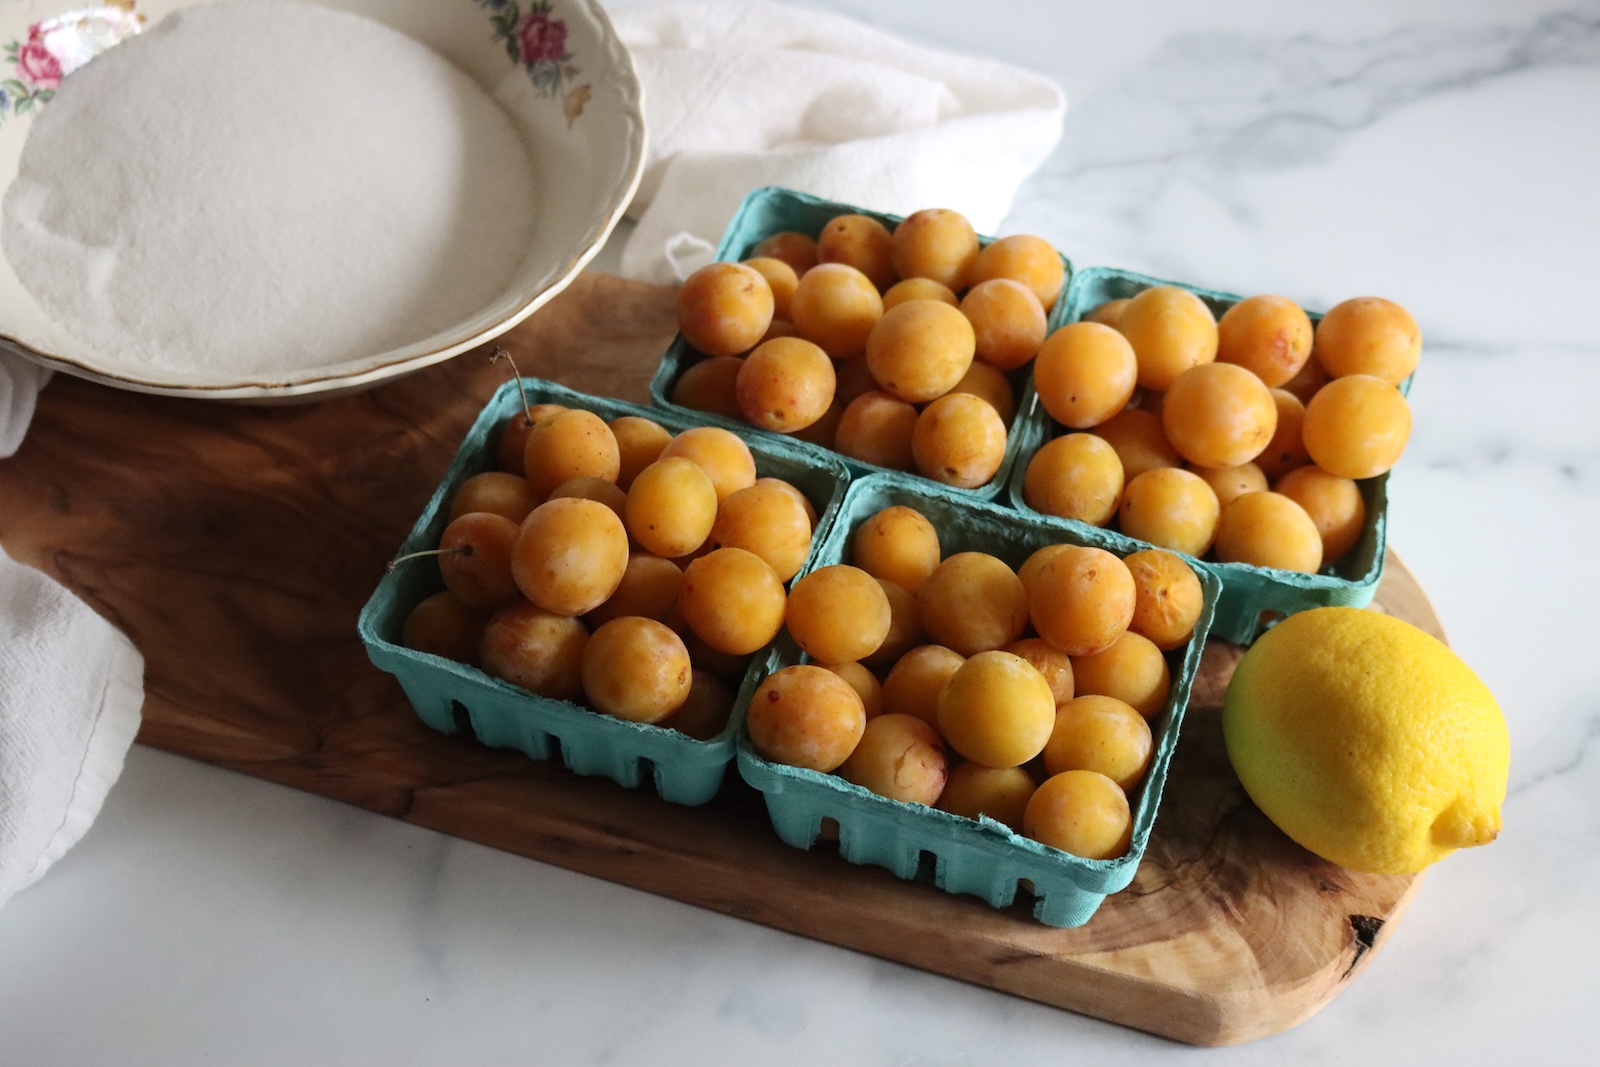
Mirabelles are small golden plums, about the size of a big cherry, and they’re very sweet. There’s none of the tartness most plums carry just under the skin. They’re freestone, so the pit pops out clean, and the flesh is dense and dry instead of juicy.
In France, they’re a big deal. Lorraine grows most of the world’s crop, and the town of Metz throws a festival for the harvest every August. Jam is what people make with them first. The season there is about six weeks long, and then it’s over for the year.
All that dense, dry flesh is loaded with pectin, which is why mirabelles turn into jam so willingly. This batch hit the gel stage on 15 minutes of hard boiling with nothing but lemon juice to help it along. I go through how that works in my guide to making jam without added pectin.
Traditional mirabelle jam is made with equal weights of prepared fruit and sugar, and that version is intense. I cut the sugar in half, and it still set firm. The plums are sweet enough to carry it, and what you get tastes like plum instead of like candy.
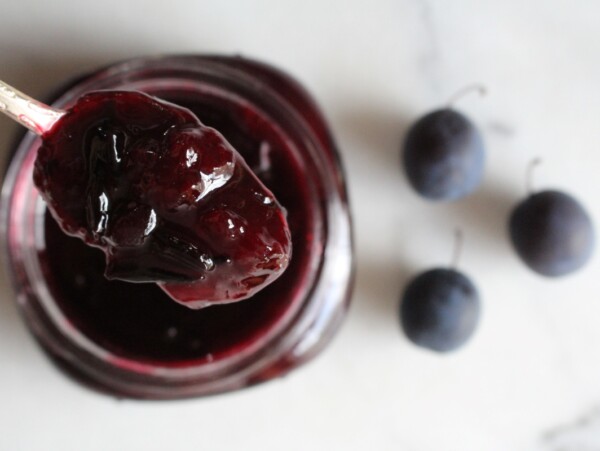
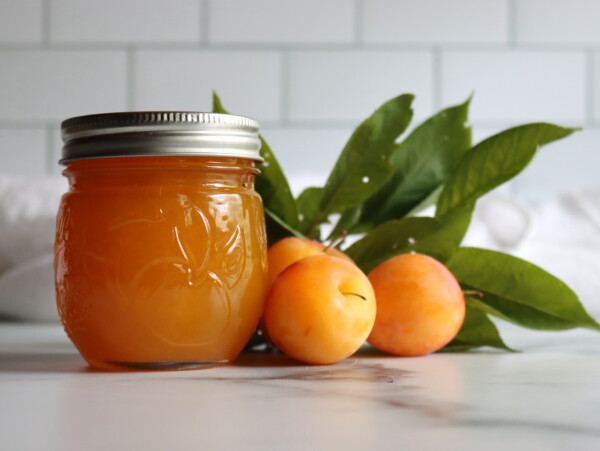
The yellow plums we grow here are La Crescents, and they’re soft and juicy. That’s the fruit in my yellow plum jam. Mirabelles are firm, closer to a European prune plum, and they’re very sweet with much less acid. They don’t cook the same way, so they get their own recipe.
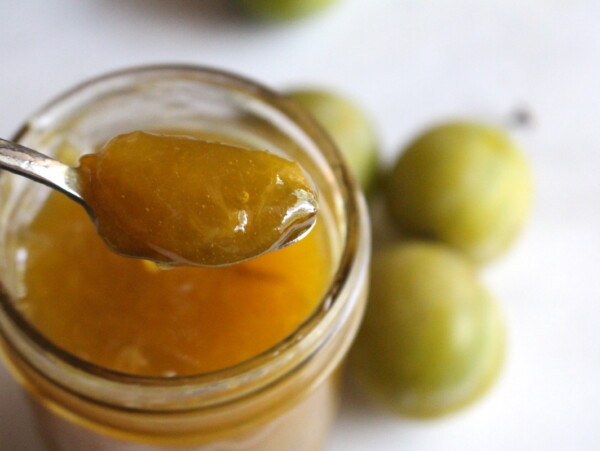
If you’re working with other plums, my plum jam is the all-purpose version. Greengage jam is the other French plum worth putting up, and damson jam goes the opposite direction, all tartness and no sugar to spare.
There’s a whole list of plum canning recipes if you have a tree dropping more than you can eat fresh.
Notes from My Kitchen

Old recipes for mirabelle jam call for a pound of sugar for every pound of prepared fruit. I’ve been working my way through those old ratios and cutting them down where the fruit allows it. Mirabelles allow it. They’re so sweet on their own that a 1:1 jam tastes like sugar with a little plum in it. Half was as far down as I needed to go.
I still can’t see this one with twice the sugar in it. It’s already as sweet as I can imagine making a jam.
Quick Look at the Recipe
- Recipe Name: Mirabelle Plum Jam
- Recipe Type: Jam (no added pectin)
- Canning Method: Water Bath Canning
- Prep Time: About 25 minutes
- Cook Time: About 25 minutes, with 15 to 20 at a hard boil, but go by temperature
- Canning Time: 10 minutes for half pints
- Yield: About 3 half pints
- Jar Sizes: Half pints or quarter pints
- Headspace: 1/4 inch
- Ingredients Overview: Mirabelle plums, sugar, lemon juice, water
- Safe Canning Recipe Source: Follows NCHFP guidance for plum jam without added pectin
- Difficulty: Easy
- Similar Recipes: Making mirabelle plum jam is like the other old-fashioned jams that set without added pectin, such as greengage jam and apricot jam. If you have plums to work through, try other plum canning recipes like plum jam or yellow plum jelly.
What Are Mirabelle Plums
Mirabelles are a European plum, Prunus domestica subspecies syriaca, and they came to France from Asia Minor long ago. A ripe one is round, yellow-gold, often freckled with red on the sunny side, and about 2 to 3 cm across. That’s a large cherry, not a plum you’d slice.
They taste sweet and honeyed, with something like dried apricot behind it. They’re much lower in acid than most plums, so the tart edge you get near the skin of an Italian prune plum or a damson isn’t there. Cut one open and the flesh is pale yellow, firm, and dry for a plum, and the little stone falls away clean.
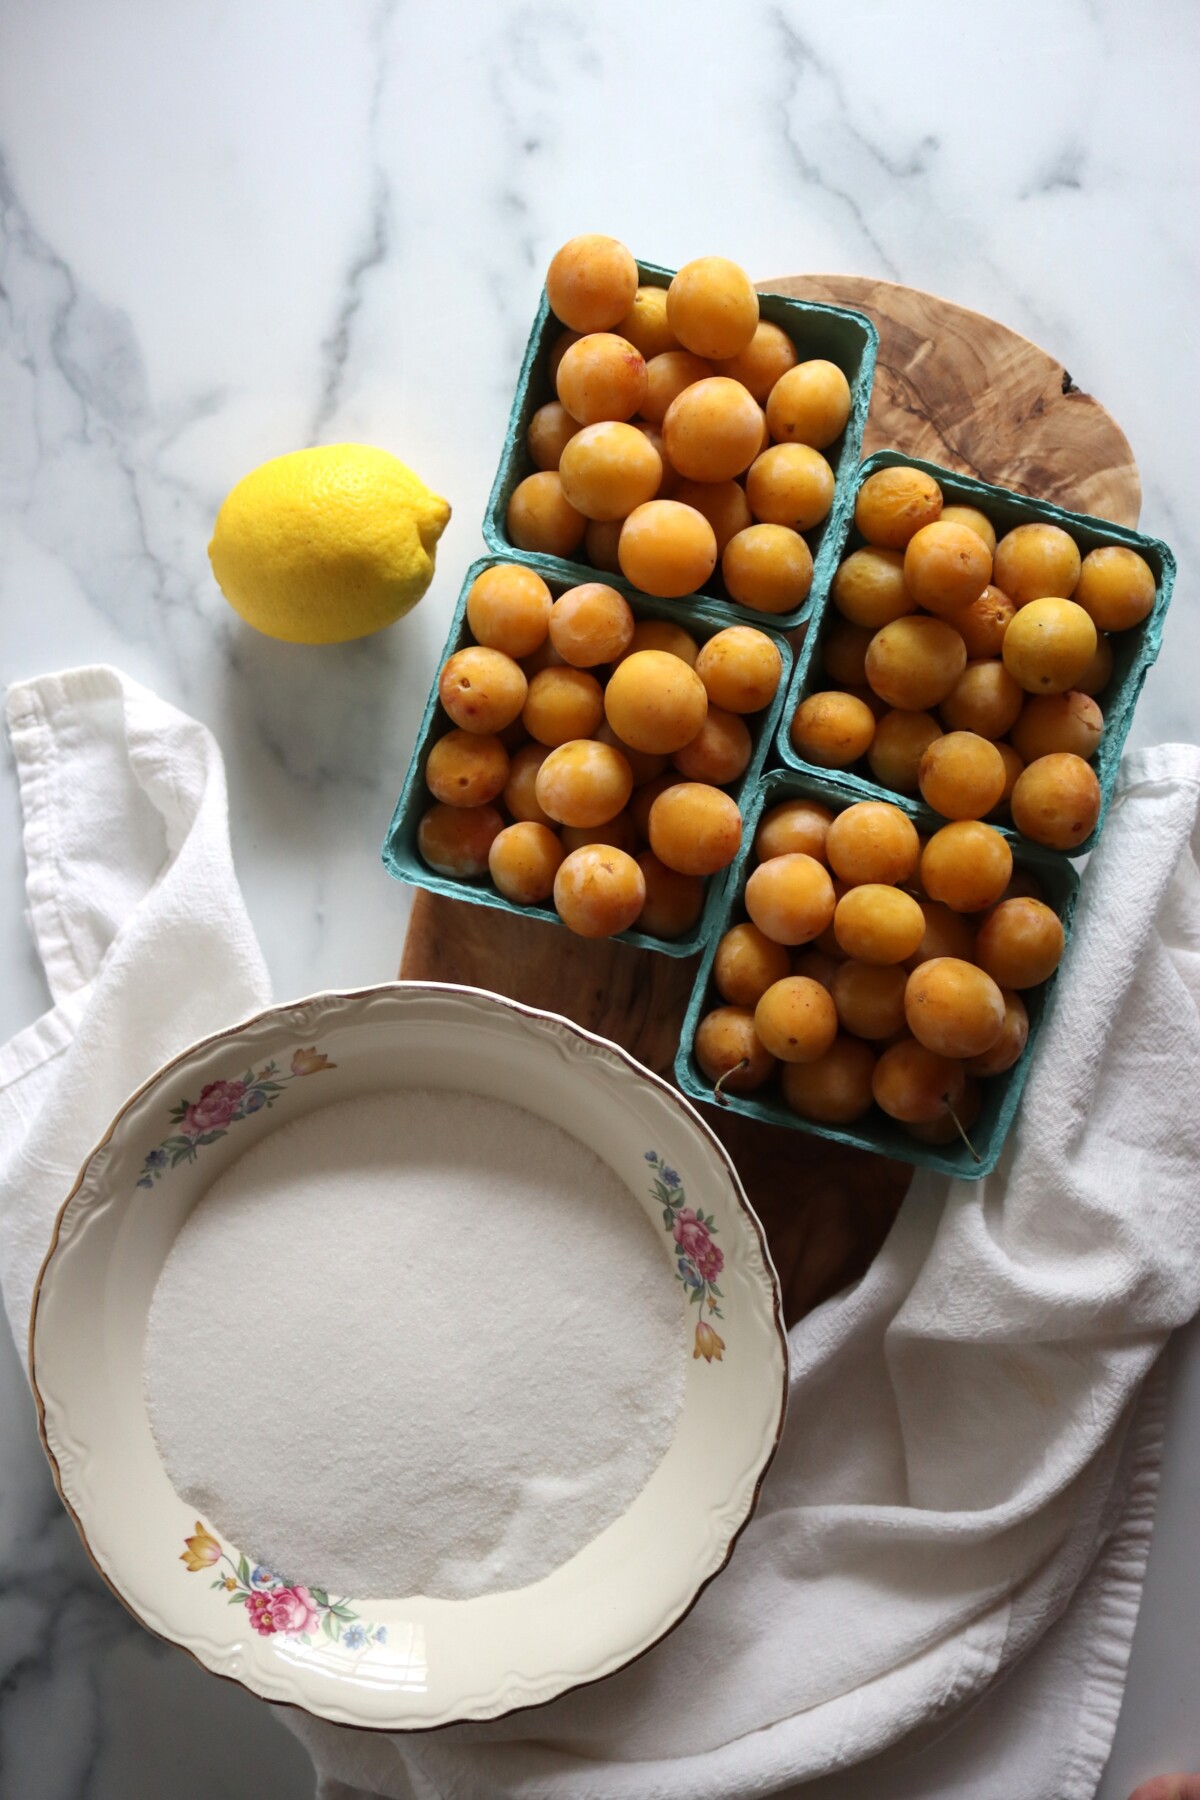
You’ll see two names. Mirabelle de Nancy is the larger one, and people prefer it for eating fresh. Mirabelle de Metz is smaller, and it’s the traditional choice for jam. Either makes good jam, and if you have a backyard tree, make jam with what it gives you.
Fresh mirabelles are hard to buy in the United States. There’s no commercial acreage here, the ripe fruit is soft and doesn’t ship, and the season is short. What you’ll usually find is imported jam in a jar.
Nursery trees are another story, and they’re sold for zones 5 through 9, so most of the country can grow their own. They ripen from mid-August into September, and they all come at once.
Ingredients for Mirabelle Plum Jam
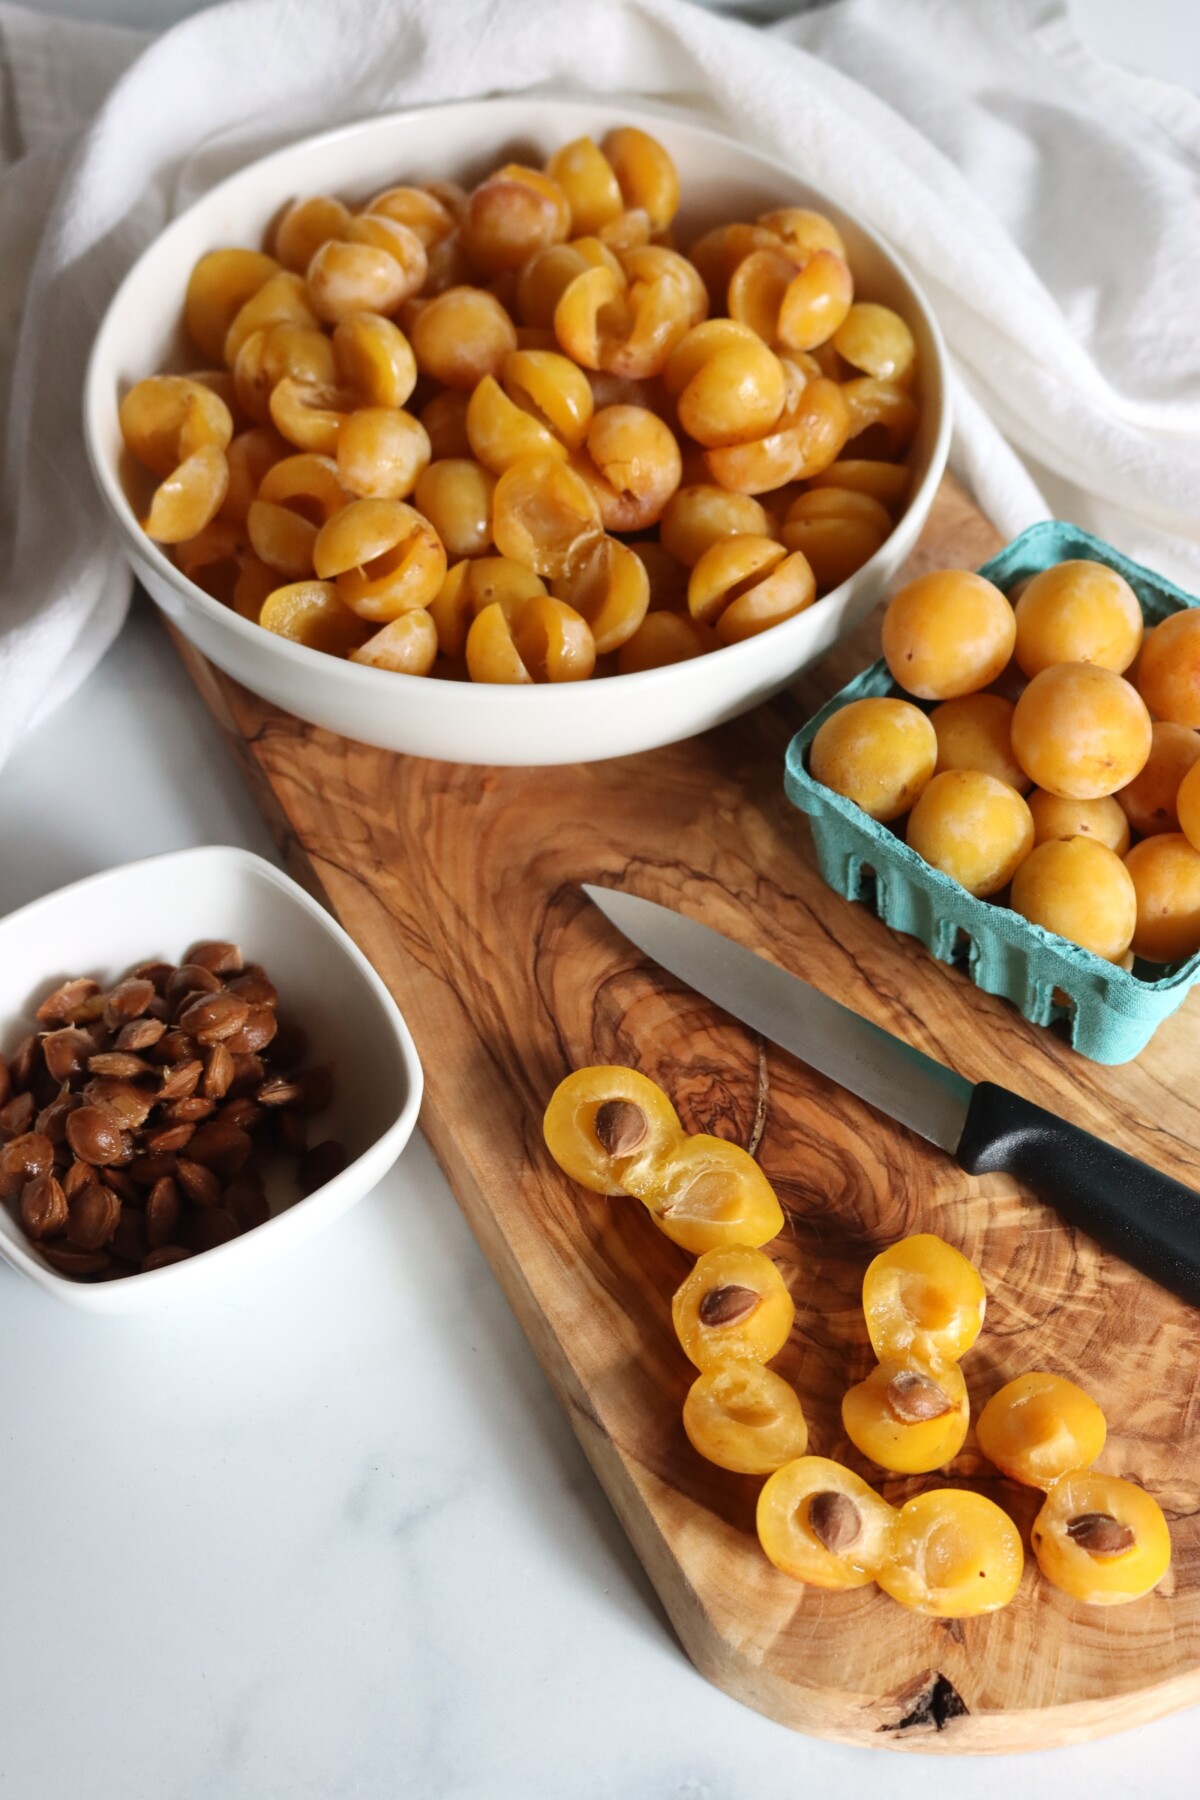
This jam comes together quickly with just fruit, sugar and a splash of lemon juice. Don’t skip the water!
These fruits are very dry and they’ll scorch before they cook through. The water slows the cook a bit, so the fruit can cook through, softening the peels and teasing out the pectin. It all cooks off in the end, but it’s part of the process.
- Mirabelle plums: Ripe but still firm. Soft ones have lost pectin and make a looser jam. They’re freestone, so halve them with a paring knife and flick the pit out with your thumb. Leave the skins on. They’re thin, they soften completely in the pot, and they carry a good share of the pectin. Greengages substitute, though they’re juicier and take longer to thicken.
- Sugar: Plain granulated white, and half what a traditional recipe calls for. In a high-acid fruit jam, sugar handles flavor, set, and yield. It isn’t the preservative, so the amount is yours to move. More gives a firmer set, a faster cook, and a little more jam. Less gives a softer spread that tastes more like plum.
- Lemon juice: Don’t skip it or cut it back. Mirabelles are much lower in acid than most plums, so the lemon juice is part of what makes this jam safe to water bath can. It also keeps all that sweetness from tasting flat, and the acid helps the natural pectin set. Bottled juice like Santa Cruz organic lemon juice is consistent, and fresh-squeezed is fine in this one. One good lemon gets you there.
- Water: Just enough to keep the bottom of the pot wet while the fruit breaks down. Mirabelles don’t give up juice the way a Santa Rosa or an Italian prune plum does, so there’s nothing to cook in for the first few minutes. It all boils off again on the way to the gel stage.
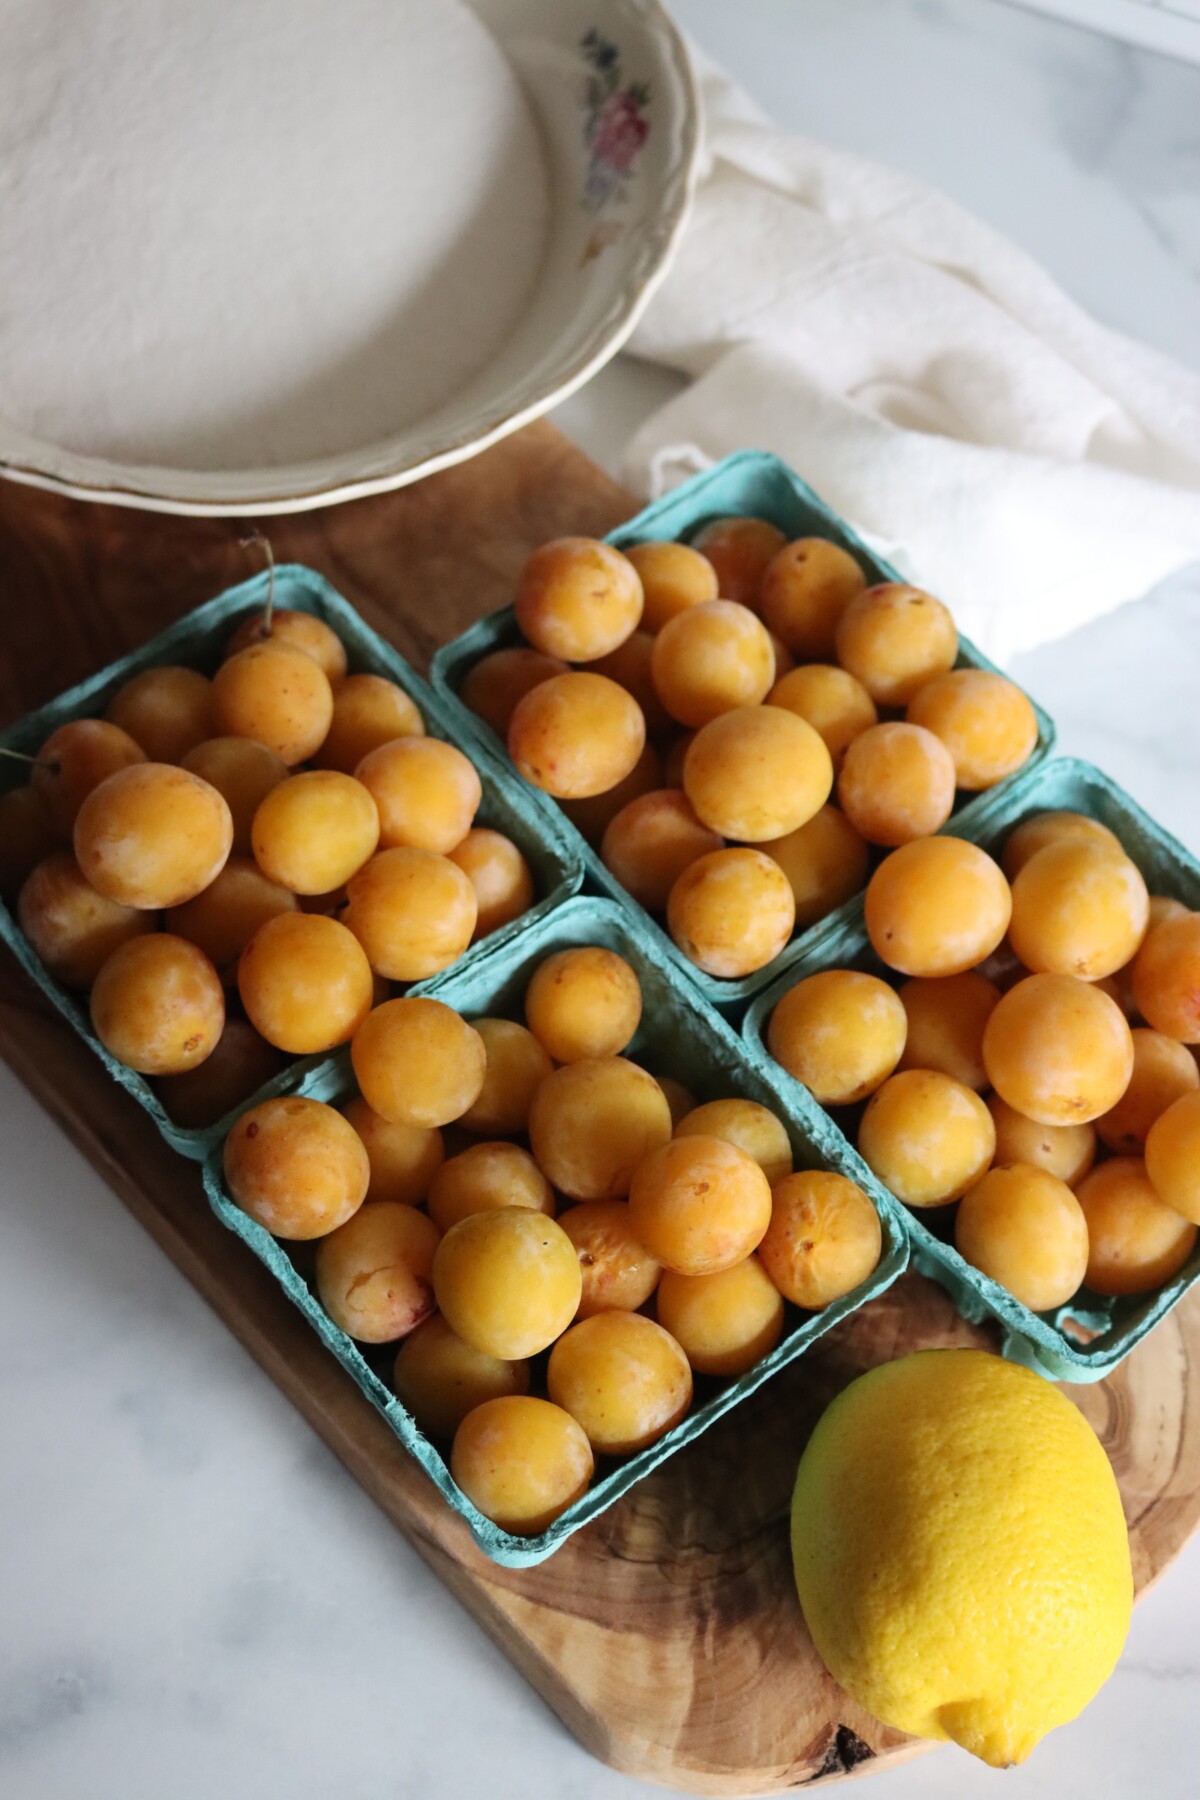
Use a wide, heavy-bottomed pot instead of a tall, narrow one. A small batch cooks down faster with more surface area, and heavy walls keep the sugar from scorching once the jam thickens. Wash your jars and get the canner heating before you start pitting. The jam moves fast at the end.
Low Sugar Options
This recipe is already a half-sugar jam, at 1/2 pound of sugar for every pound of prepared fruit. You can go further. Mirabelles carry enough pectin to set at 1/4 pound of sugar per pound of fruit, which is about 1 cup of sugar for this batch.
Expect a longer boil, a softer set, and fewer jars, since the sugar is part of the volume in the pot. None of that is a safety problem, because sugar isn’t the preservative here. The acid from the plums and the lemon juice is what makes this safe to water bath can, so leave the lemon juice where it is.
Below 1/4 pound per pound, use a low-sugar pectin instead of cooking to the gel stage. Pomona’s Universal Pectin sets with calcium instead of sugar, so you can sweeten to taste or leave the sugar out altogether. My guide to using Pomona’s pectin walks through it.
Maple syrup, honey, agave, and organic cane juice can replace part of the sugar. They scorch more easily, and they change the flavor, so I’d use half maple and cane juice for the rest instead of a full swap. Monk fruit, stevia, and the other non-nutritive sweeteners are a no. They aren’t tested for canning, they don’t set a jam, and they behave unpredictably in a jar.
How to Make Mirabelle Plum Jam
There’s no overnight maceration here. Everything goes in the pot at once, comes up to a boil, and boils hard until it hits the gel stage. That took me 15 minutes from the moment it reached a full boil. Stoves vary, so plan on 15 to 20 minutes and go by temperature, not the clock. Start to finish, jars included, this is a morning’s work and not much of one.
The ratio is 5 1/2 cups pitted plums to 2 cups sugar, plus 1/4 cup lemon juice and 3/4 cup water. If you’re working by weight, that’s 2 pounds of pitted plums to 1 pound of sugar.
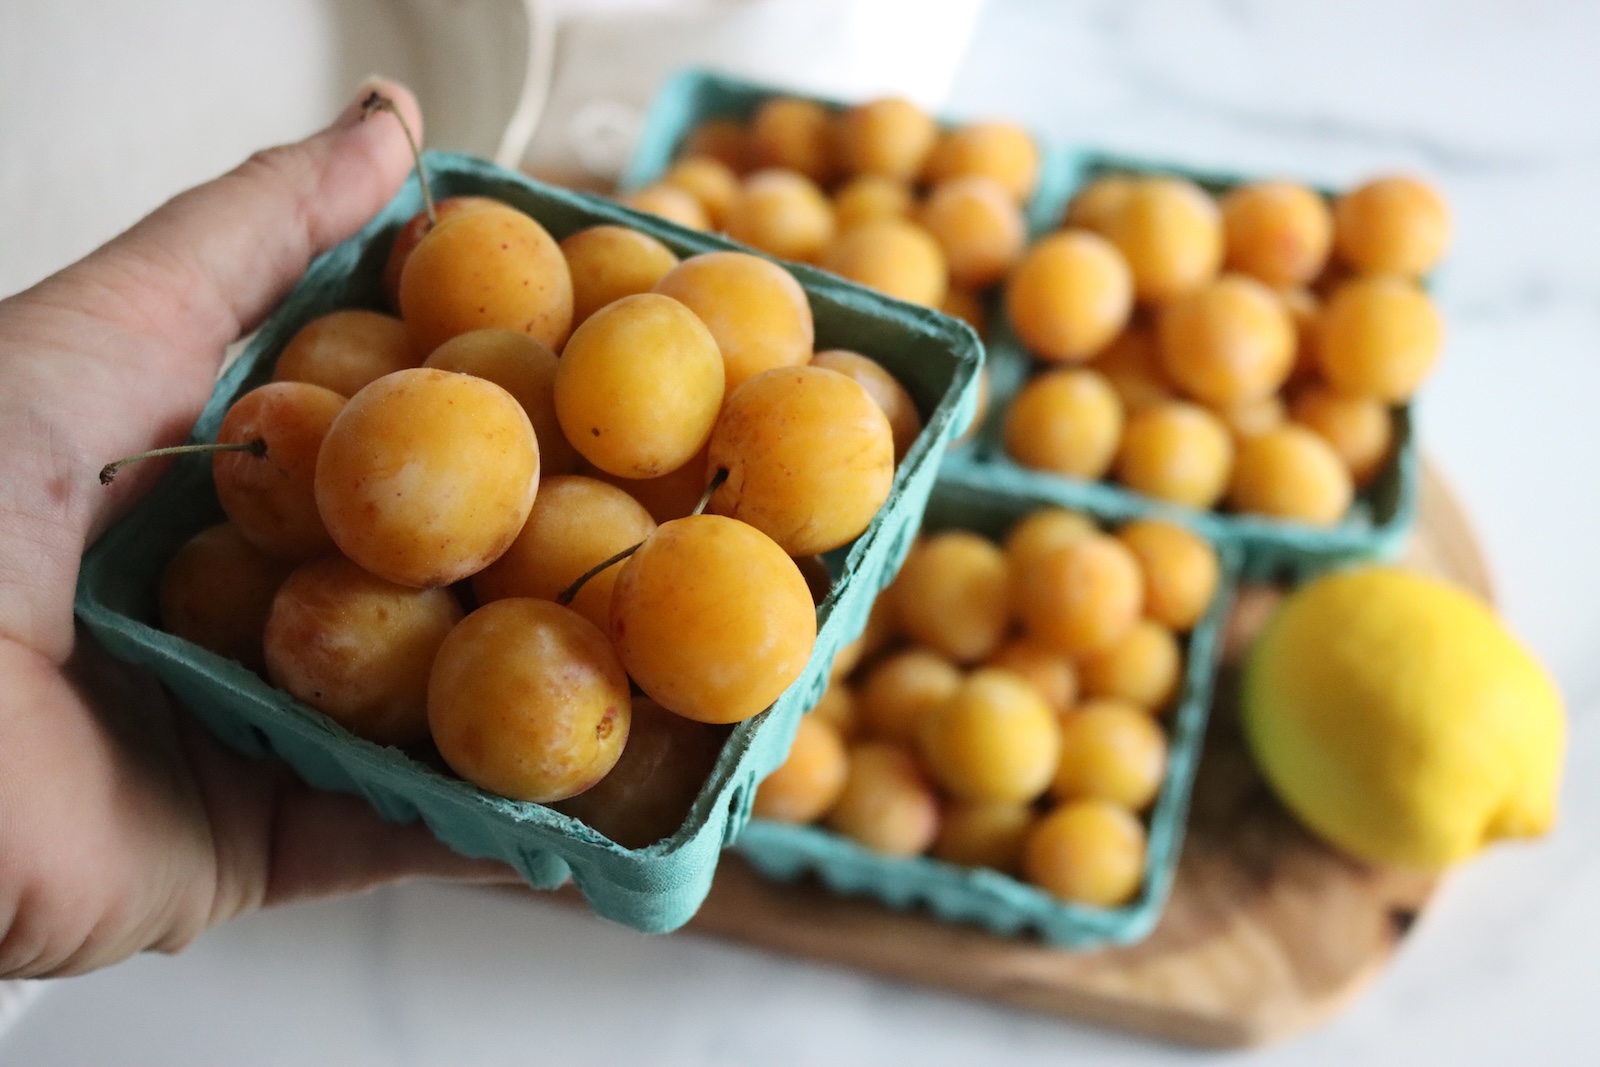
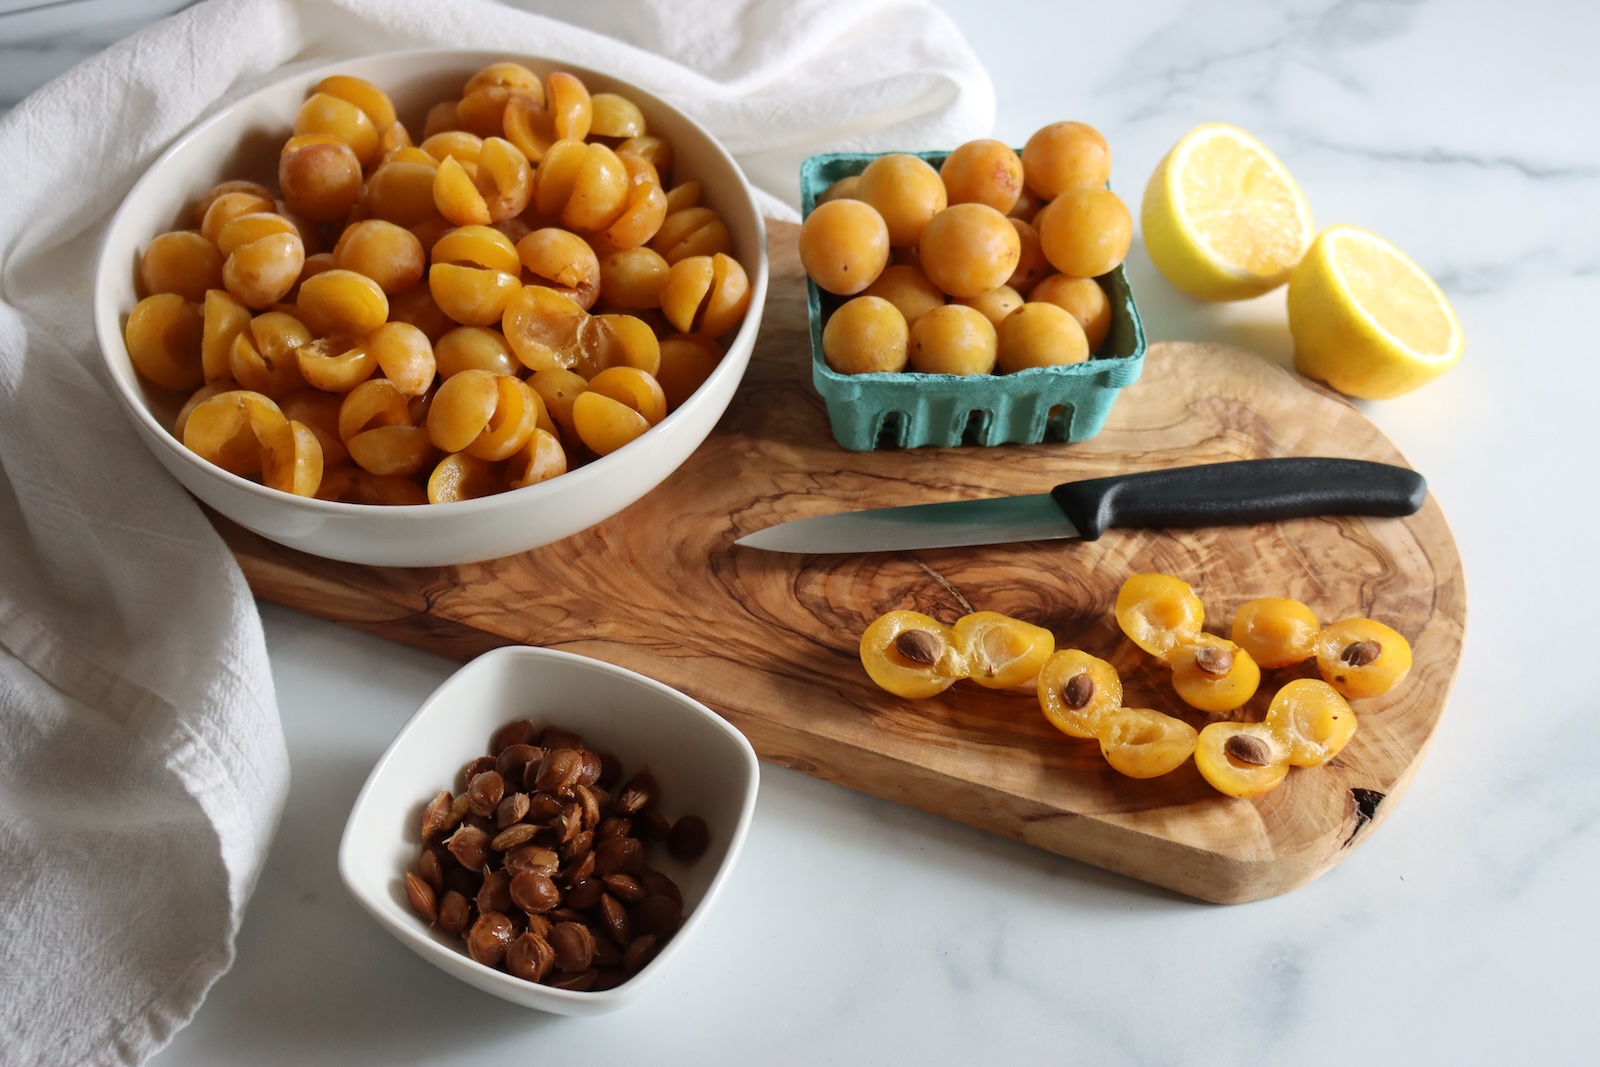
Pitting is the slow part, since they’re small and there are so many. I tried a cherry pitter first, but mirabelles are just a little too big for it. They’re freestone, so it’s easier to slice each one in half with a paring knife and pop the pit out with your thumb. Drop the halves straight into the pot, skins and all.
Add the sugar, lemon juice, and water, then set it over high heat. Stir while it comes up, then keep stirring as the fruit softens, pressing the halves against the side of the pot to break them down. The plums collapse fast once they’re hot. If you want a chunkier jam, stop mashing early and let the boil finish the job.
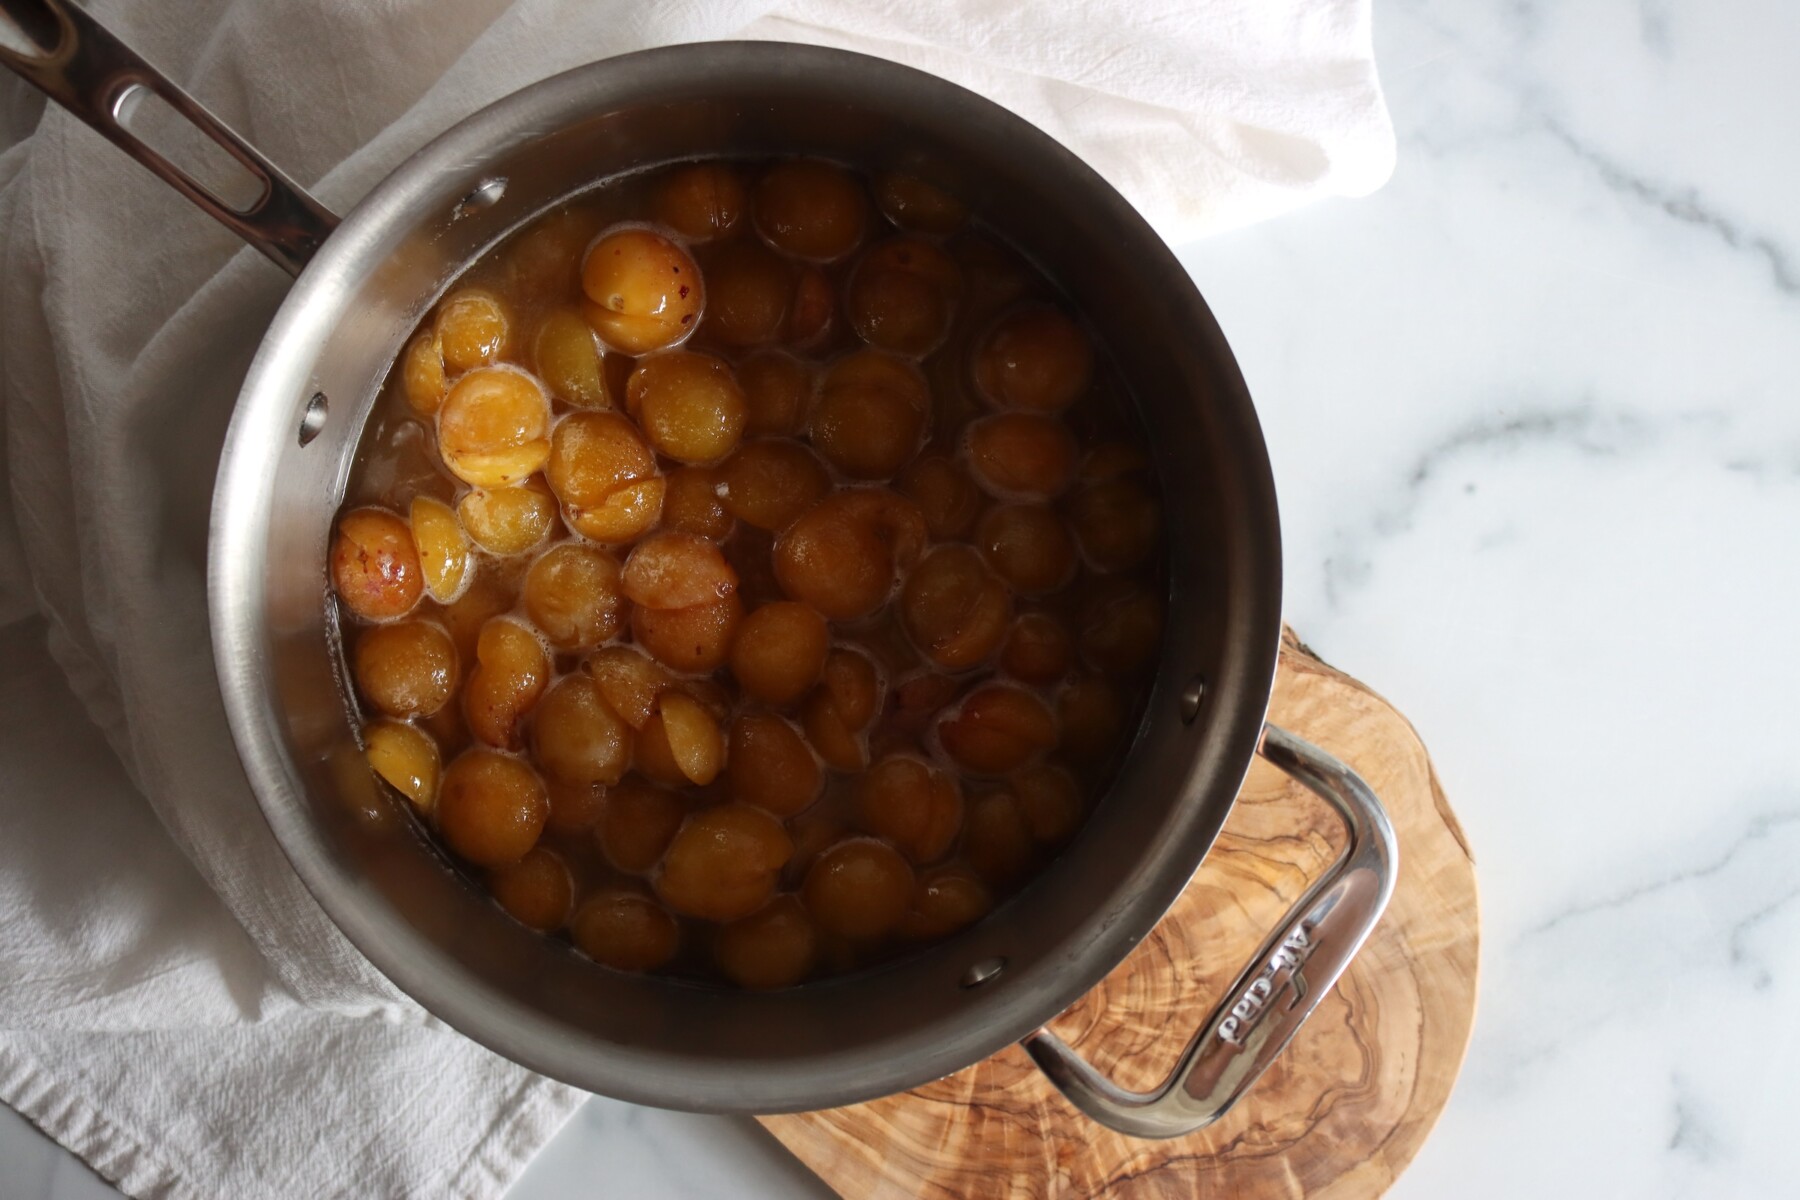
Once it’s at a full rolling boil that doesn’t stop when you stir, start the clock. Keep the spoon moving the whole time. A small batch of thickening jam over high heat will scorch the second you turn your back. This one thickens quickly because the fruit brings so much pectin.
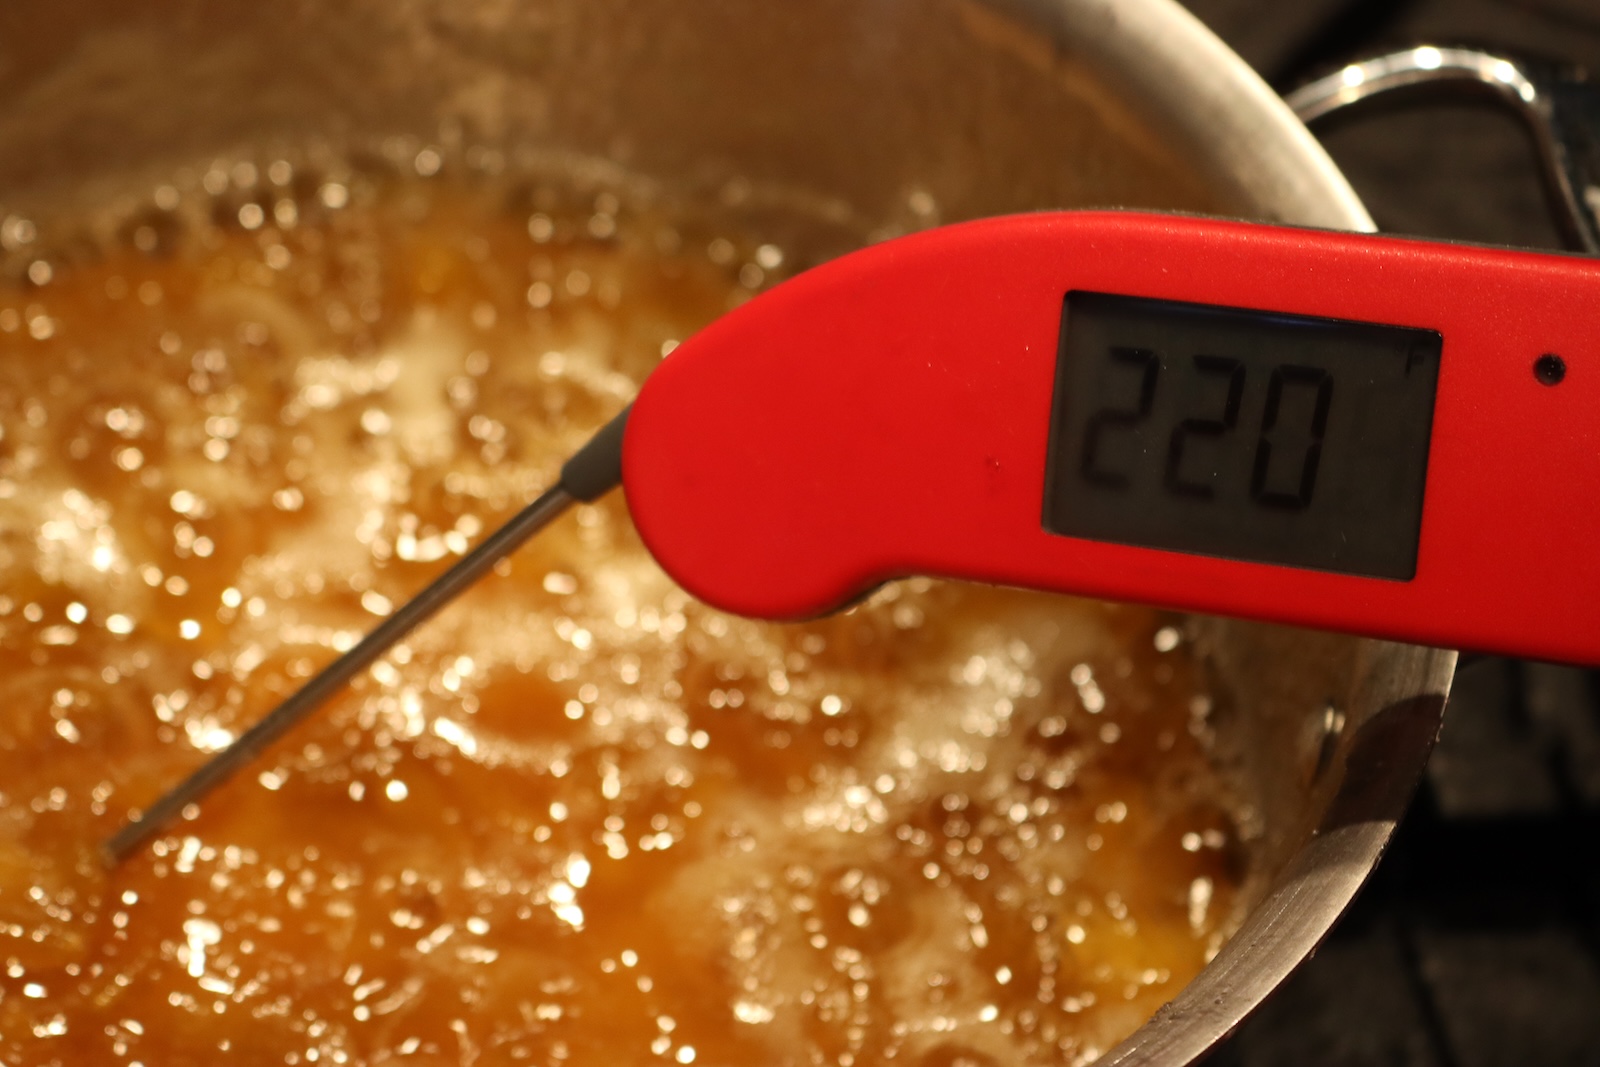
Test for the gel stage at around 12 minutes. The jam is done at 220 degrees F on an instant-read thermometer, which is the finish point at sea level. If you’d rather not use a thermometer, keep two small plates in the freezer. Drop a spoonful onto a cold one, put it back in the freezer for a minute, then push the edge with a fingertip. If it wrinkles, it’s ready.
Canning Mirabelle Plum Jam
Get your water bath canner filled and heating before the jam goes on the stove. A full canner takes a lot longer to come to temperature than this jam takes to cook. Wash the jars and keep them warm, and have lids, rings, and a canning funnel out and ready.
Ladle the hot jam into the jars to 1/4 inch headspace, run a bubble tool around the inside of each one, and wipe the rims before the lids go on. A drip of jam on the rim is the most common reason a jar doesn’t seal, and it’s easy to miss on a batch this sticky. Put the lids on and tighten the rings to fingertip tight.
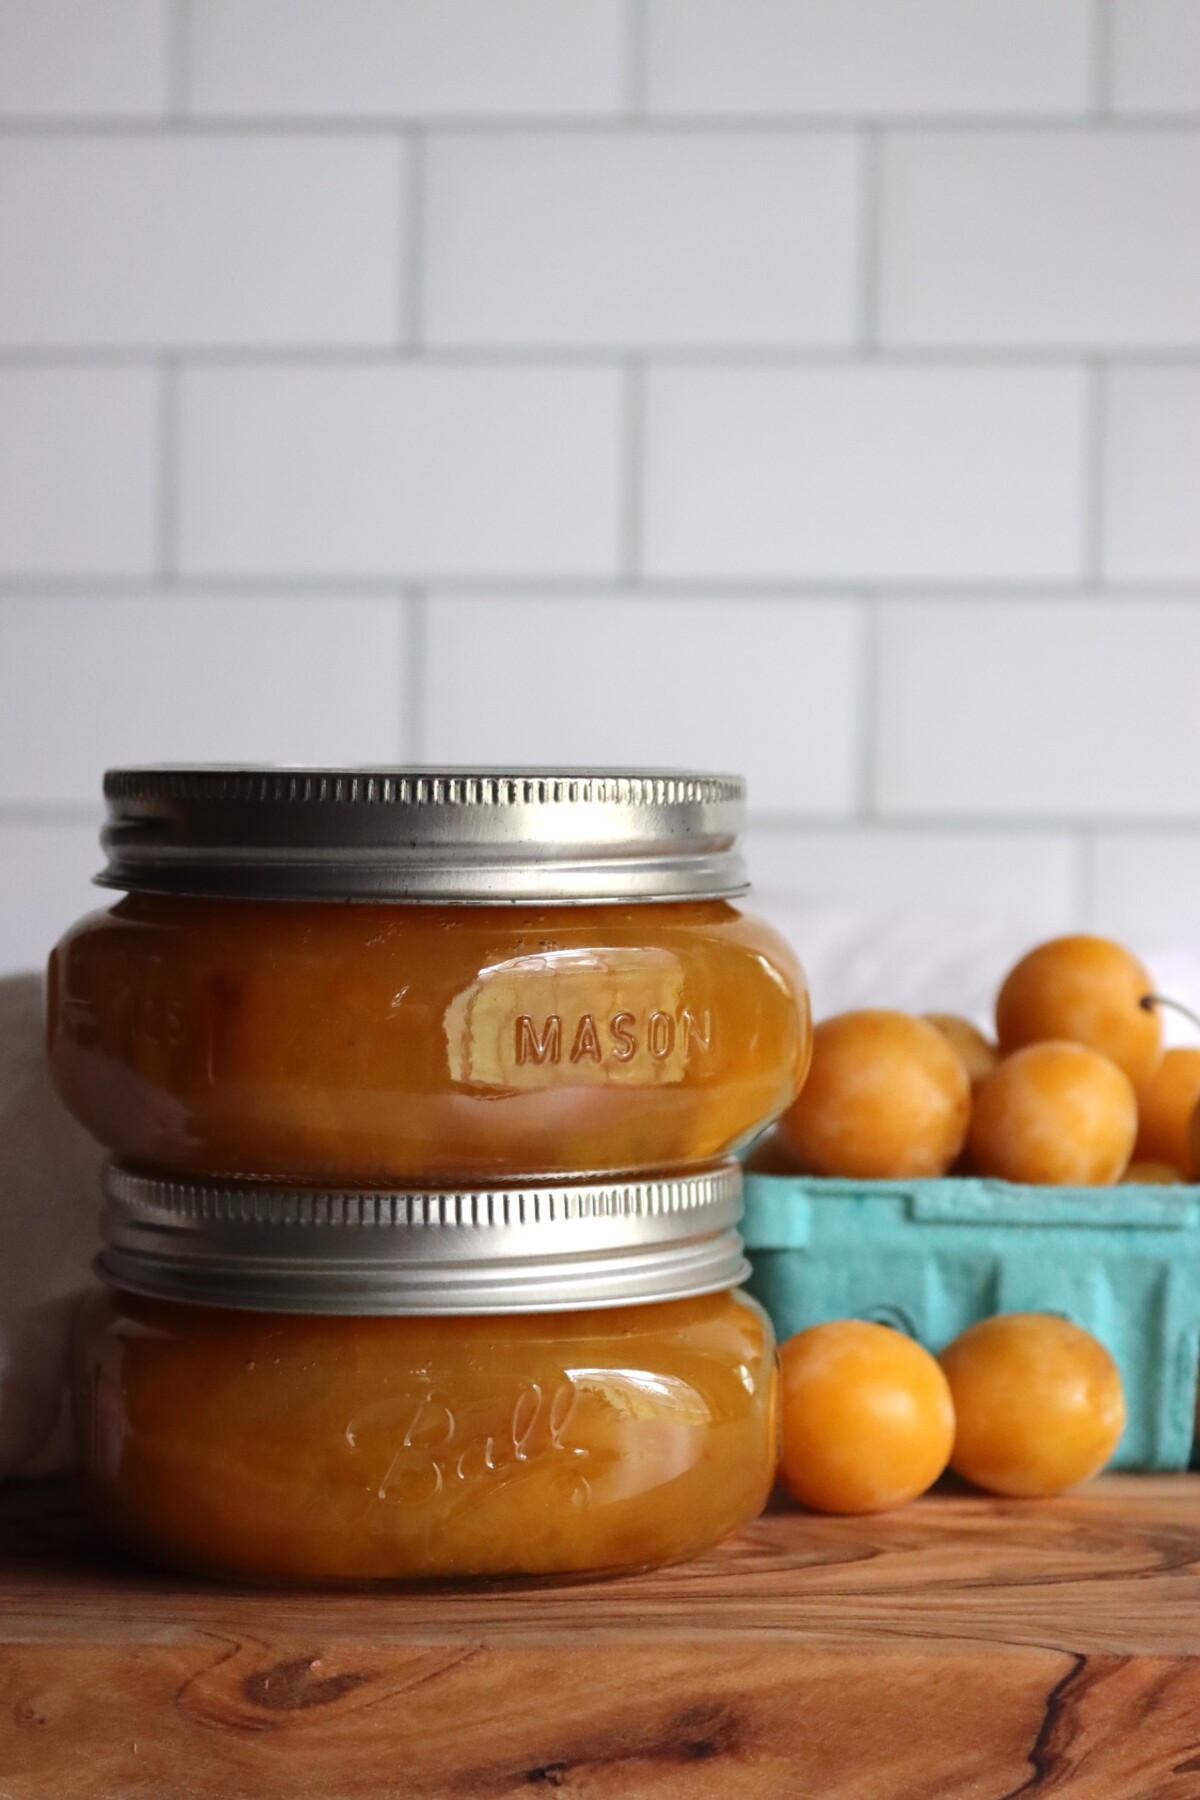
Lower the jars into the canner so they’re under at least an inch of water. Process half pints for 10 minutes in a boiling water bath canner, adjusting for altitude. Turn off the heat and let them stand in the canner another 5 minutes before you lift them out. That rest keeps the jam from siphoning out under the lids.
Cool the jars on a towel for 12 to 24 hours, undisturbed, before you check the seals.
Altitude Adjustments
For water bath canning, processing times increase at higher elevations:
- 0 to 6,000 feet: 10 minutes
- Above 6,000 feet: 15 minutes
Setting Notes
Jam sets as it cools, not in the pot. Don’t judge this one by how it looks going into the jars, because hot jam is always runny.
Give it a full 24 to 48 hours on the counter before you decide anything. Mirabelles set firmer than most fruit at this sugar level. Expect a proper spreadable jam instead of the soft spoonable set you get from a low-sugar berry jam.
The gel stage is 220 degrees F at sea level. It drops about 1 degree for every 500 feet, so at 2,500 feet you’re looking for roughly 215 degrees F. Set your thermometer by the number for your own elevation, not by the one printed on the recipe.
If it still hasn’t set after two days, it’s usually one of three things: you pulled it off the heat early, the fruit was very ripe and low on pectin, or the batch was scaled up too far. You can recook it, and my guide to troubleshooting jelly set covers how. You can also call it mirabelle syrup and put it on pancakes. Nobody has ever complained about that at my house.
Ways to Use Mirabelle Plum Jam
Toast and butter, first, and it’s especially good on something enriched like brioche or a croissant. The honey flavor comes through better on bread that’s a little sweet already. It’s also good stirred into plain yogurt, where the color alone is worth it.
Baking is where the French put it. Spoon it into a prebaked tart shell for a shortcut version of tarte aux mirabelles, use it to fill thumbprint cookies, or spread a thin layer between cake layers. It holds its shape in the oven better than a looser jam does, which makes it a good filling for hand pies and rugelach.
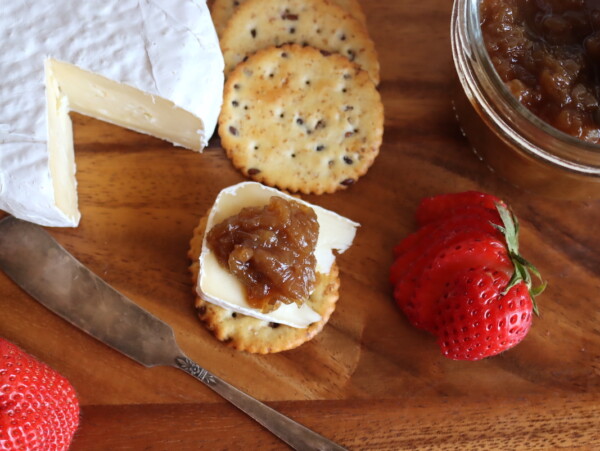
On the savory side, a spoonful on a cheese board is good next to a washed rind or a sharp aged sheep’s milk cheese. Thin it with a splash of cider vinegar and a pinch of salt and it glazes pork loin, duck breast, or chicken thighs. Three half pints doesn’t last long.
Storage and Shelf Life
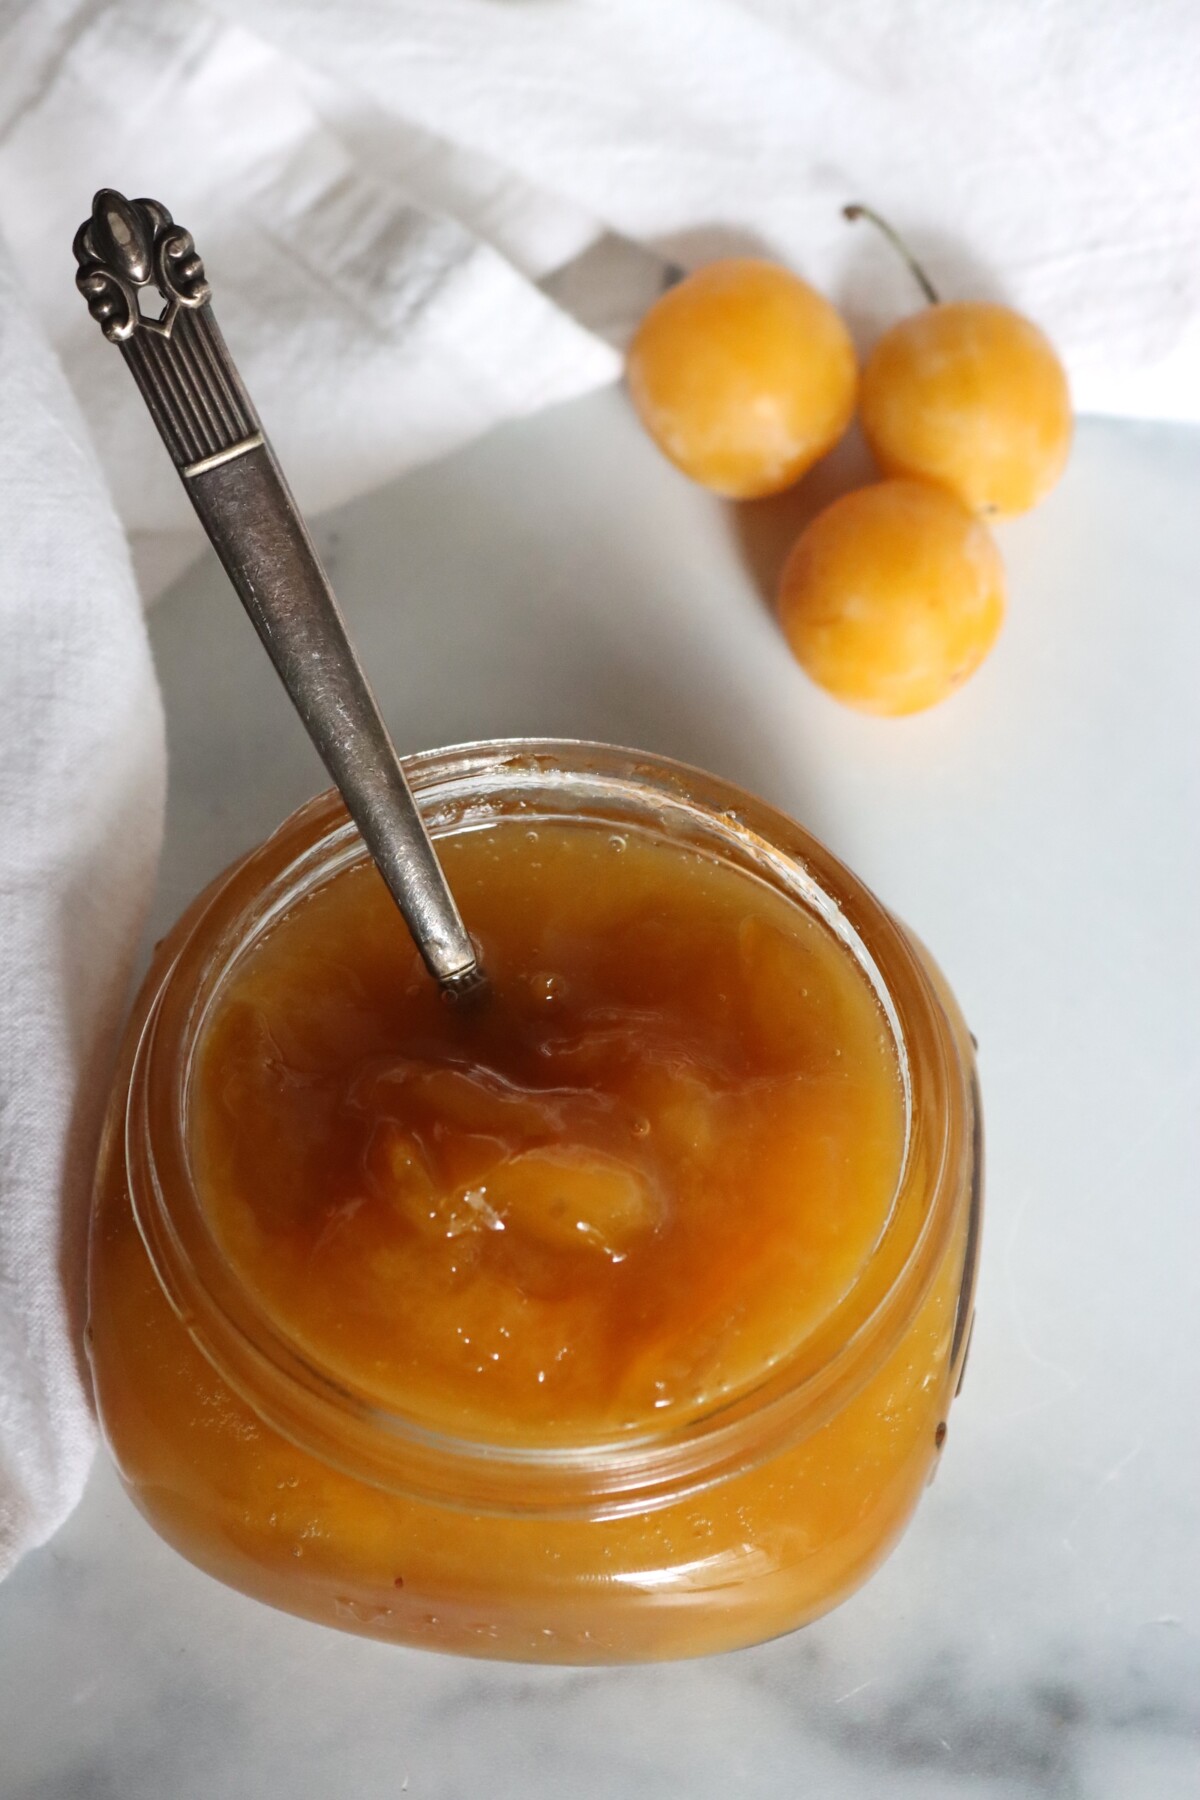
After 12 to 24 hours, press the center of each lid. A sealed lid is firm and slightly concave, and it won’t flex.
Take the rings off before you store them, since a ring left on can hold a failed lid down and hide a jar that never sealed. Wipe the jars, label them with the date, and put them somewhere cool, dark, and dry. Sealed jam holds its quality for 12 to 18 months, and the gold color dulls a little over a year on the shelf.
A jar that didn’t seal goes in the fridge and gets eaten in a week or two. You can reprocess it with a fresh lid if you catch it within 24 hours. Once a jar is open, keep it in the fridge and use it within 1 to 2 weeks.
You don’t have to can it at all with a batch this size. It keeps a few weeks in the fridge, or up to 6 months in the freezer. Use straight-sided, freezer-safe jars, since a shouldered jar cracks as the jam expands up against the shoulder, and leave 1 inch of headspace.
More Ways to Preserve Mirabelle Plums
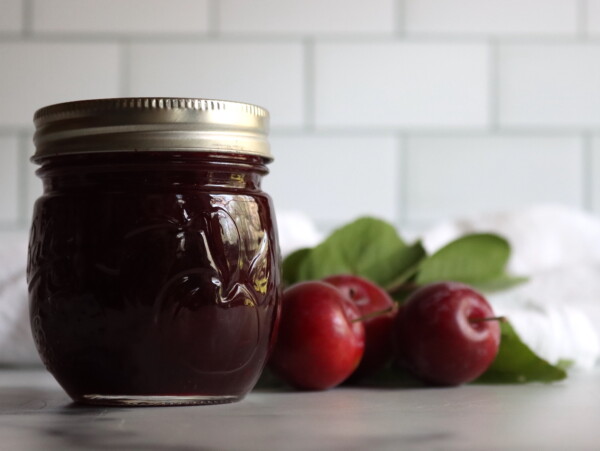
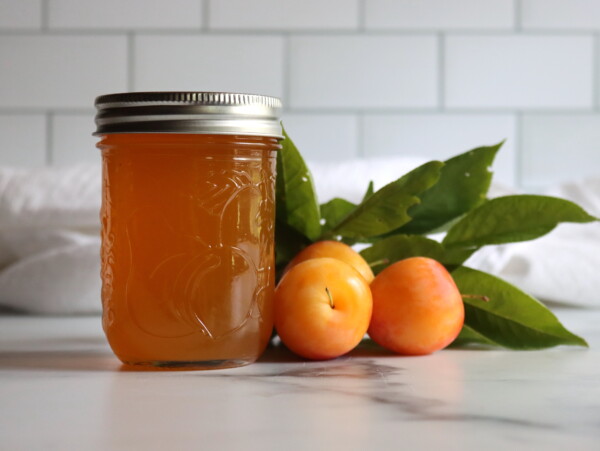
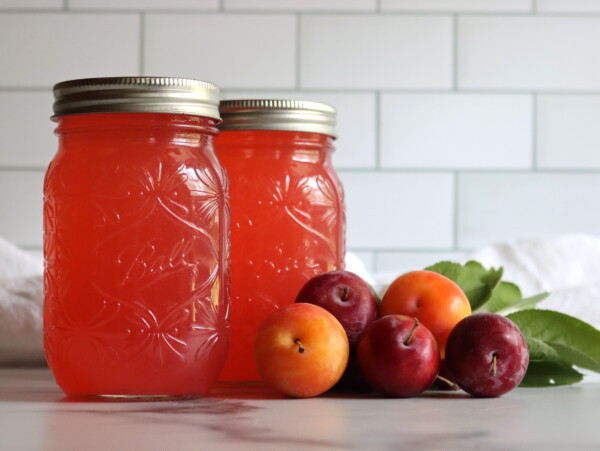
Jam isn’t the only thing to do with a tree’s worth of them. Canning plums in syrup keeps them whole, and mirabelles are small enough to go in without halving. Yellow plum jelly is the strained version if you’d rather skip the skins, and plum jelly works the same way with darker fruit.
Plum lemonade concentrate is the one I’d make with a glut, since it takes a lot of fruit. Plum wine takes even more, and the French answer to a mirabelle surplus has always been to distill it. For anything you can’t get to this week, there’s freezing fruit, and pitted mirabelles freeze well on a sheet pan.
The rest are in my fruit canning recipes. Peach jam and strawberry jam without pectin use the same gel stage method with different fruit.
Yield Notes
I started with four half-pint containers of plums, filled slightly heaping, which came to 2 1/4 pounds. Pitted, that was right around 2 pounds of fruit and measured 5 1/2 cups packed into the cup. With 2 cups of sugar, 1/4 cup of lemon juice, and 3/4 cup of water, I got 3 half pints back.
Your count can shift by a partial jar depending on how ripe the fruit is and how far you cook it down, so wash a fourth jar. A longer boil means firmer jam and less of it.
This halves cleanly, and it doubles cleanly, and that’s as far as it goes. A doubled batch makes about 6 half pints and needs a few more minutes of boiling, because the middle of a deep pot isn’t getting the heat the bottom is. Past double, the fruit overcooks before the jam ever sets.
Mirabelle Plum Jam FAQs
Pectin, peeling, and finding the plums in the first place are what come up most.
No. Mirabelles are small and dense, so the skins make up more of each plum, and the skins carry a good share of the pectin. The lemon juice adds a little more and helps it set. Cooking to 220 degrees F is what gels it, and no boxed pectin goes in.
The most common reasons are pulling the jam off the heat before it reached 220 degrees F, using very ripe fruit with less natural pectin, or a batch that was scaled up too far. Give it 24 to 48 hours to finish setting, and if it still hasn’t, read through my guide on troubleshooting jelly set.
No, and I wouldn’t. Mirabelle skins are thin, they cook down completely, and they carry pectin and color that the jam needs. Peeling small plums is also miserable work. If you want a jam with no skins in it at all, strain the cooked fruit and make jelly instead.
You can. This one is already a half-sugar jam, and mirabelles will still set at 1/4 pound of sugar per pound of prepared fruit. Sugar handles flavor, set, and yield here, not preservation. The acid from the plums and the lemon juice is what makes it safe to water bath can. Below that, use Pomona’s pectin instead of cooking to the gel stage.
Greengages are the closest relative. They’re juicier than mirabelles, so cut the water back to 1/4 cup and expect a few more minutes of boiling. Soft, juicy yellow plums cook differently, and my yellow plum jam is written for them. For a tarter plum, my plum jam is already written for that fruit.
Plum Canning Recipes
If the tree gave you more than this batch takes, here’s where the rest go.
If you tried this Mirabelle Plum Jam recipe, or any other recipe on Creative Canning, leave a ⭐ star rating and let me know what you think in the 📝 comments below!
And make sure you stay in touch with me by following on social media!
Mirabelle Plum Jam
Equipment
- Canning Jars, Lids and Bands
Ingredients
- 2 1/4 lbs mirabelle plums, as purchased, see notes
- 2 cups granulated sugar
- 1/4 cup lemon juice, fresh or bottled
- 3/4 cup water
Instructions
- Wash the jars and keep them warm, and fill the water bath canner and set it over heat so it comes up to a boil while you make the jam. Have lids, rings, and a funnel laid out and ready.
- Rinse the plums and sort out any that are soft or split. Halve each one with a paring knife and push the stone out with your thumb. Leave the skins on.
- Add the pitted plums, sugar, lemon juice, and water to a wide, heavy-bottomed pot all at once. There’s no need to macerate the fruit first.
- Bring the pot to a boil over high heat, stirring constantly and pressing the plum halves against the side of the pot as they soften so they break down and the sugar dissolves.
- Keep the jam at a hard rolling boil, stirring the whole time, until it reaches the gel stage at 220 degrees F on an instant-read thermometer. Expect about 15 to 20 minutes once the jam has come to a full boil, but stoves vary, so go by temperature. If you’d rather not use a thermometer, drop a spoonful onto a frozen plate, return it to the freezer for a minute, and push the edge with a fingertip. If it wrinkles and holds its shape, it’s done.
- Ladle the hot jam into the prepared jars, leaving 1/4 inch headspace. Slide a bubble tool around the inside of each jar to release trapped air, wipe the rims clean, center the lids, and apply the rings to fingertip tight.
- Lower the jars into the boiling water bath canner, making sure they’re covered by at least 1 inch of water, and process for 10 minutes, adjusting for altitude (see notes). Turn off the heat and let the jars stand in the canner for 5 minutes before removing them.
- Cool the jars undisturbed on a towel-lined counter for 12 to 24 hours, then remove the rings and check the seals before labeling and storing.
Notes
- 0 to 6,000 feet: 10 minutes
- Above 6,000 feet: 15 minutes
Nutrition
Nutrition information is automatically calculated, so should only be used as an approximation.
Looking for another small batch to put up this week? Here are more jam canning recipes, and the rest of my water bath canning recipes if you have the canner out anyway.
Jam Canning Recipes
More jams that set on their own fruit, no box required.
Find the perfect recipe
Searching for something else? Enter keywords to find the perfect recipe!