This post may contain affiliate links. Please see our disclosure policy.
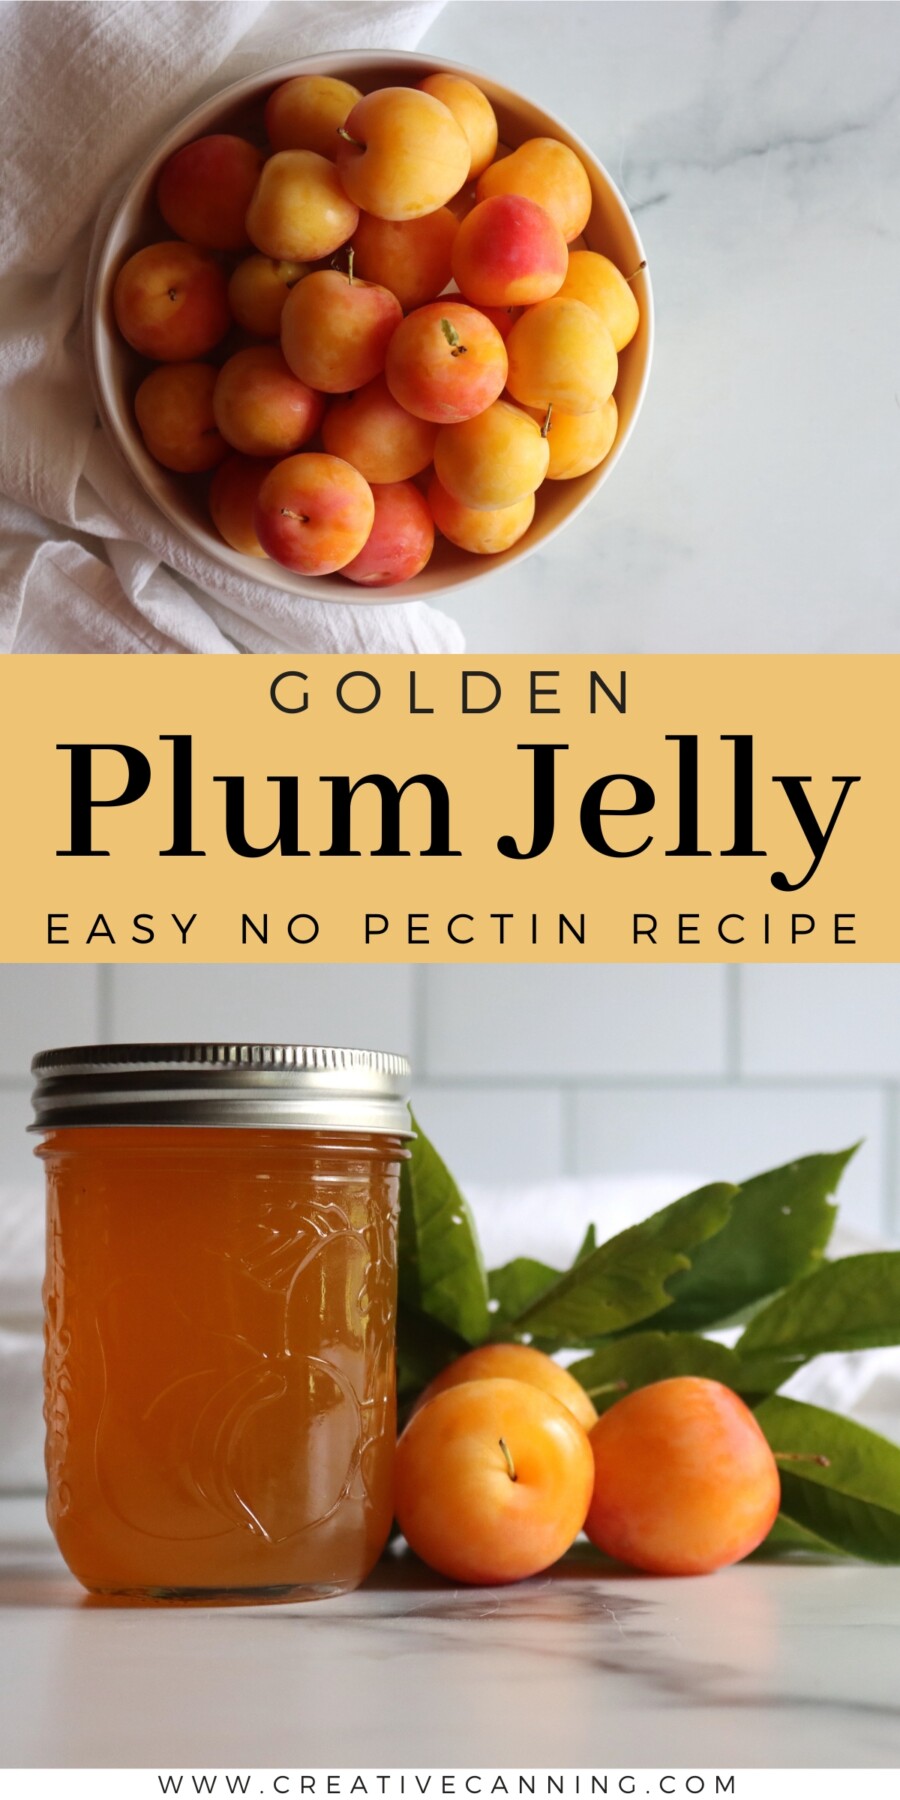
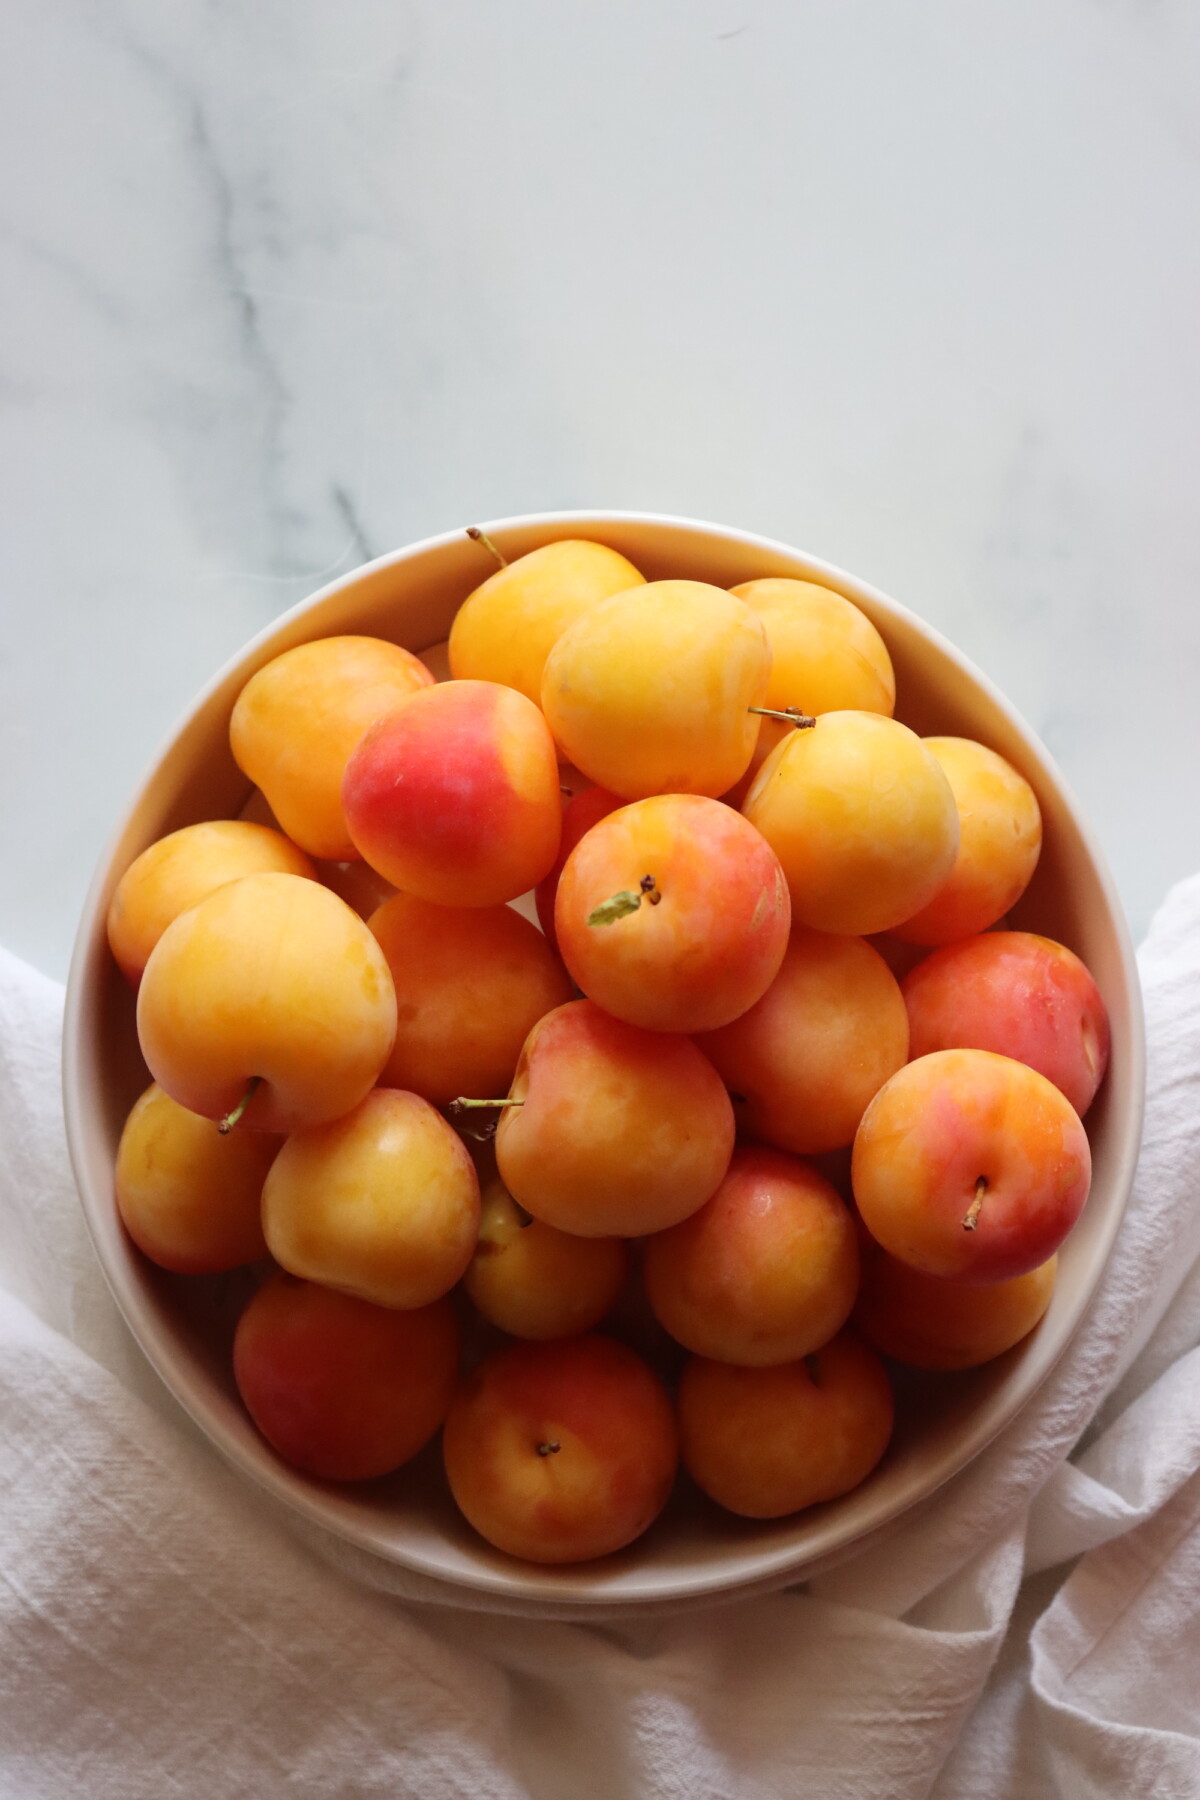
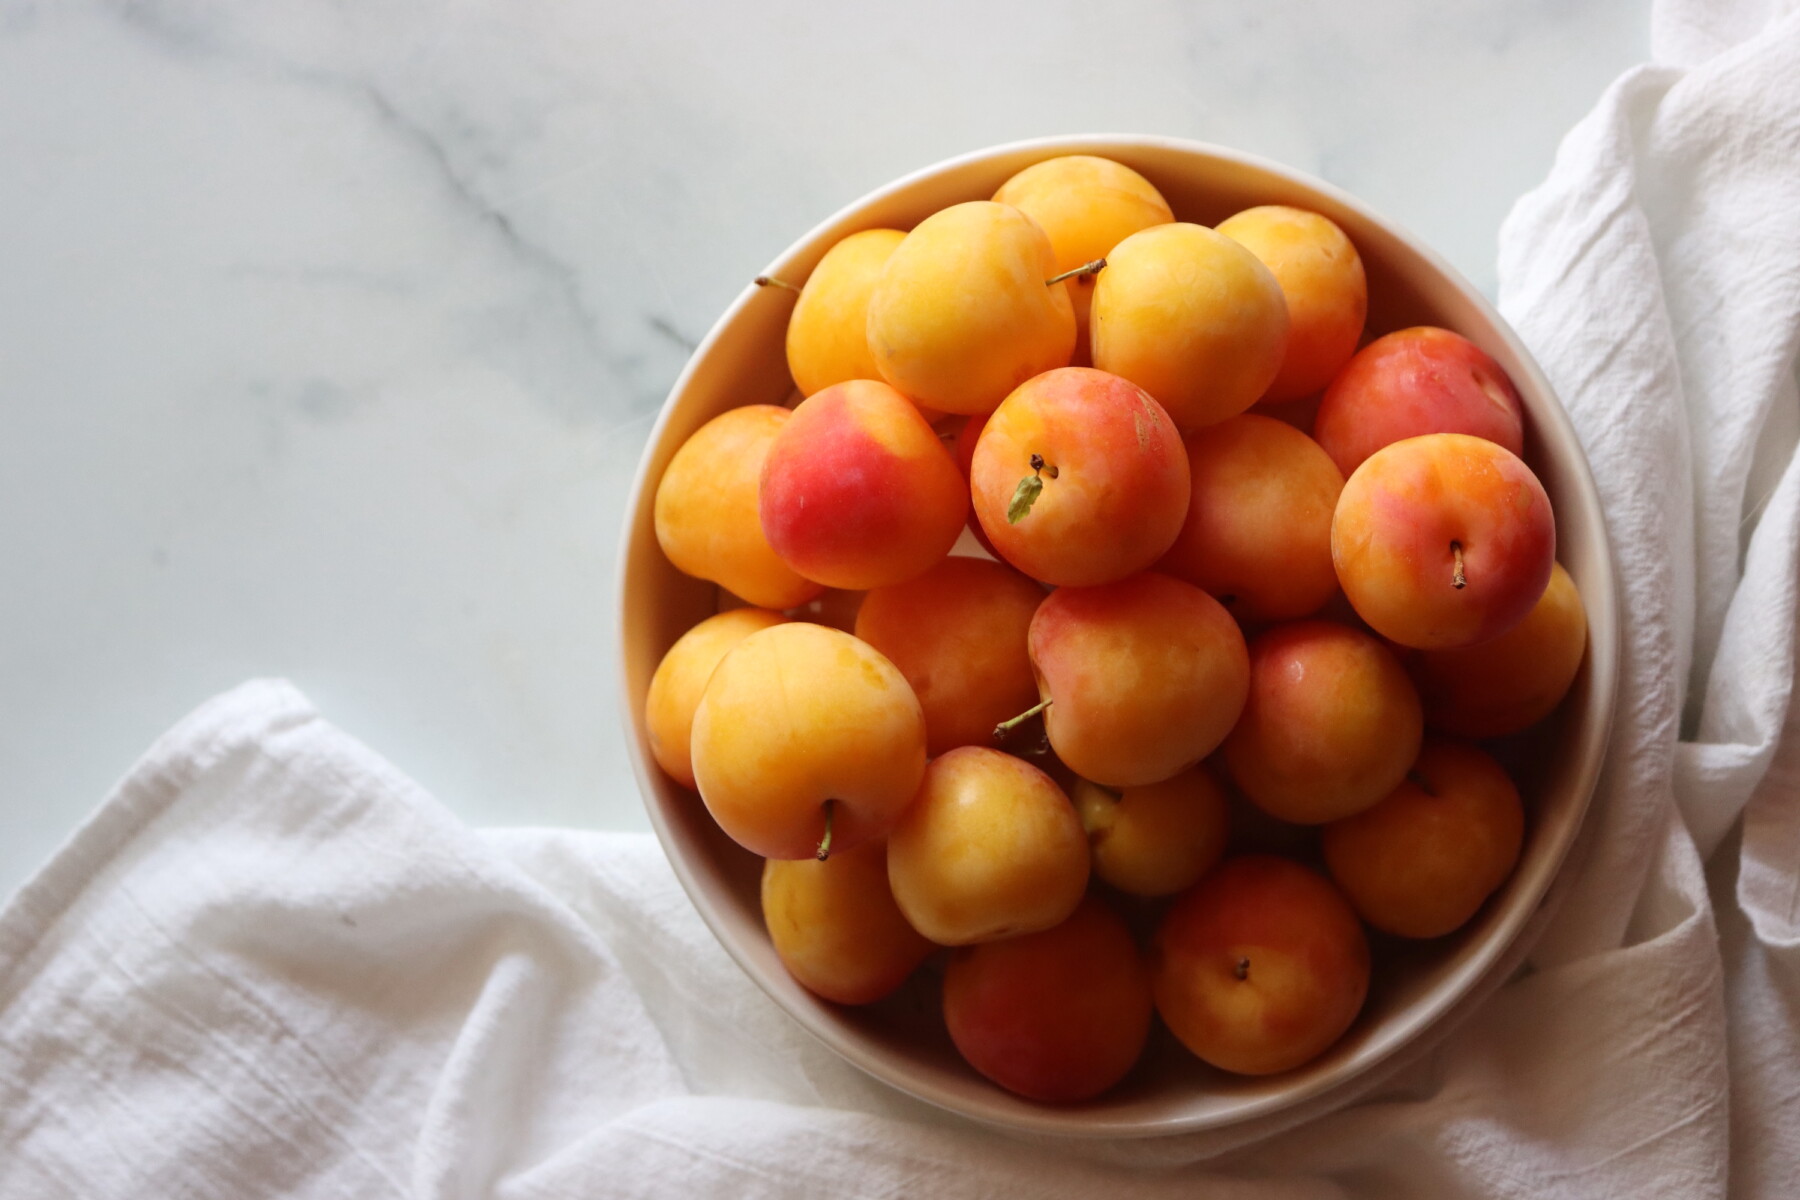
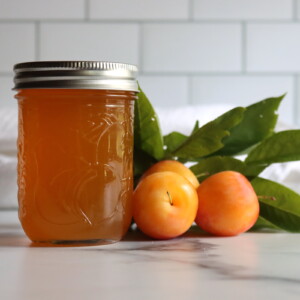
Yellow plum jelly captures the honey-sweet flavor of golden plums in a clear, glossy spread that brightens up morning toast and biscuits long after the short plum season has passed. If you’ve got a tree (or a market haul) of soft yellow plums and more than you can eat fresh, turning them into jelly is a lovely way to put that flavor up for the year.
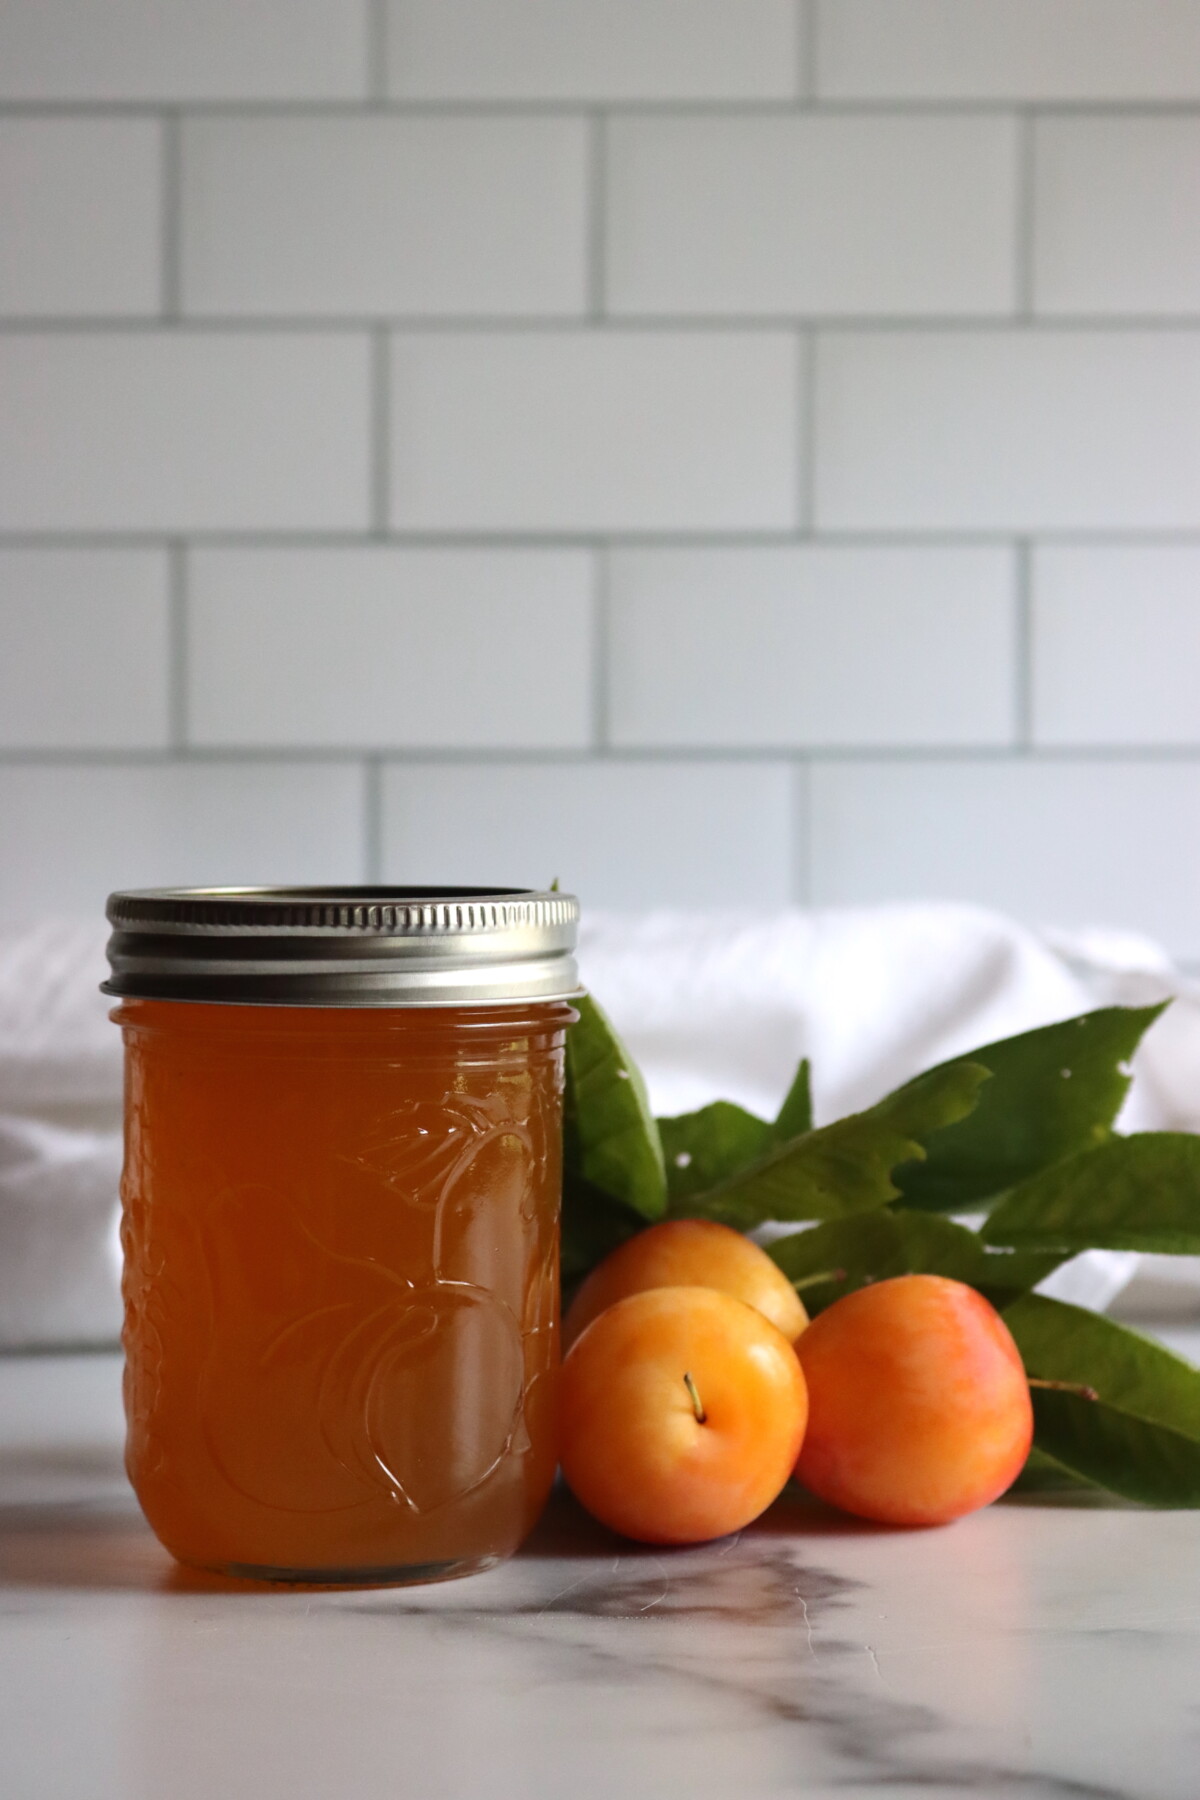
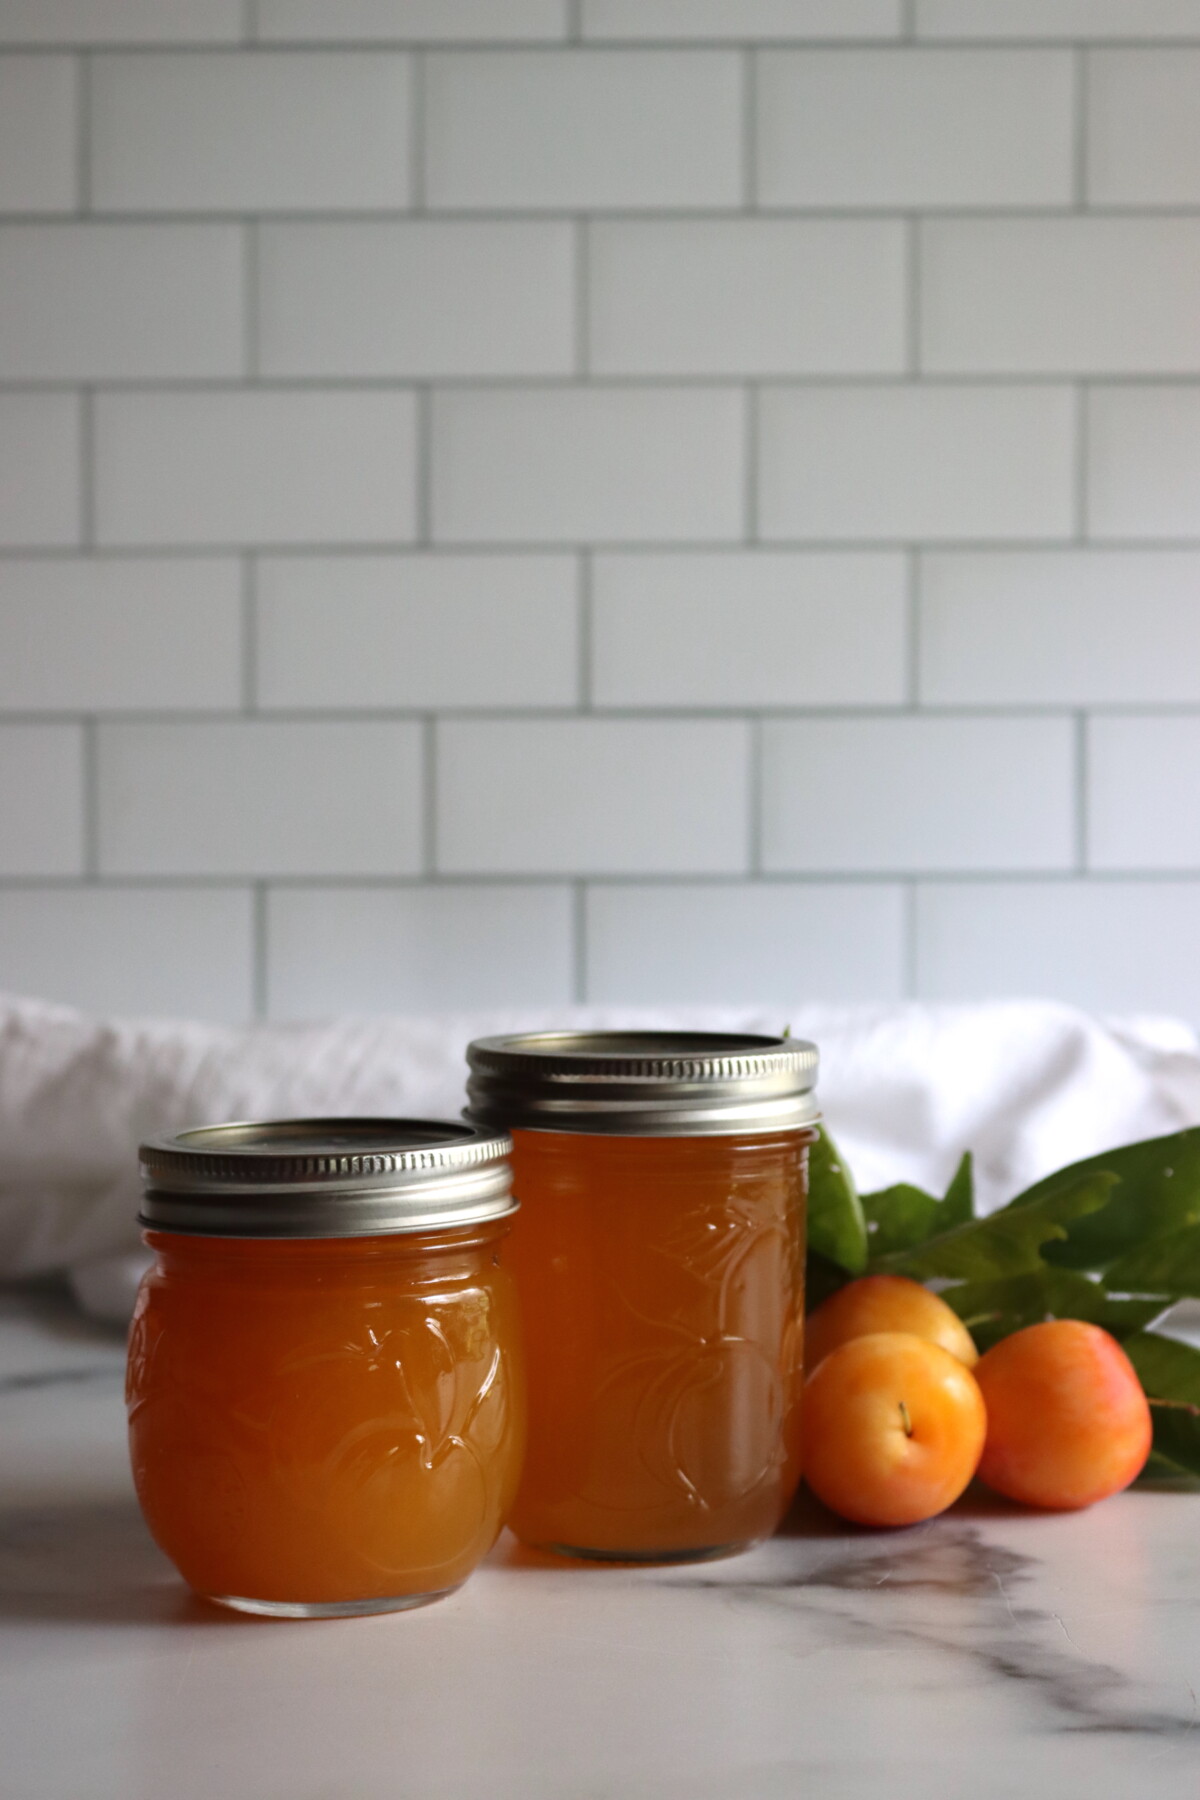
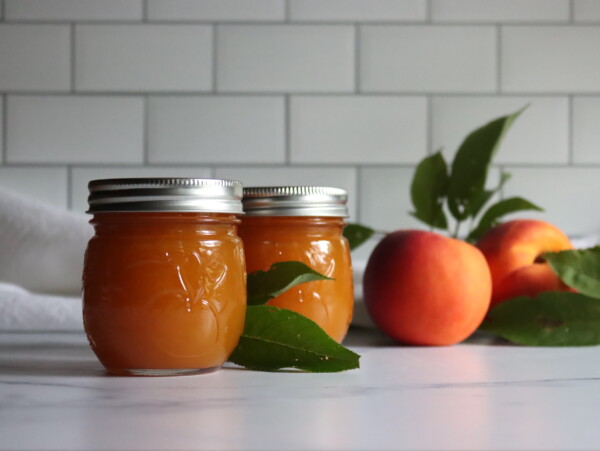
Made without any added pectin, the jelly tastes purely of fruit, with a soft, delicate set and a pale amber color. It’s the kind of thing you can’t really buy in a store, and a jar or two makes a nice gift when plums come into season.
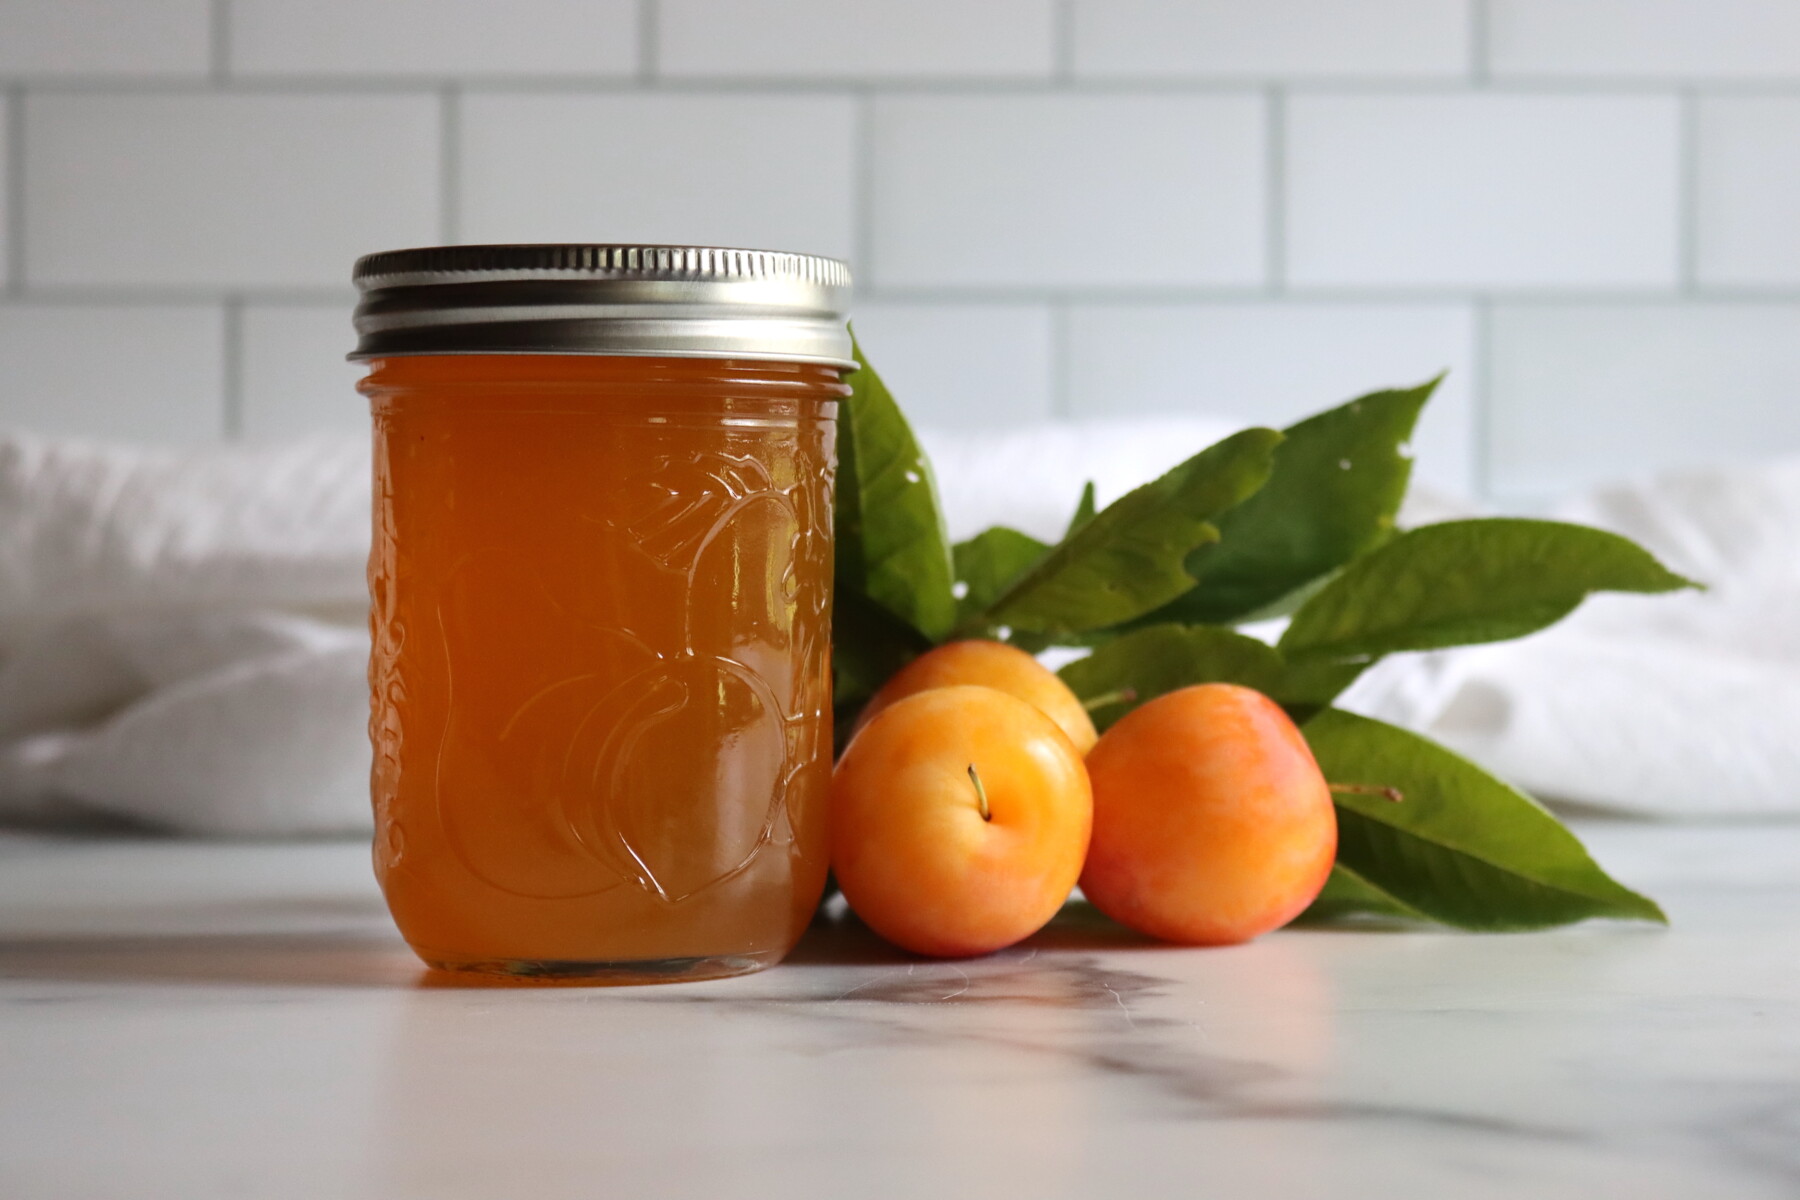
Table of Contents
This recipe has been reviewed for safety and accuracy by a Master Food Preserver certified through the University of Cornell Cooperative Extension.
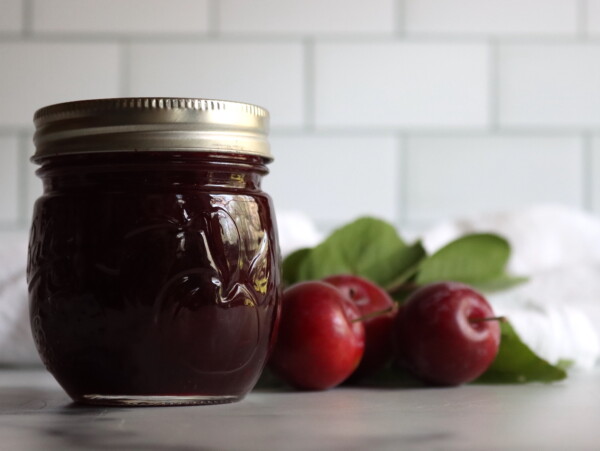
This recipe comes from the National Center for Home Food Preservation and So Easy to Preserve, and it works with any variety of plum. Yellow or golden plums give you a pale amber jelly with a lighter, gentler flavor than the deep, tart jelly you’d get from purple or red fruit.
Like other jelly made without added pectin, this one relies on the natural pectin in the fruit, which is why you cook the juice down before adding any sugar. Concentrating the juice first pulls together both the pectin and the flavor, and after that it’s really just a matter of boiling with sugar until it sheets off a spoon.
Yellow plums tend to be a touch softer and a little less tart than their purple cousins, so the finished jelly often has a softer set. That’s normal for this fruit and nothing to worry about. Plums are still plenty acidic for safe water bath canning, so there’s no need to add lemon juice the way you would with a low-acid fruit.
Notes from My Kitchen

We get yellow plums for a short stretch every summer, and they’re the ones my kids reach for fresh before I can get them into the kitchen. They’re sweeter and less tart than the purple plums, which means they disappear fast off the counter, so the year I finally had enough left over to actually preserve some, I made yellow plum jam first and then tried a batch of jelly on a whim.
I’ll admit I wasn’t sure the jelly would be worth the extra fuss of straining juice, but it turned out to be one we keep coming back to. The flavor is softer and rounder than purple plum jelly, and the pale amber color is pretty in the jar. These days, I usually put up both, so we have one with bits of fruit in it and one that’s smooth for the kids who won’t go near “chunks.” Now it’s a regular part of our plum-season rotation.

A Quick Look at the Recipe
- Recipe Name: Yellow Plum Jelly
- Recipe Type: Jelly Recipe
- Canning Method: Water Bath Canning
- Prep Time: About 30 minutes active, plus 2 to 3 hours (or overnight) straining time
- Cook Time: 30 to 45 minutes, depending on how much you reduce the juice
- Canning Time: 10 minutes for half pints or pints
- Yield: About 5 to 6 half-pint jars, depending on juice extraction
- Jar Sizes: Half pints or pints
- Headspace: 1/4 inch
- Ingredients Overview: Yellow plums, water, and sugar (no added pectin)
- Safe Canning Recipe Source: NCHFP / So Easy to Preserve
- Difficulty: Moderate. The juice extraction and straining take some patience, and you’re watching for the gel point by temperature rather than following a fixed boil time.
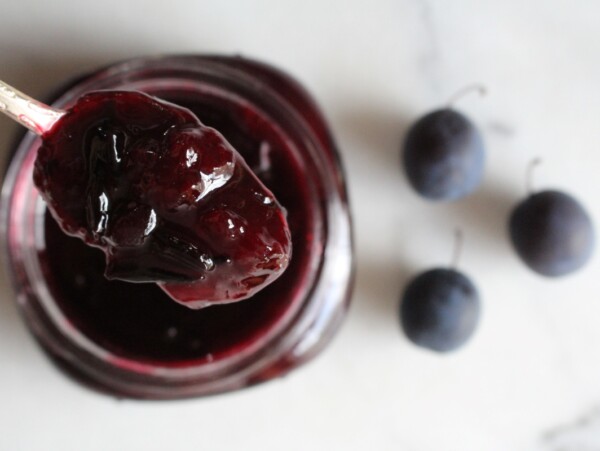
- Similar Recipes: The method is much like other jellies made without added pectin, such as Quince Jelly and Crabapple Jelly, where you cook to a gel point instead of using a box of pectin. If you love plums, try other plum canning recipes like Greengage Jam or Damson Jam.
Ingredients for Yellow Plum Jelly
This recipe works off a ratio rather than fixed amounts, which is handy because you can scale it to whatever quantity of plums you happen to have. The basic formula is ½ cup water per pound of plums to get the juice going, and then ¾ cup sugar for every cup of juice you extract.
- Yellow Plums: The heart of the recipe, and any yellow or golden variety will work. Look for fruit that’s fully ripe but still has a little firmness when you press it, since that’s where the flavor is. Overripe plums will still work but tend to give you a slightly cloudier jelly, while underripe fruit carries more natural pectin but less flavor (more on using a few underripe plums on purpose down below).
- Water: Just enough to get things started, about ½ cup per pound of plums. It helps draw the juice out of the fruit and keeps the bottom of the pot from scorching before the plums release their own liquid.
- Sugar: Measured against your actual juice yield rather than a set amount, at ¾ cup sugar for each cup of concentrated juice. If you end up with 4 cups of juice after cooking it down, that’s 3 cups of sugar. The sugar sweetens the jelly, but it also works with the fruit’s natural pectin to help it set, which is why this isn’t a spot to cut back without switching methods.
Because there’s no box of pectin doing the heavy lifting here, the set depends entirely on the fruit and on how well you concentrate the juice. That’s why the cook-down step matters so much, and why yellow plums, with their gentler pectin levels, give a softer set than tart purple plums. If you’d like a more reliable, firmer set or a lower-sugar spread, you’re better off using a tested added-pectin plum jelly recipe instead of trying to force this one.
How to Make Yellow Plum Jelly
Making jelly without pectin is a two-part job: first you coax the juice out of the fruit, then you cook that juice with sugar until it reaches the gel point. It takes a bit more patience than a pectin recipe, but each step is simple enough once you know what you’re watching for.
Prepare the Plums
Wash the plums well and pull off any stems. There’s no need to pit them, since everything gets strained out later anyway, which is one of the small mercies of jelly. Cut the plums in half or give them a rough crush to help them release their juice once they hit the heat.
Pile the prepared plums into a large, heavy-bottomed pot. A heavy pot helps here, since you’ll be simmering and then later boiling sugar, and a thin pan scorches more easily.
Extract the Juice
Add the water to the pot with the plums, cover, and bring it up to a boil over high heat. Once it’s boiling, lower the heat and let it simmer for 15 to 20 minutes, stirring now and then, until the fruit is very soft and falling apart.
You’re looking for a soft, pulpy mush at this point, with the plums broken down enough that their juice has somewhere to go. If a few stubborn pieces are holding their shape, a gentle press with the back of a spoon helps move things along.
Strain the Juice
Pour the cooked plum mush through a jelly bag, or a colander lined with a double layer of dampened cheesecloth, set over a large bowl. Let the juice drip through on its own for 2 to 3 hours, or set it in the fridge to drip overnight if that fits your day better.
For the clearest jelly, resist the urge to squeeze or press the bag, since that pushes fine pulp through and clouds the finished jelly. If you don’t mind a slightly cloudy jar and want to stretch your yield, a gentle press is fine. It’s a trade-off between looks and quantity, and either way the flavor is the same.
Add Sugar and Cook to the Gel Point
Measure your juice and work out the sugar from there, at ¾ cup sugar per cup of juice. Stir the sugar into the pot until it dissolves, then bring everything to a full rolling boil over high heat, stirring constantly so it doesn’t catch on the bottom.
Keep boiling until the jelly reaches 220°F on a candy thermometer at sea level, or until it sheets off a metal spoon. To check the sheeting test, dip a cold metal spoon into the jelly and hold it sideways. When the drips run together and slide off in a single sheet instead of falling as separate drops, it’s ready to go.
This should take about 15 minutes, but can vary widely based on the pectin concentration of the plums and your stove.
Fill the Jars
Pull the pot off the heat and quickly skim off any foam from the top, which keeps the finished jelly clearer. Working while it’s hot, ladle the jelly into your prepared jars, leaving ¼ inch of headspace.
Wipe the rims clean with a damp cloth, since even a little jelly on the rim can keep a jar from sealing. Set the lids on, add the bands, and tighten them to fingertip tight (snug, but not cranked down hard).
Setting Notes
Jelly made without added pectin reaches its gel point at 220°F at sea level, which is 8°F above the boiling point of water. That target drops by about 1°F for every 500 feet of elevation, so if you’re canning at 3,000 feet you’d be aiming for closer to 214°F. If you’re not sure of your local boiling point, the sheeting test off a spoon is a reliable backup to the thermometer.
Yellow plums run a little lower in acid and pectin than red or purple plums, so a softer set is normal here and not a sign anything went wrong. Cook times vary a lot depending on how juicy your fruit was and how far you reduced the juice, so expect anywhere from 10 to 30 minutes of boiling. The cold plate test settles any doubt: put a small spoonful on a chilled plate, let it sit a moment, then push it with a finger, and if it wrinkles, it’s set.
Canning Yellow Plum Jelly
Once your jelly has reached the gel point, it’s time to get it into jars. If you’d rather skip the canner entirely, yellow plum jelly keeps in the fridge for up to 3 weeks or in the freezer for up to 6 months, so a small batch you’ll use quickly doesn’t strictly need processing. For a shelf-stable pantry jar, though, you’ll want to process the filled jars in a boiling water bath.
It helps to get your water bath canner heating while you make the jelly, so it’s ready when the jelly is. Lower the filled jars into the canner, making sure they’re covered by at least 1 inch of water, and process for 10 minutes, whether you’re using half pints or pints, adjusting for altitude as noted below.
When the time’s up, turn off the heat and let the jars sit in the canner for 5 minutes before lifting them out, which cuts down on siphoning and cracked jars. Set them on a towel-lined counter and leave them undisturbed for 12 to 24 hours. The jelly keeps setting as it cools, so don’t panic if it still looks loose coming out of the canner. Check the seals before storing, and pop any jars that didn’t seal into the fridge to use first.
Altitude Adjustments
For water bath canning yellow plum jelly, processing times increase at higher elevations:
- 0 to 6,000 feet: 10 minutes
- Above 6,000 feet: 15 minutes
Yield Notes
Starting with about 4 pounds of yellow plums, you can expect to extract roughly 4 to 5 cups of juice after straining, which reduces once cooked down to about 4 to 6 half-pints of finished jelly. The range is wide on purpose, since how much you reduce the juice and how long you boil to reach the gel point both nudge the final number.
A few other things move the yield around: how ripe and juicy your plums are, how long you let the bag drip, and whether you press it for extra juice. Plan for a little variation, and it’s never a bad idea to have an extra jar or two clean and ready just in case you end up with more than you expected.
Serving Ideas
The gentle flavor of yellow plum jelly makes it easy to use in ways that would overpower a bolder spread. Here are a few we come back to:
- On the Breakfast Table: Spread it on warm toast, biscuits, or English muffins, where its mild sweetness is right at home in the morning.
- With Cheese: Serve it alongside a soft cheese like brie or fresh chevre, or on crackers with cream cheese for an easy appetizer. The pale amber color looks nice on a board, too.
- As a Meat Glaze: Warm a few spoonfuls with a splash of vinegar or citrus juice and brush it over pork or chicken in the last few minutes of cooking for a light, fruity glaze.
- In Baking: Use it to fill thumbprint cookies or to layer a cake when you want fruit flavor without it taking over everything else.
- Stirred into Yogurt: A spoonful swirled through plain yogurt with a little granola makes a quick snack the kids will actually eat.
Yellow Plum Jelly FAQs
Yellow and golden plums are a little lower in acid and natural pectin than red or purple varieties, so jelly made from them tends to have a softer, more delicate set. That’s normal for this fruit and doesn’t mean you did anything wrong. The flavor will still be lovely, just gentler than a tart purple plum jelly.
Yes. Underripe fruit carries more natural pectin and will firm up the set, so a good trick is to use roughly three-quarters ripe plums for flavor and one-quarter slightly underripe plums for pectin. Don’t reach for fully green, hard fruit, though, since it won’t have developed enough flavor to be worth it.
No. Plums, including yellow and golden varieties, are naturally acidic enough for safe water bath canning, so this recipe doesn’t call for any added lemon juice. This is different from low-acid fruits like white-fleshed peaches, which do need attention. With plums you can process as written.
Jelly made without pectin can take up to two weeks to fully set, so give it time before deciding it failed. If it’s still loose after that, you can remake it using the steps in our troubleshooting jelly set guide. And if you’d rather not bother, a soft jelly is wonderful spooned over ice cream, pancakes, or yogurt.
Plum Canning Recipes

If you tried this Yellow Plum Jelly recipe, or any other recipe on Creative Canning, leave a ⭐ star rating and let me know what you think in the 📝 comments below!
And make sure you stay in touch with me by following on social media!
Yellow Plum Jelly
Equipment
- Canning Jars, Lids and Bands
- Large heavy-bottomed pot
- Jelly bag or cheesecloth
Ingredients
For the Juice
- 4 lbs golden plums, ripe but firm
- 2 cups water
For the Jelly
- 4 cups plum juice, from above
- 3 cup sugar, 3/4 cup per cup of extracted juice
Instructions
- Wash the plums well and remove any stems. Cut in half or crush slightly to help release juices. You don’t need to pit them since everything will be strained out later.
- Place prepared plums in a large pot with the water. Cover and bring to a boil over high heat. Reduce heat and simmer for 15 to 20 minutes, stirring occasionally, until the fruit is very soft and falling apart.
- Pour the cooked plum mixture through a jelly bag or cheesecloth-lined colander set over a large bowl. Let the juice drip for 2 to 3 hours without squeezing for the clearest jelly. You should get approximately 1 cups of juice per pound of plums, but yields can vary based on your fruit.
- Measure the juice and calculate sugar at 3/4 cup per cup of juice. With 4 cups juice, you'll need 3 cups sugar. Add sugar and stir to dissolve. Bring to a full rolling boil over high heat, stirring constantly. Boil until the jelly reaches 220°F or passes the sheeting test. This should take about 15 minutes, but can take more or less depending on your fruit.
- Remove from heat and quickly skim off any foam. Ladle hot jelly into prepared jars, leaving 1/4 inch headspace. Wipe rims, apply lids and bands to fingertip tight.
- Process half pints or pints in a boiling water bath canner for 10 minutes, adjusting for altitude. After processing, turn off heat and let jars stand in canner for 5 minutes before removing.
- Let jars cool undisturbed for 12 to 24 hours. The jelly will continue to set as it cools. Check seals before storing. Properly sealed jars keep at room temperature for 12 to 18 months.
Notes
Scaling the Recipe
This recipe uses a ratio: 1/2 cup water per pound of plums, then 3/4 cup sugar per cup of extracted juice. Scale up or down as needed based on your harvest.For a Firmer Set
Use a mix of 3/4 ripe plums and 1/4 slightly underripe plums for more natural pectin. Cook the juice down more before adding sugar to concentrate the pectin.Yield Variation
Actual yield varies based on juice extraction and how much the juice reduces during cooking. Plan for 4 to 5 half pints from 4 pounds of plums.Altitude Adjustments
- 0 to 6,000 feet: 10 minutes
- Above 6,000 feet: 15 minutes
Nutrition
Nutrition information is automatically calculated, so should only be used as an approximation.
Stone Fruit Canning Recipes
Find the perfect recipe
Searching for something else? Enter keywords to find the perfect recipe!