This post may contain affiliate links. Please see our disclosure policy.
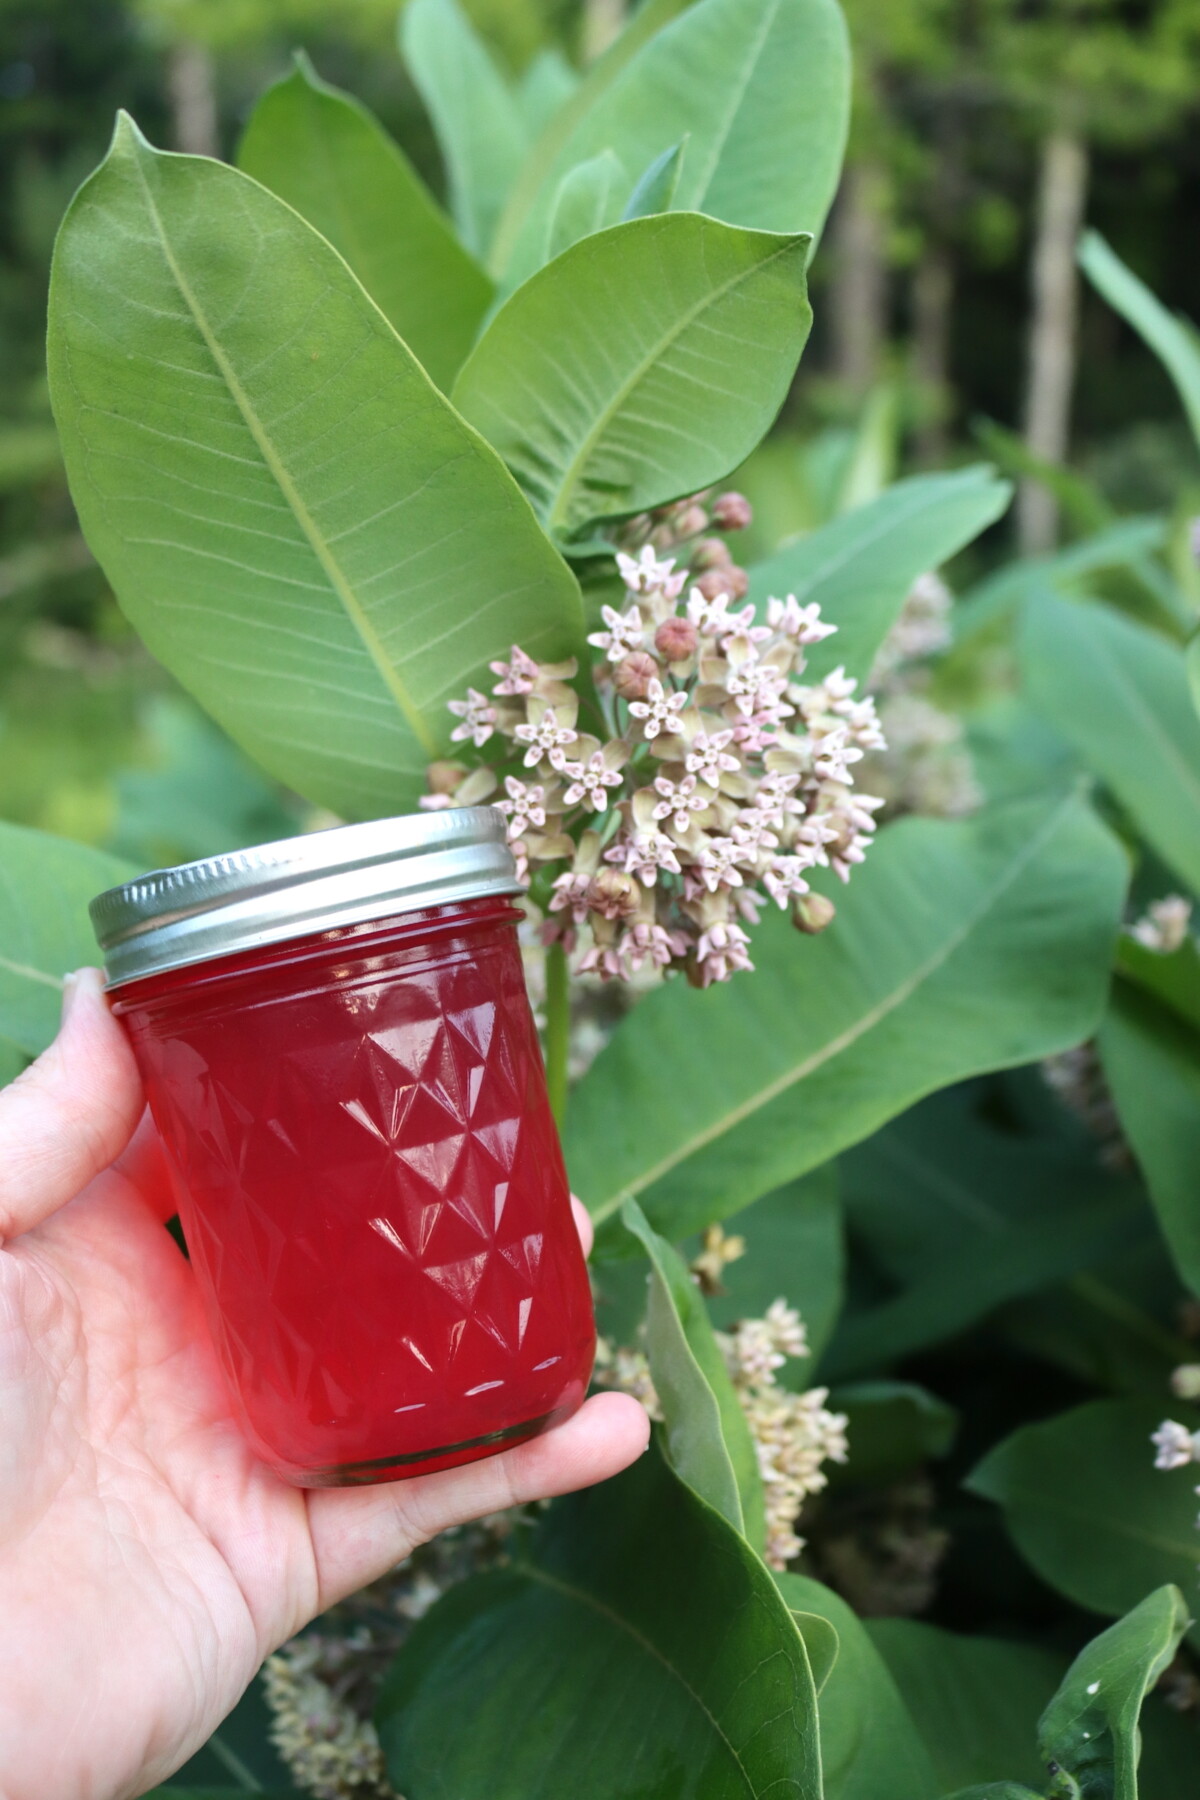
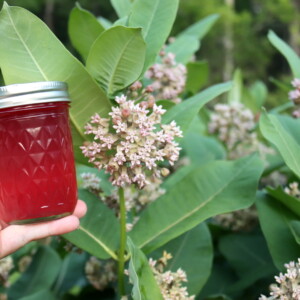
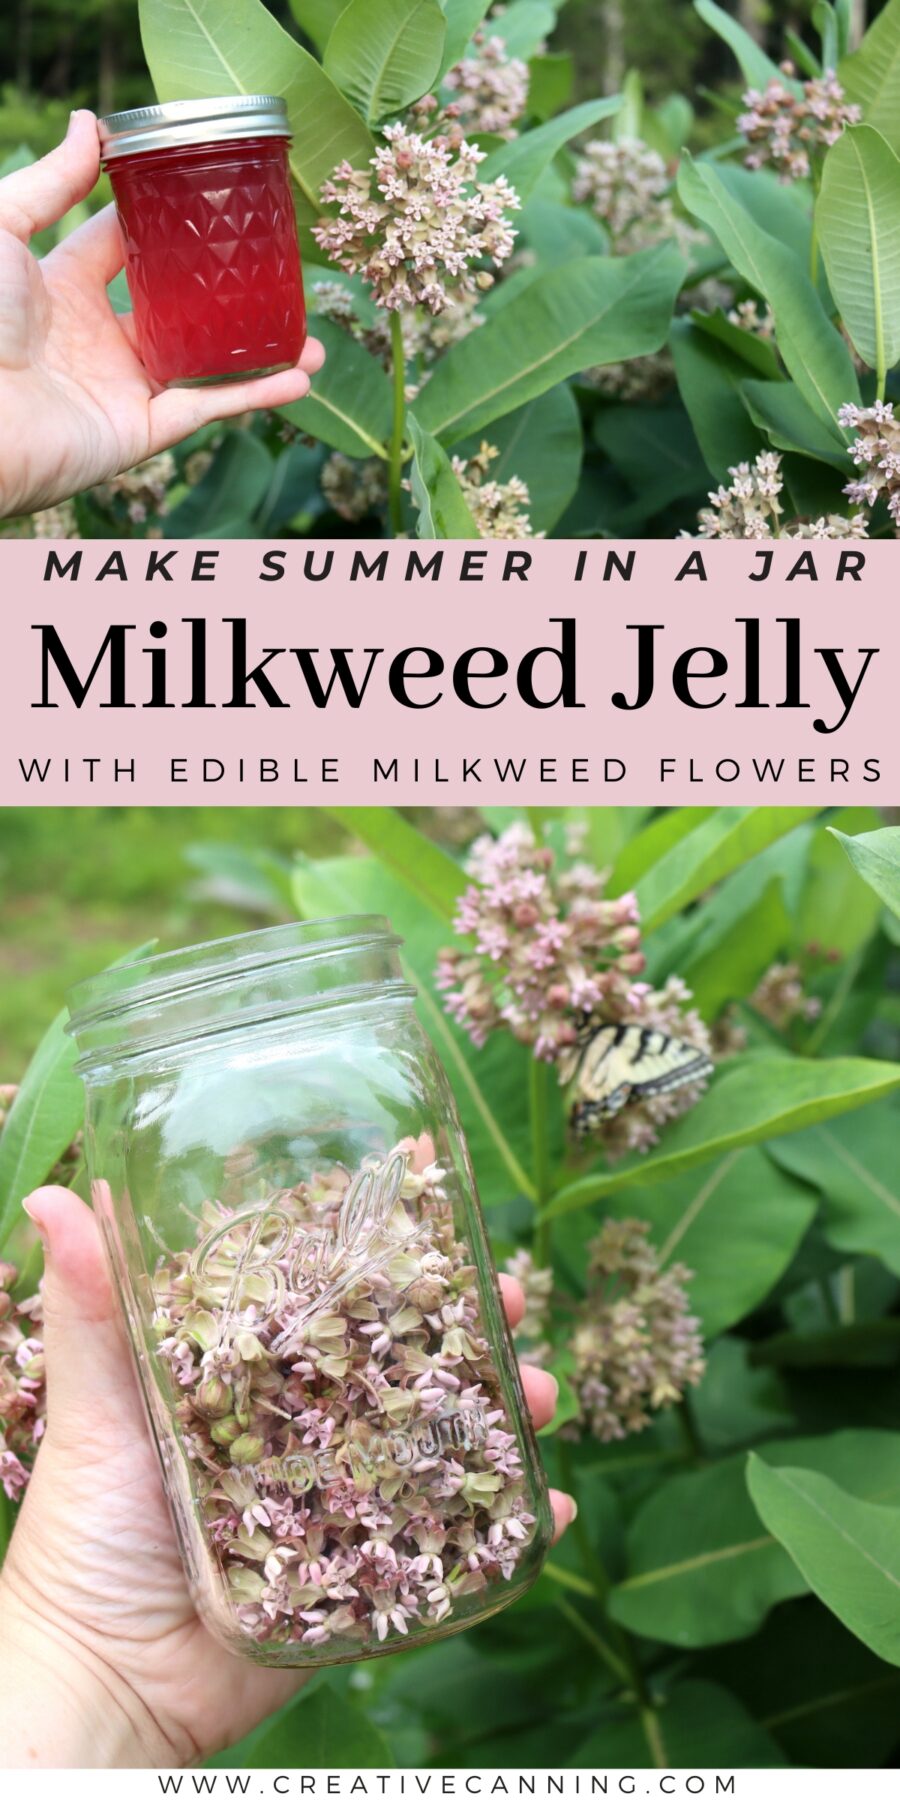
Milkweed flower jelly captures the sweet, honey-like fragrance of summer milkweed blossoms in a delicate, pink jelly. If you’ve ever walked past a patch of blooming milkweed and stopped to breathe in that heady scent, you already know why this one is worth making. The flavor is subtle and floral, like wildflower honey with a hint of lilac.
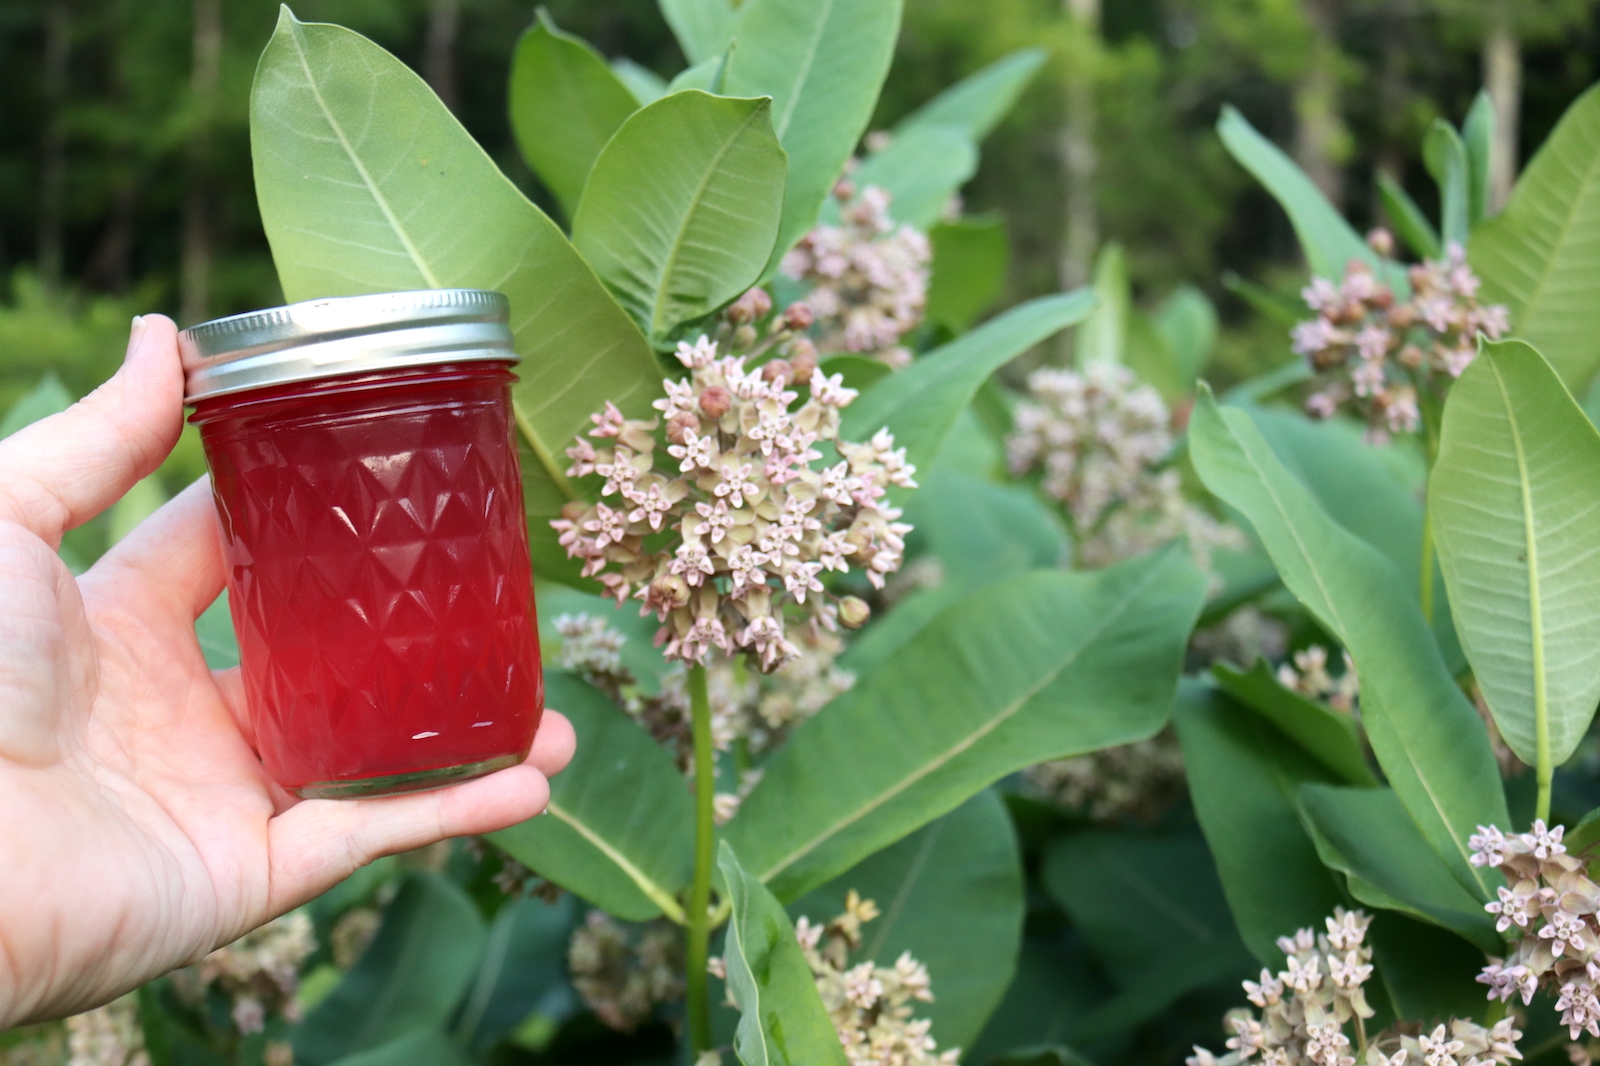
Table of Contents
- Notes from My Kitchen
- Quick Look at the Recipe
- What Does Milkweed Jelly Taste Like?
- Identifying and Harvesting Milkweed
- Ingredients for Milkweed Jelly
- Low Sugar Options
- How to Make Milkweed Jelly
- Canning Milkweed Jelly
- Altitude Adjustments
- Ways to Use Milkweed Jelly
- Milkweed Jelly FAQs
- Flower Jelly Recipes
- Milkweed Flower Jelly Recipe
- Jelly Canning Recipes
This recipe has been reviewed for safety and accuracy by a Master Food Preserver certified through the University of Cornell Cooperative Extension.
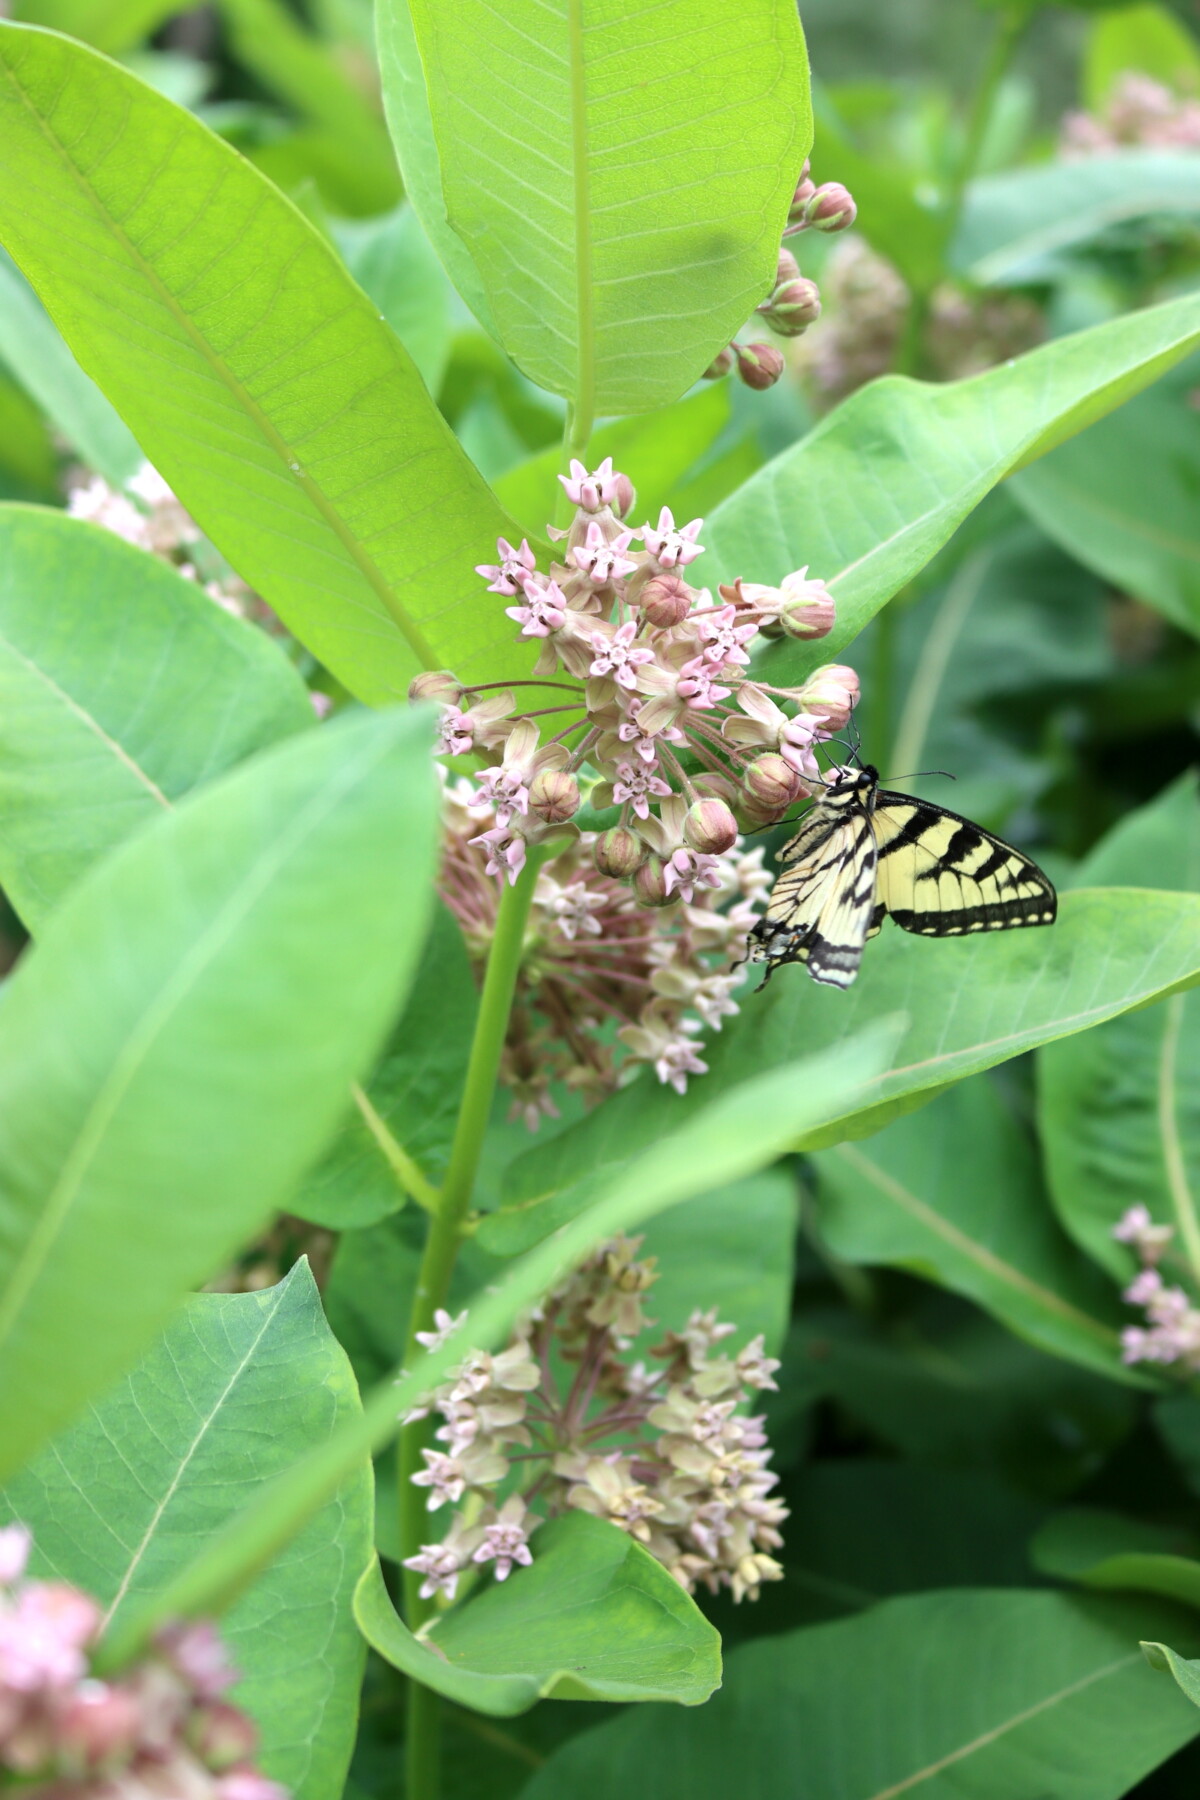
Common milkweed (Asclepias syriaca) blooms in early to mid-summer, producing clusters of pink to purple flowers that pollinators love. The flowers are edible and have been used in traditional cooking for generations. For jelly, you steep the fragrant blossoms in water to make an infusion, then use that floral liquid as the base for a pectin-based jelly.
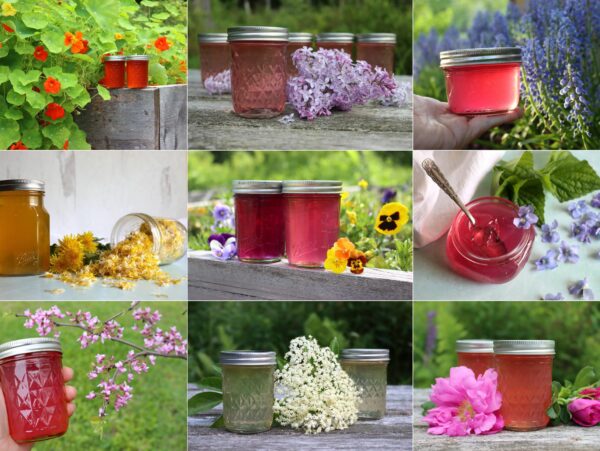
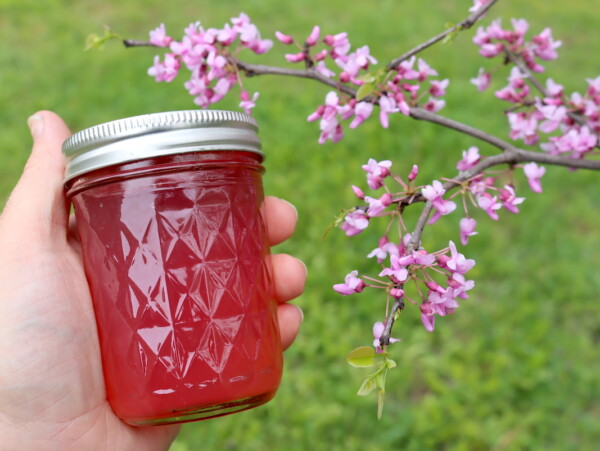
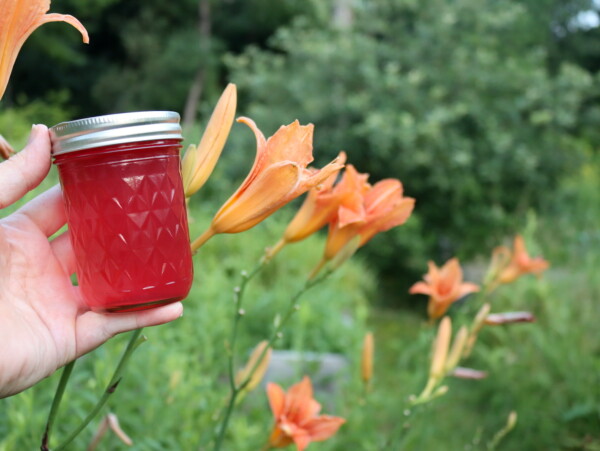
This recipe follows the same method as other wild-foraged flower jellies like daylily jelly, dandelion jelly, wild violet jelly, clover jelly, and elderflower jelly. The trick is making a strong infusion from the flowers, then treating it like any fruit juice for jelly making. The lemon juice adds the acidity needed for safe canning and helps the pectin set.
Harvest milkweed flowers when they’re fully open and at peak fragrance, usually in the morning once the dew has dried. Take only what you need and leave plenty for the monarch butterflies and other pollinators that depend on milkweed. A little goes a long way, since you only need about 2 cups of flower clusters for a batch of jelly.
Notes from My Kitchen

I started making milkweed jelly after years of admiring the plants in our meadow. The scent of blooming milkweed is one of the things I look forward to most in early summer, and I wanted a way to hold onto that fragrance past the season. The jelly tastes sweet and floral, the way the flowers smell, with hints of fresh berries underneath.
The pale pink color is lovely in the jar, and the flavor is delicate enough to pair with almost anything. I like it on warm biscuits or stirred into tea. It’s also become one of the jellies I most like to give as gifts, because the story behind it catches people off guard.
Quick Look at the Recipe
- Recipe Name: Milkweed Flower Jelly
- Recipe Type: Flower Jelly Recipe
- Canning Method: Water Bath Canning
- Prep Time: About 20 minutes (plus steeping time)
- Cook Time: About 15 minutes
- Canning Time: 10 minutes for half pints
- Yield: About 5 to 6 half-pint jars
- Jar Sizes: Quarter Pint, Half Pint, or Pint
- Headspace: 1/4 inch
- Ingredients Overview: Milkweed flowers, water, lemon juice, pectin, and sugar
- Difficulty: Easy! You’re basically making a floral tea and setting it with pectin.
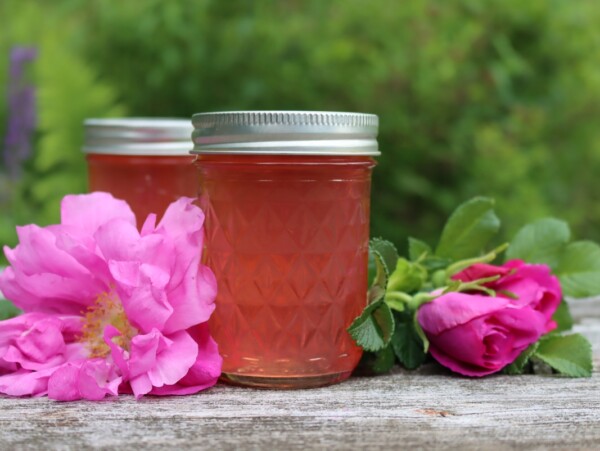
- Similar Recipes: This recipe uses the same method as other floral jellies, including rose petal jelly, pansy jelly, tulip jelly, and forsythia jelly.
What Does Milkweed Jelly Taste Like?
Milkweed flower jelly has a subtle, honey-like flavor that tastes the way the blossoms smell. It’s gentle and floral, closer to wildflower honey than to fruit, with hints of lilac and a little fresh berry underneath. The flavor is delicate rather than bold, so it pairs well with mild foods that let it come through instead of covering it up.
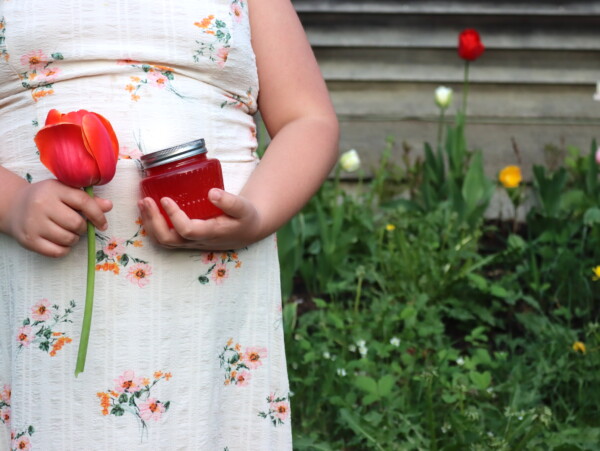
In the jar, the jelly sets to a soft pink that ranges from pale blush to deeper rose depending on the flowers you start with. Darker blossoms give a more saturated color, while lighter clusters keep things on the paler end. Either way it has a clear, delicate look that stands out on a shelf next to darker fruit preserves.
Identifying and Harvesting Milkweed
This recipe is written for common milkweed, Asclepias syriaca, which has the most fragrant flowers and the longest history of traditional use in the kitchen. It grows in fields, meadows, and along roadsides across much of North America, producing rounded clusters of pink to purple flowers in early to mid-summer. Common milkweed has thick stems, opposite leaves, milky sap, and those distinctive globe-shaped flower clusters.
Be certain of your identification before you harvest. Dogbane is the look-alike to know, since it carries similar clustered flowers but has narrower leaves, a more branching growth habit, and a thinner stem, and it’s toxic. If you’re not completely confident in what you’re looking at, don’t harvest. When you are sure of the plant, pick only the flower clusters and leave the leaves, stems, and pods behind.
Harvest on a dry morning once the dew has lifted, choosing clusters that are fully open and at peak fragrance. Take only what you need and leave plenty for the monarchs and other pollinators that rely on milkweed to survive. A quick rinse before you start clears out any insects tucked into the blossoms, and you only need about 2 cups of loosely packed clusters for a batch.

Ingredients for Milkweed Jelly
Milkweed jelly uses the same short ingredient list as other flower jellies: fragrant blossoms steeped into a tea, then set with sugar, pectin, and a little lemon juice for balance and safety. The flowers carry the flavor and color, while the lemon juice provides the acidity that makes the jelly safe to can, so don’t skip it.
- Milkweed Flower Clusters: Use the flower clusters from common milkweed (Asclepias syriaca), picked when fully open and fragrant. Take only the flower portions, never the stems, leaves, or developing pods.
- Water: Plain water makes the base for the floral infusion. Use filtered water if your tap water has a strong chlorine taste, which can dull the delicate flavor.
- Lemon Juice: Bottled lemon juice lowers the pH enough to make the jelly safe for canning, and it also helps the pectin set and brightens the floral notes. Use bottled rather than fresh for consistent acidity. For a more neutral flavor you can use citric acid powder instead, at about 1 teaspoon in place of the lemon juice.
- Sugar: Regular powdered pectin needs plenty of sugar to gel, so this recipe uses the current Sure Jell ratio of 5 cups sugar to 4 cups of tea for a classic jelly that sets reliably. There’s a lower-sugar option in the note just below if you’d prefer it.
- Pectin: Use regular powdered pectin, such as Sure Jell, which is dependable and gives consistent results. If you’re working from bulk or flex-batch pectin, 6 tablespoons equals one box.
Low Sugar Options
If you prefer a less sweet jelly, you can use Sure Jell low sugar pectin instead and cut the sugar down to as little as 1 to 2 cups. If you reach for Pomona’s Universal Pectin instead, increase the lemon juice to 1/2 cup, since Pomona’s doesn’t include the added citric acid that other pectins carry.
Pomona’s is a two-part low-sugar pectin that uses calcium water and works a little differently, so follow the mint jelly directions on the insert, and it’s worth reading through how to use Pomona’s pectin if you haven’t worked with it before.
How to Make Milkweed Jelly
Once the tea is made, milkweed jelly comes together in just a few minutes, so have everything ready before you start. If you’re canning, prepare your water bath canner after the flowers have infused but before you begin cooking the jelly. And don’t skip the lemon juice, since it balances the sweetness, helps the pectin set, and lowers the pH enough to make the jelly safe for canning.
Prepare the Milkweed Blossoms
Start with about 2 cups of loosely packed milkweed flower clusters. Pull the flowers off the stems and give them a gentle rinse in a colander to wash off any dust and clear out insects hiding in the blossoms.
Use only the flower portions, not the stems, leaves, or any developing pods, since those parts aren’t what you want in the jelly. Fresh flowers carry the most fragrance, so plan to make your tea the same day you harvest.
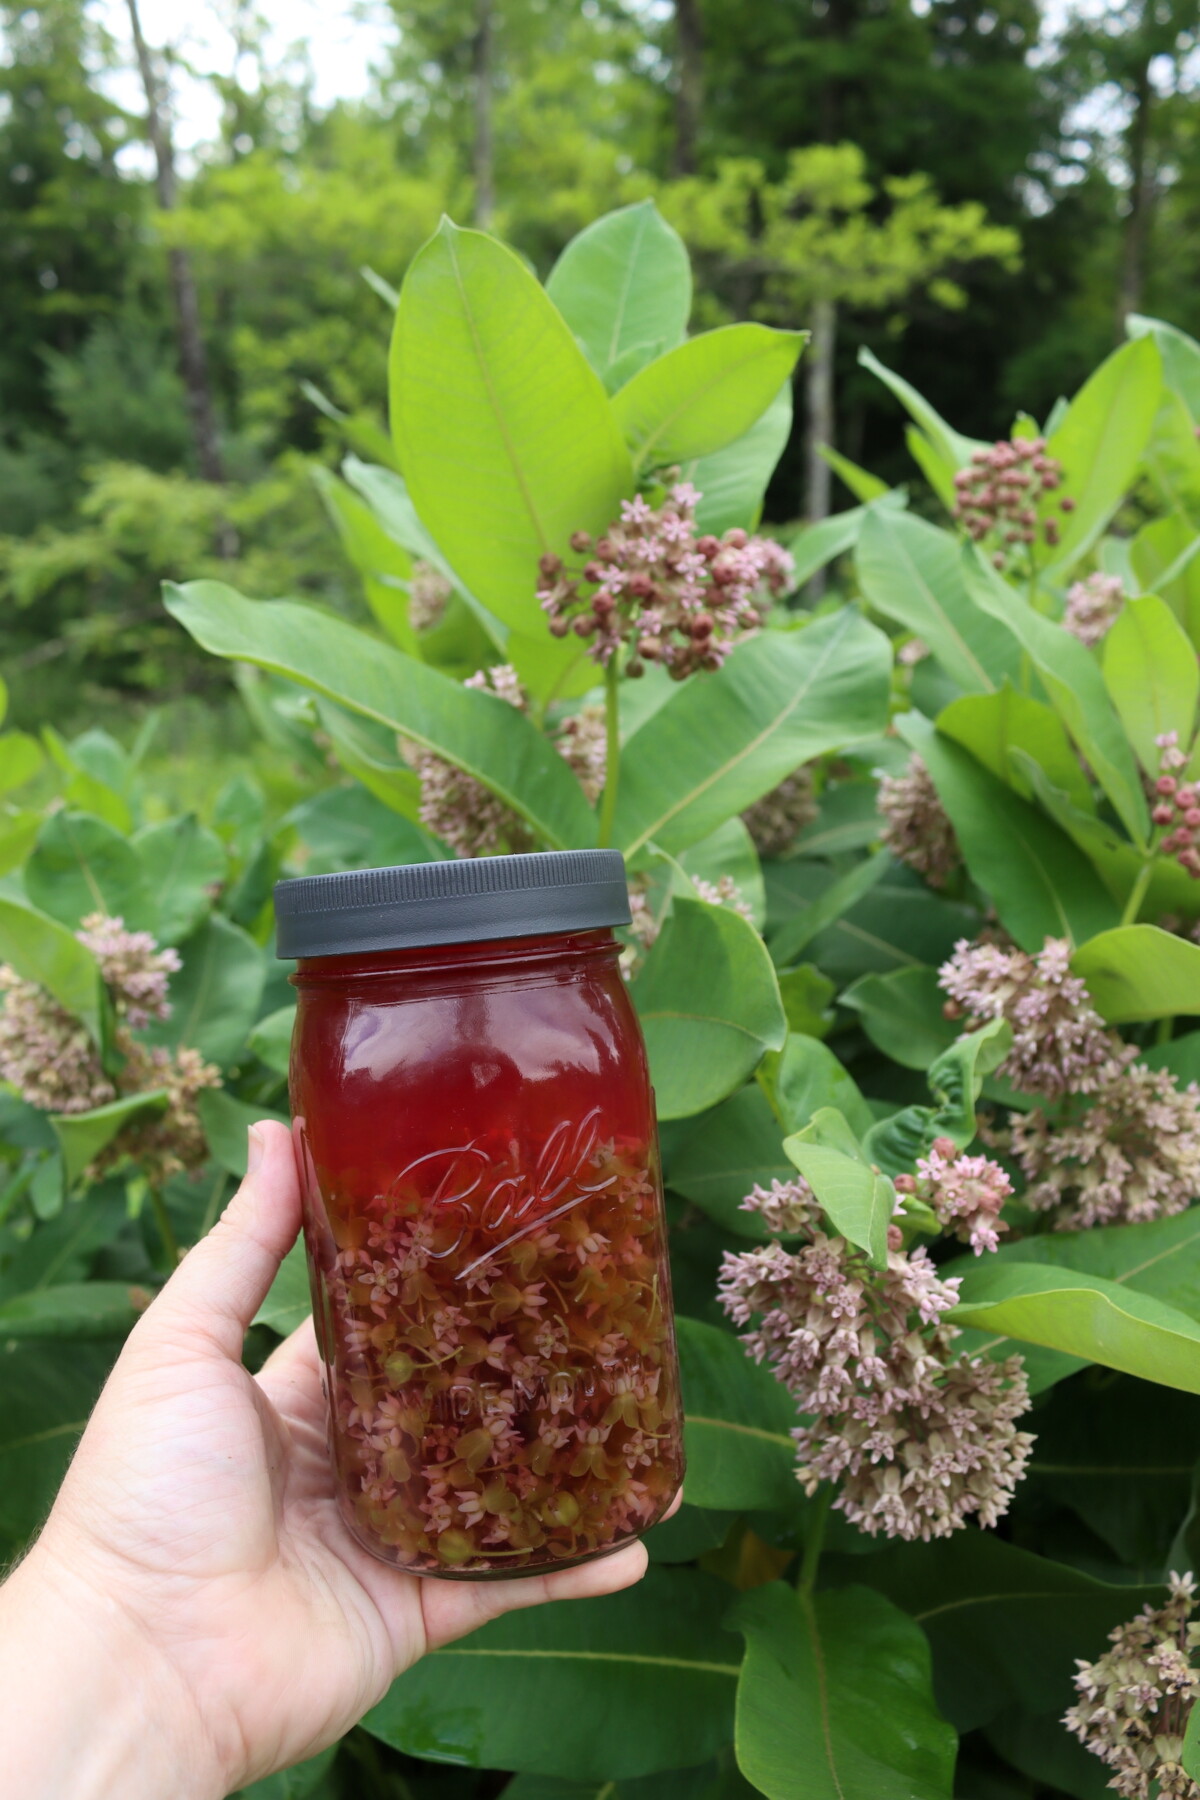
Make the Milkweed Tea
Bring 4 cups of water to a boil, then pour it over the prepared blossoms in a heat-proof bowl or jar, pressing the flowers down so they’re fully submerged. Cover and let them steep for at least 2 hours at room temperature, or overnight in the refrigerator for a stronger, more fragrant infusion.
Strain the tea through a fine mesh strainer or a length of cheesecloth, pressing gently on the flowers to get all the liquid. Discard the spent blossoms and measure out 4 cups of tea. If you come up a little short, top it off with water to reach the full 4 cups.
Add Lemon Juice and Pectin
Pour the 4 cups of milkweed tea into a large, deep stainless steel pot and stir in 1/4 cup of bottled lemon juice. (The lemon juice balances the sweetness, helps the pectin set, and makes the jelly safe for canning, so don’t leave it out even if you’re not canning.)
Whisk in one box of powdered pectin until it’s completely dissolved, then bring the mixture to a full rolling boil over high heat, stirring constantly. Let it boil hard for 1 full minute before you move on to the sugar.
Add the Sugar
Add 5 cups of sugar all at once, stirring constantly to dissolve it. (Don’t add the sugar before or at the same time as the pectin, or the jelly won’t set.) Return the pot to a full rolling boil and boil hard for exactly 1 minute.
Remove the pot from the heat and skim off any foam with a spoon. Ladle the hot jelly into prepared jars right away, leaving 1/4 inch headspace, then wipe the rims clean, center the lids, and apply the bands fingertip tight.
Canning Milkweed Jelly
Canning is optional, but it’s a good way to keep this seasonal jelly on the shelf for year-round use or gift-giving. Without canning, the filled jars will keep in the refrigerator for up to 3 weeks or in the freezer for up to a year.
To can milkweed jelly, prepare your water bath canner, jars, and lids before you start cooking. After ladling the hot jelly into jars and leaving 1/4 inch headspace, wipe the rims with a clean, damp cloth, set on the lids, and tighten the bands to fingertip tight.
Process in a boiling water bath canner for 10 minutes, adjusting for altitude. Turn off the heat and let the jars sit in the canner for 5 minutes, then move them to a towel to cool undisturbed for 12 to 24 hours. Check the seals before storing, and refrigerate any jars that didn’t seal. Sealed jars hold their quality on the pantry shelf for 12 to 18 months. Refrigerate after opening.
Altitude Adjustments
For water bath canning, processing times increase at higher elevations:
- 0 to 6,000 feet: 10 minutes
- Above 6,000 feet: 15 minutes
Ways to Use Milkweed Jelly
Milkweed flower jelly has a delicate, honey-like flavor that pairs well with mild foods. Spread it on warm biscuits, scones, or toast where the subtle floral notes can shine. It’s also lovely on cream cheese with crackers for a simple appetizer, or stirred by the spoonful into a cup of hot tea for a touch of floral sweetness.
Use it as a glaze for vanilla pound cake or cheesecake, where the pale pink color looks lovely against the white. And it makes a thoughtful gift thanks to its unusual origin. Tuck in a note explaining what milkweed is and why you chose to preserve its flowers, since most people have never tasted anything like it.
Milkweed Jelly FAQs
Yes, common milkweed (Asclepias syriaca) flowers are edible and have a long history of traditional use. Proper identification is essential, since dogbane is a toxic look-alike with similar flowers. If you’re not 100% confident in your identification, don’t harvest.
This recipe is written for common milkweed (Asclepias syriaca), which has the most fragrant flowers. The edibility of other milkweed species isn’t well established, so stick with common milkweed for jelly.
The most common reasons jelly doesn’t set are adding the sugar at the same time as the pectin (add the pectin first and boil for 1 minute before the sugar goes in), boiling the finished jelly for too long, or trying to double the batch. If it still looks loose after 24 to 48 hours, enjoy it as a floral syrup or work through my guide on troubleshooting jelly set.
Yes, but you’ll need a low-sugar pectin like Sure-Jell Low Sugar or Pomona’s Universal Pectin and follow the package instructions for mint jelly. If you use Pomona’s, increase the lemon juice to 1/2 cup, since it doesn’t contain the added citric acid that other pectins do. The yield will be lower with reduced sugar.
Flower Jelly Recipes
If you tried this Milkweed Flower Jelly recipe, or any other recipe on Creative Canning, leave a ⭐ star rating and let me know what you think in the 📝 comments below!
And make sure you stay in touch with me by following on social media!
Milkweed Flower Jelly
Equipment
- Canning Jars, Lids and Bands
Ingredients
For the Milkweed Infusion
- 2 cups milkweed flower clusters, loosely packed, from common milkweed / Asclepias syriaca
- 4 cups water
For the Jelly
- 4 cups milkweed infusion, strained
- 1/4 cup bottled lemon juice, or 1 teaspoon citric acid
- 1 box powdered pectin, 1.75 oz, such as Sure-Jell or Ball Classic, or 6 Tbsp bulk
- 5 cups granulated sugar, see notes for low sugar option
Instructions
- Gently rinse the milkweed flowers to remove insects. Place in a heatproof bowl or jar, pour the boiling water over them, and press to submerge. Cover and steep at least 2 hours at room temperature, or overnight in the refrigerator for stronger flavor and color.
- Strain through a fine mesh strainer or cheesecloth, pressing gently, and discard the spent flowers. Measure the infusion, adding a little water or apple juice if needed to reach the full amount called for.
- Pour the infusion into a large, deep saucepan and add the lemon juice. Whisk in the powdered pectin until dissolved, then bring to a full rolling boil over high heat, stirring constantly.
- Add the sugar all at once, stirring to dissolve. Return to a full rolling boil and boil hard for exactly 1 minute, stirring constantly. Remove from heat and skim off any foam.
- Ladle hot jelly into prepared jars, leaving 1/4 inch headspace. Wipe rims, center lids, and apply bands fingertip tight.
- Process in a boiling water bath for 10 minutes, adjusting for altitude. Turn off the heat and let jars stand 5 minutes, then cool undisturbed 12 to 24 hours before checking seals.
Notes
Nutrition
Nutrition information is automatically calculated, so should only be used as an approximation.
Jelly Canning Recipes
Find the perfect recipe
Searching for something else? Enter keywords to find the perfect recipe!
This tastes as good as milkweed smells. That incredible scent gets captured beautifully.