This post may contain affiliate links. Please see our disclosure policy.
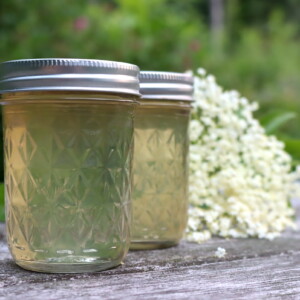
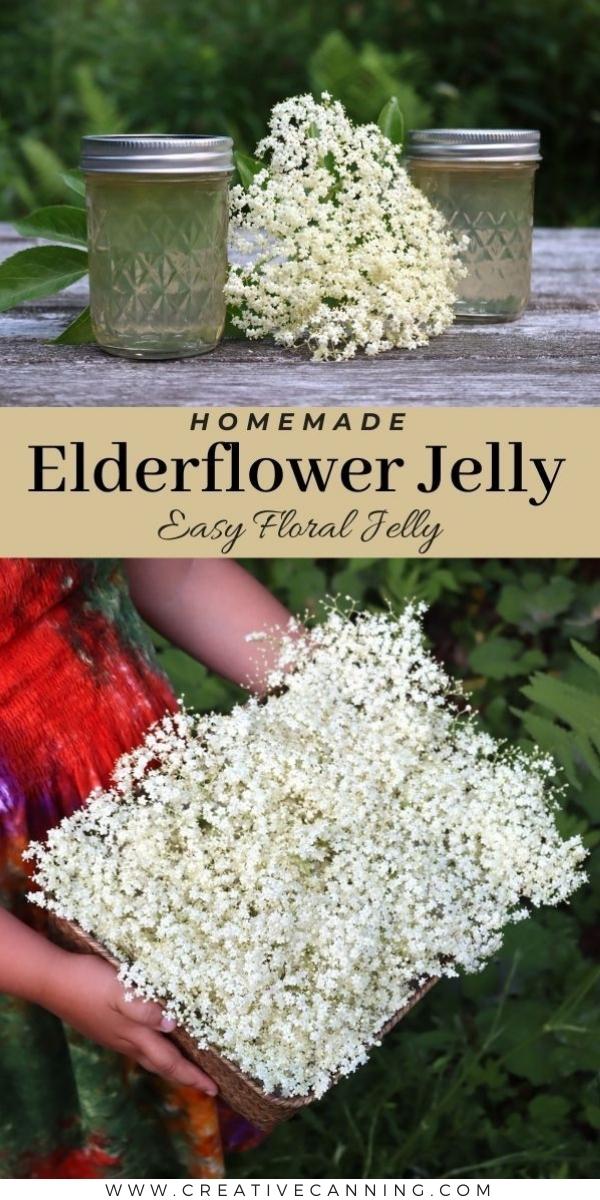
Elderflower jelly is floral and mildly sweet, and this simple yet stunning floral jelly is as pretty in the jar as it is good on toast (with optional instructions for water bath canning if you’d like to keep it on the shelf).
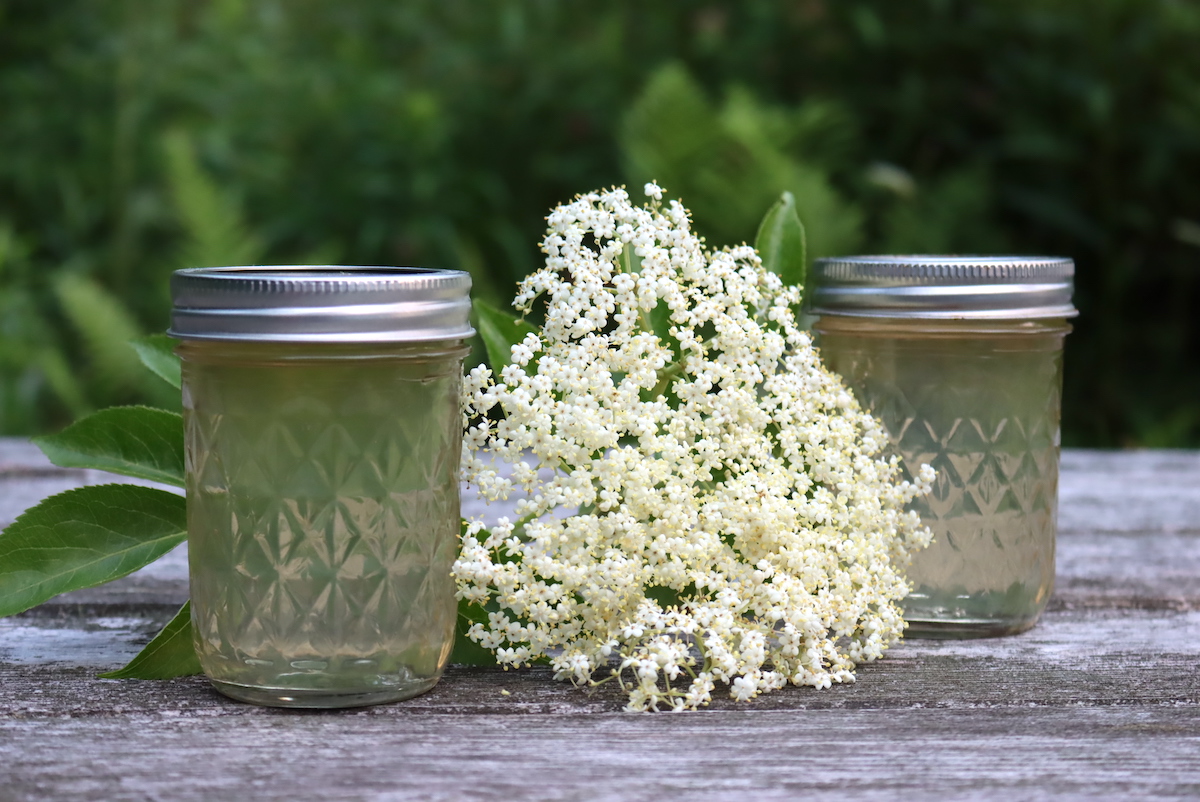
Table of Contents
- Notes from My Kitchen
- Quick Look at the Recipe
- What Does Elderflower Jelly Taste Like?
- Identifying and Harvesting Elderflower
- Ingredients for Elderflower Jelly
- Low Sugar Options
- How to Make Elderflower Jelly
- Canning Elderflower Jelly
- Altitude Adjustments
- Ways to Use Elderflower Jelly
- Elderflower Jelly FAQs
- Flower Jelly Recipes
- Elderflower Jelly Recipe
- Jelly Canning Recipes
This recipe has been reviewed for safety and accuracy by a Master Food Preserver certified through the University of Cornell Cooperative Extension.
I love making floral jellies with foraged flowers, and elderflower is one I look forward to every year. We tend to have an overabundance of elderflowers in the yard come late May, and turning them into jelly is one of the nicer ways to hold onto their delicate sweet and floral flavor long after the blossoms have faded. It’s a good entry point if you’ve never made a flower jelly before, since the method is forgiving and the payoff is a little jar of spring.
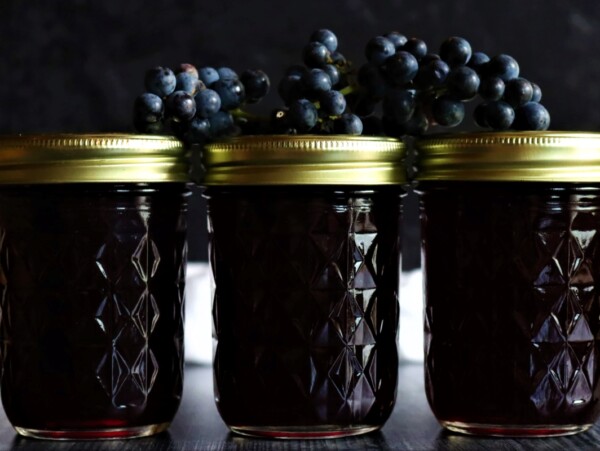
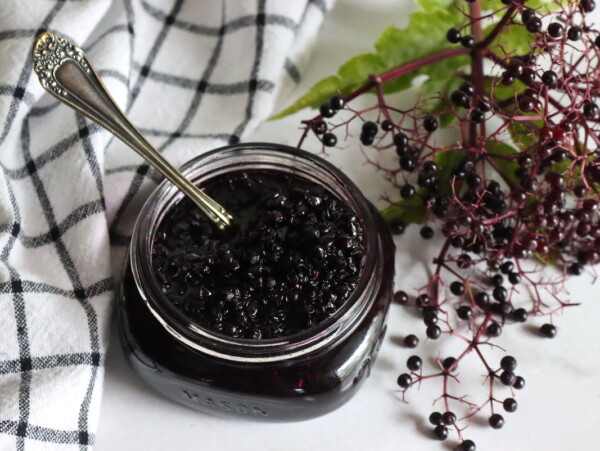
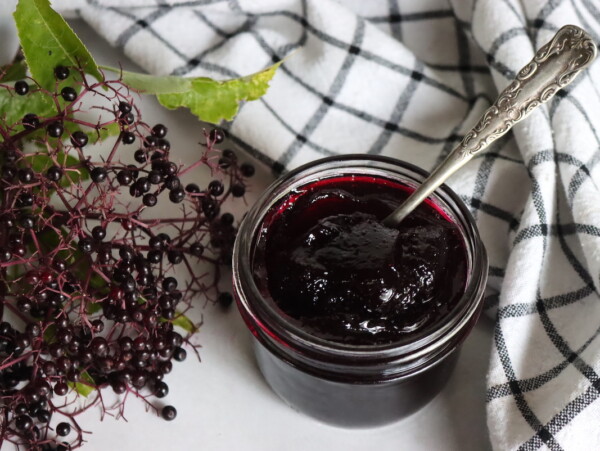
The same shrubs that hand you all these blossoms in spring will load up with berries later in the season, so a patch of elder keeps on giving. If you end up with berries too, they cook down into elderberry jelly or elderberry jam, which means one plant can fill the pantry twice over.
This recipe works as a quick refrigerator jelly that keeps for a few weeks, or a freezer jelly you can stash for up to 6 months. If you’d rather store it on the shelf at room temperature, I’ve included water bath canning instructions further down, and properly canned jars will hold their quality for 12 to 18 months. Just don’t skip the bottled lemon juice if you’re canning, since that added acidity is what makes elderflower jelly safe to can.
Notes from My Kitchen

We grow elder right in the garden, and between the wild patches nearby and our own plants, I usually have more elderflowers than I know what to do with. Elder is easy to start from cuttings, so we’ve never been short on plants, only on space to keep adding them. Once the blossoms come in, a batch or two of jelly is one of the first things I make with them.
The way I reach for it most is a heaping dollop on hot toast or a muffin straight out of the oven, where the heat softens it into something halfway between jelly and syrup. A batch makes about 5 to 6 half-pints, which is just enough to keep a few and still have some to give away. A jar of pale gold elderflower jelly turns out to be a nice little ray of sunshine on a gray day.

Quick Look at the Recipe
- Recipe Name: Elderflower Jelly
- Recipe Type: Flower Jelly Recipe
- Canning Method: Water Bath Canning
- Prep/Cook Time: 30 Minutes
- Canning Time: 10 Minutes
- Yield: 5 to 6 half-pint jars
- Jar Sizes: Quarter Pint, Half Pint, or Pint
- Headspace: 1/4 inch
- Ingredients Overview: Elderflower blossoms, water, lemon juice, sugar, and pectin
- Difficulty: Easy! You’re basically making a floral tea and setting it with pectin.
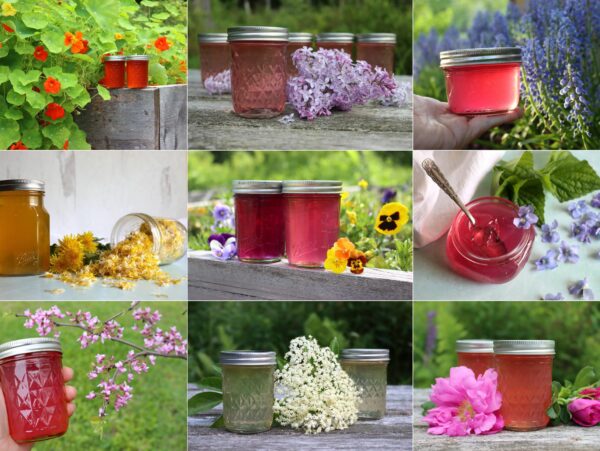
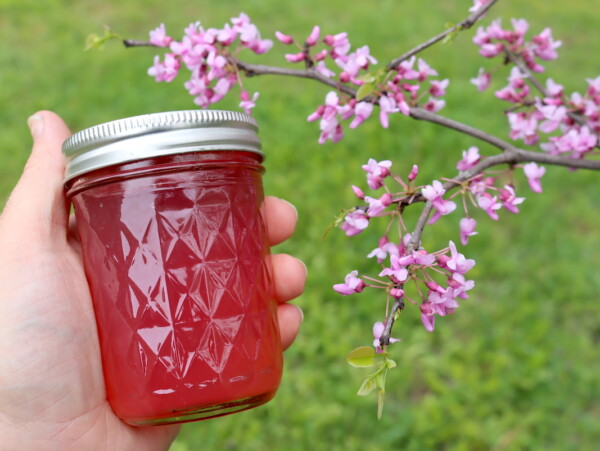
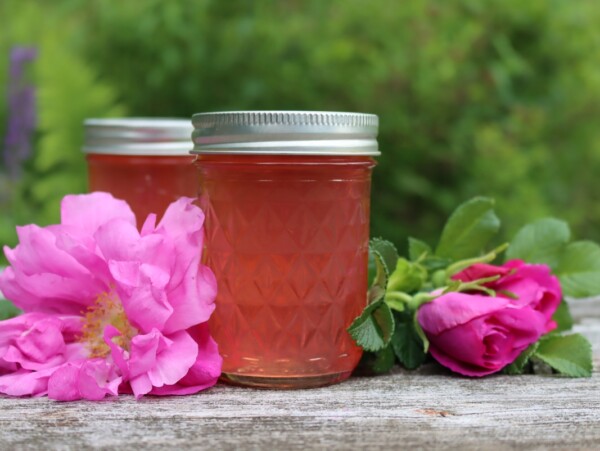
- Similar Recipes: The process is very similar to other wild-foraged floral jellies, including Lilac Jelly, Black Locust Flower Jelly, and Dandelion Jelly, all of which steep a tea from spring blossoms and set it with pectin. Since elder gives berries later in the year, you might also like Elderberry Jelly and Elderberry Jam.
What Does Elderflower Jelly Taste Like?
Elderflower jelly is delicate and lightly floral, with a soft sweetness that sits closer to honey than to a bright, fruity jam. The flavor is subtle and gently perfumed rather than strong, which is part of what makes it feel special spread on something plain like toast or a biscuit. It reads as floral first, then sweet, with none of the tartness you’d get from a berry jelly.
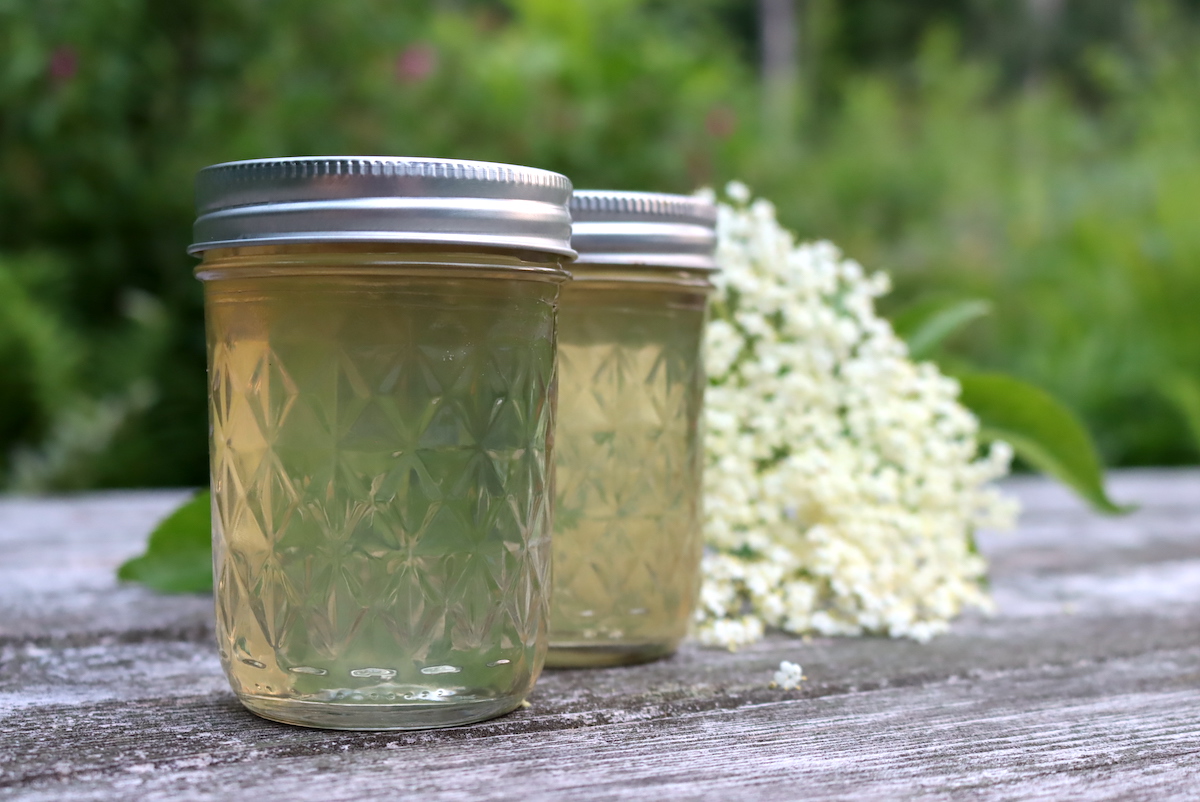
In the jar it sets to a pale gold, about the color of weak honey, and it stays clear rather than cloudy as long as you’ve strained the tea well. That quiet color and gentle flavor are why a lot of people who’ve never tried it are surprised by how lovely it turns out to be.
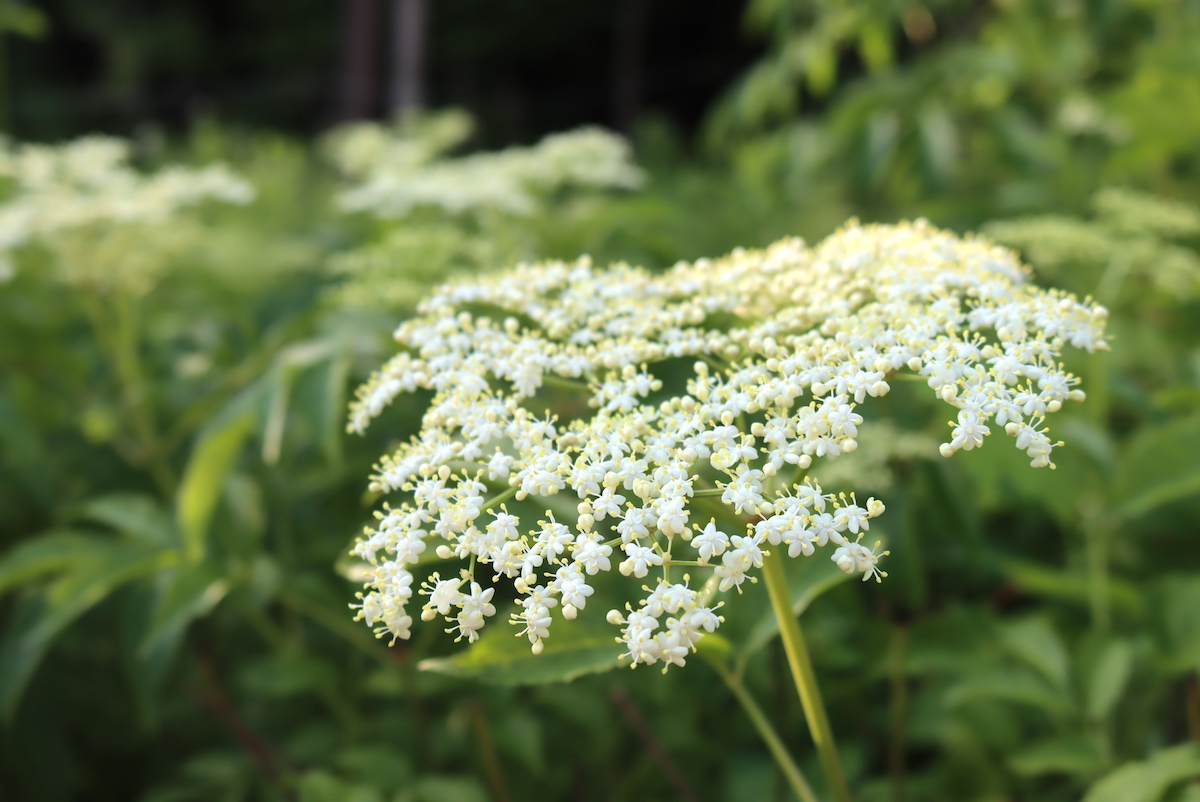
Identifying and Harvesting Elderflower
You can find elder growing across almost all of North America, in everything from suburban backyards to woodland edges, roadsides, and the banks of rivers and creeks. It takes to sun or part shade and isn’t fussy about where it puts down roots.
Look for blue or black elder, which have edible flowers and berries, and avoid red elder, which is toxic and tends to give itself away with an unmistakable bitter flavor.
Elderflowers bloom in late spring and early summer, which works out to late May and early June across much of the country.
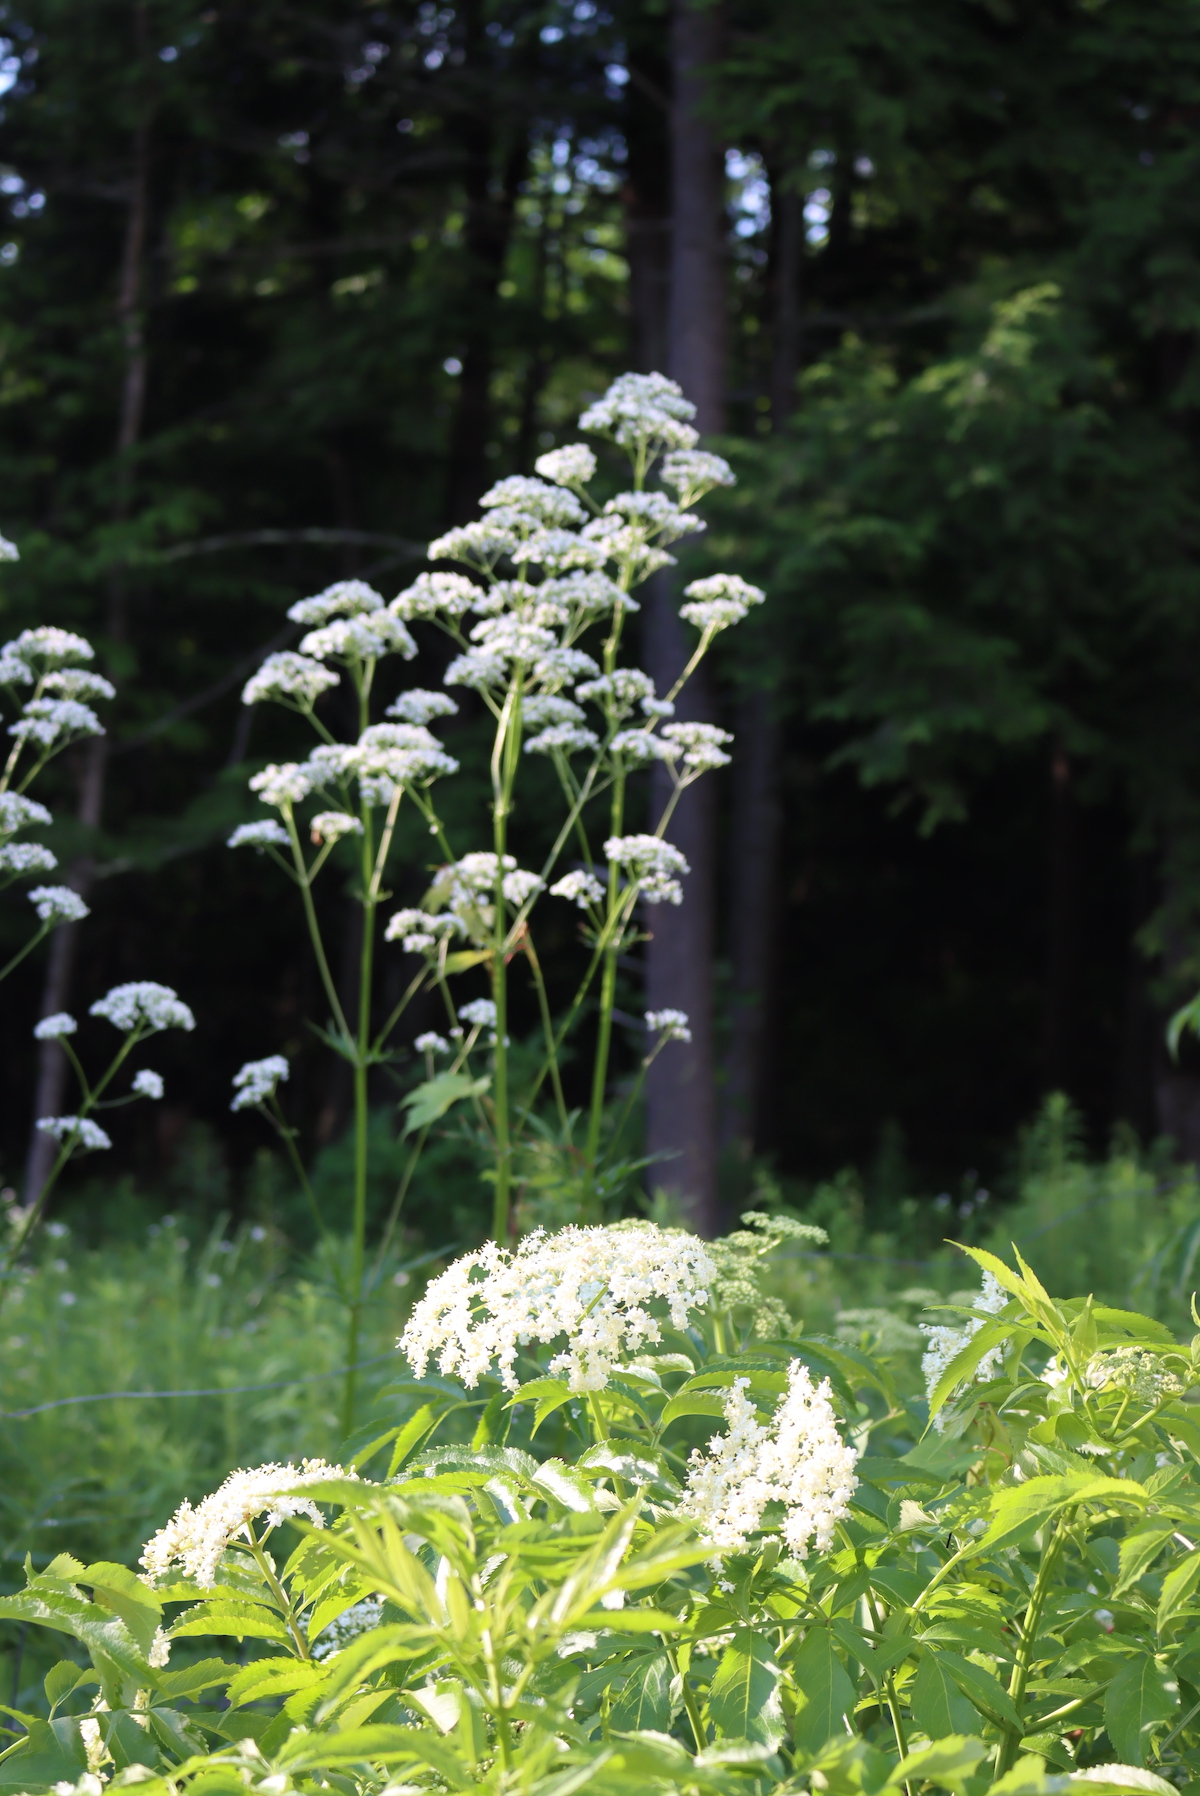
One word of caution: wild valerian blooms at the same time, and its flower heads look quite similar. Valerian isn’t toxic, but it tastes nothing like elder and has sedative properties, so you’ll end up with more than you bargained for if you mix the two up.
If you want to forage with confidence, I’ve put together a full guide to foraging elderflowers, along with one on foraging elderberries for later in the season. We also grow our own, and elder is easy enough to start from cuttings that we’ve never run short on plants. As with any foraging, only gather from plants that haven’t been sprayed, and give the blossoms a gentle shake to clear out any insects before you use them.
Ingredients for Elderflower Jelly
Elderflower jelly uses the same simple formula as other flower jellies: fresh blossoms steeped into a tea, then set with sugar, pectin, and a little lemon juice for balance and safety.
None of it is hard to find, and once you’ve gathered the blossoms the rest is pantry staples. Here’s what each one is doing and what to look for.
- Elderflower Blossoms: Use only blue or black elderflower heads, picked when the tiny blossoms are fully open and still creamy white. Pull the flowers off the green stems and leaves, which can add a bitter, vegetal note, and skip any heads that have already started to brown. Wild and cultivated elder both work, as long as you’ve correctly identified it as a blue or black elder and not the toxic red variety.
- Water: Filtered water is worth using if your tap water has a strong chlorine taste, since the elderflower flavor is delicate enough that off-flavors in the water can come through in the finished jelly.
- Lemon Juice: Bottled lemon juice does a few jobs here. It brightens the flavor and brings the floral notes forward, it helps the pectin set, and it lowers the pH enough to make the jelly safe for canning. Use bottled rather than fresh for its consistent acidity, and use the full amount called for. If you’d prefer a more neutral flavor, citric acid powder works in its place at about 1 teaspoon for the 1/4 cup of lemon juice.
- Sugar: Regular powdered pectin needs a good amount of sugar to gel, so this recipe follows the current Sure Jell ratio of 5 cups sugar to 4 cups of liquid, which gives you a classic old-fashioned jelly that sets reliably. If that’s sweeter than you’d like, there’s a lower-sugar option in the note just below.
- Pectin: Use regular powdered pectin, such as Sure Jell, which is dependable and gives consistent results from one batch to the next.
Low Sugar Options
If you’d like a less sweet jelly, swap in Sure Jell low sugar pectin and cut the sugar back to as little as 1 to 2 cups. If you reach for Pomona’s Universal Pectin instead, bump the lemon juice up to 1/2 cup, since Pomona’s doesn’t include the added citric acid that other pectins do.
Pomona’s is a 2-part low-sugar pectin that comes with calcium water and behaves a little differently, so follow the mint jelly directions on the insert, and it’s worth reading up on how to use Pomona’s pectin if you haven’t worked with it before.
How to Make Elderflower Jelly
Elderflower jelly comes together quickly once your blossoms are cleaned. You’ll steep a quick tea, strain it, then set it with lemon juice, pectin, and sugar added in that order. Whatever you do, don’t skip the lemon juice, even if you’re not planning to can, since it’s doing real work on both flavor and safety.
Have your jars and canner ready before you start if you plan to can, because once the jelly hits its boil, it moves fast, and you’ll want to fill the jars while everything is piping hot.
Prepare the Elderflower Blossoms
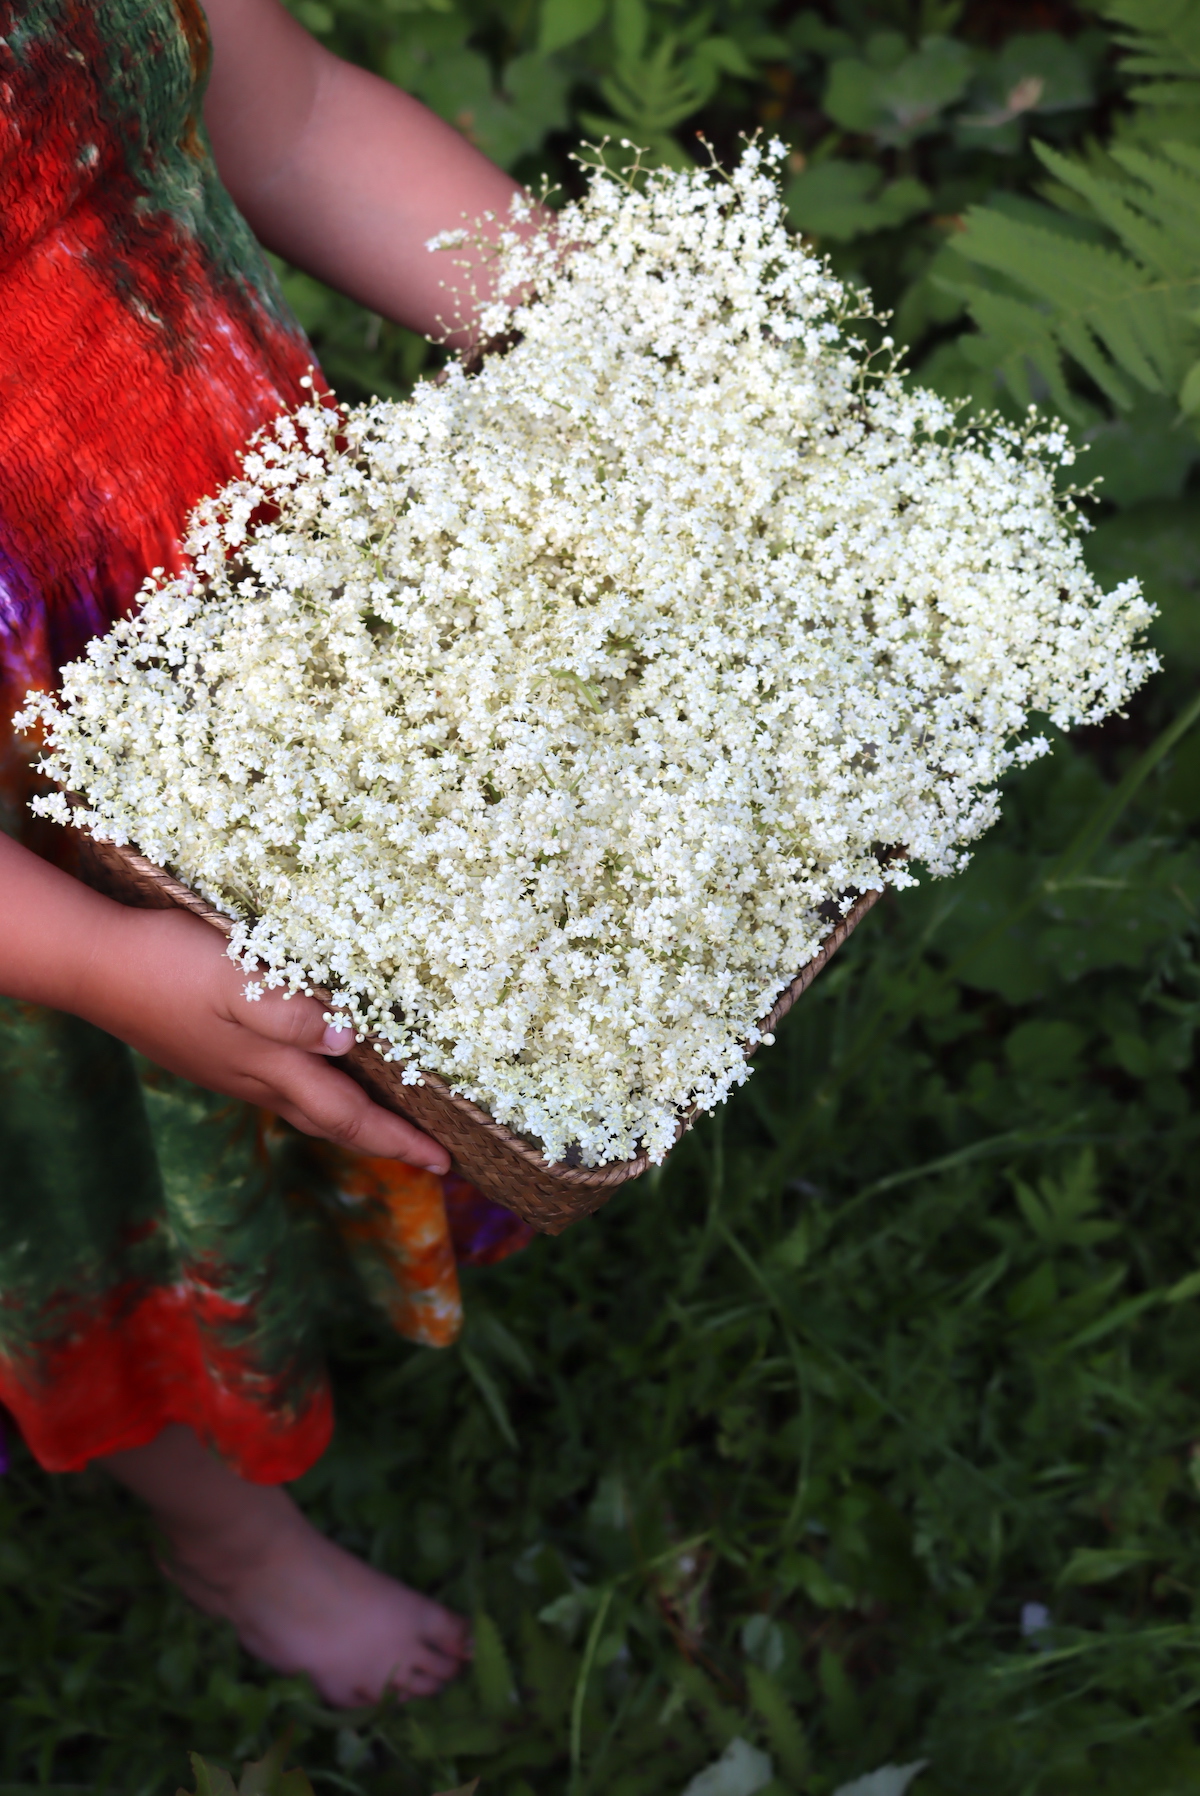
You’ll want roughly 4 cups of elderflower heads, with all the green parts (both stems and leaves) removed, since those can turn the jelly bitter. Give the blossoms a gentle shake to clear out any debris or insects, and pull the flowers off the stems with your fingers or the tines of a fork.
Because the recipe uses about 4 cups of flower material, I find it simplest to loosely pack a quart jar with the blossoms, since the next step is just pouring hot water over them. Any heat-safe container works just as well, like a large Pyrex measuring cup with a pouring spout, so use whatever you’ve got on hand.
Make the Elderflower Tea
Bring 4 cups of water to a boil and pour it over the elderflowers, pushing the blossoms down until they’re fully submerged. Let them steep for 10 to 15 minutes to draw out a concentrated, fragrant infusion. (Elderflower can turn bitter with a very long steep, so this one doesn’t need to sit for hours the way some flower teas do.)
Strain the tea through a fine mesh sieve into a saucepan, lining it with cheesecloth if you’d like an extra layer of filtration for a clearer jelly. You should have right around 4 cups of tea, so top it off with a little water if you’ve come up short.
Add Lemon Juice and Pectin
Add 1/4 cup of bottled lemon juice to the elderflower tea. (The lemon juice balances the sweetness, helps the pectin set, and makes the jelly safe for canning, so don’t leave it out even for a refrigerator batch.) Bring the mixture to a boil over medium-high heat.
Once it’s boiling, stir in one box of powdered pectin until it’s completely dissolved, then let it boil hard for a full minute with the pectin before you add anything else.
Add the Sugar
After that full minute, add 5 cups of sugar all at once. (Don’t add the sugar before or at the same time as the pectin, or the jelly won’t set, since the order really does matter here.) Stir until the sugar has dissolved, then bring everything back to a full rolling boil for exactly 1 minute.
Pull the pot off the heat and skim off any foam with a spoon. Ladle the hot jelly into your prepared jars right away, leaving 1/4 inch of headspace at the top.
Canning Elderflower Jelly
Canning is optional, but it’s a nice way to keep this seasonal treat around for the rest of the year or to put up a few jars for gifts. If you’re not canning, let the filled jars cool to room temperature, then store them in the fridge for a few weeks or the freezer for up to 6 months.
To can it, get your water bath canner, jars, and lids ready before you start making the jelly. After ladling the hot jelly into jars and leaving 1/4 inch of headspace, wipe the rims with a clean, damp cloth, set the 2-part lids on top, and screw the bands down until they’re fingertip tight.
Process in a boiling water bath canner for 10 minutes (a steam canner works too), then turn off the heat and let the jars rest for 5 minutes before lifting them out onto a towel. Leave them undisturbed for 12 to 24 hours, check the seals, and refrigerate any that didn’t seal for immediate use. Properly canned and sealed jars will hold their quality on the pantry shelf for 12 to 18 months. Refrigerate after opening.
Altitude Adjustments
For water bath canning, processing times increase at higher elevations:
- 0 to 6,000 feet: 10 minutes
- Above 6,000 feet: 15 minutes
Ways to Use Elderflower Jelly
A heaping spoonful on hot toast or a warm muffin is the way I reach for it most, since the heat loosens the jelly just enough to soak in. It’s also lovely on biscuits and scones, swirled into plain yogurt, or spooned over a wheel of soft cheese for a simple cheese board. The flavor is gentle enough that it won’t overpower whatever you put it on.
Because the flavor is delicate and the color so pretty, it also makes a thoughtful gift, especially tucked in alongside a loaf of quick bread. And if you wind up with more blossoms than you can turn into jelly, there are plenty of other ways to use elderflowers, from elderflower cordial to syrups and cakes, so none of the harvest has to go to waste.
Elderflower Jelly FAQs
Fresh blossoms give the fullest flavor, but dried elderflowers will work if that’s what you have. Steep them the same way, using a smaller volume since dried flowers are more concentrated, and taste the tea before moving on, because dried elderflower can occasionally turn a little bitter. Strain well, as the dried blossoms tend to leave more sediment behind.
Stick to blue or black elder, which have edible flowers and berries, and avoid red elder, which is toxic. The main mix-up to watch for is wild valerian, which blooms at the same time and has similar-looking flower clusters. Valerian isn’t poisonous, but it tastes nothing like elder and has sedative effects, so confirm your identification before you harvest, and only pick from plants that haven’t been sprayed.
The most common reasons jelly doesn’t set are adding the sugar at the same time as the pectin (add pectin first and boil for 1 minute before adding sugar), boiling the finished jelly for too long (over 5 minutes), or trying to double the batch size. If it doesn’t set after 24-48 hours, enjoy it as a floral syrup or read through my guide on troubleshooting jelly set.
Yes, but you’ll need to use a low-sugar pectin like Sure-Jell Low Sugar or Pomona’s Universal Pectin and follow the package instructions for mint jelly. If you use Pomona’s, increase the lemon juice to 1/2 cup, since it doesn’t contain the added citric acid that other pectins do. The yield will be lower with reduced sugar.
Flower Jelly Recipes
If you tried this Elderflower Jelly recipe, or any other recipe on Creative Canning, leave a ⭐ star rating and let me know what you think in the 📝 comments below!
And make sure you stay in touch with me by following on social media!
Elderflower Jelly
Equipment
- Canning Jars, Lids and Bands
Ingredients
For the Elderflower Tea
- 2 to 4 cups fresh elderflower blossoms, de-stemmed, green parts removed
- 4 cups water
For the Jelly
- 4 cups elderflower tea, strained
- 1/4 cup bottled lemon juice, or 1 teaspoon citric acid
- 1 box powdered pectin, 1.75 oz, regular, such as Sure-Jell original or 6 Tbsp bulk pectin
- 5 cups granulated sugar
Instructions
- Bring the water to a boil and pour it over the elderflower blossoms in a heatproof container, pushing them down until submerged. Steep 10 to 15 minutes.
- Strain the tea through a fine mesh strainer into a saucepan. Measure, adding water if needed to reach the full amount of tea called for.
- Stir the lemon juice into the elderflower tea. Whisk in the powdered pectin until dissolved, then bring to a full rolling boil over medium-high heat and boil hard for 1 minute.
- Add all the sugar at once and stir to dissolve. Return to a full rolling boil for exactly 1 minute, then remove from heat and skim off any foam.
- Ladle hot jelly into prepared jars, leaving 1/4 inch headspace. Wipe rims, center lids, and apply bands fingertip-tight.
- Process in a boiling water bath for 10 minutes, adjusting for altitude. Turn off heat and let jars rest 5 minutes before removing. Cool undisturbed 12 to 24 hours before checking seals.
Notes
Nutrition
Nutrition information is automatically calculated, so should only be used as an approximation.
Jelly Canning Recipes
Find the perfect recipe
Searching for something else? Enter keywords to find the perfect recipe!
My little ones really liked this elderflower jelly. It’s delicate and mildly floral with just enough magic to complement one of my daughter’s summer porch tea parties.