This post may contain affiliate links. Please see our disclosure policy.
Pickled brussels sprouts are an incredibly delicious way to preserve brussels sprouts. While canning plain brussels sprouts isn’t recommended per the USDA, pickled brussels sprouts are wonderful for canning. This simple pickled brussels sprouts recipe is adapted from Ball Canning, and it’s a safe and tested recipe for canning brussels sprouts.
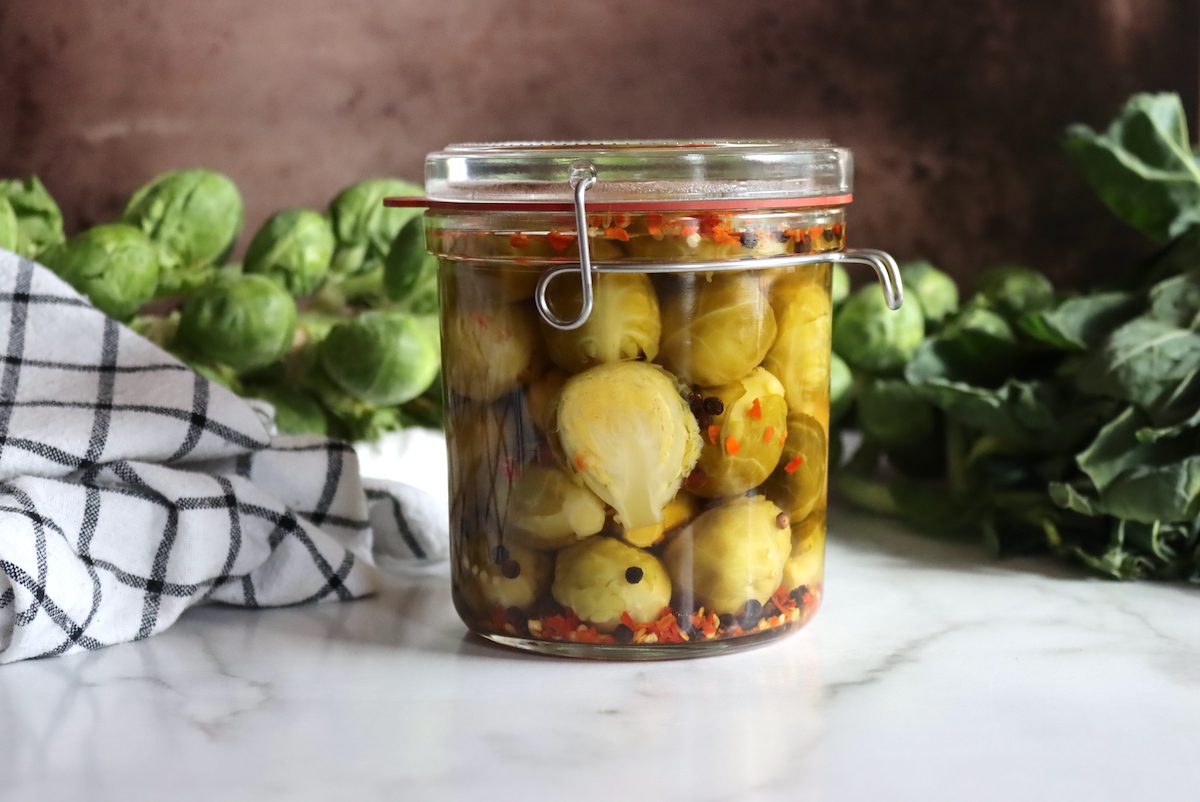
I absolutely love brussels sprouts, and I’m always looking for new delicious brussels sprout recipes.
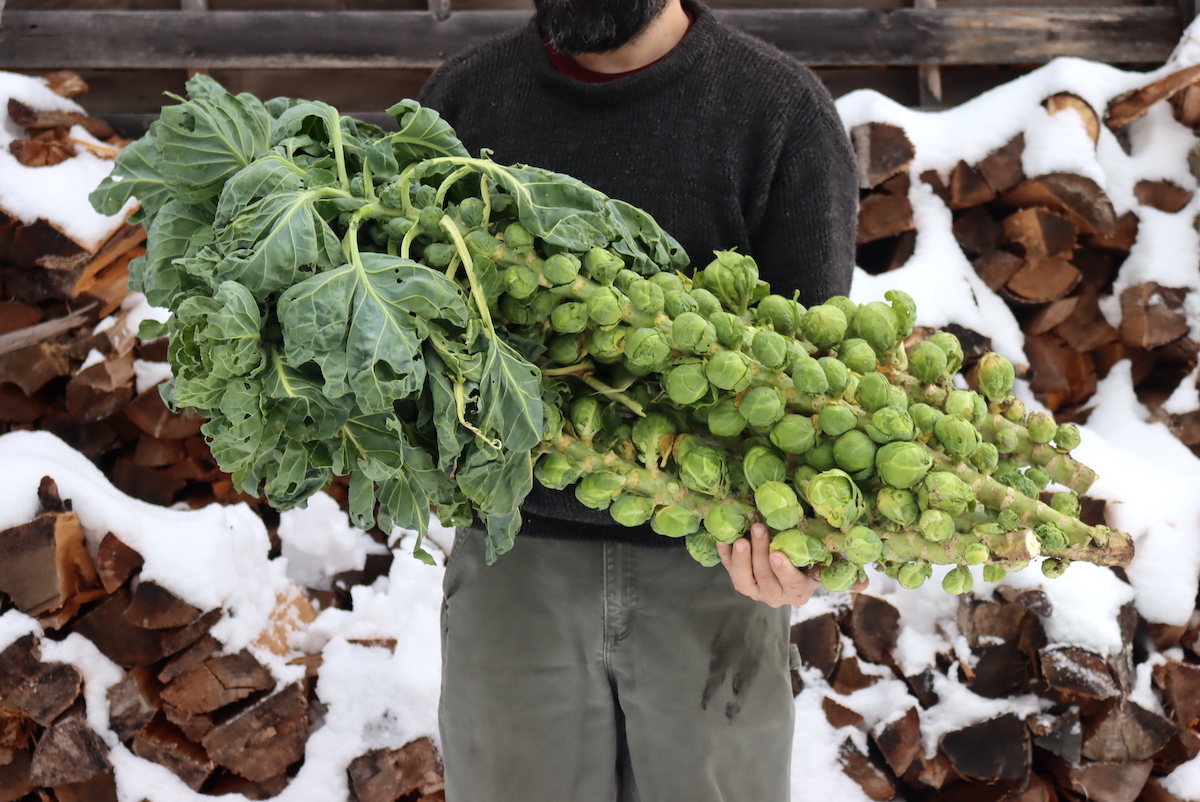
We’ll pull them slowly off the plants all autumn long, and then finally cut the remaining stalks right before the first big snowfall. That usually happens the week of Thanksgiving, which works out well.
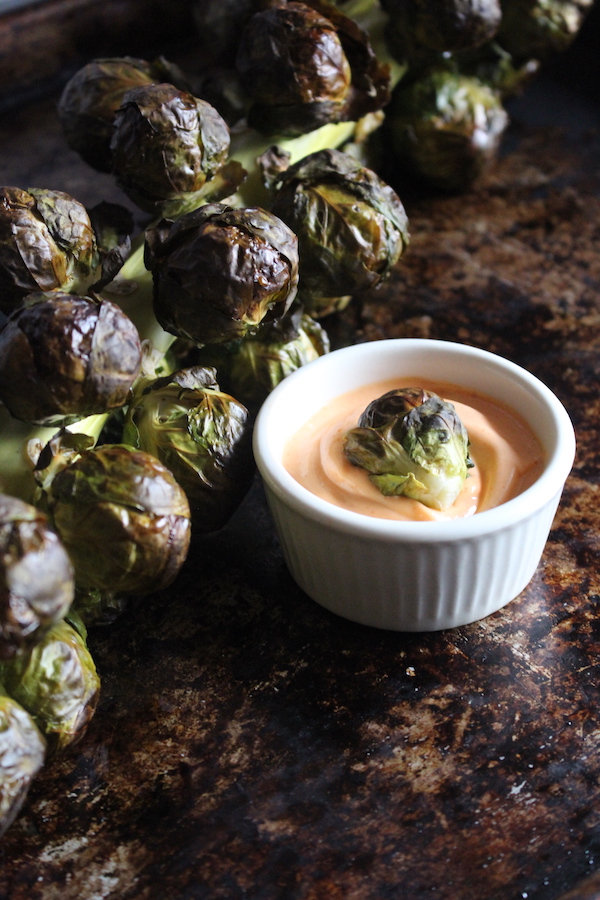
They’re always the star of our thanksgiving table, and I’ll roast up brussels sprouts right on the stalk to serve as an appetizer before the big meal.
This season, we grew more brussels sprouts than ever, and while we can store them in a root cellar (or refrigerator), I’m looking for other ways to preserve brussels sprouts on my pantry shelf.
Freezing brussels sprouts is an option, but since we live off-grid, freezer space is always an issue.
Canning plain brussels sprouts does not work too well, as they turn sulfurous and taste horrible. The USDA started testing recipes for safety, but they all tasted so bad that they abandoned the project…so there’s currently no tested pressure canning recipe for plain brussels sprouts.
You can, however, process pickled brussels sprouts right in a water bath canner.
Once pickled, brussels sprouts are amazingly delicious, and we’ll eat them as a side dish right alongside a rich meal. They’re also great sliced up into sandwiches, and I even slice them to top wintertime hamburgers, slathered into a layer of homemade tomato jam.
Personally, I love them right out of the jar as a snack all winter long, and they keep me going until the fresh greens arrive in spring.
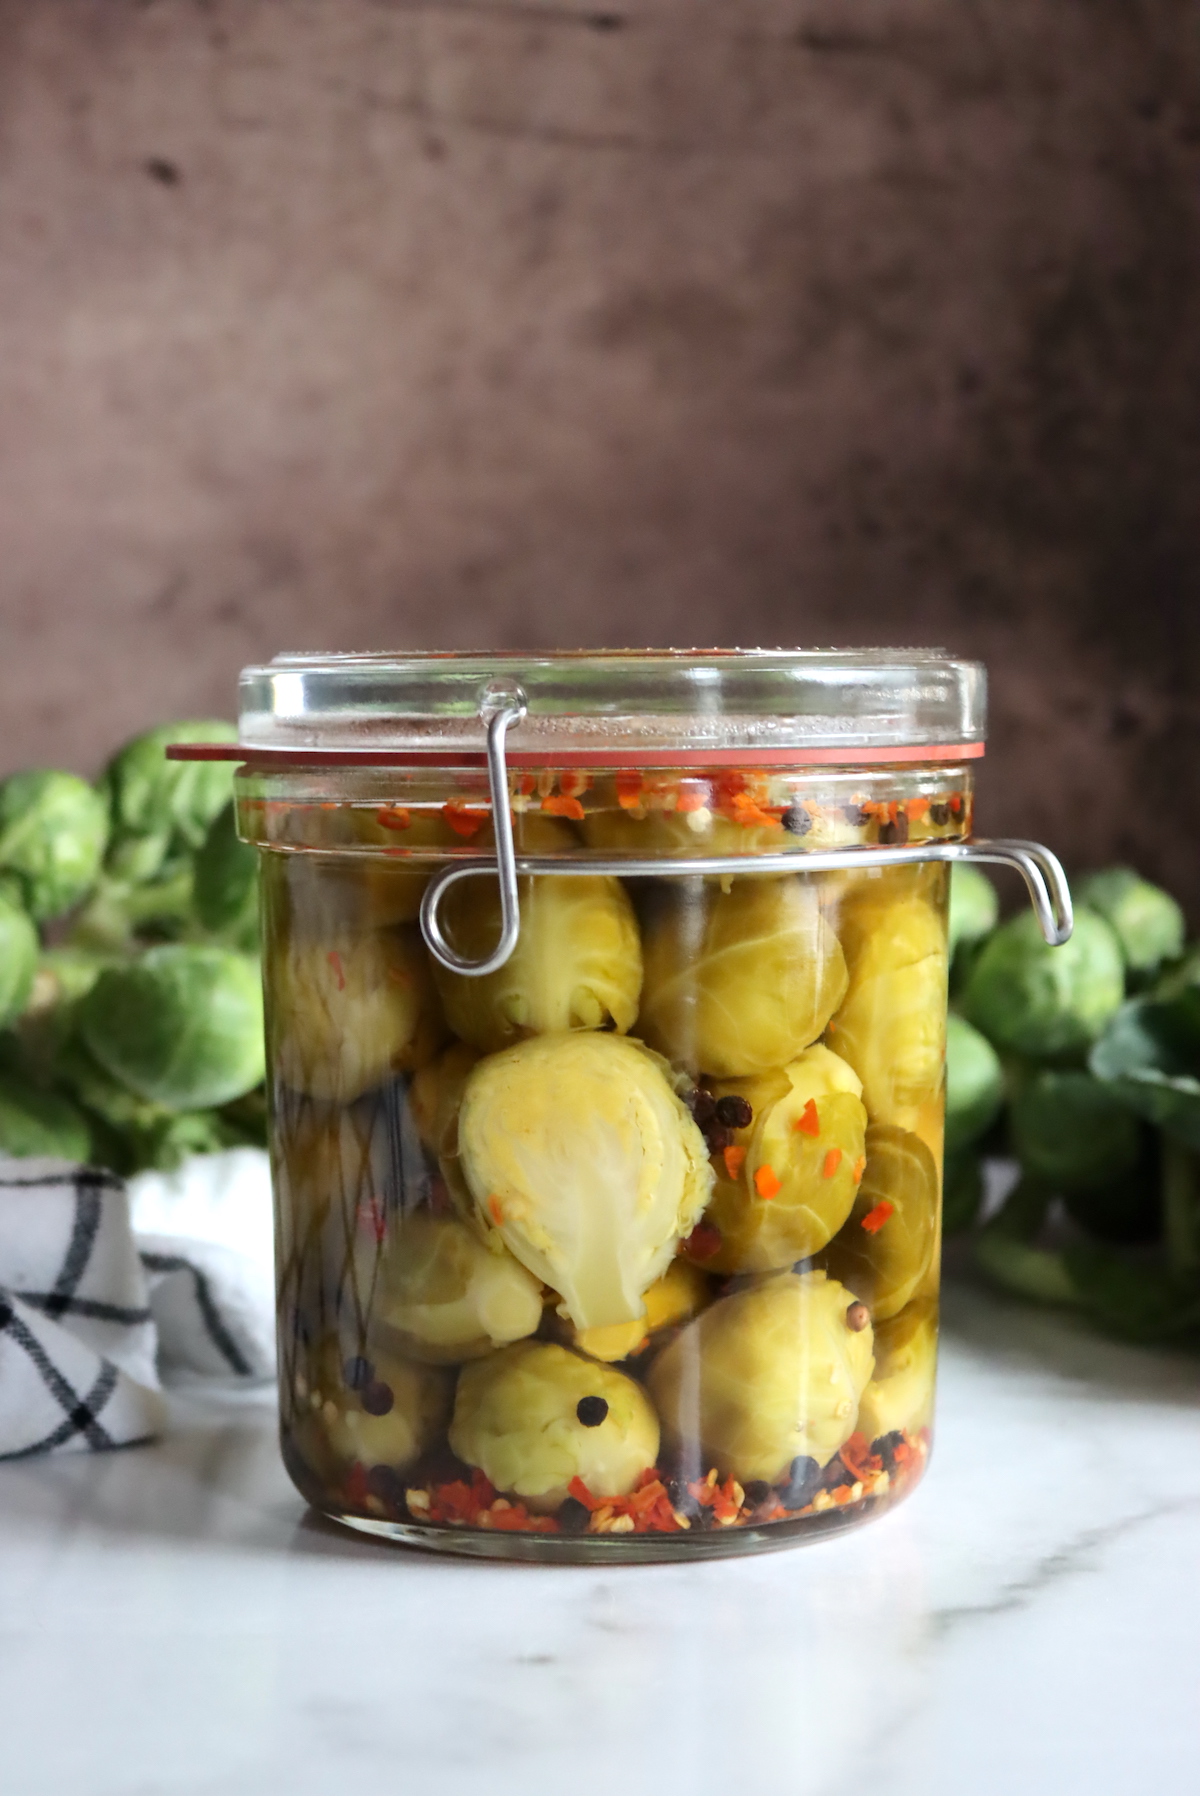
Ingredients for Pickled Brussels Sprouts
Pickling brussels sprouts is the only way to ensure you have a canning-safe recipe, but there are a few other requirements to ensure they’re properly pickled. Many of the ingredients are up to you, but the water-to-vinegar ratio is crucial.
Just like any pickling recipe, whether you’re picking carrots or classic dill pickles, the brine must be at least 50% vinegar that’s standardized to 5% acidity.
It’s perfectly fine to use more vinegar, but you cannot use less. If you’re making a tangy sweet/sour pickle, recipes tend to use more vinegar, and then quite a bit of sugar to balance it out. Some recipes use all viengar, but I think that comes out a bit abrasive.
Beyond the vinegar/water ratio, the rest of the ingredients are flexible.
You can use whatever spices you like, provided they’re dry spices. The sugar and salt quantities are up to you as well, since they’re in the jar for flavor rather than preservation.
Here is the basic brine that Ball Canning Uses in The All New Ball Book of Home Canning and Preserving. To make 6 pints of pickled brussels sprouts, you’ll need the following:
- 3 lbs Brussels Sprouts
- 5 cups Vinegar at 5% acidity
- 2 cups Water
For salt and spices, I’d suggest:
- 1/4 cup pickling and canning salt
- 6 to 12 cloves garlic (1 to 2 per jar)
- 6 tsp black peppercorns (1 per jar)
- 6 to 12 tsp red pepper flakes (1 to 2 per jar)
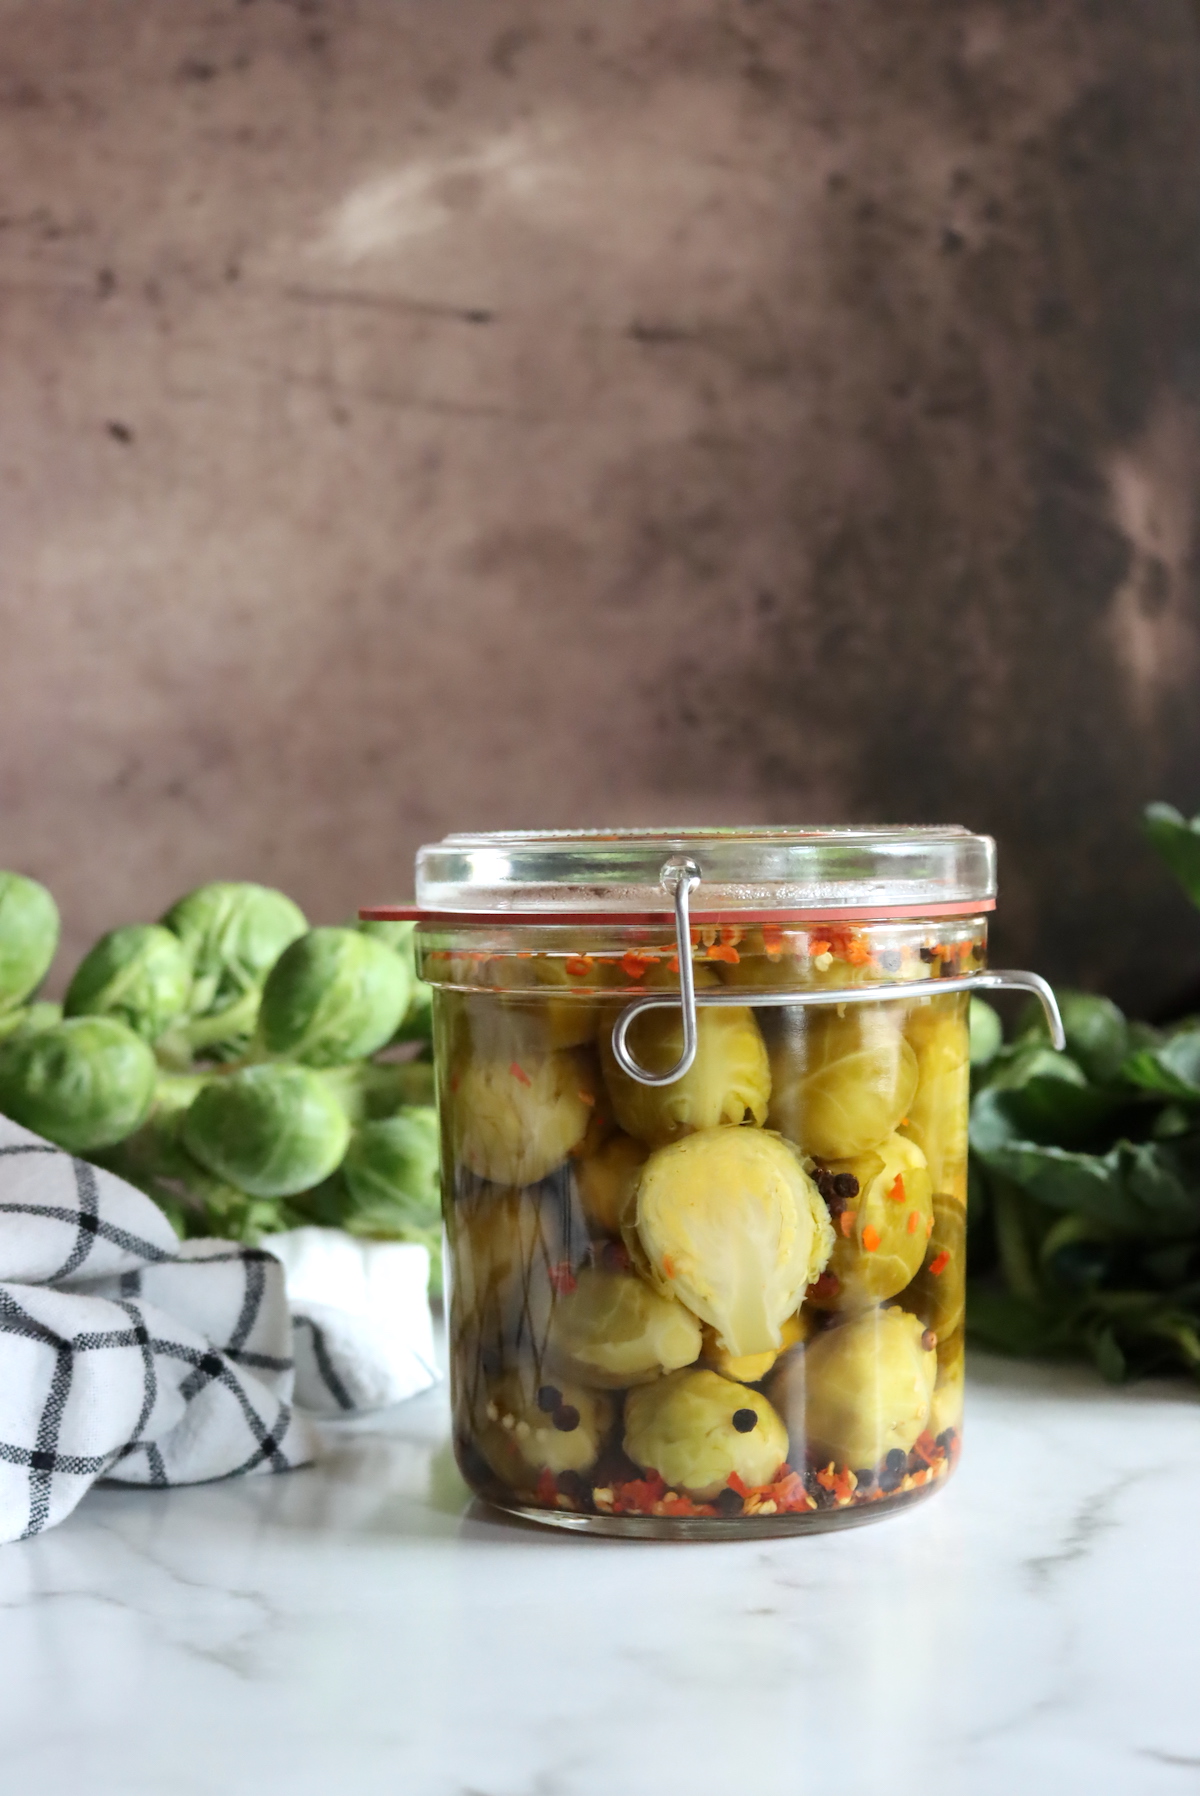
That may seem like quite a bit of salt, but it actually works out wonderfully in pickled brussels sprouts. I went simple with the spicing, and garlic/pepper add a nice rounded flavor without going too hard in any particular direction. A few tsp of red pepper flakes adds a bit of heat without being overbearing.
Other good spicing options include dill, cumin, coriander, sliced jalapeno peppers, or a bit of lemon. I’ve also tried making Asian spiced Brussels by adding a bit of soy sauce, sriracha, and Sichuan peppercorns.
As I said, the spicing is up to you, but make sure that half your brine is vinegar standardized to 5% acidity. It can be white vinegar, cider vinegar, red wine vinegar or any other type that says 5% acidity. Read labels carefully; some are standardized to lower acidity. Rice vinegar, for example, is usually a lower acidity.
How to Make Pickled Brussels Sprouts
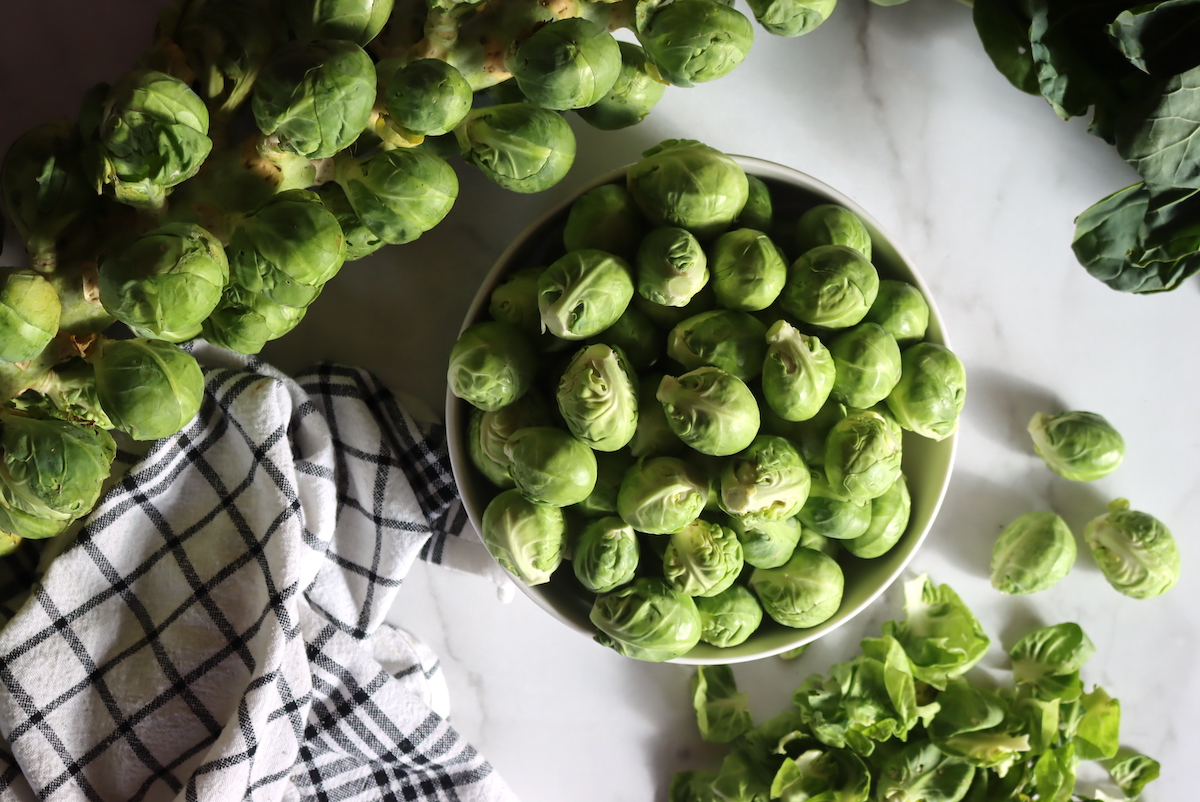
Making pickled brussels sprouts starts by first cleaning the sprouts. Give them a quick wash and check for bugs.
Trim the stem end, and then peel off the outer leaves until you have nice tight heads.
Smaller brussels sprouts tend to work the best for pickling, but if yours are particularly large, you can cut them in half.
If you’re canning, this is when you’d prepare a water bath canner, jars, lids, and rings.
Once your sprouts are cleaned and trimmed, they need to be blanched in boiling water.
This ensures that they’re cooked completely through to the center before pickling, which is essential to prevent spoilage. It also drives off air in the sprouts themselves, so they don’t float in the jars. And lastly, it removes a bit of bitter crucifer taste that brussels let out into the water when they’re cooked. (The blanching water is discarded, so that goes with it.)
Bring a pot of water to a hard boil, and blanch the sprouts for about 4 minutes. Remove them from the boiling water and pack into jars, leaving 1/2 inch headspace.
Next, make the pickling brine. Mix the vinegar, water, and salt together in a saucepan and bring it to a boil.
While the brine is coming to a boil, add the dry spices to each canning jar. This ensures that each jar is evenly spiced.
Last, pour the boiling brine over the brussels sprouts and spices, maintaining 1/2 inch headspace.
Canning Pickled Brussels Sprouts
If you’re just making refrigerator pickles, you can just lid the jars and store them in the refrigerator for a few days to allow the flavors to infuse. They’ll keep in the refrigerator for a few weeks.
If you are canning, which I’d recommend because it actually preserves them in the pantry shelf, you should prepare a water bath canner before you start preparing the Brussels.
Make them as you otherwise would, and pack into jars. Be sure to watch the 1/2-inch headspace. Debubble jars, adjust headspace, and seal with 2-part canning lids.
Process jars in a water bath canner for 10 minutes, adjusting for altitude. (See below)
Altitude adjustments for Canning Pickled Brussels Sprouts
The processing time for these jars is 10 minutes if you’re below 1,000 feet in elevation. For 1,000 to 6,000 feet, the processing time is 15 minutes. Above 6,000 feet, use 20 minutes.
Be sure that you blanch the sprouts before packing them into jars, as this canning time isn’t sufficient if you’re working with raw brussels sprouts.
Using Pickled Brussels Sprouts
Generally, pickled brussels sprouts are eaten right out of the jar, or served on charcuterie plates. Those are delicious ways to enjoy them, and I particularly like them next to rich pork dishes. The acidity and the flavor of the greens helps to cut the rich, fatty flavors in pork. That’s one reason they do well with charcuterie.
They also do well finely shredded (after they come out of the jar) and used as a relish topping for burgers and sausage. They have a flavor that’s a bit like sauerkraut but more nuanced (and much less sour). Tastes more like a green relish than a kraut.
This recipe for pickled brussels sprouts is adapted from The All New Ball Book of Home Canning and Preserving and is a tested canning recipe.
Pickled Brussels Sprouts
Ingredients
- 3 lbs Brussels Sprouts
- 5 cups Vinegar at 5% acidity
- 2 cups Water
- 1/4 cup pickling and canning salt
- 6 to 12 cloves garlic, 1 to 2 per jar
- 6 tsp black peppercorns, 1 per jar
- 6 to 12 tsp red pepper flakes, 1 to 2 per jar
Instructions
- If Canning, prepare a water bath canner, jars, lids, and bands before beginning. The canner should be preheated for hot pack, which means at a gentle simmer (around 180 degrees F).
- Wash and clean the brussels sprouts. Time the stem ends and remove any outer leaves. The sprouts should be small, tight heads. Cut any large sprouts in half.
- Bring a pot of water to a boil and blanch the sprouts for about 4 minutes. Remove with a slotted spoon and pack into jars, leaving 1/2 inch headspace. Discard cooking water.
- Add dry spices to each jar (but not vinegar, water, and salt).
- Add the brine ingredients to a pot, including vinegar, water, and salt. Bring it to a hard boil, stirring to dissolve the salt.
- Pour the boiling brine over the brussels sprouts in jars, maintaining 1/2 inch headspace. De-bubble jars, adjust headspace and cap with 2-part lids
- If canning, process in a water bath canner for 10 minutes, adjusting for altitude (see notes).
- Remove the jars from the canner to cool on a towel on the counter. After 12-24 hours, check seals and store any unsealed jars in the refrigerator for immediate use. Properly sealed jars should maintain quality on the pantry shelf for 12-18 months.
- I'd suggest waiting for at least 1 week before eating the brussels, to allow time for them to properly pickle and for the flavors to infuse.
Notes
Altitude Adjustments
The altitude adjustments for canning pickled brussels sprouts are as follows:- Under 1,000 Feet – Process jars for 10 minutes
- 1,001 to 6,000 Feet – Process jars for 15 minutes
- Above 6,00 Feet – Process jars for 20 minutes
Recipe Variations
Other good spicing options include dill, cumin, coriander, sliced jalapeno peppers, or a bit of lemon. I've also tried making Asian spiced Brussels by adding a bit of soy sauce, sriracha, and Sichuan peppercorns. For propper pickling, the brine must be at least half vinegar (at 5% acidity) by volume. The spicing is up to you, but make sure that at least half your brine is vinegar standardized to 5% acidity. It can be white vinegar, cider vinegar, red wine vinegar, or any other type that says 5% acidity. Read labels carefully; some are standardized to lower acidity. Rice vinegar, for example, is usually a lower acidity.Nutrition
Nutrition information is automatically calculated, so should only be used as an approximation.
Pickling Recipes
Looking for more simple pickling recipes?
- Pickled Corn Salad
- Pickled Three Bean Salad
- Pickled Green Tomatoes
- Pickled Green Beans (Dilly Beans)
- Pickled Jalapenos
- Pickled Fiddleheads
Autumn Canning Recipes
Keep your canner running this fall with these seasonal canning recipes:
I’m preparing all of my equipment now. My aunt is the inspiration for learning how to can these sprouts I have an abundance of. And you have given me the ability to try with your step by step guide. Thanks so much!! I cannot wait to get a free moment to be able to look at your other recipes Ashley!!!
Wonderful Holly!
Why not just process them for 15 minutes instead of adding the extra blanch step?
Thanks for the recipe. Just pulled mine out of the water bath. 🙂
Lovely, glad you enjoyed them!
I just updated the recipe to make the reasoning behind the blanching step a bit clearer. Here’s the reason:
This ensures that they’re cooked completely through to the center before pickling, which is essential to prevent spoilage. It also drives off air in the sprouts themselves, so they don’t float in the jars. And lastly, it removes a bit of bitter crucifer taste that brussels let out into the water when they’re cooked. (The blanching water is discarded, so that goes with it.)
If you just did extra canning time, they wouldn’t quite taste right and they’d float in the jars too.