This post may contain affiliate links. Please see our disclosure policy.
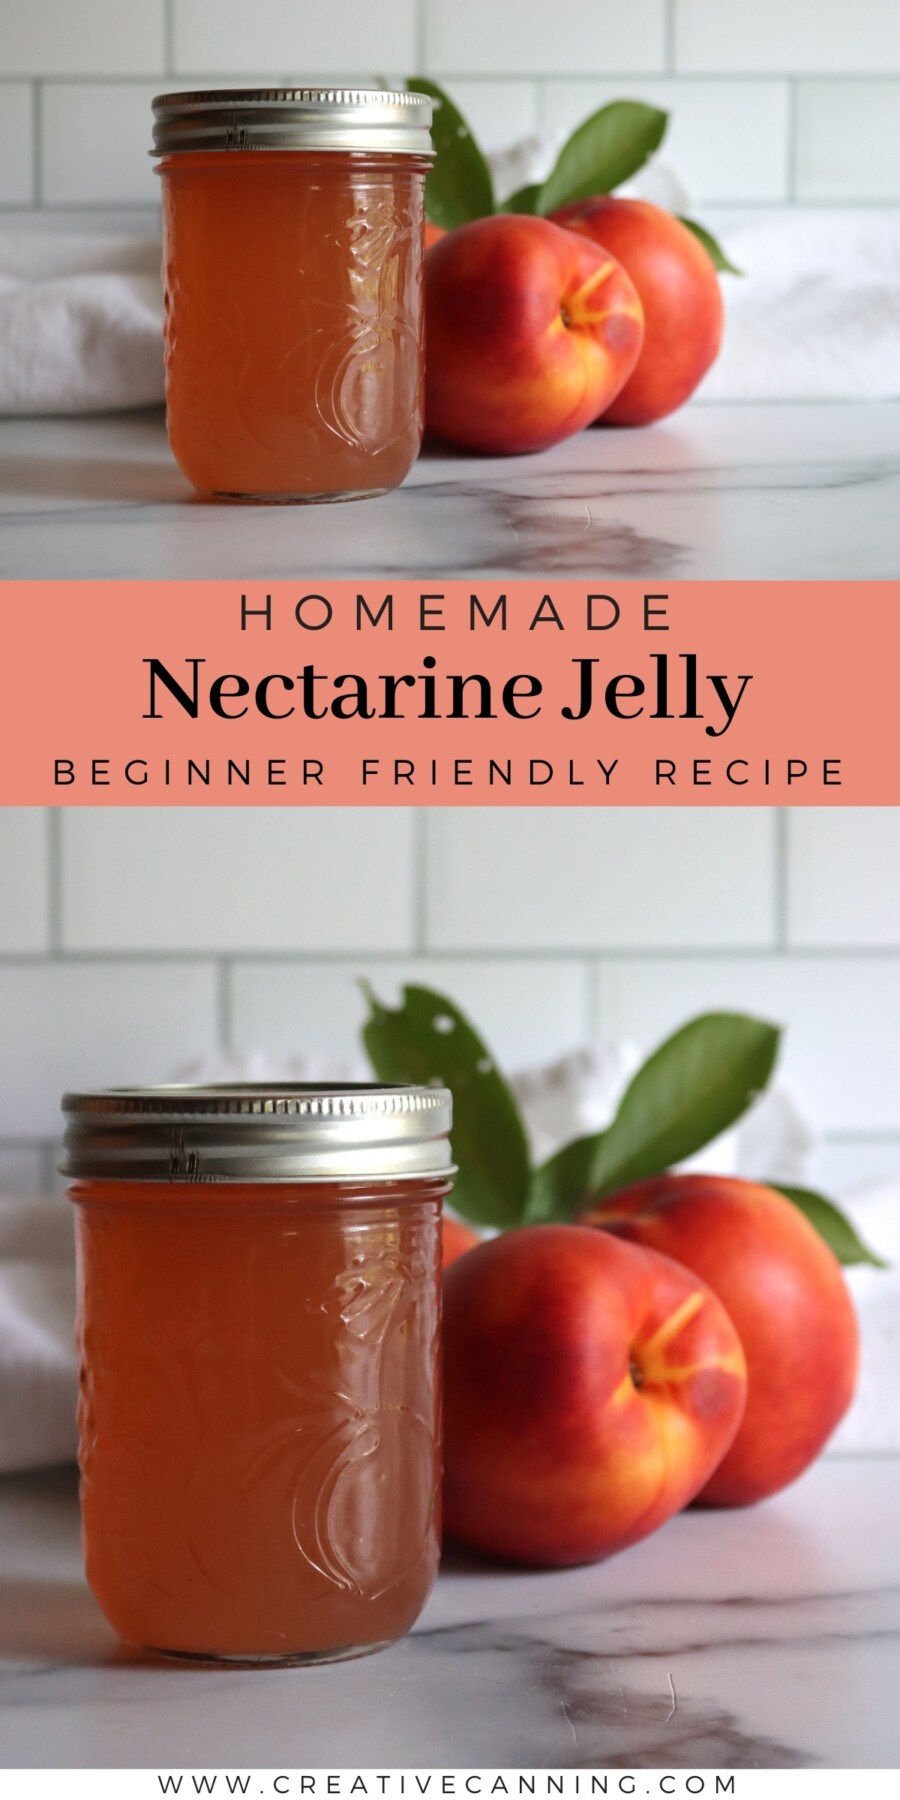
Nectarine jelly is a bright, translucent spread that captures the sweet, delicate flavor of summer stone fruit in a smooth, spreadable form. It’s a good way to preserve nectarines when you have more than you can eat fresh, and it turns breakfast toast into something special.
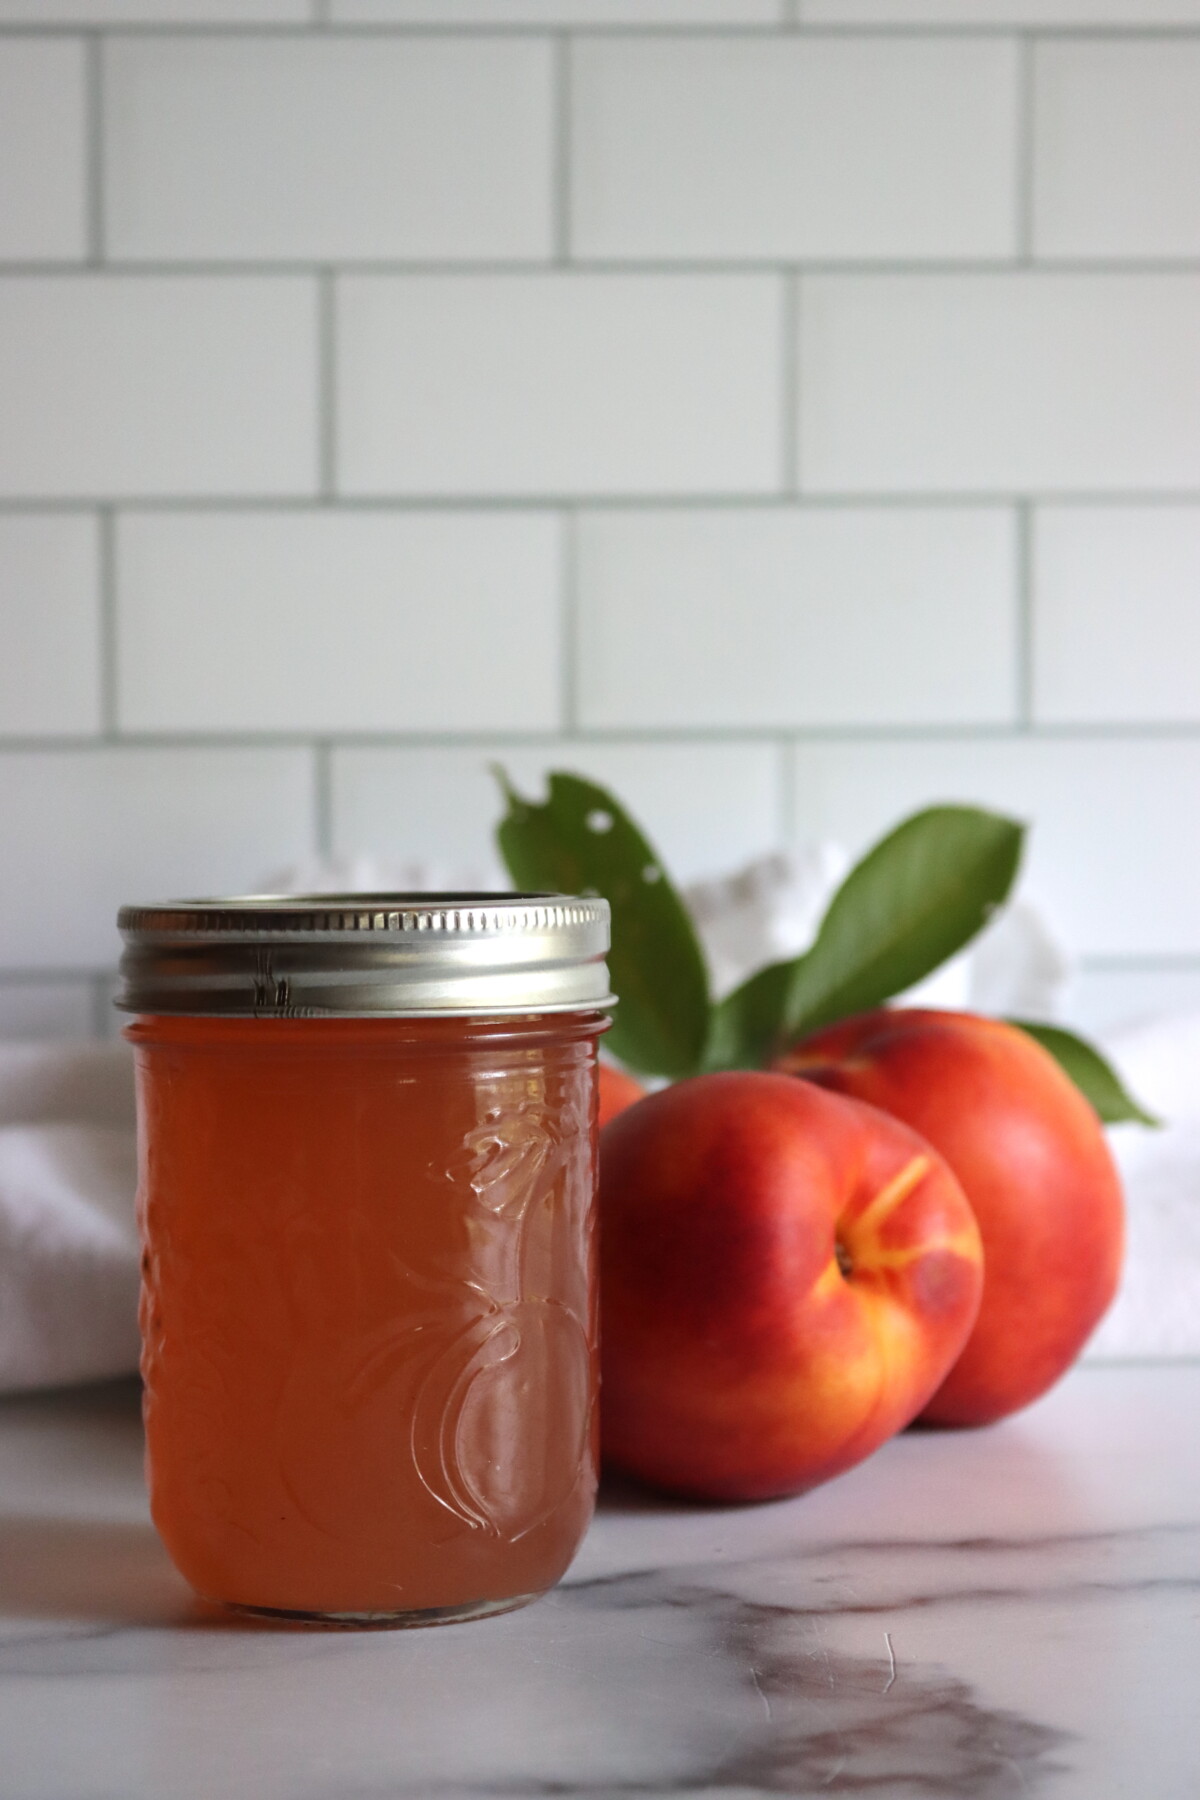
If you’ve got a pile of ripe nectarines and want to put them up for later, this tested jelly recipe is simple and reliable. The result is glossy jars of pure fruit flavor that’ll brighten your pantry shelf all year long.
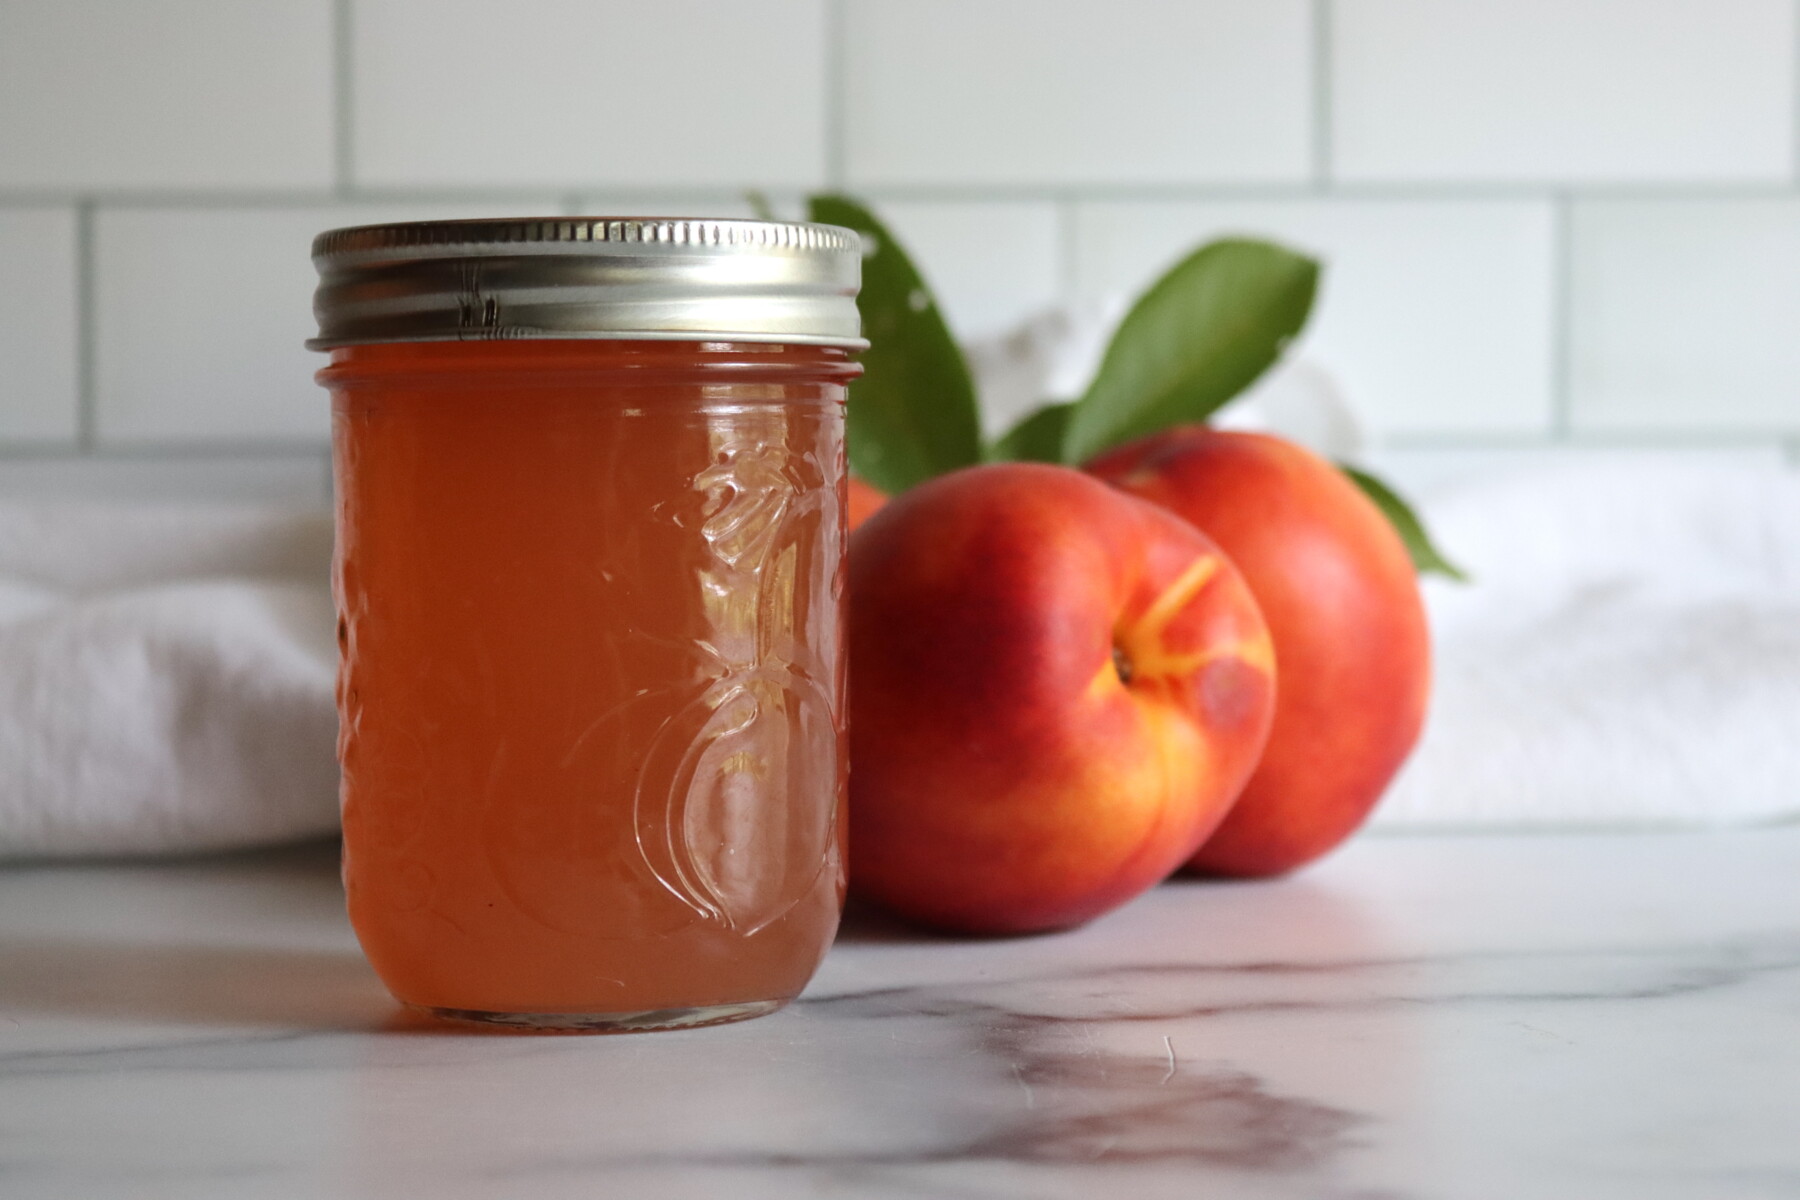
Table of Contents
- Notes from My Kitchen
- Quick Look at the Recipe
- Ingredients for Nectarine Jelly
- Low Sugar and Pectin Options
- How to Make Nectarine Jelly
- Don’t Overcook Pectin Jelly
- Canning Nectarine Jelly
- Altitude Adjustments
- Yield Notes
- Serving Ideas
- Nectarine Jelly FAQs
- Stone Fruit Canning Recipes
- Nectarine Jelly Recipe
- Jelly Canning Recipes
This recipe has been reviewed for safety and accuracy by a Master Food Preserver certified through the University of Cornell Cooperative Extension.
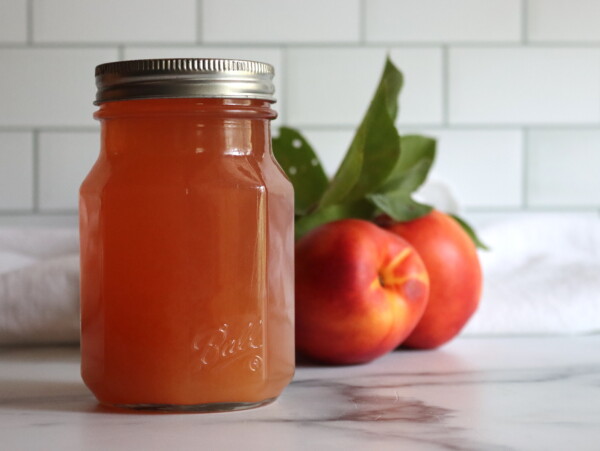
There’s something wonderfully satisfying about turning a basket of fresh nectarines into jars of clear, bright jelly. Unlike nectarine jam, which preserves whole fruit pieces, jelly is all about capturing pure fruit essence in a smooth, spreadable form that’s perfect for everything from morning toast to glazing pastries.
This tested canning recipe is adapted from Sure-Jell’s classic nectarine jelly recipe, with adjusted proportions that balance sweetness and fruit flavor beautifully. The process involves extracting juice from fresh nectarines, cooking it with pectin and sugar, and processing in a water bath canner for safe shelf storage.
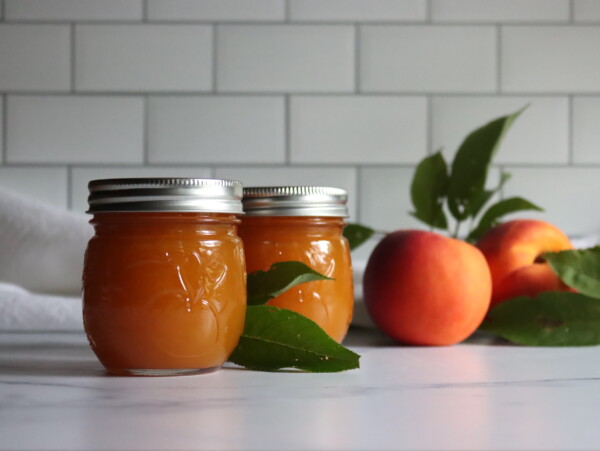
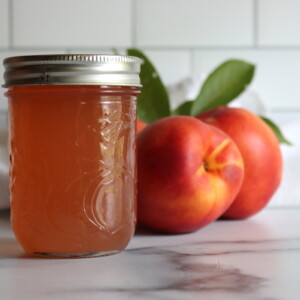
The result is translucent golden jelly with a delicate nectarine flavor that tastes like bottled summer sunshine.
Notes from My Kitchen

Here in Vermont, stone fruits like nectarines have a short season, so when they come in, we buy them in bulk. I usually make a batch of nectarine jam each year, but this season I branched out and tried canning nectarine slices with the peel on (since you don’t have to peel them like when you’re canning peaches) and making nectarine pie filling.
My kids love jellies, so I tried this jelly on a whim, and I’m so glad I did. They absolutely love it, and it has a rich, pure nectarine flavor without the distraction of peels or chunks of fruit. Just silky smooth delicious. Now it’s become a staple in our preserving rotation whenever nectarines are available.
Quick Look at the Recipe
- Recipe Name: Nectarine Jelly
- Recipe Type: Fruit Jelly
- Canning Method: Water Bath Canning
- Prep/Cook Time: 60 to 90 Minutes
- Canning Time: 10 Minutes
- Yield: 5 to 6 half-pint jars
- Jar Sizes: Half Pint or Pint
- Headspace: 1/4 inch
- Ingredients Overview: Nectarines, water, lemon juice, sugar, and pectin
- Safe Canning Recipe Source: Adapted from Sure-Jell
- Difficulty: Easy. Once you have the juice, just add the rest of the ingredients in the correct order, and you’ll be all set.
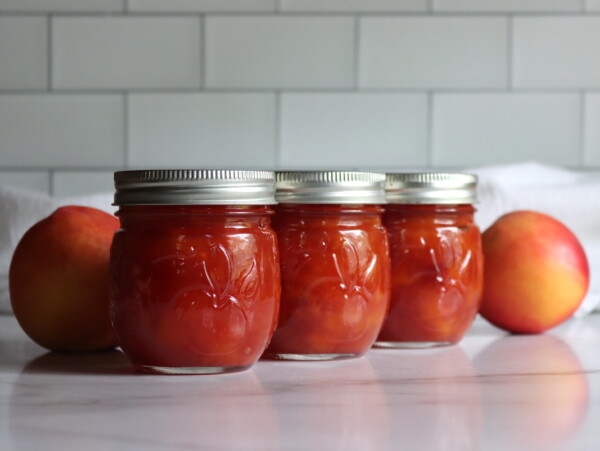
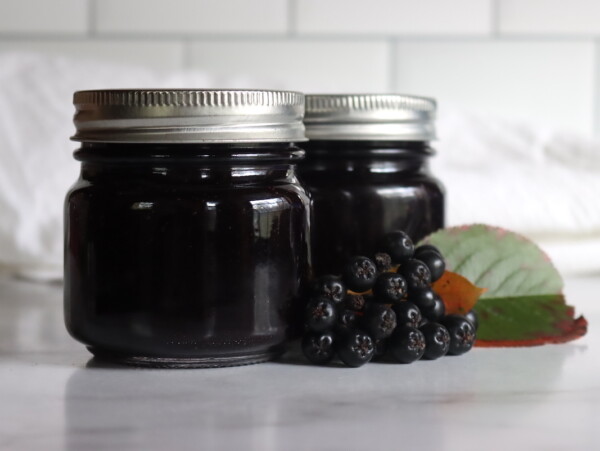
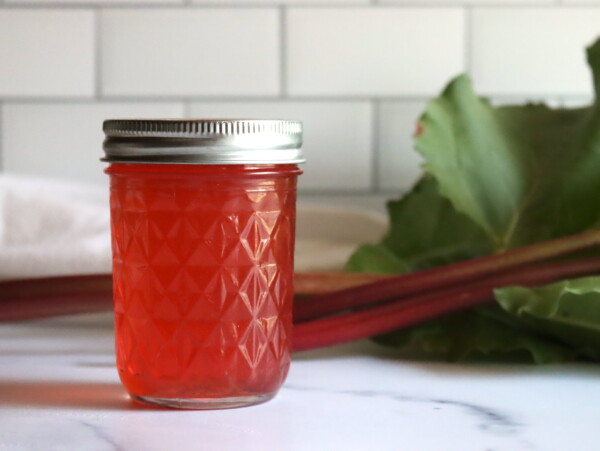
- Similar Recipes: The process is similar to other fruit jellies with added pectin, like Peach Jelly, Apricot Jelly, Strawberry Jelly, or Rhubarb Jelly. If you’ve made any fruit jelly before, you’ll find this familiar territory.
Ingredients for Nectarine Jelly
This recipe keeps things simple, focusing on pure nectarine flavor with just enough sugar and pectin to achieve that perfect jelly set. Here’s what you’ll need:
- Nectarines: Choose ripe but firm nectarines for the best juice extraction and flavor. They should smell fragrant and give slightly when pressed, but not be mushy.
- Water: Added during the initial cooking to help extract juice from the fruit and prevent scorching.
- Lemon Juice: Brightens the flavor and deepens the color, and it helps the pectin gel reliably. Because nectarines are naturally acidic enough for safe water bath canning on their own, the lemon here is for quality and a dependable set, not for safety, so fresh or bottled both work. (I strongly recommend using it either way.) For a more neutral flavor, you can use citric acid powder instead, at 1/2 teaspoon in place of 2 Tbsp of lemon juice.
- Powdered Fruit Pectin (Such as Sure Jell): The gelling agent that turns fruit juice into jelly. Sure-Jell is designed for full-sugar recipes and gives reliable results, but Ball’s Fruit Pectin works well too. This recipe is written with enough sugar to use regular, full-sugar fruit pectin. See the note below for low sugar options.
- Granulated Sugar: Sweetens the jelly and works with the pectin to create the proper gel. Regular powdered pectin needs plenty of sugar to set, so this recipe uses 5 cups of sugar to the 4 cups of juice. Don’t cut it back with regular pectin, or the jelly won’t gel.
The quality of your nectarines directly impacts the flavor of your finished jelly. Look for fruit that’s ripe but still firm, with good color and fragrance. Overripe or bruised nectarines can produce cloudy juice, while underripe fruit may lack flavor.
This recipe uses 5 cups of sugar to 4 cups of juice, which is the amount regular full-sugar pectin needs to set reliably. Sugar isn’t required for safe preservation (heat and the fruit’s acidity are what keep canned jelly shelf-stable), but it plays an important role in helping the pectin gel. If you’d like a lower sugar spread, switch to a low sugar pectin and adjust as described in the note just below.
Low Sugar and Pectin Options
This recipe is written for regular powdered pectin (like Sure Jell original), which needs the full amount of sugar to set. If you’d prefer a less sweet jelly, use Sure Jell low sugar pectin (pink box) or Ball low sugar pectin and reduce the sugar following the package directions, since the amounts differ from regular pectin.
Pomona’s Universal Pectin sets with any amount of sugar (or none at all), though the gel is softer. It works a bit differently with a 2-part calcium-water system, so follow the box and read how to use Pomona’s pectin if it’s your first time.
Liquid pectin isn’t recommended here, since stone fruit needs a lot more sugar to set with it, and the results are less consistent. If liquid pectin is what you have, use the tested Certo amounts instead: 3 1/2 cups nectarine juice, 1/4 cup lemon juice, 7 1/2 cups sugar, and 2 pouches (one 6-ounce box) of Certo liquid pectin. The order of operations is reversed with liquid pectin too: you stir the sugar into the juice and bring it to a full rolling boil first, then add the pectin at the very end and boil hard for exactly 1 minute. That’s the opposite of the powdered method, where the pectin goes into the juice before the sugar.
How to Make Nectarine Jelly
Making fruit jelly is a two-part process: first extracting the juice, then cooking it with pectin and sugar to create the gel. Each step matters for clear, properly set jelly.
One thing to keep in mind before you start: the pectin goes into the juice before the sugar, and the mixture has to come to a full rolling boil at each stage. That order is what activates the pectin so the jelly sets. Skipping steps or adding the sugar too early can leave you with jelly that won’t gel.
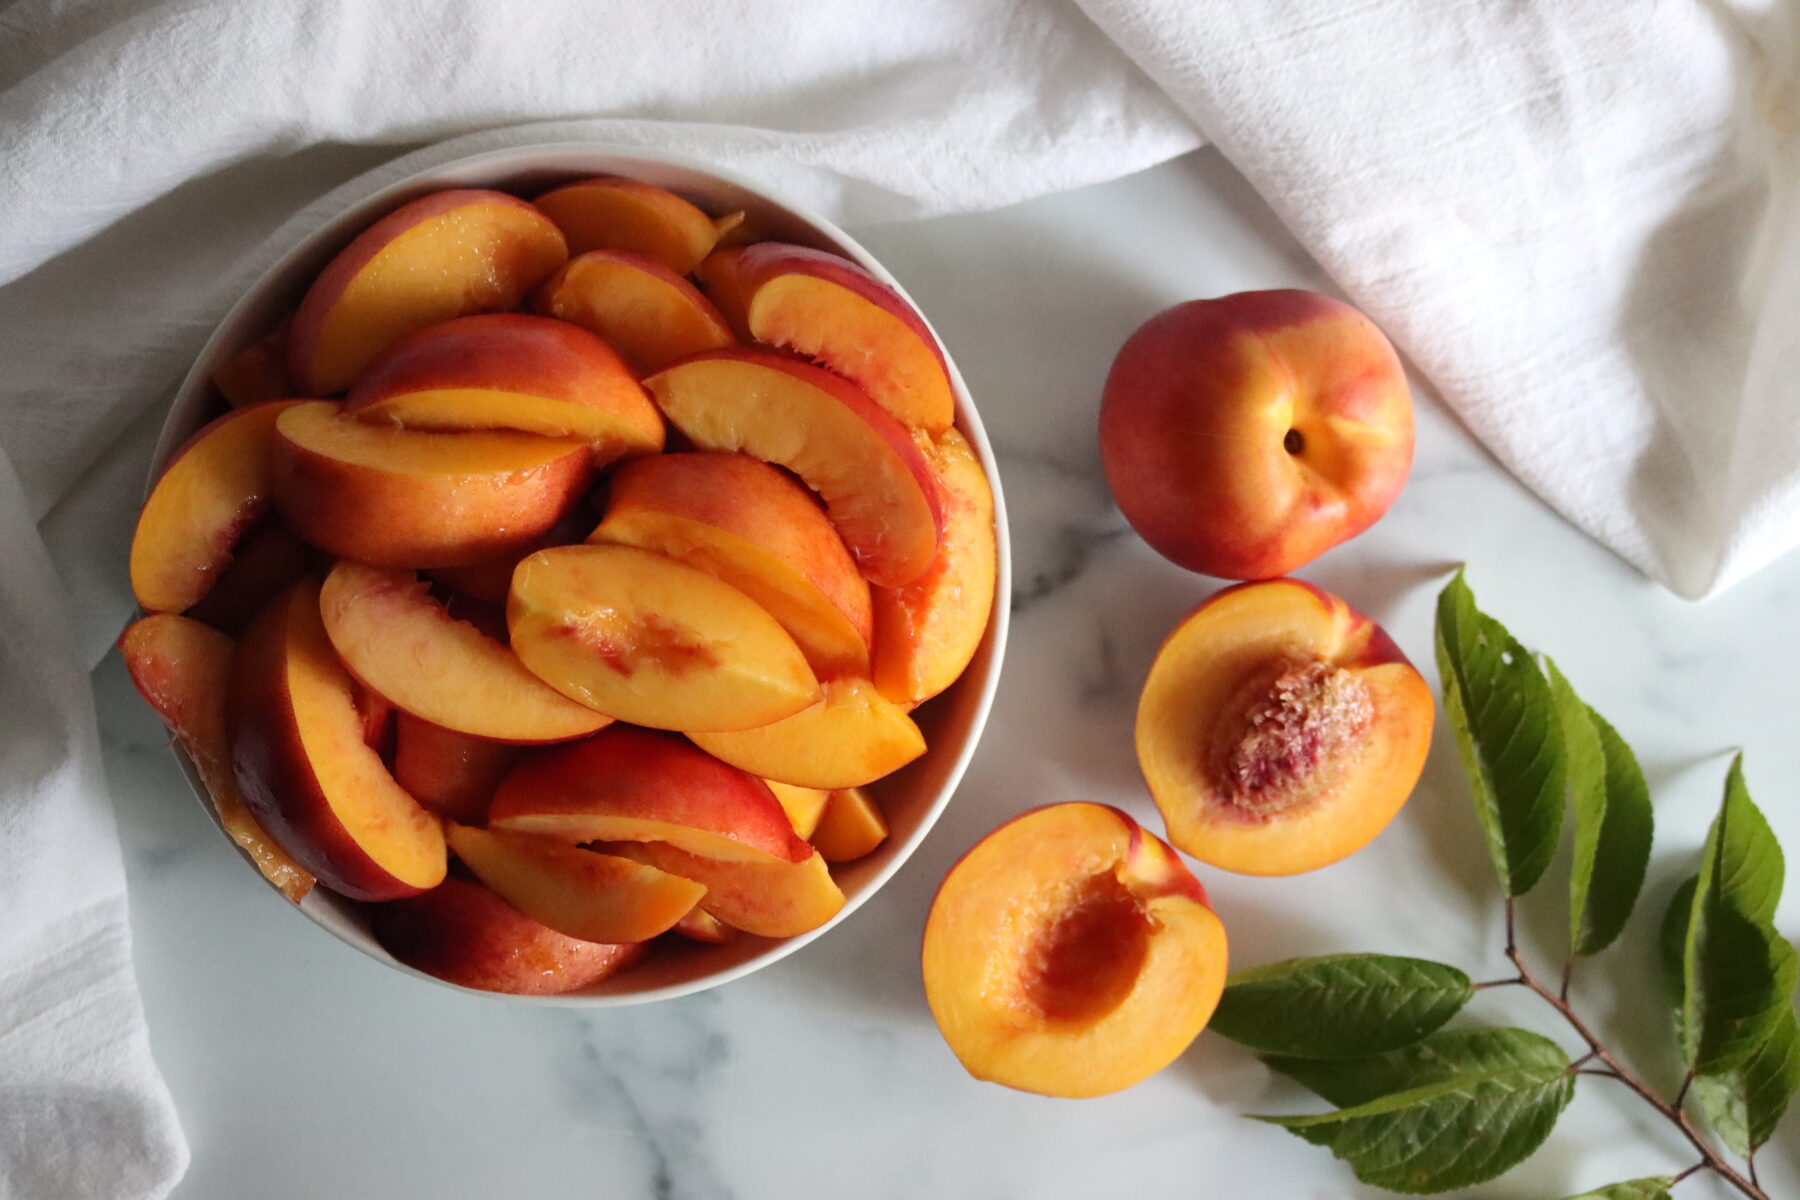
Extract the Juice
Wash the nectarines and remove the pits. There’s no need to peel them, since the skins add color and flavor to the juice.
Crush the nectarines, working one layer at a time, until you have a chunky pulp. Place the crushed fruit in a large saucepan and add 1/2 cup water.
Bring the mixture to a boil, then cover and reduce the heat. Simmer for 10 minutes to soften the fruit and release the juice.
While the fruit cooks, prepare your straining setup. Line a large bowl with three layers of damp cheesecloth, or use a jelly bag suspended over a bowl.
Pour the cooked fruit and liquid into the cheesecloth. Tie the cloth closed and hang it so the juice can drip into the bowl below. Let it drip until dripping stops naturally, which usually takes several hours or overnight. You can press gently to extract a bit more juice, but aggressive squeezing will make the jelly cloudy.
Measure exactly 4 cups of the strained juice. If you’re short, add a small amount of water to reach 4 cups. If you have extra, save it for another batch or use it in smoothies.
Make the Jelly
While your juice is extracting, prepare your canning setup. Fill your water bath canner halfway with water and bring it to a simmer. Wash the jars and lids in hot soapy water and keep them hot until ready to use.
Pour 4 cups of nectarine juice into a large 6- or 8-quart saucepot. Add 2 Tbsp of lemon juice and stir to combine.
Stir in the entire box of Sure-Jell pectin until it’s fully dissolved.
Place the pot over high heat and bring the mixture to a full rolling boil, which is a boil that doesn’t stop bubbling even when you stir it. Stir constantly as it heats.
Once you’ve reached a full rolling boil, add all 5 cups of sugar at once. Stir vigorously to incorporate the sugar completely.
Return the mixture to a full rolling boil and boil for exactly 1 minute, stirring constantly. Timing matters here. Too little and the jelly won’t set properly, and too long and it can become too firm.
Remove from heat immediately. Skim off any foam from the surface using a metal spoon. A little foam is normal and won’t affect quality, but removing it produces clearer jelly.
Don’t Overcook Pectin Jelly
Pectin jelly sets on chemistry, not on cooking time, and that trips a lot of people up. The jelly looks thin in the pot when you take it off the heat, and that’s exactly right, because pectin firms up as the jelly cools, not while it’s boiling. A full rolling boil for one minute after the sugar dissolves is the whole job.
Skip the thermometer and the cold-plate test here, since those are for old-fashioned no-pectin jellies that you cook to a gel point. And give the jars a full 24 to 48 hours to set before you decide anything went wrong (some batches take a little longer). If it’s still loose after that, my guide to troubleshooting jelly that didn’t set walks through how to fix it.
Canning Nectarine Jelly
Work quickly while the jelly is still very hot, as it begins setting as it cools. If you’re new to water bath canning, that guide walks you through all the basics step by step.
Ladle the hot jelly into prepared hot jars, filling to within 1/4 inch of the top. This headspace is smaller than most canning recipes because jelly is low in solids and doesn’t expand much during processing.
Wipe the jar rims thoroughly with a clean, damp cloth to remove any jelly residue. Even a small amount of jelly on the rim can prevent a proper seal.
Center the lids on the jars and screw the bands on fingertip-tight. Don’t overtighten, since the bands just need to hold the lids in place during processing.
Place the filled jars on the rack in your prepared water bath canner. Lower the rack into the simmering water. The water should cover the jar tops by 1 to 2 inches. Add boiling water if needed to reach proper coverage.
Cover the canner and bring the water to a gentle boil. Process half-pint jars for 10 minutes (adjust for altitude as needed).
When the processing time is complete, turn off the heat and remove the canner lid. Let the jars rest in the canner for 5 minutes before removing. This prevents temperature shock and reduces the chance of jars cracking.
Lift the jars from the canner and place them upright on a towel-covered surface. Don’t retighten the bands or disturb the jars while they cool. You should hear the satisfying “ping” of lids sealing as they cool.
Let the jars cool completely, 12 to 24 hours. Check the seals by pressing the center of each lid. If it doesn’t flex, the jar is sealed. Unsealed jars should be refrigerated and used within 3 weeks.
Altitude Adjustments
The altitude adjustments for water bath canning nectarine jelly are as follows:
- 0 to 6,000 feet: 10 minutes
- Above 6,000 feet: 15 minutes
Yield Notes
You’ll need about 5 pounds of fresh nectarines as purchased to get the 4 cups of juice this recipe calls for. That usually works out to roughly 15 to 18 medium nectarines, though it varies by variety and ripeness. They’re cooked with 1/2 cup of water just to get them started so they don’t scorch, and then they release their pure, fragrant juice as they simmer.
A full batch (4 cups of juice, 2 Tbsp lemon juice, one box of pectin, and 5 cups of sugar) makes 5 to 6 half-pint jars. Don’t double the batch, since larger amounts don’t heat evenly and often won’t set. If you want more, make two single batches back to back instead.
Serving Ideas
There are so many lovely ways to use nectarine jelly beyond just spreading it on toast. Here are some of the ways I like to use it:
- Classic Breakfast: Spread on warm buttered toast, English muffins, or biscuits for a simple, satisfying start to the day.
- Baking Glaze: Warm slightly and brush over fruit tarts, Danish pastries, or pound cake for a glossy, flavorful finish.
- Cheese Board: Serve alongside soft cheeses like brie or chevre, since the delicate fruit flavor pairs beautifully with creamy cheese.
- Yogurt Swirl: Stir a spoonful into plain Greek yogurt with granola for a quick, delicious breakfast or snack.
- Thumbprint Cookies: Fill the centers of thumbprint cookies with a dollop of jelly before or after baking.
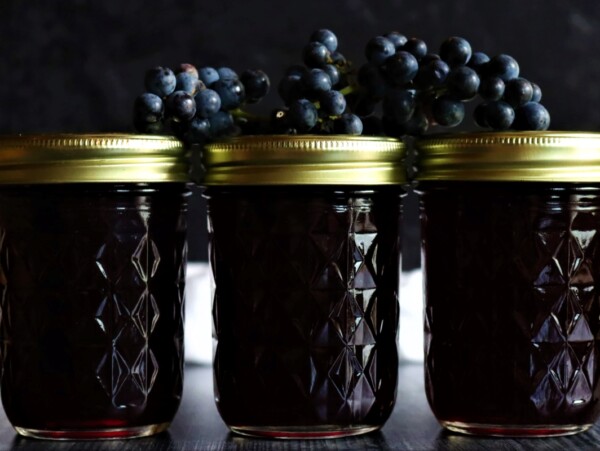
- PB&J Upgrade: Use nectarine jelly instead of grape or strawberry for a more sophisticated sandwich.
The subtle, elegant flavor of nectarine jelly makes it perfect for occasions when you want something a bit special but not overpowering.
Nectarine Jelly FAQs
No, white-fleshed nectarines (and peaches) are less acidic and not safe for water bath canning. There are no tested recipes for canning white-fleshed stone fruits. You can make jelly with them, but it would need to be stored as a refrigerator preserve rather than shelf-stable canned jelly.
Yes, simply allow the jelly to cool completely on the counter, then store in the freezer for up to 6 months instead of canning. Be sure to let it fully set before freezing, leave 1 full inch headspace to allow for expansion, and use freezer-safe jars with straight sides.
Common causes include not reaching a full rolling boil, incorrect timing after adding the sugar, or inaccurate measurements. Pectin jelly also looks thin when hot and firms up as it cools, so give it 24 to 48 hours before judging the results. If using Sure-Jell pectin and your jelly hasn’t set after a couple of weeks, you can remake it by reheating with additional pectin. For detailed troubleshooting steps and solutions, see our complete guide on troubleshooting jelly set.
Yes, but you’ll need a low-sugar pectin like Sure-Jell Low Sugar or Pomona’s Universal Pectin and follow the package directions, since regular pectin needs the full amount of sugar to gel. With Pomona’s, follow the box for the lemon juice amount. The yield will be a little lower with reduced sugar.
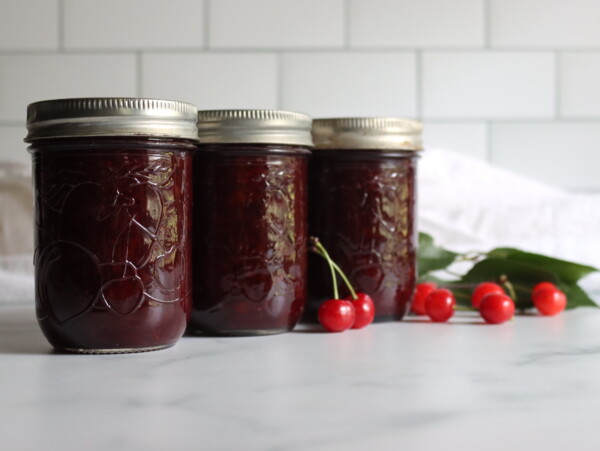
Stone Fruit Canning Recipes
If you tried this Nectarine Jelly Recipe, or any other recipe on Creative Canning, leave a ⭐ star rating and let me know what you think in the 📝 comments below!
And make sure you stay in touch with me by following on social media!
Nectarine Jelly
Equipment
- Canning Jars, Lids and Bands
Ingredients
For the Nectarine Juice:
- 5 lbs nectarines, fresh, fully ripe (about 15 to 18 medium, see notes)
- 1/2 cup water, for cooking the fruit
For the Jelly:
- 4 cups nectarine juice, strained (from above)
- 2 Tbsp lemon juice, fresh or bottled (or 1/2 teaspoons citric acid)
- 1 box powdered pectin, 1.75 oz, regular, such as Sure-Jell or 6 Tbsp Bulk Pectin
- 5 cups granulated sugar, See notes for low sugar option
Instructions
Extract Nectarine Juice
- Wash the nectarines and remove the pits (no need to peel). Crush the nectarines, one layer at a time, until you have a chunky pulp.
- Place the crushed nectarines in a large saucepan and add the water. Bring to a boil, cover, and simmer 10 minutes.
- Line a large bowl with three layers of damp cheesecloth or use a jelly bag. Pour the cooked fruit into the cheesecloth, tie it closed, and hang to drip into the bowl until dripping stops. Press gently if desired. Measure the strained juice, adding a little water if needed to reach the amount called for.
Make the Jelly
- Prepare the water bath canner by bringing the water to a simmer. Wash the jars and lids in hot soapy water and keep hot until ready to use.
- Pour the nectarine juice into a 6- or 8-quart saucepot. Add the lemon juice and stir to combine.
- Stir in the pectin until dissolved. Bring to a full rolling boil over high heat, stirring constantly.
- Add all the sugar at once. Stir constantly and return to a full rolling boil. Boil exactly 1 minute, stirring constantly. Remove from heat and skim off any foam.
Canning Nectarine Jelly
- Ladle the hot jelly immediately into prepared hot jars, filling to within 1/4 inch of the tops. Wipe the rims, center the lids, and screw bands fingertip-tight.
- Place the jars on the rack in the canner and lower into the simmering water. Water must cover the jars by 1 to 2 inches (add boiling water if needed). Cover and bring to a gentle boil.
- Process 10 minutes (adjust for altitude). Turn off the heat, remove the lid, and let the jars rest in the canner 5 minutes. Remove the jars and cool completely on a towel, 12 to 24 hours. Check seals before storing.
Notes
Nutrition
Nutrition information is automatically calculated, so should only be used as an approximation.
Jelly Canning Recipes
Find the perfect recipe
Searching for something else? Enter keywords to find the perfect recipe!
I absolutely love nectarines, and I think they’re a lot more flavorful than peaches personally. I’m a huge fan of just about every nectarine canning recipe, and my kids asked for this one specifically. They like smooth jellies more than jams, and I was happy to oblige. It’s so good!