
This post may contain affiliate links. Please see our disclosure policy.
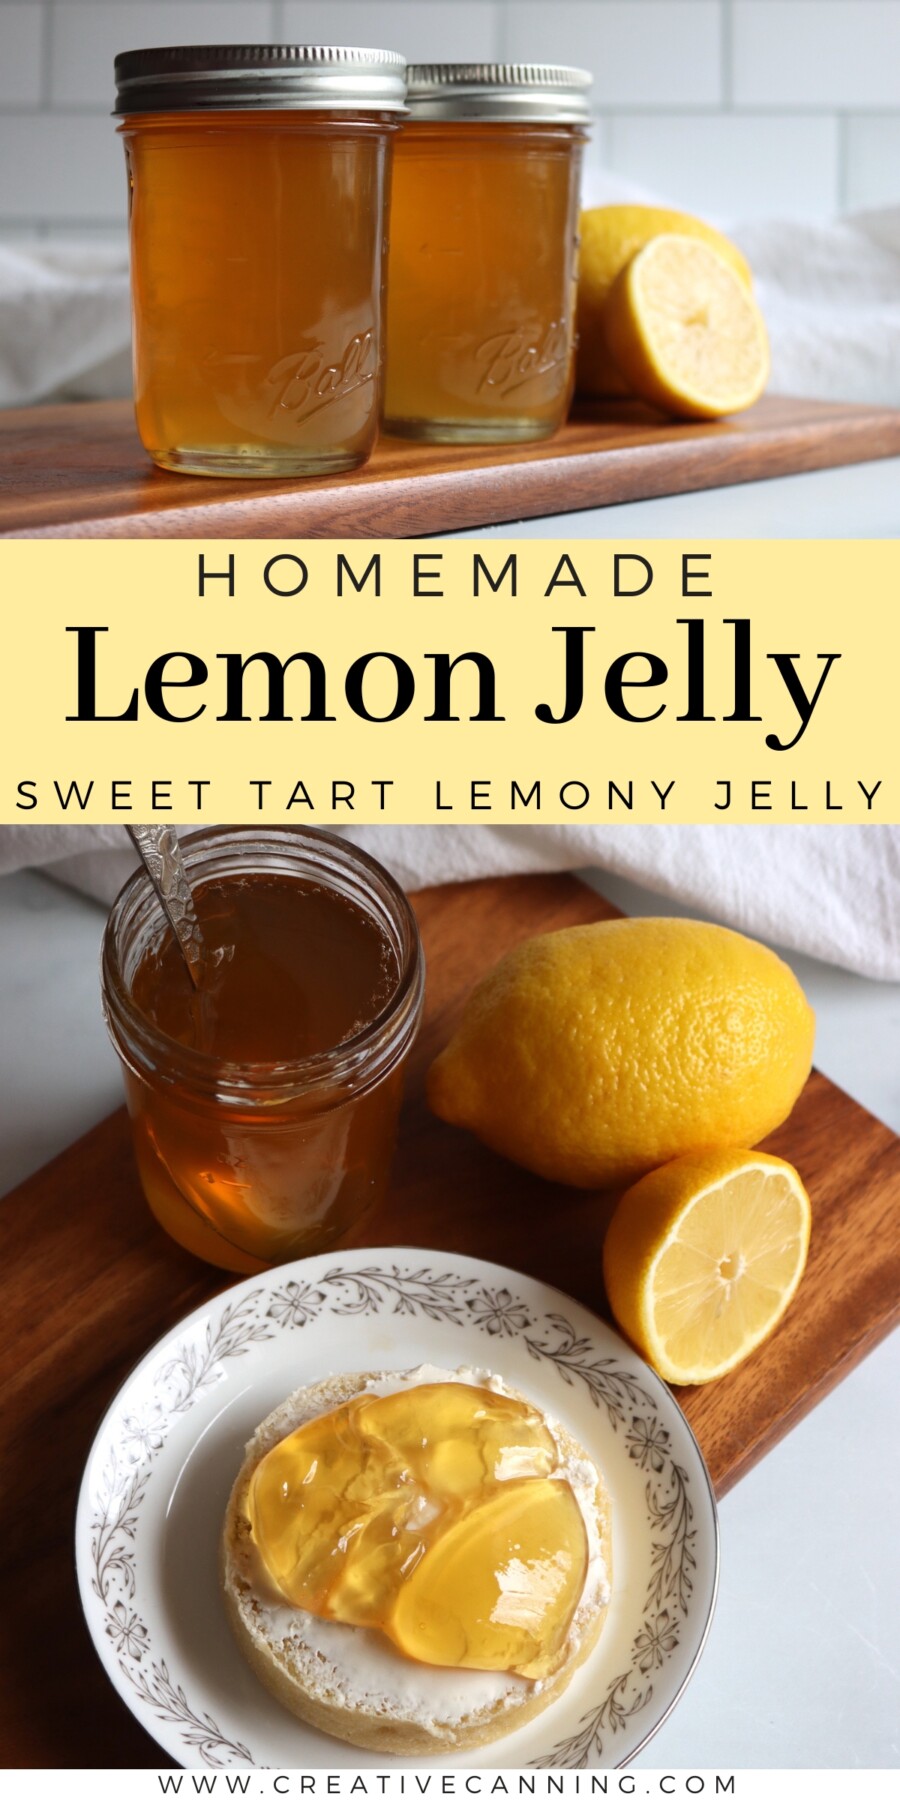
Lemon jelly delivers pure, bright citrus flavor without a single bit of peel in sight. If you love lemon marmalade but have family members who can’t handle the chewy peel, this is your solution: all that sunny lemon flavor in a smooth, spreadable jelly that even picky eaters will devour.
Unlike most fruit jellies that require extracting juice from whole fruit, lemon jelly uses the peel for flavor during the cooking process, then strains everything out. You get the aromatic oils from the zest infused into the juice, creating a jelly that tastes more intensely lemony than one made from juice alone. The result is a bright, tart-sweet spread that captures everything you love about lemons.
This recipe has been reviewed for safety and accuracy by a Master Food Preserver certified through the University of Cornell Cooperative Extension.
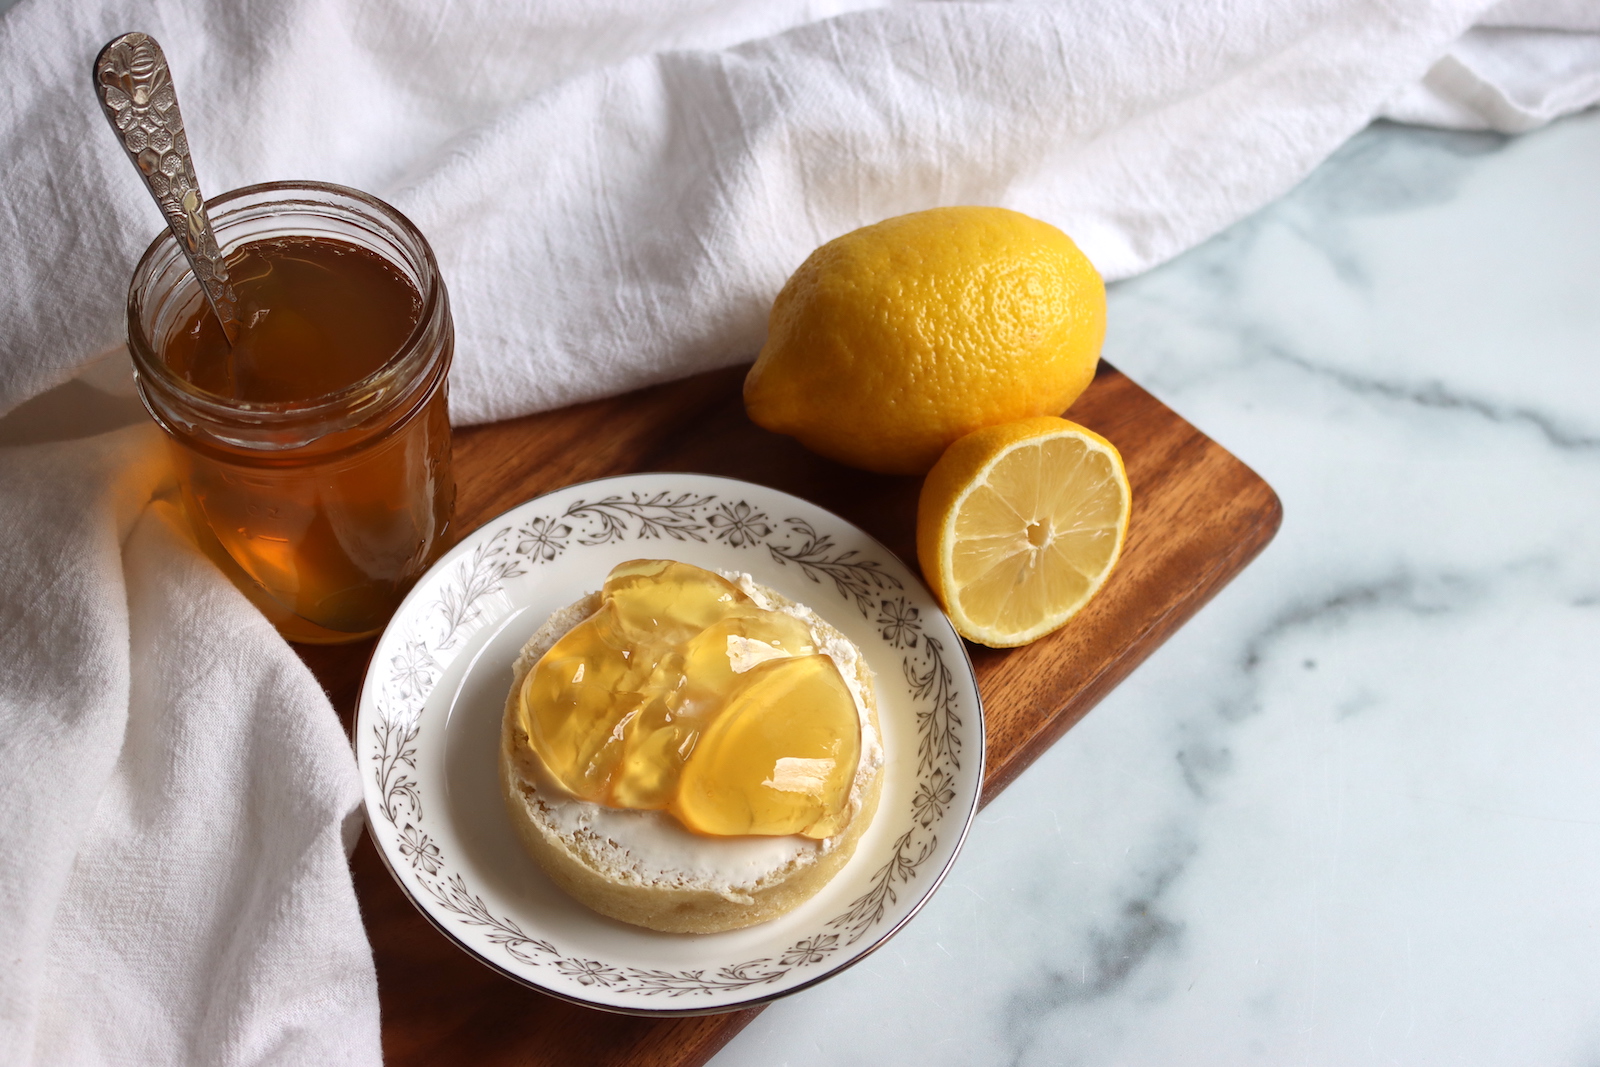
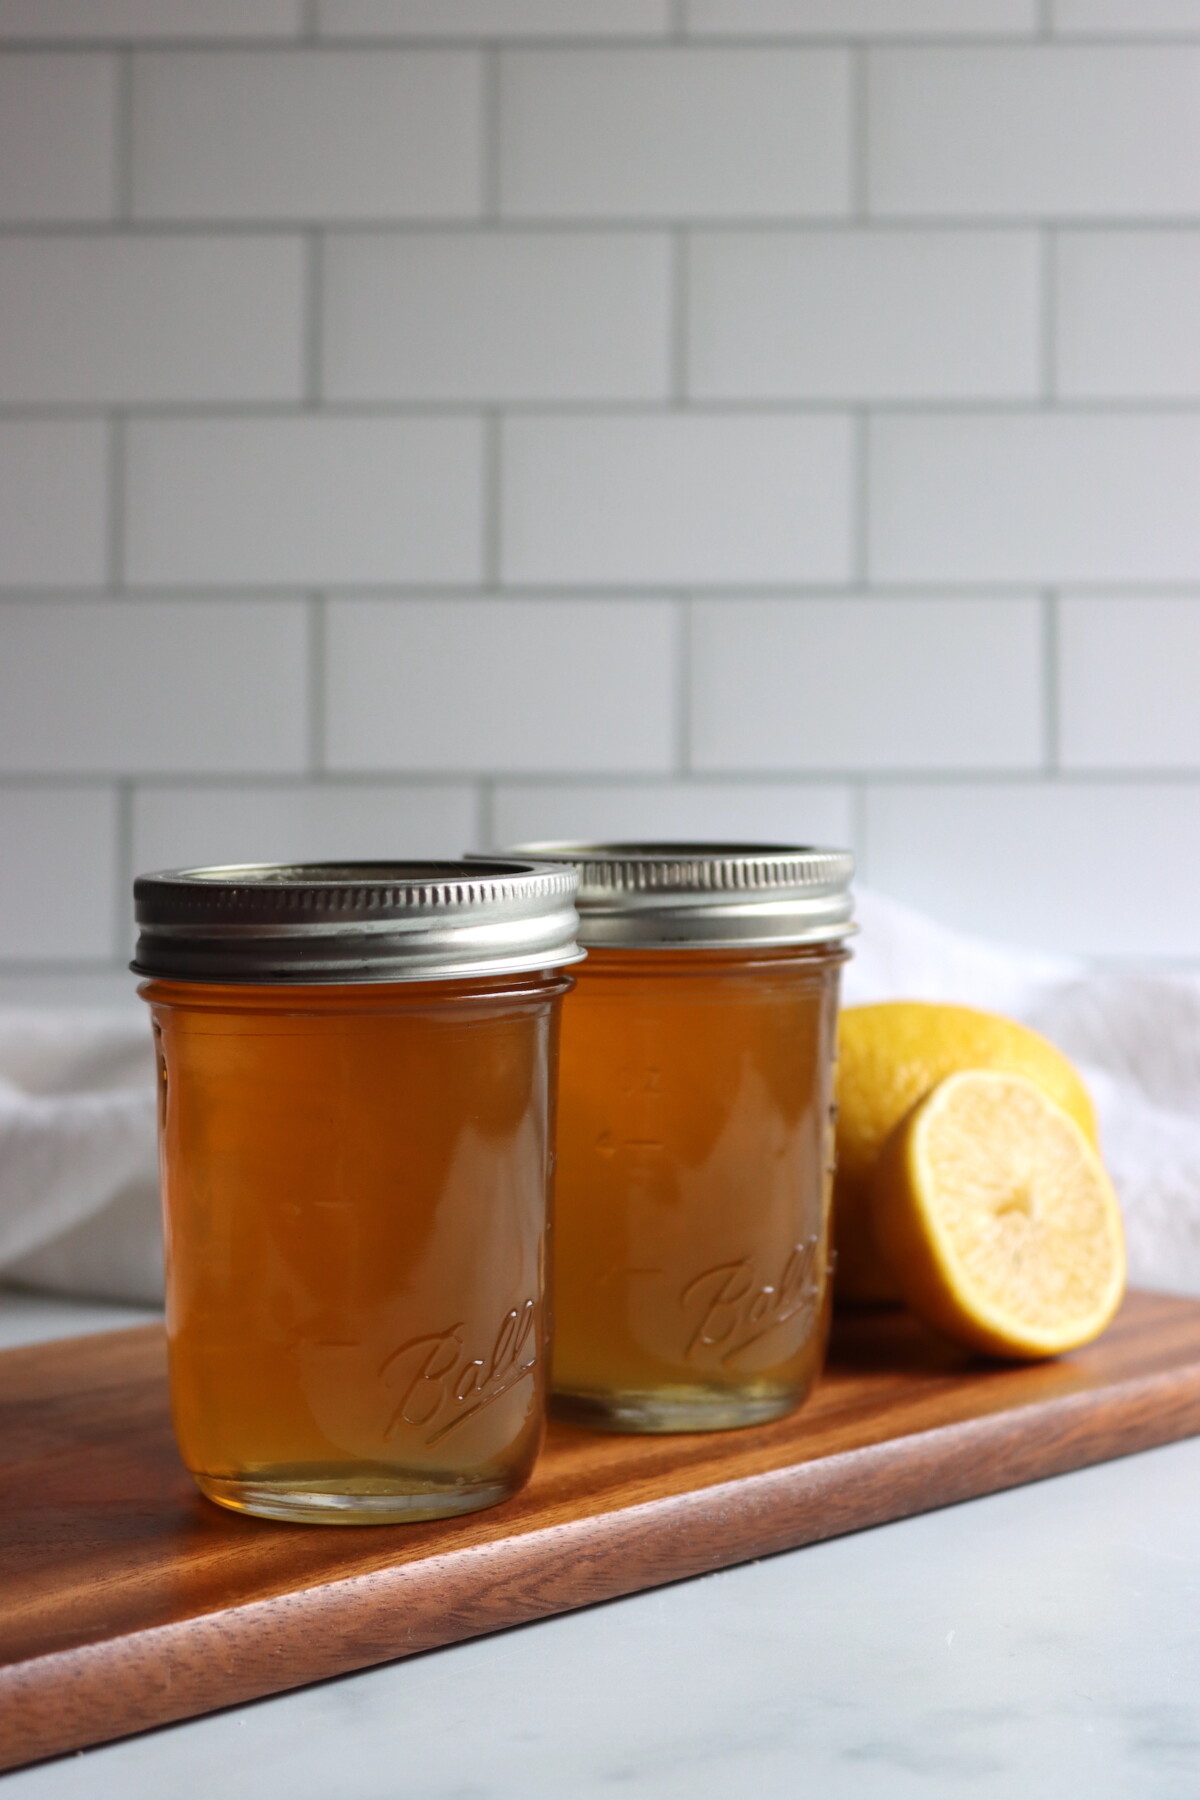
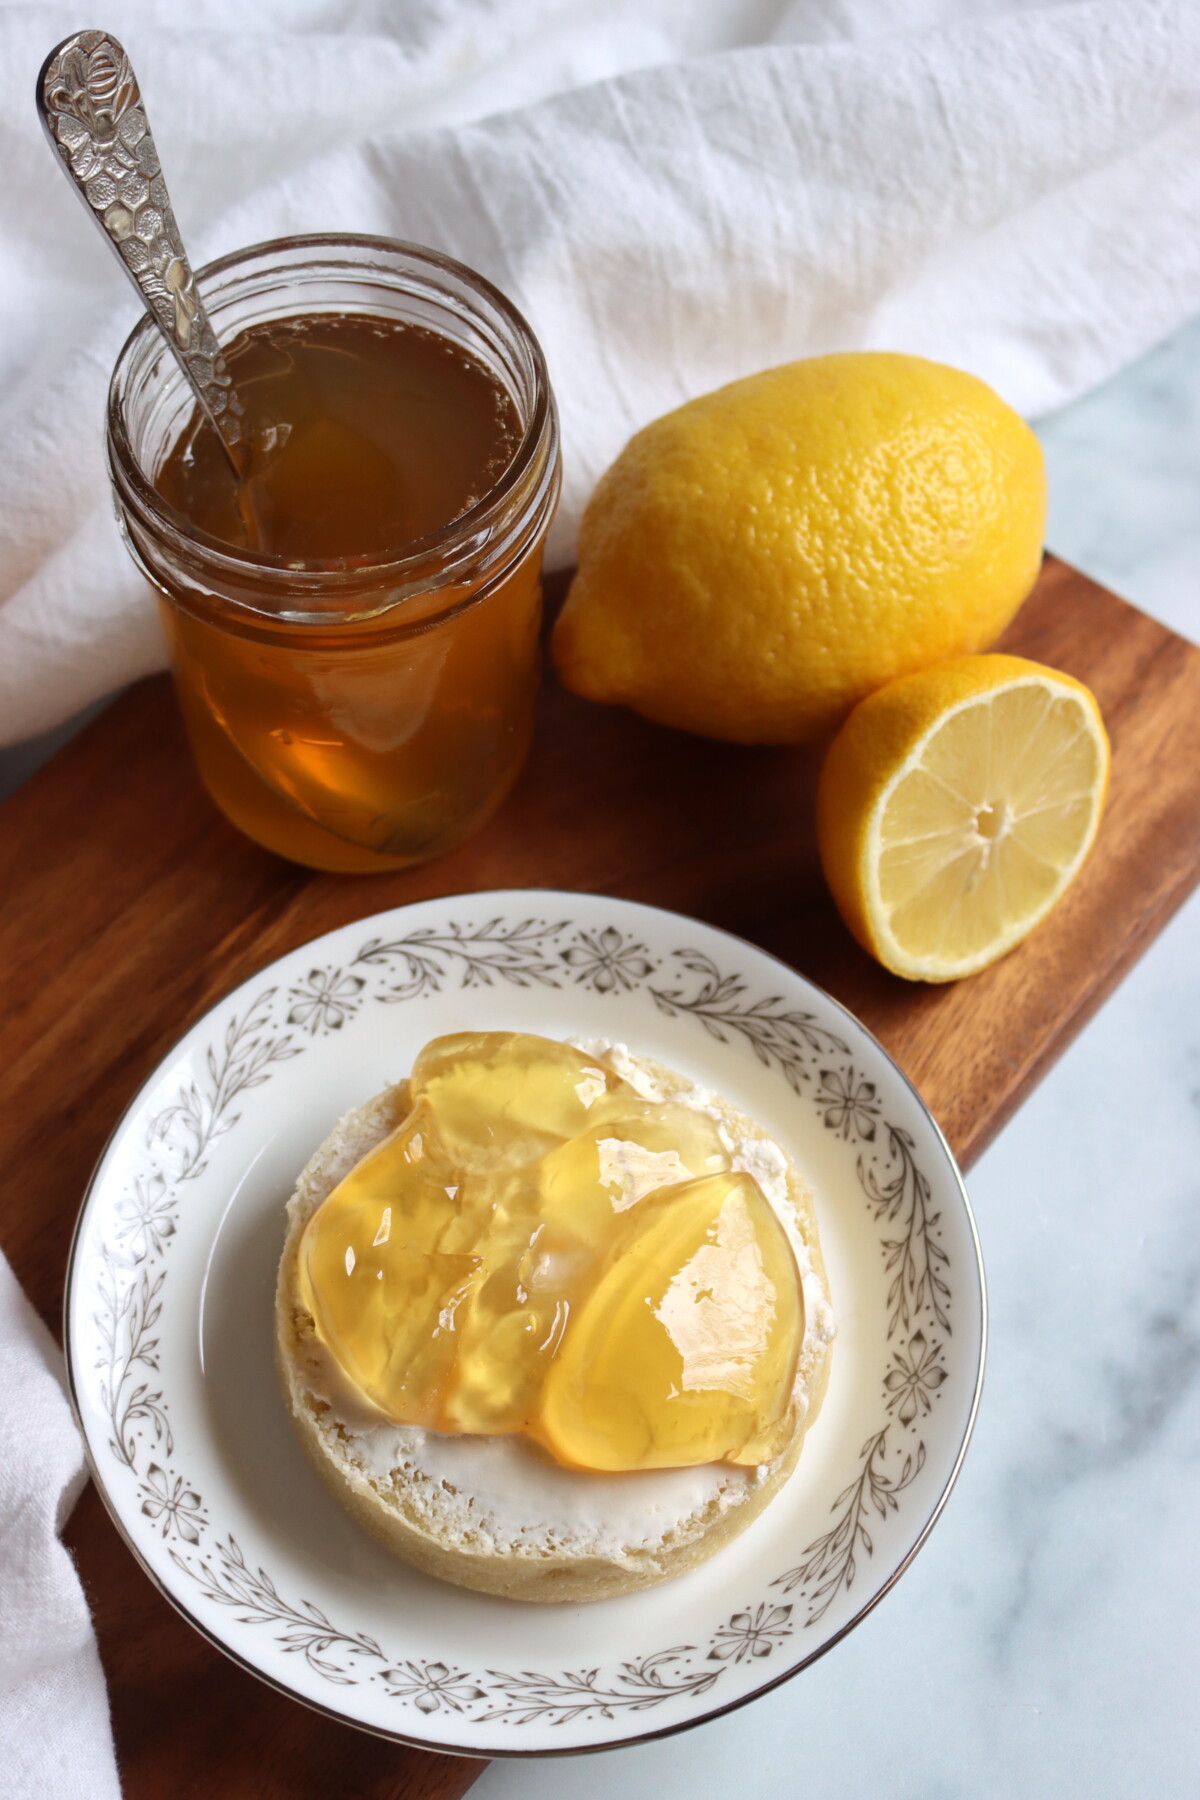
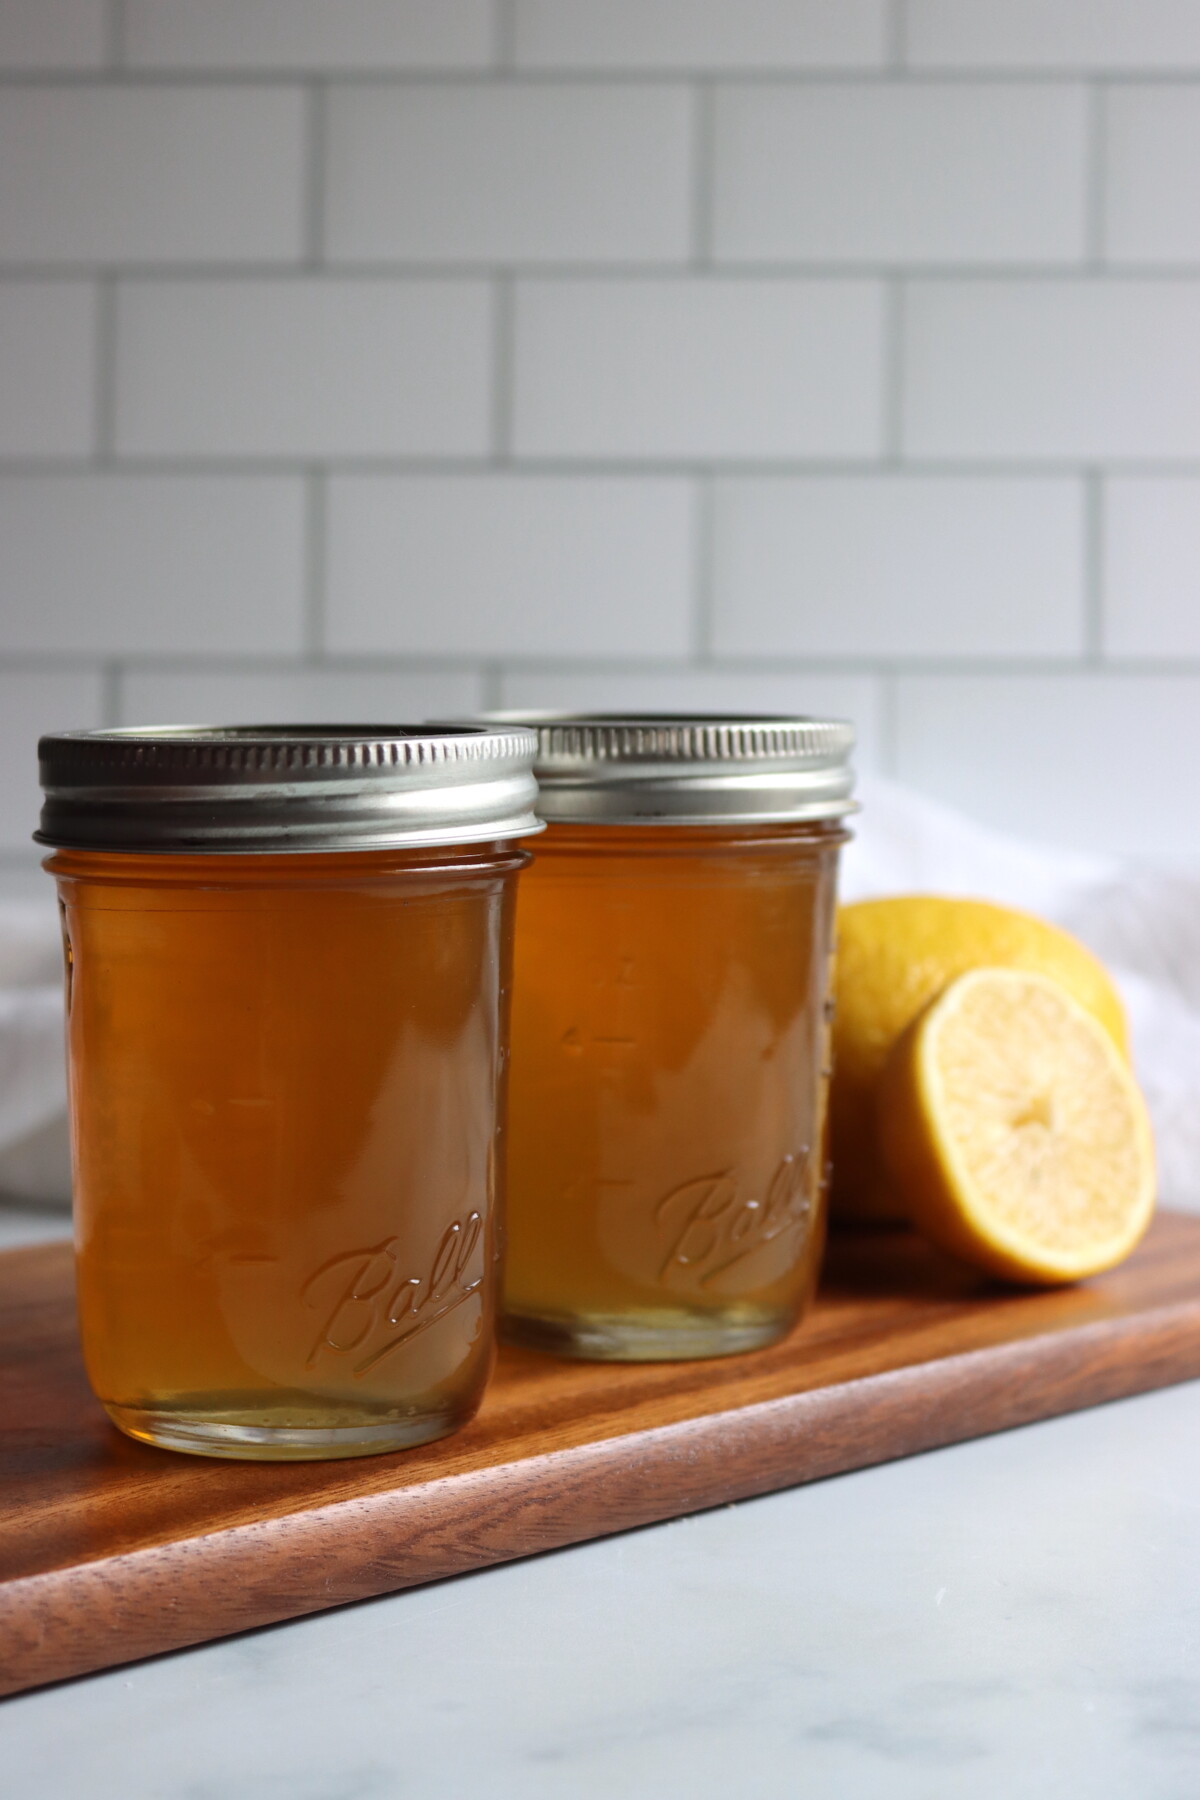
This recipe is adapted from the All New Ball Book of Canning and Preserving. Ball has included pectin to make this recipe foolproof, but experienced jelly makers should know that lemons are naturally high in pectin. You can absolutely make this without added pectin by cooking the juice and sugar to 220°F (about 8 to 10 minutes of hard boiling), and the batch pictured was made exactly that way with a beautiful set.
This is a small batch recipe, yielding about 3 half pints (or 6 quarter pints) using half a box of regular pectin or 3 tablespoons of Ball Flex Batch pectin. Ball lists a higher yield than that, but I have never gotten anywhere near their numbers, so the figures throughout this post are what my own batches actually produced. If you want a larger batch, simply double all ingredients for a yield of 5 to 6 half pints (10 to 12 quarter pints).
Without pectin, your yields are lower, and you get a more intense jelly. Expect about 2 half pints or 4 quarter pints from a batch.
Notes from My Kitchen

My husband loves all things lemon and is a huge fan of my lemon marmalade. My kids, though, love lemon but can’t handle the peel. They’re devoted fans of my strawberry jelly and peach jelly, so I knew this one would be a hit the moment I saw it. Pure lemon flavor in a form that everyone at the table will eat.
The small batch size is actually perfect for our family since it lets me make just enough to enjoy without committing a dozen jars to one flavor. The jelly sets up beautifully and has that bright, sunny lemon taste that makes breakfast feel like a treat. It’s become one of those recipes I make several times each winter when lemons are in season and at their best.
Quick Look at the Recipe
- Recipe Name: Lemon Jelly
- Recipe Type: Jelly
- Canning Method: Water Bath Canning
- Prep Time: About 30 minutes active, plus 3 hours straining time
- Cook Time: About 20 minutes
- Canning Time: 10 minutes for pints, half pints, or quarter pints
- Yield: About 3 half pints or 6 quarter pints with pectin, or 2 half pints without, see notes
- Jar Sizes: Pints, half pints or quarter pints
- Headspace: 1/4 inch
- Ingredients Overview: Lemons, water, pectin (optional), and sugar
- Safe Canning Recipe Source: All New Ball Book of Canning and Preserving
- Difficulty: Moderate (requires careful prep and straining)
- Similar Recipes: This recipe has a similar flavor to other lemon canning recipes, like lemonade concentrate and lemon curd, but it’s similar in process to simple homemade jellies that can be made with or without pectin, like raspberry jelly or blackberry jelly.
Ingredients
This recipe uses a combination of lemon peel (for aromatic oils) and lemon flesh and juice (for flavor and natural pectin). The peel infuses the cooking liquid with that unmistakable lemon fragrance, then everything gets strained out for a perfectly clear jelly.
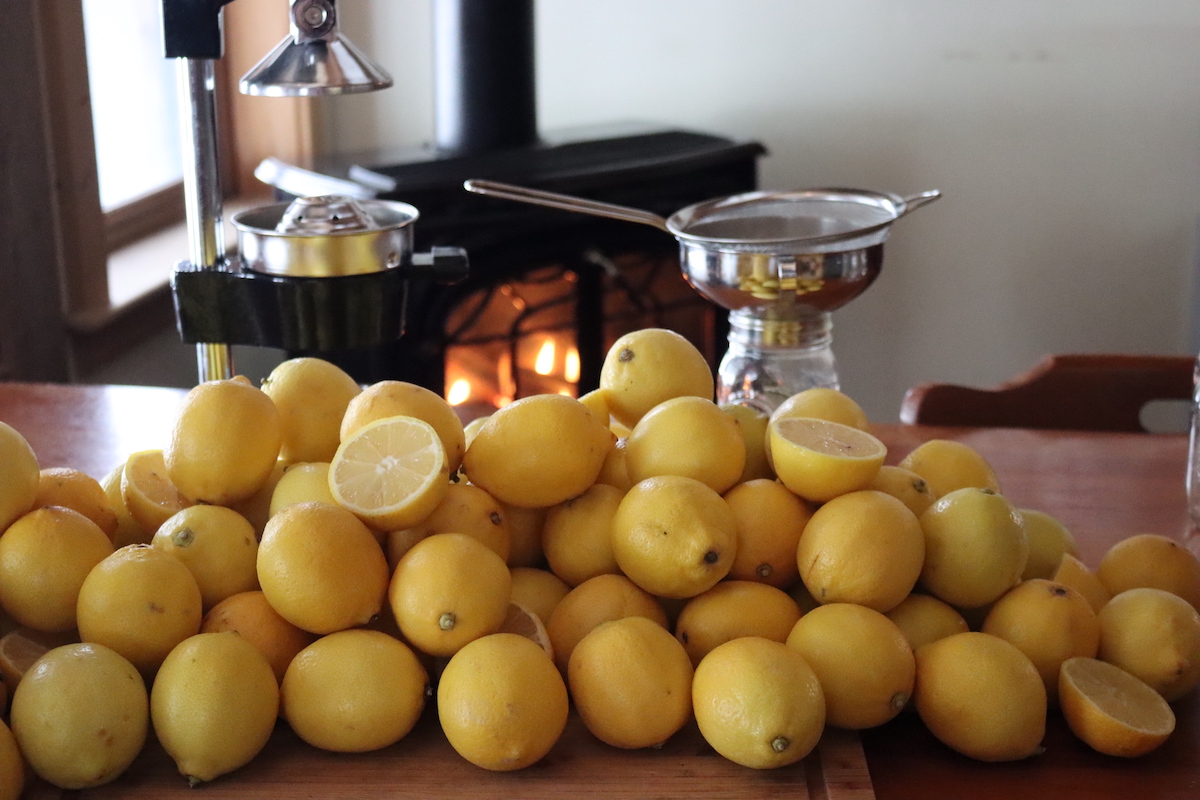
- Lemons: 7 to 8 large lemons (about 2 pounds). Look for lemons with bright yellow skin and no soft spots. You’ll use both the peel and the flesh, so choose fruit that looks good inside and out. If you can find organic lemons, even better, since you’ll be extracting flavor from the peel.
- Water: 1 1/2 cups of water helps extract juice and flavor during the initial simmer.
- Pectin: 3 tablespoons of Ball Classic Pectin or Flex Batch pectin (this is half a standard box). The pectin ensures a reliable set every time, but you can skip it if you’re an experienced pectin free jelly maker.
- Sugar: 2 cups of granulated sugar for every 2 cups of strained lemon juice. This 1:1 ratio is the classic ratio for jellies, and it means you measure your sugar after you strain, once you know exactly how much juice you have. The high sugar content balances the tartness of the lemons and helps achieve the proper gel.
To double the batch for 5 to 6 half pints, simply use 14 to 16 lemons (about 4 pounds), 3 cups water, 6 tablespoons pectin (a full box), and 4 cups sugar.
Step by Step Instructions
This is a process heavy recipe, so don’t skip steps.
The lemons get peeled, pithed, chopped, and simmered before anything turns into jelly, and the straining alone takes at least three hours. I usually split it across two sessions, doing the prep and the simmer one evening and cooking the jelly the next morning after the juice has dripped overnight.
Prepare the Lemons
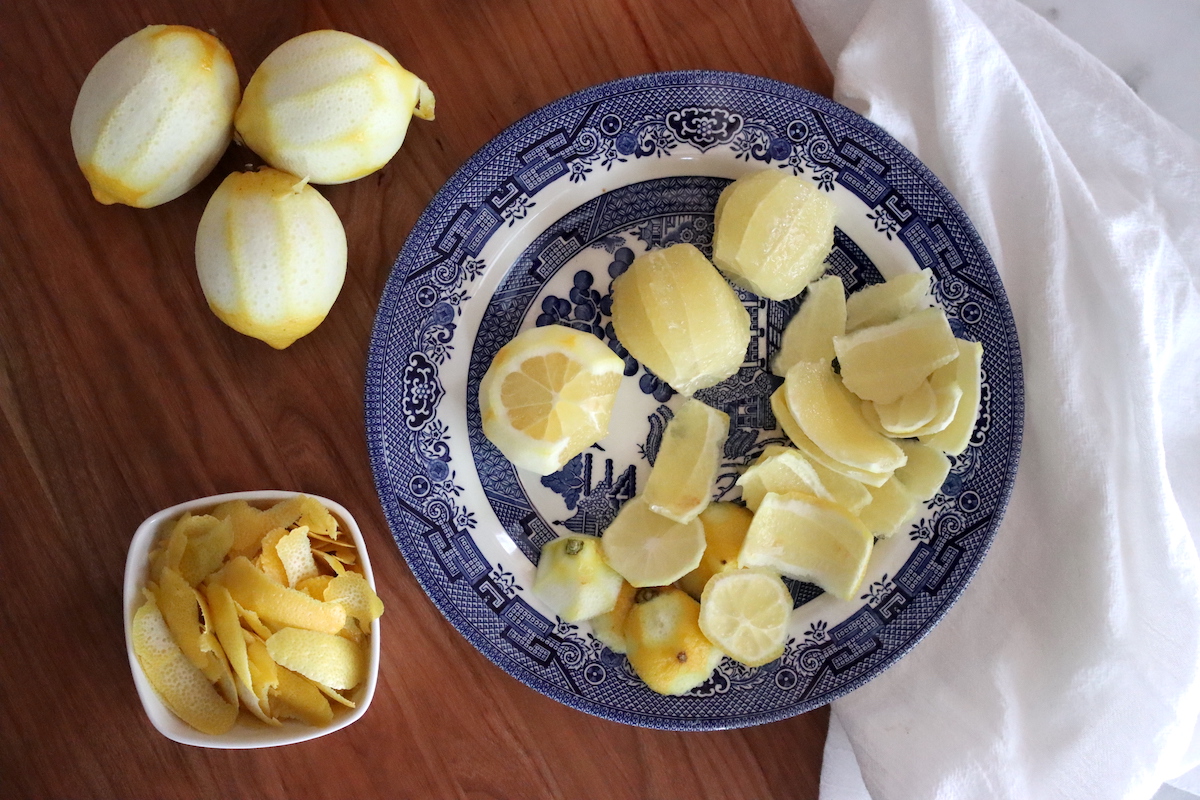
Scrub the lemons thoroughly, rinse well, and pat dry. Using a vegetable peeler, carefully strip the yellow rind from the lemons, avoiding the bitter white pith. You want to measure about 1 cup of peel strips, which is about 2 1/2 ounces by weight.
Work slowly and take only the colored part of the peel.
Remove the Pith and Chop
Using a sharp, thin-bladed knife, cut a 1/4-inch slice from each end of the peeled lemons. Stand each lemon flat-end down on a cutting board and remove the remaining white pith in strips, cutting from top to bottom and following the curve of the fruit.
Coarsely chop the peeled lemons, reserving all the juice, to measure about 2 cups total. (Ball says you get 4 cups of pulp here from fewer lemons, but I didn’t get anywhere near that. I actually had to add lemons to their original amount to get to 2 cups.)
Cook the Lemon Mixture
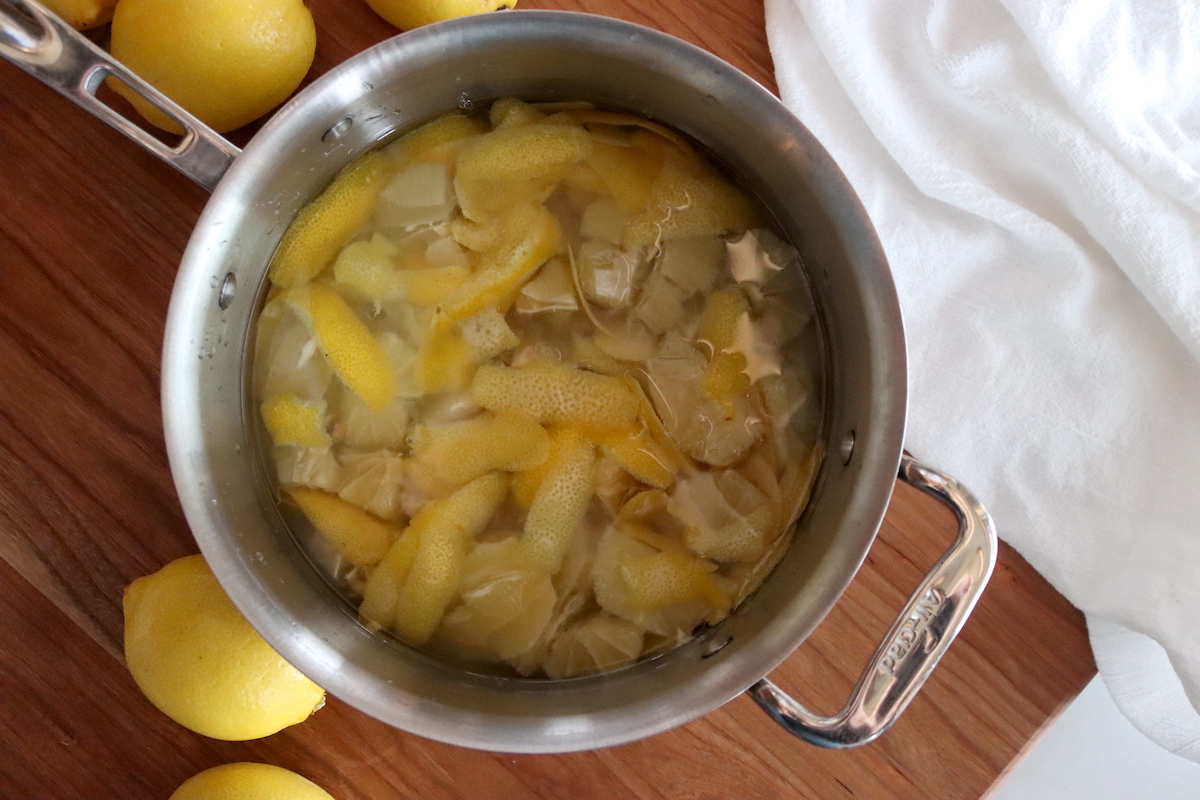
Combine the lemon peel strips, chopped lemon with its juice, and water in a 4-quart stainless steel or enameled Dutch oven (avoid reactive metals like aluminum or uncoated copper).
Bring to a boil over high heat, then reduce heat, cover, and simmer for 15 minutes.
Strain the Juice
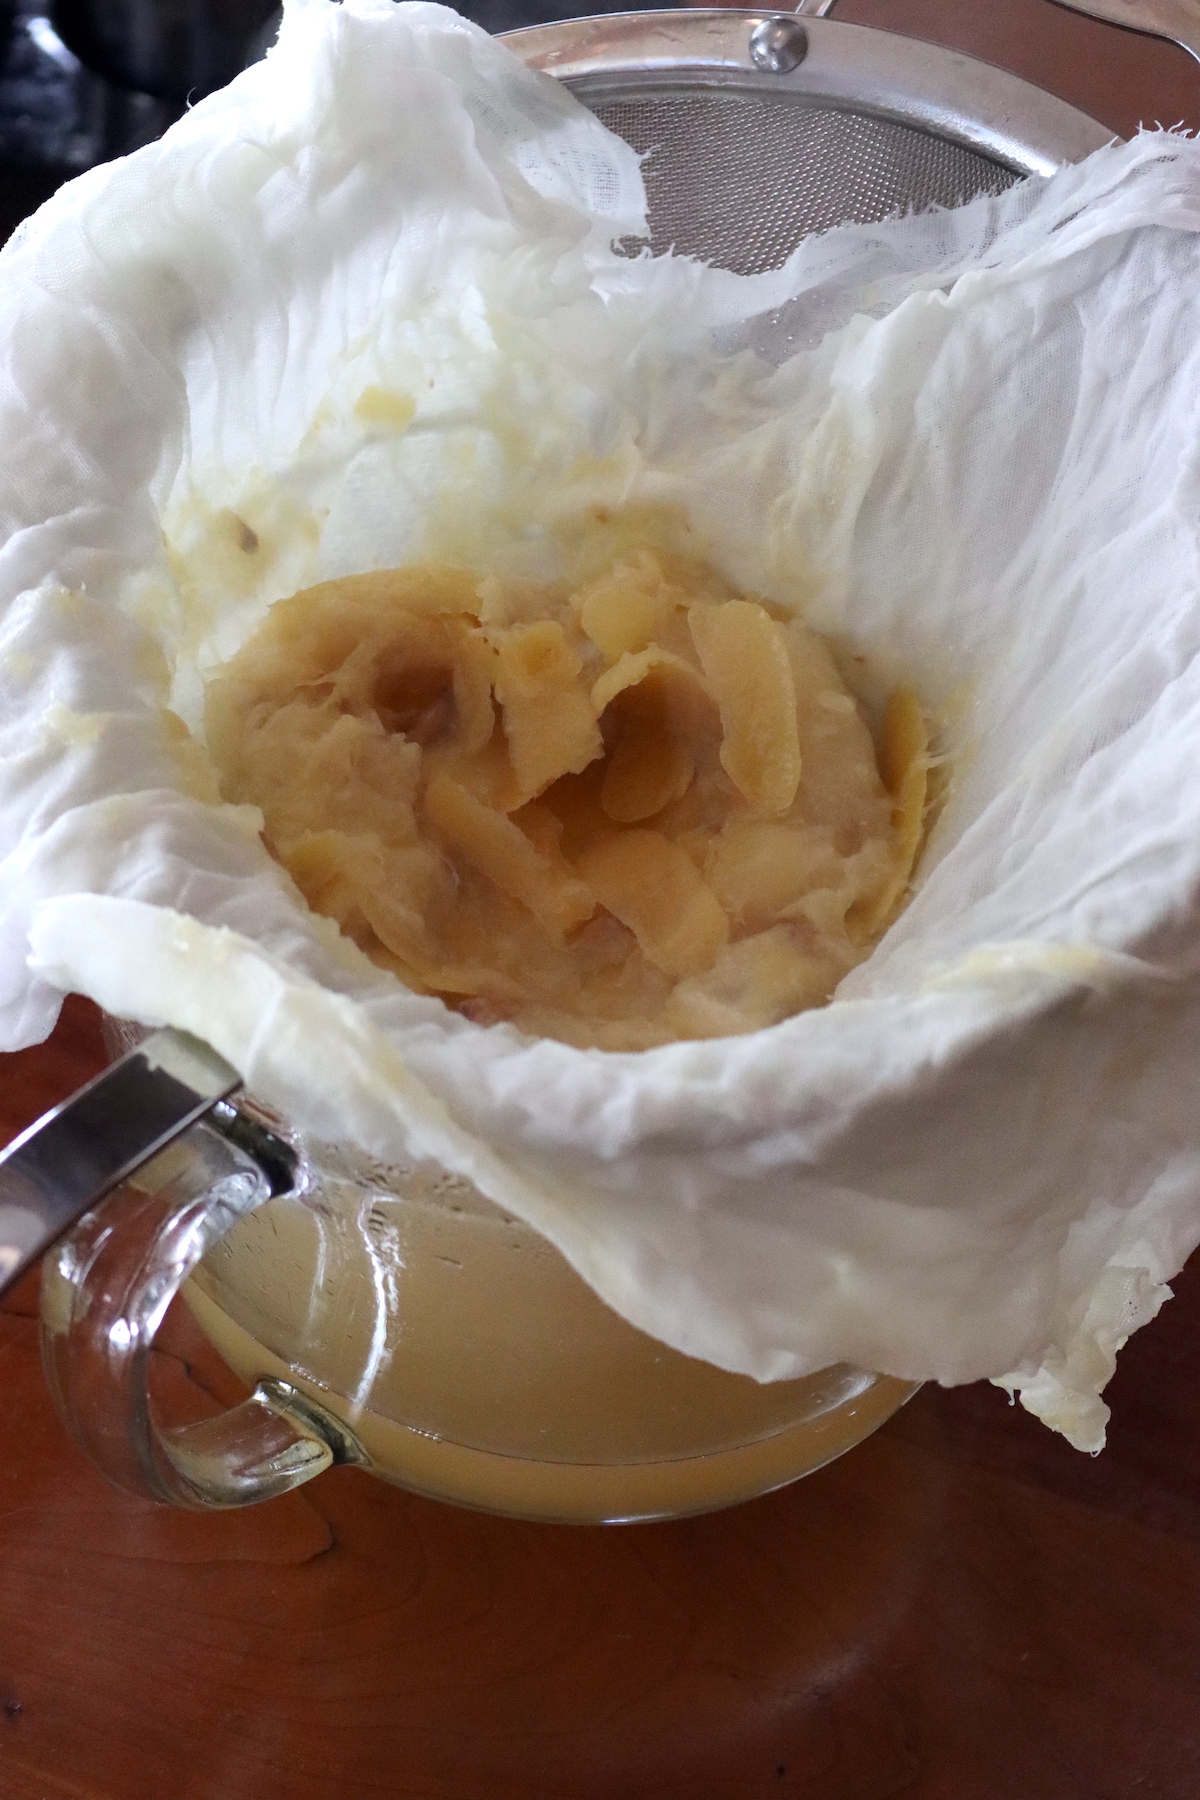
Line a large wire-mesh strainer with 3 layers of dampened cheesecloth and place over a large bowl. Pour the lemon mixture into the strainer and let drain for at least 3 hours, or overnight in the refrigerator.
You should get about 2 cups of juice. Measure what you actually have before you go any further, since that number sets your sugar at a 1:1 ratio. Discard the solids.
Cook the Jelly
Combine the lemon juice and pectin (if using) in a 4-quart stainless steel or enameled pot. Bring the mixture to a full rolling boil (a boil that cannot be stirred down) over high heat, stirring constantly.
Add the sugar, stirring to dissolve. Return to a full rolling boil and boil hard for 1 minute, stirring constantly. Remove from heat and skim off foam if necessary.
(If making this recipe without pectin, combine the sugar and lemon juice immediately and bring to a hard boil. Cook to 220 degrees F, testing for set on a plate that’s been chilled in the freezer.)
Fill Jars
Ladle hot jelly into prepared jars, leaving 1/4 inch headspace. Wipe jar rims with a damp cloth, center lids on jars, and apply bands to fingertip tight.
Work quickly while the jelly is still hot so it doesn’t start to set up in the pot, and keep your jars hot right until the moment you fill them. If you end up with a partial jar at the end of the batch, skip canning that one and put it in the refrigerator to use first.
Setting Notes
Lemons are naturally high in pectin, which is why Ball’s added pectin makes this recipe virtually foolproof. With the pectin, you simply cook for 1 minute at a full rolling boil after adding the sugar, and the jelly will set reliably.
If you’re an experienced jelly maker and want to skip the pectin, you can make this recipe without it. After adding the sugar, boil hard for 8 to 10 minutes until the mixture reaches 220°F (at sea level) or passes the sheeting test. The batch pictured was made this way and set beautifully. Without pectin, expect a slightly softer, more delicate set.
With pectin, your yield is slightly higher. This recipe yields exactly 2 half pints without pectin, or closer to 3 half pints with added pectin. If either version comes out runnier than you wanted, my guide to troubleshooting jelly set walks through the fixes.
Canning Lemon Jelly
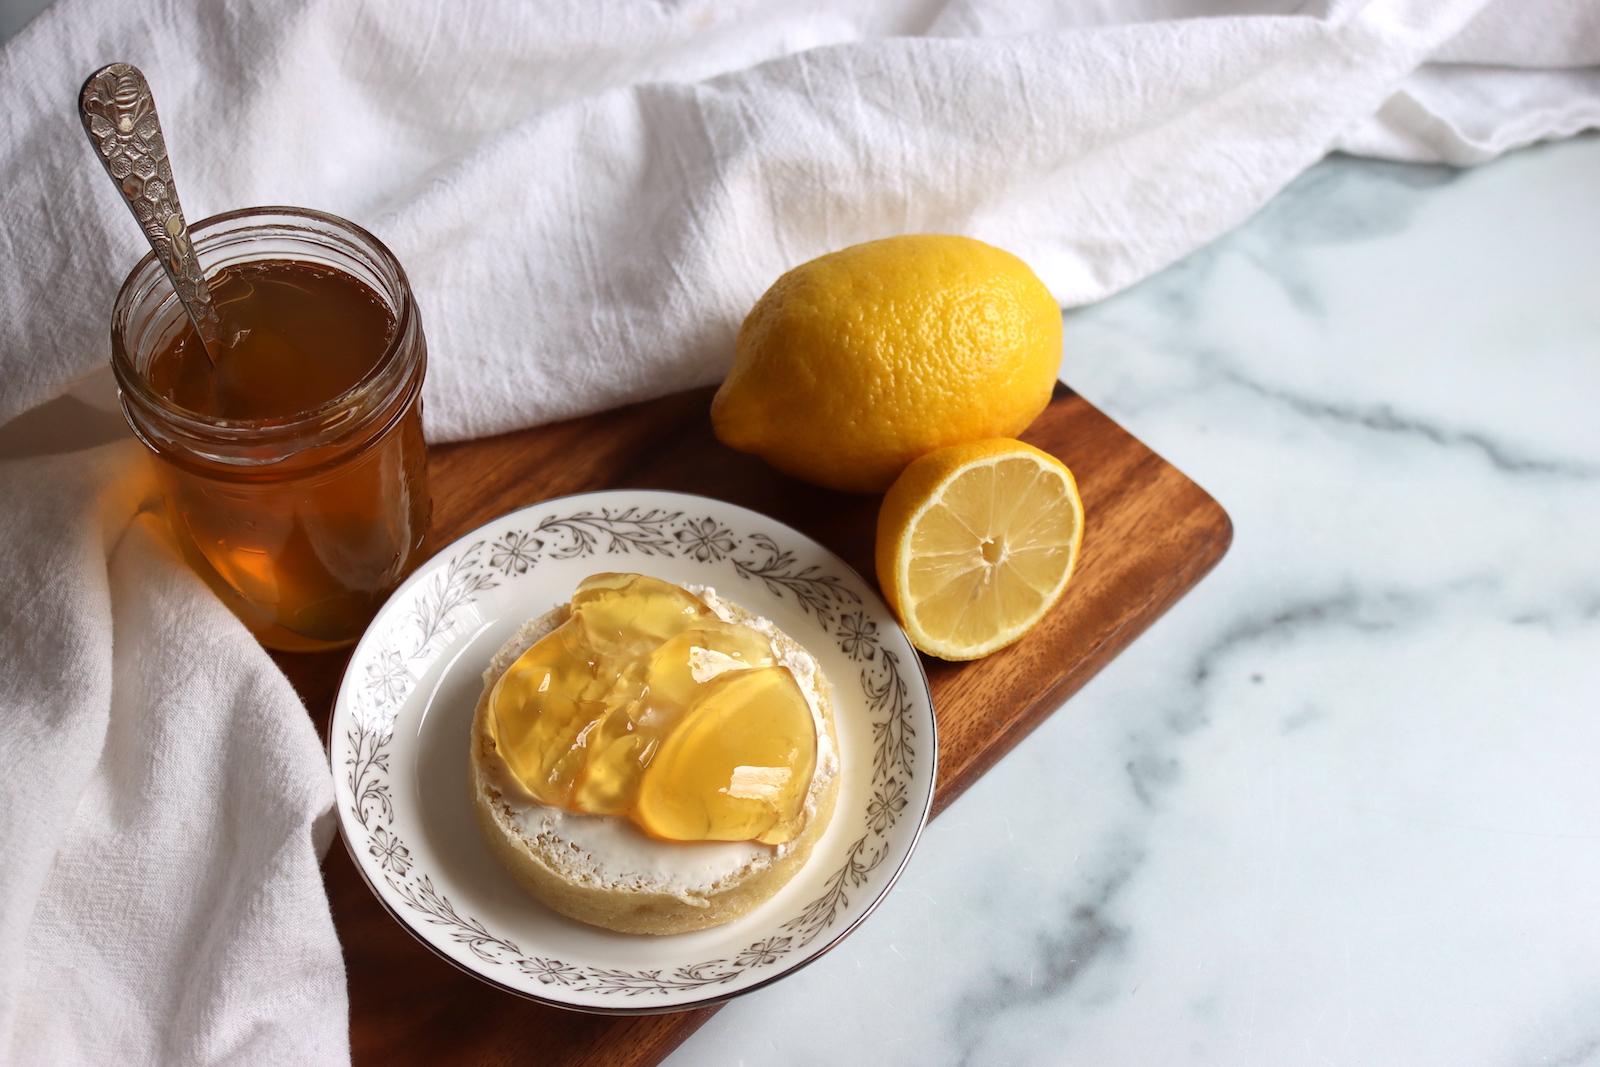
Without canning, lemon jelly will keep in the refrigerator for up to 3 weeks or in the freezer for up to 6 months. For shelf-stable storage, process the filled jars in a boiling water bath.
Prepare your water bath canner while you’re making the jelly. Lower the filled jars into the canner, making sure they’re covered by at least 1 inch of water. Process for 10 minutes for pints, half pints, or quarter pints, adjusting for altitude as noted below.
After processing, turn off the heat and let the jars stand in the canner for 5 minutes before removing. Let the jars cool undisturbed on a towel-lined counter for 12 to 24 hours. Check seals before storing, and refrigerate any jars that didn’t seal for immediate use.
Altitude Adjustments
For water bath canning, processing times increase at higher elevations:
- 0 to 6,000 feet: 10 minutes
- Above 6,000 feet: 15 minutes
Water boils at a lower temperature as you climb, so the extra minutes are what keep the process safe rather than a matter of preference. If you aren’t sure of your elevation, your county extension office can tell you, and it’s worth writing the number on a card and taping it inside a cupboard door since you’ll reach for it with every batch you can.
Storage and Shelf Life
Sealed, processed jars keep on the pantry shelf for 12 to 18 months. Store them somewhere cool, dark, and dry, and take the rings off before the jars go on the shelf so you can spot a seal that has let go. The jelly stays safe past that window as long as the seal holds, but the color dulls and the lemon flavor fades with time, so I try to work through mine within the first year.
Once you open a jar, keep it in the refrigerator and use it within about a month. Any jar that didn’t seal goes straight into the fridge for immediate use rather than onto the shelf. Throw out a jar without tasting it if the lid has popped up, the seal has broken, the jelly is fizzing or seeping around the rim, or you see mold or catch an off smell when you open it.
Yield Notes
This small batch recipe yields about 3 half pints (or 6 quarter pints) using half a box of pectin. For a larger batch of 5 to 6 half pints, double all ingredients: 14 to 16 lemons (about 4 pounds), 3 cups water, 6 tablespoons pectin (a full box), and 4 cups sugar.
Without pectin, the yield is slightly lower and it takes a bit of patience and experience to get a good set. Expect 2 half pints without added pectin.
The small batch size is perfect for trying a new recipe or for making small gifts. Quarter pint jars make especially nice gifts and are a great size for sampling without committing to a full jar.
Serving Ideas
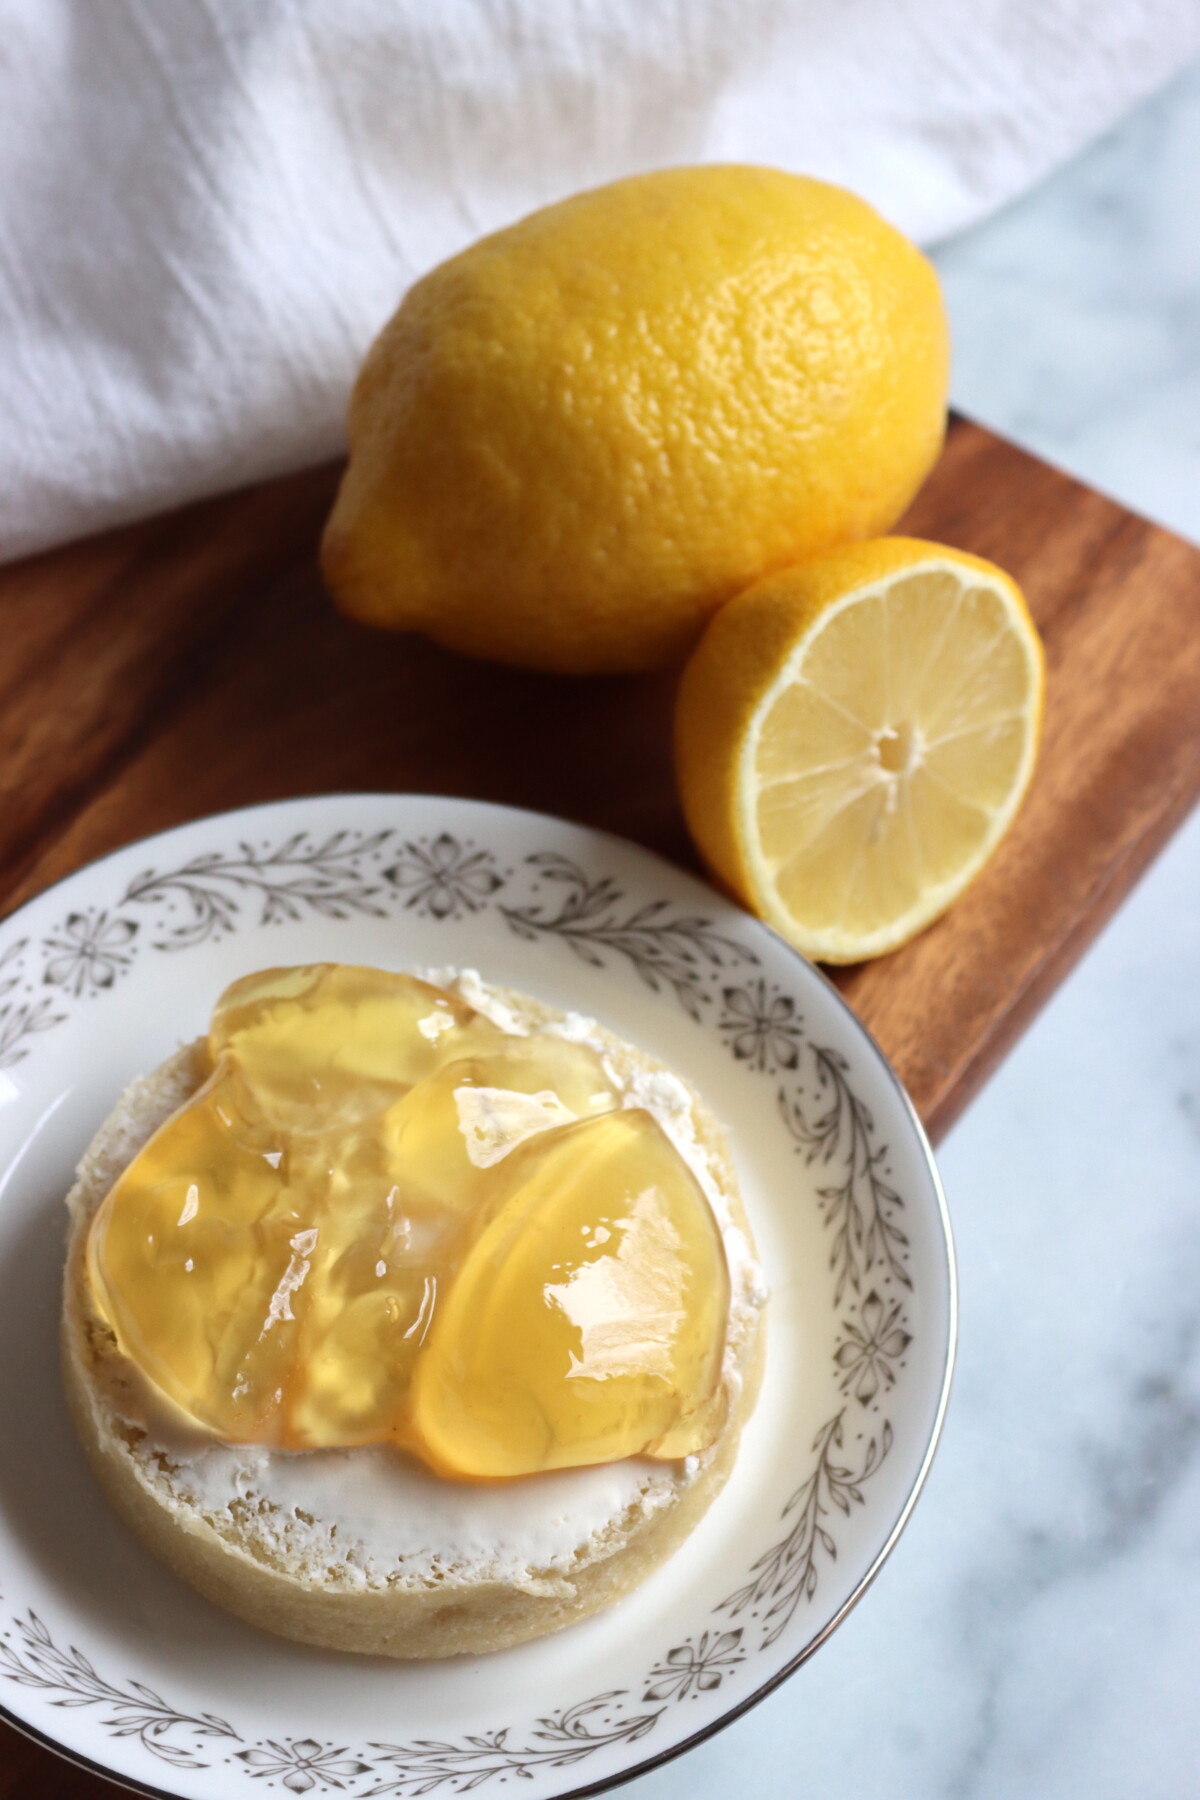
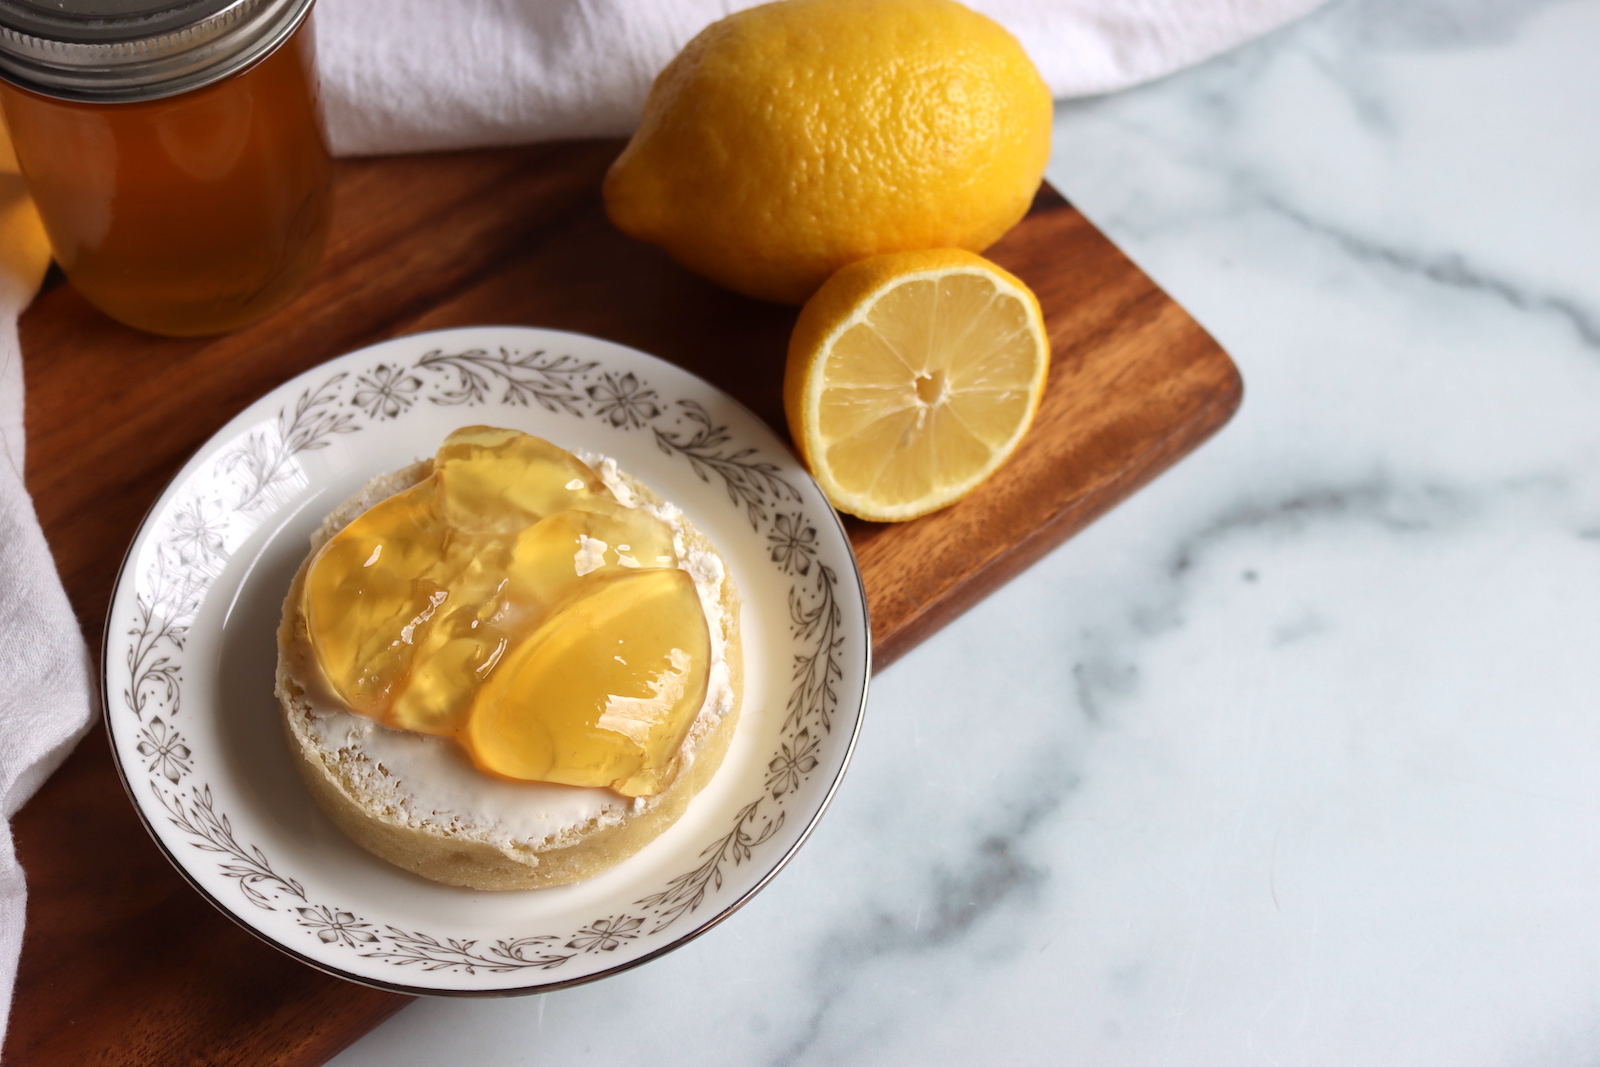
Lemon jelly is wonderful on toast, biscuits, or scones, and it pairs beautifully with cream cheese for an easy appetizer spread. The bright citrus flavor cuts through the richness of cream cheese or butter and makes everything taste fresher.
Try using lemon jelly as a glaze for poultry or fish: warm it gently and brush it over chicken or salmon during the last few minutes of roasting. It also makes an excellent filling for thumbprint cookies or between cake layers when you want a burst of citrus.
For a quick dessert, warm lemon jelly slightly and drizzle it over vanilla ice cream or pound cake. The tart sweetness is a perfect match for rich, creamy desserts.
Lemon Jelly FAQs
Yes! Lemons are naturally high in pectin. After adding the sugar, boil hard for 8 to 10 minutes until the mixture reaches 220°F or passes the sheeting test. Without pectin, the set will be slightly softer but still delicious. This method suits experienced jelly makers who are comfortable testing for gel point.
Lemon jelly strains out all solids for a perfectly smooth, clear spread. Lemon marmalade keeps thin strips of peel suspended throughout. Both have wonderful lemon flavor, but jelly is better for those who don’t enjoy the texture of peel in their spread.
This recipe uses whole lemons, not just juice, because the peel provides essential aromatic oils and flavor. If you wanted to use bottled juice, you would need a different recipe specifically designed for it. The fresh lemon process is what makes this jelly taste so much better than store-bought.
Yes! Ball includes a Simple Switch variation: follow the recipe exactly using lime juice and lime rind instead of lemon. The process and proportions are identical, and you’ll get a beautiful, tart lime jelly.
Yes! This recipe is excellent with meyer lemons, and gives you a sweeter, less acidic preserve that’s a bit milder on the palate.
Pectin jelly looks thin while it’s hot and firms up as it cools, so give it a full 24 to 48 hours before you decide anything went wrong. If it’s still runny after that, the usual causes are adding the sugar before the pectin had dissolved and boiled, boiling the finished jelly longer than the recipe calls for, or scaling the batch up beyond a double. A soft set is still lovely spooned over ice cream, or you can read through my guide on troubleshooting jelly set for ways to recook it.
Lemon Canning Recipes
If you tried this Lemon Jelly recipe, or any other recipe on Creative Canning, leave a ⭐ star rating and let me know what you think in the 📝 comments below!
And make sure you stay in touch with me by following on social media!
Lemon Jelly
Equipment
- Half Pint or Quarter Pint Mason Jars
- Canning lids and bands
- Cheesecloth
- 4-Quart Stainless Steel or Enameled Pot
- Vegetable Peeler
Ingredients
- 2 lbs lemons
- 1½ cups water
- 3 Tbsp Powdered Pectin, Any brand, full sugar pectin, half a 1.75 ounce box (normally 6tbsp per box)
- 2 cups sugar, Adjust to your juice yield, 1:1 ratio
Instructions
- Scrub the lemons thoroughly, rinse well, and pat dry. Using a vegetable peeler, carefully strip the yellow rind from the lemons, avoiding the bitter white pith underneath.
- Cut a 1/4-inch slice from each end of the peeled lemons. Stand each lemon flat-end down and remove the remaining white pith in strips, cutting from top to bottom and following the curve of the fruit.
- Coarsely chop the peeled lemons, reserving all of the juice that escapes onto the cutting board.
- Combine the lemon peel strips, chopped lemon with its juice, and water in a 4-quart stainless steel or enameled pot. Bring to a boil, reduce the heat, cover, and simmer for 15 minutes.
- Line a large wire-mesh strainer with 3 layers of dampened cheesecloth and set it over a large bowl. Pour the lemon mixture into the strainer and let it drain for at least 3 hours or overnight. Discard the solids.
- Measure the strained juice. If you came up short, top it off with water to reach the amount called for, then measure out an equal volume of sugar so the juice and sugar stay 1 to 1.
- Combine the lemon juice and pectin in a 4-quart pot. Bring to a full rolling boil over high heat, stirring constantly. Add the sugar and stir until dissolved. Return to a full rolling boil and boil hard for 1 minute, stirring constantly. Remove from heat and skim off foam if necessary.
- Ladle the hot jelly into prepared jars, leaving 1/4 inch headspace. Wipe the rims, center the lids on the jars, and apply the bands to fingertip tight.
- Process half pints or quarter pints in a boiling water bath canner for 10 minutes, adjusting for altitude. Turn off the heat and let the jars stand in the canner for 5 minutes before removing.
Notes
Nutrition
Nutrition information is automatically calculated, so should only be used as an approximation.
Jelly Recipes
Find the perfect recipe
Searching for something else? Enter keywords to find the perfect recipe!

I’m confused. Making the smaller batch of lemon jelly is a one-to-one ratio with 2 cups sugar. If I make a double batch it is not a one-to-one ratio anymore. It is requiring 8 cups of sugar. Please explain.
Ah… I see. When you hit the 1x and 2x buttons, it only doubles the ingredient numbers for you, but the recipe card isn’t smart enough to double the quantities in the recipe instruction text. That’s why it looks wrong.
Delicious! Followed the pectin free instructions and it came together beautifully. As I learn how to make and can fruit preserves the traditional way, I’ve so appreciated the fruit/juice to sugar ratios you add to your recipes. Thank you for rules of thumb that really work… I taste fruit, not just sugar!
Wonderful! I’m so glad you gave it a try without added pectin. I like to make it the old fashioned way whenever possible, even if it does require a bit more careful attention.