This post may contain affiliate links. Please see our disclosure policy.
Roasted red pepper soup is rich, smoky, and full of bold flavor from sweet peppers, tomatoes, and warm spices and it’s perfect for pressure canning. It’s delicious straight from the jar or blended smooth with a splash of cream for a cozy, comforting bowl. A great pantry staple for quick lunches or light dinners.
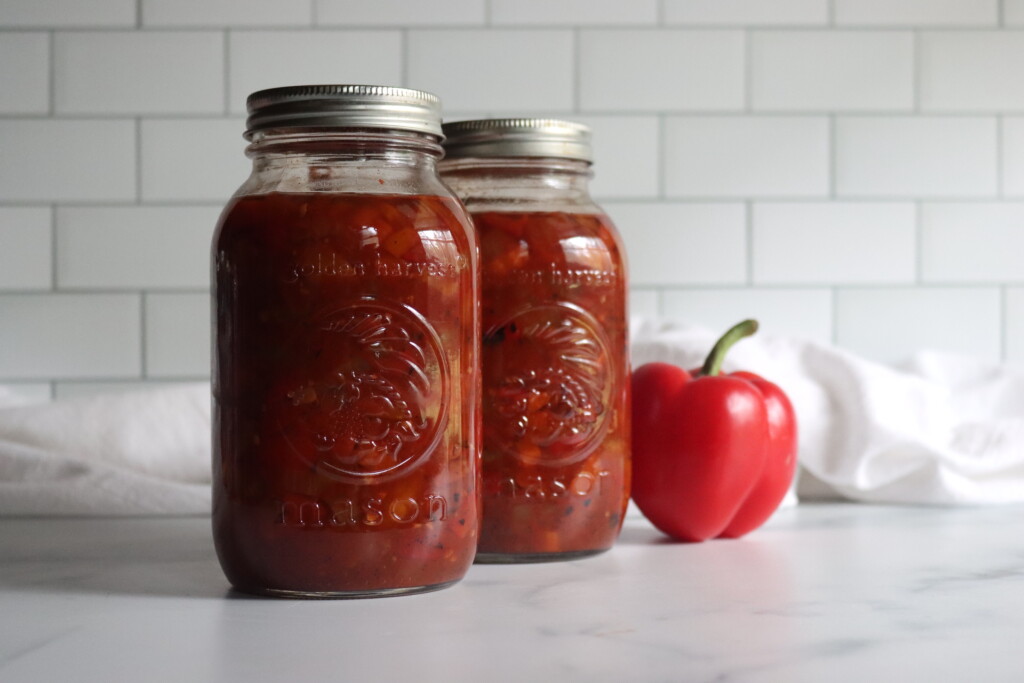
This roasted red pepper soup is a velvety, smoky, and richly flavored jarred soup that’s perfect for cool weather meals or light lunches. With sweet roasted red peppers, aromatic vegetables, and a touch of smoked paprika, it’s a deeply satisfying soup that’s just as good straight from the jar as it is blended smooth with a splash of cream.
This pressure canning recipe yields about 2 quarts, making it a great small batch option to put up extra peppers or tomatoes from the garden. It’s fully vegetarian as written, but you can also add chicken broth in place of veggie broth to deepen the flavor.
With bold flavor and simple ingredients, this roasted red pepper soup is a great addition to your pantry lineup. It’s quick to prepare, easy to scale, and endlessly adaptable depending on what you have in the garden or freezer.

Ingredients for Roasted Red Pepper Soup
This is a simple and flexible soup that relies on just a few bold ingredients. Here’s what you’ll need to make a 2-quart batch:
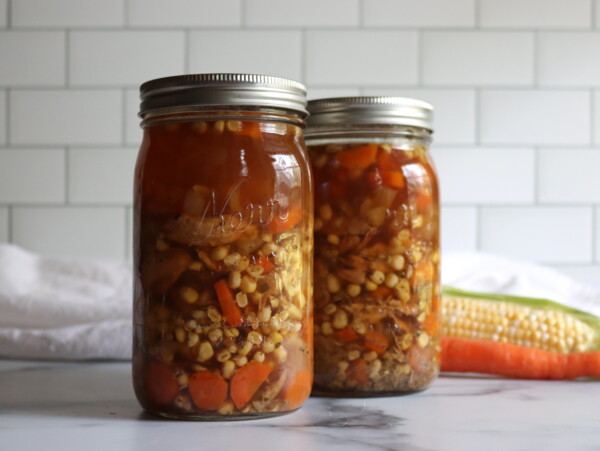
- Roasted Red Peppers – Use about 6 large red bell peppers, roasted until blackened and then peeled. Roasting adds rich depth and sweetness to the soup.
- Carrots and Onions – These round out the flavor and give the soup a bit of body. Dice them small so they cook quickly and blend well into the finished dish.
- Tomatoes – Use fresh tomatoes, peeled and chopped, or a can of crushed tomatoes. Either works well depending on what you have available.
- Smoked Paprika and Garlic – These are the flavor boosters here. Smoked paprika enhances the roasted peppers while garlic adds its usual magic.
- Liquid Base – You’ll need about 2 cups of liquid to bring it to the right consistency. Use water, tomato juice, or broth—whatever fits your pantry and flavor preference.
- Salt and Pepper – Season to taste. Since salt content in home-canned soups is flexible, you can adjust based on your intended use or dietary needs.
The main thing here is roasting the red peppers to bring out their flavor, which dominates this soup. Don’t skip the roasting!
How to Make Roasted Red Pepper Soup for Canning
Start by preparing your pressure canner and jars. For hot pack, get the canner water up to about 180°F to prevent jar shock.
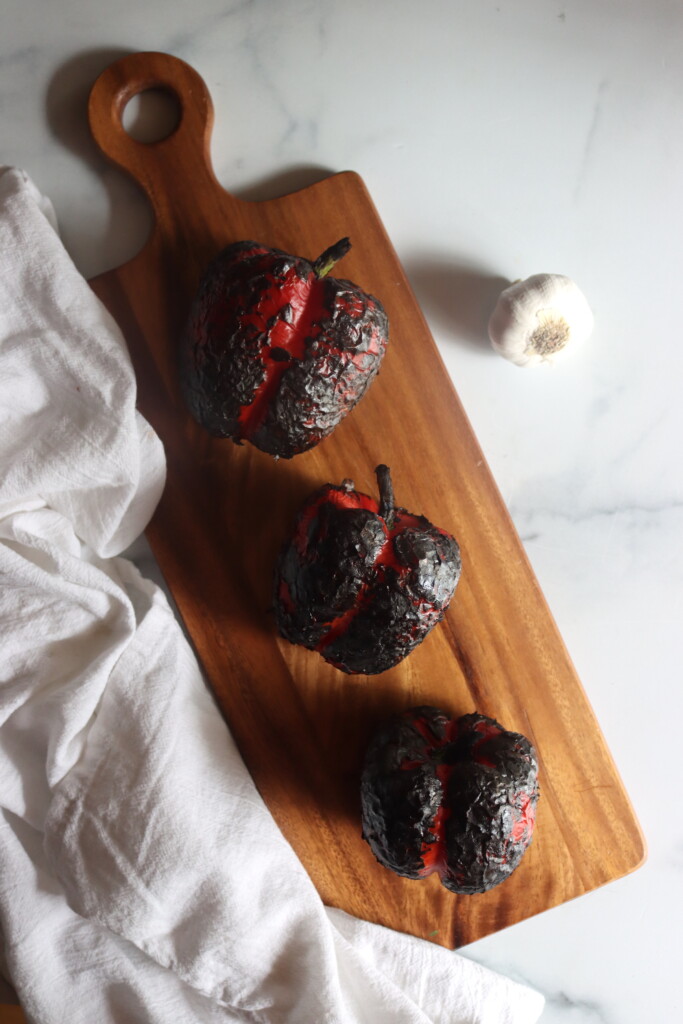
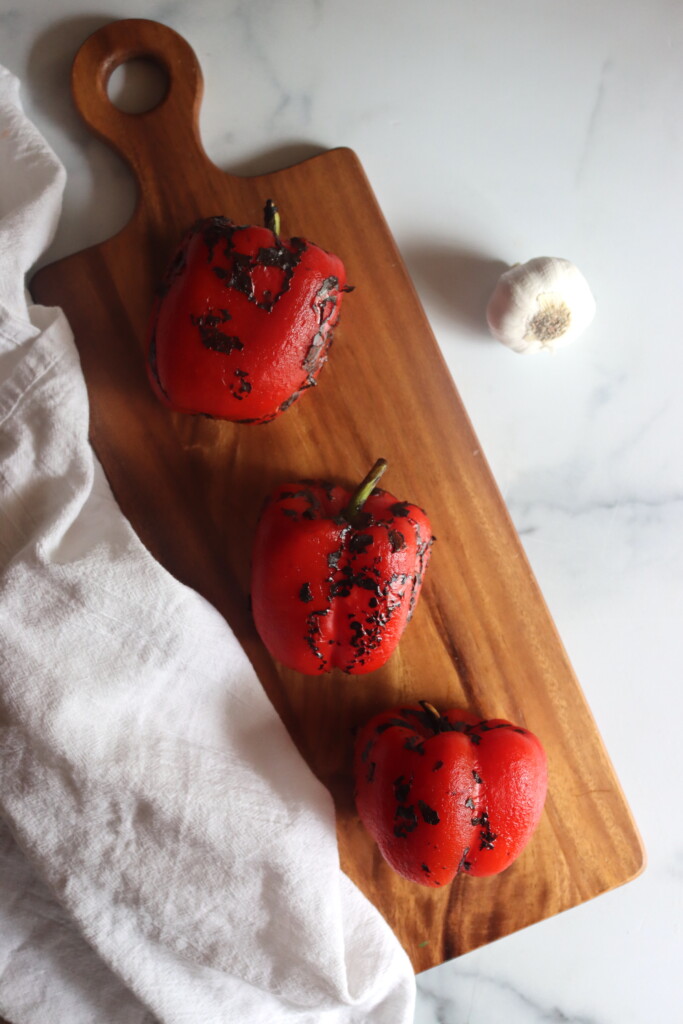
Roast the red peppers using your preferred method—under the broiler, on a grill, or over an open flame. Turn them until charred on all sides, then place in a covered bowl to steam for 10–15 minutes. Once cooled, peel off the skins, remove seeds, and chop.
Dice the onions and carrots. If using fresh tomatoes, chop them now.
In a large stockpot, combine all the ingredients: roasted peppers, carrots, onions, tomatoes, garlic, smoked paprika, black pepper, and liquid of choice. Stir well and bring to a boil. Once boiling, reduce heat and simmer for 5 minutes to heat through and blend flavors.
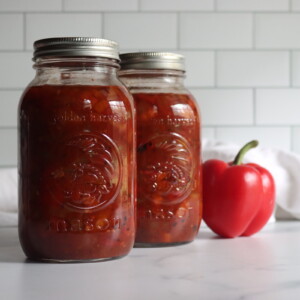
Ladle the hot soup into clean, hot jars, leaving 1 inch of headspace. Remove air bubbles, adjust liquid if needed, wipe jar rims, and apply two-piece canning lids.
Process in a pressure canner at 10 lbs pressure for weighted gauge canners or 11 lbs for dial gauge canners, adjusting for your elevation. Process pints for 75 minutes and quarts for 90 minutes.
Let the jars cool undisturbed for 12–24 hours. Check seals before labeling and storing in a cool, dark place.
Altitude Adjustments
With pressure canning, the processing times stay the same at higher altitudes, but the pressures change. Here are the altitude adjustments for pressure canning soup:
For dial gauge pressure canners:
- 0 to 2,000 feet in elevation – 11 lbs pressure
- 2,001 to 4,000 feet in elevation – 12 lbs pressure
- 4,001 to 6,000 feet in elevation – 13 lbs pressure
- 6,001 to 8,000 feet in elevation – 14 lbs pressure
For weighted gauge pressure canners:
- 0 to 1,000 feet in elevation – 10 lbs pressure
- Above 1,000 feet – 15 lbs pressure
How to Serve
This soup is ready to eat straight from the jar—just heat and enjoy. For a smoother texture, blend it with an immersion blender and finish with a splash of cream, coconut milk, or broth. It’s delicious with grilled cheese, crusty bread, or croutons for a cozy, satisfying meal.
Roasted Red Pepper Soup (Canning Recipe)
Equipment
Ingredients
- 6 cups roasted red peppers, about 6 large peppers, roasted, peeled, seeded and stemmed
- 2 cups carrots, diced
- 2 cups onion, diced, about 1 large
- 2 cups tomatoes, fresh chopped or 1 can crushed
- 1 tbsp smoked paprika
- 1 tbsp garlic, minced
- 1 tsp black pepper
- 2 cups vegetable broth, or tomato juice, or a mix
- 1 1/2 tsp salt, or to taste
Instructions
- Prepare a pressure canner and jars for hot pack canning. Heat the canner water to about 180°F.
- Roast the red bell peppers under a broiler, on a grill, or over an open flame until charred on all sides. Place them in a covered bowl to steam for 10–15 minutes. Once cooled, peel off the skins, remove the seeds, and chop the peppers.
- Dice the carrots and onions, and chop the tomatoes if using fresh. Combine the chopped roasted peppers, carrots, onions, tomatoes, garlic, smoked paprika, black pepper, and your choice of liquid (water, tomato juice, or broth) in a large stockpot. Add salt to taste.
- Bring the mixture to a boil over medium-high heat, then reduce to a simmer and cook for 5 minutes.
- Ladle the hot soup into prepared, hot jars, leaving 1 inch of headspace. Remove air bubbles, adjust headspace if needed, wipe the rims clean, and apply two-piece canning lids.
- Process jars in a pressure canner at 10 pounds pressure for weighted gauge canners or 11 pounds pressure for dial gauge canners, adjusting for altitude. Process pints for 75 minutes and quarts for 90 minutes.
- After processing, turn off the heat and allow the canner to cool and depressurize naturally. Remove jars and let them sit undisturbed for 12–24 hours. Check seals before labeling and storing in a cool, dark place.
Notes
Canning Safety Note
This soup contains low-acid vegetables and must be pressure canned. Do not attempt to use a water bath canner. Always follow recommended processing times and adjust pressure for your altitude. It follows the University of Alaska’s canning guidance for Hearty Soups (Publication FNH-00065).Altitude Adjustments
Use the following pressure settings based on your elevation: Dial Gauge Canners- 0–2,000 ft: 11 lbs
- 2,001–4,000 ft: 12 lbs
- 4,001–6,000 ft: 13 lbs
- 6,001–8,000 ft: 14 lbs
- 0–1,000 ft: 10 lbs
- Above 1,000 ft: 15 lbs
Serving Suggestions
To serve, reheat the soup as-is or blend it until smooth with an immersion blender. Add a splash of cream or coconut milk for a richer texture. Serve with crusty bread, grilled cheese, or croutons for a simple, comforting meal.Nutrition
Nutrition information is automatically calculated, so should only be used as an approximation.
Soup Canning Recipes
Want to add more soups to your pressure canning rotation?
Roasted Red Pepper Soup is great for cool weather, but you can also try Roasted Tomato Basil Soup or Southwest Tomato Soup for other bright, tomato-forward options.
Looking for something creamy? Check out Canning Butternut Squash Soup Base or Canning Potato Leek Soup, both perfect for blending and finishing with cream.
And for something hearty, Canning Mushroom Soup Base and Canning French Onion Soup make delicious building blocks for rich, satisfying meals from your pantry.