This post may contain affiliate links. Please see our disclosure policy.
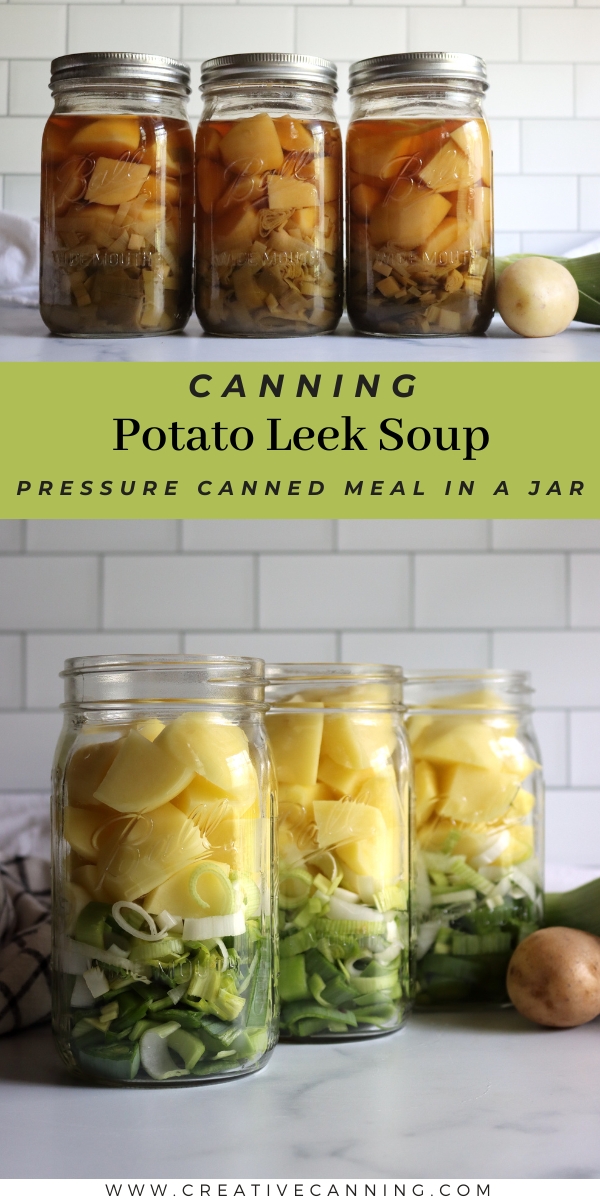
Potato leek soup is classic comfort food, and it’s easy to make ahead of time as a simple pressure canning recipe. The veggies cook and the flavors combine in the jar, and then you can heat and serve for a chunky style veggie soup, or puree, heat and serve, whichever you prefer).
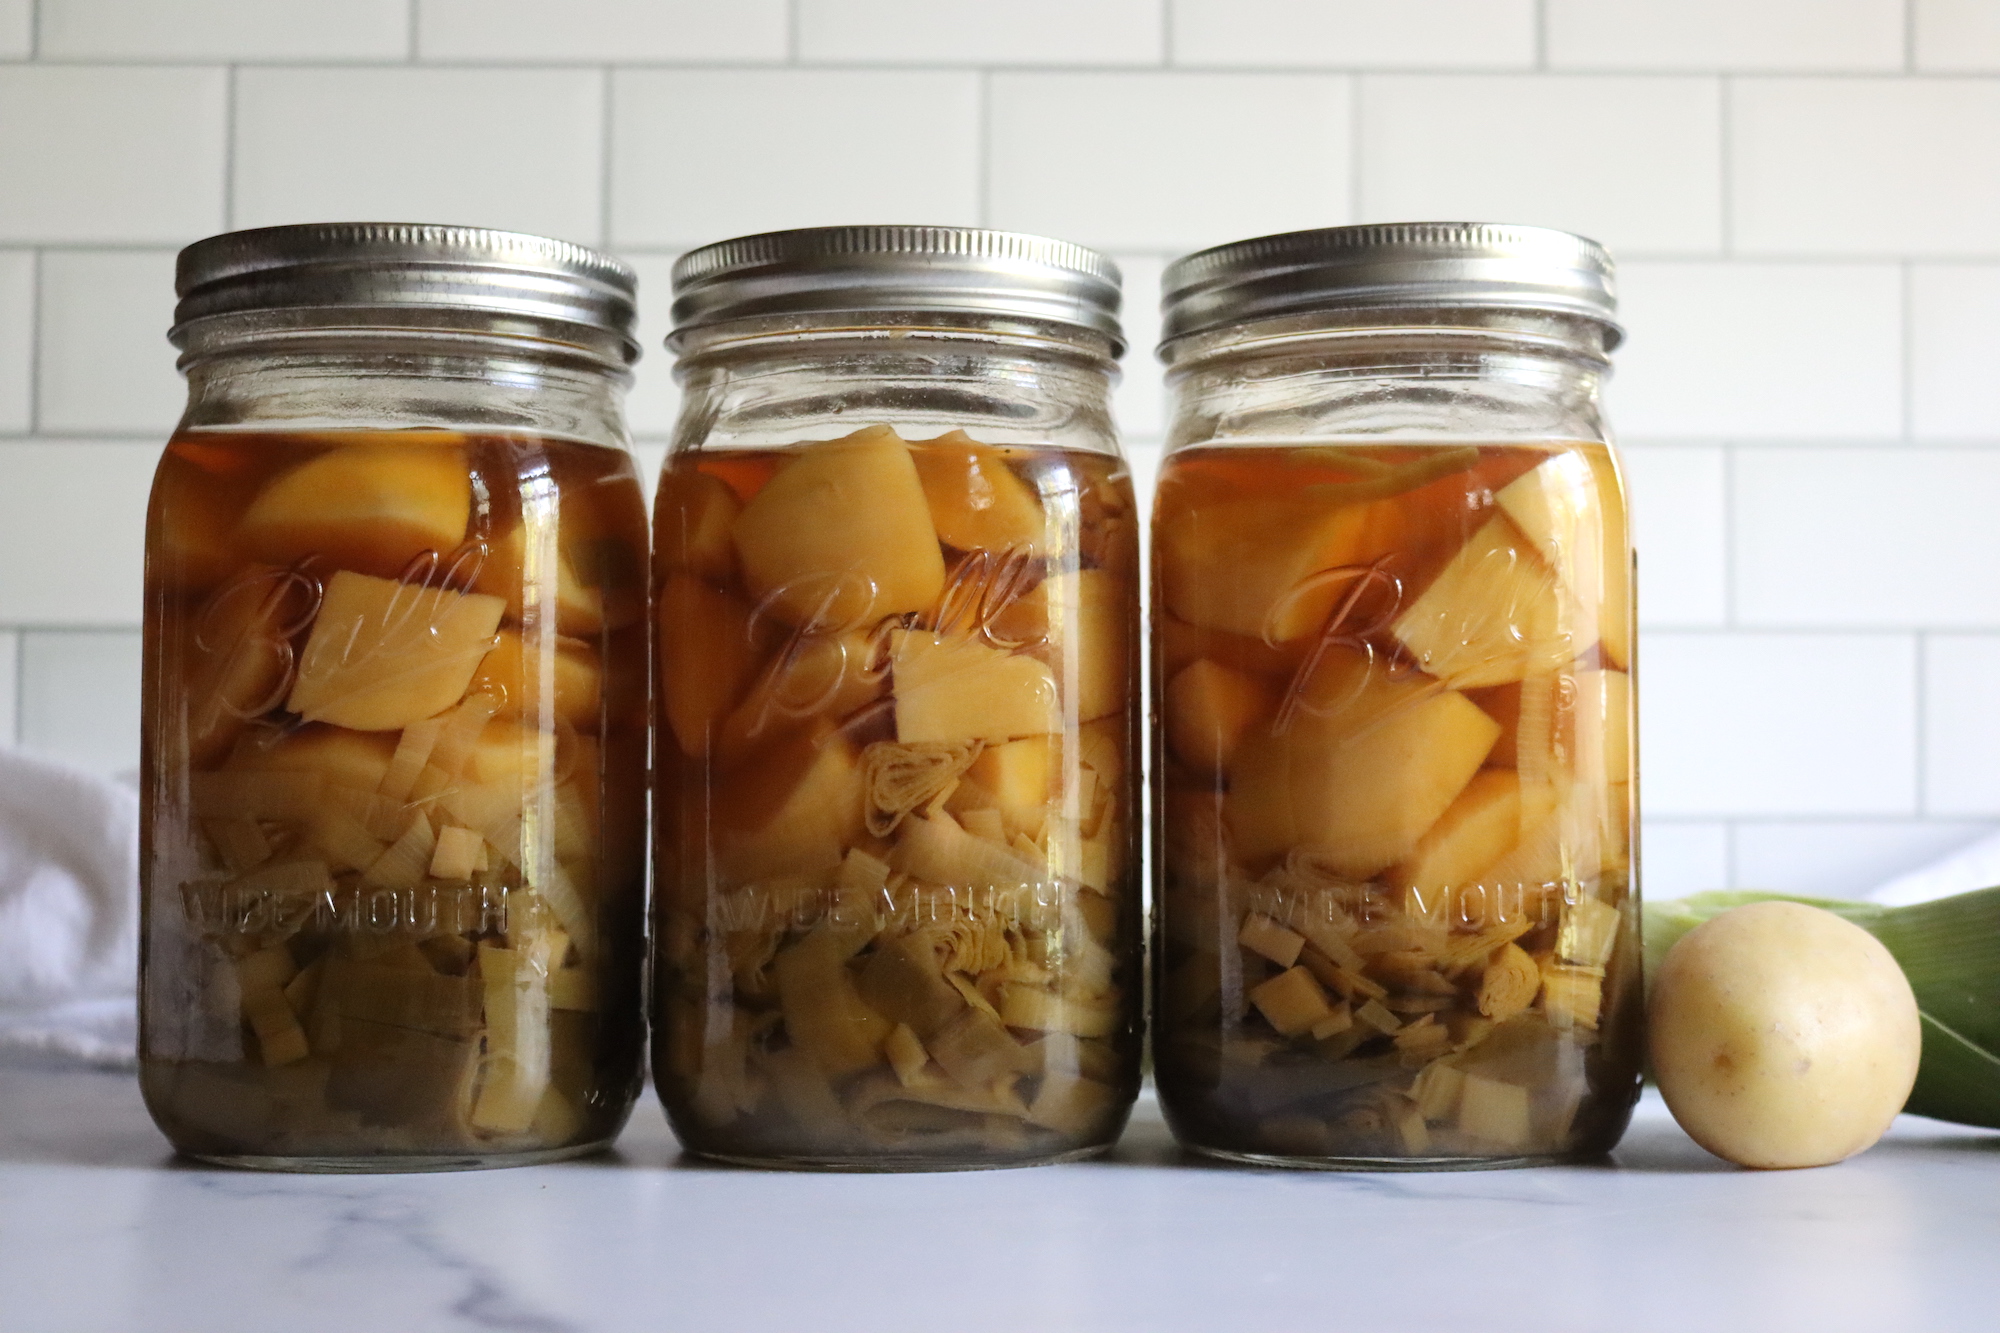
My kids love the simple comfort of potato leek soup, but I don’t always have leeks on hand.
This year, I picked up a bunch at the farmer’s market and made up a canner batch so that I always have a jar of this on the pantry shelf whenever I need it.
Ingredients for Canning Potato Leek Soup
This recipe follows the University of Alaska’s Hearty Soup Canning Guidelines (Publication FNH-00065). The minimum batch size when pressure canning is two quarts, so I’ve sized this recipe accordingly.
For a small two-quart canner batch, you’ll need:
- 4 cups leeks, sliced (about 300 g)
- 4 cups potatoes, diced (about 600 g)
- 2 tsp salt (adjust to taste)
- Vegetable broth to fill (about 4 cups)
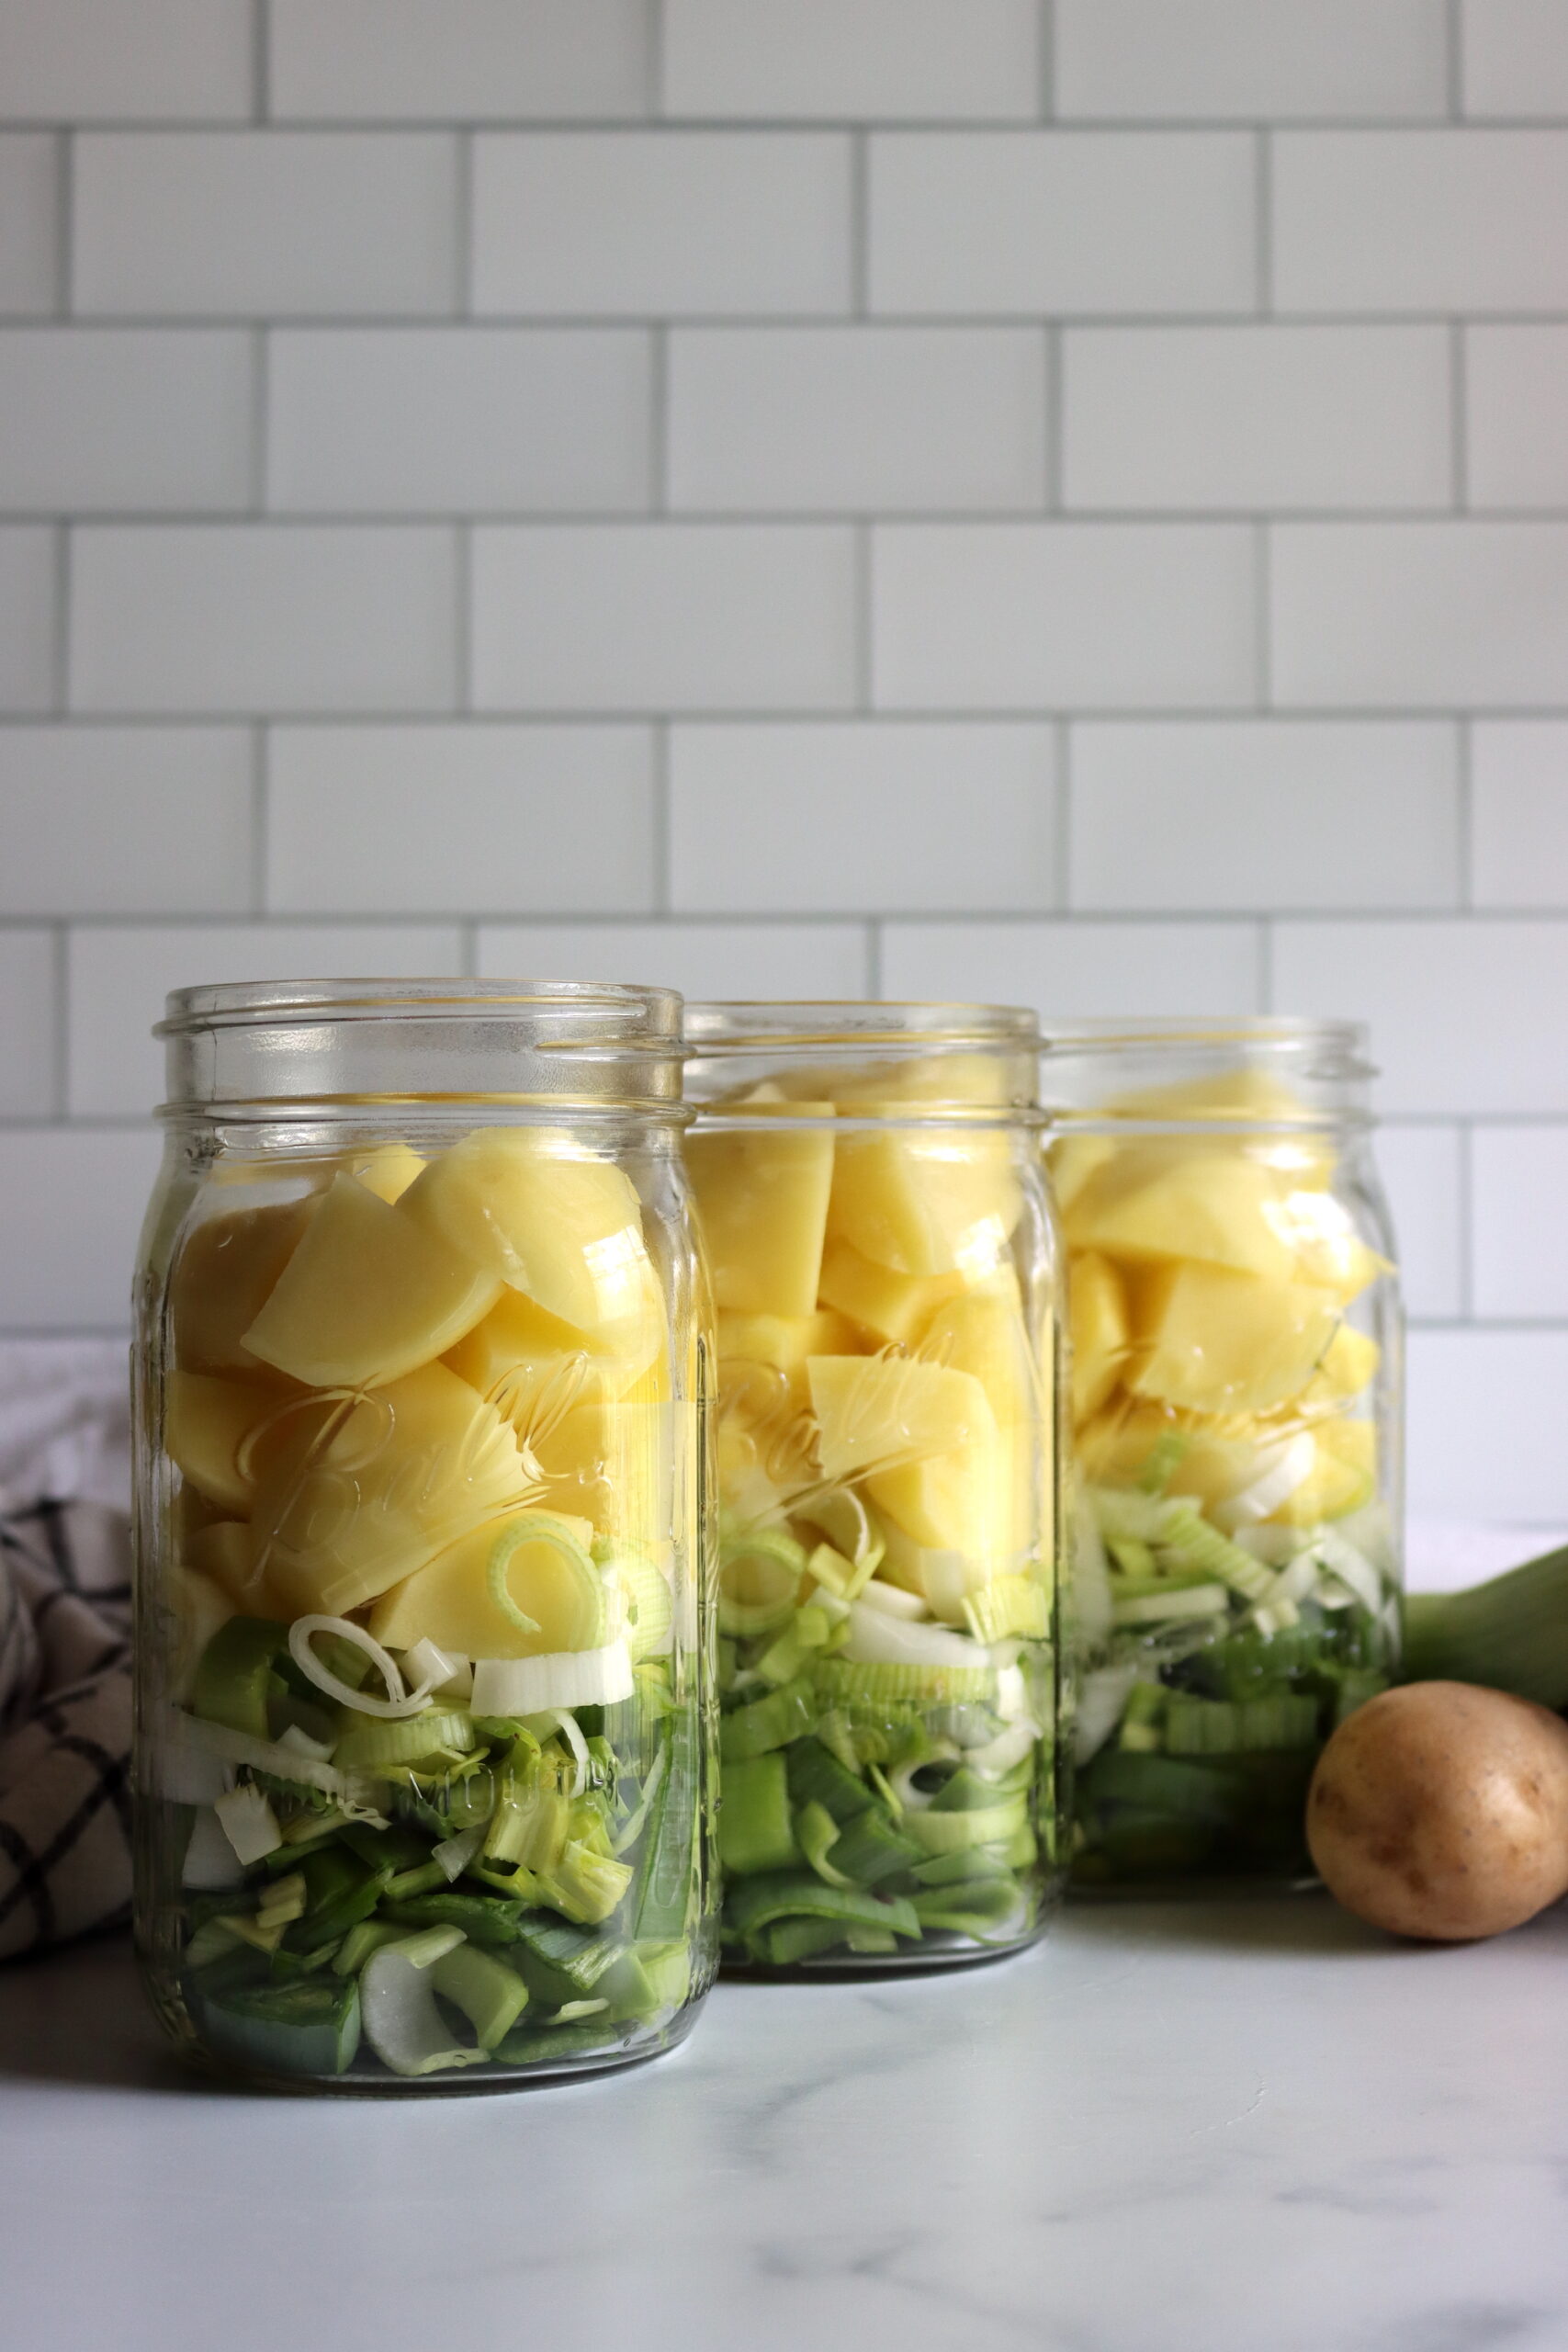
Pack each quart jar with:
- 2 cup leeks, sliced (about 150 g)
- 2 cup potatoes, diced (about 300 g)
- 1 tsp salt
- Vegetable broth to fill (about 1 1/2 to 2 cups)
Feel free to adjust the proportions of leeks and potatoes as you like. This soup can be made vegetarian with veggie stock, and that way it’s more versatile for serving to anyone. Personally, I like to add chicken stock for added richness, but either is fine for canning.
Adding herbs like rosemary, thyme, or whatever you prefer is also perfectly fine for pressure canning.
Canning Potato Leek Soup
Before you get started, prepare your pressure canner and jars. If you’re doing a hot pack, the canner should be simmering at around 180°F. For a raw pack, you want warm water, but not simmering—around 140°F.
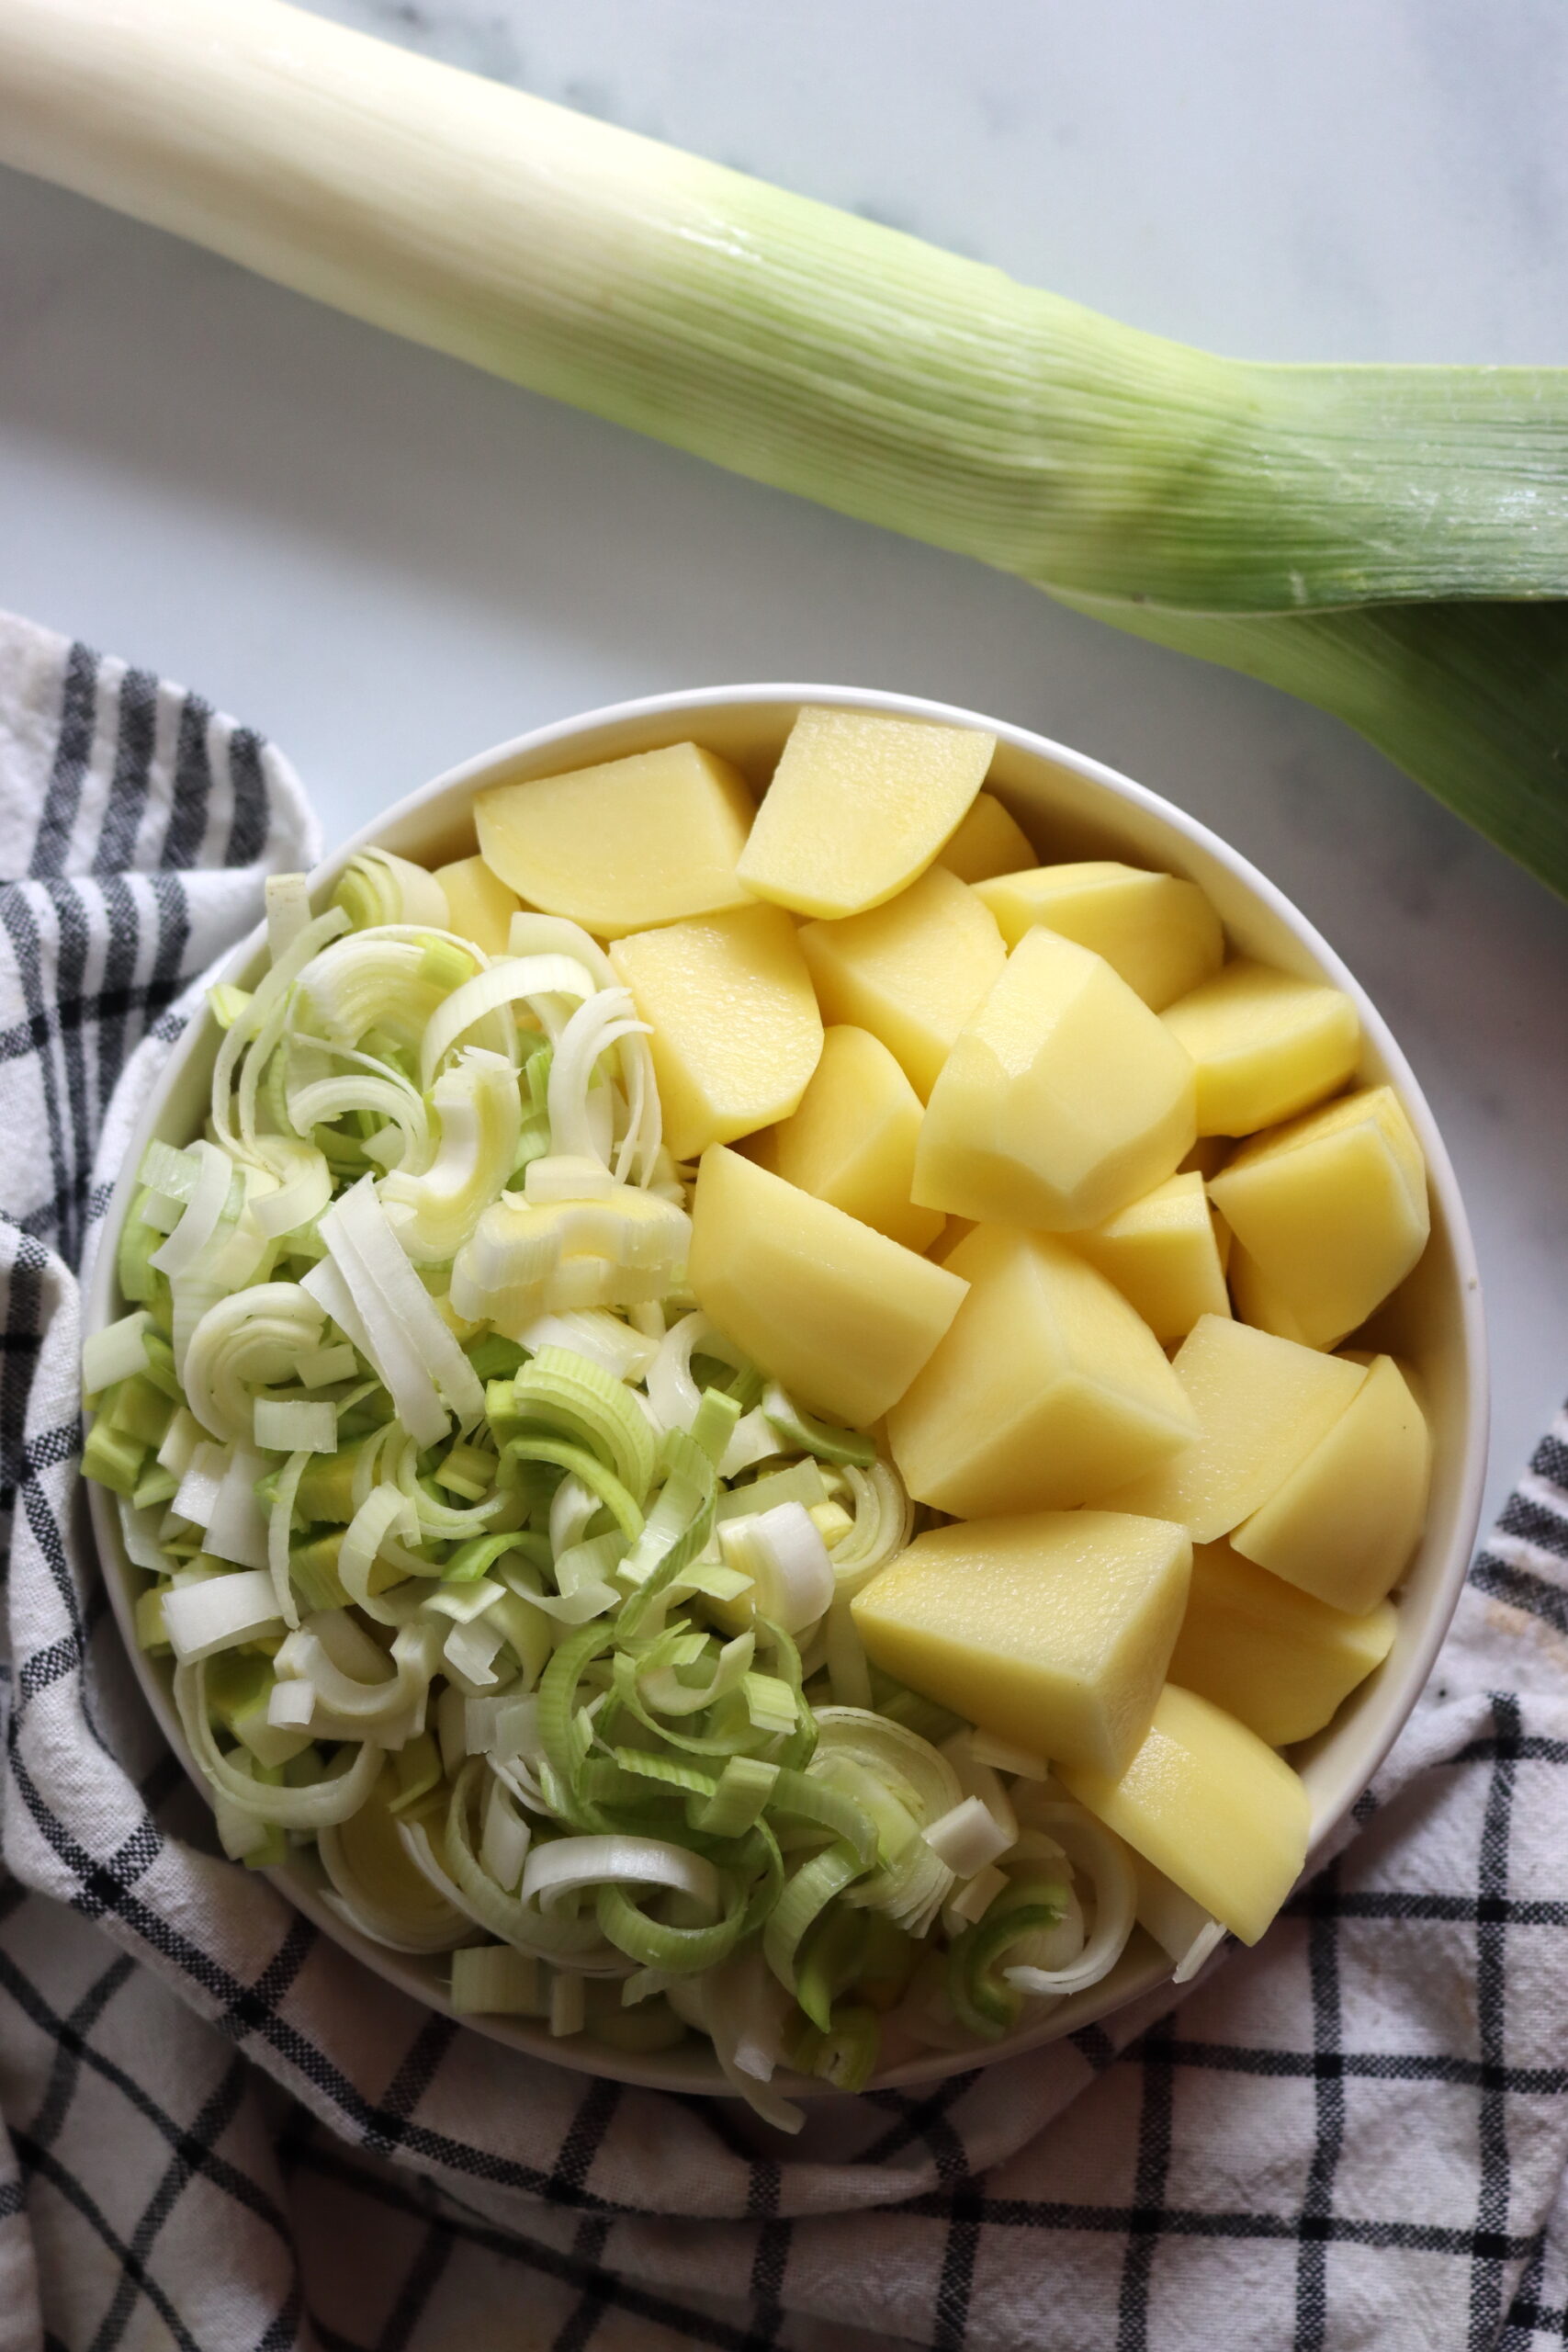
First, wash and chop the leeks, making sure to remove any dirt between the layers. Then, peel and dice the potatoes into bite-sized pieces.
In a large pot, combine the leeks, potatoes, and salt. Add enough vegetable broth to cover the vegetables, and bring everything to a boil. Once it’s boiling, reduce the heat and let it simmer for about 5 minutes. This helps soften the vegetables slightly, which actually makes them hold up better during the canning process.
Now, if you prefer a raw pack, you can skip the simmering step. Just pack the veggies into the canning jars along with the salt, and pour the boiling broth over the top, leaving 1-inch headspace.
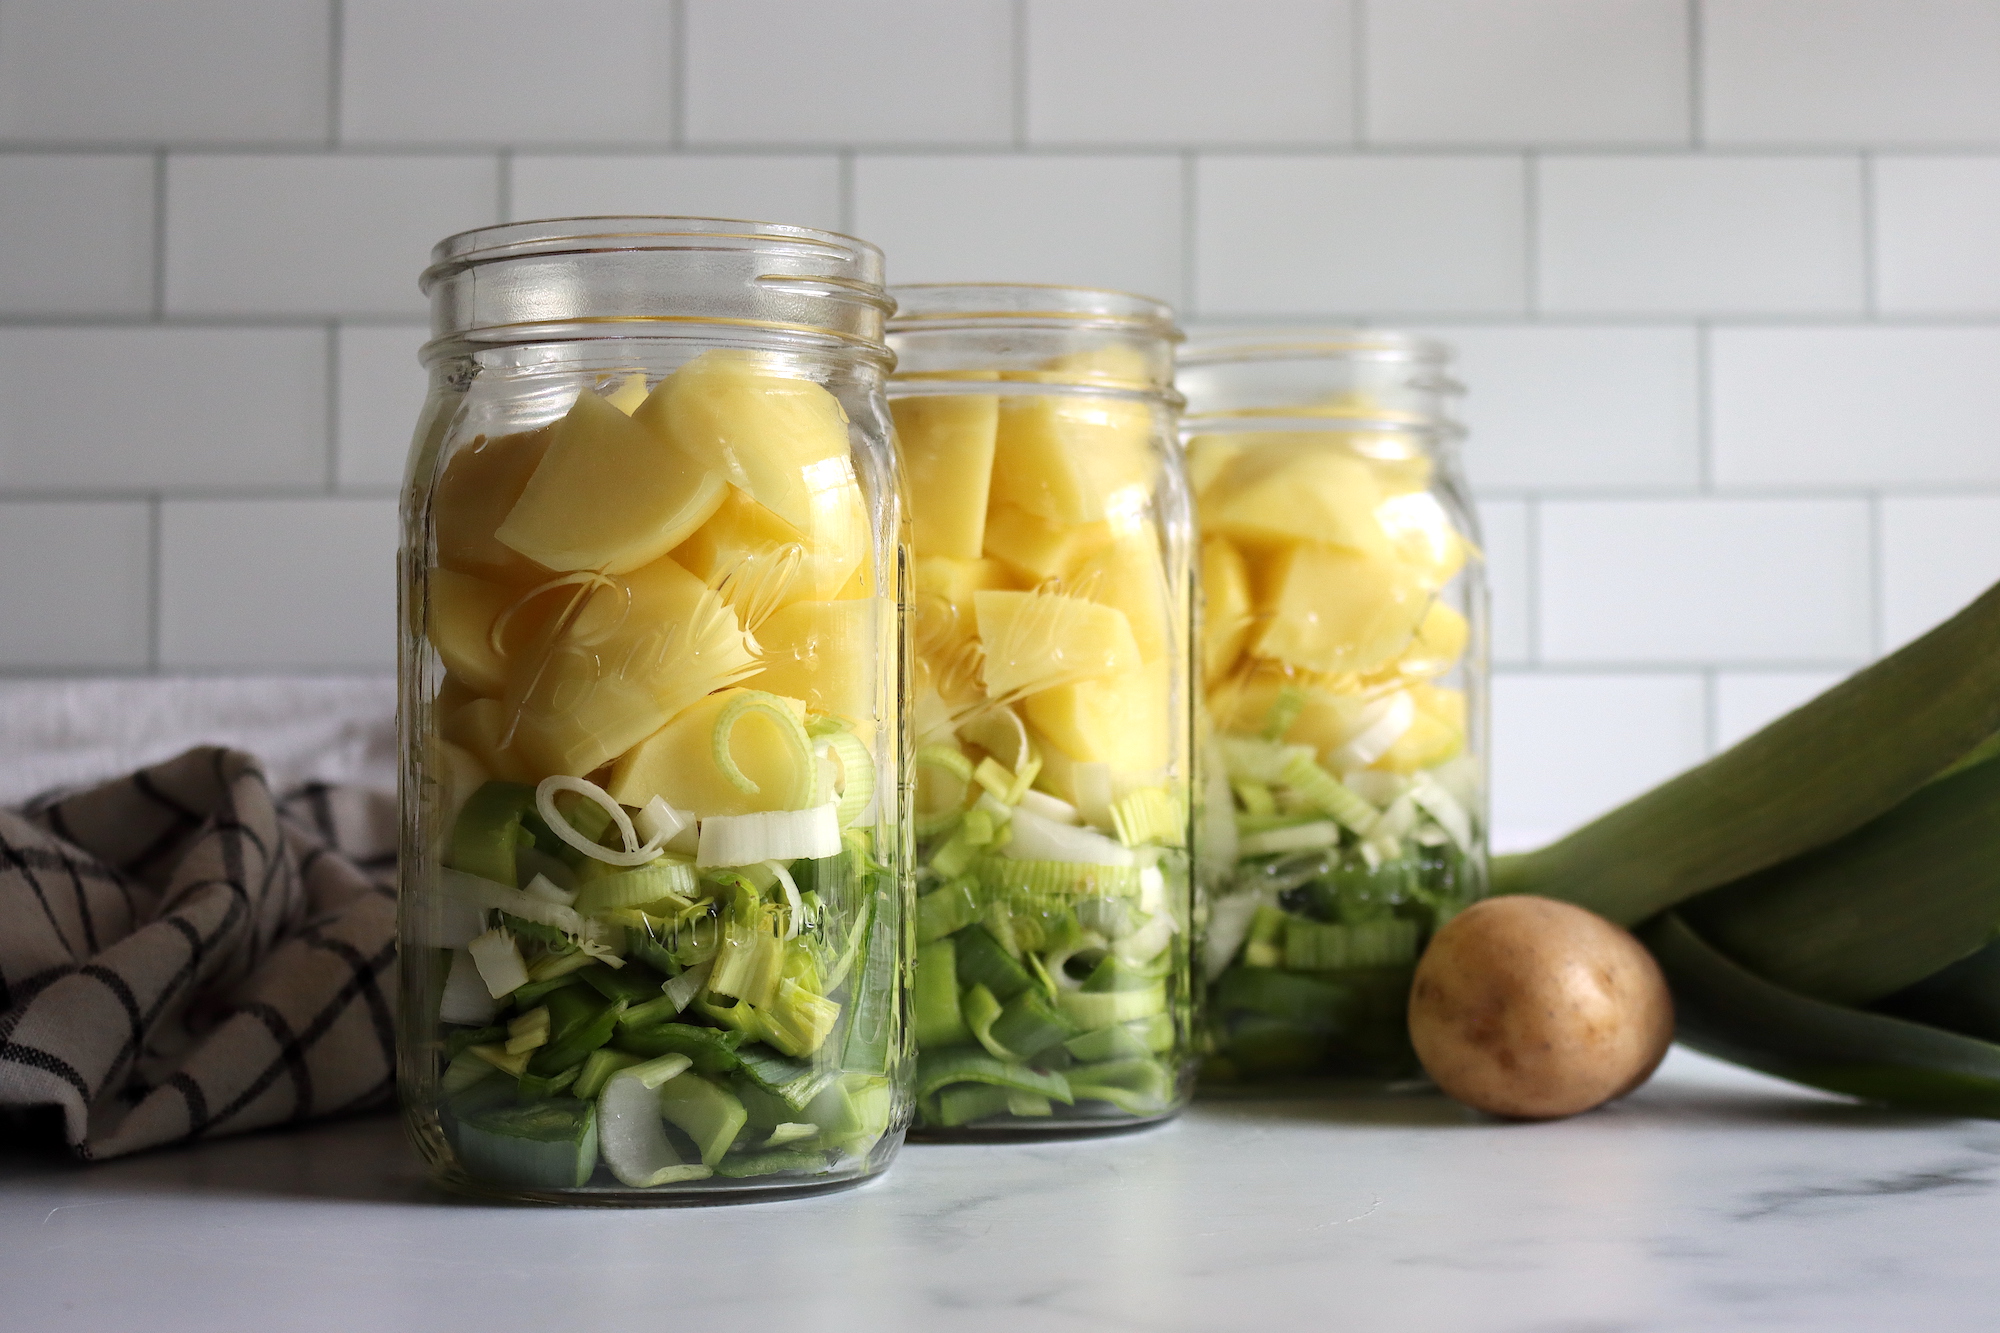
For a hot pack, ladle the boiling soup into the jars, leaving that same 1-inch headspace. It’s helpful to use a slotted spoon to add the solids first and then use a ladle to pour in the broth.
After filling the jars, use a bubble remover or spatula to remove any trapped air bubbles, and adjust the headspace if necessary. Wipe the rims of the jars with a clean cloth, place the lids on, and screw on the metal bands until they’re fingertip tight.
Now, it’s time to process the jars.
Place the filled jars in the pressure canner, secure the lid, and turn the heat to high. Let steam escape for about 10 minutes before adding the weight. Process at 10 pounds of pressure for 90 minutes for quarts or 75 minutes for pints, adjusting for altitude as needed.
Once the processing is complete, turn off the heat and let the canner cool naturally. When it’s safe, carefully remove the jars and place them on a cooling rack.
After 12 to 24 hours, check the seals. If the lids are concave and don’t pop when pressed, they’re sealed properly.
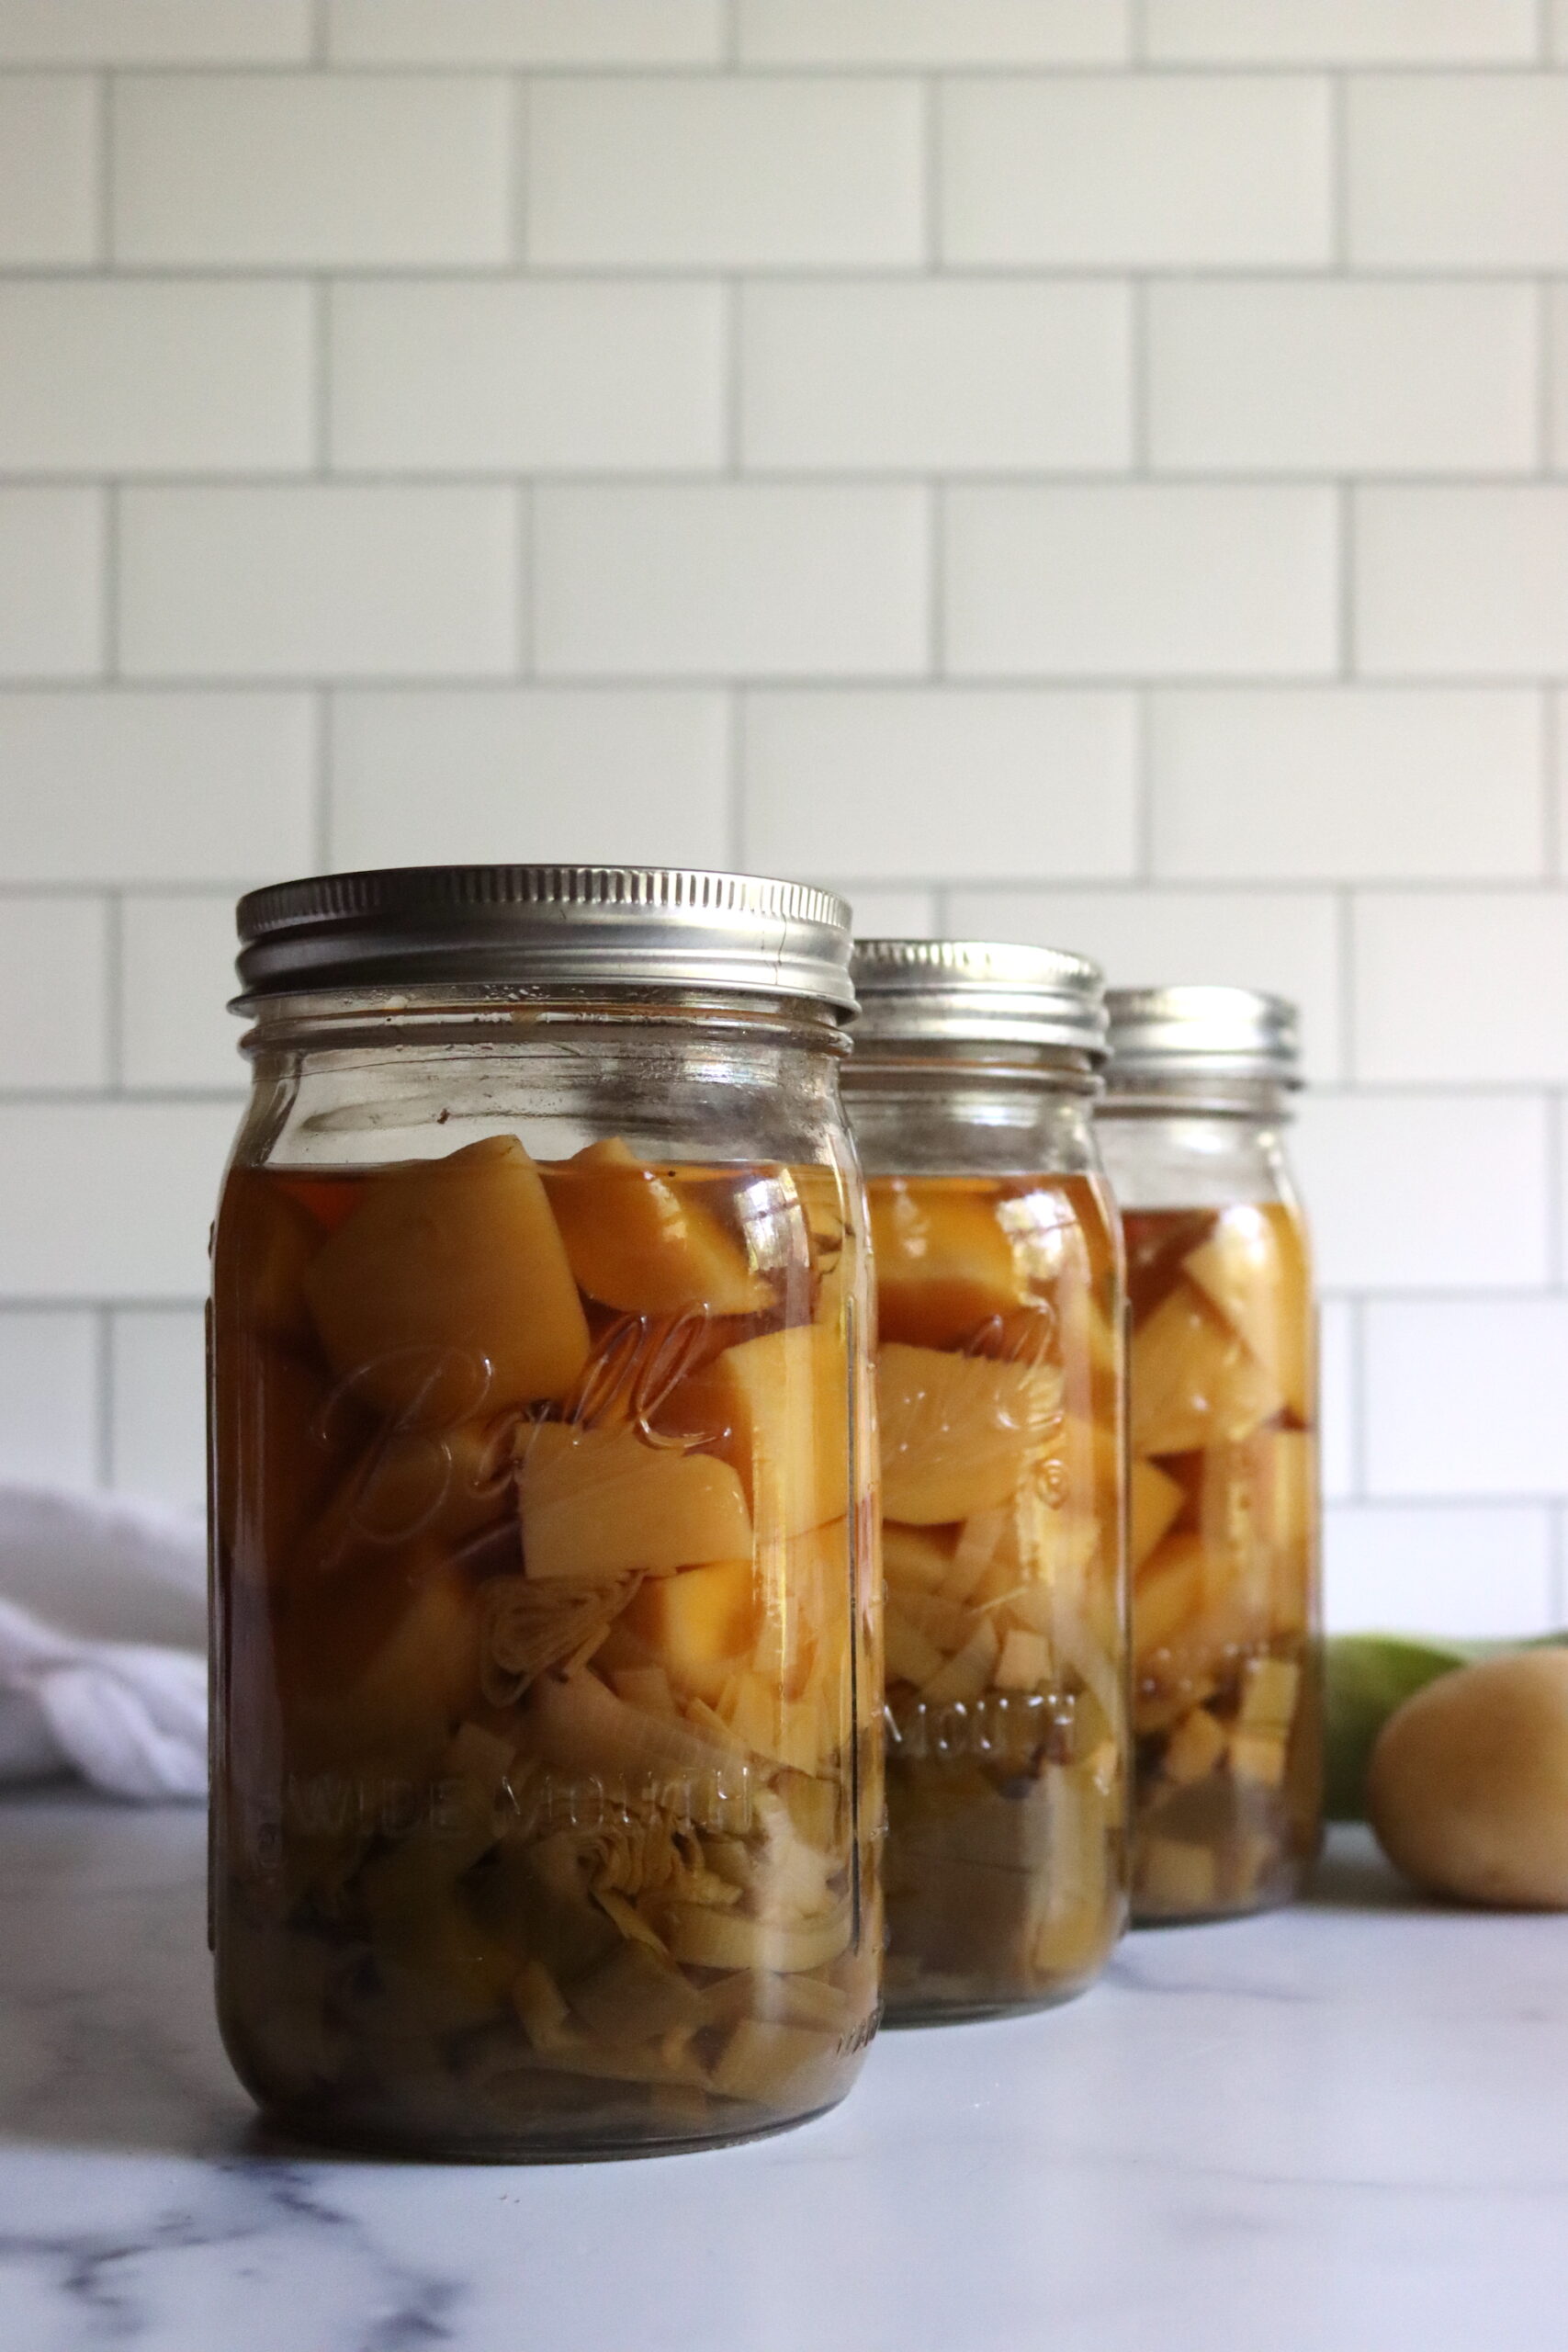
Store your properly canned and sealed jars on the pantry shelf where they’ll maintain peak quality for 12 to 18 months, but they’ll still be good to eat as long as they’re sealed. Remember to refrigerate after opening any jars. Any unsealed jars should be reprocessed or stored in the refrigerator for immediate use.
Altitude Adjustments
With pressure canning, the processing times stay the same at higher altitudes, but the pressures change. Here are the altitude adjustments for pressure canning soup:
For dial gauge pressure canners:
- 0 to 2,000 feet in elevation – 11 lbs pressure
- 2,001 to 4,000 feet in elevation – 12 lbs pressure
- 4,001 to 6,000 feet in elevation – 13 lbs pressure
- 6,001 to 8,000 feet in elevation – 14 lbs pressure
For weighted gauge pressure canners:
- 0 to 1,000 feet in elevation – 10 lbs pressure
- Above 1,000 feet – 15 lbs pressure
Serving Ideas
To enjoy your canned potato leek soup, simply heat it on the stove or in the microwave. You can add extra broth or water if desired, and feel free to garnish with fresh herbs or a drizzle of olive oil for added flavor.
I often puree the soup for a smooth texture, but it can also be served chunky. It’s delicious topped with a bit of parmesan cheese or a dollop of crème fraîche or sour cream.
Canning Potato Leek Soup
Ingredients
For a small two-quart canner batch, you’ll need:
- 4 cups leeks, sliced (about 300 g)
- 4 cups potatoes, diced (about 600 g)
- 2 tsp salt, adjust to taste
- Vegetable broth to fill, about 4 cups
Pack each quart jar with:
- 2 cup leeks, sliced (about 150 g)
- 2 cup potatoes, diced (about 300 g)
- 1 tsp salt
- Vegetable broth to fill, about 1 1/2 to 2 cups
Instructions
- Before you get started, prepare a pressure canner and jars. If you’re doing a hot pack, the canner should be simmering at around 180°F. For a raw pack, use warm water, about 140°F.
- For a hot pack, combine leeks, potatoes, and salt in a pot. Add broth and boil for 5 minutes. If you’re doing a raw pack, just pack the jars with the veggies and bring the broth to a boil separately on the stove.
- Fill the jars with the veggie mix, leaving 1-inch headspace; then top with boiling broth. Remove air bubbles, wipe the rims, seal the jars, and process at 10 pounds pressure for 90 minutes for quarts or 75 minutes for pints (adjusting pressure for altitude).
- Let the jars cool and check the seals before storing.
Notes
Pressure Canning Altitude Adjustments
With pressure canning, the processing times stay the same at higher altitudes, but the pressures change. Here are the altitude adjustments for pressure canning soup:For dial gauge pressure canners:
- 0 to 2,000 feet in elevation – 11 lbs pressure
- 2,001 to 4,000 feet in elevation – 12 lbs pressure
- 4,001 to 6,000 feet in elevation – 13 lbs pressure
- 6,001 to 8,000 feet in elevation – 14 lbs pressure
For weighted gauge pressure canners:
- 0 to 1,000 feet in elevation – 10 lbs pressure
- Above 1,000 feet – 15 lbs pressure
Soup Canning Recipes
There are so many different soup canning recipes out there, try these for your pantry:
Vegetarian Canning Recipes
There’s more than one way to preserve plant-centered recipes in a jar! Try any of these vegetarian canning recipes:
