This post may contain affiliate links. Please see our disclosure policy.
Canning soup at home allows you to create healthy meals for your family right on your pantry shelf. Since you’re selecting the ingredients, you control the quality of the finished product, and now there is specific guidance for safely canning your own soup recipes.
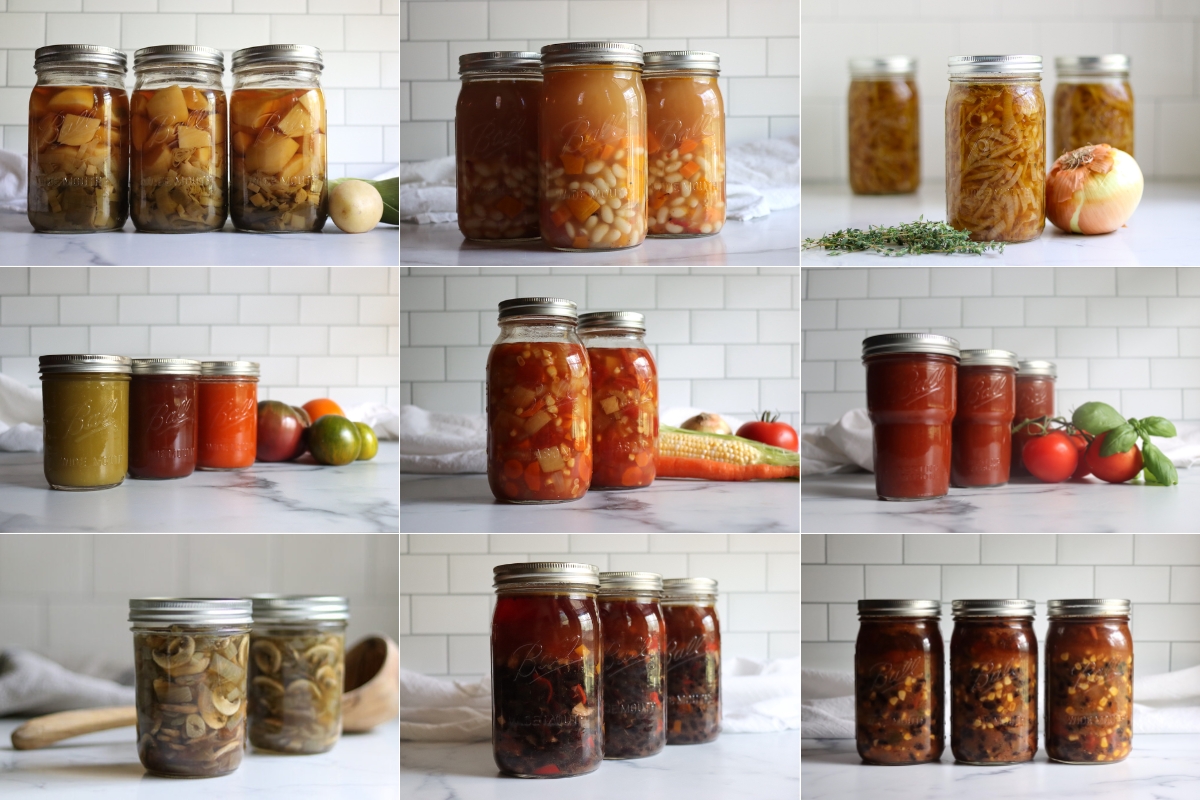
Making your own canned soup is not only a great way to preserve seasonal ingredients, but it also provides quick and delicious meals ready to enjoy any day of the week. While, in general, it’s best to follow safe, tested canning recipes, a few agencies have recently released guidance that allows you to safely create your own pressure canned soup recipe at home.
The National Center for Food Preservation and the University of Alaska Extension each have guidelines for creating your own soup canning recipe at home. These are pressure canning recipes, and they allow you to create your own shelf-stable soups, provided you follow a few important guidelines.
They break the guidelines up into two categories, for either brothy soups or hearty soups.
Brothy soups are soups like chicken soup where the jars are only half filled with solids, and the rest is liquid. These types of soups have shorter processing times, and you’re allowed to include a larger variety of ingredients since they’re not particularly thick and heat can easily penetrate the center of the jar during canning.
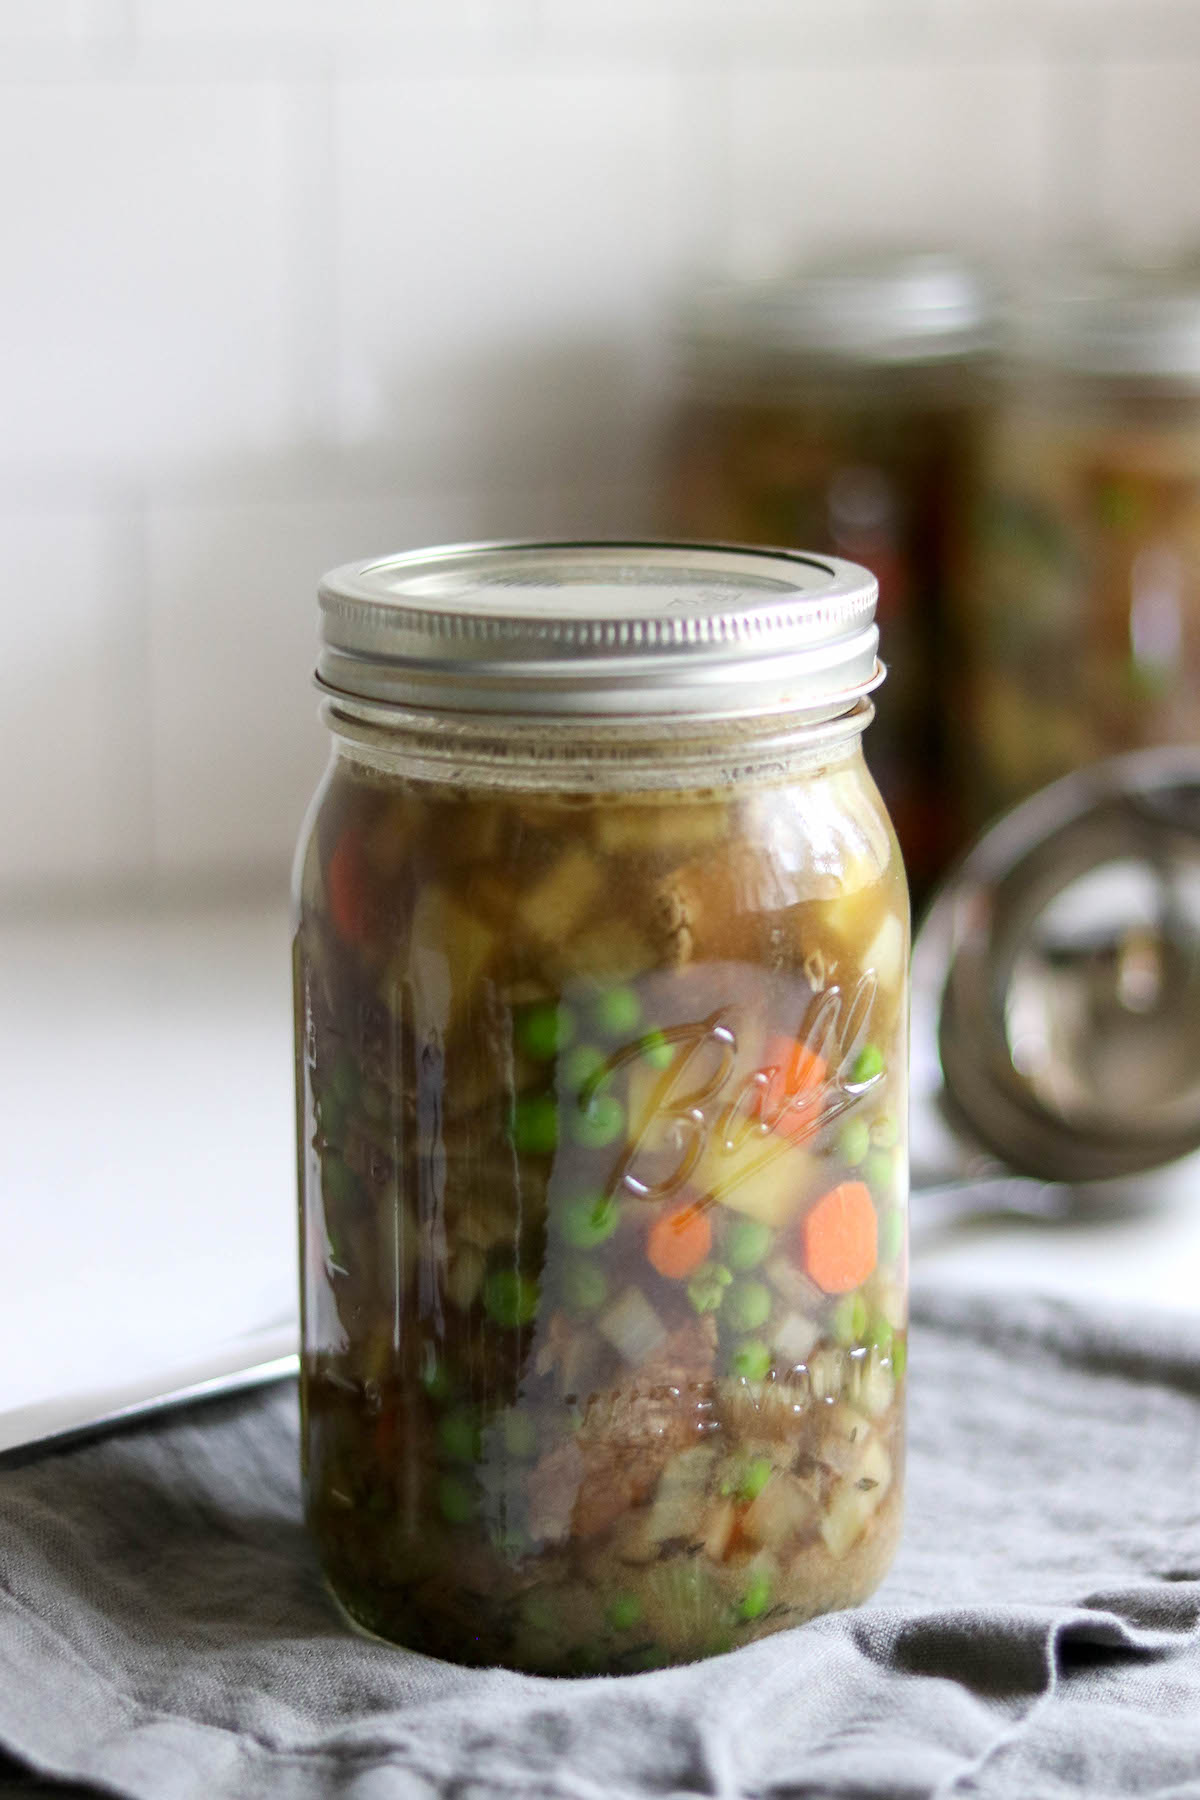
Hearty soups are soups where the whole jar is full of ingredients, and there’s minimal broth. A good example would be a hearty beef stew or a fish chowder base, where the jar is filled to the top with solids, and then boiling broth is poured over at the end before canning.
These guidelines can also be used to can things that aren’t quite soups in how they’re served, but have similar ingredients. Things like pot roast in a jar, beef stroganoff, sloppy joe filling, or chili con carne.
Since these recipes are very flexible, they’ll also help you change other canning recipes. If you find a pressure canning recipe that you’d like to change, there’s a good chance you can adjust it to follow hearty soup canning guidelines.
The canning times here are a bit longer than many individually tested canning recipes, and that’s because they’re trying to ensure safety with a variety of ingredients.
If you do alter an otherwise tested recipe to use these guidelines, be sure you’ve followed the instructions about what can and cannot be included, and increased the canning time to be consistent with either the brothy soup or hearty soup canning instructions given below.
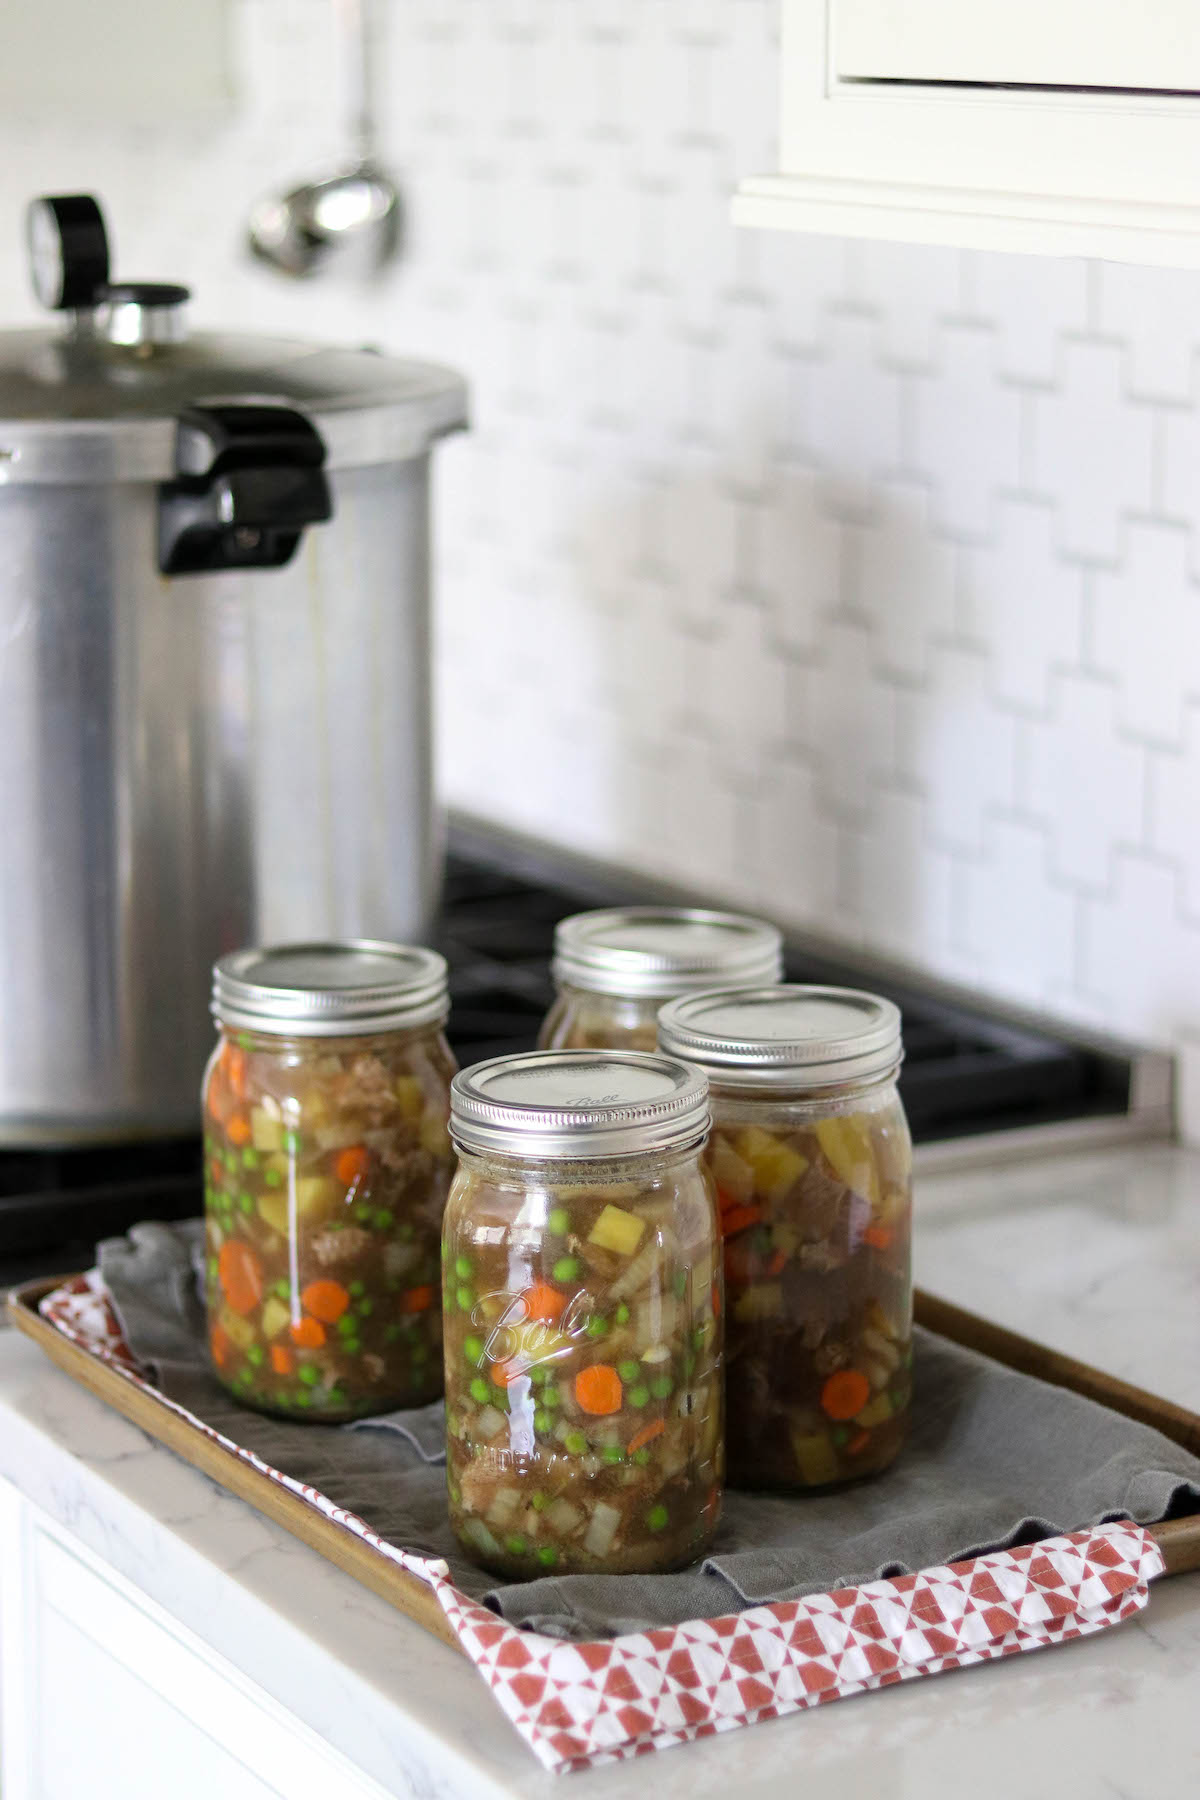
Understanding Soup Canning Basics
When it comes to canning soups that contain low-acid ingredients like vegetables and meats, pressure canning is essential. This method ensures that harmful bacteria are effectively eliminated, allowing for safe storage.
If you’re not familiar with pressure canning, I’d strongly suggest reading my beginner’s guide to pressure canning to understand the basics.
There are no safe methods for water bath canning soups.
Important Safety Considerations
Certain ingredients should never be included in canned soups, as they can interfere with the canning process or create unsafe conditions. Avoid adding:
- Thickening agents (like flour or cornstarch) that can prevent heat from reaching the center of the jar. This also includes bread products like breadcrumbs or dumplings.
- Dairy products (such as milk or cheese) are not approved for canning.
- Pasta or grains that can expand and become too dense for safe processing.
Guidelines for Brothy Soups
When canning brothy soups, it’s essential to follow these detailed steps to ensure safety and quality.
When making a brothy soup recipe, you can Include:
- Fresh vegetables (like carrots, celery, and bell peppers)
- Meat or poultry (cut into pieces)
- Fish (in small pieces)
- Pre-soaked and rehydrated beans
- Water, Broth, Stock, Wine or Juice
- Fresh or dried herbs and spices (to taste)
However, you cannot include:
- Thickening agents (flour, cornstarch)
- Dairy products (milk, cream, cheese)
- Noodles, pasta, rice, grains
- Pureed vegetables
- Ham, bacon or cured meats
- Any ingredients that lack specific canning guidelines
That last bullet point is important! Any vegetable or ingredient that doesn’t have its own specific canning instruction is not allowed in these “choose your own adventure” type soup recipes. For example, onions, tomatoes, peppers, potatoes, and many other vegetables have their own canning recipe, and they can be included.
Other vegetables, like cabbage, do not, and you cannot add those (with the exception of sauerkraut, as there is a canning recipe for sauerkraut). It’s true that cabbage is included in some canning recipes, but all of those are water bath and pickling canning recipes (like traditional chow chow recipes).
There’s a reason cabbage doesn’t do well in pressure canning, it tastes horrible when subjected to pressure canning temperatures, and as a result, they’ve never really gone through the effort to test it for pressure canning.
Other leafy greens like spinach and kale do have canning specific canning recipes, so they’re fine in brothy soups.
The only exceptions here that I know of are celery, garlic and leeks, which may be added in reasonable amounts to home canned soups based on advice from University Extension Offices.
Preparing Brothy Soups
- Choose Your Ingredients: Select a soup recipe that includes vegetables, meat, or seafood. Ensure that each ingredient has its own canning recommendations from a reliable source. In general, a hot pack is recommended for better quality all meats and vegetables.
- Prepare Your Ingredients:
- Vegetables: Wash, peel, and chop according to their specific canning guidelines. Cook vegetables as required for a hot pack before adding to your soup.
- Meat or Poultry: Cook until tender, cool, and remove any bones and excess fat. Cut into bite-sized pieces. Ground meat must be browned before including in the recipe.
- Seafood: Cut into bite-sized pieces, bones may remain as they will soften during processing.
- Dried Beans or Peas: Fully rehydrate them first by soaking in water, boiling for 2 minutes, and letting them sit for an hour before draining and cooking until tender. Unlike bean canning recipes, beans in brothy soups do not need to be pre-cooked before canning, only pre-soaked and rehydrated.
- Combining Ingredients: Combine solid ingredients (vegetables, meat) in a large pot. Add enough broth or water to cover them, plus an additional 2-3 inches. Bring this mixture to a boil and let it simmer for 5 minutes. Season to taste with herbs and spices, but remember not to fully cook the soup since it will continue to cook in the jars. Do not thicken the soup, as this can affect the canning process.
- Filling Jars: Use a slotted spoon to fill jars halfway with the solid mixture, then top off with the remaining liquid, leaving a 1-inch headspace (3 cm). This “half and half” rule (equal parts solids and liquid) ensures proper heat circulation during processing.
- Seal and Process: Stir gently to remove air bubbles, wipe the jar rims, and apply the lids. Process the jars in a pressure canner according to the guidelines below.
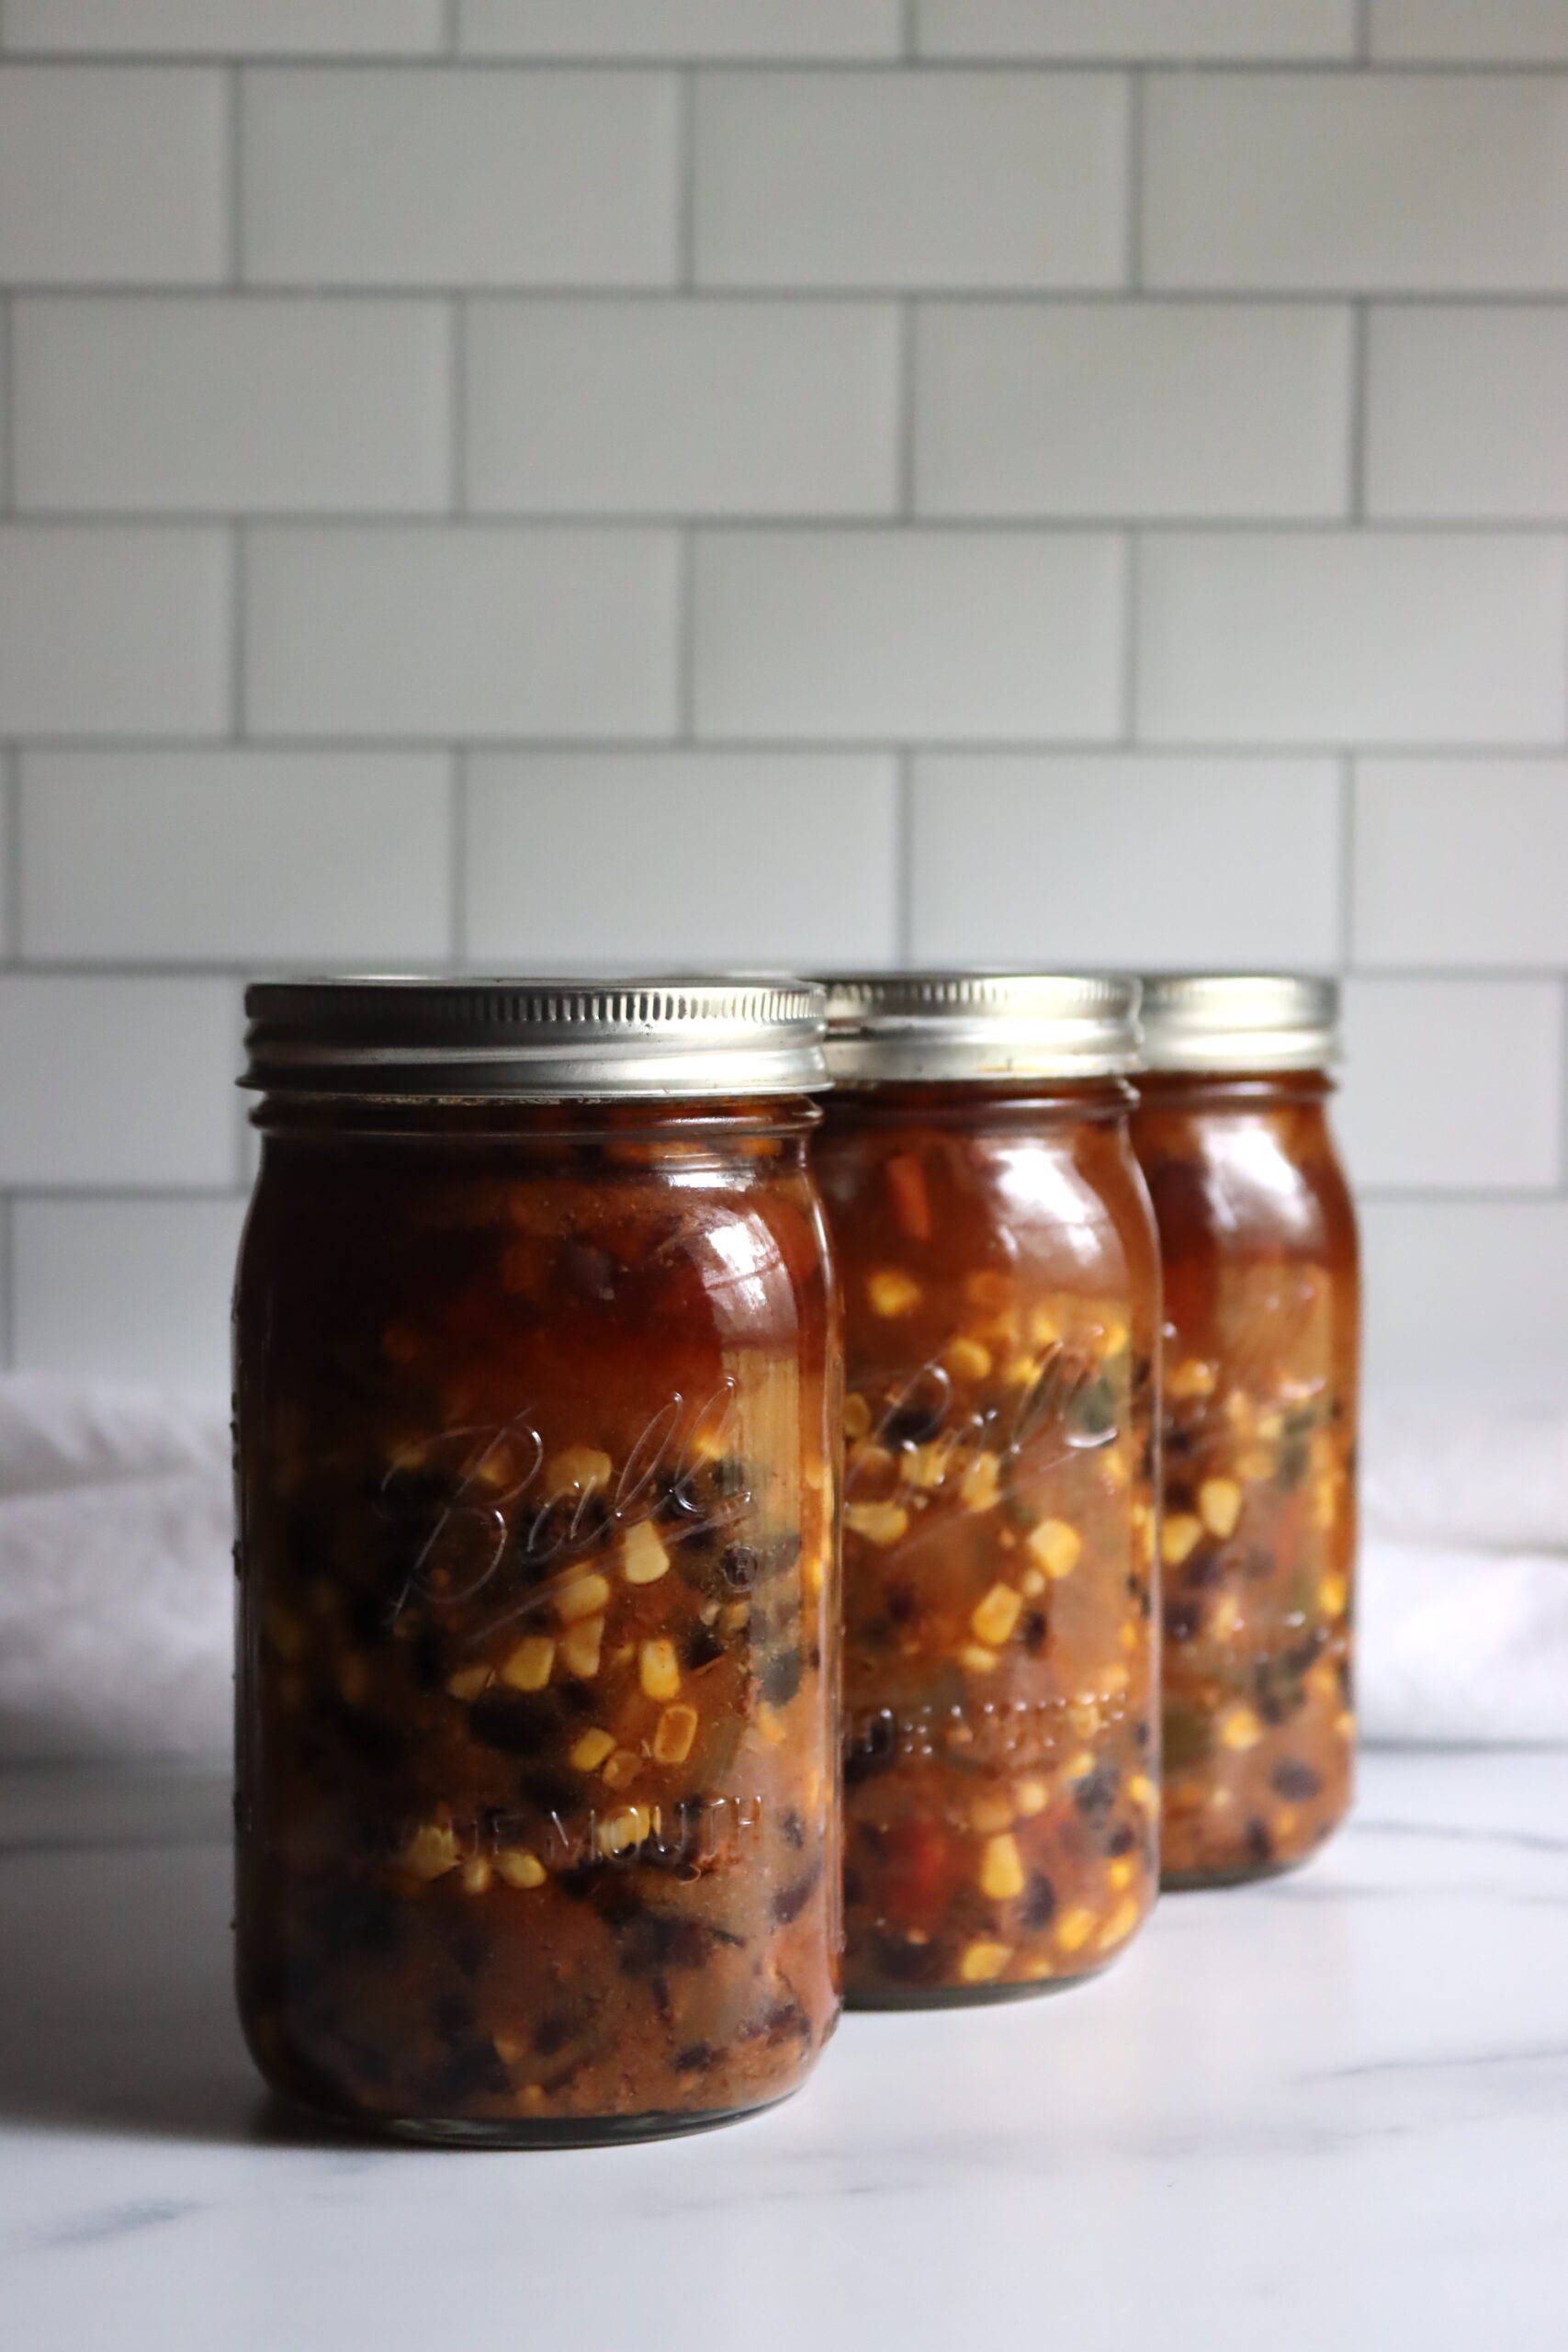
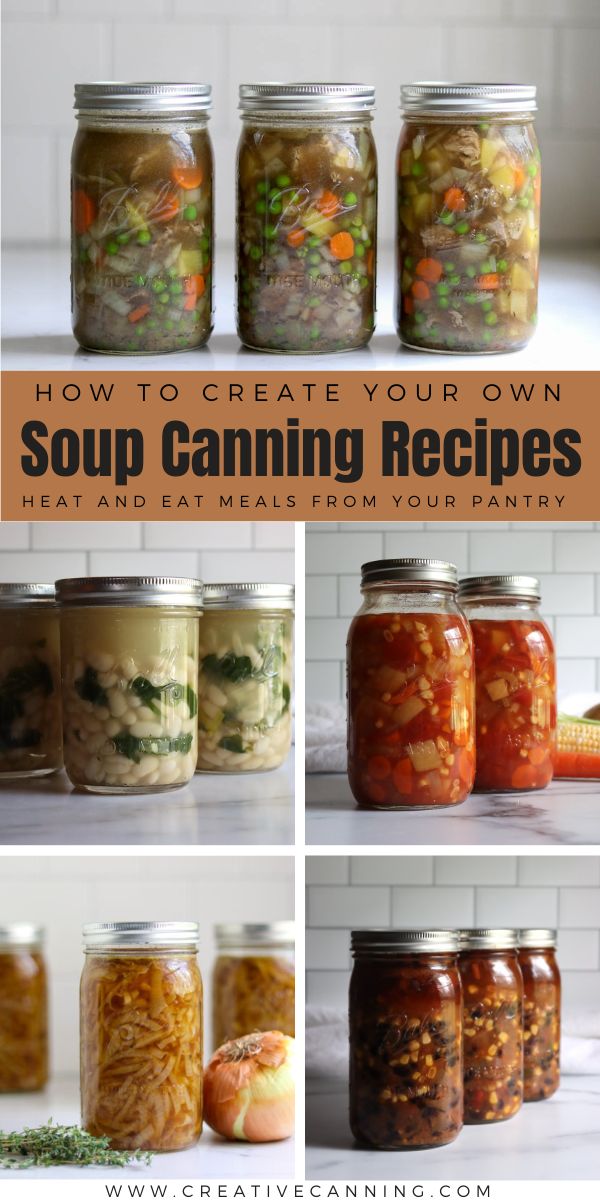
Be aware that although the jars may only be filled halfway when they go into the canner, many of these ingredients will expand during the canning process. Beans and corn, for example, expand considerably when canned, so your jars will end up more than halfway full in the end. The taco soup in the picture below is a good example, and the jars finish nearly full of solids.
Processing Times for Brothy Soups
The processing times for canning brothy soups are 60 minutes for pints and 75 minutes for quarts. This is true at all elevations, and the pressure changes rather than the canning time.
The only exception is when soups contain seafood, and in that case, both pints and quarts are processed for 100 minutes (one hour and fourty minutes).
Altitude adjustments for pressure-canning brothy soups are as follows:
For dial gauge pressure canners:
- 0 to 2,000 feet in elevation – 11 lbs pressure
- 2,001 to 4,000 feet in elevation – 12 lbs pressure
- 4,001 to 6,000 feet in elevation – 13 lbs pressure
- 6,001 to 8,000 feet in elevation – 14 lbs pressure
For weighted gauge pressure canners:
- 0 to 1,000 feet in elevation – 10 lbs pressure
- Above 1,000 feet – 15 lbs pressure
Guidelines for Hearty Soups
Hearty soups typically contain more solid ingredients compared to brothy soups, which can make them a bit denser. Up until recently, there were no generic instructions for canning hearty soups, but the University of Alaska Extension released a publication (FNH-00065) which now provides specific instructions for canning soups without a lot of broth.
Here’s how to can them safely:
- Select Your Ingredients: Similar to brothy soups, choose a recipe with vegetables and meat, and only use ingredients that have a specific canning recipe for canning the item individually. Unlike brothy soups, you cannot include the following ingredients in hearty soups:
- Dry Beans or Legumes of any kind
- Greens such as Kale, Spinach, etc.
- Cream Style Corn (but regular corn is fine)
- Winter Squash (but summer squash is fine)
- Sweet Potatoes
- Combine and Boil: Add all solid ingredients to a pot and cover with hot water or broth. Bring to a boil and simmer for 5 minutes to preheat the ingredients for hot pack. Hot pack is for quality, not safety, and Ball Canning’s uses raw pack in their recipes.
- Jar Filling: Fill jars to about 1 inch from the top with solid ingredients. Pour in the hot broth until you reach the 1-inch headspace.
- Final Steps: Stir to remove air bubbles and wipe the jar rims. Seal and process in a pressure canner, following the specific time requirements for hearty soups.
Processing Times for Hearty Soups
The processing times for canning hearty soups are 75 minutes for pints and 90 minutes for quarts. This is true at all elevations, and the pressure changes rather than the canning time.
If the soup contains seafood, then it can only be canned in pints and the processing time is increased to 100 minutes (one hour and fourty minutes). Do not can hearty soups containing seafood in quart jars. (However, brothy soups containing seafood may be canned in quarts.)
Altitude adjustments for canning hearty soups are the same as for any pressure canning recipe, and they only change the pressure, not the canning time.
For dial gauge pressure canners:
- 0 to 2,000 feet in elevation – 11 lbs pressure
- 2,001 to 4,000 feet in elevation – 12 lbs pressure
- 4,001 to 6,000 feet in elevation – 13 lbs pressure
- 6,001 to 8,000 feet in elevation – 14 lbs pressure
For weighted gauge pressure canners:
- 0 to 1,000 feet in elevation – 10 lbs pressure
- Above 1,000 feet – 15 lbs pressure
Shelf Life of Home Canned Soups
Whether brothy or hearty, properly pressure canned soups in sealed jars may be stored on the pantry shelf indefinitely. They don’t spoil so long as the jars are sealed.
However, after 12 to 18 months, quality will begin to decline. They’re still safe to eat so long as they’re sealed, but they may not be the tastiest if you store them more than a year or two.
Of course, remember to refrigerate after opening.
Reheating Your Canned Soups
Home-canned soups can be eaten right out of the jar, but obviously, they’re best reheated. For most soups, pouring them into a saucepan and bringing them to a simmer for about 10 minutes is sufficient.
You can also remove the metal parts (lid and ring) and microwave the soup right in the jar.
Some soups are canned as soup bases, and you add additional ingredients at serving. Things like cream of mushroom soup base or clam chowder base are thickened with cream, and other soups are pureed at serving, like asparagus soup base or potato leek soup base.
Of course, that’s optional, and you don’t have to thicken or puree the soup, you can serve them as is. It’s a matter of personal preference.
You can also add ingredients that are not safe for canning at serving, such as rice, pasta, dumplings or coconut milk.
When it comes to serving, it’s totally up to you.
Soup Canning Recipes
I have an entire article covering more than 50 different soup canning recipes, but here are a few to get you started. These are for inspiration, and with the guidance above, you can alter them to suit your families taste, or come up with your own recipes all on your own.
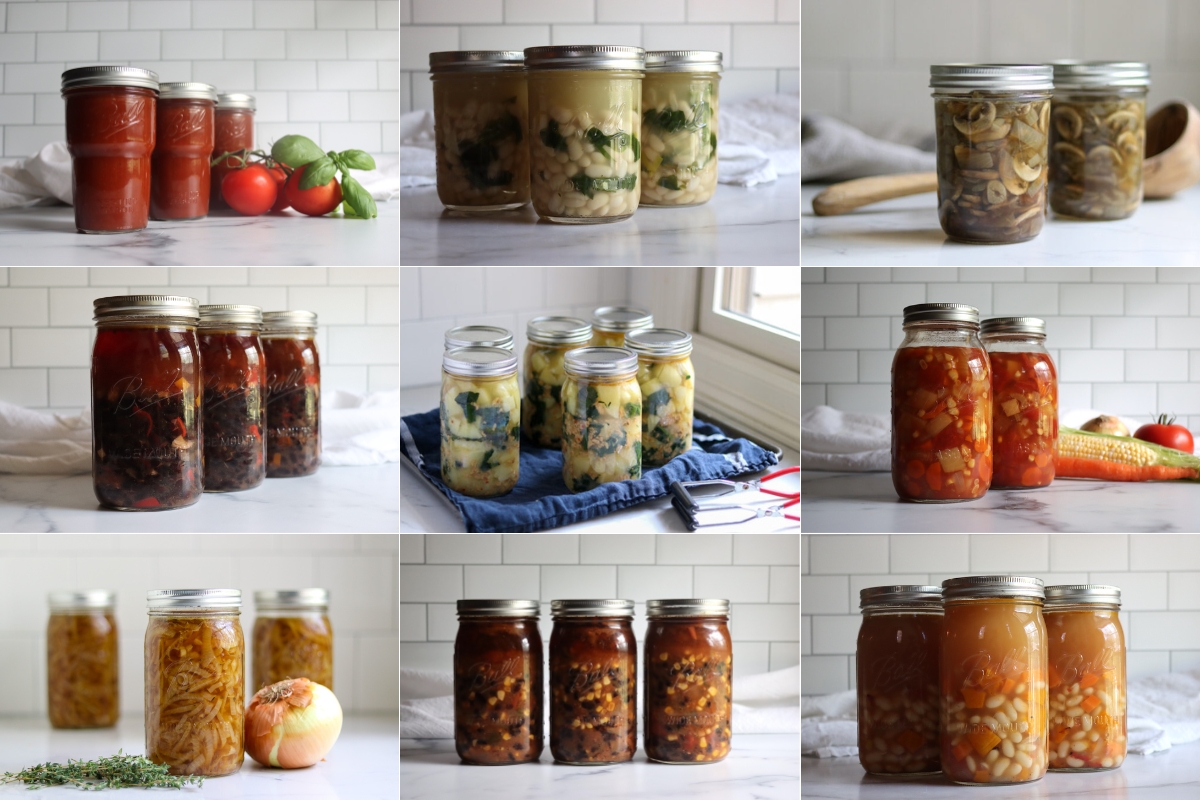
Brothy Soup Canning Recipes
- Classic Chicken Soup
- Chipotle Black Bean Soup
- Cuban Black Bean Soup
- Taco Soup
- Butternut Squash and White Bean Soup
Hearty Soup Canning Recipes
Meal in a Jar Recipes Using Hearty Soup Process
As I mentioned, these canning processes for hearty soups can be used for canning other meal-in-a-jar recipes. These recipes all use hearty soup canning guidance:
Pressure Canning Soup
Equipment
- Pressure Canner I use an All American 930 Canner (capacity 14 quarts or 19 pints)
- Regular Mouth Pint Mason Jars
- Regular Mouth Quart Canning Jars
- Regular Mouth Canning Lids
- Jar Lifter
Ingredients
For Brothy Soups:
- Fresh vegetables, e.g., carrots, celery, bell peppers
- Meat, e.g., chicken, beef, pork or poultry (cut into pieces)
- Fish, in small pieces, optional
- Pre-soaked and rehydrated beans, optional
- Broth, water, stock, wine, or juice
- Fresh or dried herbs and spices, to taste
For Hearty Soups:
- Fresh vegetables, e.g., potatoes, carrots, peas
- Meat, e.g., beef, pork, chicken or seafood (optional)
- Broth, stock, or water
- Fresh herbs and spices, to taste
Instructions
For Brothy Soups:
- Prepare Ingredients as follows:Vegetables: Wash, peel, chop, and cook (if necessary). Pre-cook vegetables like carrots and celery for hot packing.Meat: Cook meats to tender (remove bones, excess fat), then cut into bite-sized pieces. Ground meats should be browned.Seafood: Cut into small pieces, bones can remain.Beans: Fully rehydrate by soaking, boiling for 2 minutes, then resting for 1 hour. Fully rehydrate by soaking, boiling for 2 minutes, then resting for 1 hour.
- Combine Soup: Add solid ingredients to a large pot. Pour in enough broth/water to cover, plus 2-3 inches of liquid above the solids. Bring to a boil, simmer for 5 minutes. Season with herbs and spices to taste.
- Fill Jars: Use a slotted spoon to fill jars halfway with solids, then top with broth, leaving a 1-inch headspace. Stir gently to release air bubbles. Wipe jar rims clean and place lids securely.
- Process Jars in a pressure canner for 60 minutes (for pints) or 75 minutes (for quarts). Increase time to 100 minutes if the recipe contains seafood, for both pints and quarts. Adjust pressure to altitude, see notes.
- Cool and Store: After processing, allow jars to cool completely before checking seals. Store in a cool, dark place.
For Hearty Soups:
- Prepare Ingredients as follows:Vegetables & Meat: Follow the same steps as for brothy soups—cook and cut into bite-sized pieces.Seafood: If using, cut into small pieces.
- Combine Soup: Add all solid ingredients to a large pot and cover with hot broth or water. Bring to a boil, simmer for 5 minutes to preheat the ingredients.
- Fill Jars: Pack jars with solid ingredients, leaving 1-inch headspace. Pour in the hot broth until the 1-inch headspace is reached. Stir gently to release air bubbles.
- Process jars in a pressure canner for 75 minutes for pints, and 90 minutes for quarts. Increase pint processing time to 100 minutes if recipe contains seafood. Do not pressure can hearty soups containing seafood. Adjust pressure to altitude, see notes.
- Cool and Store: Let jars cool completely. Ensure all jars have sealed properly before storing in a cool, dark place.
Notes
- Jars for Brothy soups are only filled halfway with solids, and the remainder of the jar must be broth or liquid. When canning dry beans, the beans will absorb water and the jars will look more than half-filled when they come out of the canner. The “half-filled” is when loading into the canner.
- Hearty soups have jars filled with solids, and the space in between is broth, but they have more ingredient restrictions than brothy soups. For hearty soups, do not add dry beans or legumes, leafy greens, winter squash, sweet potatoes, or creamed corn (regular corn is fine).
- Do not include: Dairy (milk, cheese), thickening agents (flour, cornstarch), pasta, rice, dry beans, or any ingredient not specifically tested for canning.
- Ensure ingredients are prepped according to canning guidelines for each individual item. Some veggies and meats require pre-cooking.
- Hearty soups containing seafood can only be processed in pint jars, but brothy seafood soups can be made in either pint or quart jars. If the recipe contains seafood, the processing time is 100 minutes.
- The minimum batch size is 2 quarts or 4 pints when pressure canning. This ensures that the canner has enough thermal mass for proper processing. The capacity of your pressure canner determines the maximum batch size.
- Shelf Life: Properly sealed jars can last indefinitely in the pantry, though quality may decline after 12-18 months. Always check the seal before consuming. Refrigerate leftovers after opening.
Altitude Adjustments:
For both brothy and hearty soups: Dial Gauge Canner:- 0 to 2,000 feet: 11 lbs pressure
- 2,001 to 4,000 feet: 12 lbs pressure
- 4,001 to 6,000 feet: 13 lbs pressure
- 6,001 to 8,000 feet: 14 lbs pressure
- 0 to 1,000 feet: 10 lbs pressure
- Above 1,000 feet: 15 lbs pressure
Reheating Instructions:
Stovetop: Pour soup into a saucepan and bring to a simmer for 10 minutes. Microwave: Remove metal lid and ring, then microwave directly in the jar.Nutrition
Nutrition information is automatically calculated, so should only be used as an approximation.
Thank you so much for making your recipes pinable, it really helps us older people that want to eat better too. Again thank you!
You’re quite welcome! I’m so glad it’s helpful to you.
What happened to the Alaska Hearty Soup guidelines? I can’t find them anymore!
I’d like to make potato leek soup. It seems like I could just as well follow the USDA’s mixed vegetable instructions and end up with the same thing as a this soup(provided I am fine including chicken broth).
Alaska seems to have moved their instructions as they’re reorganizing their site. They haven’t recanted any of the instructions though (I sent them a note to ask). I do have a recipe for potato leek soup using their instructions here: https://creativecanning.com/canning-potato-leek-soup/
You can use chicken broth in it, and chicken broth actually has a shorter longer canning time than veggie broth believe it or not. Just about any pressure canning recipe that calls for veggie broth you can substitute chicken broth. But be sure that it’s a pressure canning recipe. The only thing to watch out for are things like tomato soup that are acidified for waterbath canning, and they sometimes use veggie broth but are waterbath canned. Those you couldn’t use chicken broth, but anything that’s pressure canned works with chicken instead of veggie.
Thank you for all the info. I have been following you for years and happy to see you on Pinterest 😊
Lovely!
Hello, Thank you so much for all your applicable information! Would you already have created a chart/table for this information in a printable form already? I didn’t realize I could pressure can 1L of brothy chicken soup for only 75 minutes! Awesome! But if it were charted into brothy (1/2 broth and 1/2 solids) and very hearty, I would appreciate such a ready-made document! Only because I struggle with the technology of creating charts! Thanks in advance, if you already have one! Granny.
I added a printable recipe card with everything you need to know to make your own soup recipe for pressure canning. Let me know if the recipe card is missing anything, but it should have everything you need all in one place.