
This post may contain affiliate links. Please see our disclosure policy.
Asparagus soup base is a simple way to put up a few jars of spring asparagus so you can pull a creamy bowl of soup off the pantry shelf months after the season is over. The base does the slow work for you, and all you do at serving is heat it, puree it smooth, and swirl in a little cream for a cozy meal that comes together in minutes.
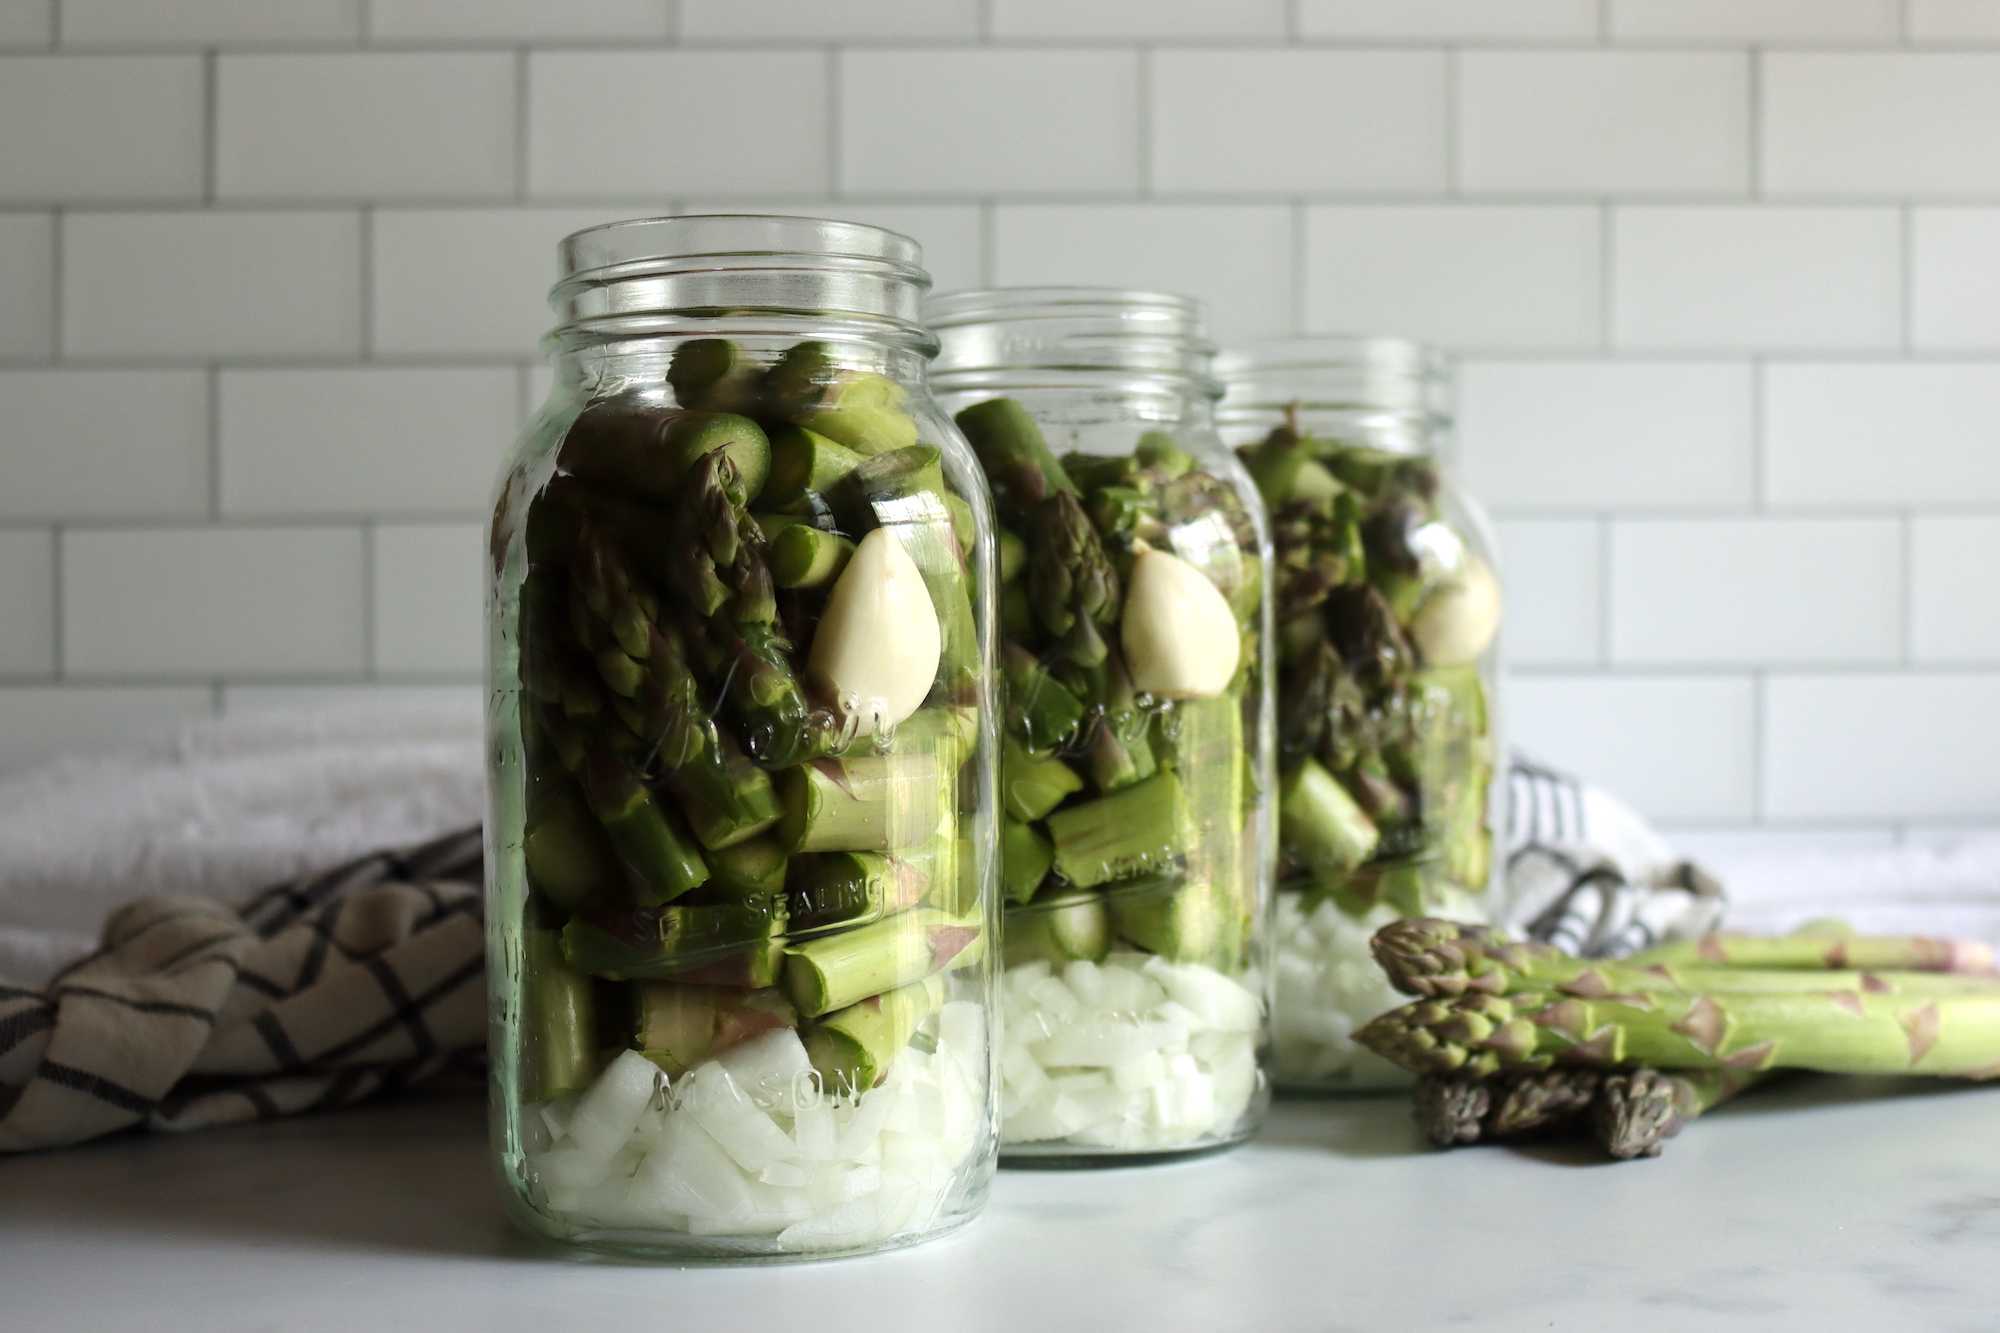
Table of Contents
- Notes from My Kitchen
- Quick Look at the Recipe
- Choosing Asparagus
- Ingredients for Asparagus Soup Base
- Asparagus Soup Base Variations
- How to Make Asparagus Soup Base
- Canning Asparagus Soup Base
- Altitude Adjustments
- Serving Ideas for Asparagus Soup Base
- Yield Notes
- Asparagus Soup Base FAQs
- Soup Canning Recipes
- Canning Asparagus Soup Base Recipe
- Meal in a Jar Canning Recipes
This recipe has been reviewed for safety and accuracy by a Master Food Preserver certified through the University of Cornell Cooperative Extension.
Asparagus has a short, busy season here, and canning a soup base is one of the ways I stretch a flush of spears past the few weeks they’re actually in the garden. This recipe is built on the University of Alaska Fairbanks Hearty Soups Guidelines, the same make-your-own soup framework I use for the rest of my vegetarian soup canning recipes, and it’s pressure canned the same way as a jar of vegetable broth.
I call it a “base” on purpose, because smooth, pureed soups aren’t approved for home canning. The trick is to can it chunky, with the asparagus and onion in identifiable pieces packed into the jars with broth filling the gaps, and then puree it when you reheat it to serve. That keeps the heat moving through the jar the way it needs to during processing, and you still get that silky cream-of-asparagus texture in the bowl at the end. If you’d rather build your own soup from scratch with whatever vegetables you have on hand, my choice soup canning recipe walks through the same approach.
Notes from My Kitchen

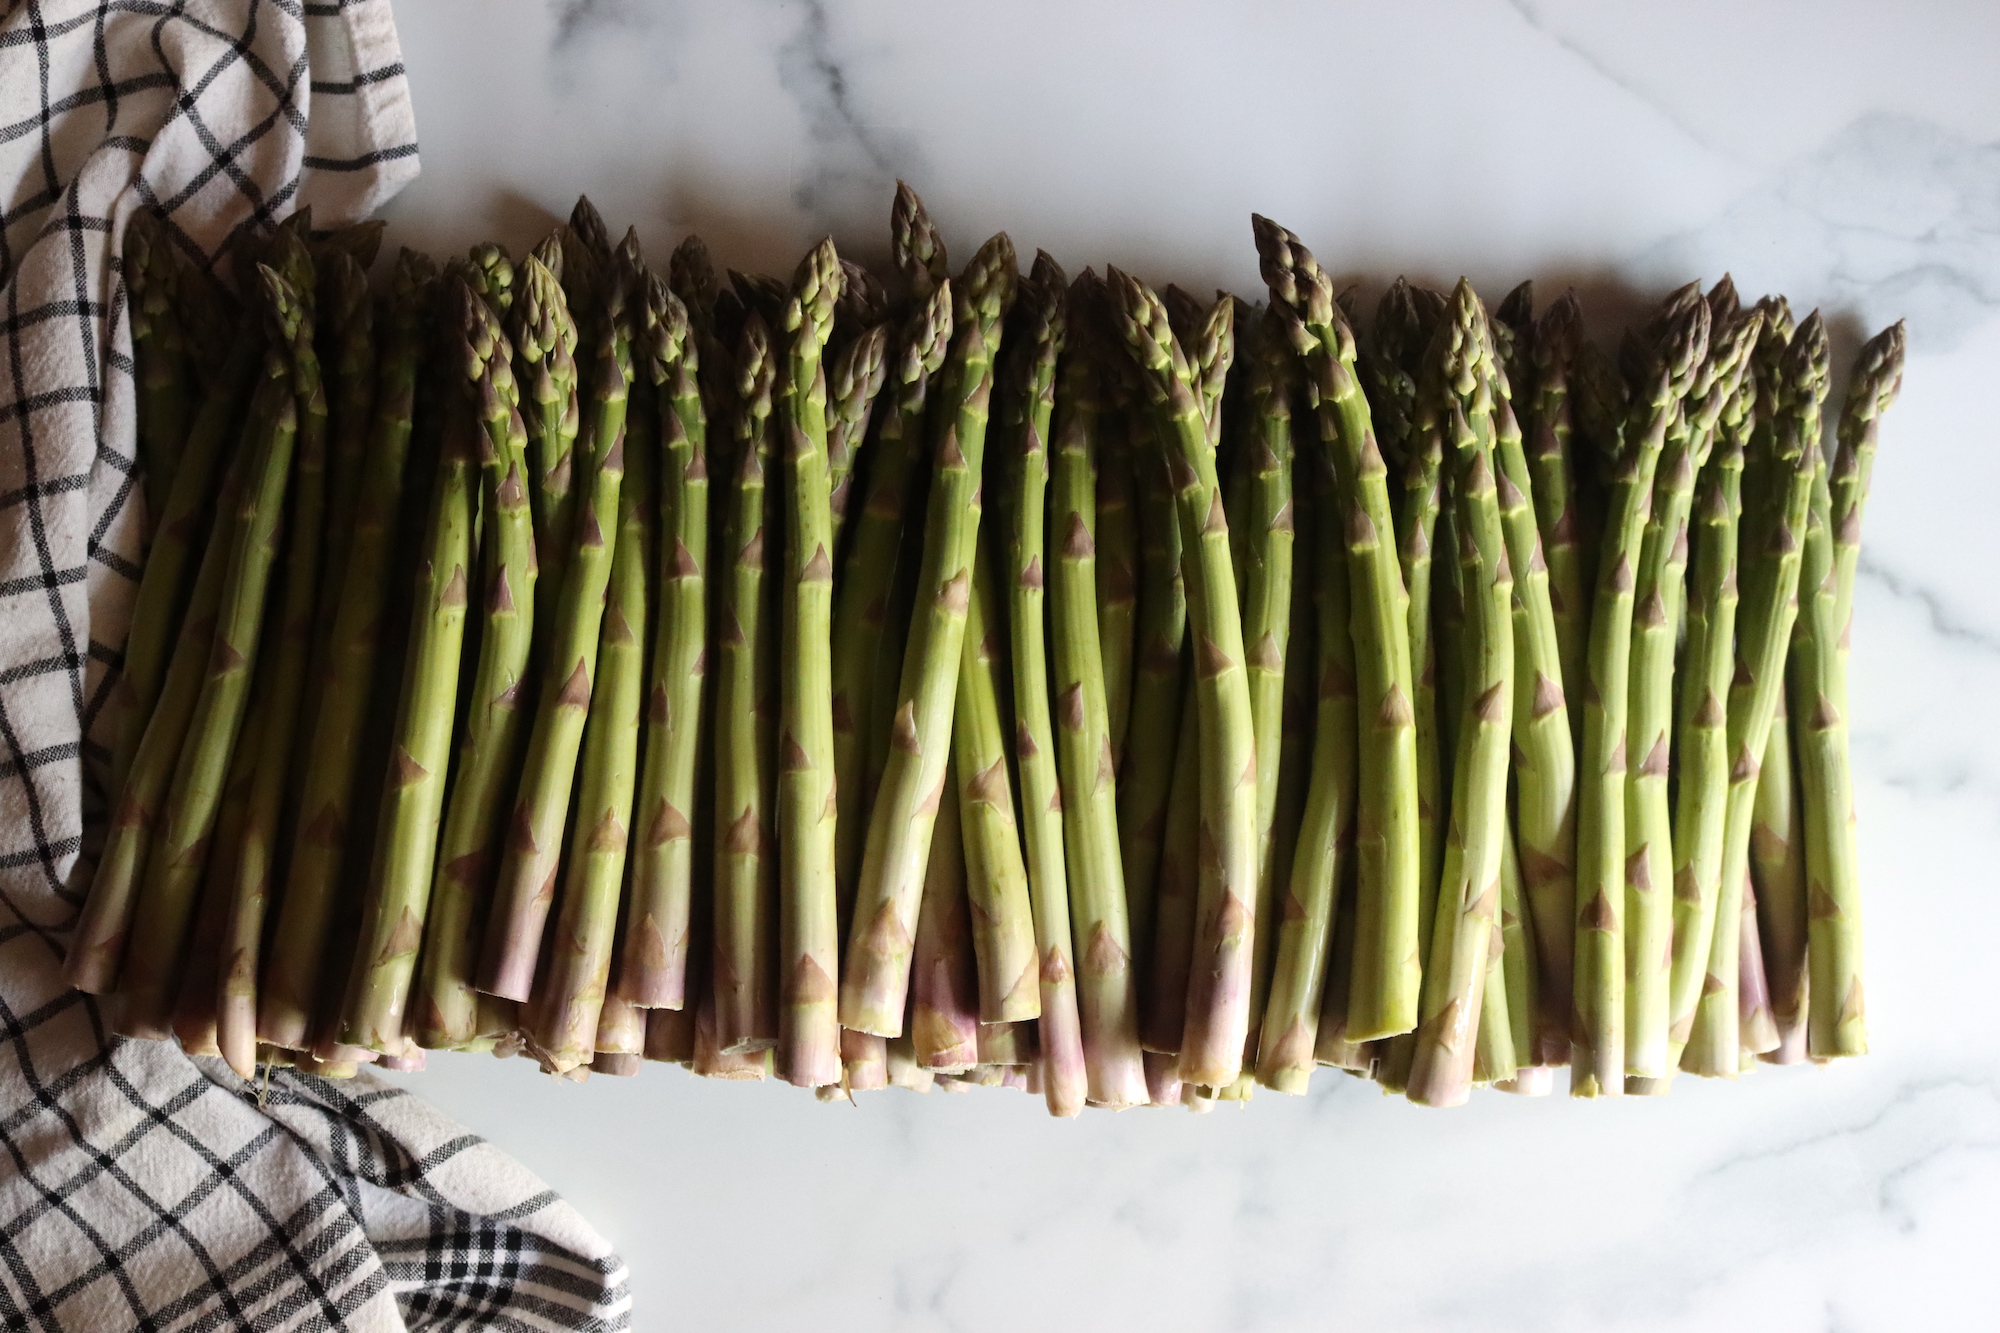
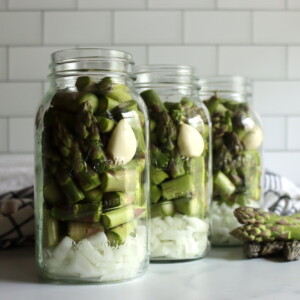
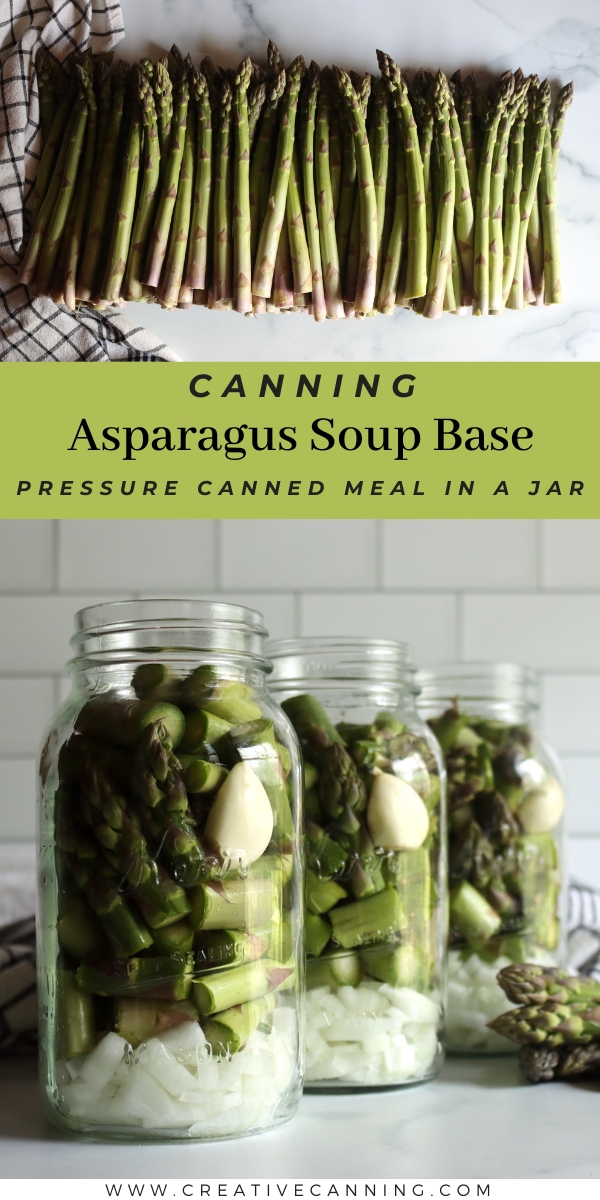
I keep this one vegetarian with a good vegetable stock, mostly because it lets the asparagus flavor stay front and center, but there’s nothing stopping you from swapping in chicken stock if you want something richer. When I’m packing the jars I show the chopped vegetables raw so you can see the proportions, but the recipe is a hot pack, which means everything goes into the pot with the stock and comes up to a boil before it’s ladled into jars. That step matters for safety, since it gets everything heated through and evenly mixed so there’s no dense layer settling at the bottom of a jar.
A small two-quart batch is enough to tuck a couple of quick lunches into the pantry, but asparagus tends to come in all at once, so I usually scale it up to fill the canner. At serving I puree it right in the pot with an immersion blender, stir in a splash of heavy cream, and that’s dinner. It tastes like spring in the middle of winter.
Quick Look at the Recipe
- Recipe Name: Asparagus Soup Base
- Recipe Type: Soup Canning Recipe (Hearty)
- Canning Method: Pressure Canning
- Prep Time: About 20 minutes
- Cook Time: About 10 minutes
- Canning Time: Pints 75 minutes, Quarts 90 minutes
- Yield: About 2 quarts (or 4 pints) as written, scalable to a full canner load
- Jar Sizes: Pints or quarts
- Headspace: 1 inch
- Ingredients Overview: Asparagus, onion, garlic, salt, and vegetable stock
- Safe Canning Recipe Source: University of Alaska Fairbanks Cooperative Extension
- Difficulty: Easy
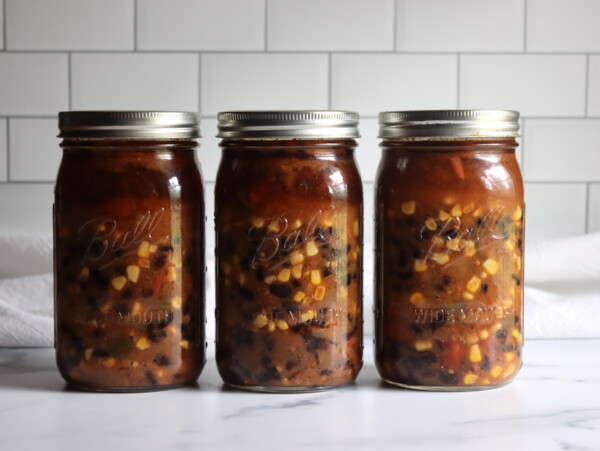
- Similar Recipes: Canning asparagus soup base works like other pressure-canned vegetable soups, such as Carrot Soup and Chipotle Black Bean Soup. If you like preserving spring vegetables, try canning asparagus spears on their own, or build something custom with the choice soup canning recipe.
Choosing Asparagus
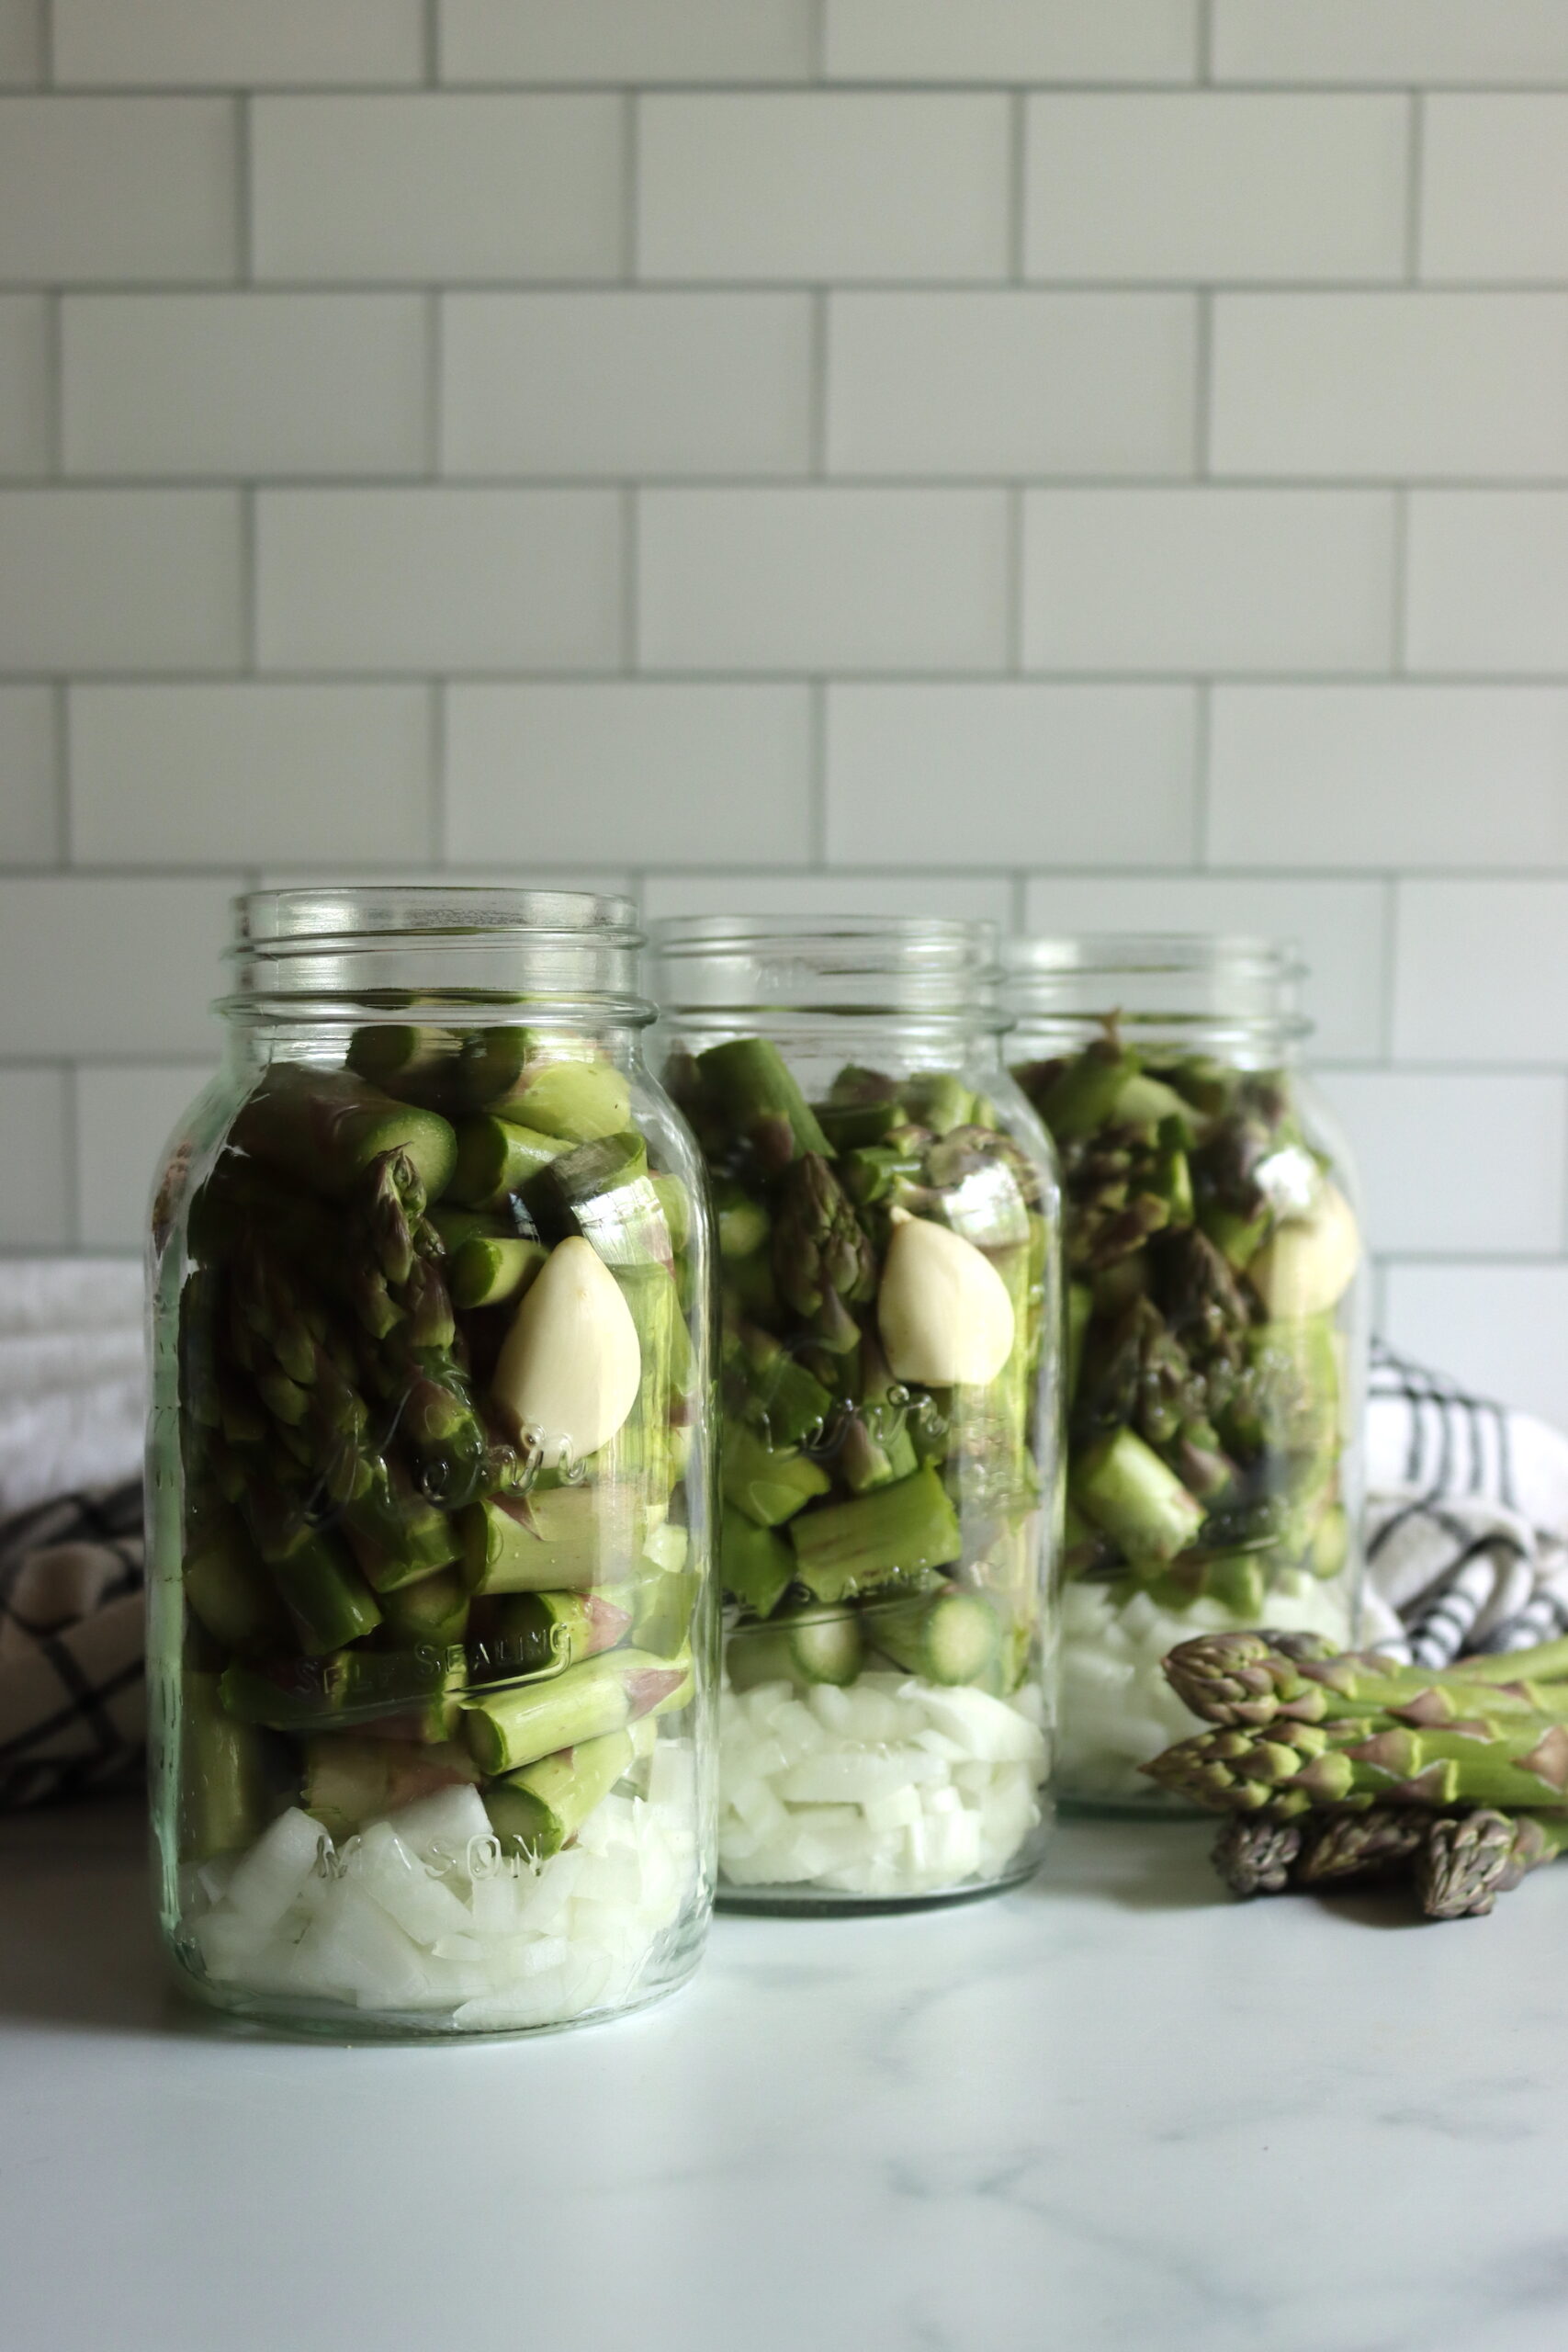
Asparagus for canning should be as fresh as you can get it, since the spears start converting their sugars to fiber the moment they’re cut and they only get woodier from there. Look for firm stalks with tight, compact tips that haven’t started to fern out or flower, and snap a spear to check; it should break cleanly rather than bend. If you’re buying at a market, the cut ends tell you a lot, because dried-out or splitting ends mean the asparagus has been sitting around for a while.
Thinner spears tend to be more tender and hold up nicely in a soup base, but thicker ones work too as long as you trim off the tough, fibrous bottoms before chopping. Since this base gets pureed at serving anyway, you don’t need picture-perfect spears, which makes it a good use for the slightly bendy or uneven asparagus that piles up at the end of a harvest. Just be sure to cut away any part that feels stringy or hollow.
Ingredients for Asparagus Soup Base
The exact amounts are in the recipe card below, scaled so the 2x and 3x buttons fill more jars cleanly, but here’s what each part is doing and where you have a little room to adjust. The flavor side of this soup is flexible, so feel free to lean it the direction your family likes, while the pieces that keep it safe to can (the chopped, evenly distributed solids in plenty of liquid) stay the same.
- Asparagus: The star of the soup, chopped into bite-sized pieces so it packs evenly and heats through. Trim the woody ends first. If you’d rather put up whole spears instead of a soup, see my recipe for canning asparagus.
- Onion: Builds the savory backbone of the base. Yellow onion is what I usually reach for, but a sweet onion or even leeks would be at home here. Chop it so it’s roughly the same size as the asparagus pieces.
- Garlic: Just a clove or two per jar for a little depth. You can mince it or add it whole, and you can leave it out entirely if garlic isn’t your thing.
- Vegetable stock: Fills the jars and carries the flavor. Homemade vegetable broth is lovely if you have it, but a good store-bought stock works just as well. If you want a richer, less vegetarian result, chicken broth swaps in one for one.
- Salt: For flavor only, so it’s optional and easy to adjust to taste. It isn’t doing anything for preservation here, since the pressure process is what makes these jars shelf stable.
What you’ll notice is missing from the jar is the cream. Dairy can’t be canned safely in a low-acid soup, so the cream (along with any thickener, if you want a thicker bowl) goes in at serving rather than before processing. That’s not a compromise so much as the whole design of a soup base, and it’s why the finished soup tastes so fresh when you open a jar months later.
Asparagus Soup Base Variations
This recipe follows the hearty soup method from the University of Alaska Fairbanks Cooperative Extension soup canning guidelines, where the jars are packed full of solids to a 1-inch headspace and broth fills the gaps around them. The processing time and pressure are what make the jars safe, so those numbers are fixed and can’t be shortened, lowered, or swapped for a water bath. Asparagus soup base is a low-acid food, and only a pressure canner reaches a temperature high enough to make it safe for shelf storage.
You have plenty of room to play with the flavor as long as you keep to the hearty pack. Adjust the salt, add herbs, swap vegetable stock for chicken stock, or stir in garlic to taste.
What you don’t do is add cream, milk, flour, cornstarch, rice, or pasta to the jars, because dairy and thickeners are too dense for heat to move through safely and grains throw off the timing. All of those belong in the pot at serving, not in the canner.
How to Make Asparagus Soup Base
Canning this soup base is a quick job once your prep is done, and it follows the same rhythm as my other pressure canning recipes. Get your canner and jars ready first so everything moves smoothly once the soup comes up to a boil.
The minimum batch is two quarts (or four pints), and you can scale up from there to fill the canner. Whatever size batch you make, the steps stay the same.
Prepare the Ingredients
Start by getting your pressure canner heating with a few inches of water, and bring your jars up to a simmer at around 180 degrees so they’re hot when you pack them. Peel and chop the onion, trim the woody ends from the asparagus and cut it into bite-sized pieces, and mince the garlic if you’re using it minced rather than whole.
Combine the chopped onion, asparagus, garlic, and salt in a large pot, then pour in enough vegetable stock to cover the vegetables. Bring the whole pot up to a boil, then reduce the heat and let it simmer for about 5 minutes. That short cook softens the vegetables just enough and gets everything heated through, which is what a hot pack is all about.
Simmer and Pack the Jars
Using a slotted spoon, pack the hot jars full with the solid vegetables to a 1-inch headspace, then ladle in hot stock to fill the gaps around them, keeping that 1 inch of headspace. A wide-mouth canning funnel makes this part a lot tidier and helps keep the rims clean. Packing the solids in first and then working the broth down into the gaps keeps the fill consistent from jar to jar, which matters for safe, even heat penetration during processing.
Run a bubble remover or a thin spatula around the inside of each jar to release trapped air, then check the headspace again and add a little more stock if it dropped. Wipe the rims clean with a damp cloth, set the lids on, and screw the bands down to fingertip tight before the jars go into the canner.
Canning Asparagus Soup Base
This is a hot-pack, pressure-canned recipe, and the minimum batch is two quarts or four pints so the canner comes up to pressure and holds it properly. There’s no water-bath version of this soup, and there’s no safe way to shortcut the process, so a pressure canner is the one piece of equipment you can’t work around here.
To can, prepare your pressure canner, jars, and lids. Pack the jars to the hearty method, leave 1 inch of headspace, remove the air bubbles, wipe the rims, and apply the lids and bands fingertip tight. Set the filled jars in the canner, lock the lid, and let the canner vent a steady stream of steam for 10 minutes before you add the weight and bring it up to pressure.
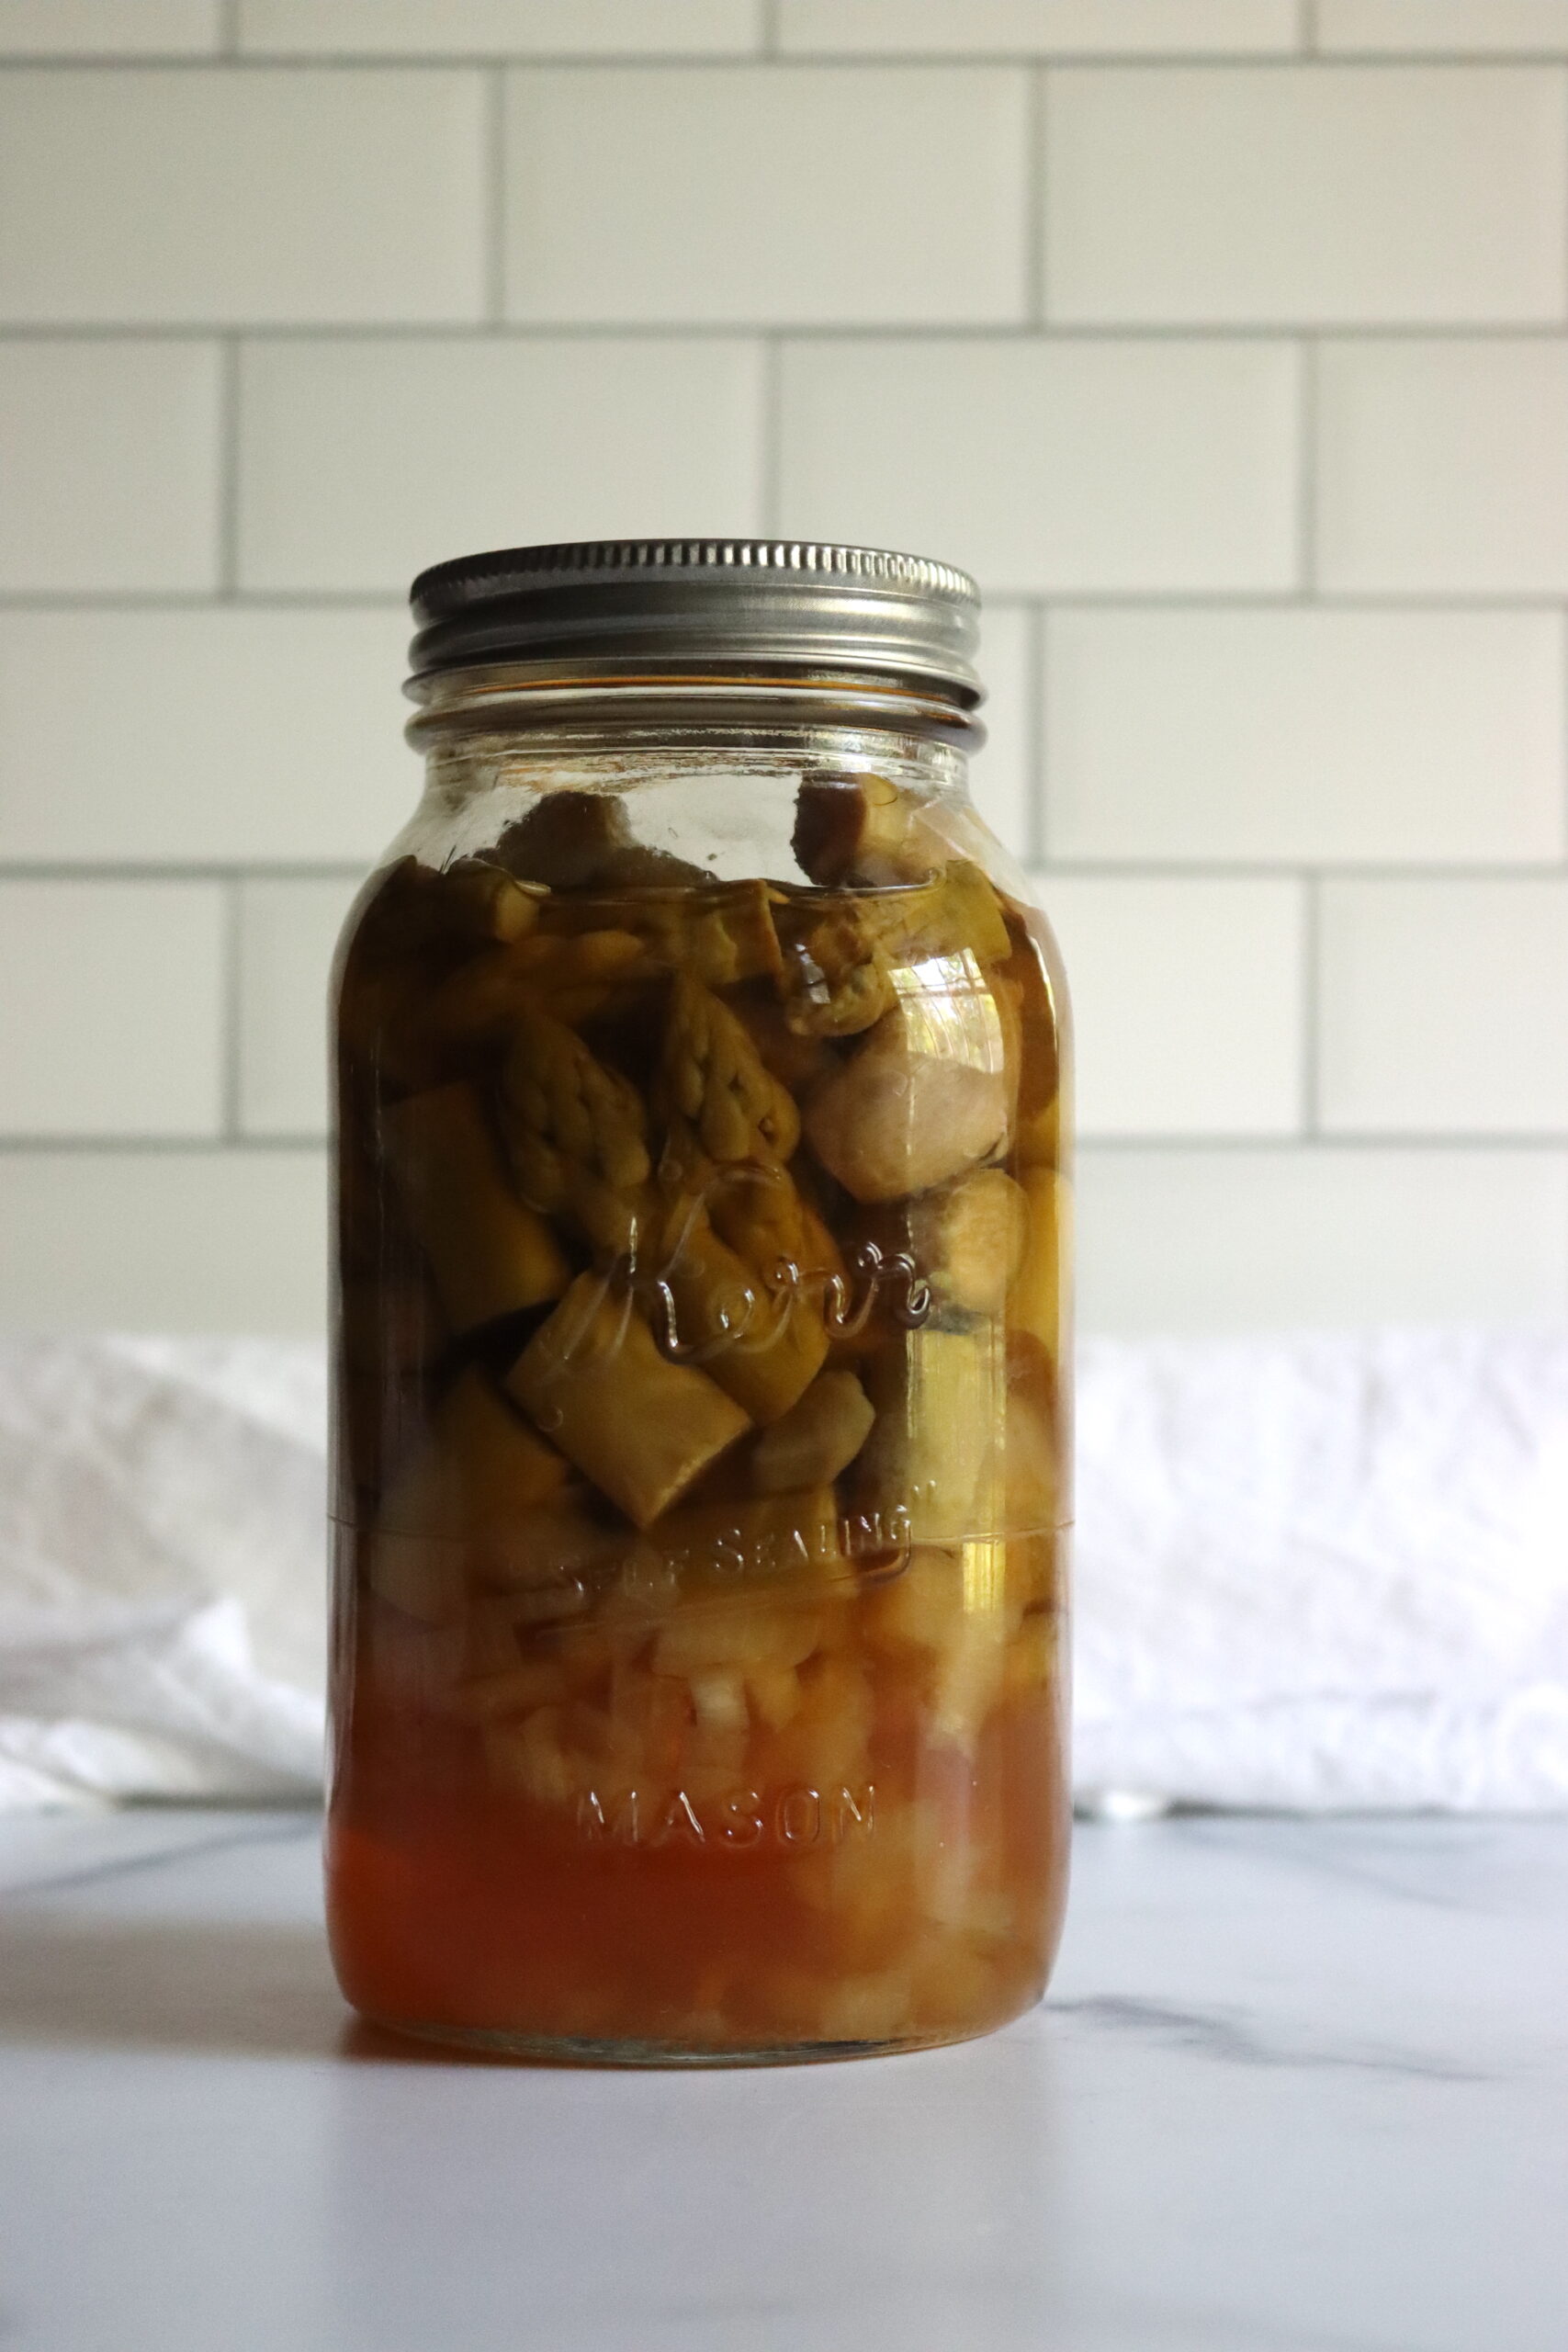
Process pints for 75 minutes or quarts for 90 minutes at 10 pounds pressure in a weighted gauge canner or 11 pounds in a dial gauge canner, adjusting for altitude using the chart below. When the time is up, turn off the heat and let the canner cool and depressurize on its own, since forcing it open is both unsafe and a quick way to lose your seals. Once the canner is fully depressurized, lift the jars out onto a towel, leave them undisturbed for 12 to 24 hours, and then check that every lid has sealed down tight.
Altitude Adjustments
With pressure canning, the processing times stay the same at higher altitudes, but the pressures change. Here are the altitude adjustments for pressure canning asparagus soup base:
For dial gauge pressure canners:
- 0 to 2,000 feet: 11 lbs pressure
- 2,001 to 4,000 feet: 12 lbs pressure
- 4,001 to 6,000 feet: 13 lbs pressure
- 6,001 to 8,000 feet: 14 lbs pressure
For weighted gauge pressure canners:
- 0 to 1,000 feet: 10 lbs pressure
- Above 1,000 feet: 15 lbs pressure
Serving Ideas for Asparagus Soup Base
When you’re ready to eat, tip a jar into a pot and heat it through on the stove, or warm it in the microwave if you’re just making a bowl for one. It’s edible as is in its chunky state, but this base is meant to be pureed at serving, so an immersion blender (or a quick spin in a regular blender) turns it into the smooth cream-of-asparagus soup it was built to become. Stir in a splash of heavy cream or a spoonful of creme fraiche right at the end for that rich, velvety finish, and if you like a thicker soup you can whisk in a little roux or a cornstarch slurry on the stove at this point.
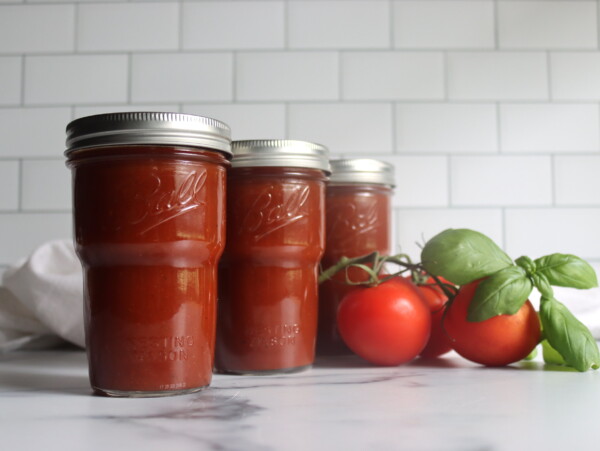
From there it takes garnishes happily. A scatter of fresh herbs, a few shavings of parmesan, a crack of black pepper, or a drizzle of good olive oil all dress it up, and a hunk of crusty bread or a grilled cheese on the side rounds it into a full meal. If you’re building out a pantry of quick lunches, it sits nicely alongside other soup canning recipes like a jar of split pea soup or tomato basil soup.
Yield Notes
As written, a single batch fills about two quarts (or four pints), which is the smallest load I’d run so the canner pressurizes and holds steady. Exact yield wanders a bit depending on how finely you chop, how much the asparagus cooks down, and how generously you ladle the stock, so treat the jar count as a close estimate rather than a fixed number.
Because asparagus tends to flood the kitchen all at once in season, this is an easy recipe to scale up to a full canner.
A few questions come up often enough about canning asparagus soup base that they’re worth answering before you get started.
Asparagus Soup Base FAQs
No. Asparagus soup base contains low-acid ingredients, so it is not safe for water bath canning. You need to use a pressure canner to make safe, shelf-stable jars.
Smooth, pureed soups are not approved for home canning, because a thick puree is too dense for heat to move through the jar reliably during processing. Canning it chunky, with the vegetables in identifiable pieces rather than pureed, keeps it safe, and you puree it when you reheat it to serve.
No. Dairy and thickeners like flour or cornstarch are too dense to let heat pass through the jar safely, so they are never added before canning. Stir the cream in and thicken the soup on the stove when you reheat it to serve.
Properly processed and sealed jars keep for about 12 to 18 months in a cool, dark place, though they stay safe to eat as long as the seal holds. Refrigerate after opening and use within 3 to 4 days.
If you’re stocking the pantry with quick-heat meals, these are some of the soup canning recipes I’d reach for next.
Soup Canning Recipes
If you tried this Asparagus Soup Base recipe, or any other recipe on Creative Canning, leave a ⭐ star rating and let me know what you think in the 📝 comments below!
And make sure you stay in touch with me by following on social media!
Canning Asparagus Soup Base
Equipment
- Canning Jars, Lids and Bands
Ingredients
- 1 ½ cup onion, chopped
- 6 cups asparagus, chopped
- 2 cloves garlic, minced or whole
- 2 tsp salt
- 4 cups Vegetable stock, plus more as needed to fill
Instructions
- Prepare your pressure canner, jars, and lids, and bring the jars up to a simmer so they are hot when you pack them.
- Wash and chop the onion, trim the woody ends from the asparagus and cut it into bite-sized pieces, and mince the garlic.
- Combine the onion, asparagus, garlic, and salt in a large pot. Add vegetable stock to cover and bring to a boil, then reduce the heat and simmer 5 minutes.
- Using a slotted spoon, pack the hot jars full with the solids to a 1-inch headspace, then ladle in hot stock to fill the gaps, keeping 1 inch of headspace.
- Remove air bubbles, adjust headspace if needed, wipe the rims clean, and apply lids and bands fingertip tight.
- Process in a pressure canner: pints for 75 minutes or quarts for 90 minutes at 10 lbs pressure in a weighted gauge canner or 11 lbs in a dial gauge canner, adjusting for altitude (see notes).
- Use a natural pressure release and do not force cool. Once the canner is depressurized, remove the jars and leave them undisturbed for 12 to 24 hours, then check the seals.
Notes
- 0 to 2,000 feet in elevation – 11 lbs pressure
- 2,001 to 4,000 feet in elevation – 12 lbs pressure
- 4,001 to 6,000 feet in elevation – 13 lbs pressure
- 6,001 to 8,000 feet in elevation – 14 lbs pressure
- 0 to 1,000 feet in elevation – 10 lbs pressure
- Above 1,000 feet – 15 lbs pressure
Nutrition
Nutrition information is automatically calculated, so should only be used as an approximation.
And if you’re looking to fill more jars with shelf-stable meals, here are more ways to put a meal in a jar.
Meal in a Jar Canning Recipes
Find the perfect recipe
Searching for something else? Enter keywords to find the perfect recipe!

There are not all that many ways to preserve asparagus (besides pickling), and this one’s a lot more versatile and filling. I love it!