This post may contain affiliate links. Please see our disclosure policy.
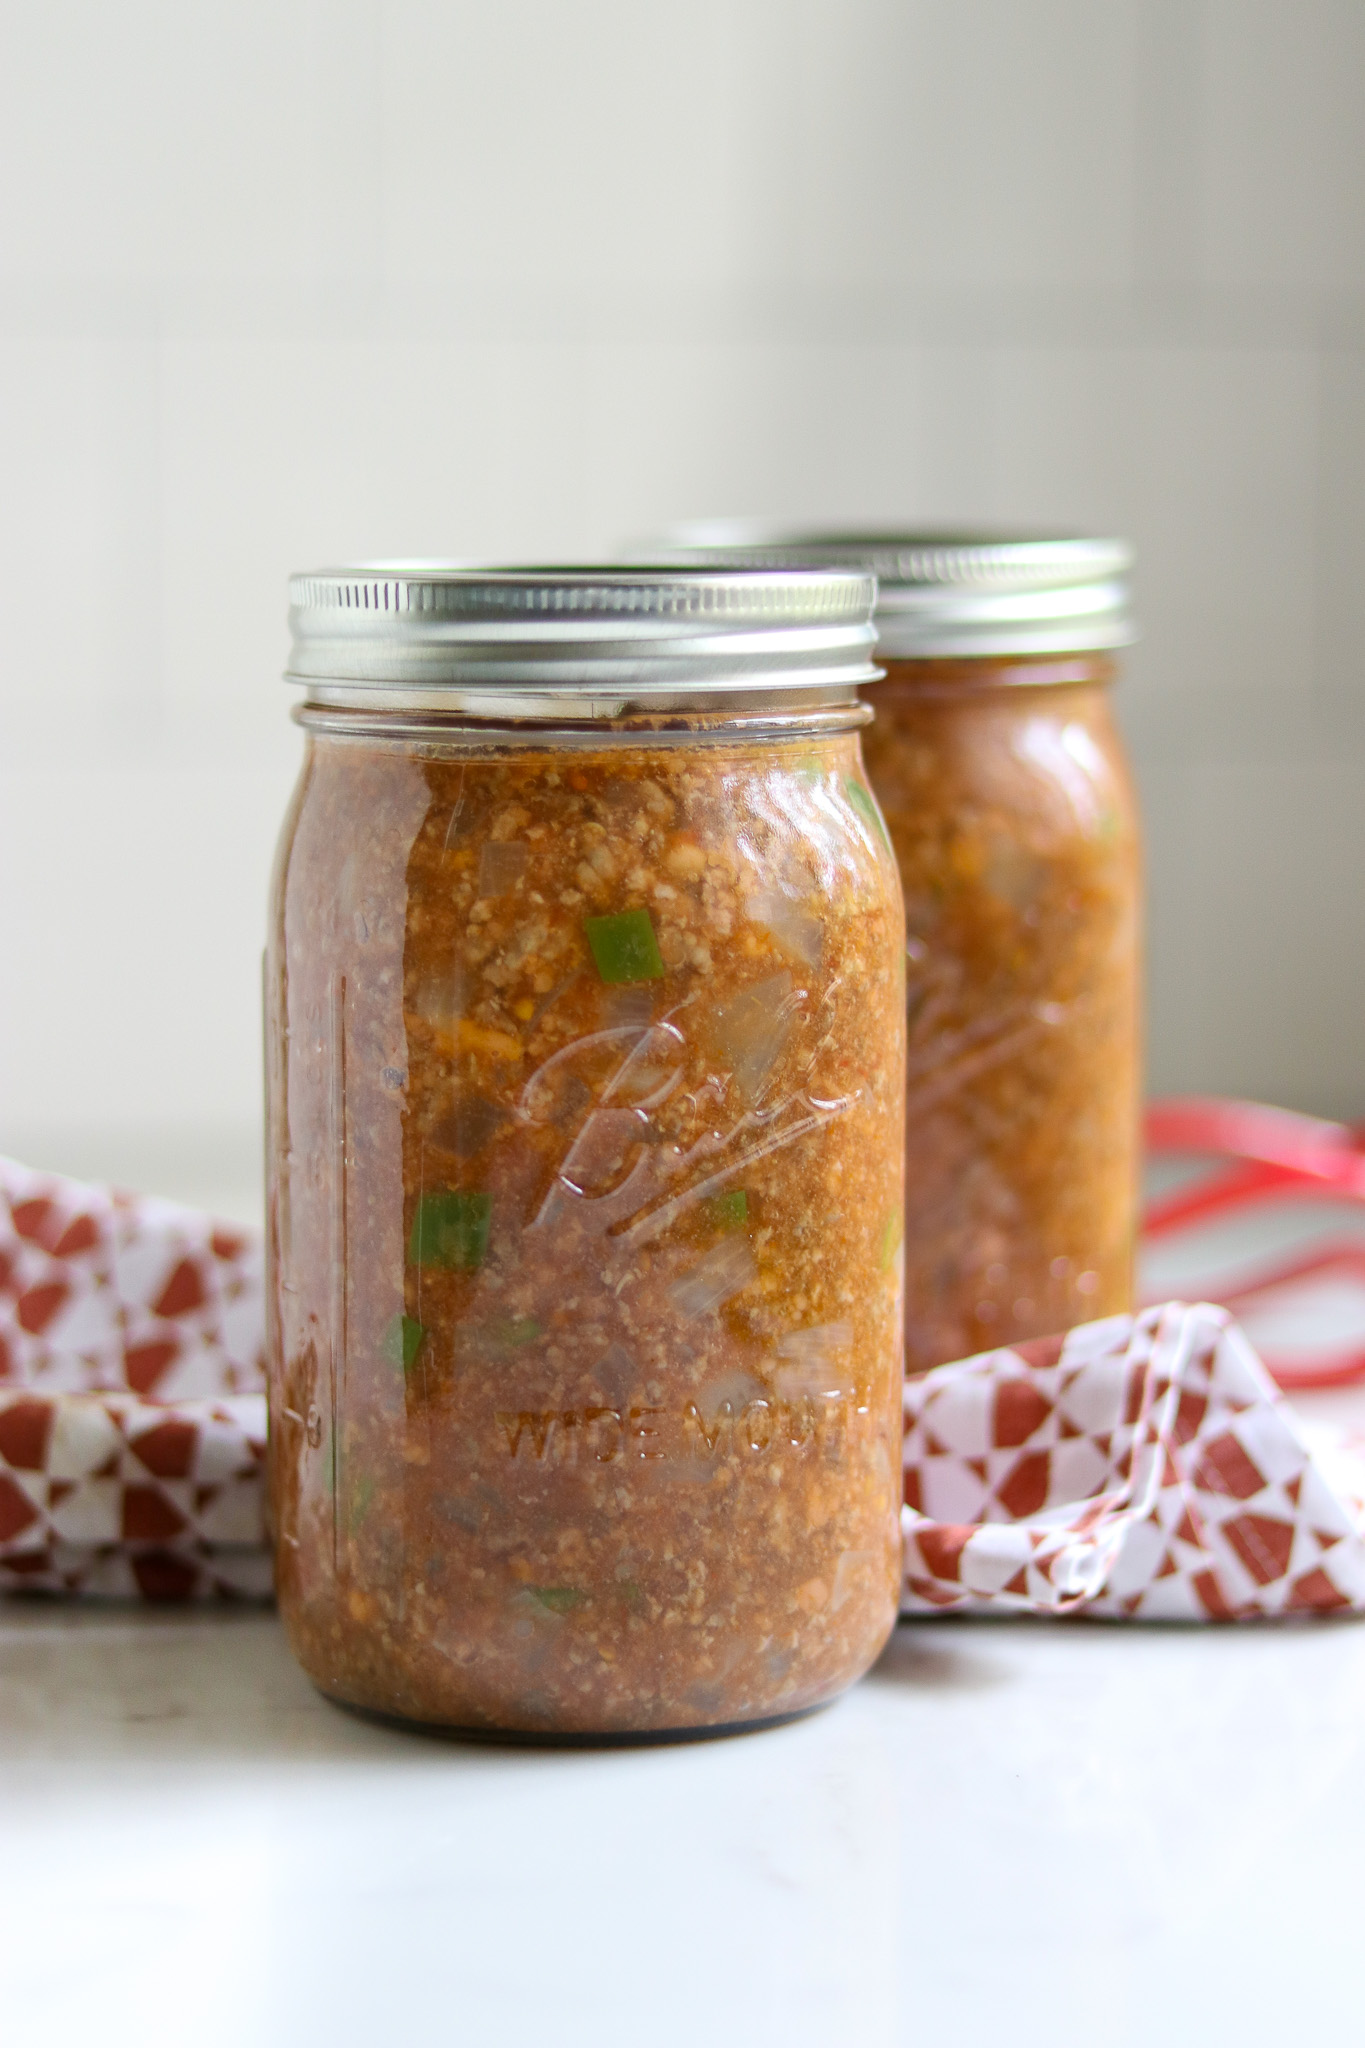
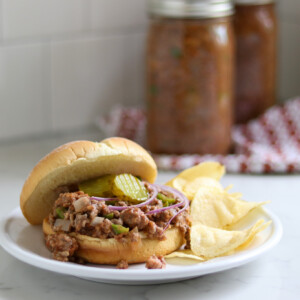
Canning Sloppy Joe Filling is an easy ground beef canning recipe that works as a quick meal in a jar on busy weeknights. Store protein right on your pantry shelf and use it as a quick, easy-to-make meal.
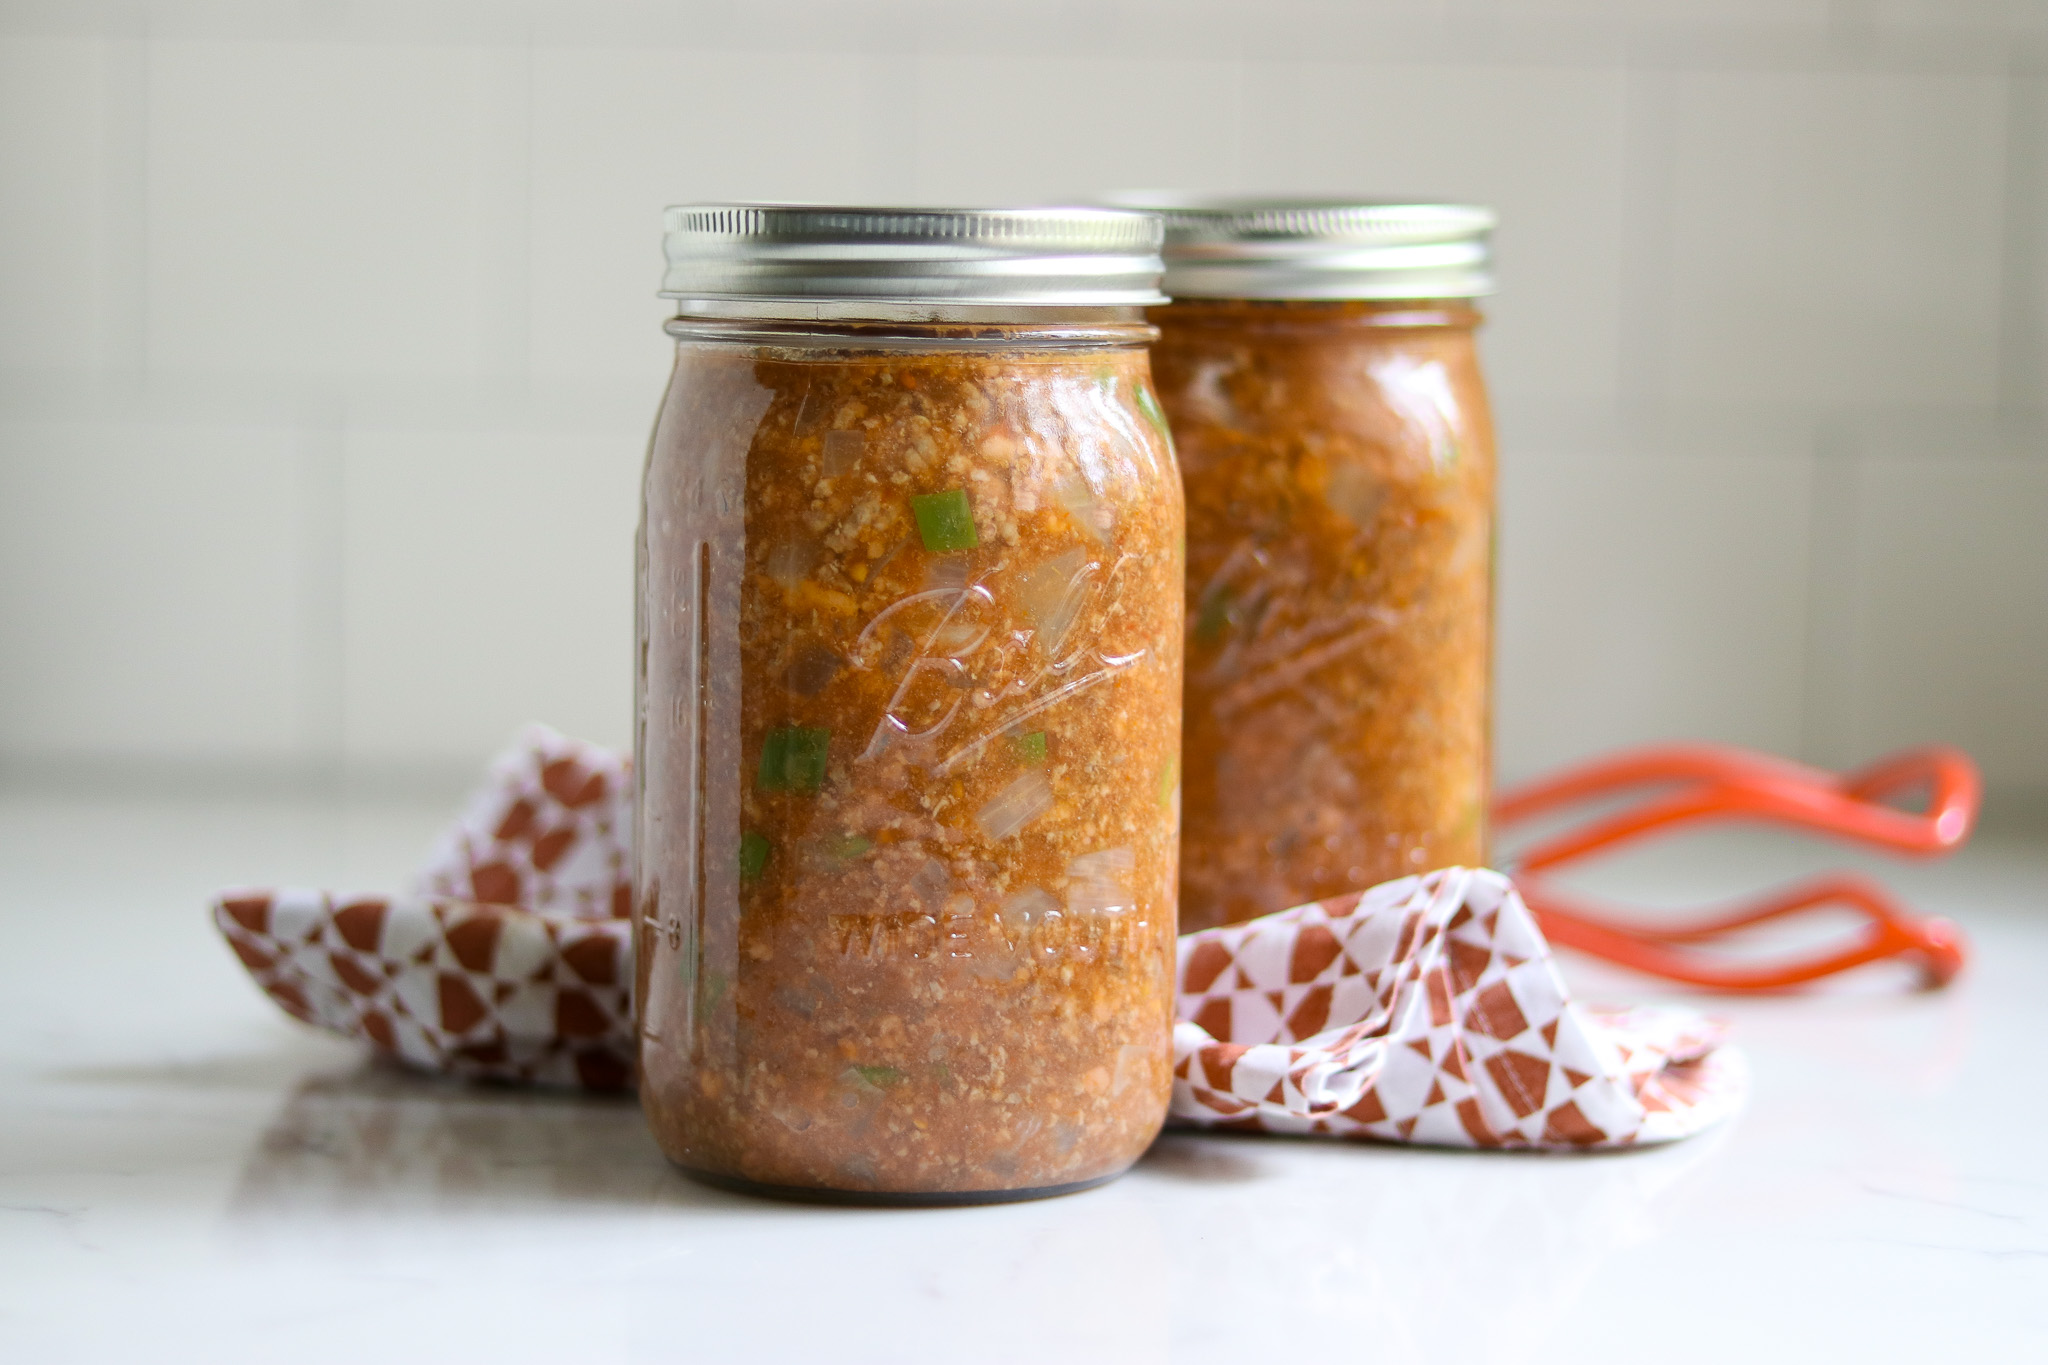
Who doesn’t love a scrumptious Sloppy Joe? It is a tasty mix of ground beef, onions, tomato sauce, and delicious seasonings.
The filling is usually sandwiched between two buns and devoured almost instantly – it’s a fan favorite at backyard barbeques and busy weeknight dinner tables all around the country!
However, if you’re like most people and want a simpler solution for those busy nights, canned Sloppy Joe filling is the way to go.
It’s incredibly easy to make and can be heated up in a flash.
You don’t have to wait for the meat to defrost, or find all the seasoning in your party. All you have to do is open the jar, heat, and serve. What could be simpler than that?
Since there’s meat involved, this is a pressure canning recipe. If you’re not familiar with pressure canning, please read my beginner’s guide to pressure canning before you begin.
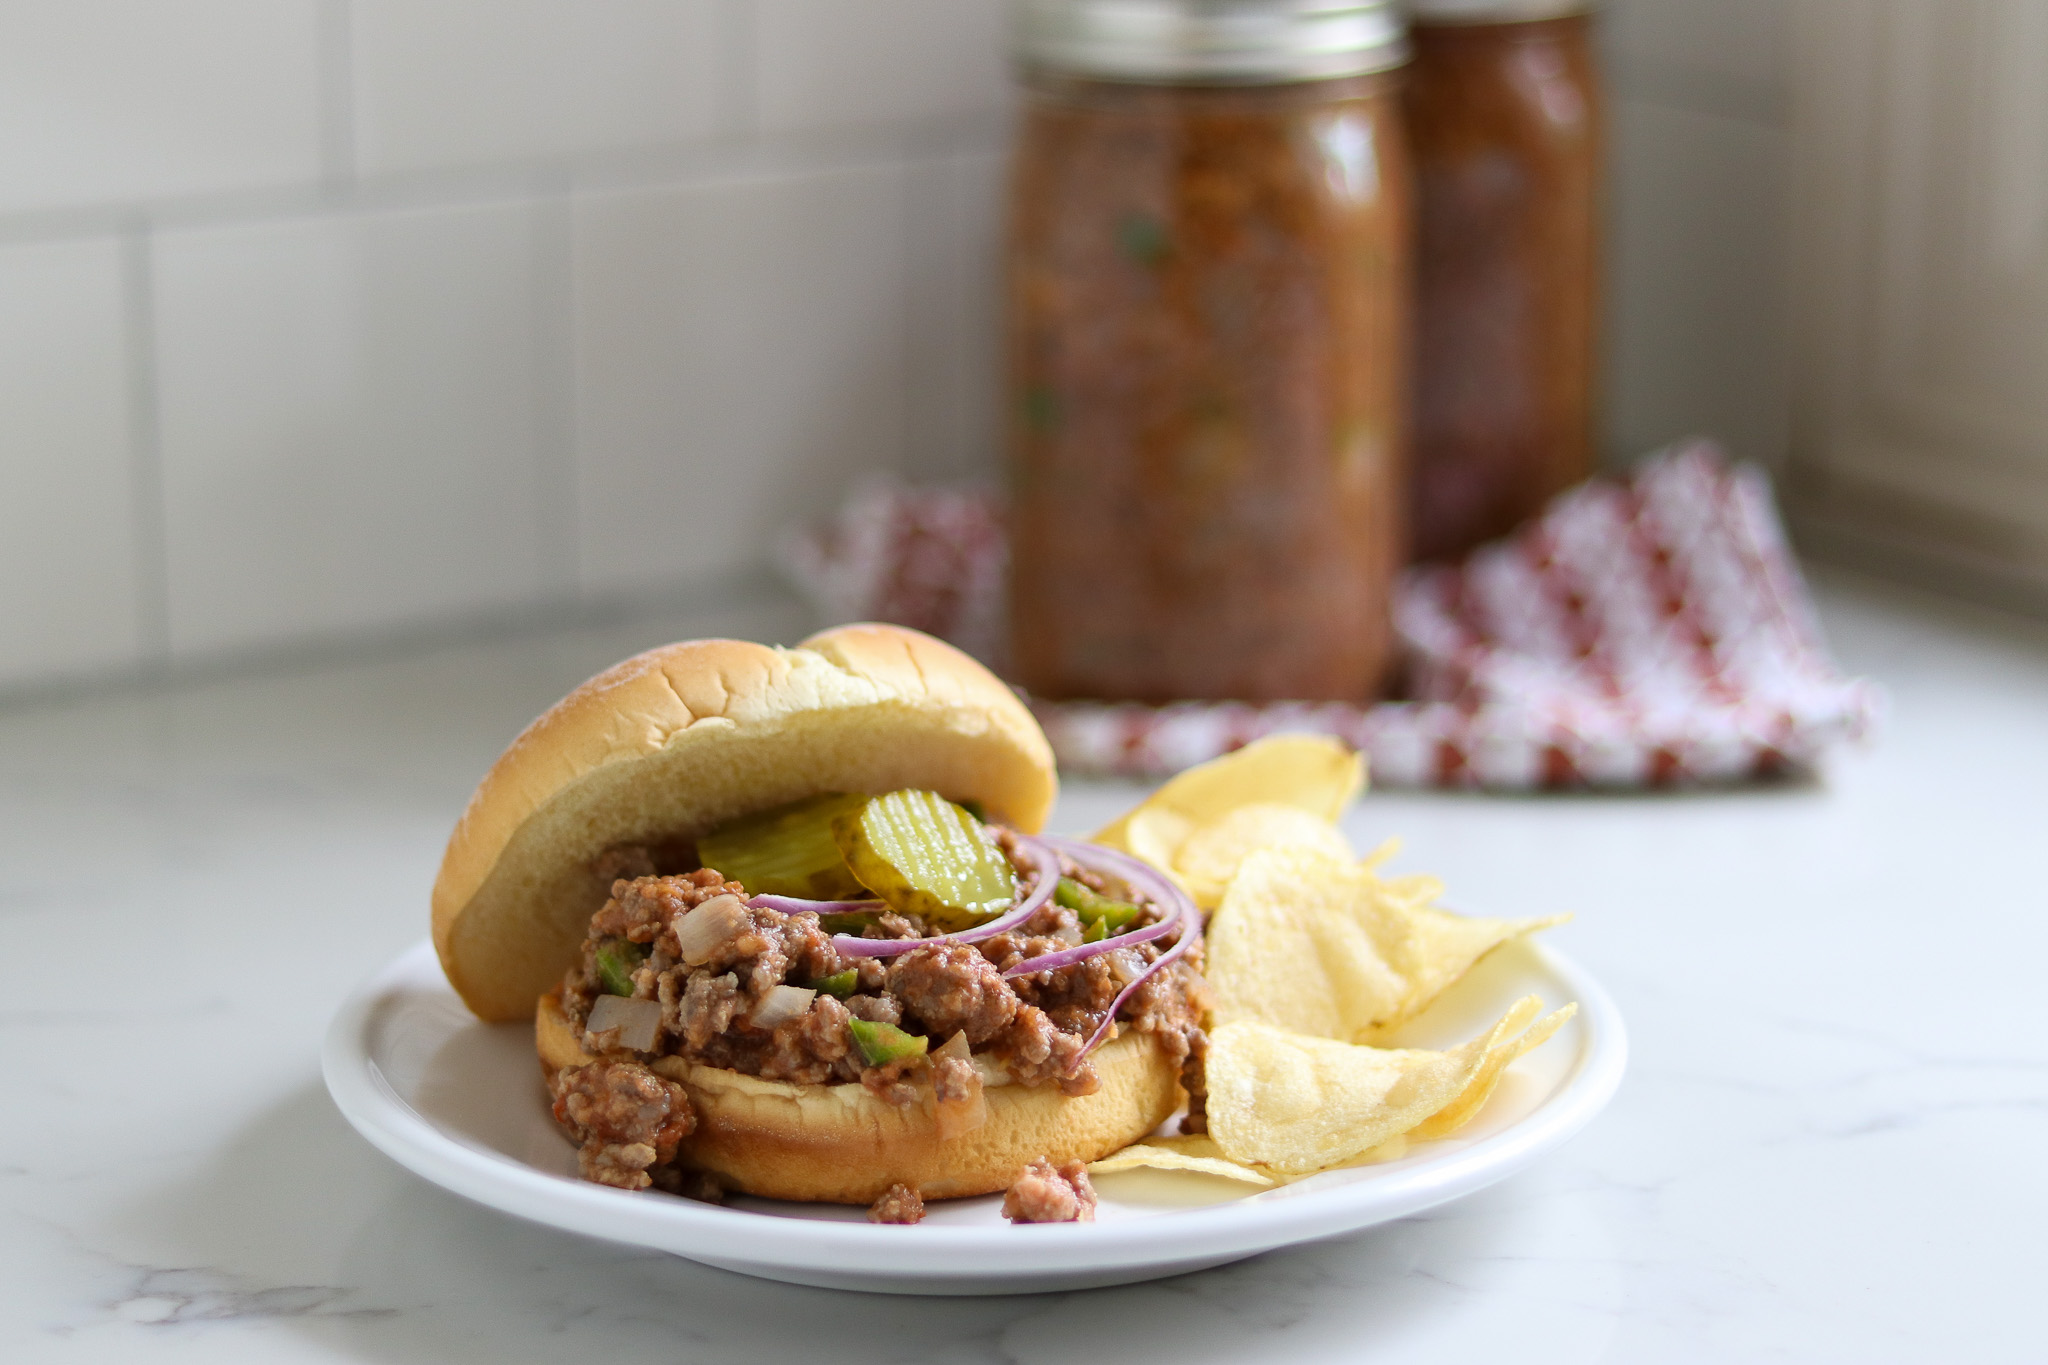
Ingredients for Sloppy Joe Filling
The ingredients for canning Sloppy Joe filling are quite simple. For the most part, it’s made with ground beef, which makes these jars a frugal pantry staple.
Beyond that, you’ll be adding diced onion, green pepper, and seasonings. I’ll give you options for substitutions too, incase your family doesn’t like a particular ingredient.
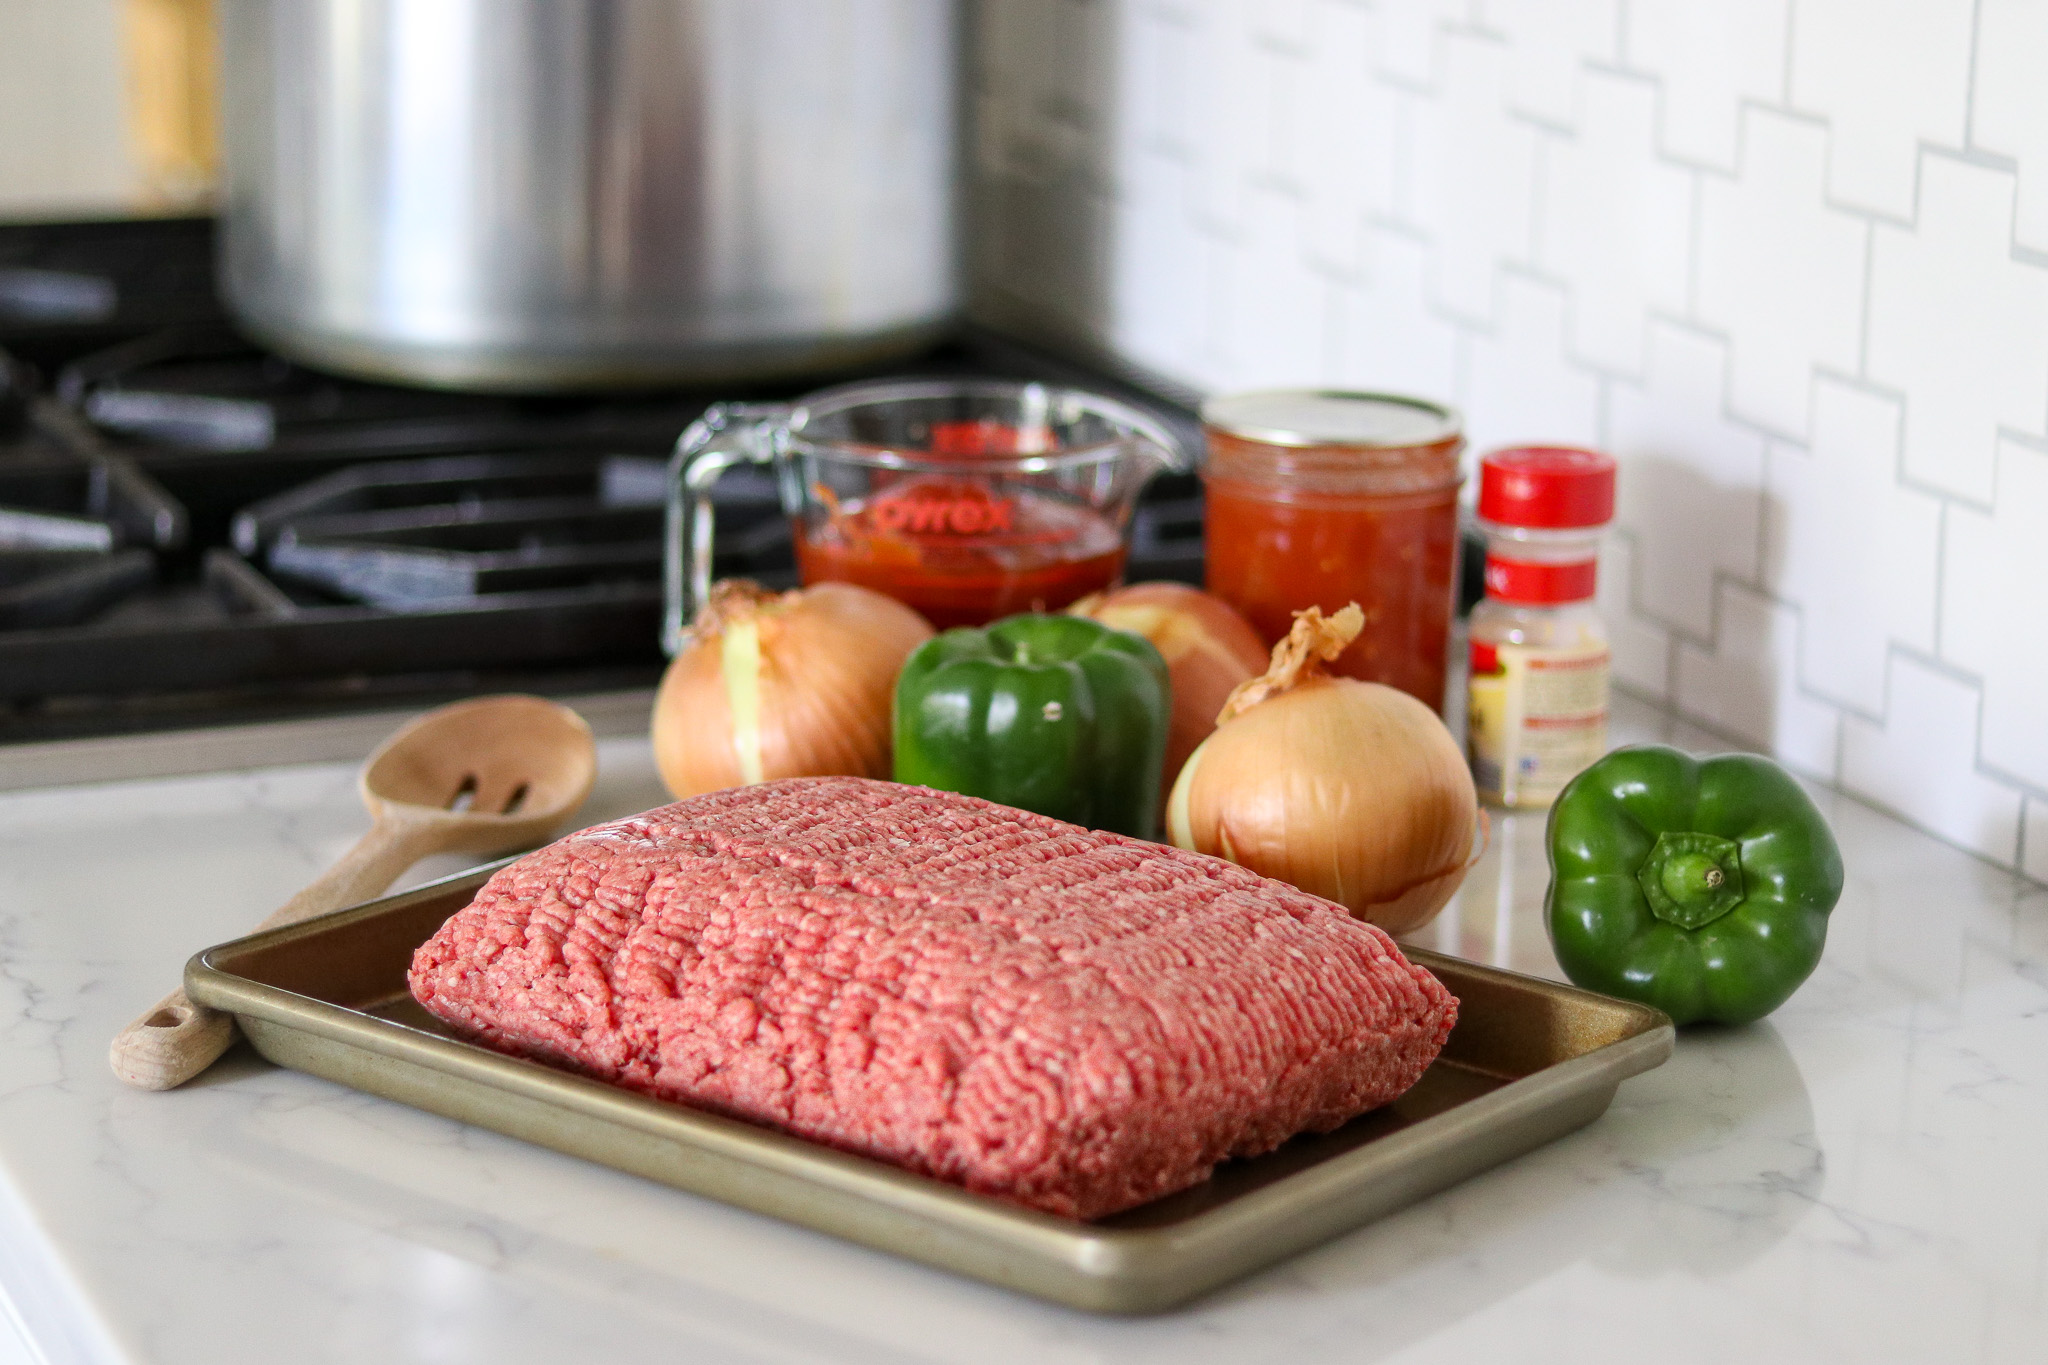
To make a canner batch of 8 pints (or 4 quarts), you’ll need the following:
- 4 lbs lean ground beef or venison (can also use a combination)
- 3 cups onion, peeled and chopped
- 1 16-oz can of tomato sauce
- 1 ½ cups chopped and cored green pepper
- 2 cups tomato ketchup
- 2 cups water
- 1 tbsp salt
- 1 tbsp sugar
- 1 tbsp prepared mustard
- ¾ tsp black pepper
You can use any kind of ground red meat for this recipe, including ground beef, venison, elk, or even lamb. A combination is also fine, but leanness is key to preventing the mixture from becoming overly greasy and fatty.
Some people choose to add Worcestershire sauce to this recipe, and that’s fine. Worchestershire adds nothing more than salt, seasoning, and liquid…and all of those are allowed additions to any pressure canning recipe.
For vegetables, this sloppy joes canning recipe sticks with the classics. All we’re adding here are diced onions and green peppers.
If your family doesn’t like either of those, feel free to omit them.
For the onions, you can use any type, including sweet onions or red onions in place of regular onions. (Shallots and scallions are fine too, at least safety-wise, but maybe not the best choice for flavor.)
The peppers can be any type of pepper, including hot peppers. Green bell peppers work well in this recipe, but they’re generally not my favorite pepper. I usually use red peppers for most things, and they’re a fine substitution.
Poblano peppers or Anaheim chilis also work well, if you want a bit of heat in your home-canned sloppy joes. (You can also substitute a can of hatch green chilis, or freshly roasted New Mexico chilis, for a southwest flavor.)
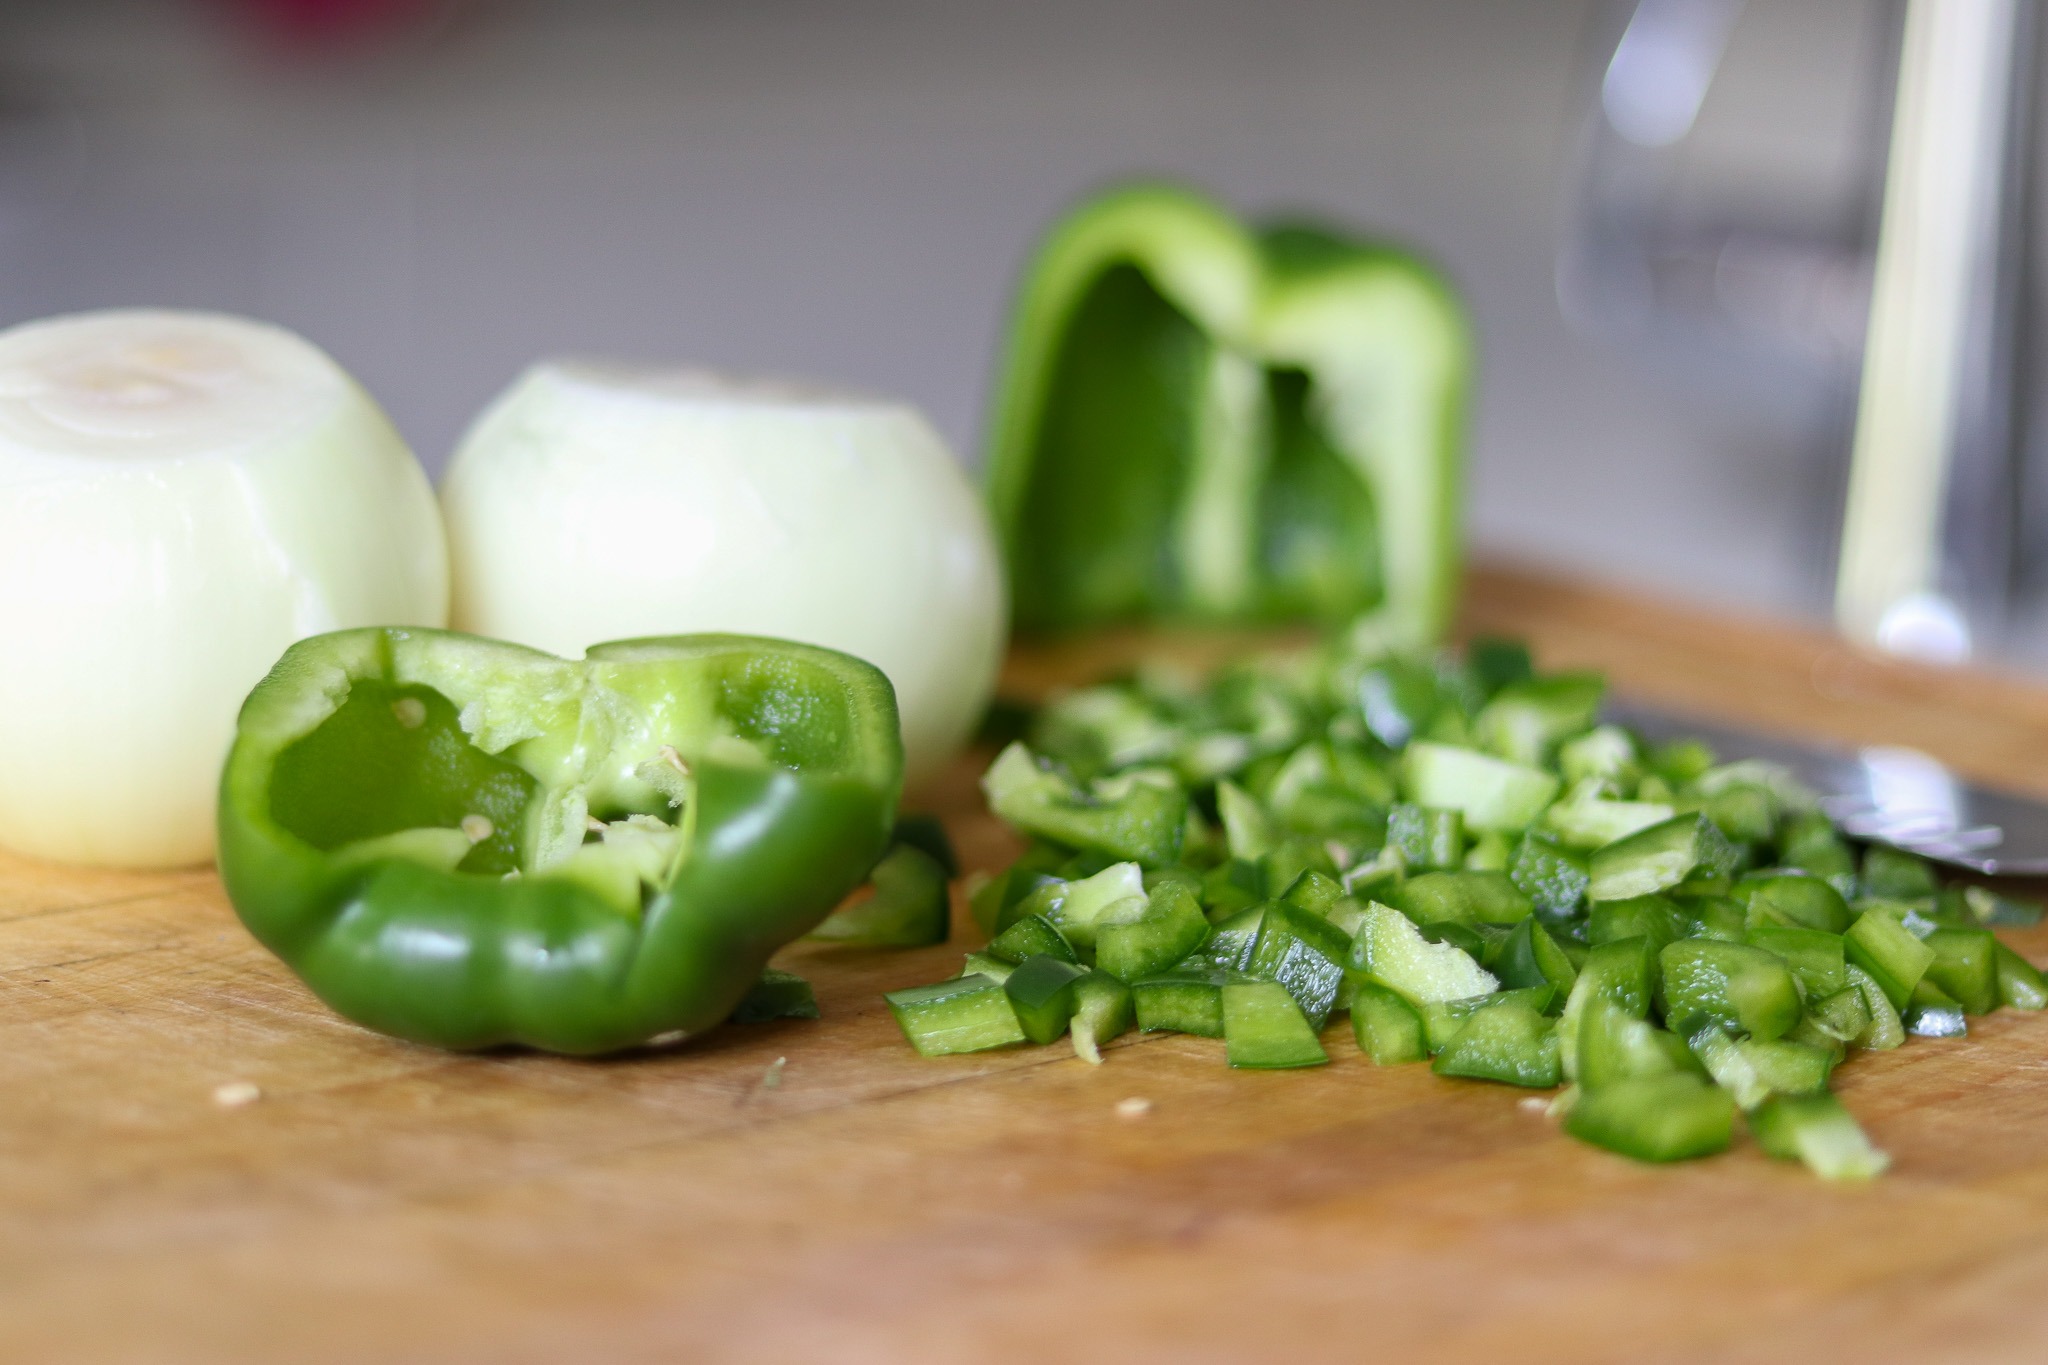
For the seasonings, those are also flexible. The only dry seasonings in these sloppy joes are prepared mustard and pepper, but you can add whatever dry seasonings your family likes.
If you’re avoiding sugar, you can skip the sugar. That’s also true of salt. Both can be omitted based on your dietary restrictions. (Though, without the sugar and salt, these won’t taste nearly as good, obviously.)
You can use homemade ketchup, provided it doesn’t include any thickeners or starches. Most ketchup recipes are just tomato, vinegar, sugar, salt, and spices, so that’s probably not an issue.
Again, if you’re avoiding sugar, you can make your own homemade ketchup without sugar and use it in this recipe. Just make it with only tomato, vinegar, salt, and spices, and it’ll be fine in these homemade sloppy joes.
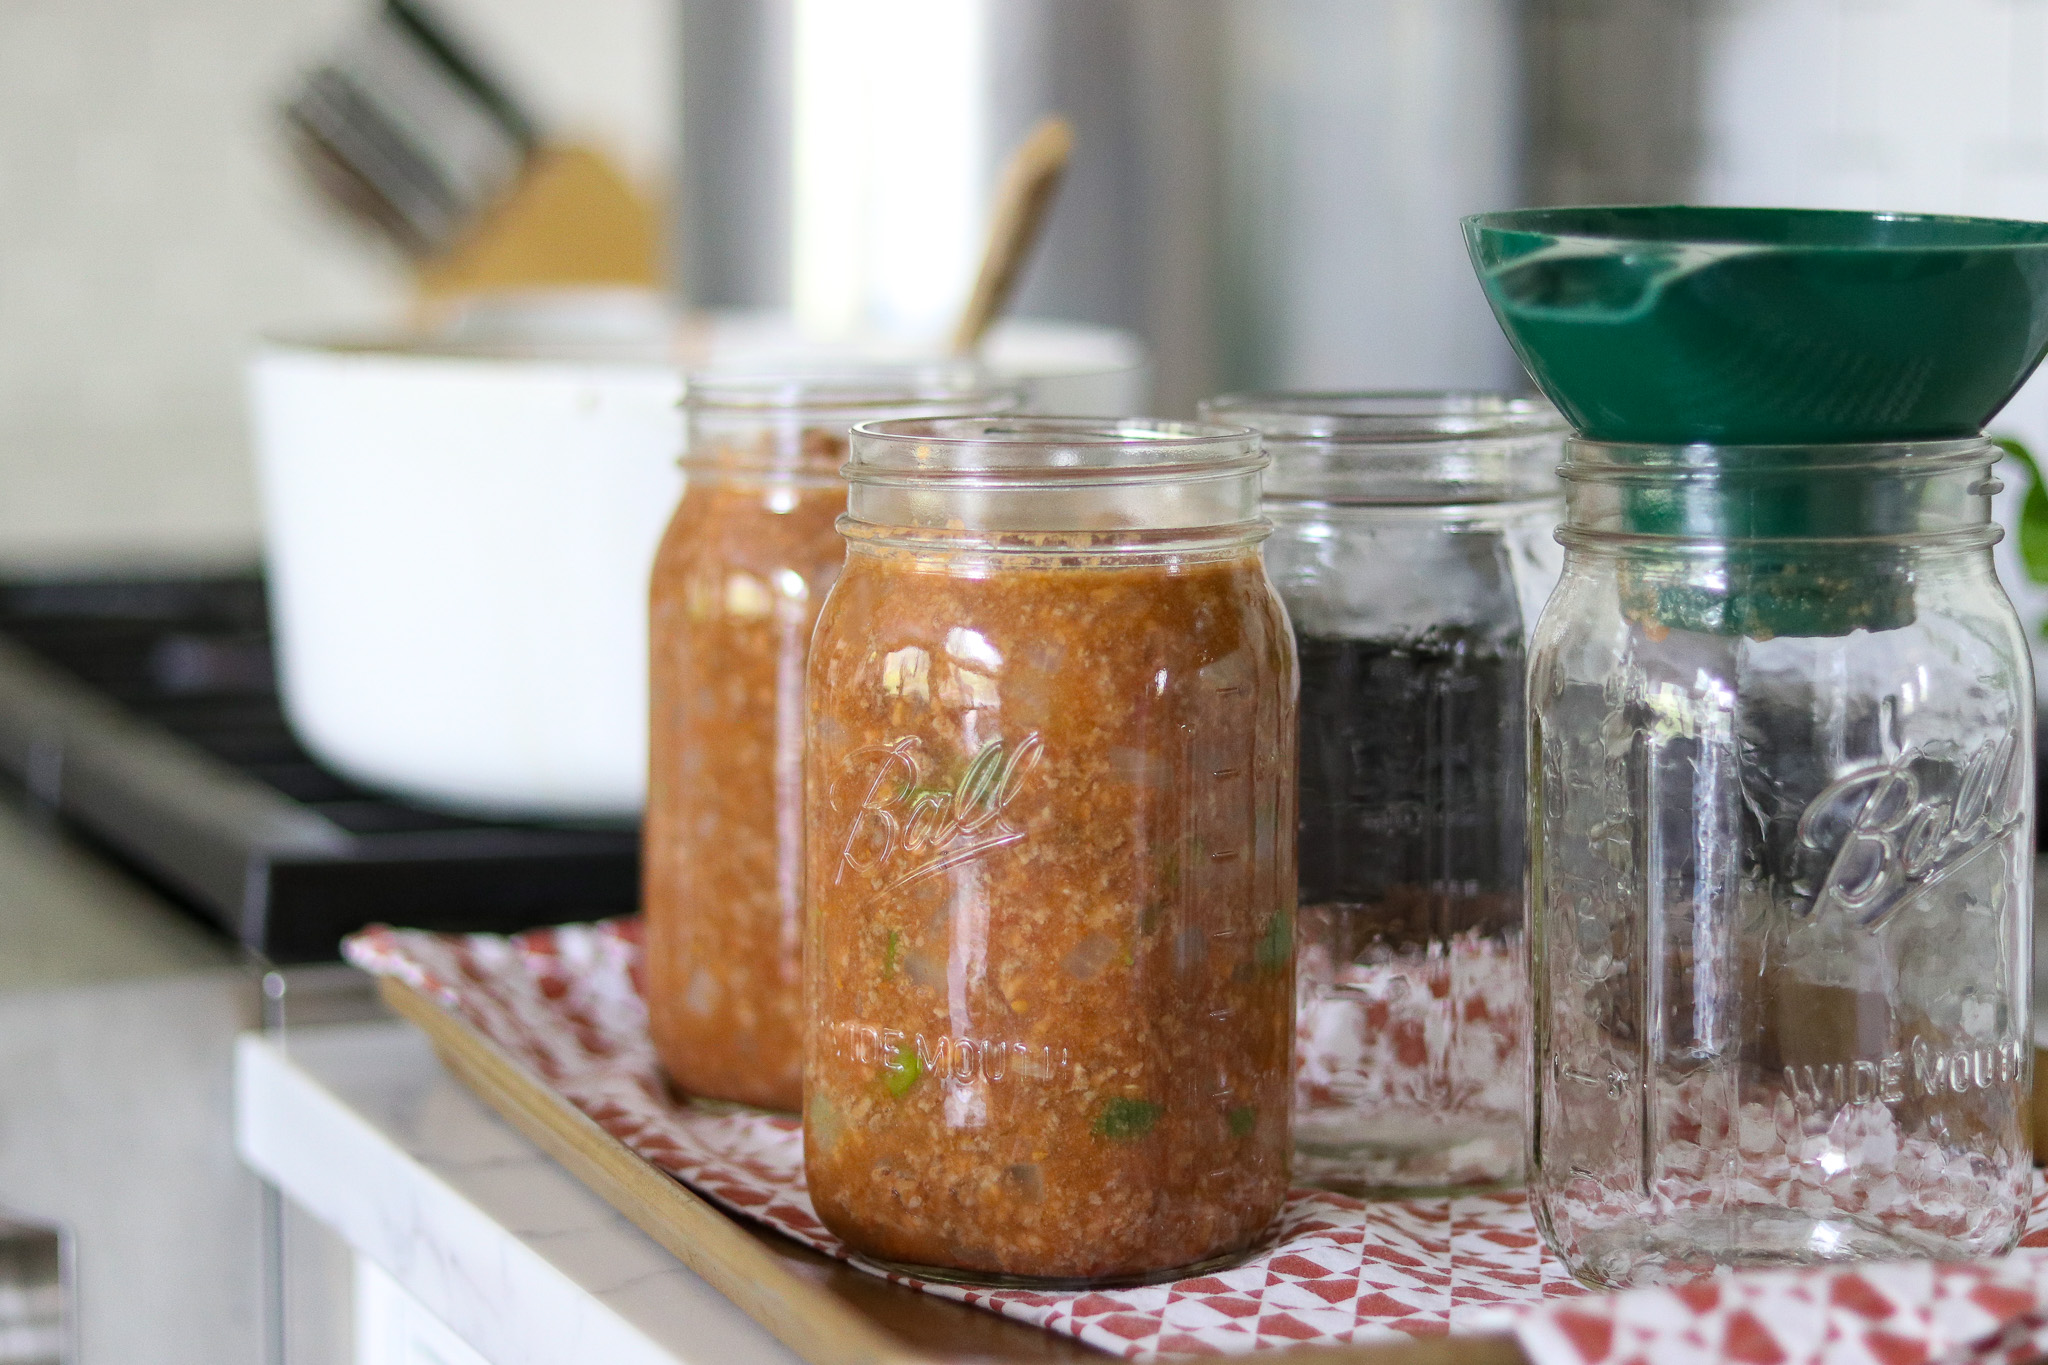
Canning Sloppy Joe Filling
This is a hot-pack recipe. Because of that, you should prepare your pressure canner ahead of time and allow the hot jars to remain inside.
Start with clean, sanitized canning jars and rings.
Place them in the canner with two inches of water, then heat to around 140 degrees Fahrenheit.
This will keep the jars warm while you’re preparing the filing.
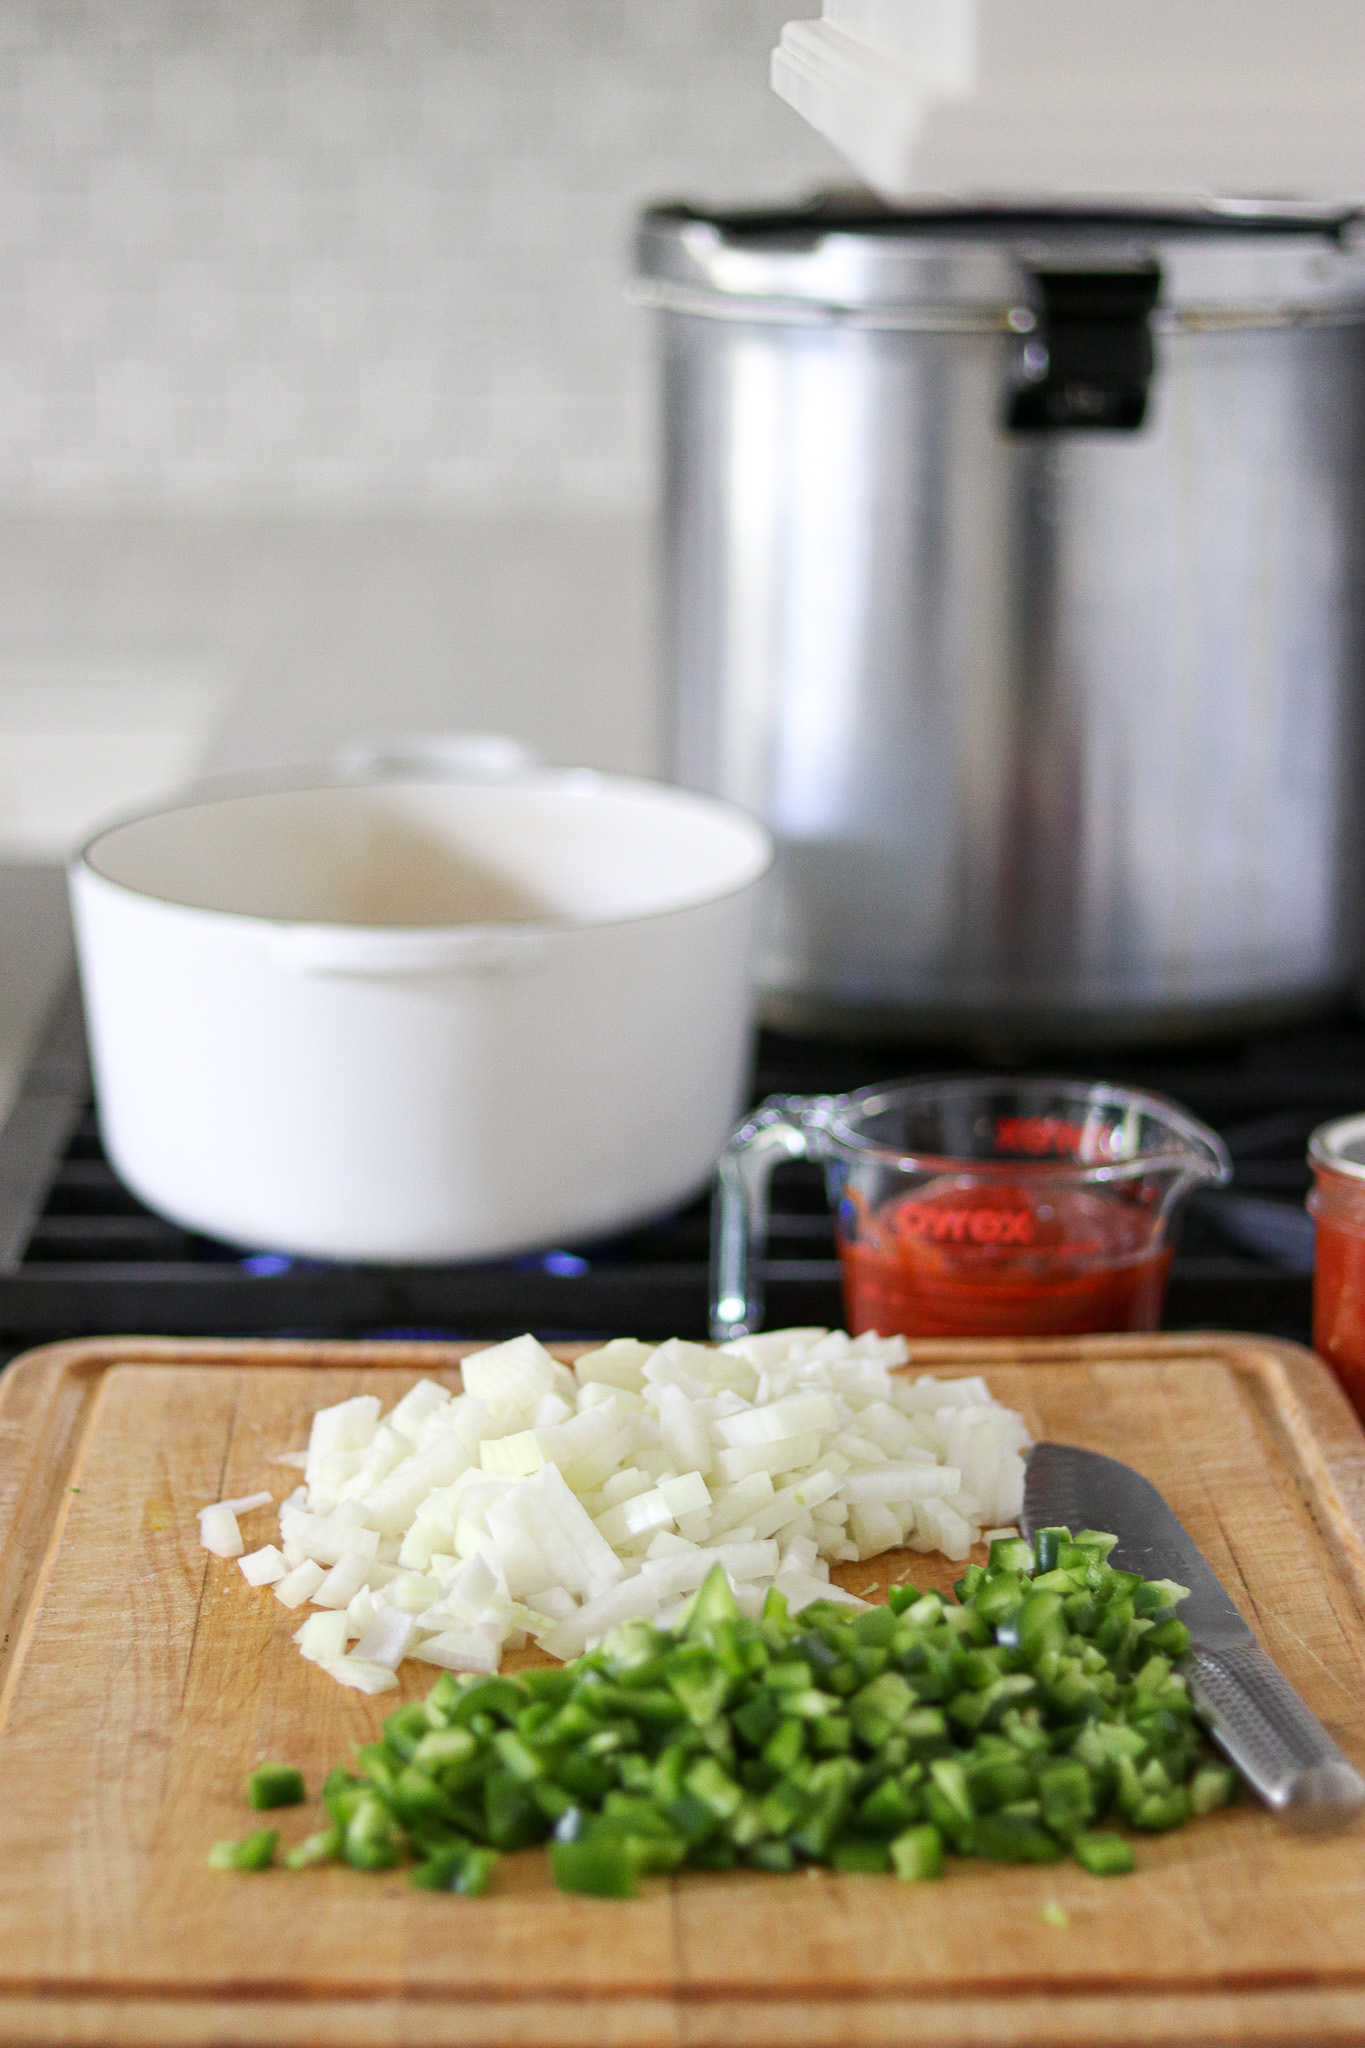
Next, begin preparing your vegetables.
Onions and peppers are the only vegetables included, and they need to be cleaned and diced.
If you’re using hot peppers, you can choose to leave the seeds in for more heat. The base recipe uses green bell peppers, which are best with the seeds removed. (And stemmed too, obviously.)
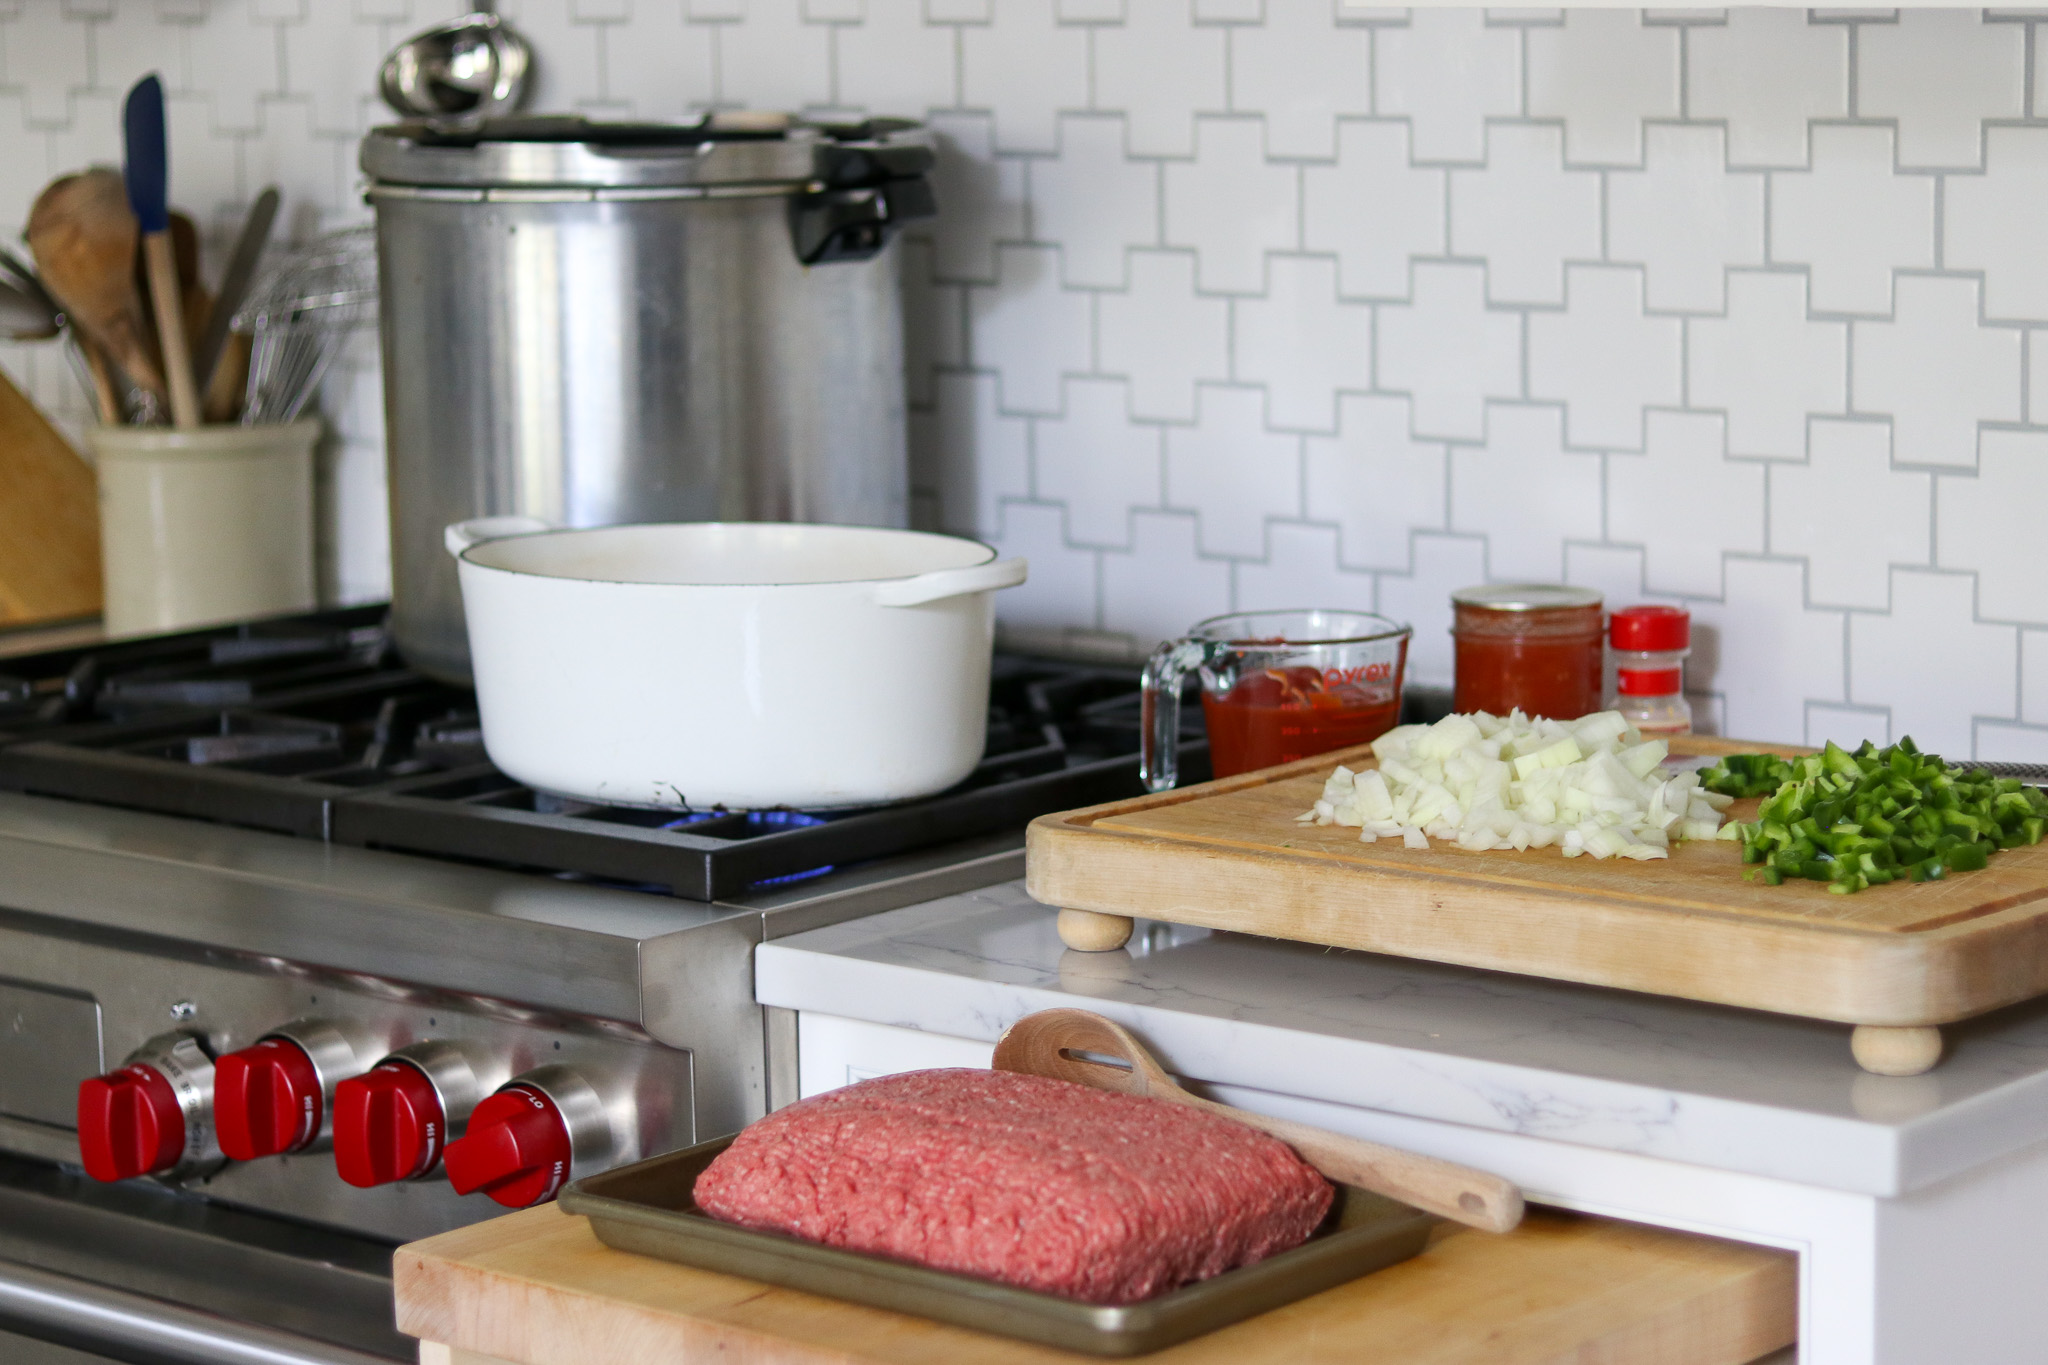
Once your vegetables are chopped, gather all your spices and get your meat ready.
Ideally, your meat is defrosted, but if not, you can actually still make it work. Just chop the frozen meat as best you can, and then sautee it in a pan until browned (and all the way heated through.)
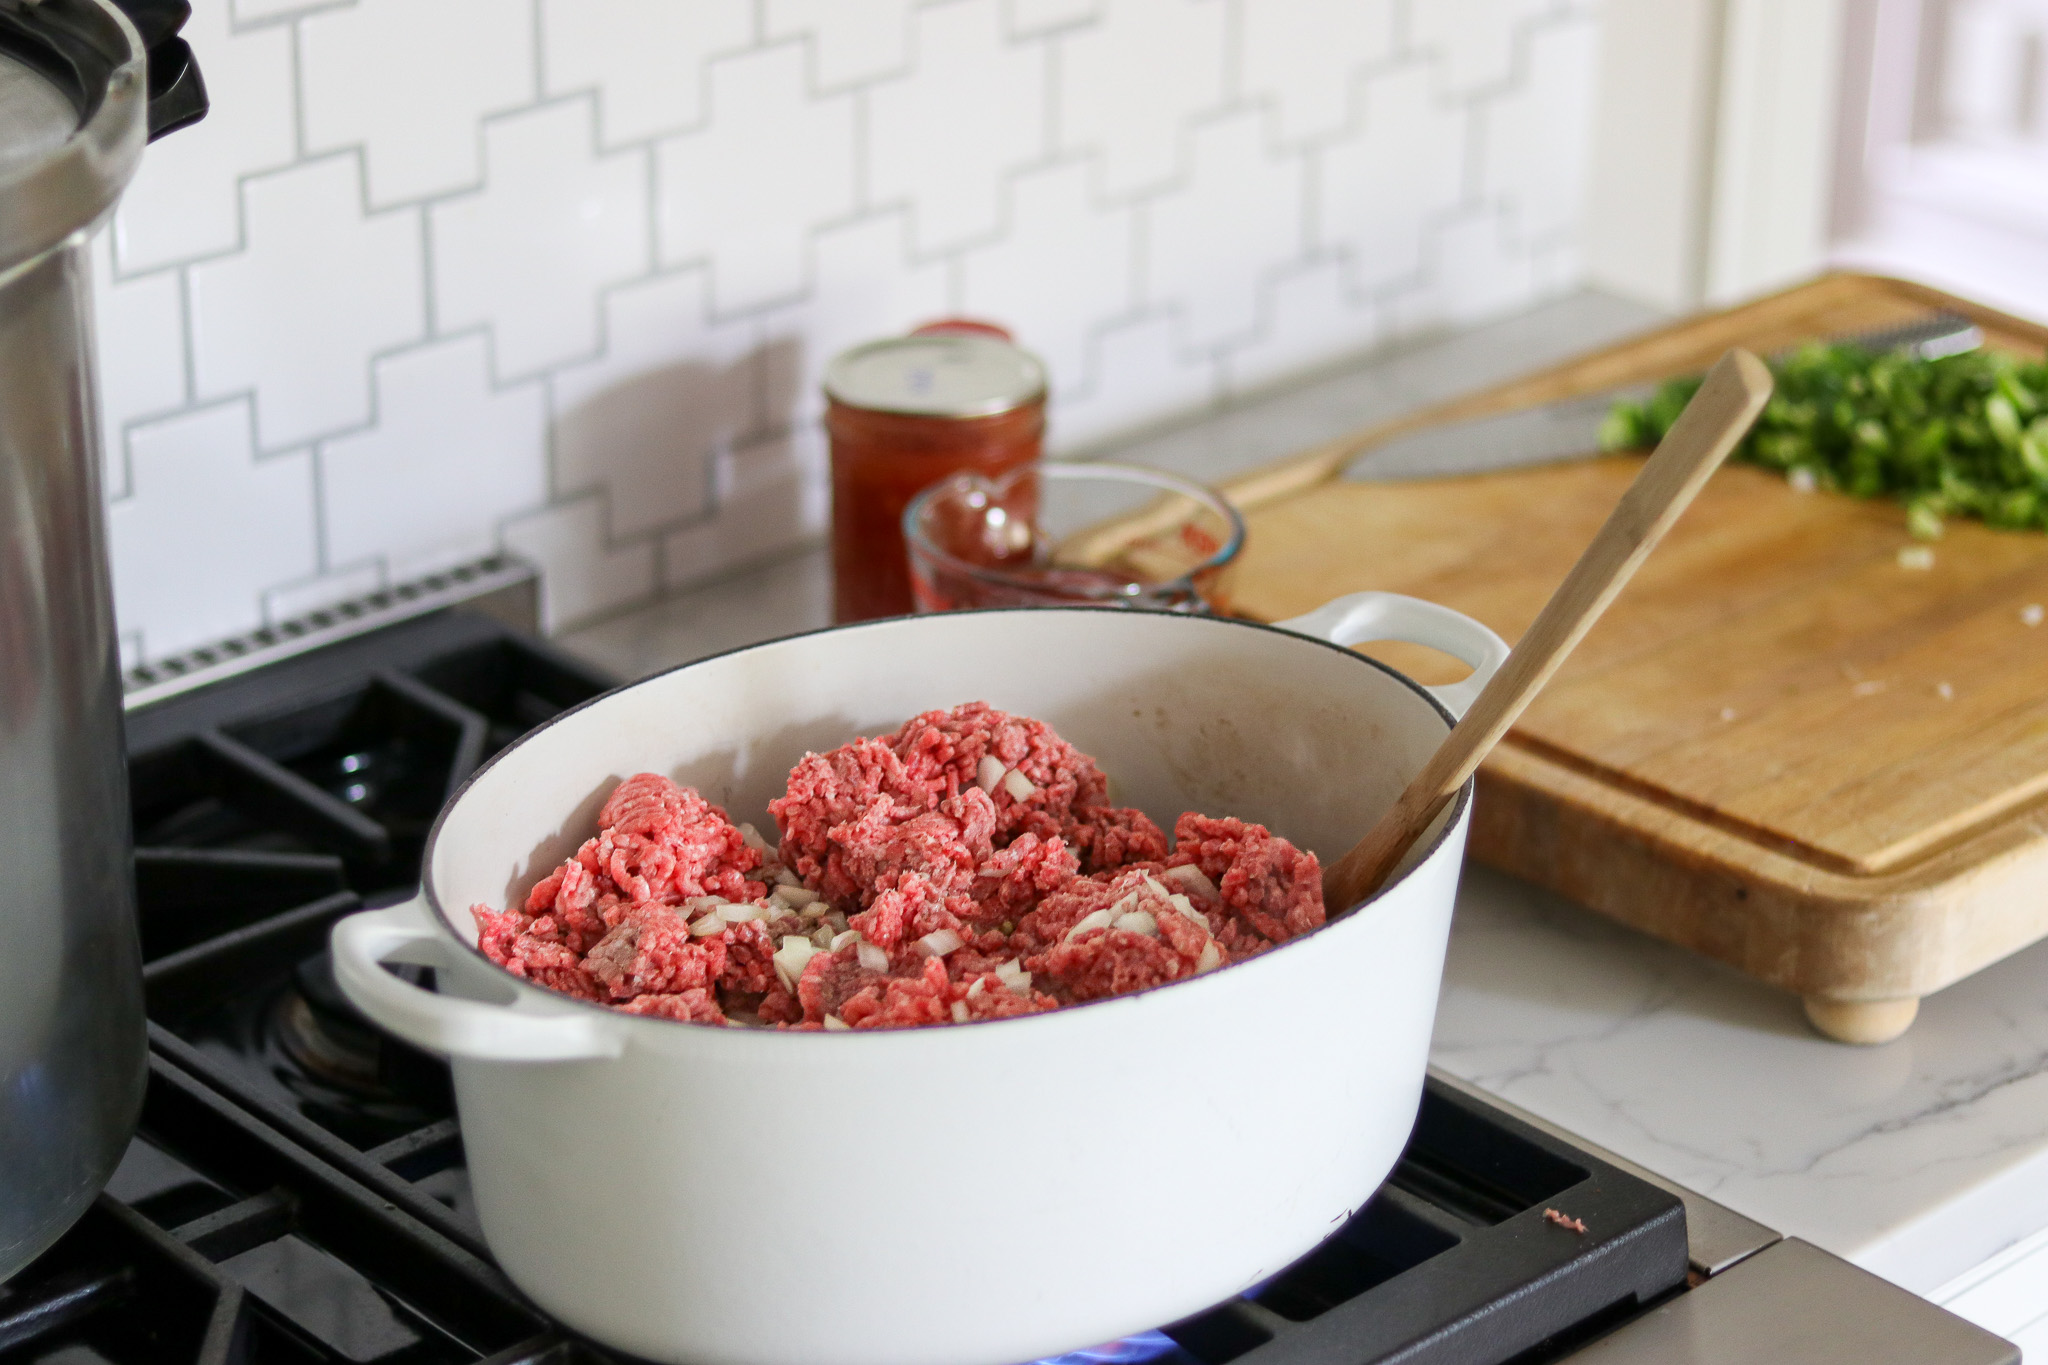
Reminder, you can use any type of ground meat here. That includes ground chicken or turkey, but also game meats like venison, elk, and bear.
Game meat makes especially good sloppy joes because it’s not only lean, but it’s full of flavor.
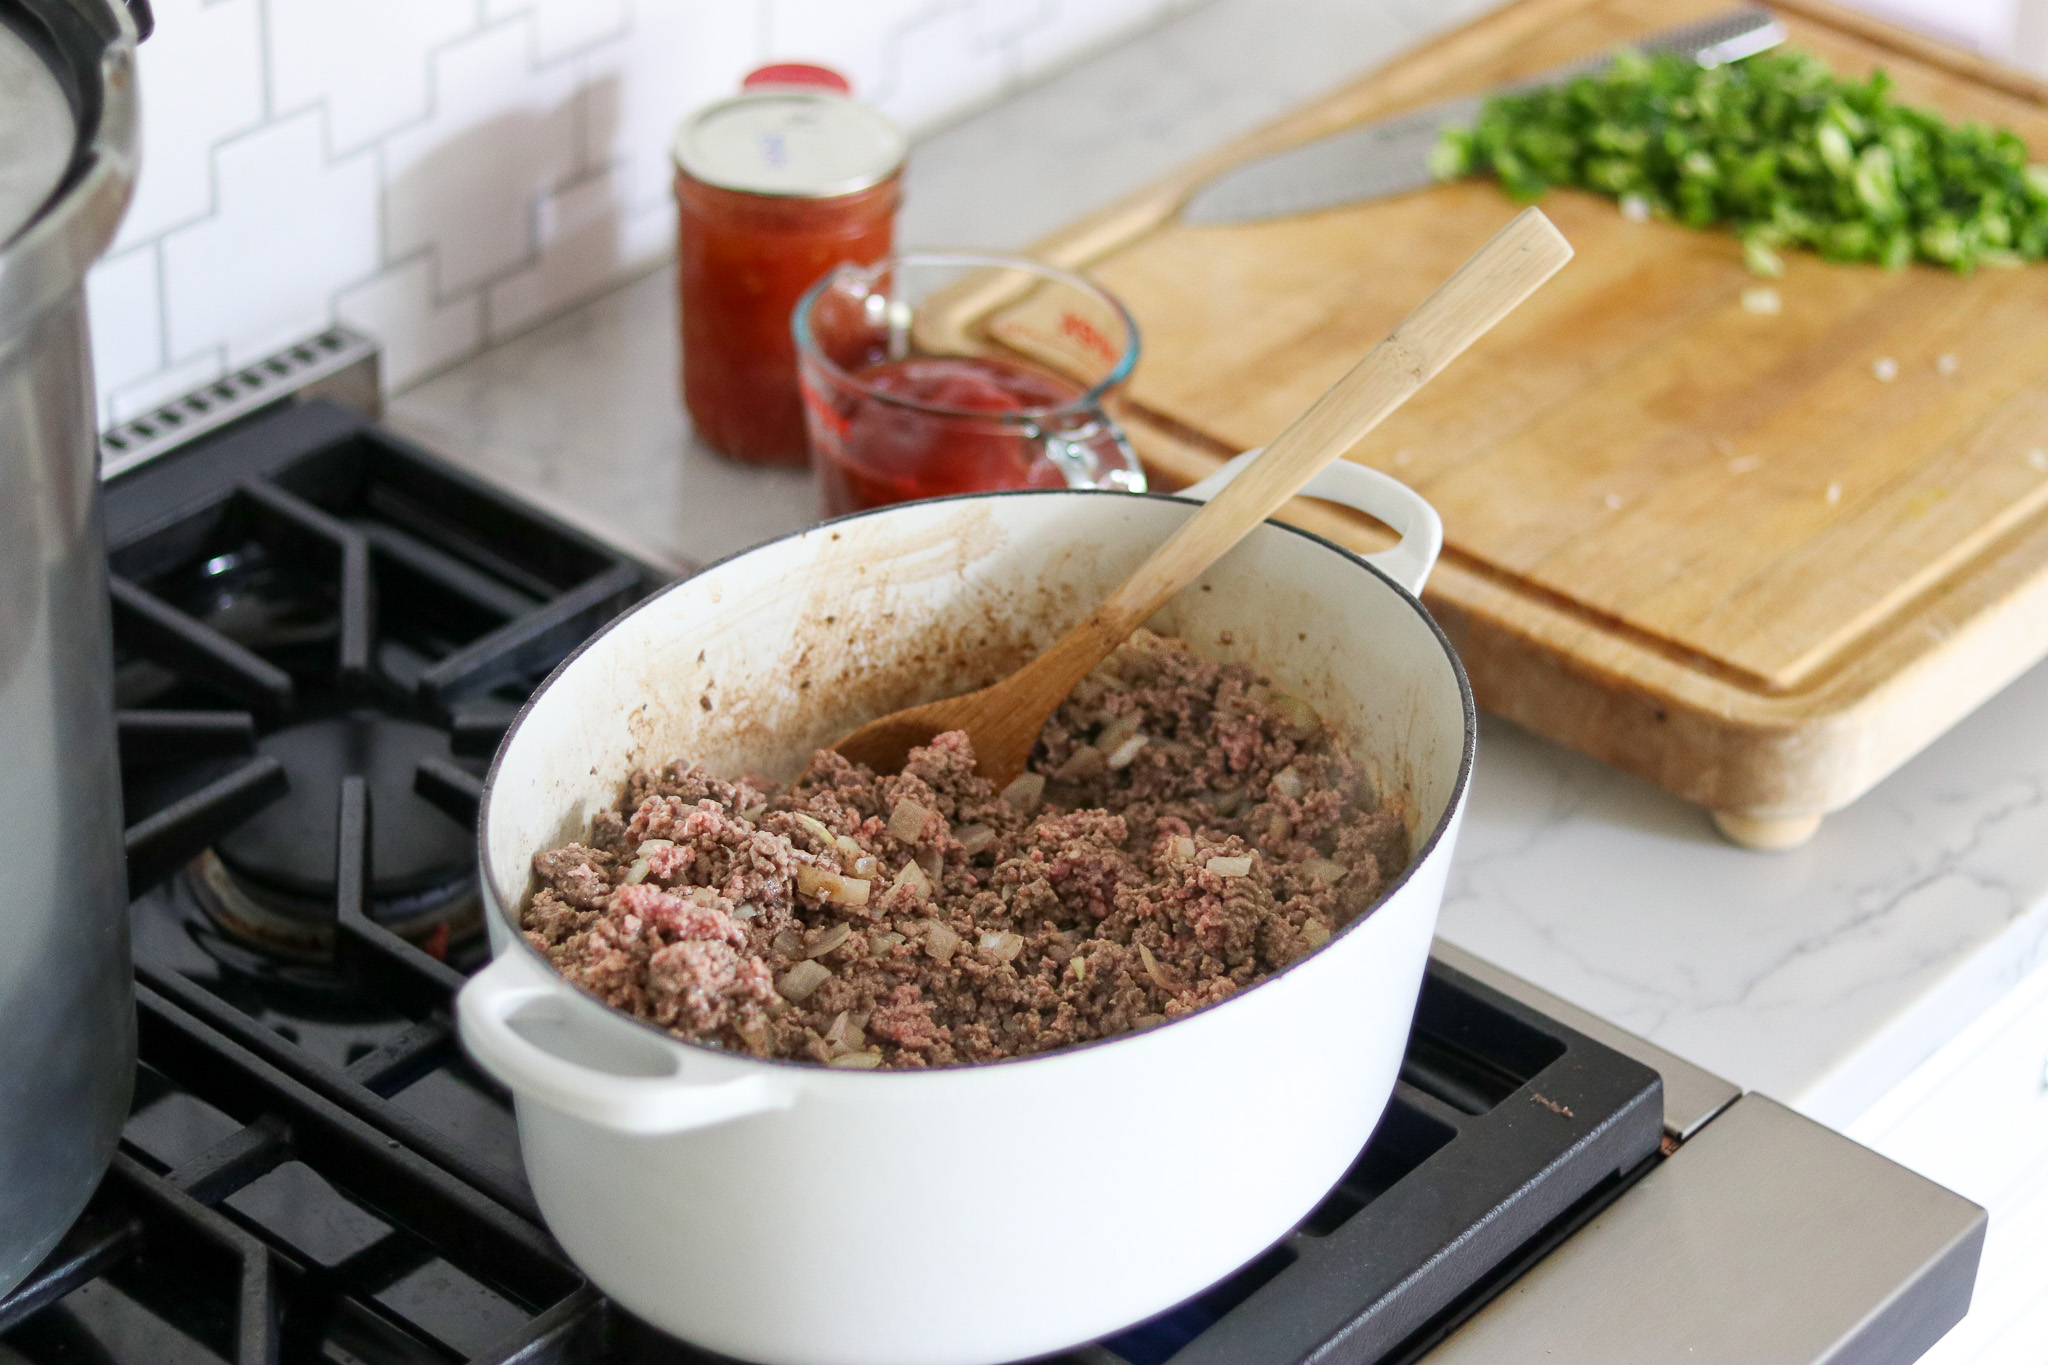
Saute the meat in a saucepan, adding the onion so the pieces can brown up. When the meat has browned, drain off the fat.
This is not strictly necessary for canning safety, and you can put up regular ground beef with all its fat intact. You don’t have to drain the fat when canning ground beef, and that’s fine when you’re just going to reheat it in its own fat for something like taco meat.
With sloppy joes, on the other hand, all that extra fat just makes for a greasy sandwich that’s not all that appealing. I do strongly recommend draining the fat when canning sloppy joe filling.
A colander suspended over a collection pot works really well for draining the fat.
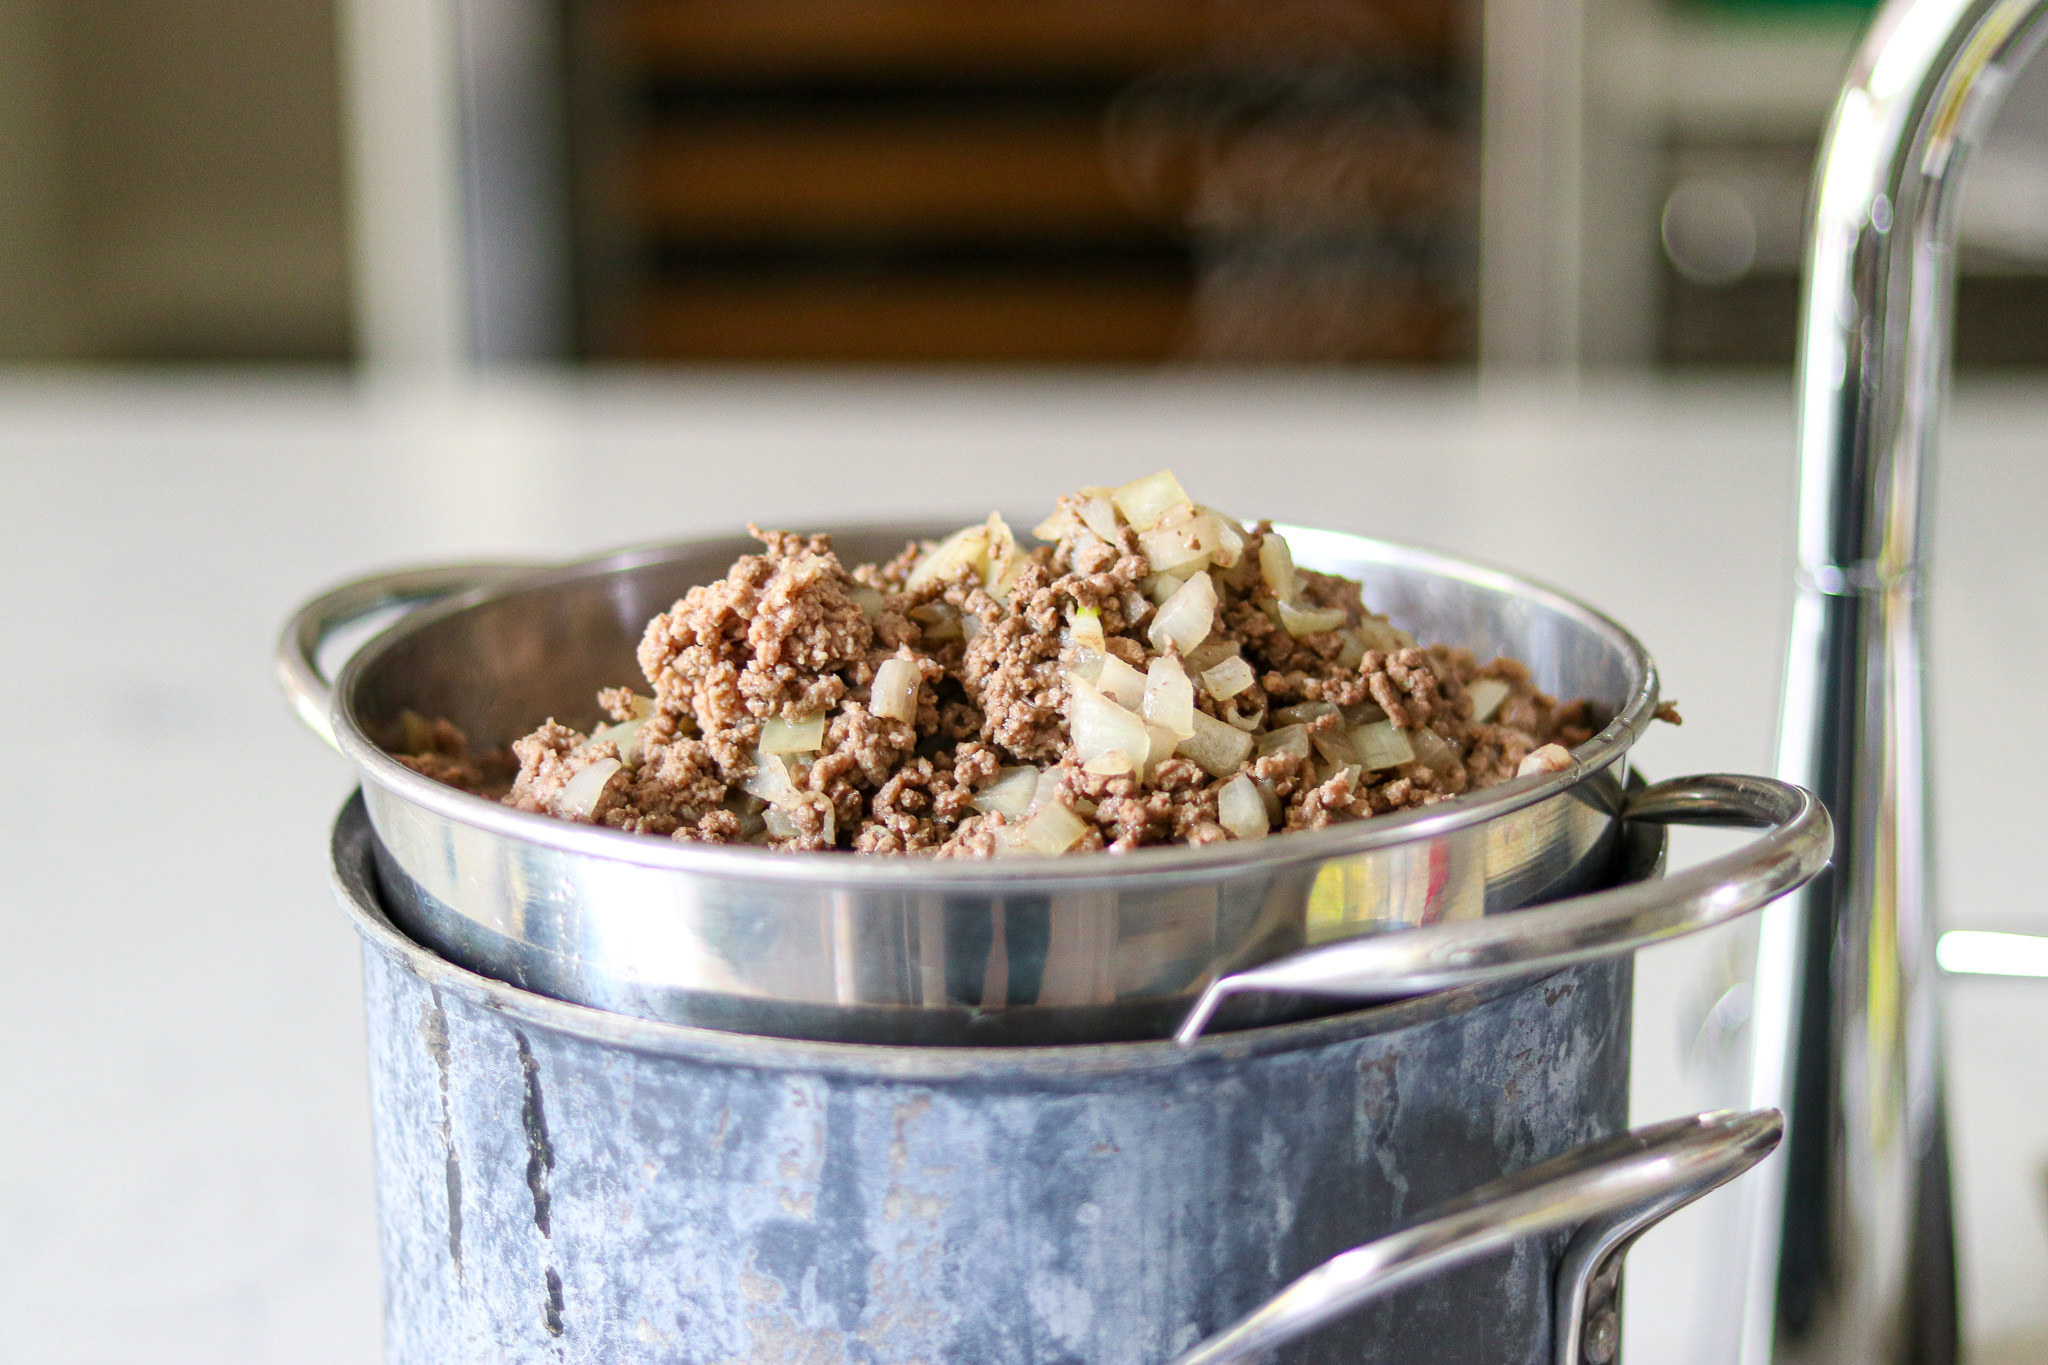
Once you’ve drained the fat, return everything to the pan and get it piping hot again.
Add the remaining ingredients, including spices, salt, sugar and ketchup.
Next, bring to a boil and simmer for five minutes. This ensures everything is heated through and nice and hot when it goes into the jars for a hot pack.
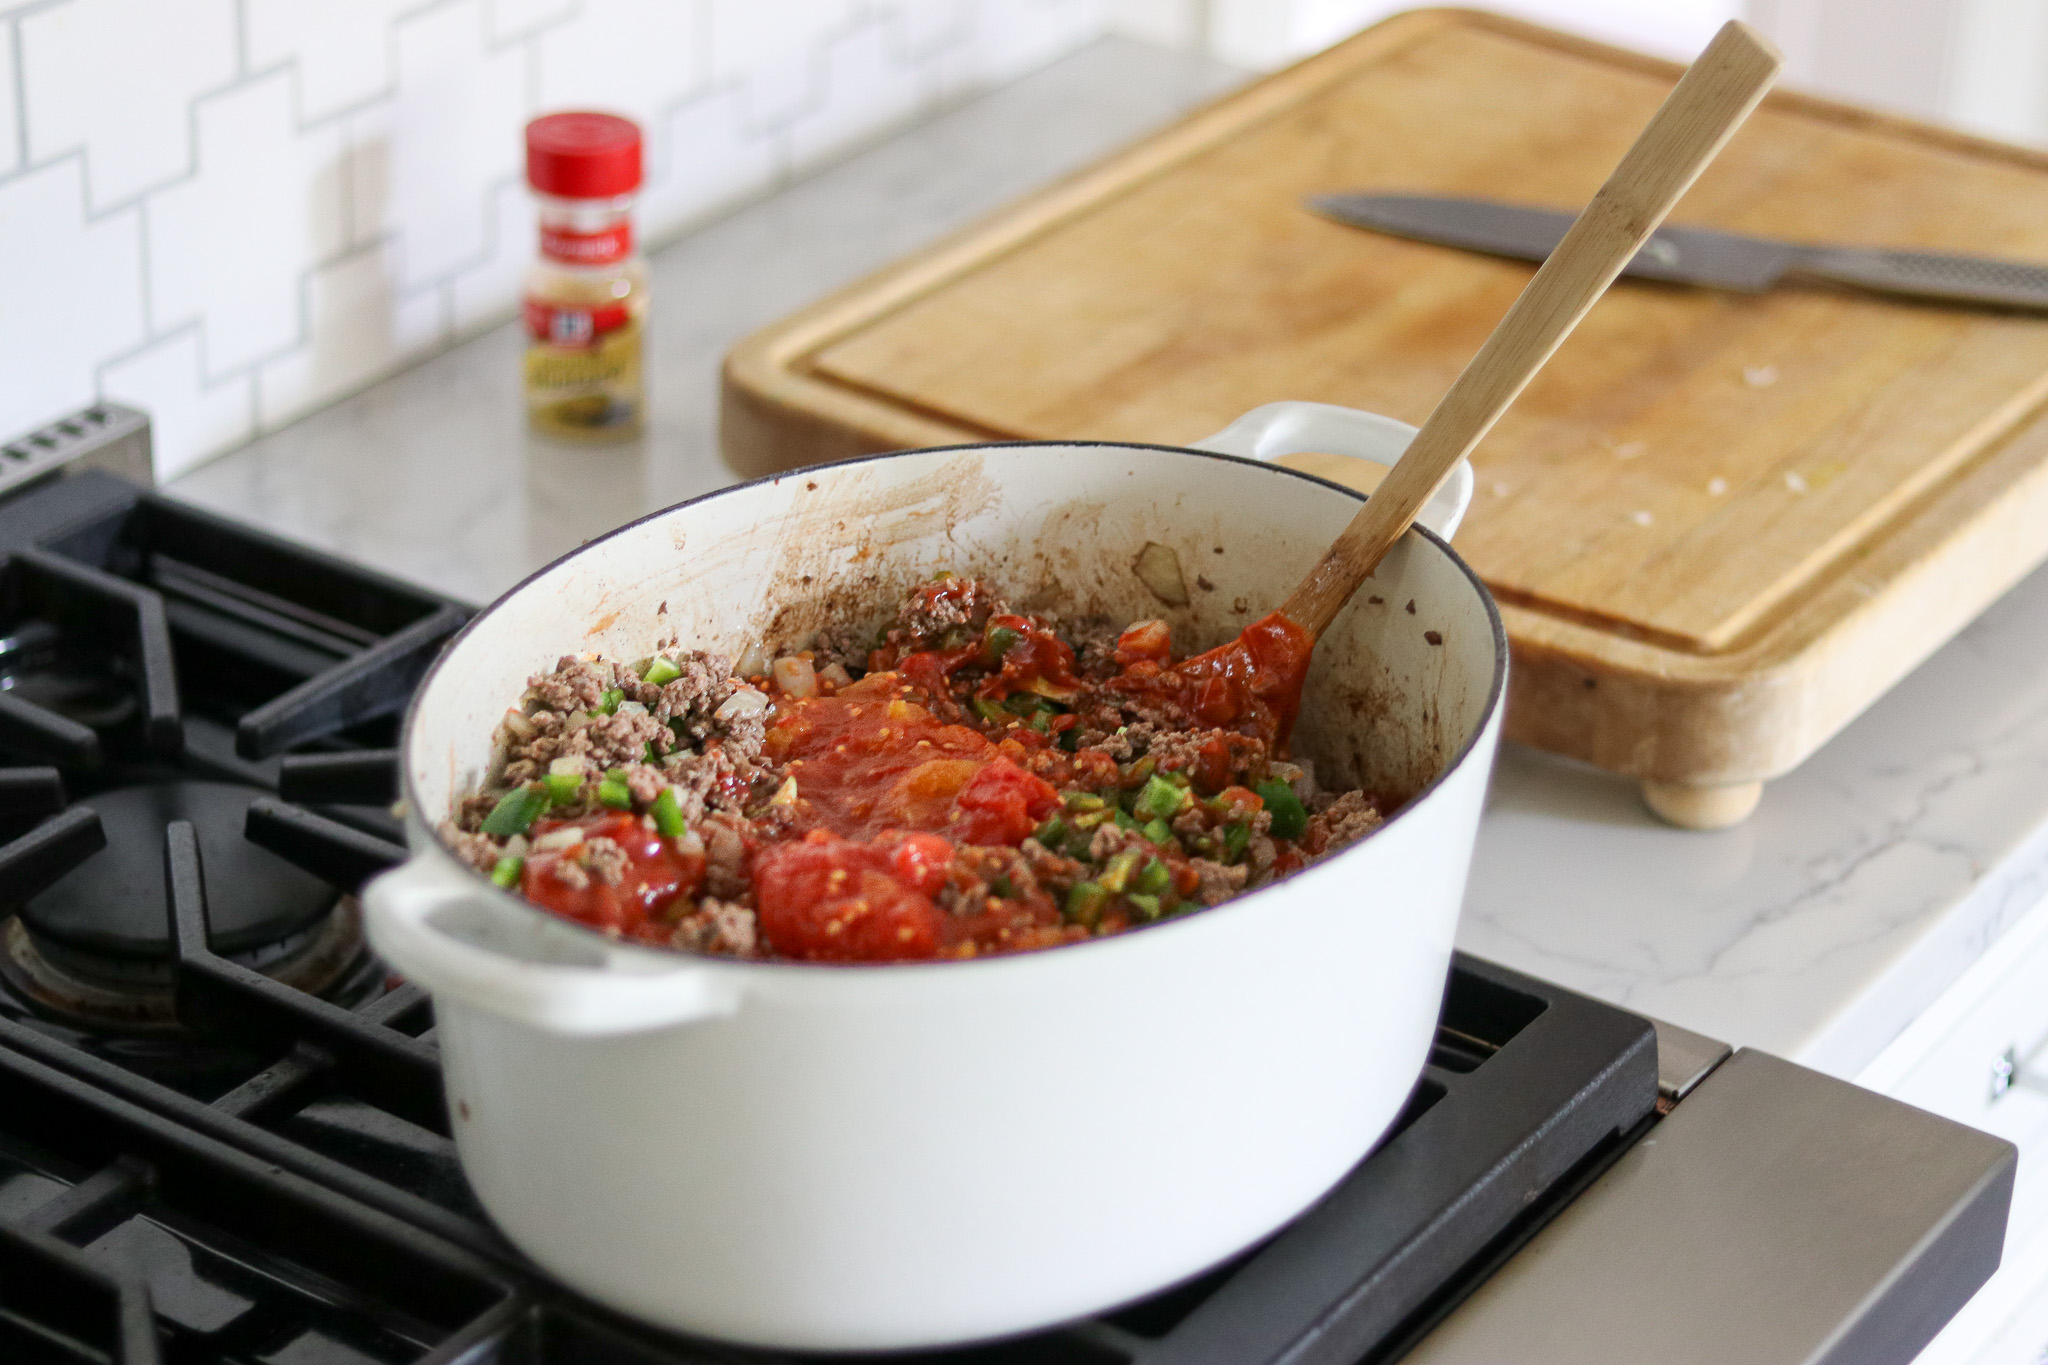
Next, pack the mixture into hot, clean jars.
Leave an inch of headspace.
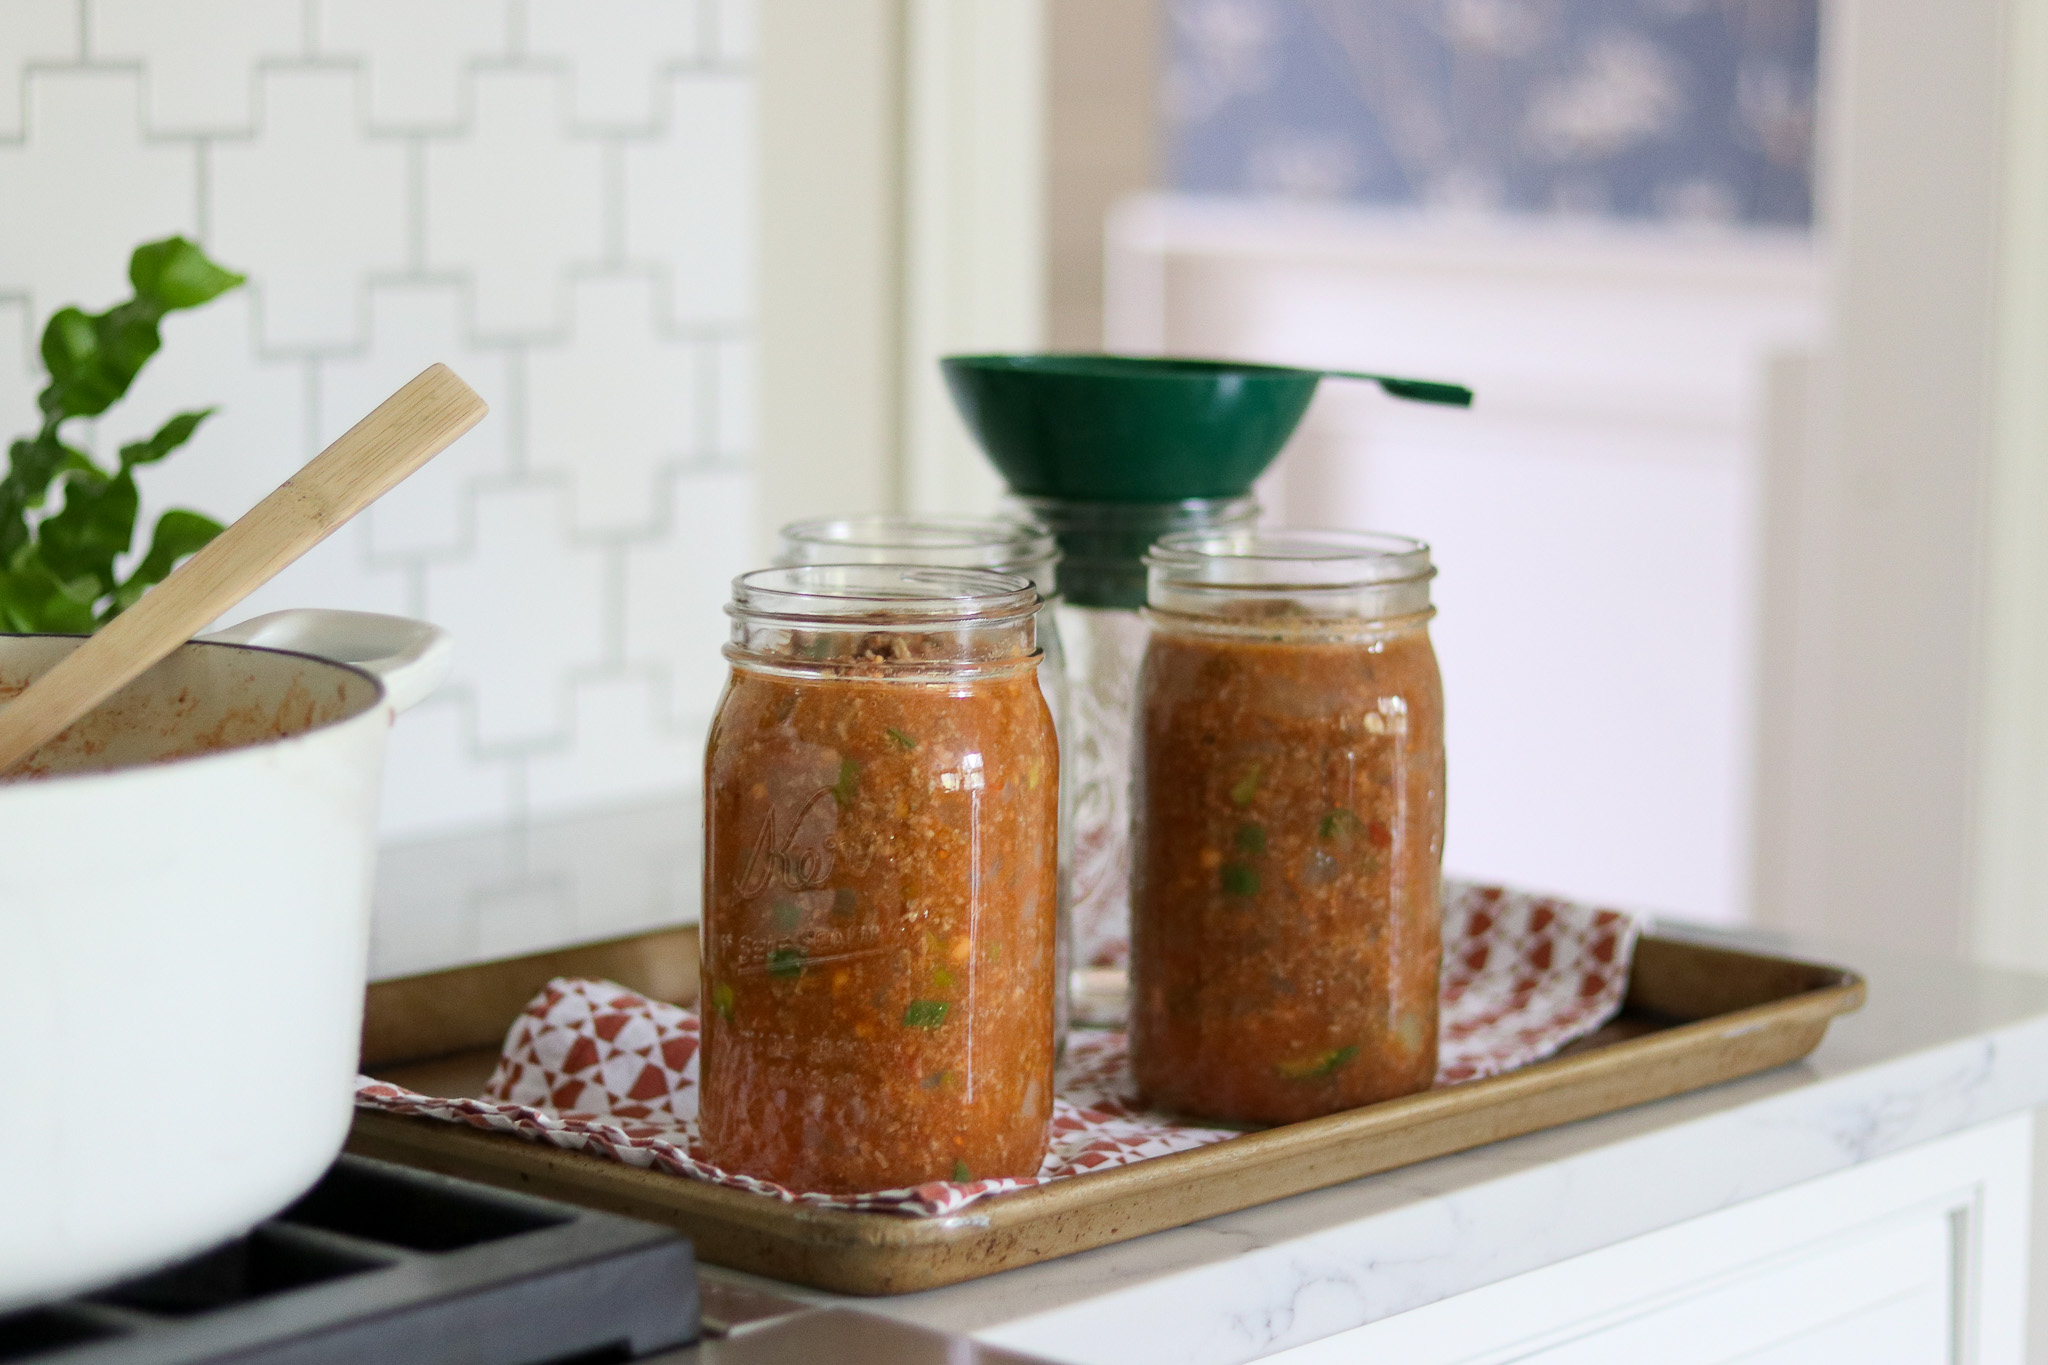
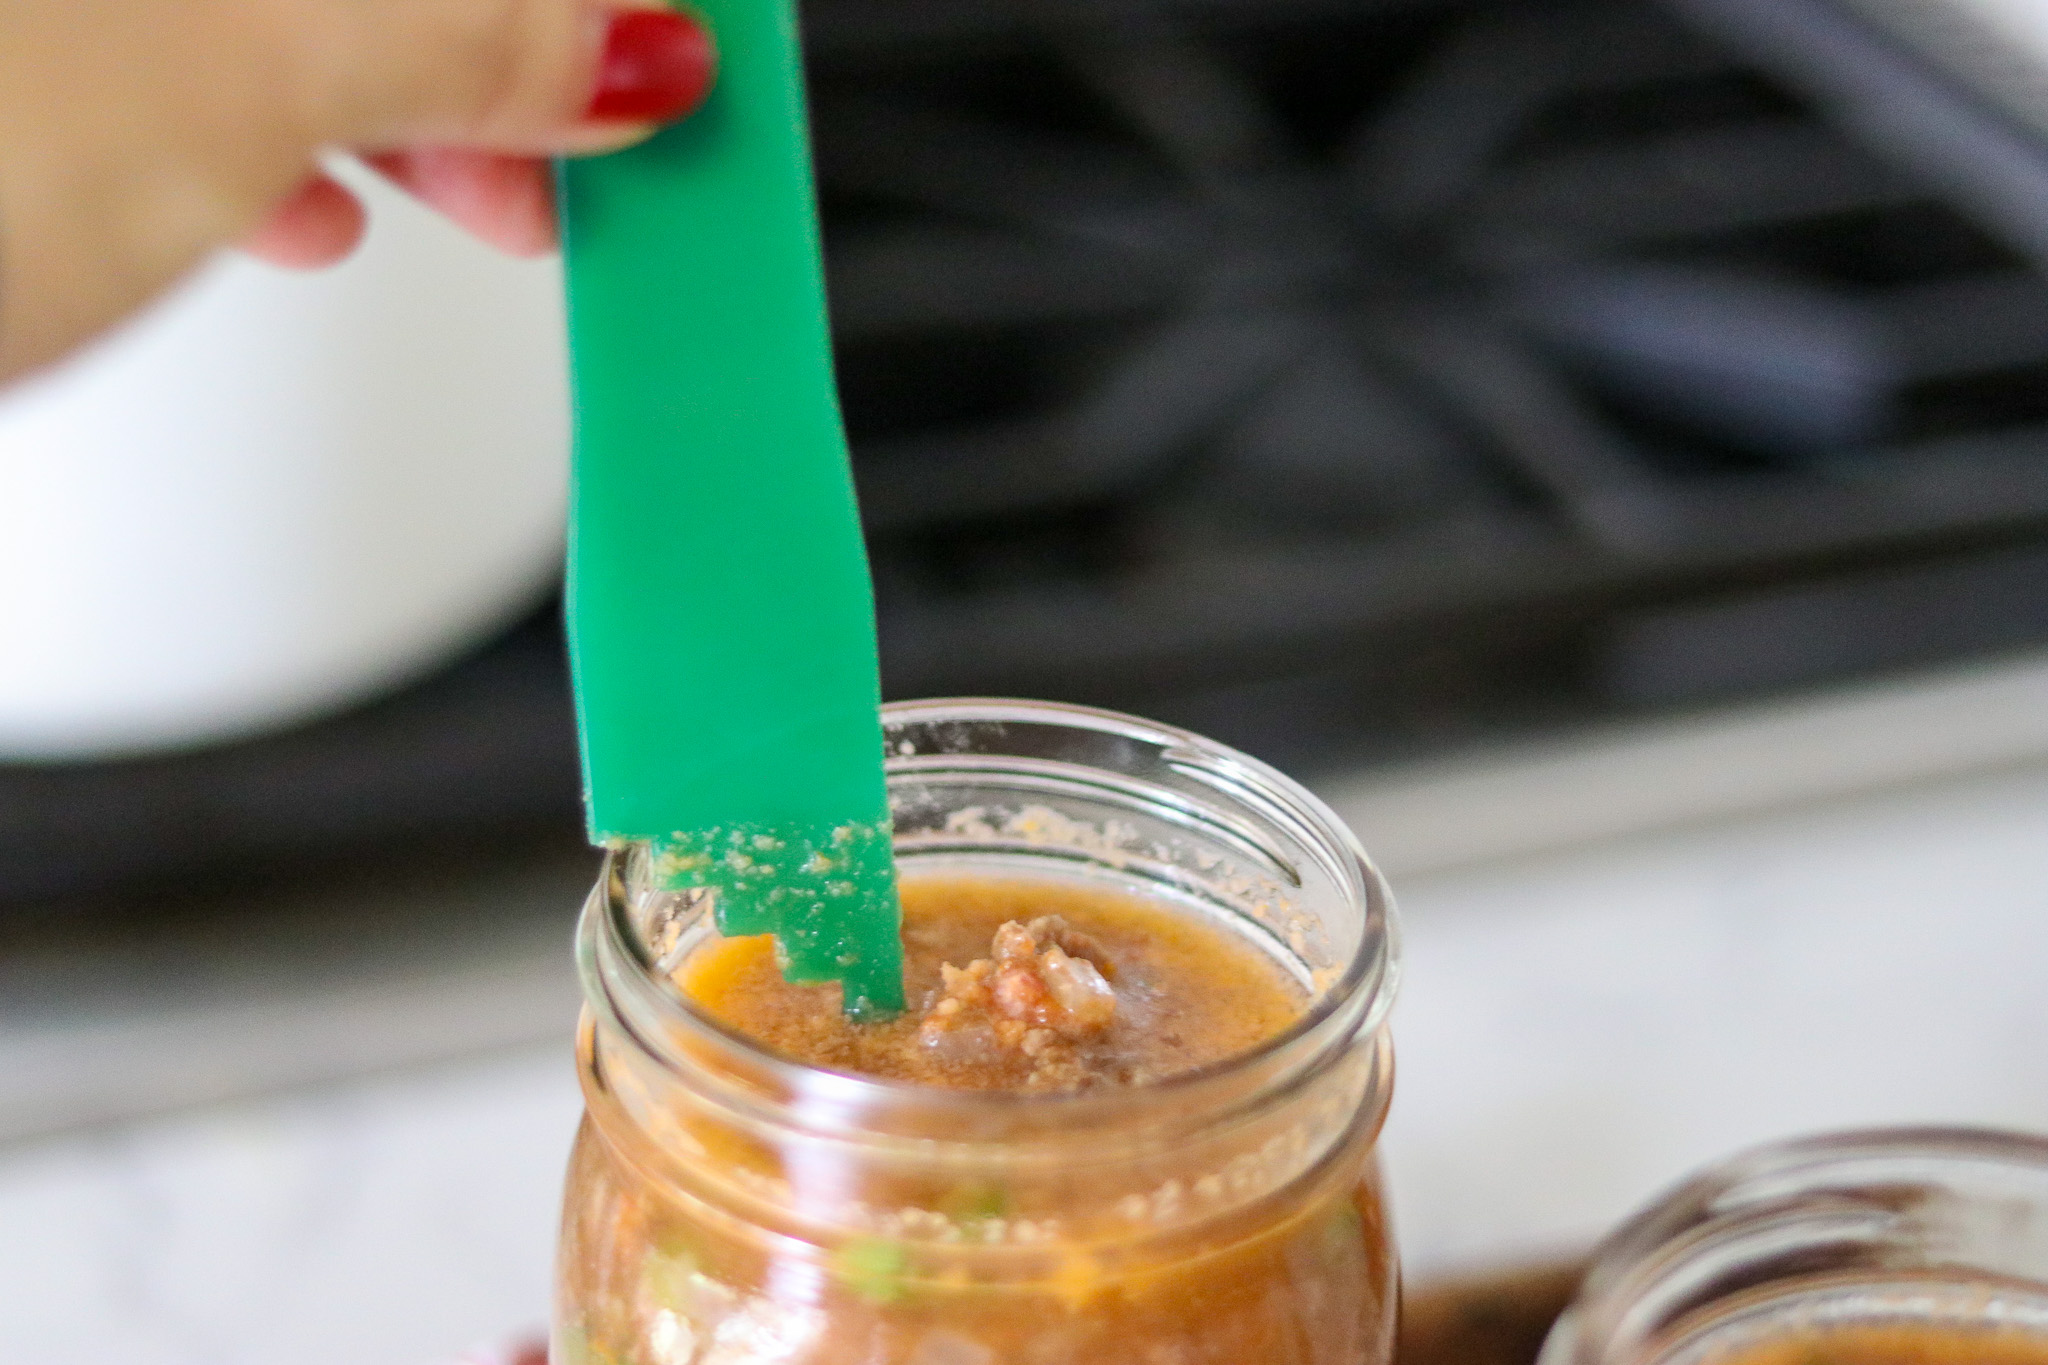
Since this mixture is rather thick, it’s important to be diligent about removing air bubbles.
A wooden chopstick works well for de-bubbling jars, but there’s also a special plastic “de-bubbling tool” that’s sold in canning kits.
Don’t use a metal implement, as that can sometimes damage a jar and lead to breakage.
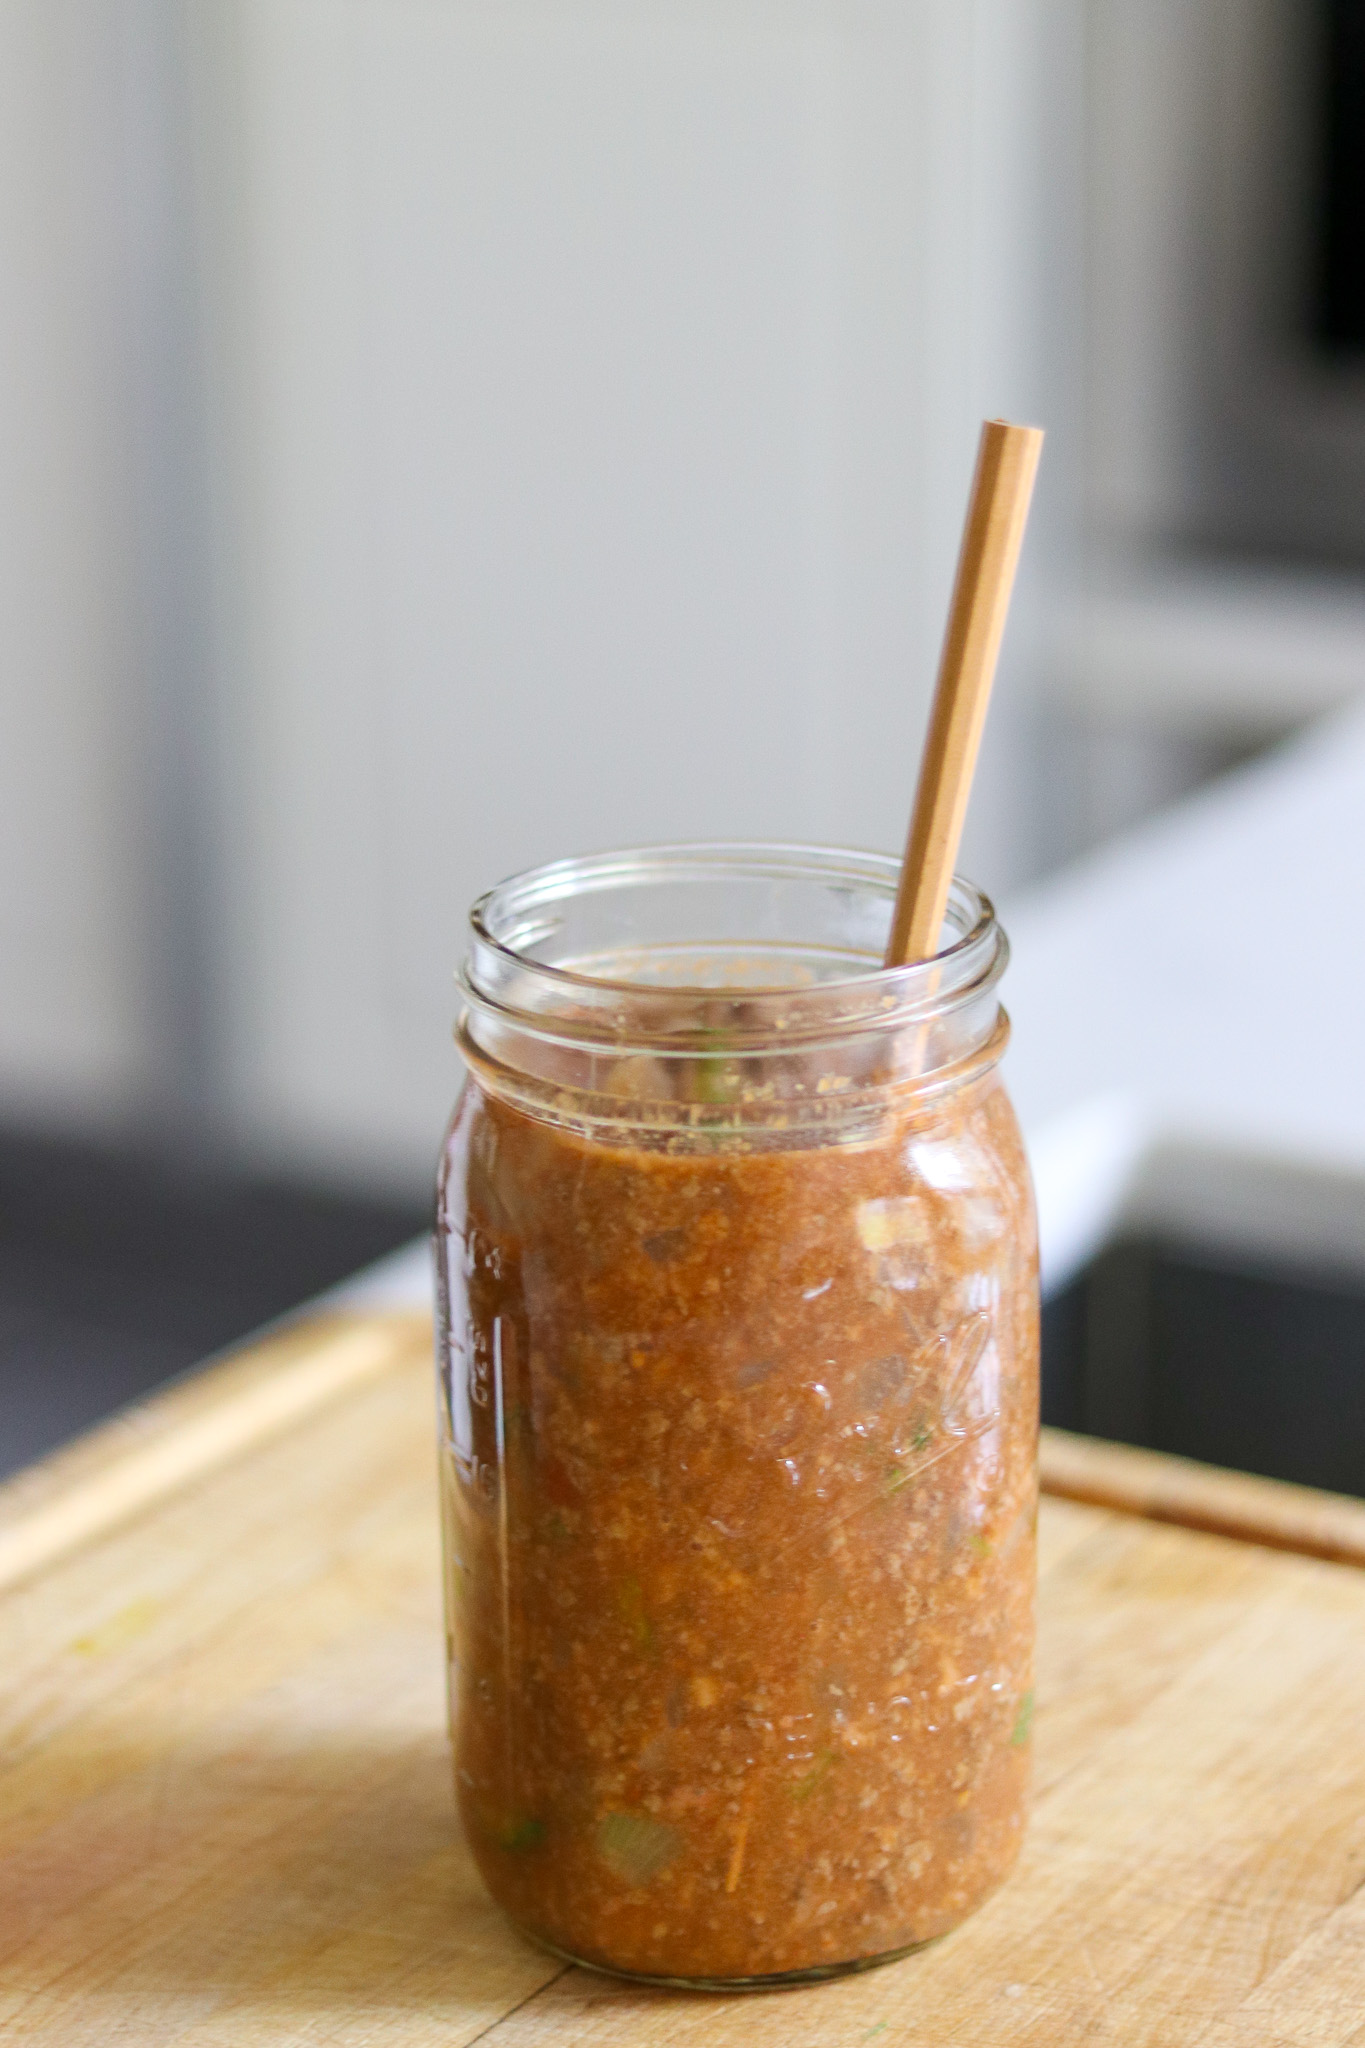
Headspace is especially important when you’re working with meat, as residual fat can bubble up in the jar and interfere with the seal.
After you de-bubble the jars, re-check the headspace and adjust if necessary.
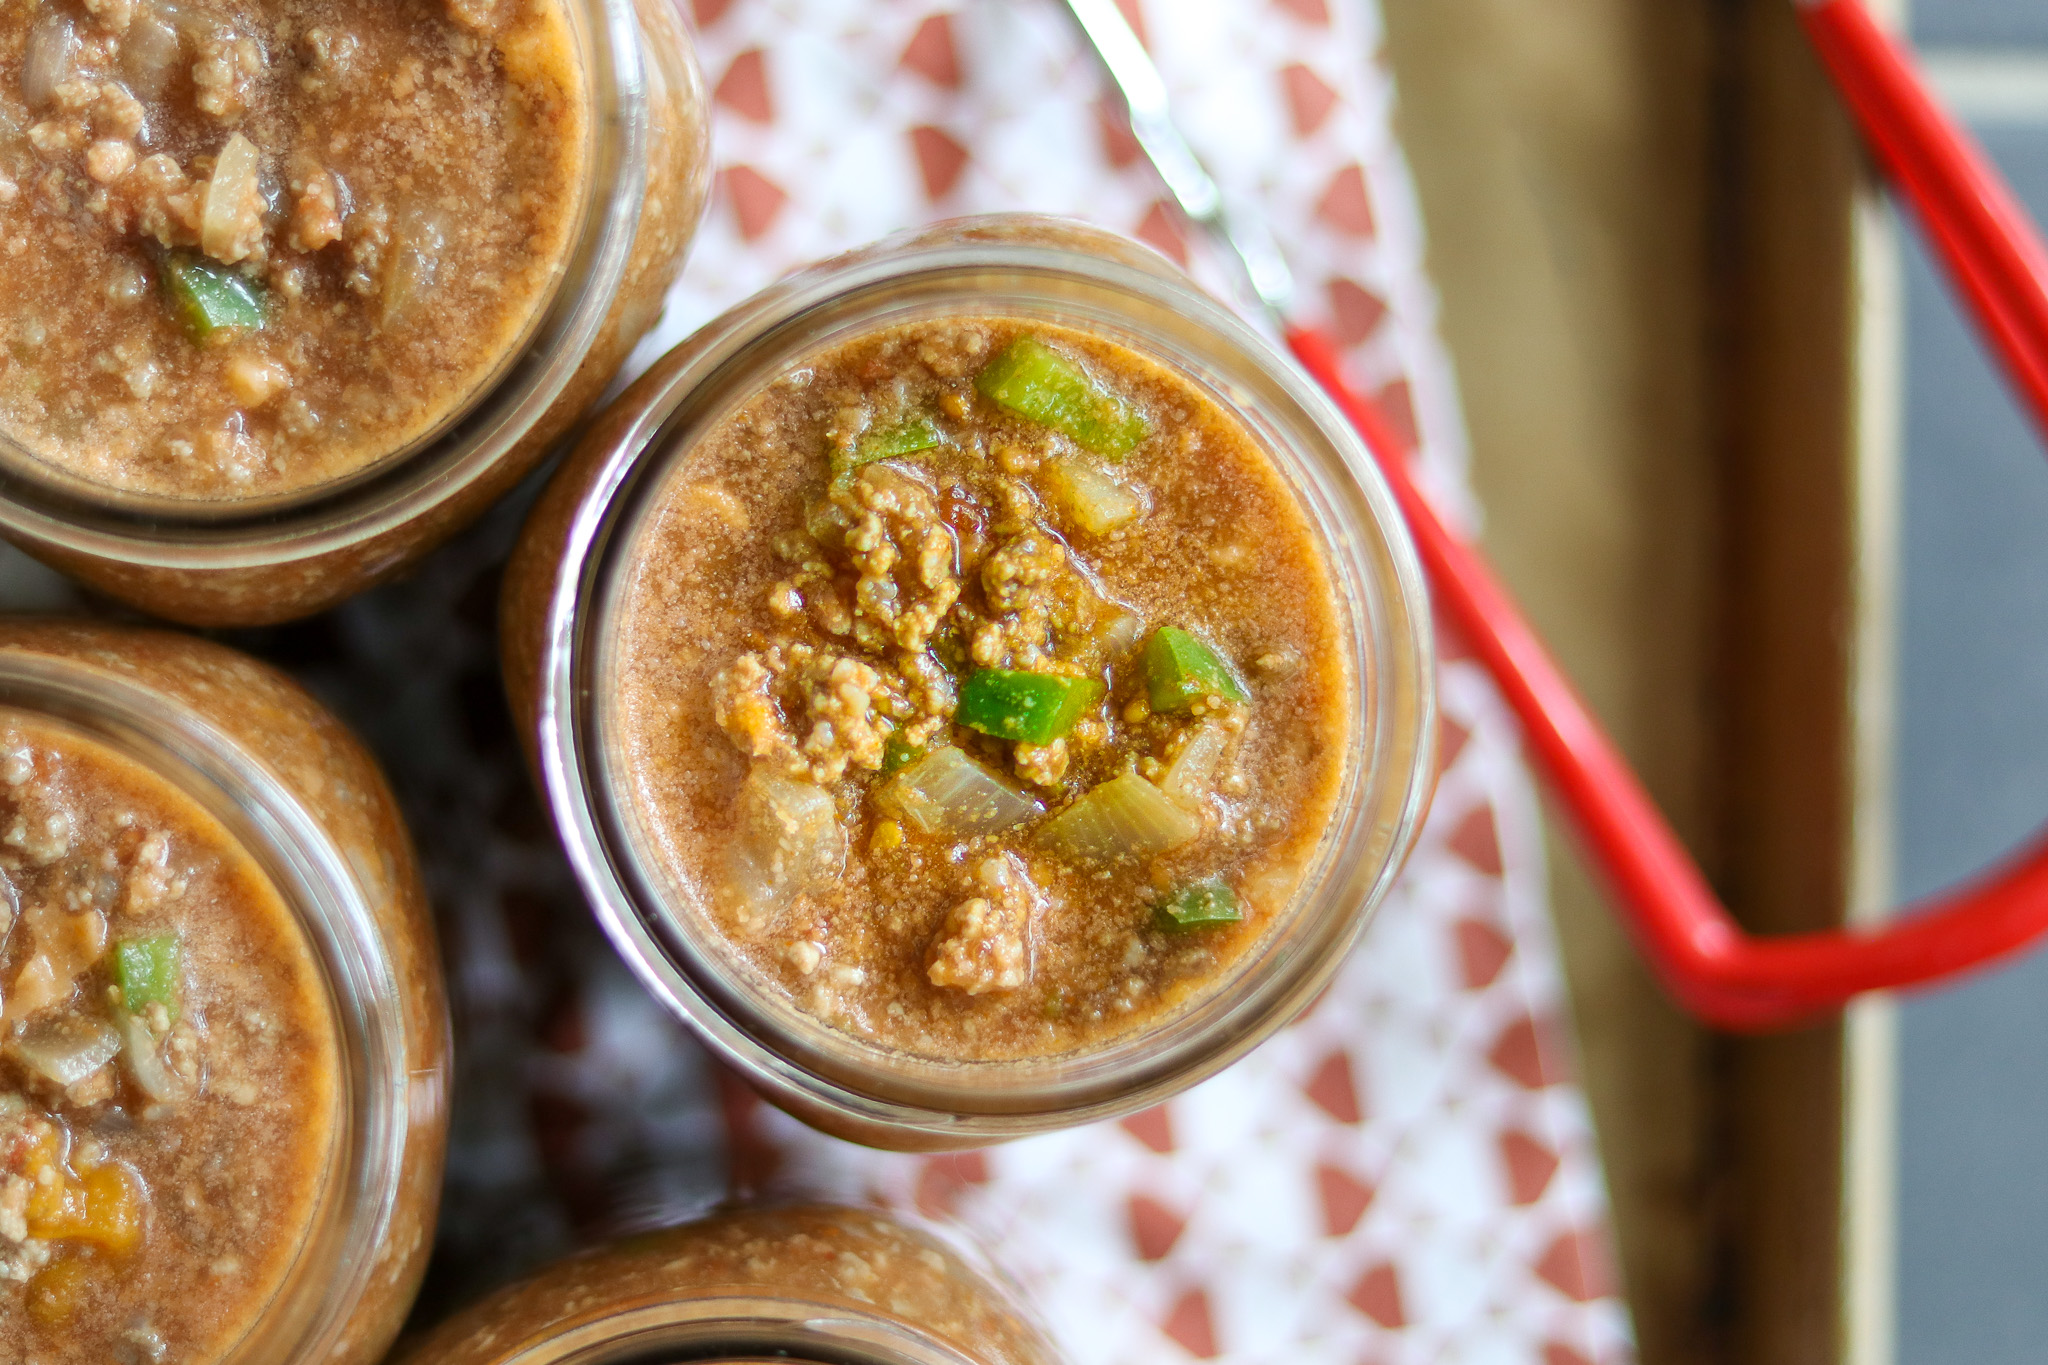
Wipe the rims of the jars to remove any food residue, then apply the lids and bands.
Tighten until the bands are fingertip tight, then load the jars into the canner.
Allow the canner to vent steam for 10 minutes. Then add the weight.
Next, bring the pressure canner to 11 lbs pressure for a dial gauge canner (up to 2000 feet elevation – adjust for altitude if necessary) and 10 lbs pressure for a weighted gauge canner (up to 1000 feet elevation – adjust for elevation if necessary).
Once at pressure, process pint jars for 75 minutes and quart jars for 90 minutes.
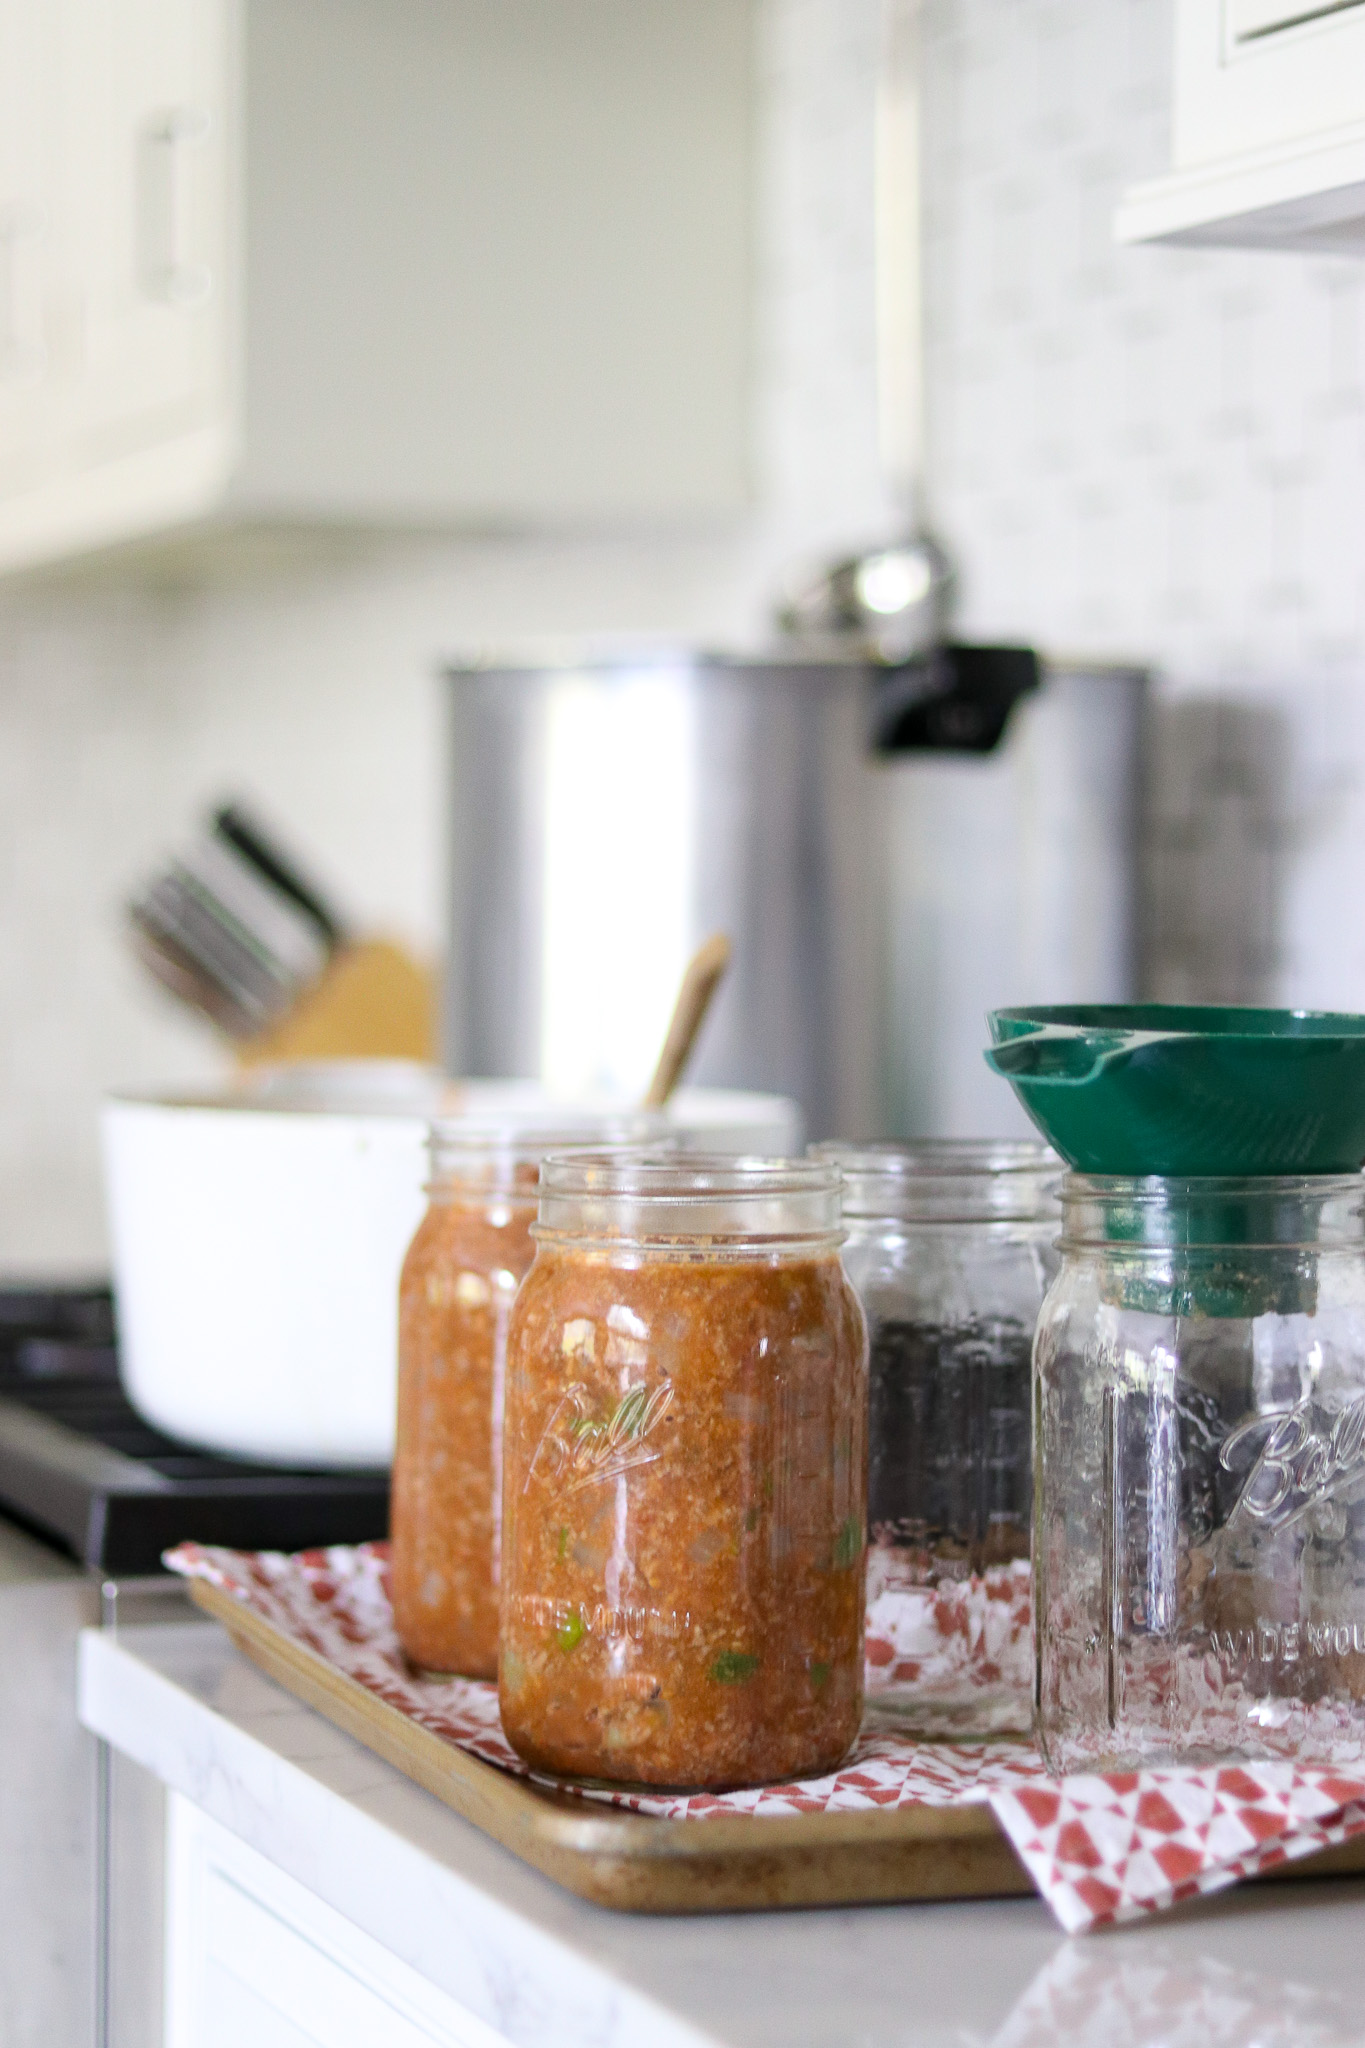
Once the canning time has finished, turn off the heat and allow the canner to depressurize on its own. Wait five minutes after the reading has returned to zero, then open the lid and remove the jars.
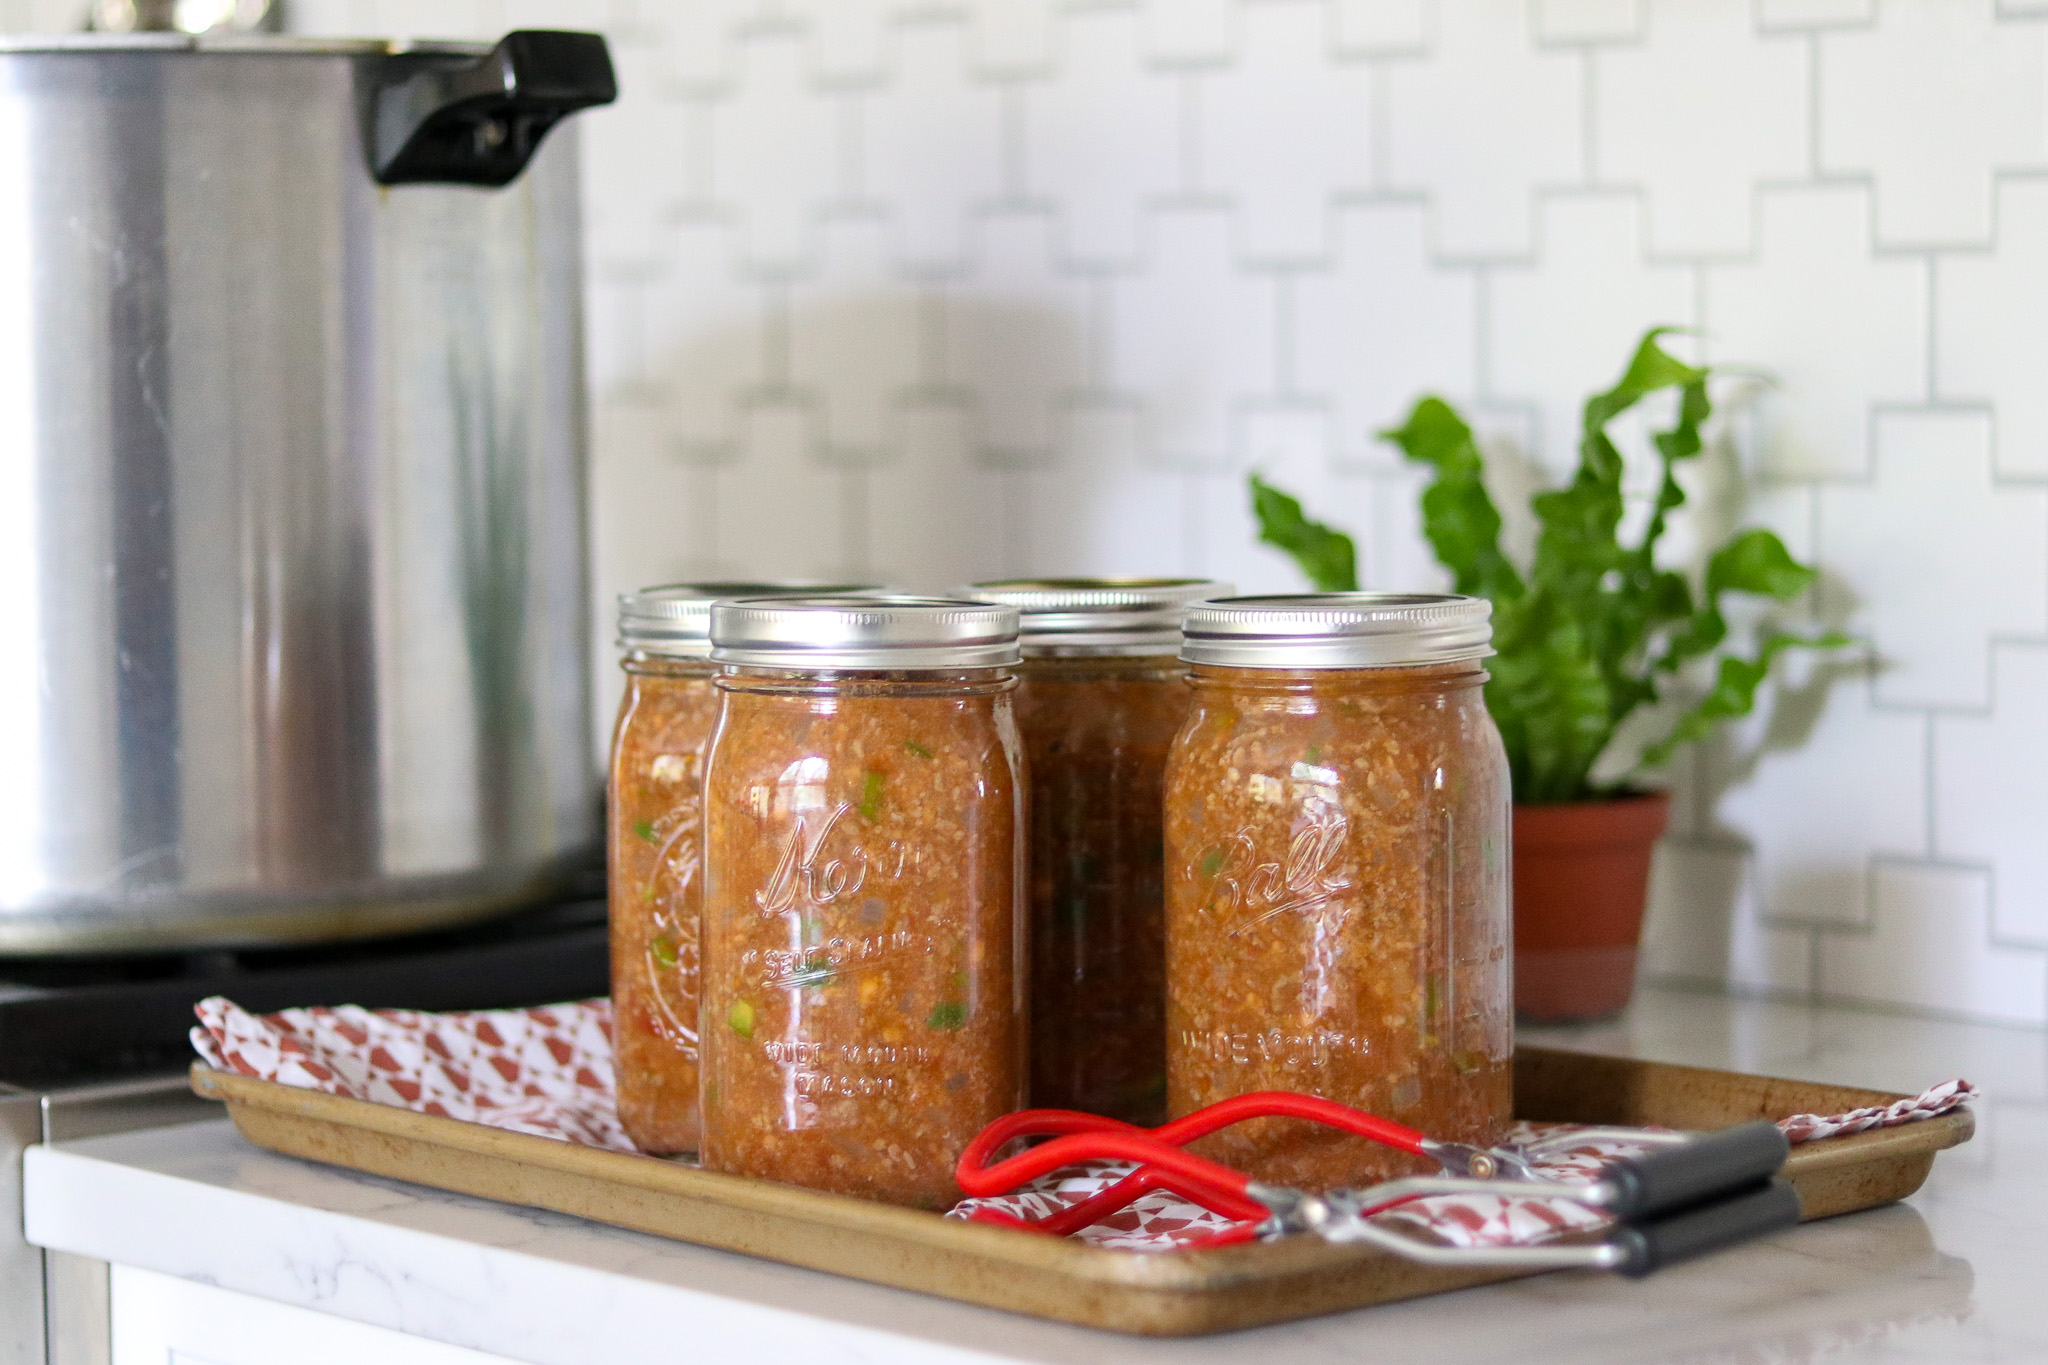
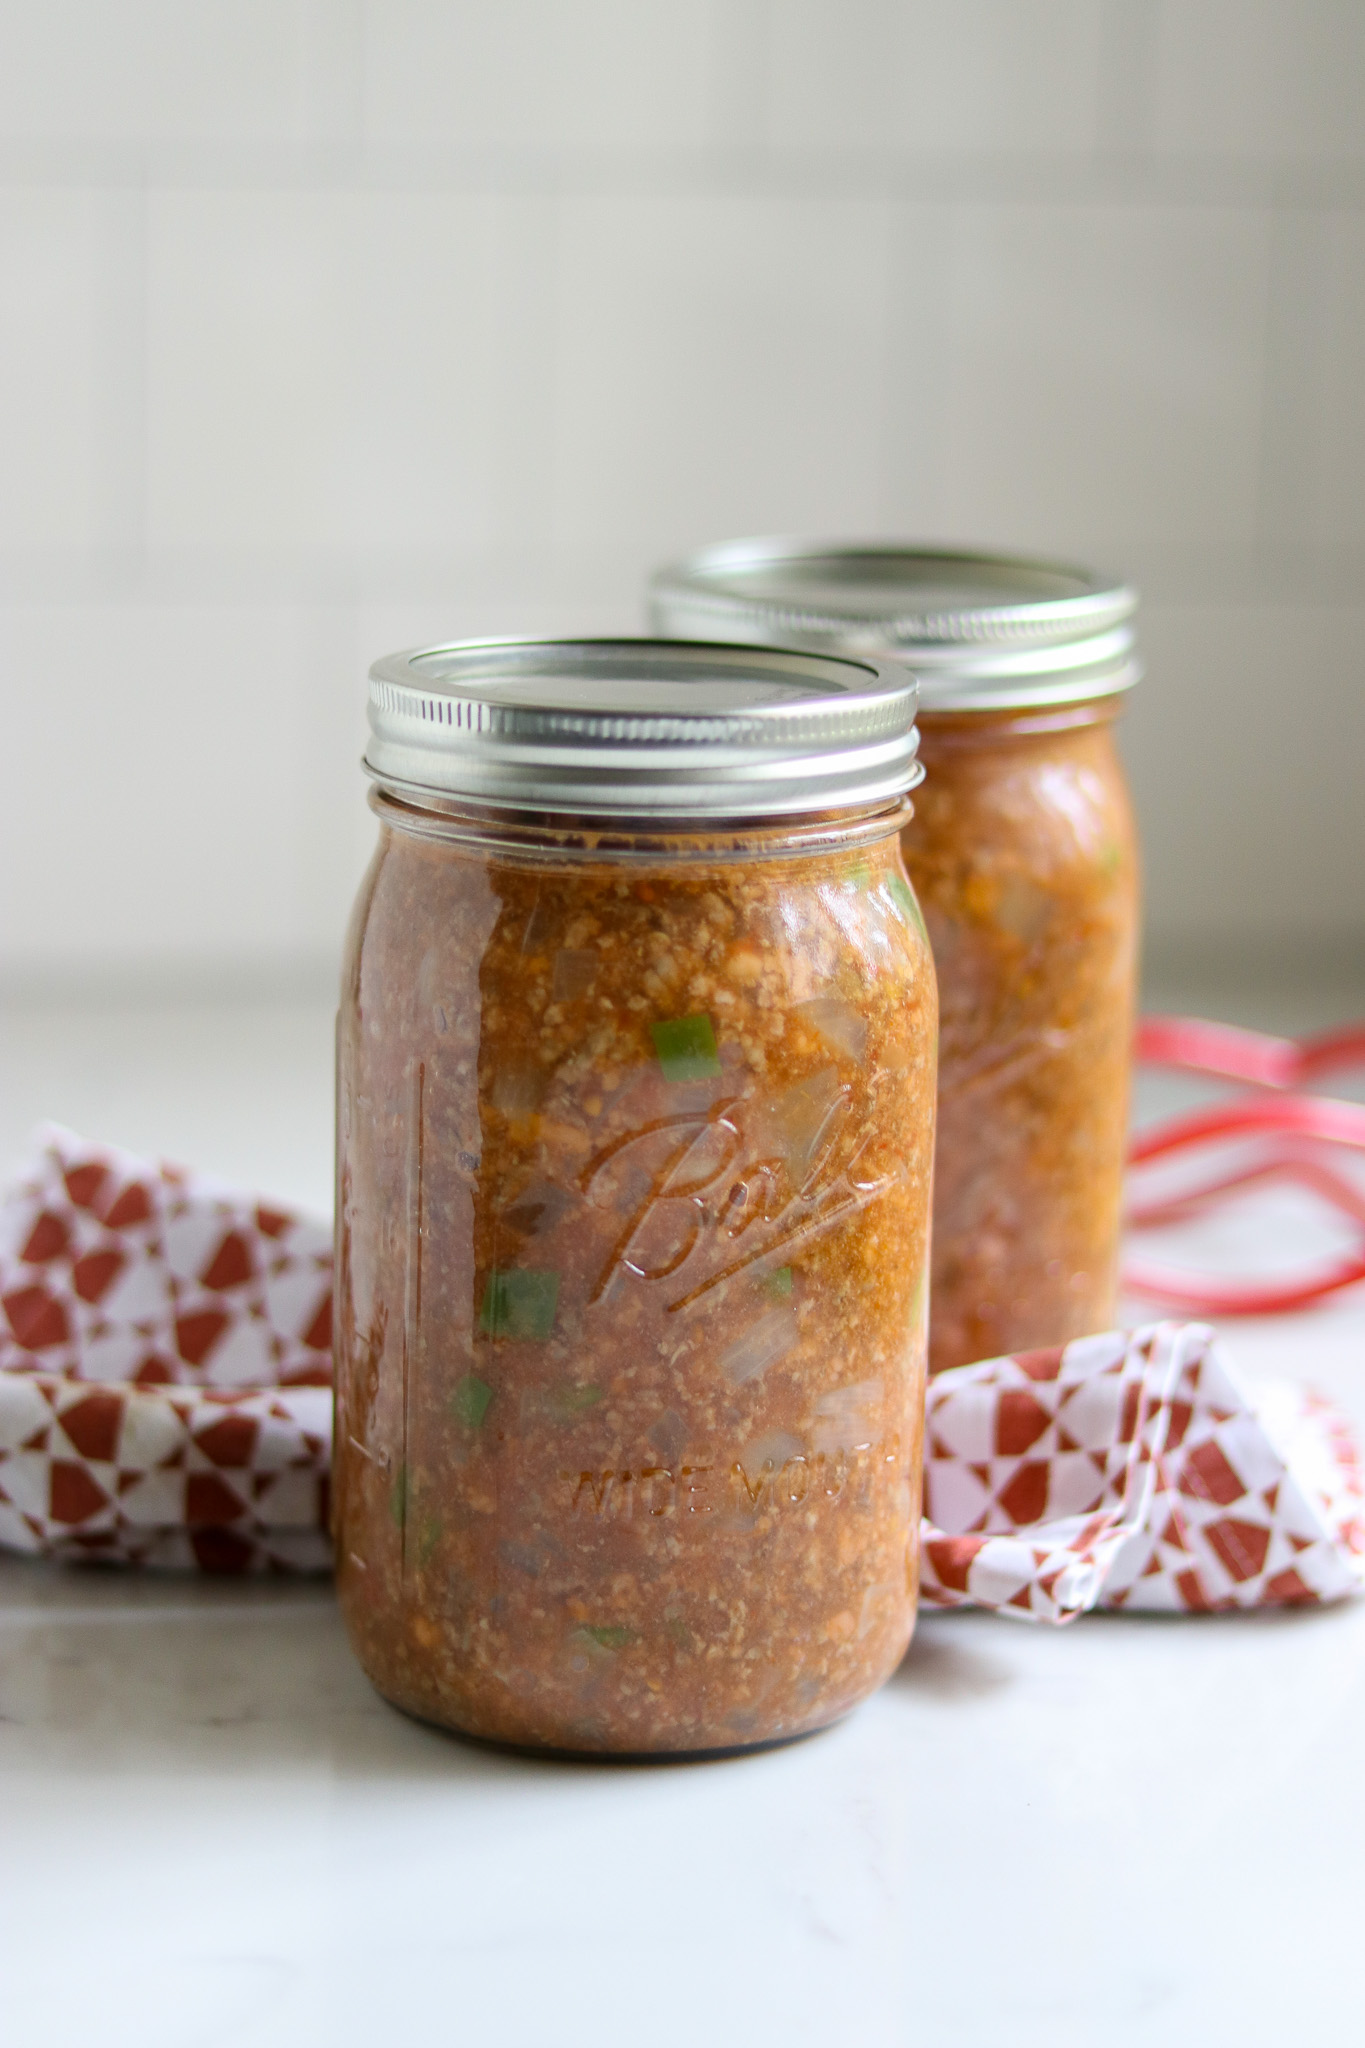
Allow the jars to cool for 24 hours before labeling, checking the seals, and storing the jars in a cool, dark place.
Altitude Adjustments
Canning time remains the same regardless of altitude; however, the processing pressure increases as altitude increase.
Use the following table to determine the correct processing pressure if you’re above 1,000 feet in elevation.
For dial gauge pressure canners:
- 0 to 2,000 feet in elevation – 11 lbs pressure
- 2,001 to 4,000 feet in elevation – 12 lbs pressure
- 4,001 to 6,000 feet in elevation – 13 lbs pressure
- 6,001 to 8,000 feet in elevation – 14 lbs pressure
For weighted gauge pressure canners:
- 0 to 1,000 feet in elevation – 10 lbs pressure
- Above 1,000 feet – 15 lbs pressure
Serving Sloppy Joe Filling
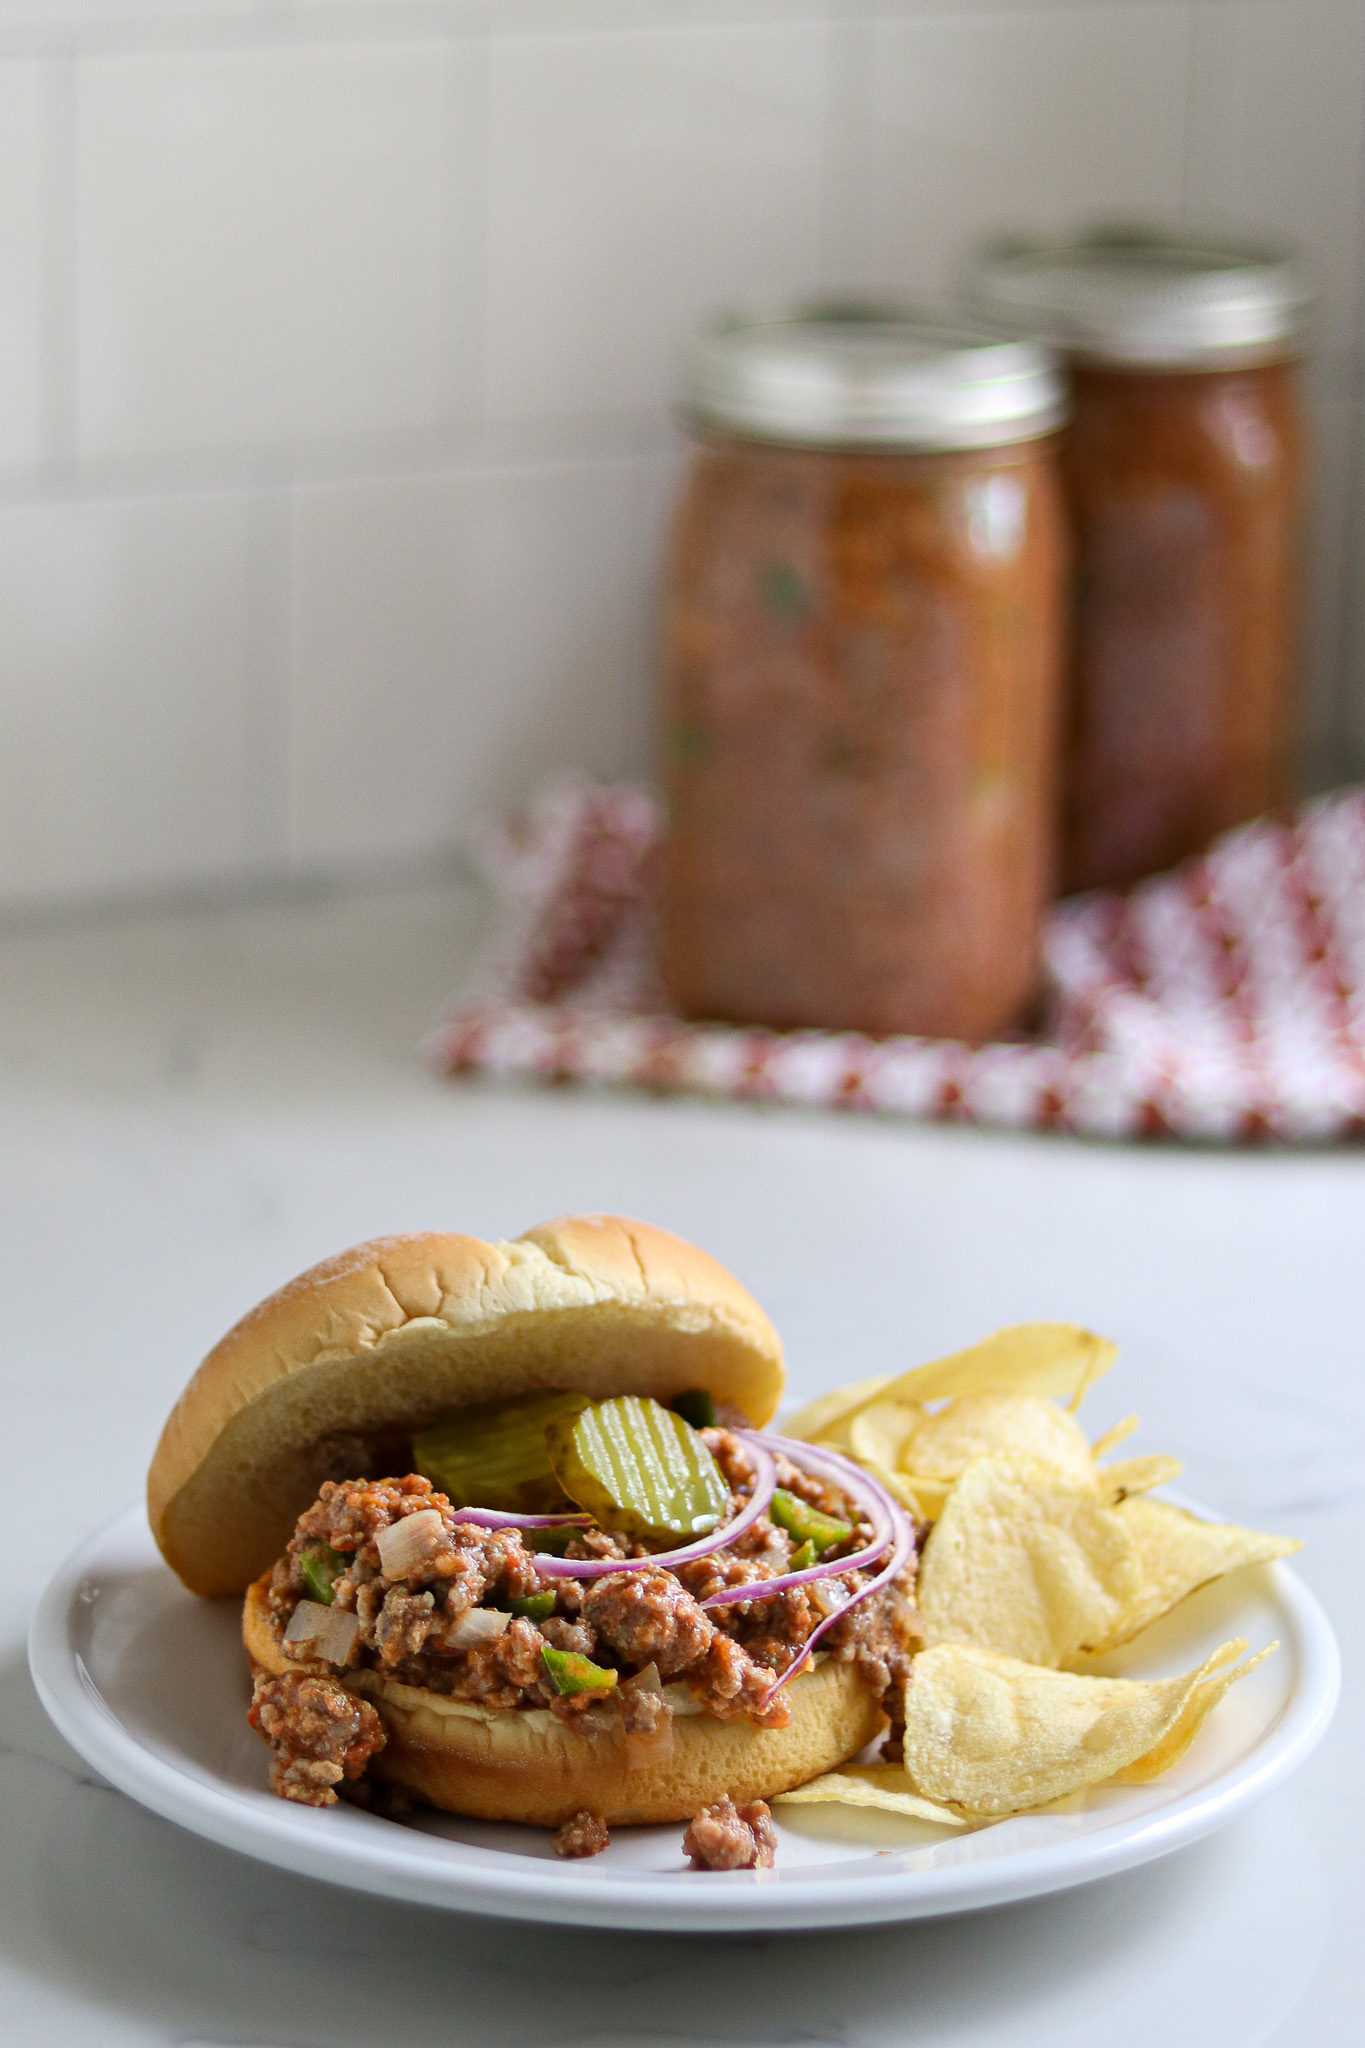
One of the best things about Sloppy Joes is that they’re incredibly versatile, and you can serve them in a variety of different ways. Classic Sloppy Joe sandwiches are always a hit, but you can also serve the filling over baked potatoes or noodles, or on top of a salad.
If you’re looking for a healthier option, you can also serve Sloppy Joe filling in lettuce cups for a low-carb, high-protein meal.
While Sloppy Joes are great by themselves, they’re even better when paired with the right side dishes. Some popular side dishes to serve with Sloppy Joes include French fries, coleslaw, baked beans, potato salad, and corn on the cob. These sides are easy to make and can help balance out the richness of the Sloppy Joe filling.
Canned Sloppy Joe filling is heated and eaten – all you need to do is dump a jar into a saucepan and heat it to your liking. It’s as simple as that! Consider topping your Sloppy Joe with toppings like pickles, tomatoes, or shredded cheese – and just make sure you have plenty of napkins on hand, too.
They’re called “sloppy” for a reason!
Ground Beef Canning Recipes
Looking for a few more ground beef canning recipes to stock your pantry without breaking the bank?
Canning Sloppy Joe Filling
Equipment
Ingredients
- 4 lbs lean ground beef or venison, can also use a combination
- 3 cups onion, peeled and chopped
- 1 16- oz can of tomato sauce
- 1 ½ cups chopped and cored green pepper
- 2 cups tomato ketchup
- 2 cups water
- 1 tbsp salt
- 1 tbsp sugar
- 1 tbsp prepared mustard
- ¾ tsp black pepper
Instructions
- Prepare your pressure canner ahead of time and allow the hot jars to remain inside. Start with clean, sanitized canning jars and rings. Place them in the canner with two inches of water, then heat to just barely simmering for hot pack, around 180 degrees Fahrenheit.
- Saute the meat in a saucepan, adding the onion in so that the pieces can brown up.
- When the meat has browned, drain off the fat.
- Add the remaining ingredients, including tomato products, salt, sugar and spices, then bring to a boil and simmer for five minutes.
- Pack the mixture into hot, clean jars. Leave an inch of headspace.
- Wipe the rims of the jars to remove any food residue, then apply the lids and bands. Tighten until the bands are fingertip tight, then load the jars into the canner.
- Allow the canner to vent steam for 10 minutes. Add the weight.
- Bring the pressure canner to 11 lbs pressure for a dial gauge canner (up to 2000 feet elevation – adjust for altitude if necessary) and 10 lbs pressure for a weighted gauge canner (up to 1000 feet elevation – adjust for elevation if necessary). **See notes for altitude adjustments
- Once at pressure, process pint jars for 75 minutes and quart jars for 90 minutes. (Pressure changes with altitude, see below, but canning times don't change when pressure canning.)
- Turn off the heat and allow the canner to depressurize on its own. Wait five minutes after the reading has returned to zero, then open the lid and remove the jars.
- Allow the jars to cool for 24 hours before checking seals. Store any unsealed jars in the refrigerator for immediate use. Properly canned and sealed jars can be stored at room temperature on the pantry shelf.
- Home-canned sloppy joe filling will maintain peak quality for 12-18 months, and be safe to eat so long as the jars are sealed. Refrigerate after opening.
Notes
Altitude Adjustments
Canning time remains the same regardless of altitude; however, the processing pressure increases as altitude increase. Use the following table to determine the correct processing pressure if you’re above 1,000 feet in elevation.For dial gauge pressure canners:
- 0 to 2,000 feet in elevation – 11 lbs pressure
- 2,001 to 4,000 feet in elevation – 12 lbs pressure
- 4,001 to 6,000 feet in elevation – 13 lbs pressure
- 6,001 to 8,000 feet in elevation – 14 lbs pressure
For weighted gauge pressure canners:
- 0 to 1,000 feet in elevation – 10 lbs pressure
- Above 1,000 feet – 15 lbs pressure
Nutrition
Nutrition information is automatically calculated, so should only be used as an approximation.
Meal in a Jar Canning Recipes
Need a few more meal-in-a-jar canning recipes?
Do I have to use a pressure canner or can I use my water bath canner
You have to use a pressure canner.
I was hoping to make your recipe, but wondering if the texture of the meat changes during the process. You cook the meat and then continue cooking it for another 90 minutes in quarts. Wondering if the meat texture turns mealy.
It doesn’t turn mealy, the main reason you brown it to start is to ensure that it doesn’t clump into a block in the jars. The finished texture is a lot like the ground beef you find in a pot of slow simmered chili.
I have kinda the opposite question of several others. Could I substitute lentils for the meat?
That’s not a tested recipe, so at your own risk, use your best judgement and all that. But, lentils are approved for canning using the same times as beans and peas. All you’d be doing here is canning them in a seasoned tomato sauce instead of water, and to my mind, that should be fine. The main thing you want to be extra careful of is that it has enough water, so it’d honestly be more like a lentil soup at that point. You’d need to cook it down on the stove a bit when you heated it up to get it onto a bun reasonably.
Can the sloppy Joe be canned in half-pints and if so would the canning time be the same as the pints? Also, can the recipe be halved? Thank you.
Yes to both your questions. Half pints use the same canning time as pints. For pressure canning, the minimum batch size is 2 quarts, or 4 pints, or 8 half pints. Since this is a 4 quart recipe, half of this recipe would give you exactly that and could still be canned. Don’t reduce the recipe to less than half though, as a canner needs enough thermal mass inside to make it work.
This is pretty tasty before being canned, I did half venison half ground beef. I got exactly 8 pints, which rarely happens for me. Thanks for the recipe, will be making more.
Wonderful, so glad you enjoyed it!
In the print out recipe it says mustard but in the article it says dry mustard. Can you please clarify which is correct. Thank you. I look forward to trying this.
You can actually use either dry mustard or prepared mustard, based on your tastes. The original recipe is from the Wisconsin University Extension (publication B3345) and they use prepared mustard. I like dry, as it gives more mustard flavor. Either is fine for canning safety.
How many pints does this make?
The yield is 8 pints or 4 quarts.
you didn’t say how long your process pints or quarts
Good question. In the instructions in the recipe card at the end, step 9 says “Once at pressure, process pint jars for 75 minutes and quart jars for 90 minutes. (Pressure changes with altitude, see below, but canning times don’t change when pressure canning.)”. I’ve added that instruction other places in the article too so that it’s more clear. Thank you.
I followed all instructions and debubbled a lot but my final product after canning has a lot of air pockets. All jars sealed fine but there are visible air bubbles throughout. Is it safe to store and eat?
Yup, that can happen sometimes, but so long as you canned it for the appropriate amount of time and they sealed, then you’re fine. Enjoy!
Hi, I made the sloppy Joe’s, they look amazing but even though I debubbled a lot, there is still visible air pockets throughout the jar after canning. The jars sealed but I’m worried about the air pockets. Is this okay?
This one is tricky to de-bubble, and air pockets are fine in the finished product provided it hasn’t lost half the liquid in the jar due to siphoning. It doesn’t sound like you had substantial liquid loss, just bubbles, so it’s fine.
I really want try these sloppy joes. My question is. Can I use canned tomatoes soup instead of tomato sauce? Instead of white sugar, can I use brown sugar?
Yes, both of those are fine changes that are allowed based on canning safety. Enjoy!