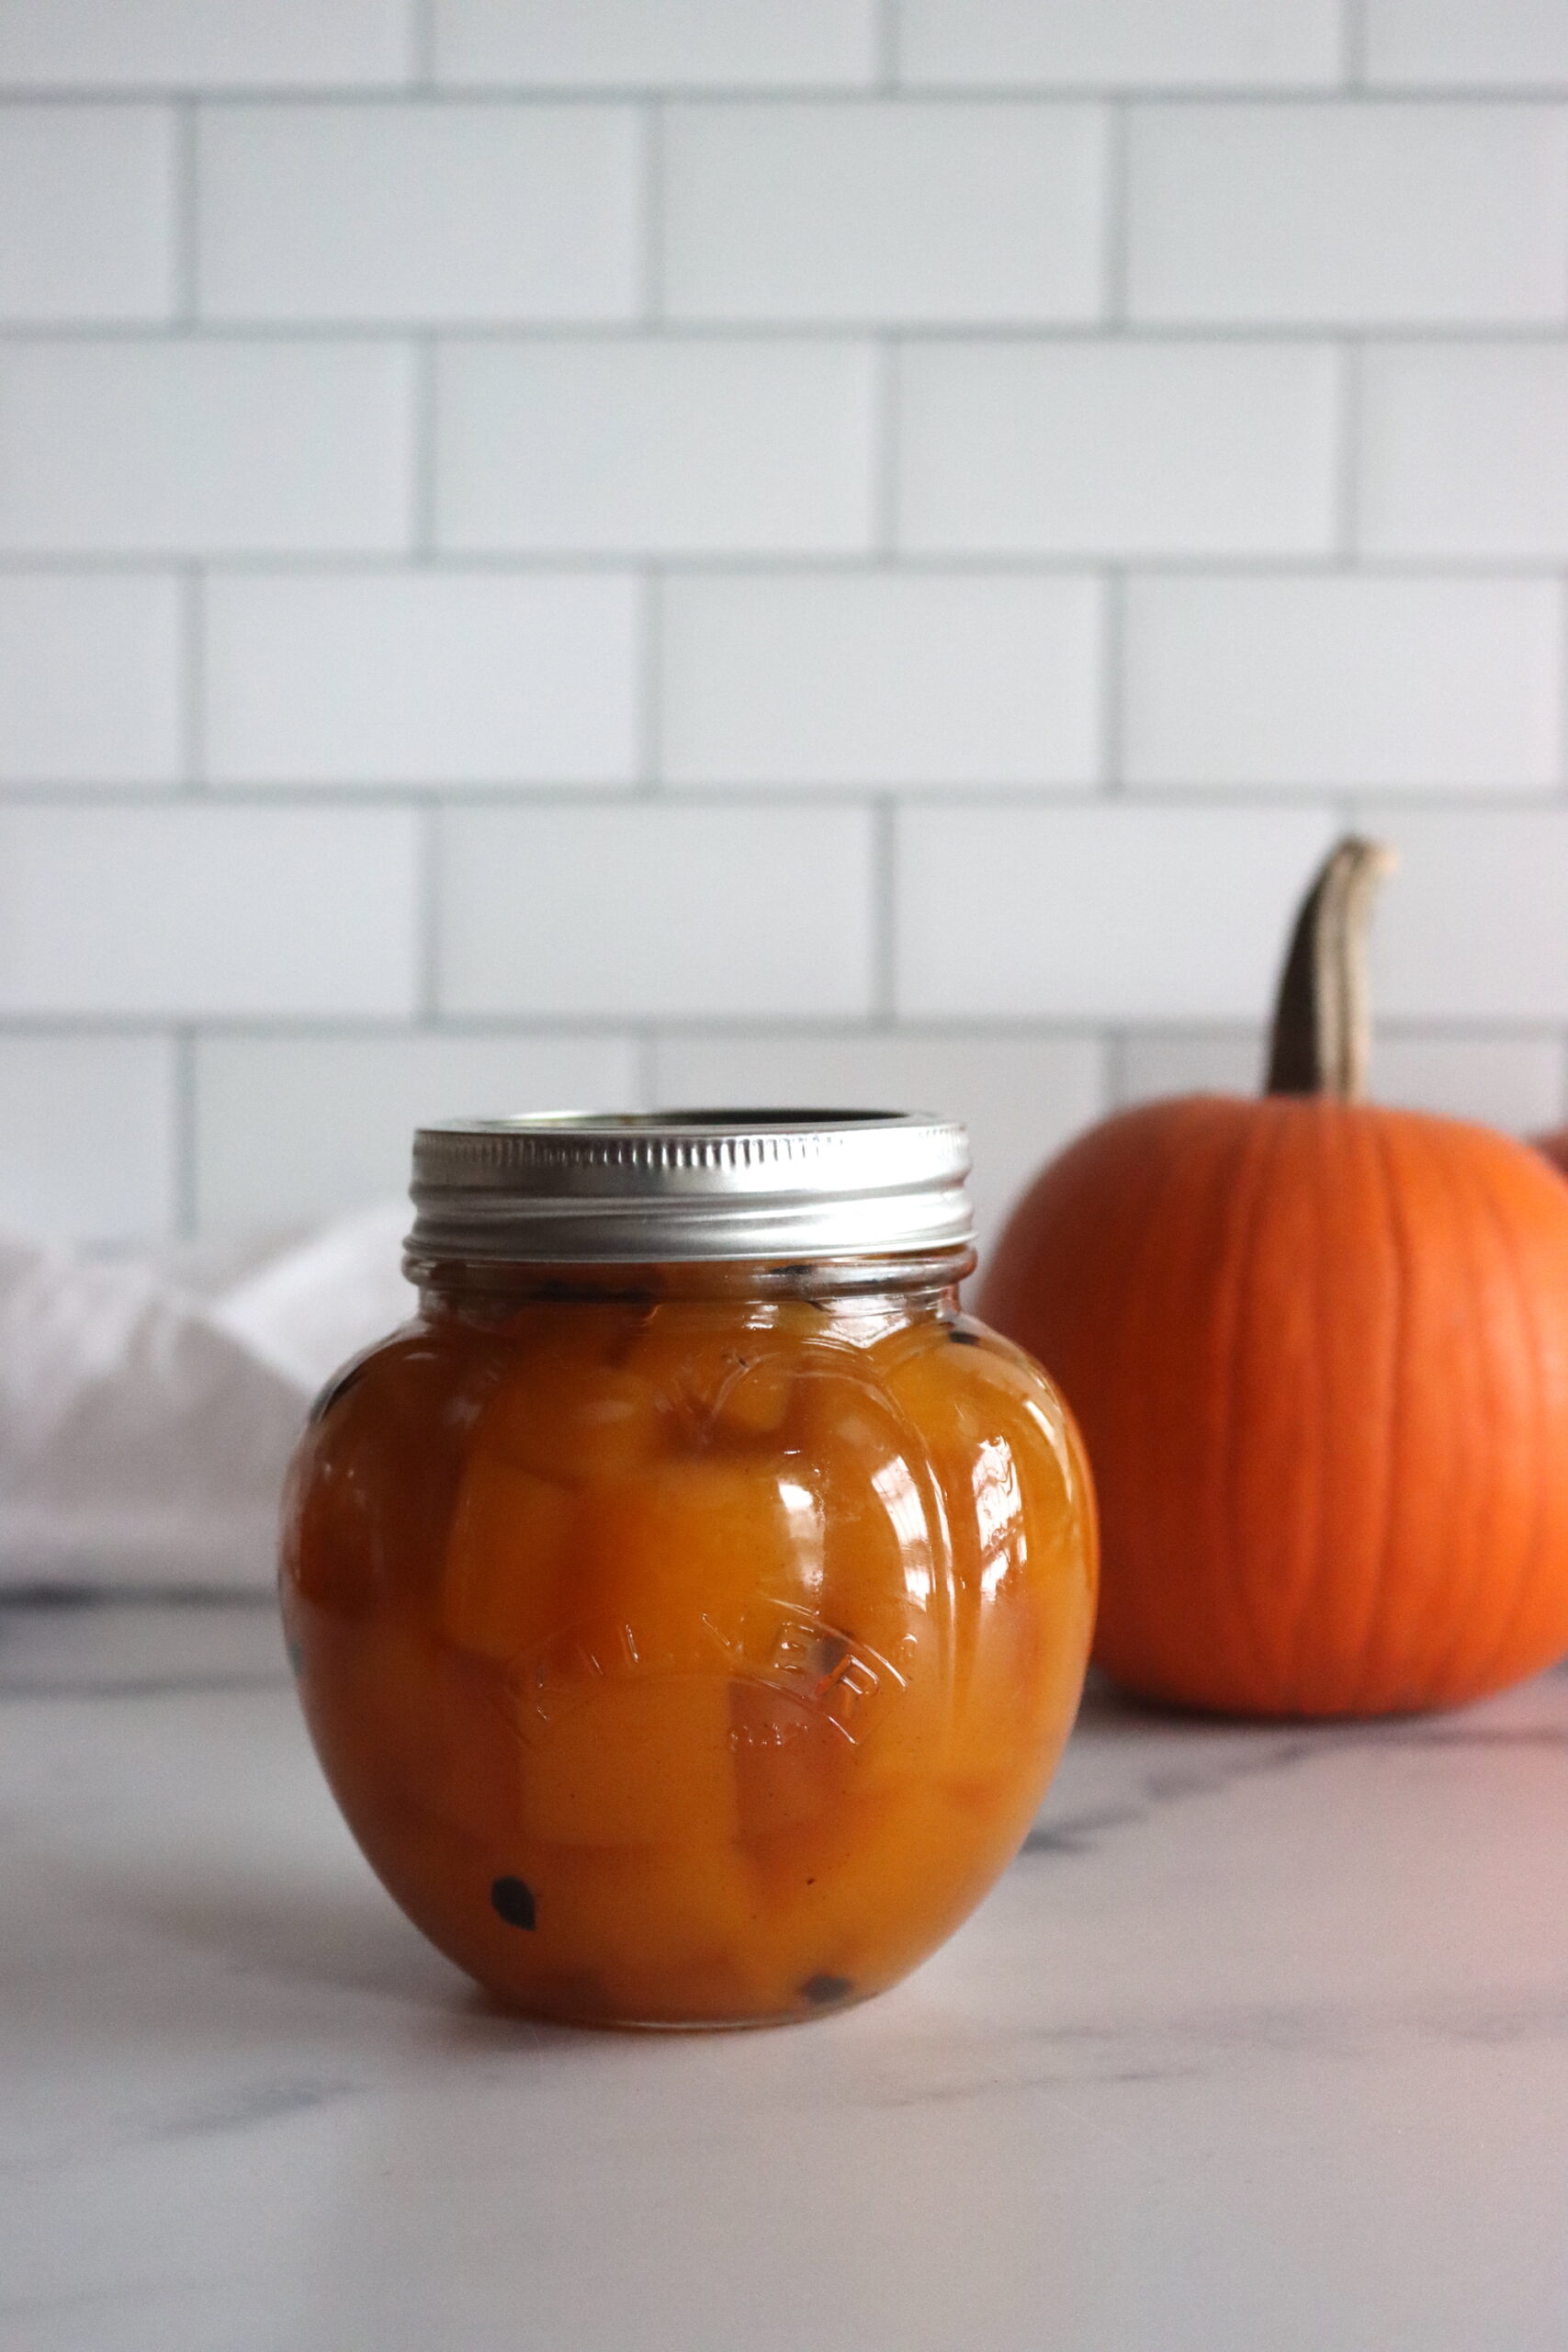
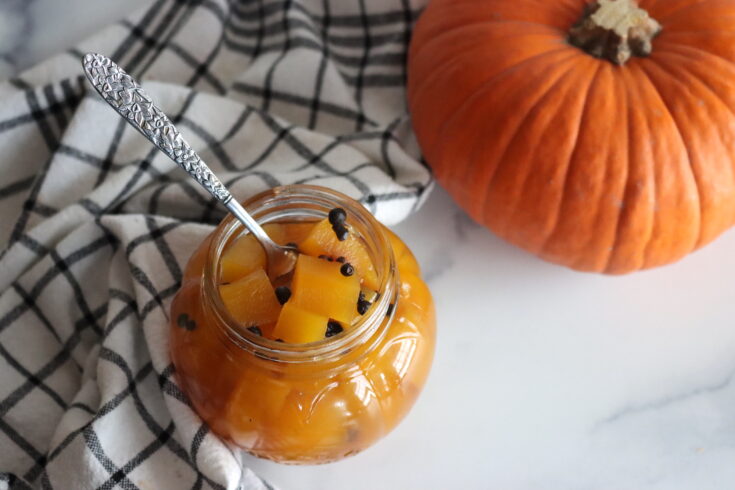
Pickled pumpkin is a sweet and tangy treat that’ll surprise you. It’s an easy water bath canning recipe for a pumpkin that’s safe due to the added vinegar but still sweet and delicious thanks to the sugar. It comes out perfect for sweet or savory recipes, and it’s sure to be a hit at your holiday meal.
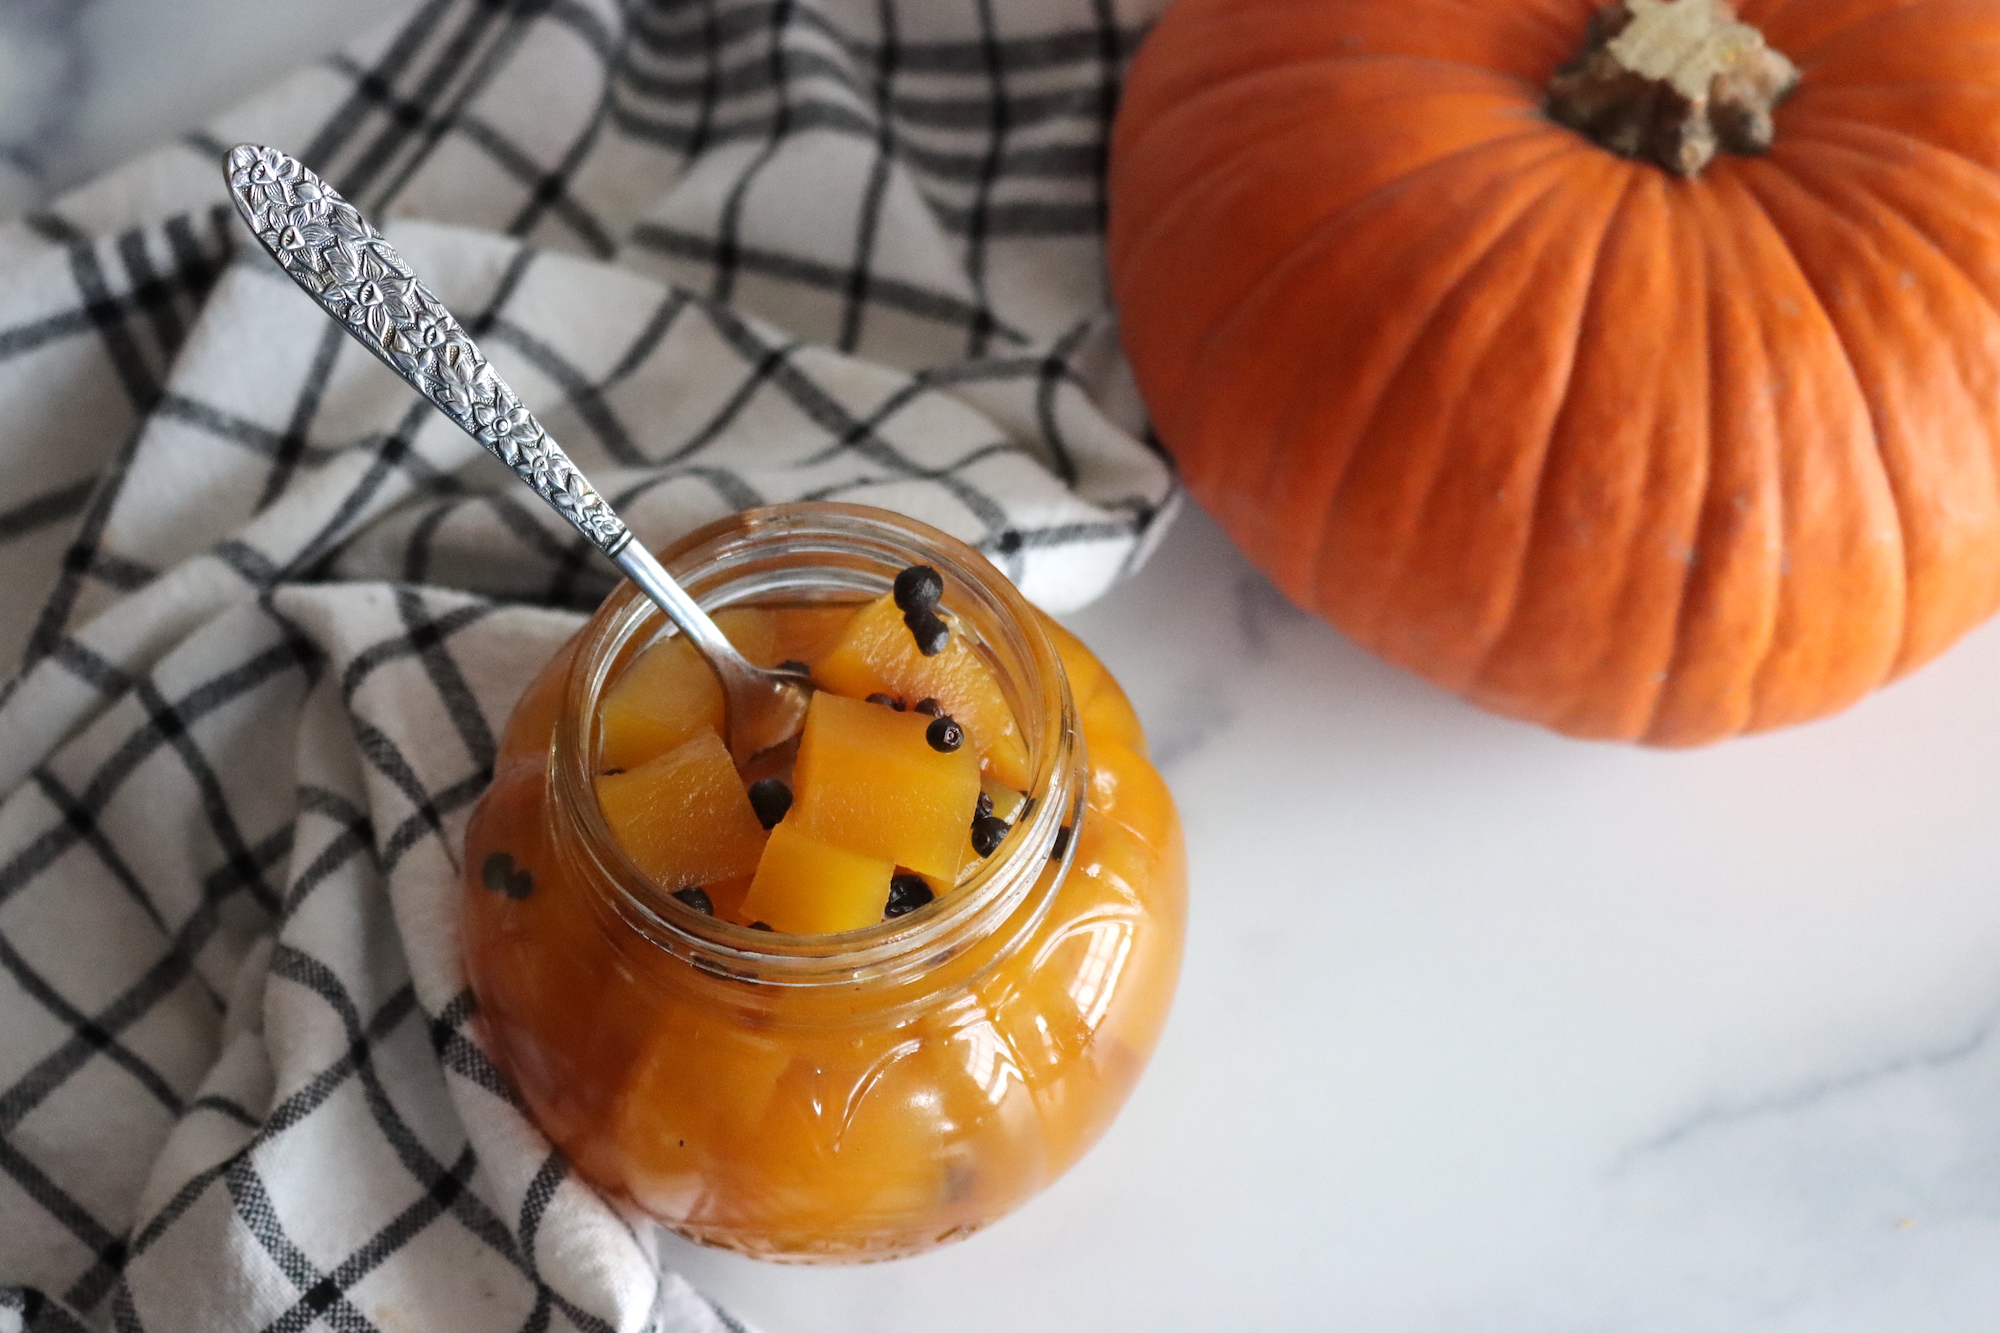
Looking for a fun new way to enjoy pumpkin? Pickled pumpkin is a sweet and tangy treat that’s surprisingly delicious.
Their sweet flavor balanced by the pickling vinegar makes them an excellent complement to cheese plates or as a surprising element in salads, particularly when paired with arugula and creamy goat cheese.
It’s sweet enough to be used in desserts too, and ice cream topped with pickled sugar pumpkin will give you a nice contrast and really wake your tastes buds up.
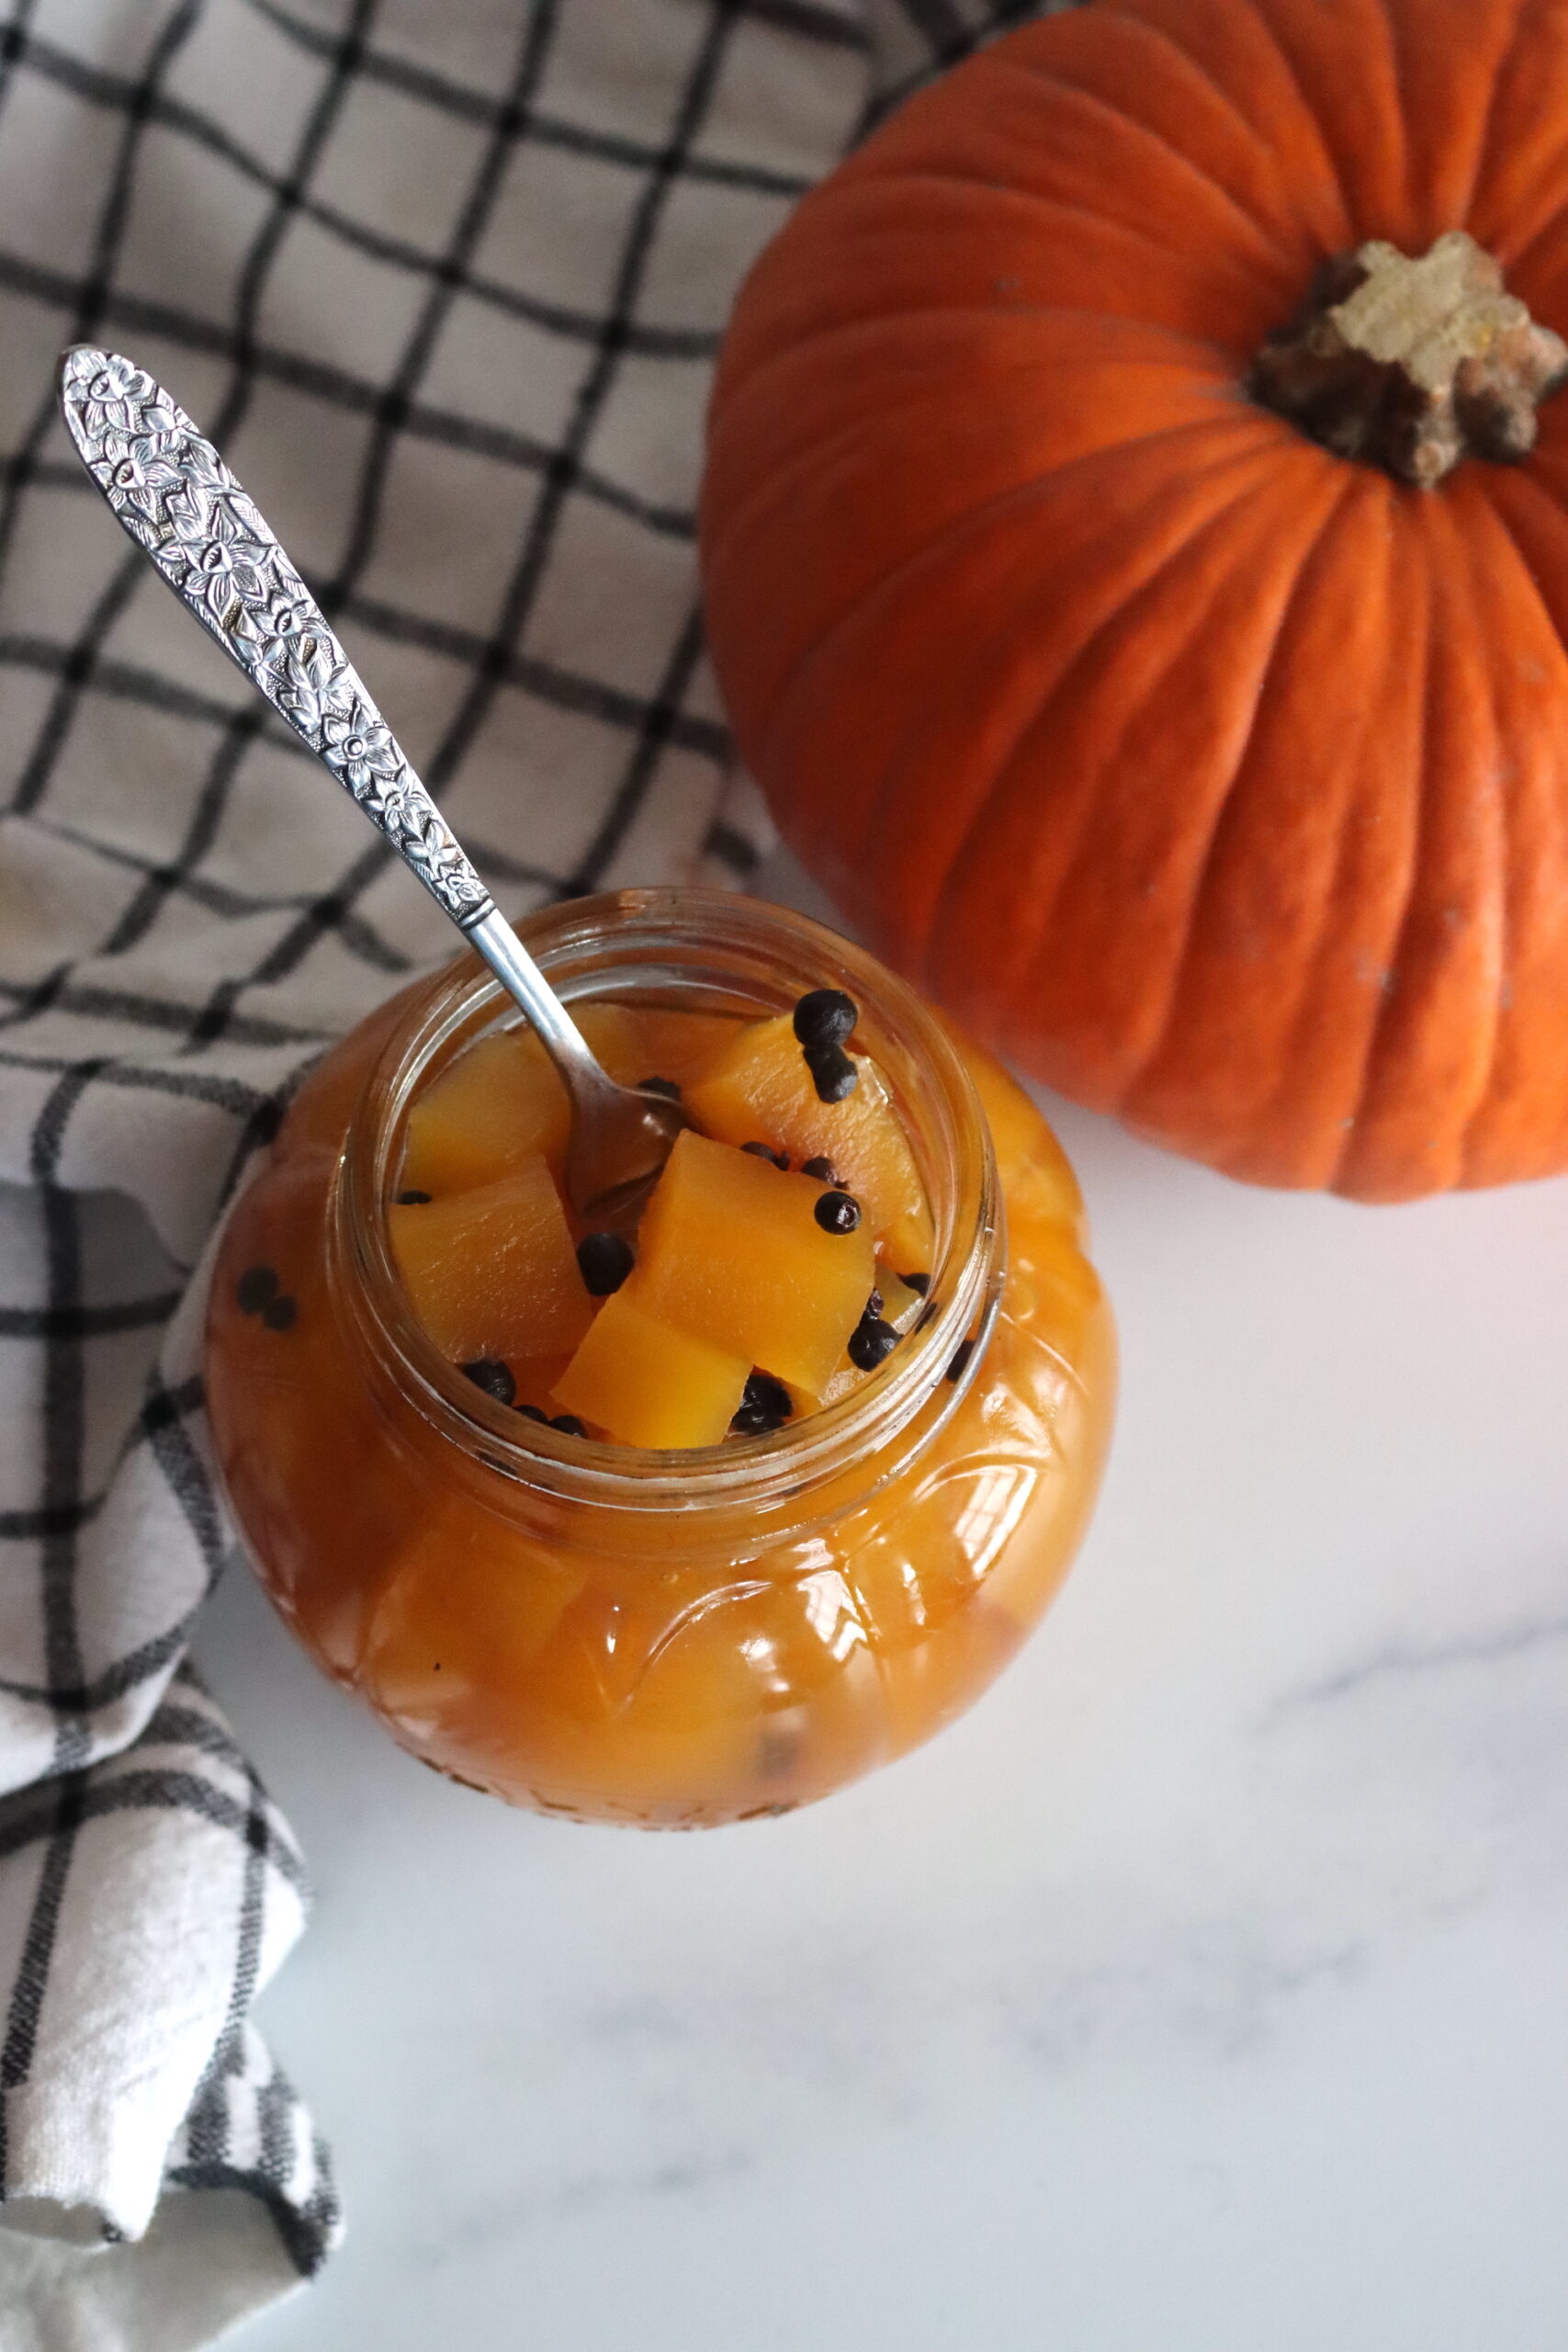
Ingredients for Pickled Sugar Pumpkin
This particular recipe is adapted from Preserving By the Pint: Quick Seasonal Canning Recipes for Small Spaces by Marissa McClellan, and it works perfectly well with one small sugar pumpkin.
To make about 1 pint of pickled pumpkin, you’ll need:
- 1 small sugar pumpkin (about 1.5 pounds as purchased/680 g)
- 2 cups (480 ml) cider vinegar
- 1.5 cups (360 ml) filtered water
- 1 cup (200 g) granulated sugar
- 10 black peppercorns
- 8 whole cloves
- 5 allspice berries
- 1 cinnamon stick, crushed
- 1 bay leaf
With a 1 1/2 pound pumpkin, I ended up with about 12 ounces of pumpkin cubes, or about 3 cups when raw. They shrink a bit when simmered in the syrup, so in the end the total yield was about a pint. Your yield may vary slightly based on your pumpkin; just make sure the pumpkin stays submerged in the brine in the canning jars (and top off with more vinegar if, for some reason, you’re short).
I like the mix used here, but the seasonings are completely up to you. Take it in a spicy direction for use in curries or as a chutney with red pepper flakes if you like, but this particular mix works wonderfully in with holiday meats, in salads and desserts too.
The sugar in this recipe helps firm up the pumpkin, and without it, the pumpkin will fall apart and won’t be safe for canning. Don’t reduce either the sugar or the vinegar in this recipe.
Likewise, the process is important. The pumpkin is simmered in a sugar/vinegar syrup until tender, which allows the sugar and vinegar to completely infuse to the center of the pumpkin cubes. You’d think it’d cause the pumpkin to fall apart with all that cooking, but it actually does just the opposite. Don’t skip that step!
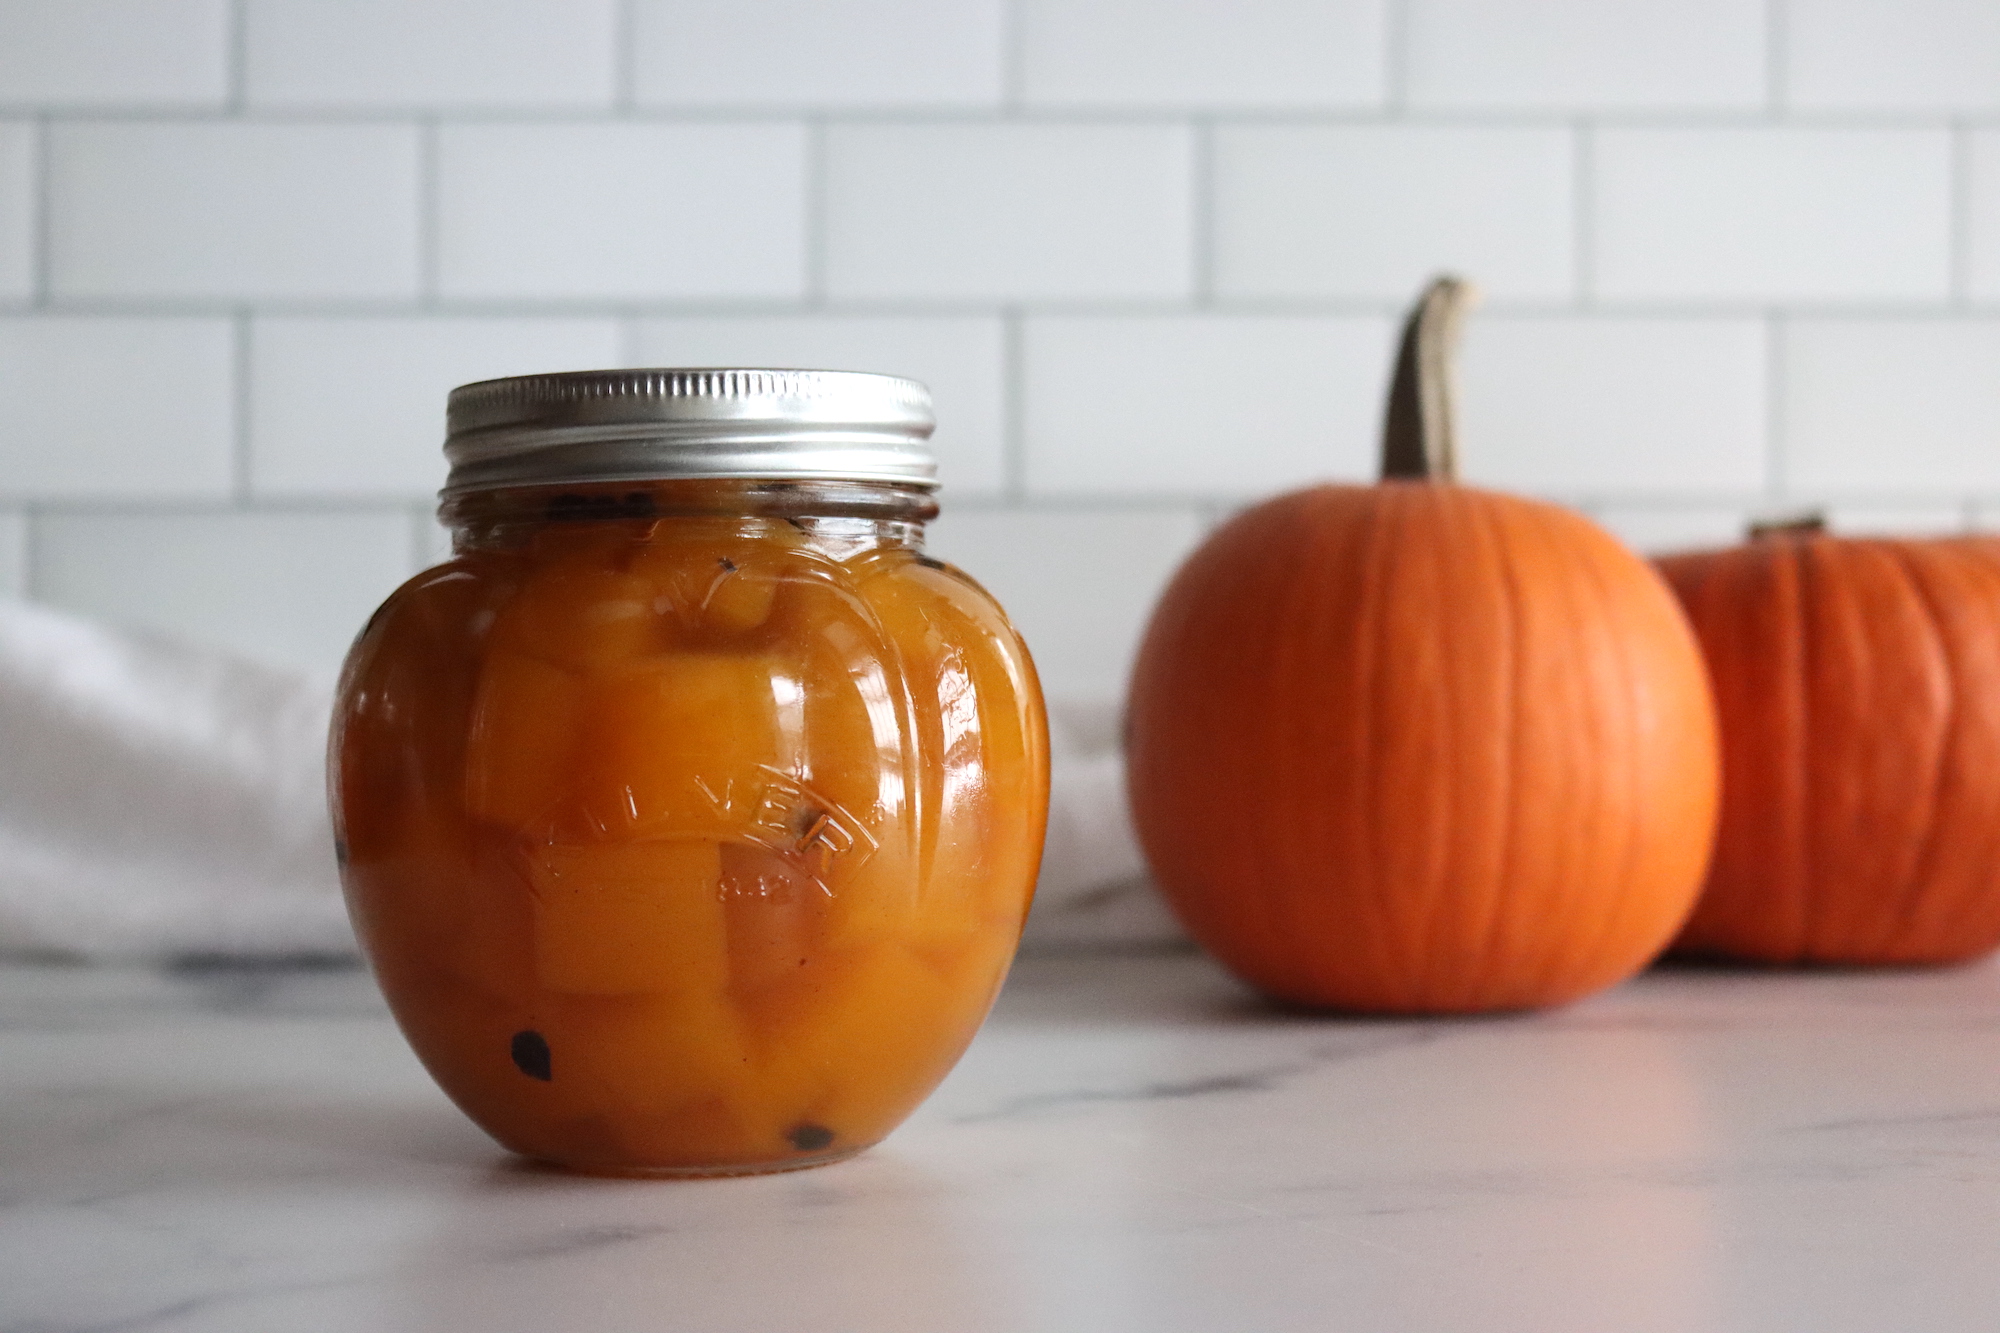
Making Pickled Pumpkin
Start by preparing a small boiling water bath and sterilizing two half-pint jars according to safe canning procedures. While the jars are sterilizing, place the lids in a small saucepan and bring them to a gentle simmer.
Next, peel the sugar pumpkin, remove the seeds and strings, and cut the flesh into ½-inch (1.5 cm) dice. In a medium pot, combine the cider vinegar, filtered water, and granulated sugar, heating the mixture until the sugar dissolves completely.
Place the spices in a muslin spice bag or tie them in cheesecloth and add it to the pot (or just toss them into the pot, that’s fine).
Add the pumpkin chunks and the spice bag to the syrup, bringing the mixture to a boil. Then, reduce the heat, cover and let very gently simmer for 30 to 40 minutes, cooking until the pumpkin is translucent and fork-tender.
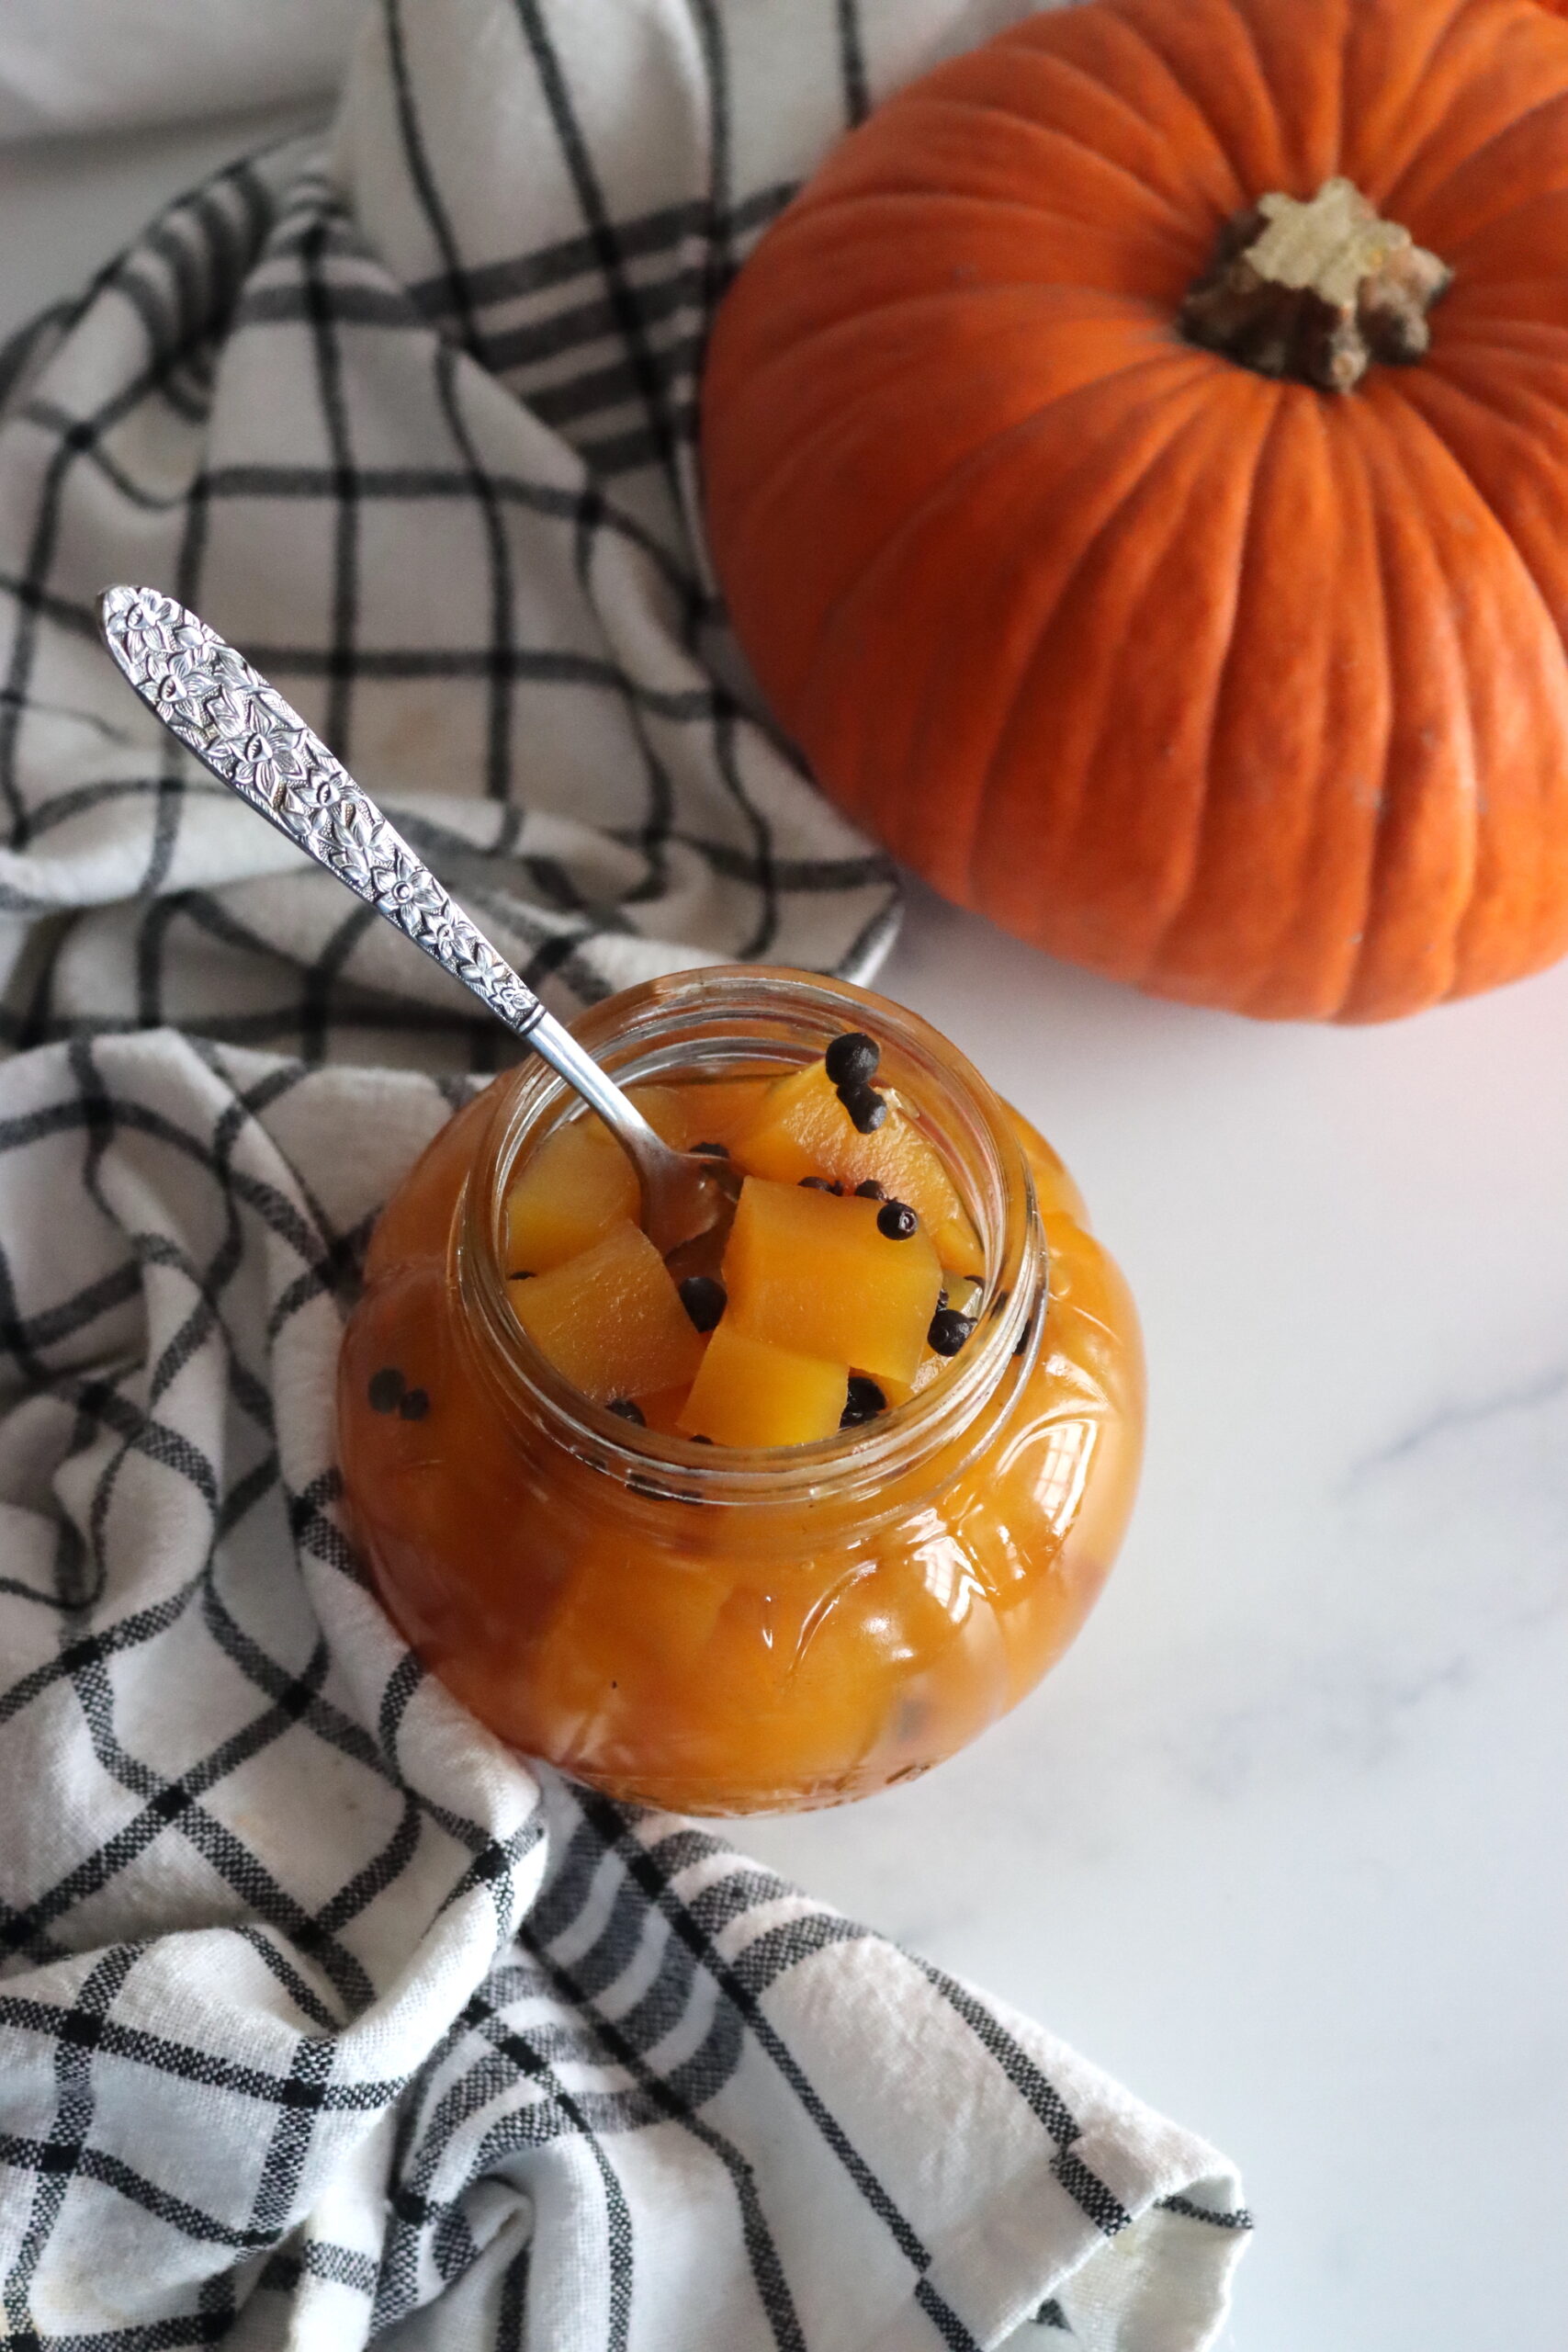
Canning Pickled Pumpkin
You can make these as refrigerator pickles, and in that case, skip the canning step and just keep them in the fridge where they’ll keep for a few weeks. That said, I prefer to can them so I can keep them on my pantry shelf and give them as gifts.
Once the pumpkin has finished cooking, ladle the pieces into the prepared jars, covering them with the pickling brine while leaving about ½ inch (1.2 cm) of headspace.
Wipe the rims of the jars to ensure a clean seal, then apply the lids and screw on the bands.
Process the jars in the boiling water bath for 20 minutes to secure a proper seal. After processing, carefully remove the jars and let them cool on a clean kitchen towel. For the best flavor, allow the pickles to cure for at least two weeks before enjoying.
Altitude Adjustments
Water boils at a lower temperature at higher altitudes, so jars need to be processed a bit longer as you go up in elevation. Here are the altitude adjustments for canning Pickled Pumpkin:
- For 0 to 1,000 Feet in Elevation – Process pint and half pint jars for 20 minutes.
- For 1,001 to 6,000 Feet in Elevation – Process pint and half pint jars for 25 minutes.
- Above 6,001 Feet in Elevation – Process pint and half pint jars for 30 minutes.
A Note on Safety
You may have heard that canning pumpkin in a boiling water bath is unsafe, and while that is true for many pumpkin products. If you’re canning plain pumpkin without pickling it, you do need to use a pressure canner. However, pickled pumpkin is different. The vinegar brine provides the necessary acidity, making this method safe when the pumpkin is cut into chunks.
The mixture needs to be simmered in the vinegar and sugar before going into the jars to ensure that the vinegar fully infuses into the pumpkin, so don’t skip that step!
Pickled Sugar Pumpkin
Pickled pumpkin is a sweet and tangy treat that'll surprise you. It's an easy water bath canning recipe for a pumpkin that's safe due to the added vinegar but still sweet and delicious thanks to the sugar. It comes out perfect for sweet or savory recipes, and it's sure to be a hit at your holiday meal.
Ingredients
- 1 small sugar pumpkin (about 1.5 pounds/680 g)
- 2 cups (480 ml) cider vinegar
- 1.5 cups (360 ml) filtered water
- 1 cup (200 g) granulated sugar
- 10 black peppercorns
- 8 whole cloves
- 5 allspice berries
- 1 cinnamon stick, crushed
- 1 bay leaf
Instructions
- Prepare a water bath canner by preheating it for hot pack canning, along with jars, lids and rings.
- Peel the pumpkin, remove seeds and strings, and cut into ½-inch (1.5 cm) dice.
- In a medium pot, combine cider vinegar, filtered water, and granulated sugar. Heat until sugar dissolves.
- Place black peppercorns, cloves, allspice berries, crushed cinnamon stick, and bay leaf in a muslin spice bag or cheesecloth. (Or just toss them into the pot.)
- Add pumpkin chunks and spice bag to the syrup. Bring to a boil, then cover and reduce the heat to a very gentle simmer for 30 to 40 minutes until fork-tender.
- Ladle the pumpkin into prepared jars, leaving ½ inch (1.2 cm) headspace. Cover with brine.
- Wipe the rims, apply lids, and process in the boiling water bath for 20 minutes, adjusting for altitude (see notes).
- Let the jars cool, then allow the pickles to cure for at least 2 weeks before enjoying.
Notes
Altitude Adjustments
Water boils at a lower temperature at higher altitudes, so jars need to be processed a bit longer as you go up in elevation. Here are the altitude adjustments for canning Pickled Pumpkin:
- For 0 to 1,000 Feet in Elevation - Process pint and half pint jars for 20 minutes.
- For 1,001 to 6,000 Feet in Elevation - Process pint and half pint jars for 25 minutes.
- Above 6,001 Feet in Elevation - Process pint and half pint jars for 30 minutes.
Pumpkin Canning Recipes
Need a few more ways to preserve pumpkin and winter squash in a jar?
- Canning Pumpkin
- Butternut Squash and White Bean Soup
- Butternut Squash Soup Base
- Thai Butternut Squash Soup
Autumn Canning Recipes
Keep your canner running this fall with these seasonal canning recipes:
- Cranberry Apple Jam
- Pear Jam
- Canning Sweet Potatoes
- Sweet Cider Apple Butter
- Pear Butter
- Caramelized Onion Jam
Leave a Reply