This post may contain affiliate links. Please see our disclosure policy.
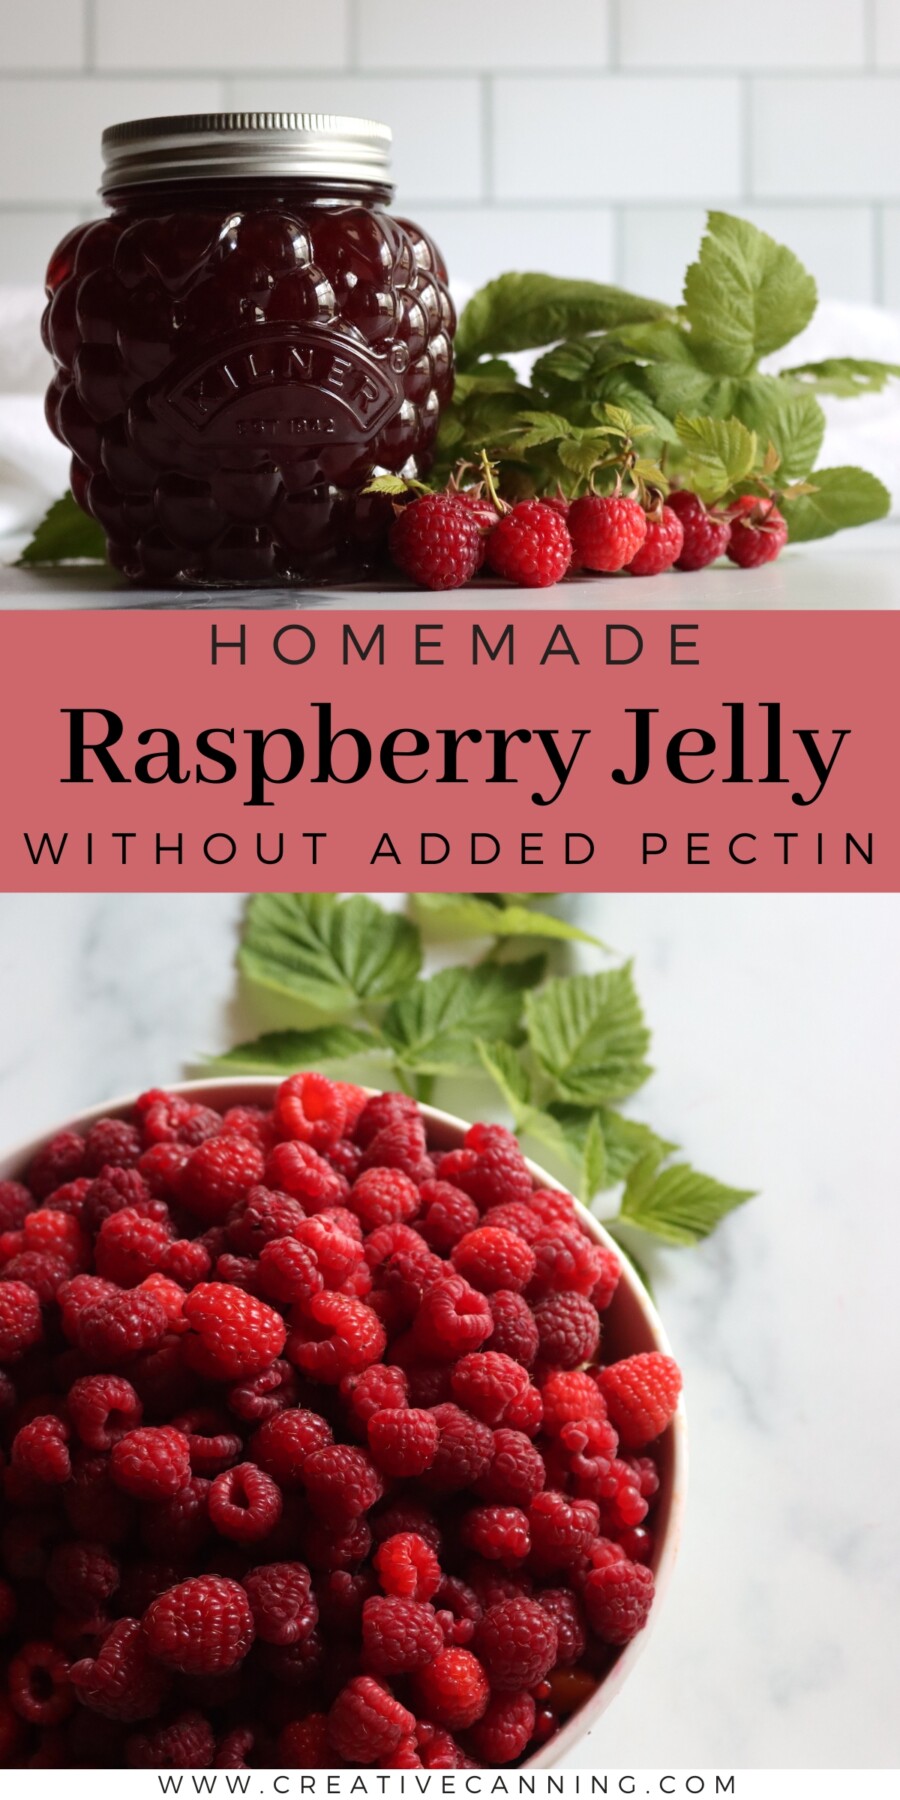
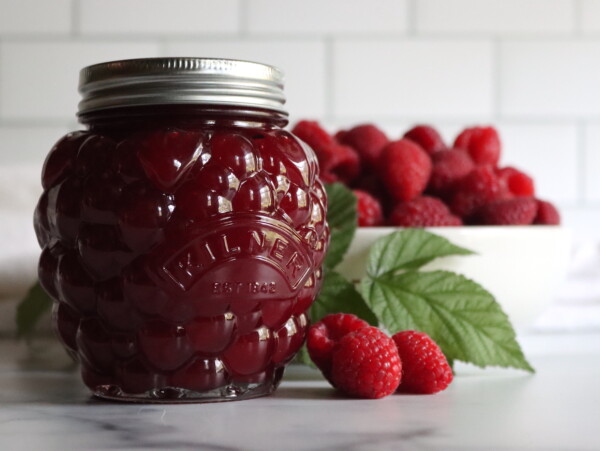
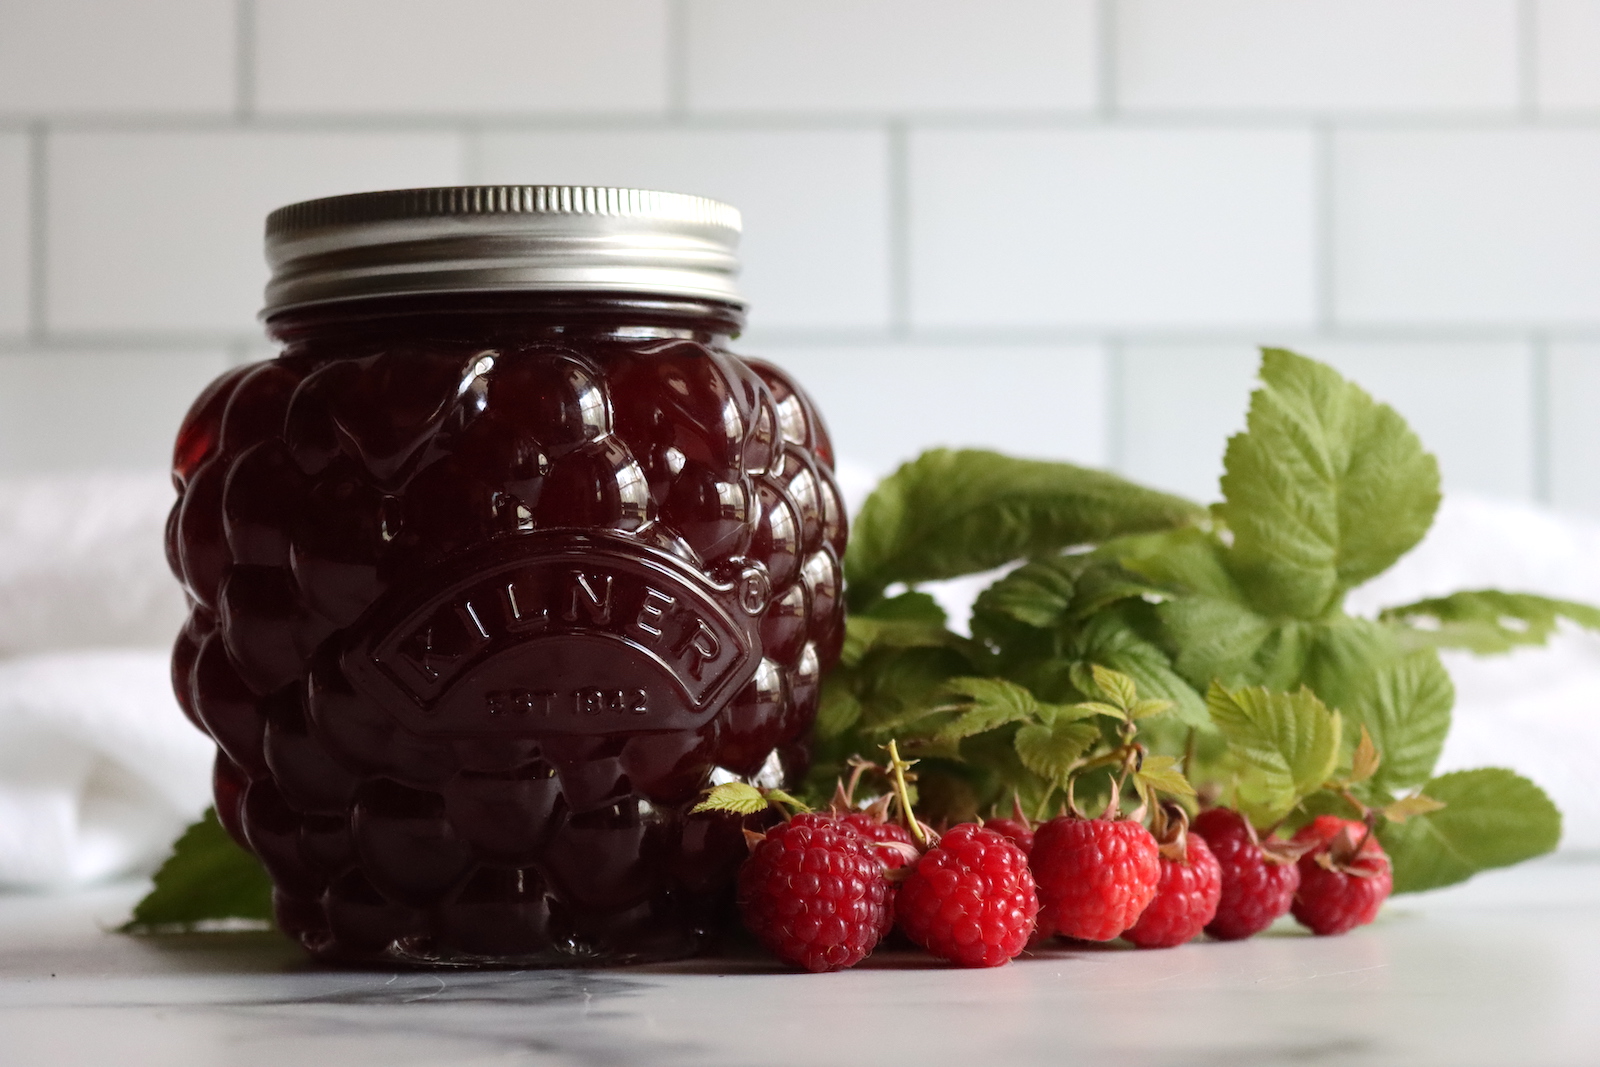
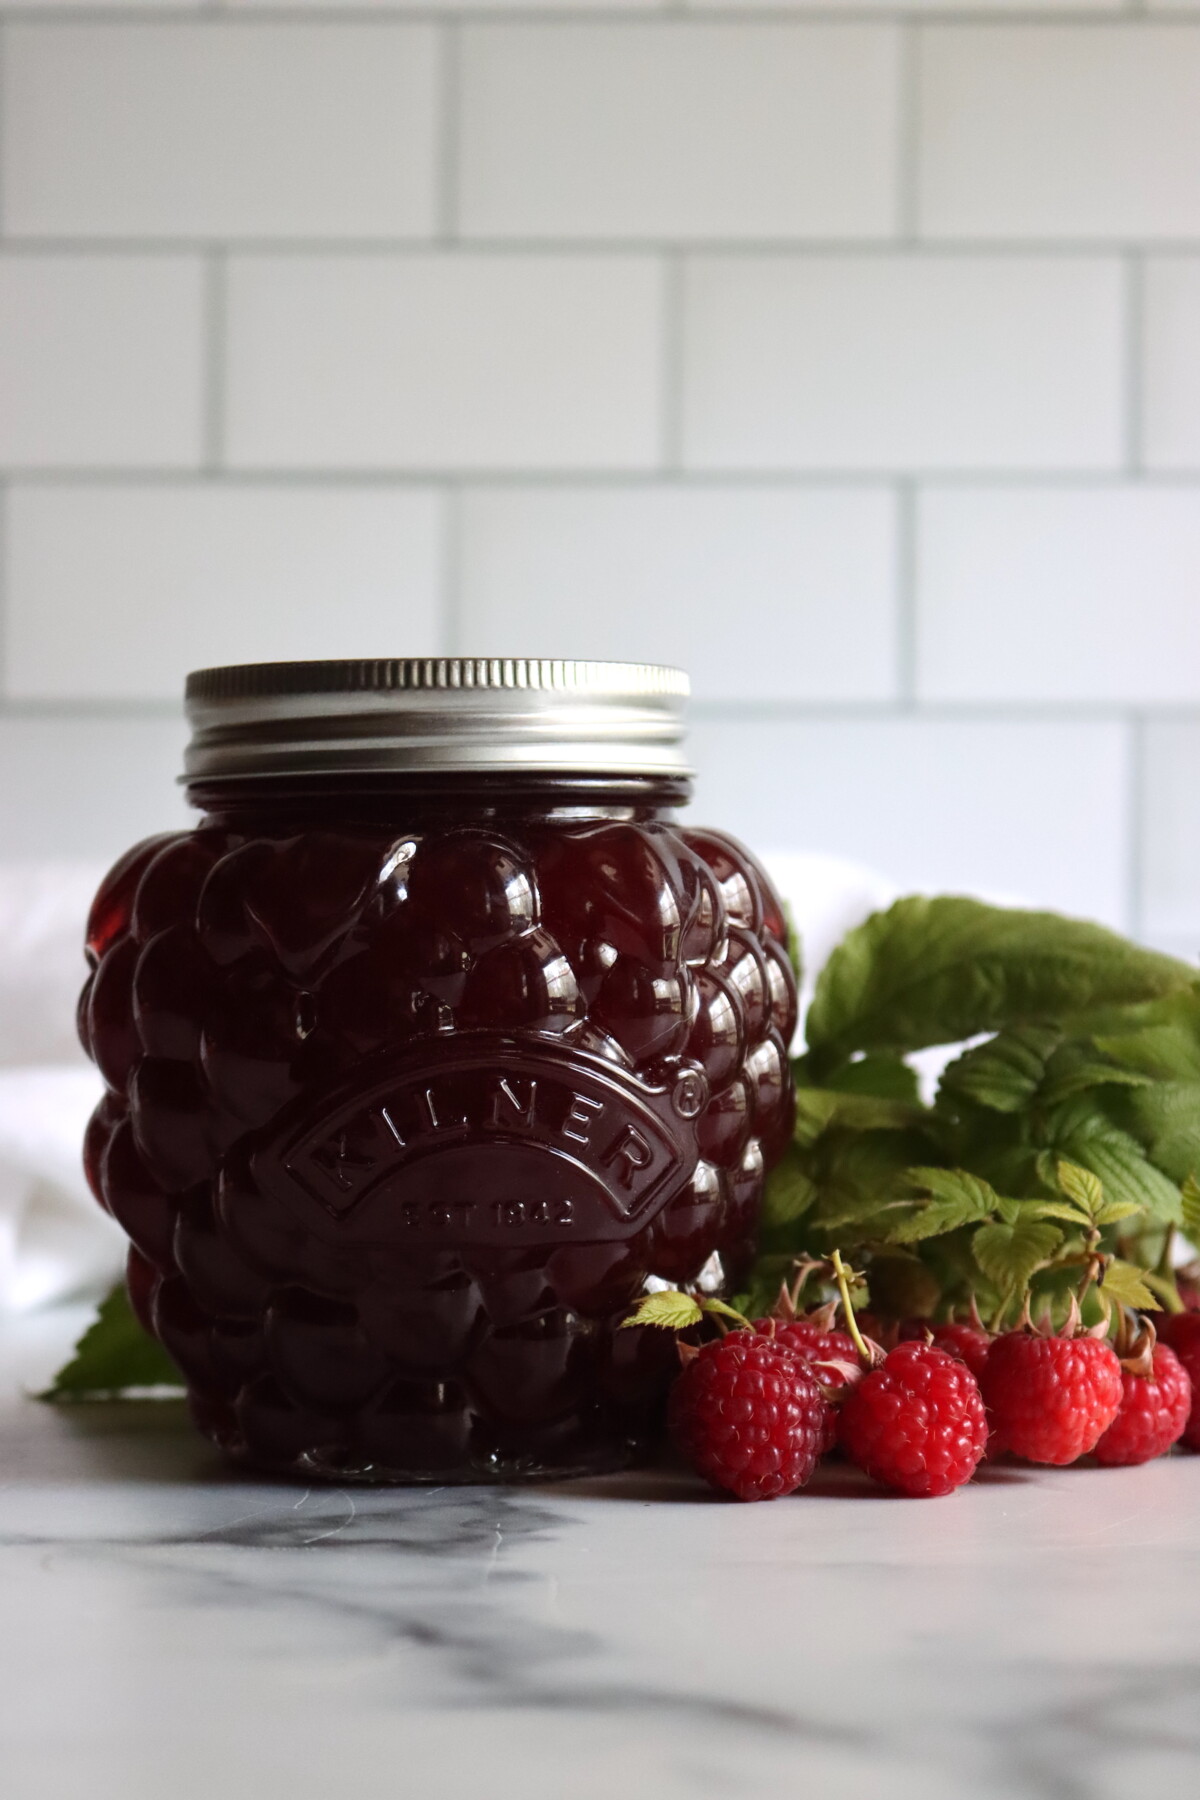
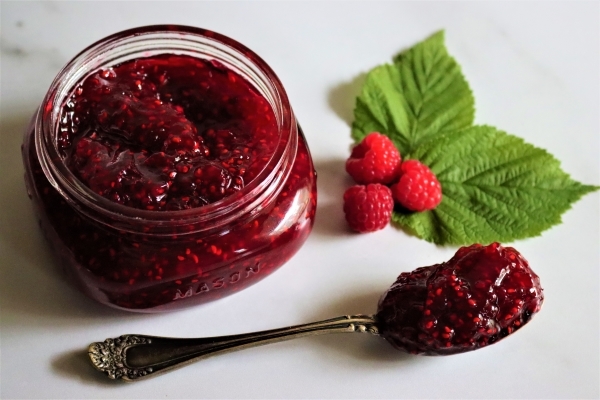
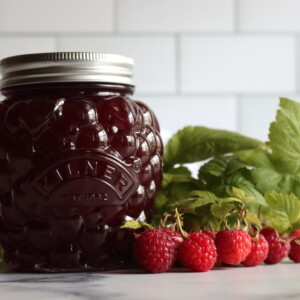
Raspberry jelly is a silky, seedless spread that captures all the bright, tart flavor of fresh raspberries without any of the crunch. Made the old fashioned way with just fruit and sugar, this no-pectin jelly sets beautifully and spreads like a dream.
If you love raspberry jam but find the seeds getting in the way, jelly is the answer. Straining the juice through a jelly bag removes the seeds completely, leaving you with a crystal clear preserve that’s perfect for toast, biscuits, or stirring into yogurt.
This recipe has been reviewed for safety and accuracy by a Master Food Preserver certified through the University of Cornell Cooperative Extension.
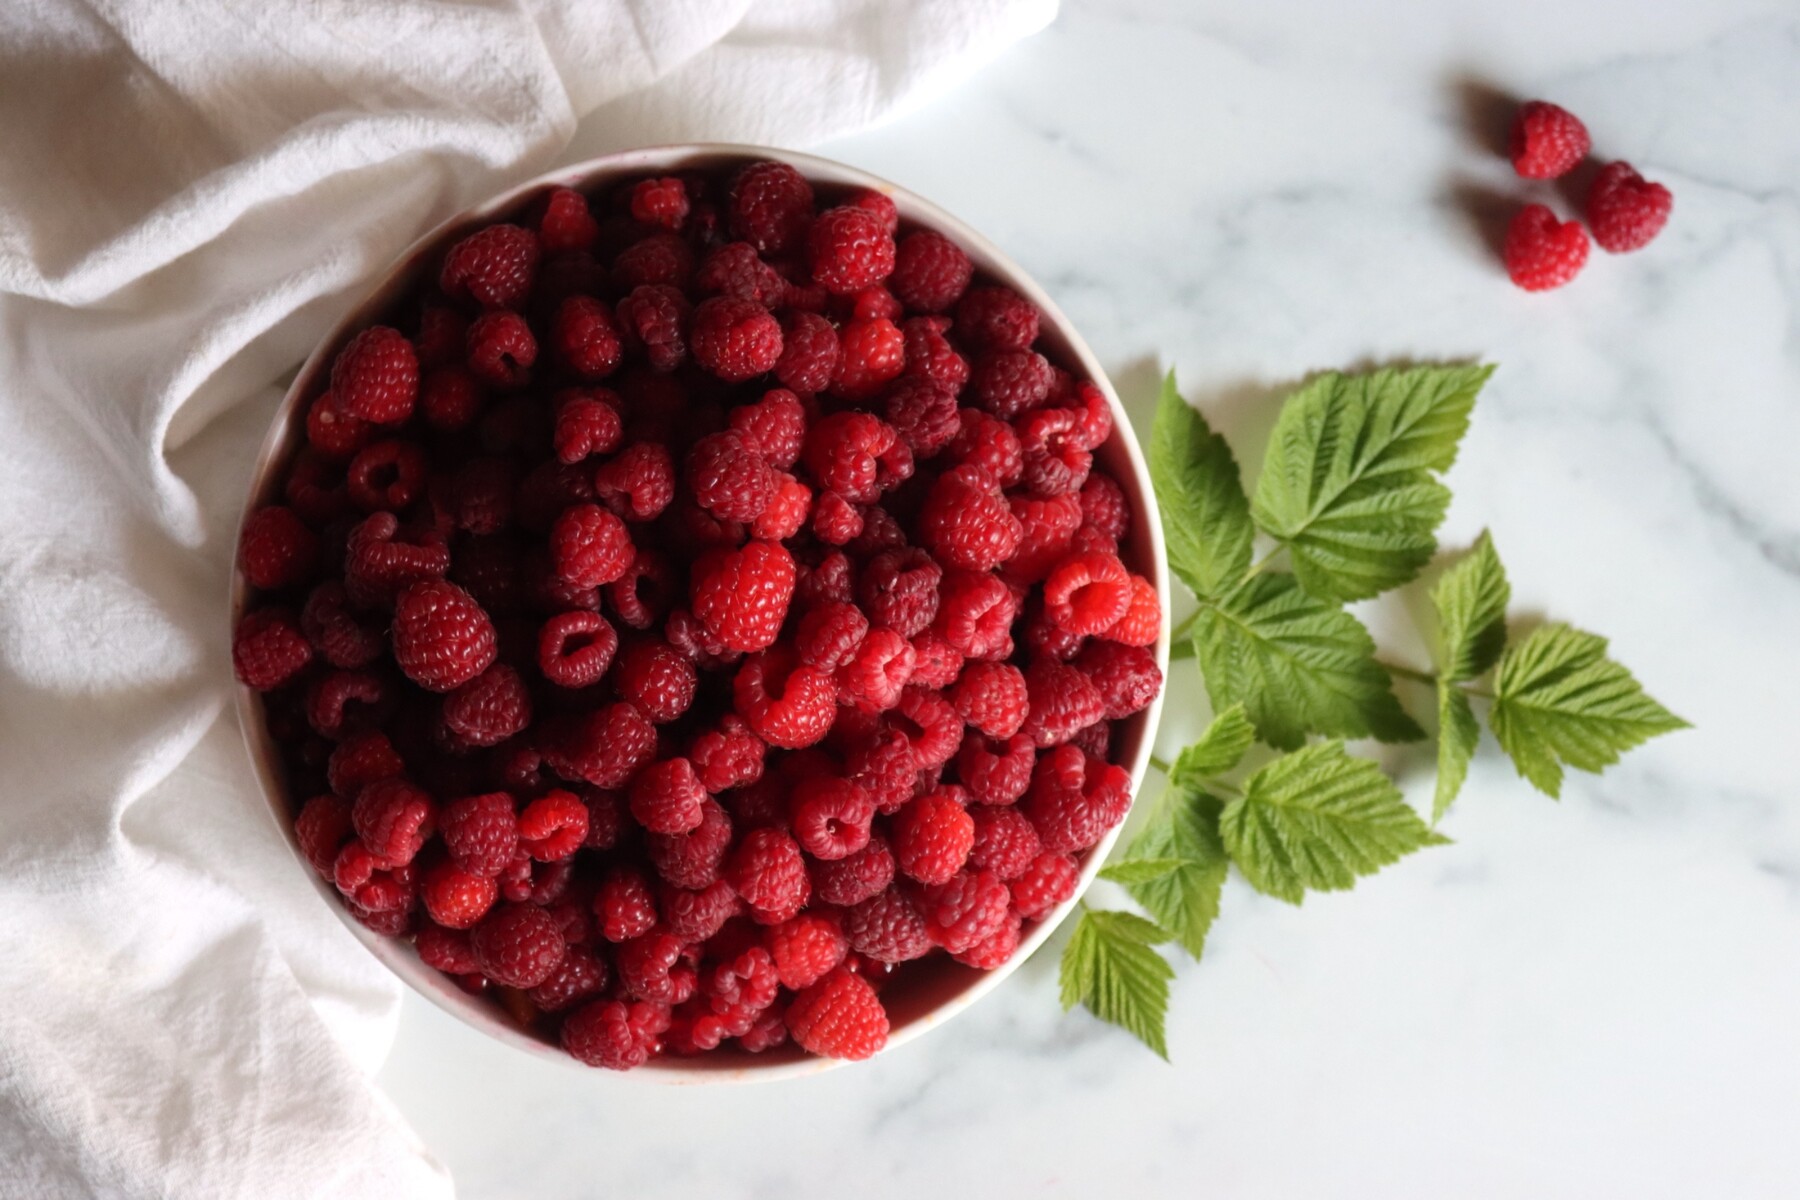
Raspberries are naturally high in acid and contain moderate amounts of pectin, which means they gel nicely without any commercial pectin added. The key is using a mix of ripe and slightly underripe berries (the underripe ones are higher in pectin) and cooking the jelly to the proper temperature.
This recipe uses a simple 1:1 ratio of juice to sugar, which gives a nicely sweet jelly with a firm set. You can reduce the sugar slightly if you prefer a more tart result, but keep in mind it will take longer to reach the gel point and your yield will be lower. If you want a significantly lower sugar option, use a recipe specifically developed for Pomona’s pectin.
For a jam with seeds, try classic raspberry jam. If you want the body of jam without the seeds, seedless raspberry jam is an option, though it requires more work to press the pulp through a fine mesh strainer.
Notes from My Kitchen

Raspberry jam is one of my favorites, and I always make it as a simple jam without added pectin. Sometimes though, the seeds get to me, even as a devoted raspberry lover. I tried making seedless raspberry jam, but pushing the pulp through a fine mesh strainer is really time consuming. Making it as a jelly instead gives me that smooth, seedless consistency without all the extra effort.
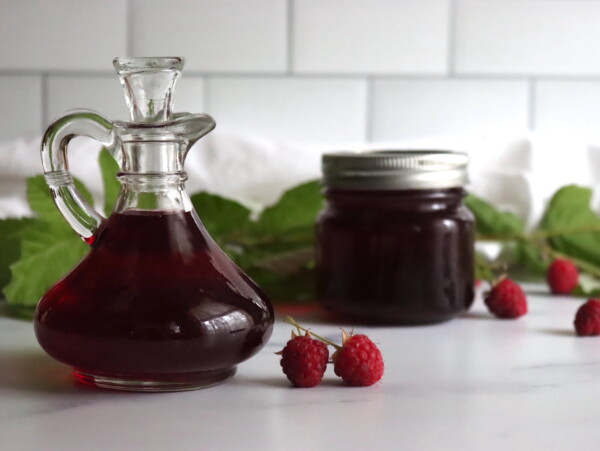
This jelly sets up nicely and comes out clear and beautiful in the jar. Just be sure to watch the temperature closely to make sure it hits the gel point, and throw in a few slightly underripe berries to boost the pectin. If it doesn’t set for you, try remaking it with pectin, or simply enjoy a delicious raspberry syrup. It’s spectacular either way.
I’ve never had trouble getting this one to set, but raspberries can vary in pectin content depending on how they’re grown.
Quick Look at the Recipe
- Recipe Name: Raspberry Jelly (Without Pectin)
- Recipe Type: Jelly
- Canning Method: Water Bath Canning
- Prep Time: About 1 hour (including straining)
- Cook Time: About 30 minutes
- Canning Time: 10 minutes for half pints or pints
- Yield: About 5 half pints
- Jar Sizes: Half pints or pints
- Headspace: 1/4 inch
- Ingredients Overview: Raspberries, sugar
- Safe Canning Recipe Source: Follows NCHFP guidance
- Difficulty: Moderate. Be sure you know how to test for set in jams without added pectin.
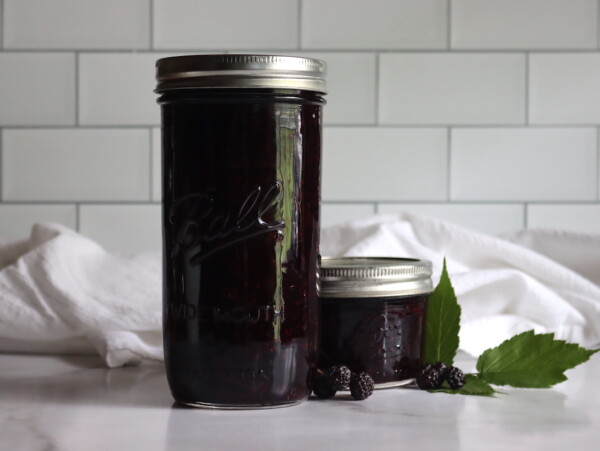
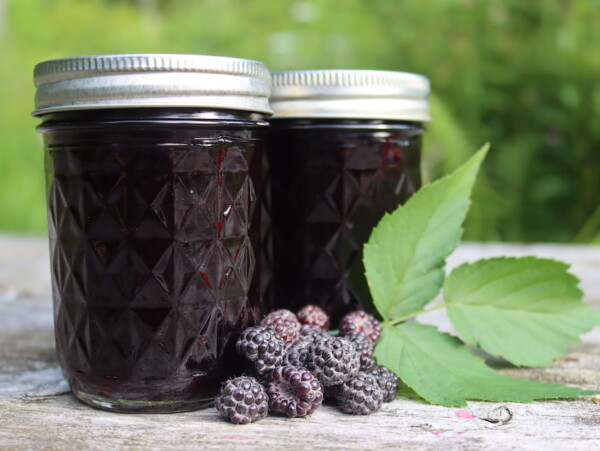
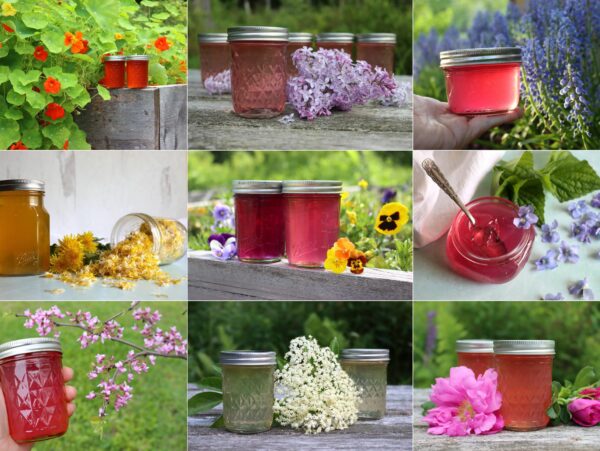
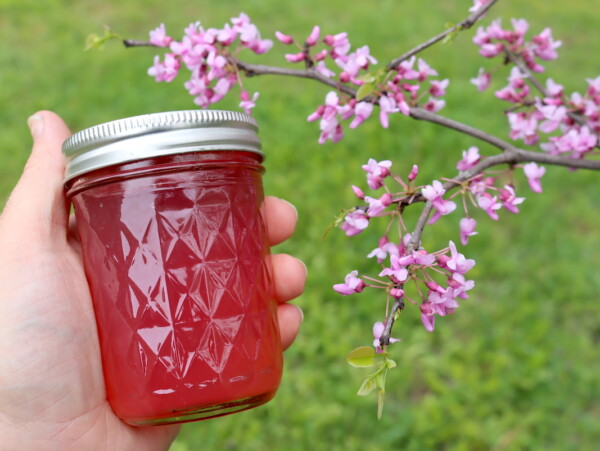
- Similar Recipes: Making raspberry jelly is similar to other old fashioned fruit jellies like black raspberry jelly, crabapple jelly and muscadine jelly, all of which rely on natural fruit pectin to set. If you love raspberry preserves, explore more raspberry canning recipes including raspberry jam and raspberry pie filling.
Ingredients
Raspberry jelly comes together with just two ingredients, though the quality of your berries makes all the difference.
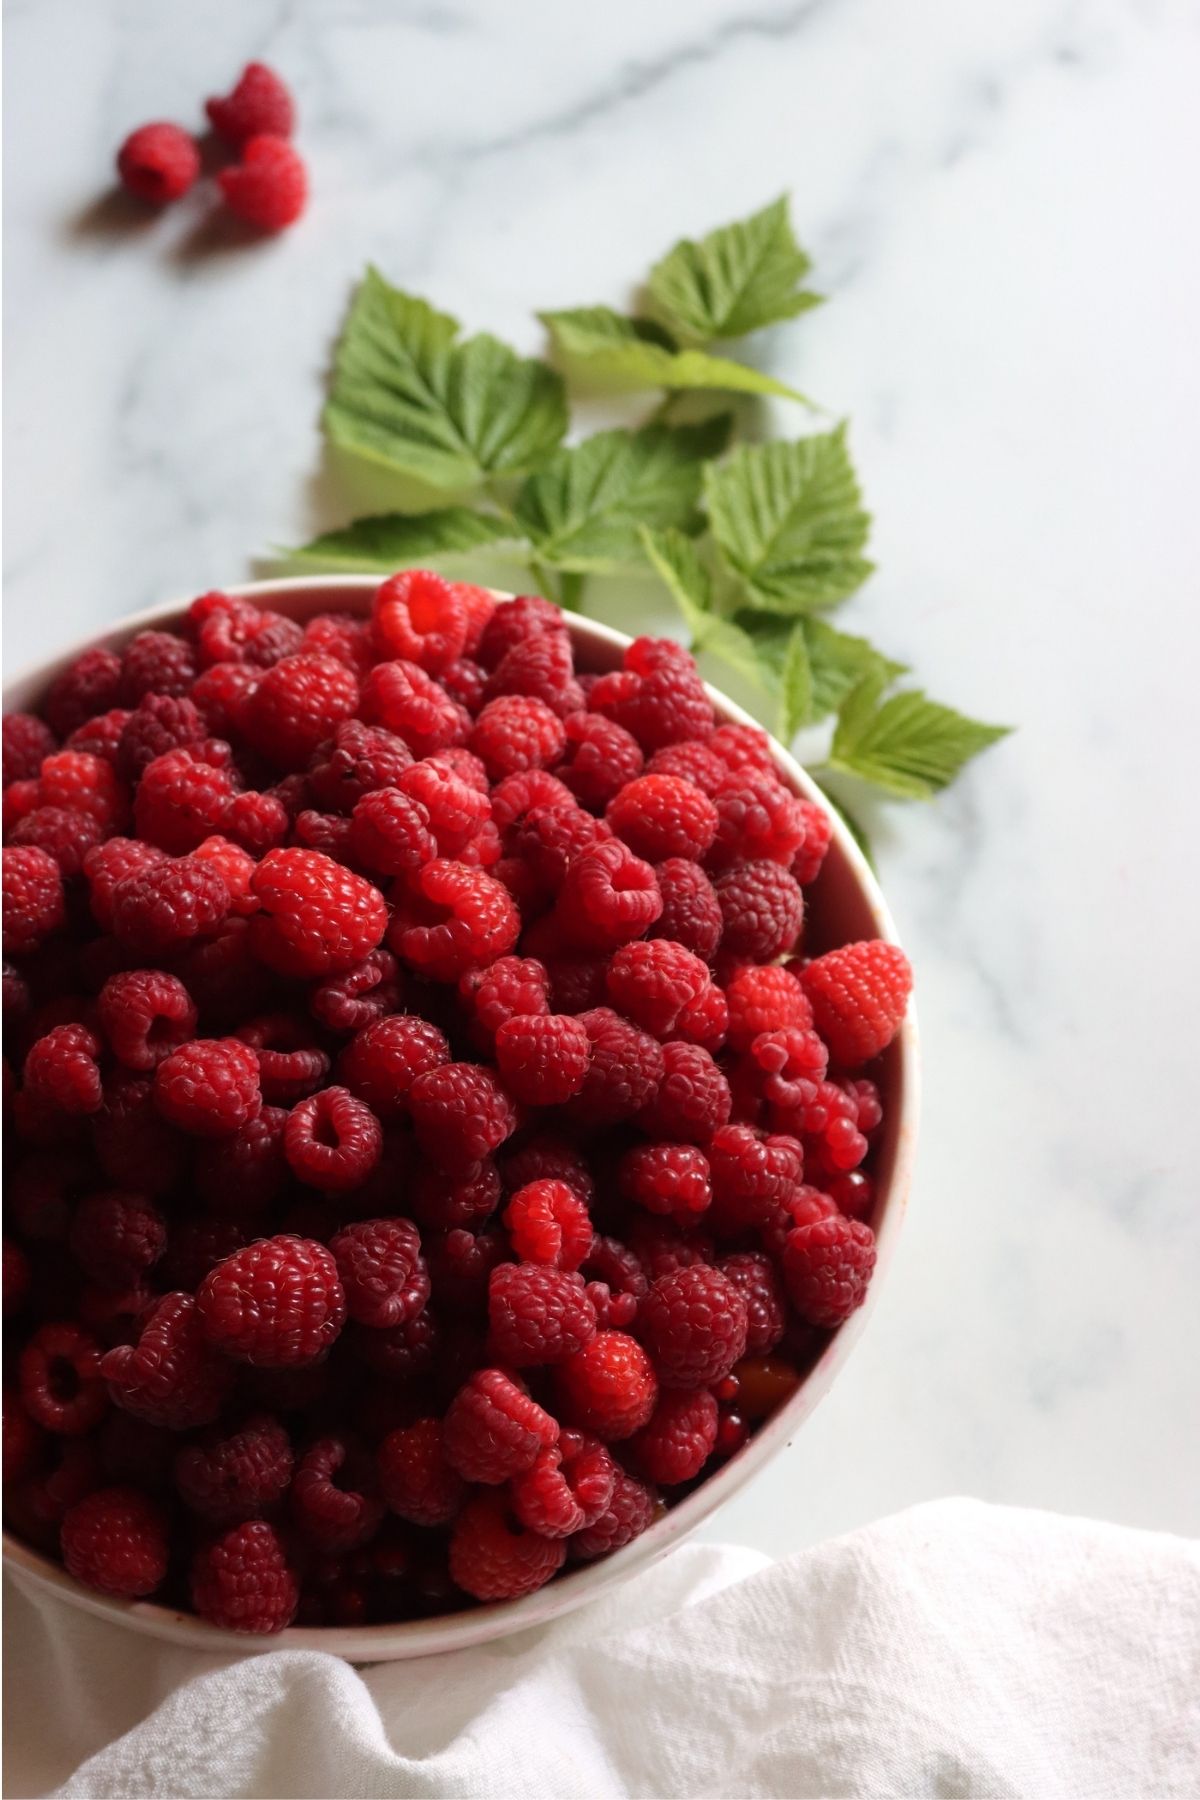
- Raspberries: You’ll need about 4 pounds of fresh raspberries (roughly 8 pints) to yield 5 cups of juice. For the firmest set, use a mix of about three quarters fully ripe berries and one quarter slightly underripe berries. The underripe berries are higher in natural pectin. Fresh berries work best, as pectin degrades in the freezer. It’s best to make raspberry jelly with added pectin if using frozen fruit.
- Sugar: Standard granulated sugar in a 1:1 ratio with the juice. This gives a nicely sweet jelly with a reliable set. If you’d like to reduce the sugar, you’ll need to add boxed pectin to get a reliable set.
Since raspberries are naturally quite tart and acidic, there’s no need to add lemon juice for flavor or safety, but it can be nice if you’d prefer a bright tart jelly. One to two tablespoons gives nice flavor, or you can really increase it and add up to 1/2 cup fresh lemon juice for a raspberry lemonade jelly.
Step by Step Instructions
Since the ingredients are simple, the process is important. Don’t skip steps and make sure you cook the jelly all the way to set point.
Extract the Juice
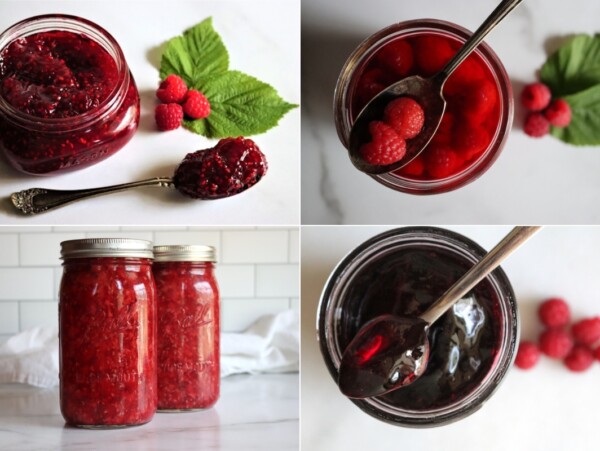
Place the raspberries in a large pot with one cup of water to prevent scorching. Crush lightly with a potato masher or the back of a spoon. Bring to a simmer over medium heat and cook for 5 to 8 minutes, stirring occasionally, until the berries have completely broken down and released their juices.
Pour the hot berry mixture into a damp jelly bag or a strainer lined with several layers of damp cheesecloth, suspended over a large bowl. Let the juice drip through for at least 4 hours or overnight. For the clearest jelly, resist the urge to squeeze the bag.
(I’ll be honest here, I usually squeeze the bag, and I still get a clear jelly, just be gentle and be sure you have a dense mesh of several layers of fine butter muslin or a high quality jelly bag.)
Measure and Cook the Jelly
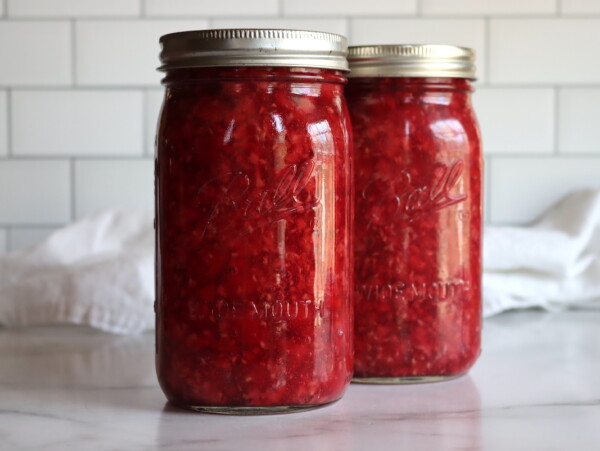
Measure the strained juice. You should have about 5 cups from 4 pounds of berries. For every cup of juice, add 1 cup of sugar. Pour the juice and sugar into a large, deep pot (the mixture will foam up considerably as it cooks) and stir well to dissolve the sugar.
Bring the mixture to a boil over medium-high heat, stirring frequently to prevent scorching. Continue boiling, stirring often and watching for boil-overs, until the jelly reaches 220°F on an instant-read thermometer (at sea level). This typically takes about 30 minutes, though it can vary depending on the pectin content of your berries.
Fill the Jars
Remove the pot from heat and quickly skim off any foam with a large metal spoon. Ladle the hot jelly into prepared jars, leaving 1/4 inch headspace. Wipe the rims clean with a damp cloth, apply lids and bands, and tighten to fingertip tight.
Setting Notes
Jelly reaches its gel point at 220°F at sea level. If you’re at a higher elevation, the gel point drops by about 1°F for every 500 feet above sea level (so at 1,000 feet, aim for 218°F).
Raspberry jelly can take a while to reach gel stage, sometimes up to 30 minutes or more of steady boiling. Be patient and keep stirring to prevent scorching. The mixture will foam up considerably as it cooks, so use a deep pot and watch for boil-overs.
The cold plate test is the most reliable way to check for set. Place a small plate in the freezer before you start cooking. When you think the jelly is ready, drop a small spoonful onto the cold plate and let it sit for 30 seconds. Push it with your finger: if it wrinkles and holds its shape, it’s done. For more help, see troubleshooting jelly that didn’t set.
Canning Raspberry Jelly
Without canning, raspberry jelly will keep in the refrigerator for 2 to 3 weeks or in the freezer for up to 6 months. For shelf-stable storage, process the filled jars in a boiling water bath.
Prepare your water bath canner before you start cooking the jelly (while the juice is straining is a good time). The canner should be at a gentle simmer when you’re ready to process. Lower the filled jars into the canner, making sure they’re covered by at least 1 inch of water, and process for 10 minutes for either half pints or pints, adjusting for altitude as noted below.
After processing, turn off the heat and let the jars stand in the canner for 5 minutes before removing them. Place the jars on a towel-lined counter and let them cool undisturbed for 12 to 24 hours. Check seals before storing, and refrigerate any jars that didn’t seal for immediate use. Properly sealed jars keep at room temperature for 12 to 18 months.
Altitude Adjustments
For water bath canning, processing times increase at higher elevations:
- 0 to 6,000 feet: 10 minutes
- Above 6,000 feet: 15 minutes
Yield Notes
This recipe starts with about 4 pounds of fresh raspberries (roughly 8 pints), which should yield approximately 5 cups of strained juice. Combined with 5 cups of sugar and cooked to gel stage, expect to fill about 5 half-pint jars.
The yield is roughly 1:1, meaning each cup of juice produces about one cup of finished jelly (one half-pint jar). If you reduce the sugar, your yield will be lower because you’ll need to cook the jelly longer to reach the gel point, evaporating more liquid in the process.
Serving Ideas
Raspberry jelly is a classic on warm toast, biscuits, or English muffins. Its smooth texture makes it ideal for swirling into yogurt or oatmeal, or for spreading on peanut butter sandwiches without the textural surprise of seeds.
In baking, raspberry jelly makes an excellent filling for thumbprint cookies, linzer cookies, or jelly rolls. Warm it slightly and use it as a glaze for cheesecake or fresh fruit tarts. It also pairs beautifully with chocolate in cakes and brownies.
For savory applications, try using raspberry jelly as a glaze for roasted duck or pork, or stir it into pan sauces for a fruity finish. It also makes a lovely addition to a cheese board, pairing especially well with soft cheeses like brie or camembert.
Raspberry Jelly FAQs
Yes, frozen raspberries work well for jelly. No need to thaw them first. Just add them to the pot and proceed as usual. Frozen berries may actually yield slightly more juice than fresh.
Raspberries contain moderate amounts of pectin, and very ripe berries have less pectin than underripe ones. If your jelly didn’t set, it likely didn’t reach the gel point temperature, or your berries were all very ripe. Try remaking it with added pectin, or enjoy it as raspberry syrup, which is delicious drizzled over pancakes or ice cream.
The set in this recipe relies on a 1:1 ratio of fruit juice to sugar. If you’d like a low sugar raspberry jelly, you’ll need to use a low sugar pectin such as Pomona’s or Sure Jel Low Sugar.
Both are seedless, but they’re made differently. Jelly is made from strained juice only, which gives it a clear, smooth consistency. Seedless raspberry jam is made by pressing the cooked fruit through a fine mesh strainer to remove the seeds while keeping the fruit pulp, resulting in a thicker, more opaque spread with more body. Jelly is easier to make since straining juice through a jelly bag is less labor intensive than pressing pulp through a strainer.
Raspberry Canning Recipes
If you tried this Raspberry Jelly Recipe, or any other recipe on Creative Canning, leave a ⭐ star rating and let me know what you think in the 📝 comments below!
And make sure you stay in touch with me by following on social media!
Raspberry Jelly (Without Pectin)
Equipment
- Half pint canning jars
- Canning lids and bands
Ingredients
For the Juice
- 4 pounds fresh raspberries, about 8 pints
- 2 tablespoons water
For the Jelly
- 5 cups raspberry juice, strained
- 5 cups sugar
Instructions
- Place raspberries in a large pot with the water. Crush lightly with a potato masher. Bring to a simmer over medium heat and cook for 5 to 8 minutes until berries have completely broken down. Pour into a damp jelly bag or cheesecloth-lined strainer over a bowl. Let drip for at least 4 hours or overnight.
- Measure 5 cups of strained juice into a large, deep pot. Add 5 cups of sugar (1 cup sugar per cup of juice). Bring to a boil over medium-high heat, stirring frequently. Continue boiling until the mixture reaches 220°F, about 30 minutes. Stir often to prevent scorching and watch for boil-overs.
- Remove from heat and skim off foam. Ladle hot jelly into prepared jars, leaving 1/4 inch headspace. Wipe rims, apply lids and bands to fingertip tight.
- Lower filled jars into a prepared water bath canner. Process for 10 minutes for half pints or pints, adjusting for altitude.
- Turn off heat and let jars stand in canner for 5 minutes. Remove to a towel-lined counter and cool undisturbed for 12 to 24 hours. Check seals before storing.
Notes
Storage
Properly canned and sealed jars keep at room temperature for 12 to 18 months. Without canning, store in the refrigerator for 2 to 3 weeks or freeze for up to 6 months. Refrigerate after opening.Altitude Adjustments
- 0 to 6,000 feet: 10 minutes
- Above 6,000 feet: 15 minutes
Nutrition
Nutrition information is automatically calculated, so should only be used as an approximation.
Jelly Recipes
Find the perfect recipe
Searching for something else? Enter keywords to find the perfect recipe!