This post may contain affiliate links. Please see our disclosure policy.
Canning applesauce has got to be the fastest and easiest way to preserve apples. This simple water bath canning recipe for homemade applesauce is perfect for beginners!
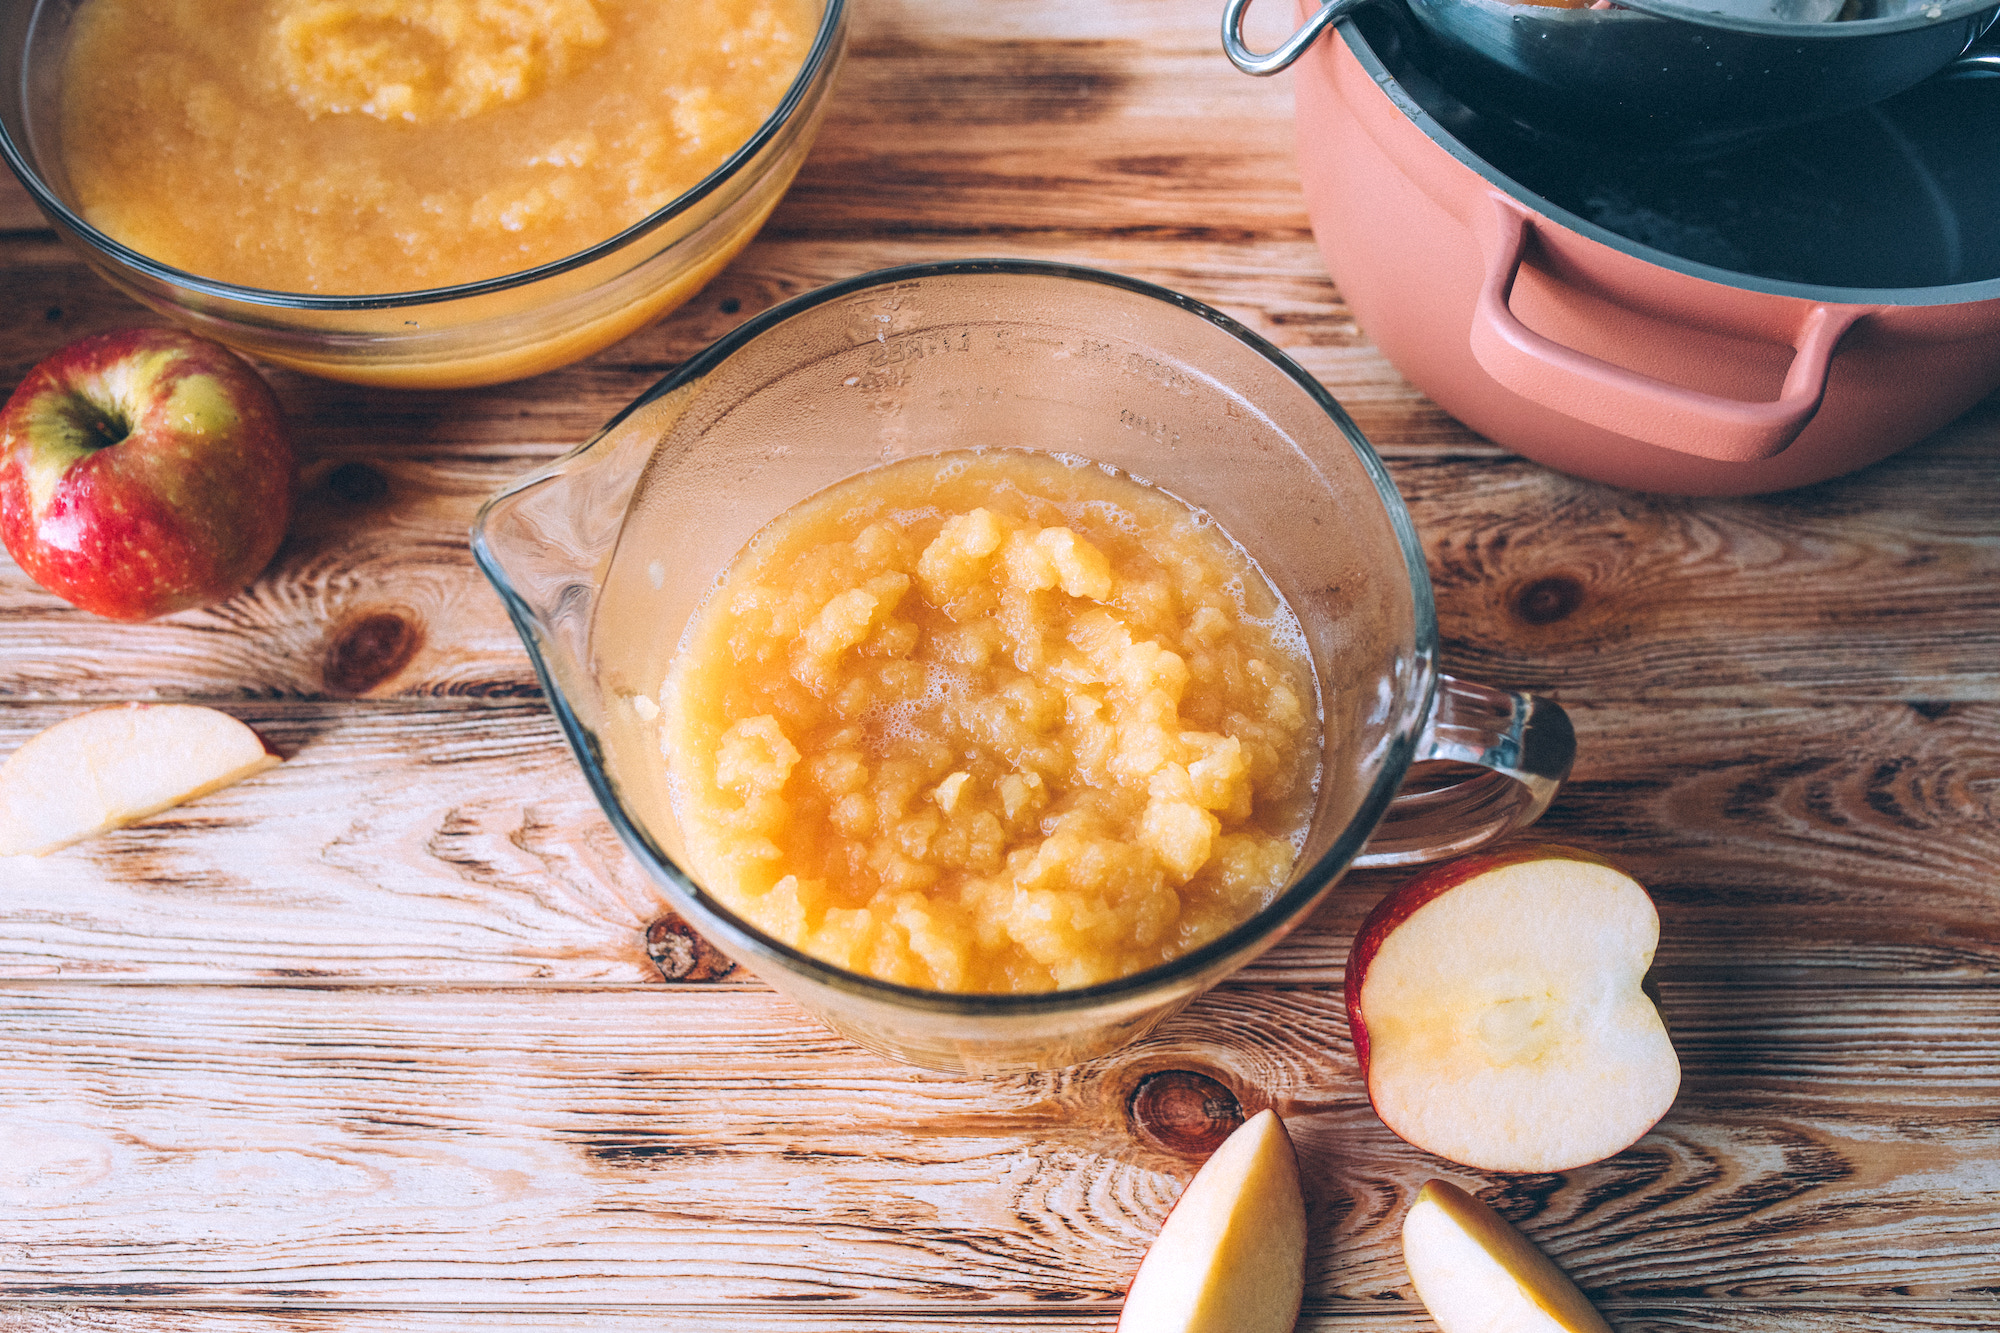
Who doesn’t love applesauce?
In most households – especially those with young kids – applesauce is not only a nice addition to the pantry, but a staple. It can be eaten on its own as well as used as a base for a variety of recipes, both savory and sweet. Everything from cakes, pies, and muffins to savory potato latkes and beside pork chops.
Making applesauce from scratch each time you want to enjoy it can be a time-consuming, labor-intensive task. Canning a large amount will not only save you time and effort, but also ensure you always have homemade applesauce on hand for months to come.
We harvest apples by the truckload each autumn, and this is one of my favorite ways to preserve them in bulk.
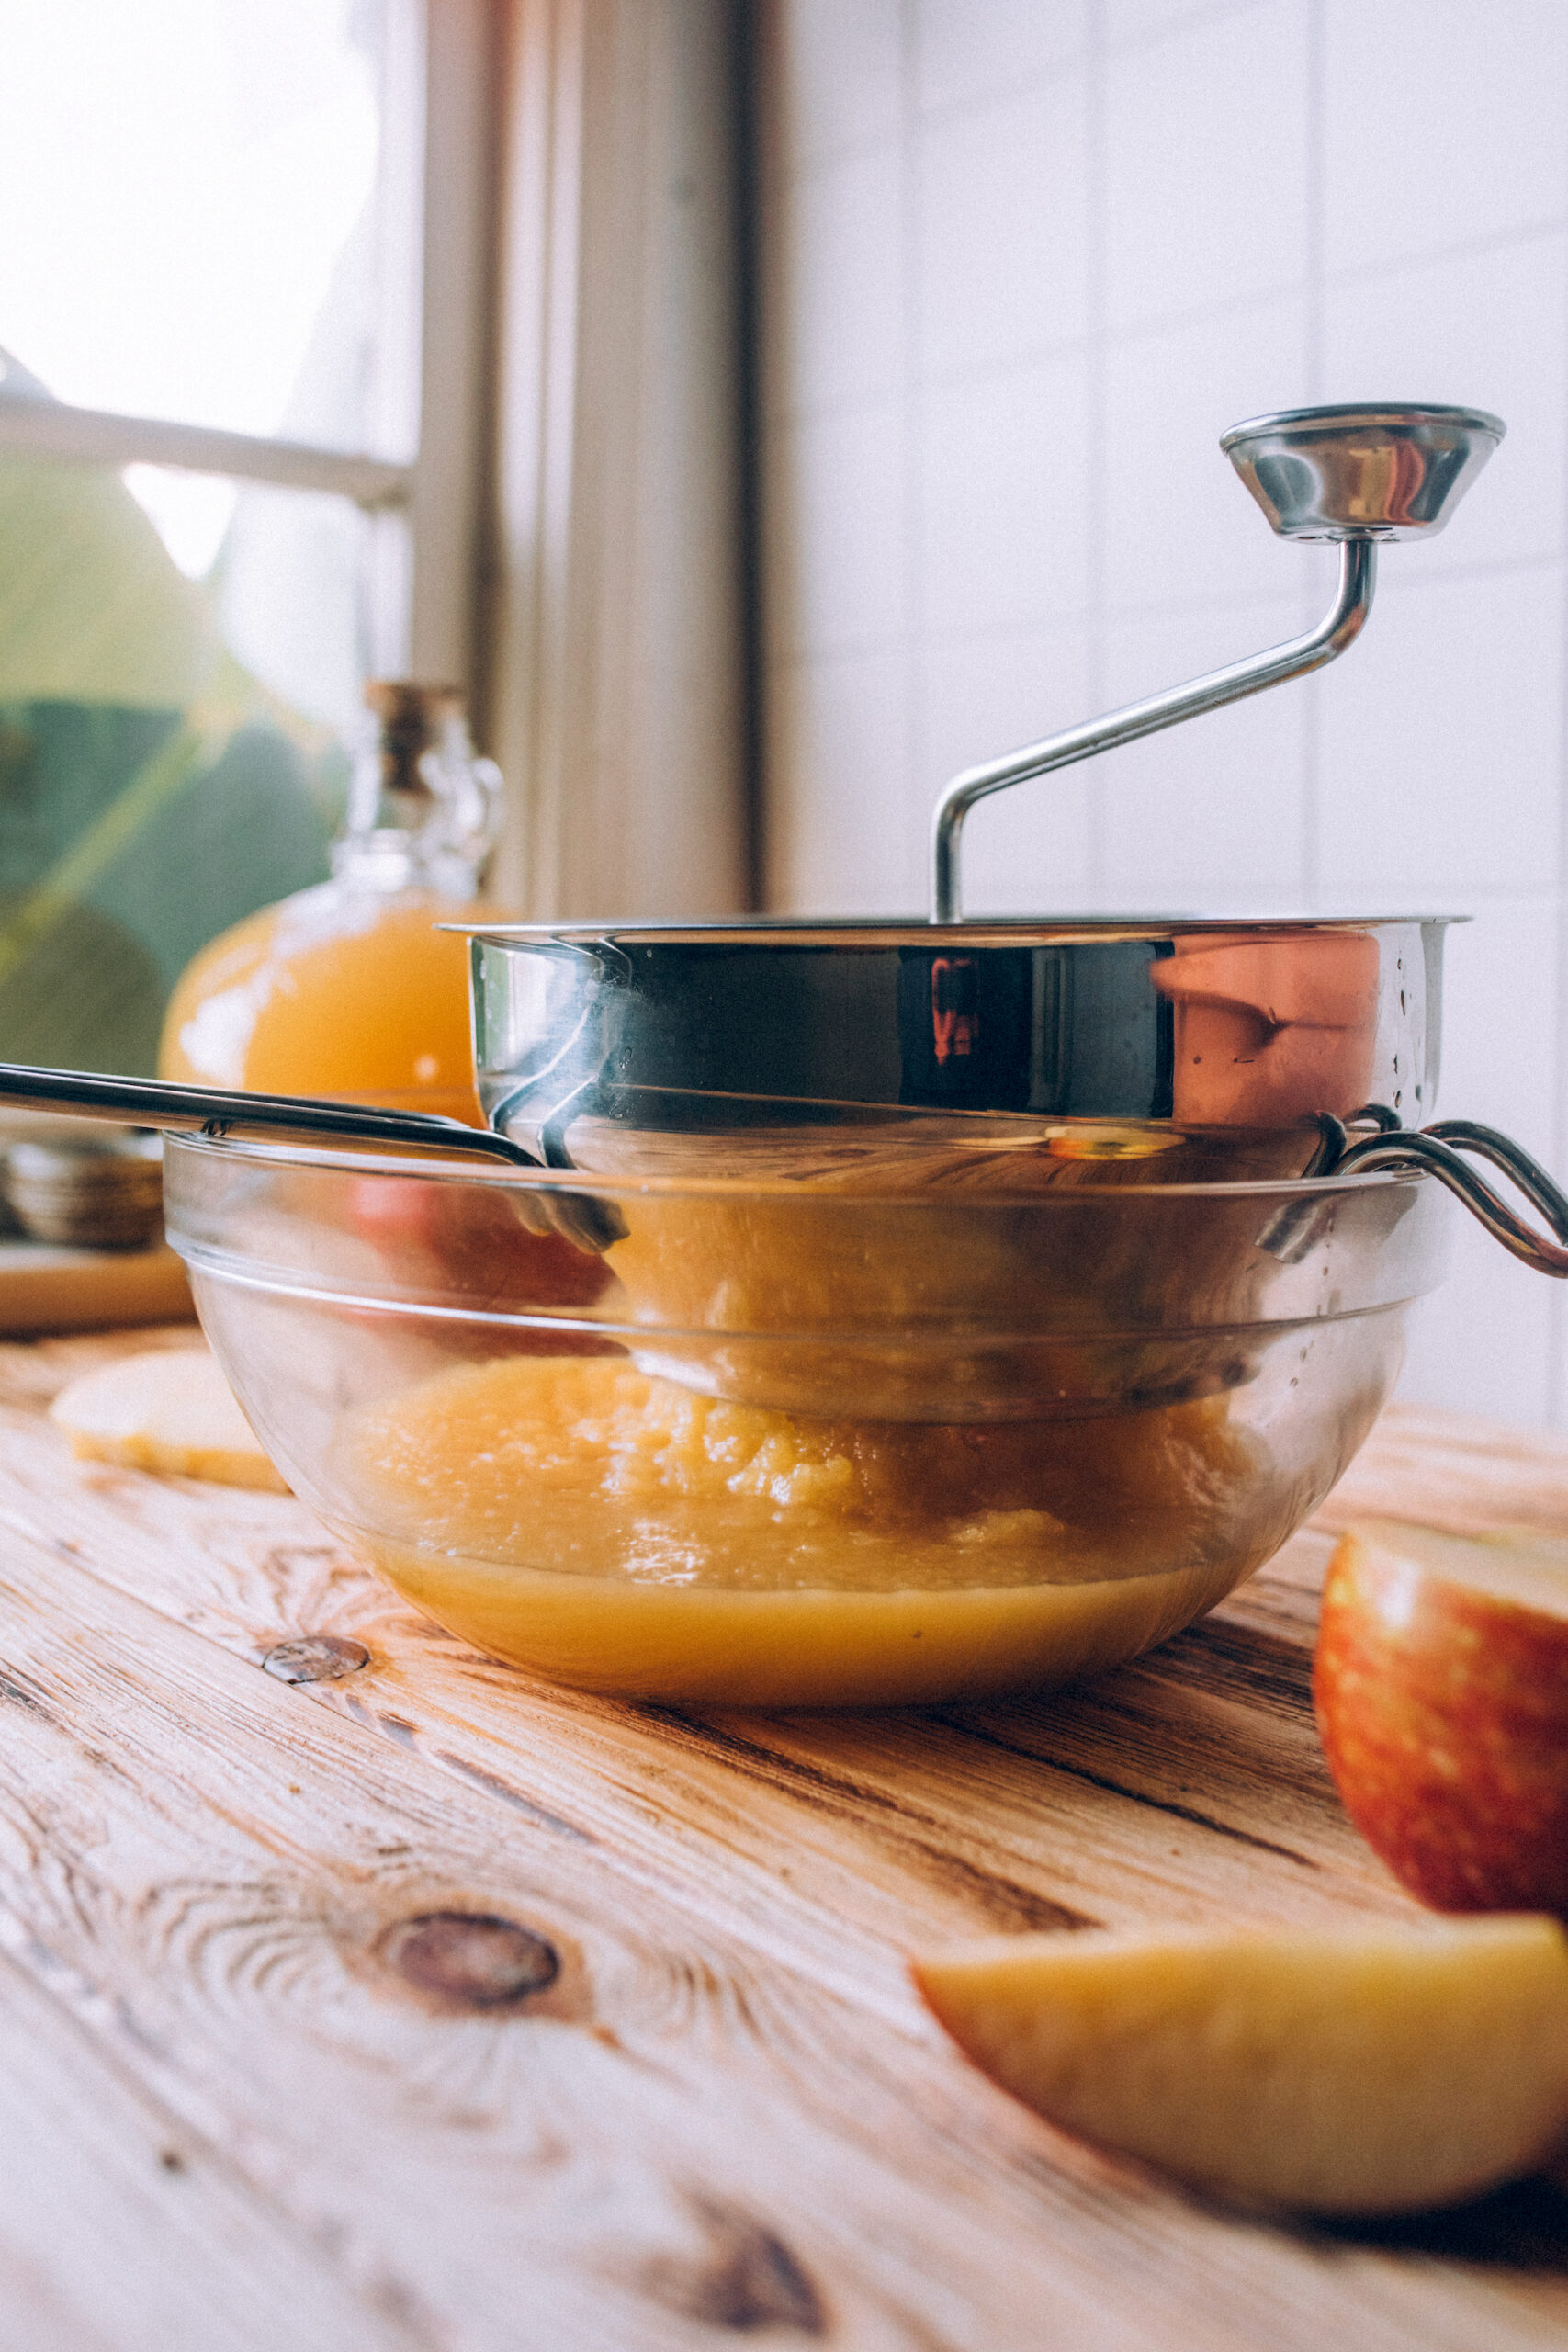
Ingredients for Applesauce
The ingredients for canning applesauce are quite simple. To make a canner batch of seven quarts or nine pints, you’ll need the following:
- Apples
- Apple Cider, juice, or water
- Bottled Lemon Juice
- Sugar (optional)
- Spices (optional)
Applesauce yields really depend on your apples. Some have a lot more water in them than others, and will need to be cooked down a bit before they can form a good sauce. Others have bigger cores, and smaller apples will have more skin and core (and less saucy inside) compared to larger apples. You can get a rough idea, though.
According to the National Center for Home Food Preservation, on average, you’ll need about 21 pounds of apples to produce a canner load of seven quarts (around 13 ½ lbs to produce 9 pints). A bushel is approximately 48 pounds and will yield 14 to 19 quarts of applesauce, or three pounds per quart.
Sugar is optional but can help with very tart apples. Most modern varieties are quite sweet and don’t really need sugar, but it’s all according to your tastes.
Similarly, spices are optional, but many people like a little cinnamon or nutmeg in the mix. Personally, I like to put my plain applesauce so that it’s more versatile later on, and warm spices like cinnamon can occasionally turn bitter during canning.
You’ll need a bit of liquid to start the pot cooking, and though water works fine, I like to add a bit of apple cider to the bottom of the pot for extra flavor. That’s only needed at the beginning before the apples start to break down and release their juices, and it just prevents scorching during the first few minutes of cooking.
Many people add lemon juice for tartness and have for generations, but more recently, Ball Canning did some research and found that many apple varieties aren’t quite acidic enough for canning. The new super-sweet varieties are less tart, but older varieties grown in orchards with a lot of nitrogen in the soil make for less acidic apples. They’re not always acidic enough; it turns out, so now they’re recommending adding lemon juice to all canned apple products.
For applesauce, the recommended amount of lemon juice is 1 Tbsp per quart jar or 1/2 Tbsp per pint. That’s added to the bottom of the jar before you ladle the sauce into each jar, which helps you get the measurement correct, and helps you not forget to add it before you put the lids on the jars.
Best Apples for Sauce
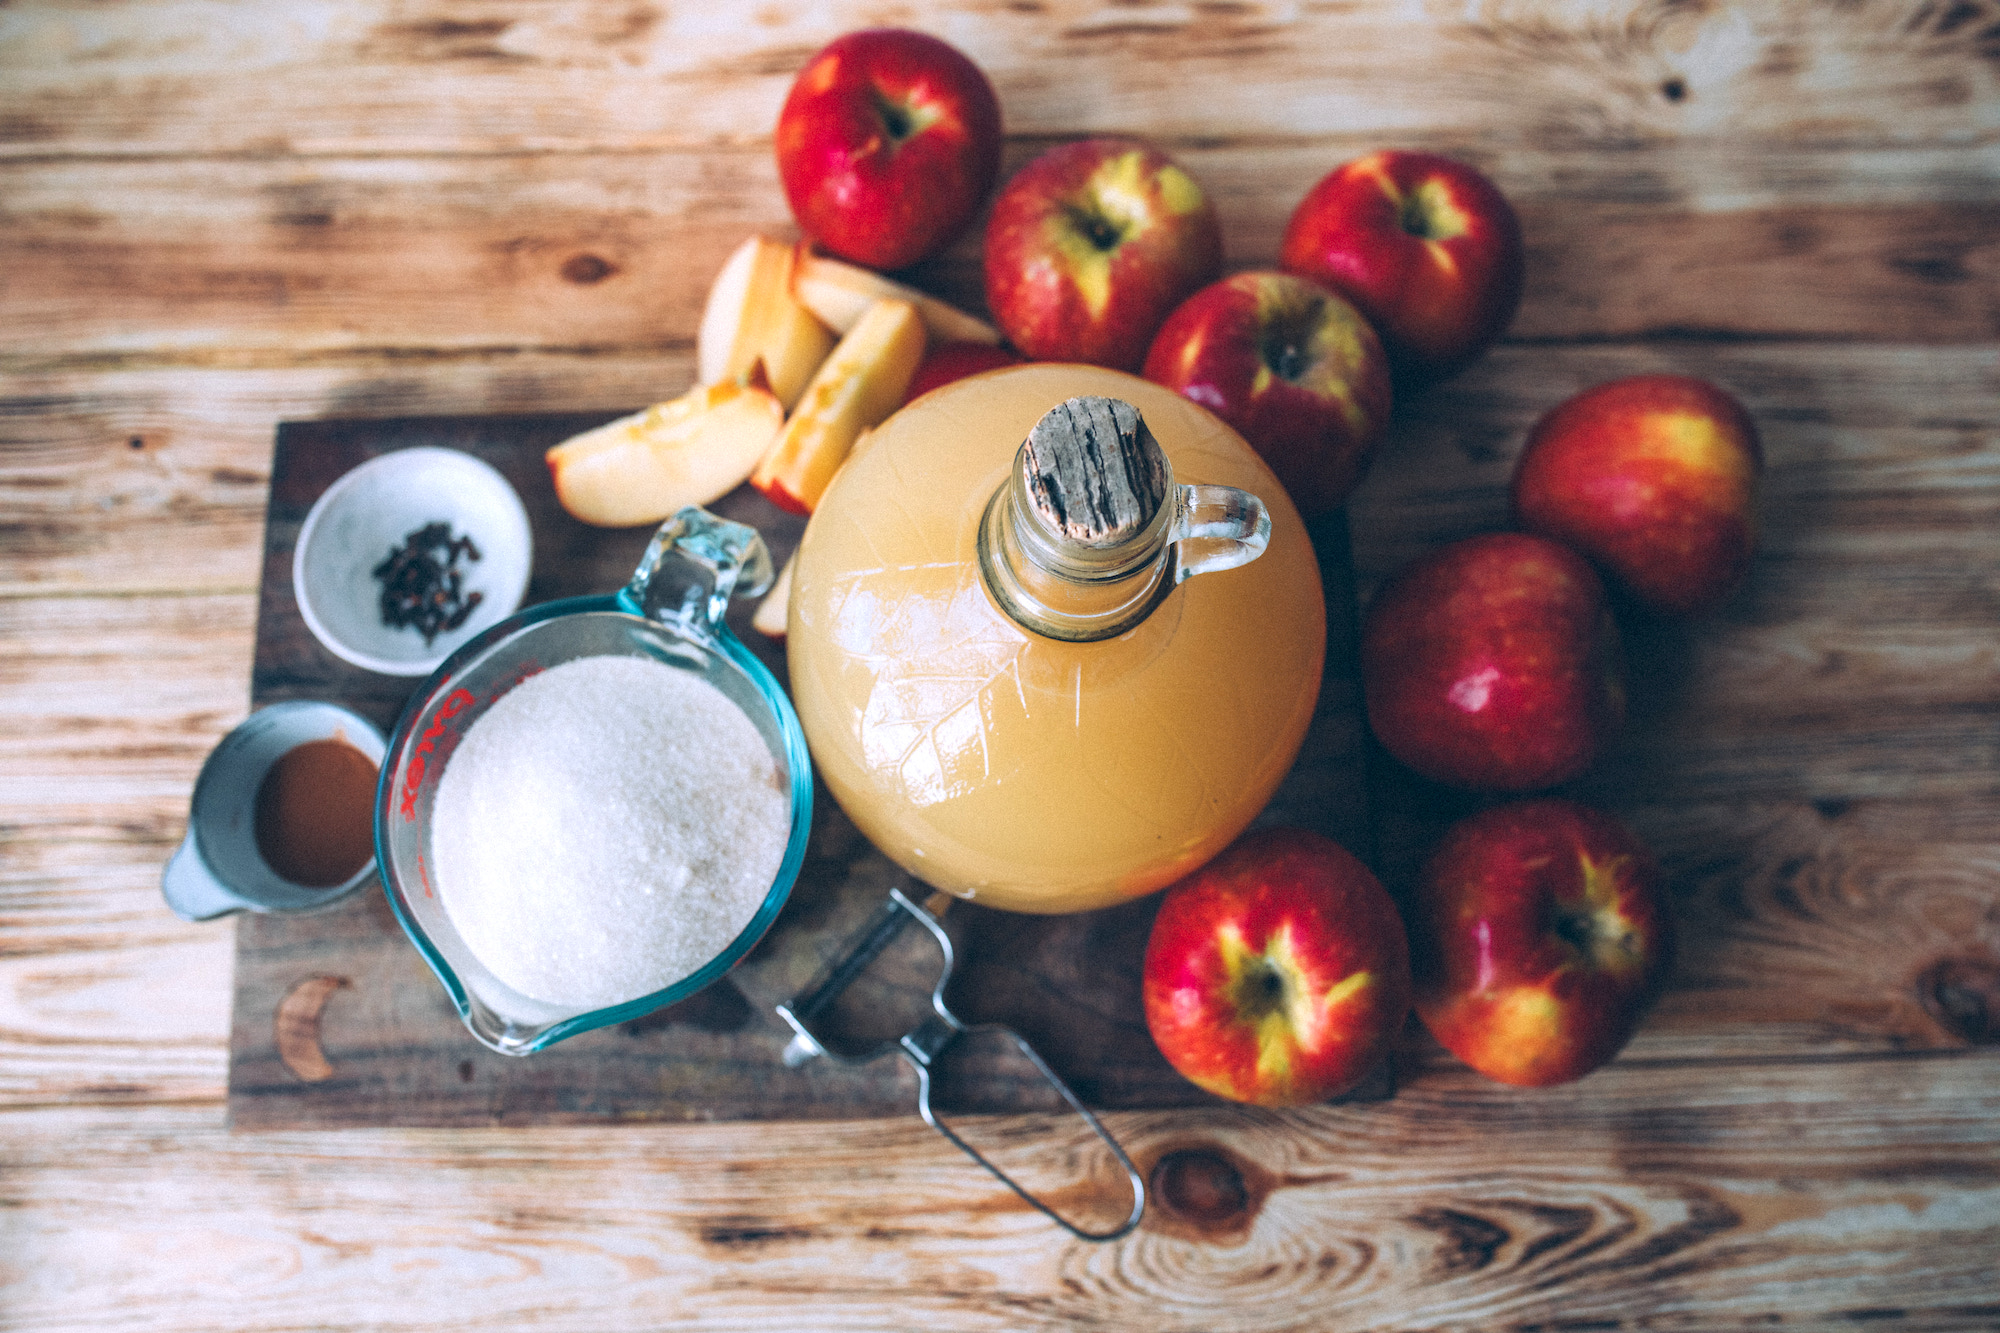
First things first – when selecting apples for canning, you want to choose sweet, juicy, and crisp apples. Adding one to two pounds of tart apples per every three pounds of sweeter fruit can create a more potent, “tart” flavor, if that’s what you prefer.
I know it’s popular to make applesauce out of apples that just aren’t good for anything else, those mealy ones that are well past prime, and while they do make sauce…they don’t make the best sauce. You can dispose of all those extras in sauce, but just know that the quality of the finished product is directly related to the quality of the ingredients. Older apples on the edge of spoiling have lost much of their aroma, and you’ll notice it in the finished sauce.
Making Applesauce
Start by washing, peeling, and coring the apples. If you’d like, you can slice the apples into water containing a bit of lemon juice to prevent browning. This is optional and won’t affect the safety or flavor of the finished product.
Peeling is optional, and you can make applesauce with peels, that’s fine, but most people don’t appreciate the texture.
You can also use a food mill to remove the skins after the batch softens. That saves labor, and you don’t have to hand peel the apples, but that’s best done with unsprayed apples rather than conventional ones. Apples with bright red peels can also color the batch, which some people like and others don’t. It’s personal preference.
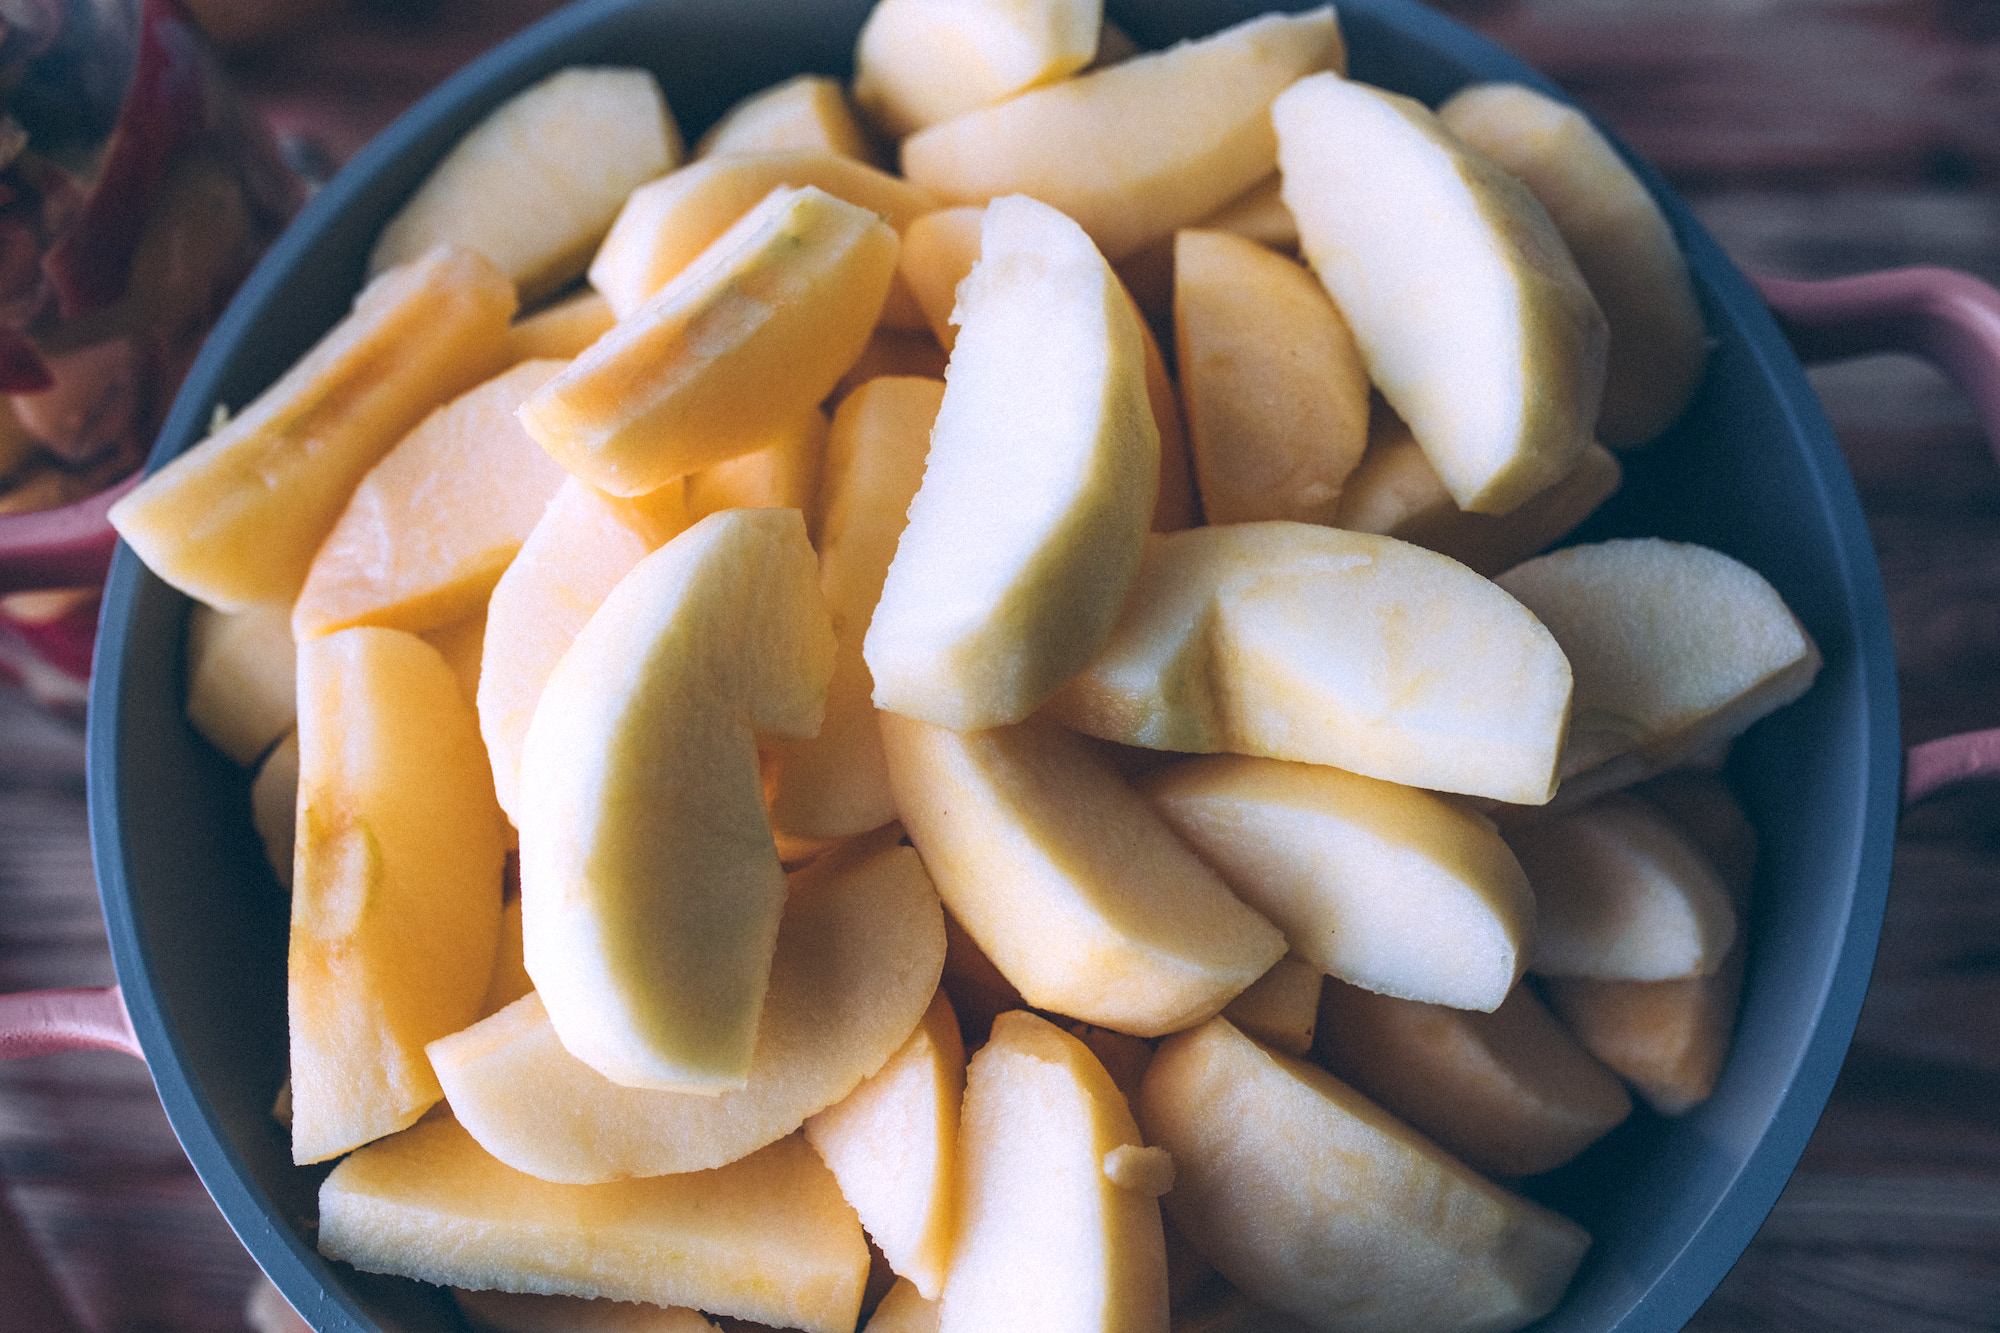
Place the slices into a large 8-10 quart pot and add half a cup of water, apple juice or apple cider. Stir occasionally to prevent burning while heating the apples. They’ll quickly release juices and begin to fall apart. Depending on the maturity and variety of the apples, this process could take anywhere from 5 to 20 minutes.
After that, you can use a sieve or a food mill to create a smooth texture, or you can bypass this step if you prefer chunk-style applesauce.
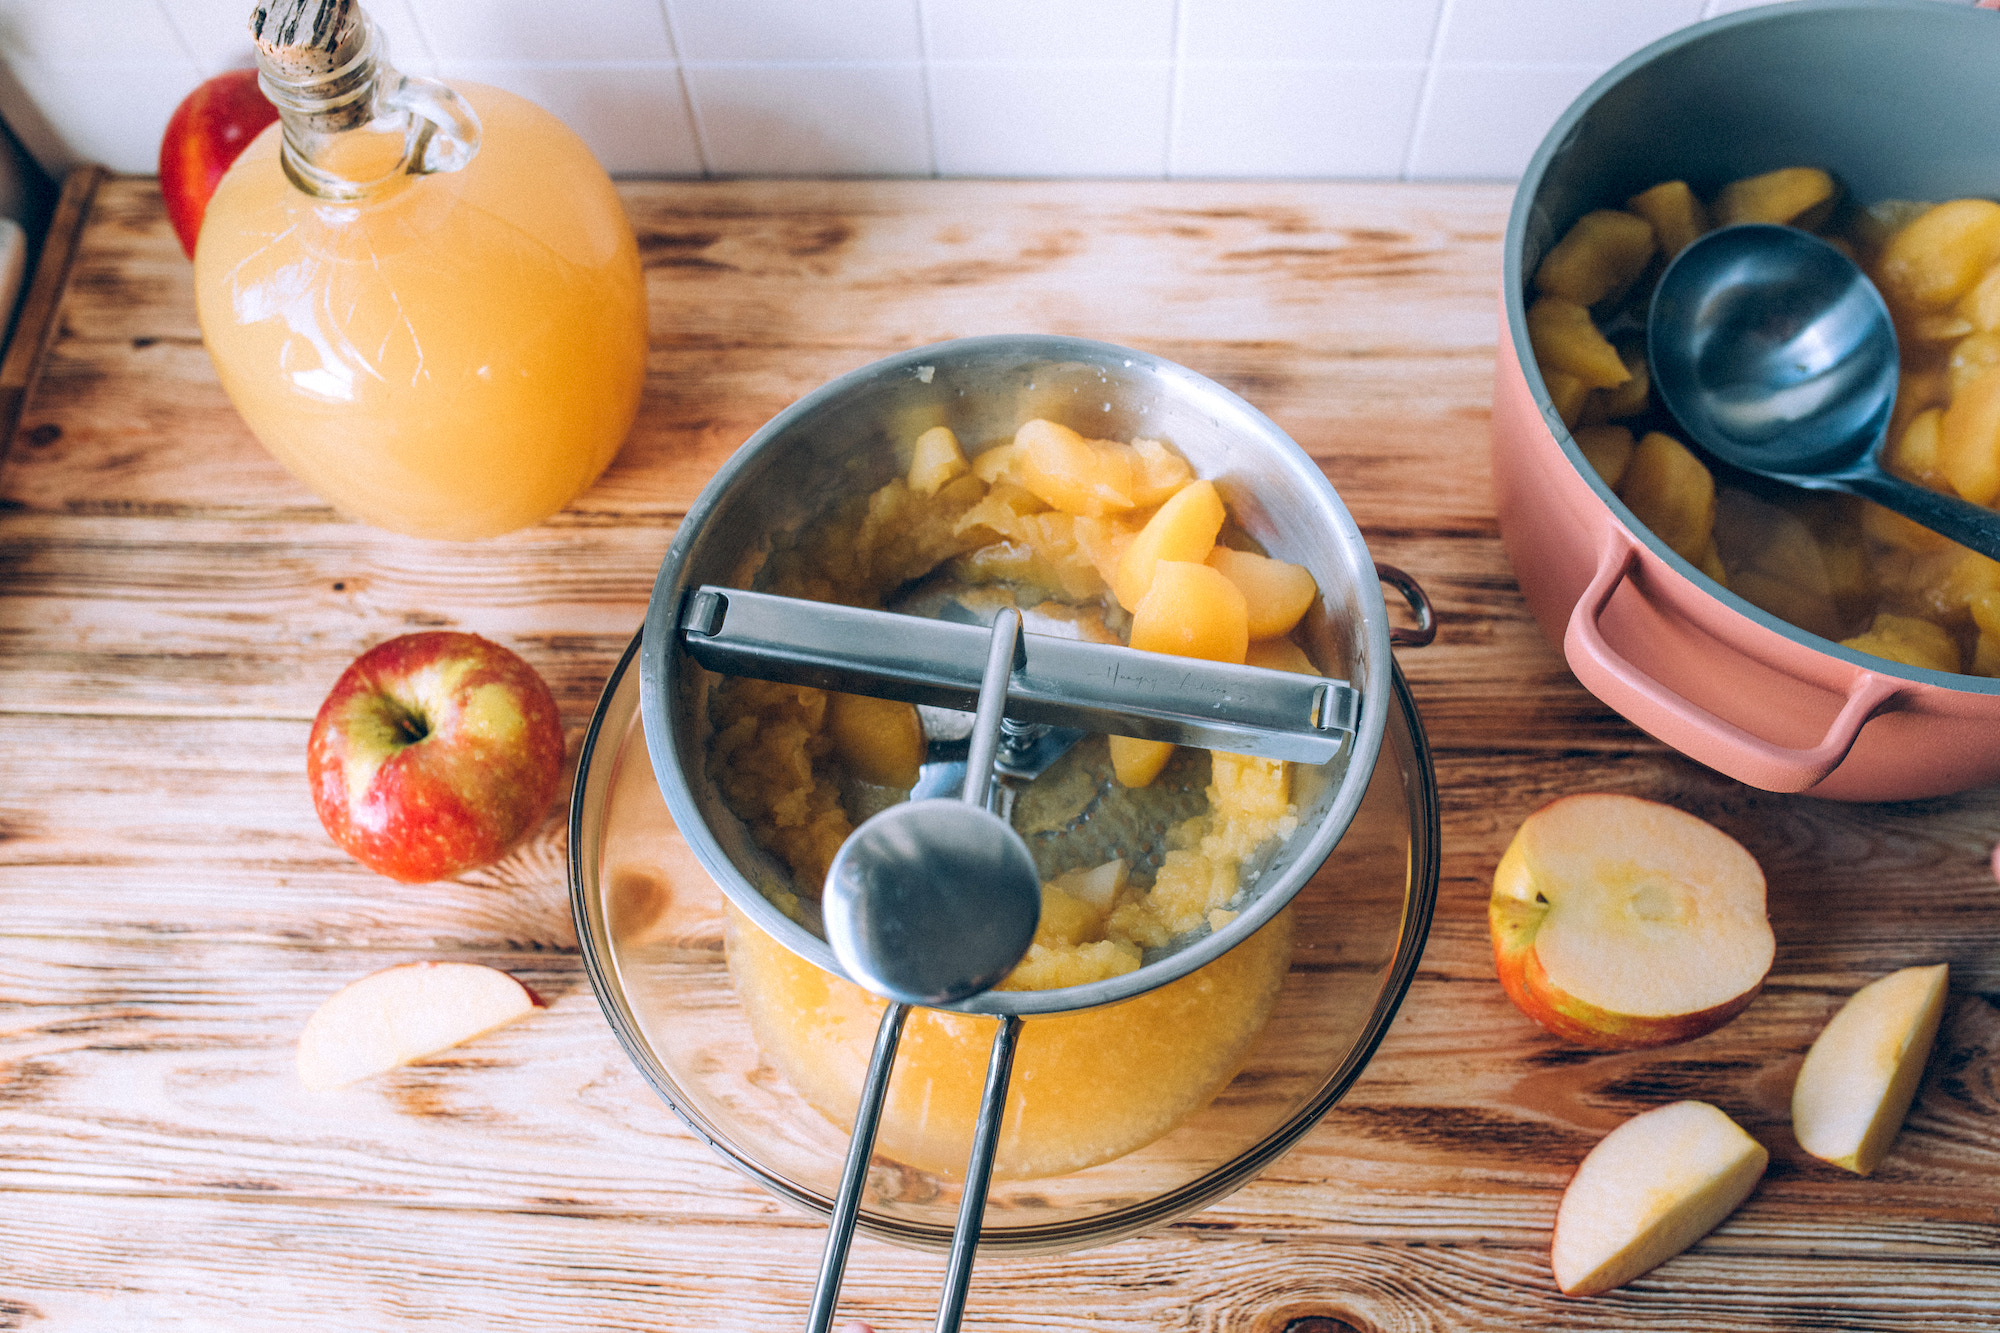
Applesauce can be packed without sugar, but if you prefer your applesauce to be on the sweeter side, you can add 1/8th cup of sugar per every quart of sauce.
Taste the sauce and add more sugar if you prefer a sweeter taste.
At this point, you can store the applesauce in the fridge, and it’ll keep for about a week, or the freezer for up to 6 months. Personally, I like to can it because then I always have it ready to go on my pantry shelf. It’s a quick water bath canning project, and it’s worth it to me because it saves on freezer space.
Canning Applesauce
If canning, prepare a waterbath canner, jars, lids and rings. This is a hot pack recipe, so the canner should be just simmering at around 180 degrees F.
Then, reheat the sauce to boiling and fill hot sauce into pint or quart jars, leaving 1/2 inch headspace. Wipe the jars clean of any residue, add the lids, and bands.
Next, you’ll transfer the jars to either a boiling water canner or a pressure canner. For a boiling water canner, you’ll process pints for 15 minutes and quarts for 20 minutes, adjusting for altitude. If you’d prefer to use a pressure canner, you’ll process pints for eight minutes and quarts for 10 minutes at 6 lbs of pressure in a dial-gauge pressure canner.
If you’re using a weighted-gauge canner, you’ll process pints for eight minutes and quarts for 10 minutes at 5 lbs of pressure.
After your processing time has finished, let the jars cool in the canner (and if you’re using a pressure canner, wait for the pressure to return to zero). Then, remove the jars and place them on a clean dish rag to cool at room temperature for another 24 hours.
Check the seals, label, and store.
Home canned applesauce will be good to to eat so long as the jars are sealed, but quality is best within the first 12 to 18 months. Refrigerate after opening.
Applesauce Canning Altitude Adjustments
Water boils at a lower temperature at higher altitudes, so you need to increase the canning time to ensure proper processing. Here are the altitude adjustments for water bath canning applesauce:
- For Under 1,000 Feet in Elevation – Process jars for 15 minutes for pints and 20 minutes for quarts.
- For 1,001 to 3,000 Feet in Elevation – Process jars for 20 minutes for pints and 25 minutes for quarts.
- For 3,001 to 6,000 Feet in Elevation – Process jars for 20 minutes for pints and 30 minutes for quarts.
- Above 6,000 Feet in Elevation – Process jars for 25 minutes for pints and 35 minutes for quarts.
Some people prefer pressure canning applesauce, even though it’s not required, and a water bath canner is perfectly fine. Pressure canning is a bit quicker, and releases less steam into the room, so it’s a matter of personal preference.
If pressure canning applesauce, the canning times are always the same, but the pressure increases with altitude. Pressure canning times are always 8 minutes for pints, and 10 mintues for quarts. Pressures are as follows:
For dial gauge pressure canners:
- 0 to 2,000 feet in elevation – 6 lbs pressure
- 2,001 to 4,000 feet in elevation – 7 lbs pressure
- 4,001 to 6,000 feet in elevation – 8 lbs pressure
- 6,001 to 8,000 feet in elevation – 9 lbs pressure
For weighted gauge pressure canners:
- 0 to 1,000 feet in elevation – 5 lbs pressure
- Above 1,000 feet – 10 lbs pressure
Applesauce Variations
Plain applesauce is the most versatile, of course, but you can add just about any spice you like. Cinnamon is the most common, but vanilla and brandy is divine.
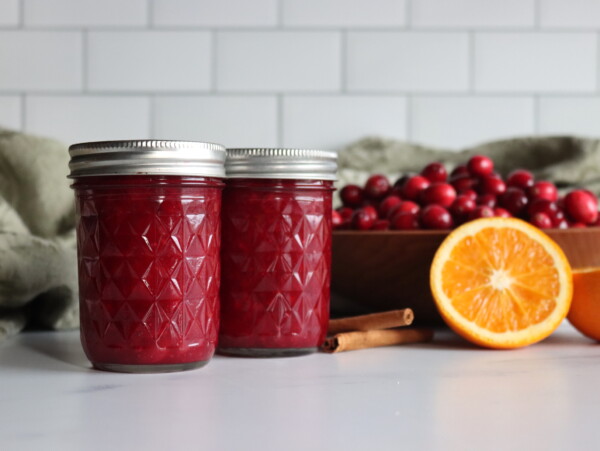
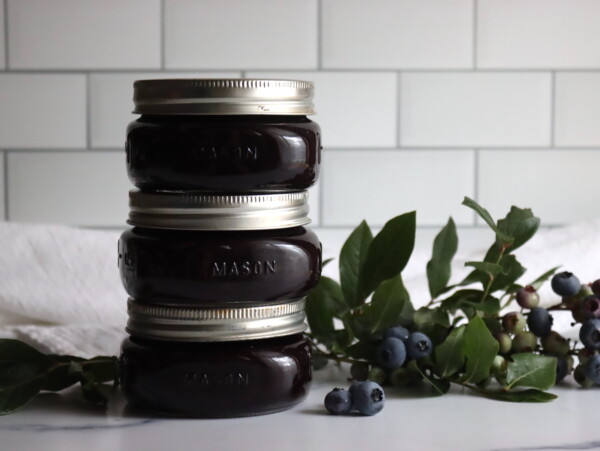
You can also flavor the sauce with any canning-safe acidic fruit. Blueberry applesauce and cranberry applesauce are some of the most common combinations.
This same process also works for making pear sauce, or a combination pear apple sauce with both fruits.
Making applesauce is the first step to making a slow cooked batch of traditional apple butter, so you can also keep cooking it into a rich spread if you’d like.
Serving Applesauce
Perhaps the most beautiful thing about canned applesauce is that it can be enjoyed either cold or warm. You can enjoy it as is or add some additional ingredients to create a custom flavor. For a classic apple pie taste, try adding a sprinkle of cinnamon or nutmeg. If you want to make your applesauce a bit more savory, try adding a pinch of salt or some chopped fresh herbs like thyme or rosemary. I like to add these at serving.
In terms of what to serve with applesauce, the possibilities are nearly endless. It’s a classic side dish for pork chops or roast pork, but it also pairs well with chicken, turkey, and even fish. You can also use applesauce as a topping for oatmeal or pancakes, stir it into yogurt, or simply enjoy it on its own as a tasty snack.
Apple Canning Recipes
Looking for more ways to preserve apples in a jar this season?
Canning Applesauce
Ingredients
- Apples
- Apple Cider, juice or water
- Bottled Lemon Juice, see notes
- Sugar, optional
- Spices, optional
Instructions
- When selecting apples for canning, you want to choose sweet, juicy, and crisp apples.
- Wash, peel, and core the apples. If you'd like, you can slice the apples into water containing ascorbic acid to prevent browning.
- Place the drained slices into a large 8-10 quart pot and add half a cup of water.
- Stir occasionally to prevent burning while heating the apples.
- Heat them quickly, until tender. This will take anywhere from 5 to 20 minutes.
- Use a sieve or a food mill to create a smooth texture, or you can bypass this step if you prefer chunk-style applesauce.
- If you prefer your applesauce to be on the sweeter side, you can add 1/8th cup of sugar per every quart of sauce. Taste the sauce and add more sugar if you prefer a sweeter taste.
- Reheat the sauce to boiling and fill hot sauce into pint or quart jars, leaving a half-inch headspace.
- Wipe the jars clean of any residue, add the lids, and bands.
- Transfer the jars to either a boiling water canner or a pressure canner. For a boiling water canner, you'll process pints for 15 minutes and quarts for 20 minutes. If you'd prefer to use a pressure canner, you'll process pints for eight minutes and quarts for 10 minutes at 6 lbs of pressure in a dial-gauge pressure canner. If you're using a weighted-gauge canner, you'll process pints for eight minutes and quarts for 10 minutes at 5 lbs of pressure.
- After your processing time has finished, let the jars cool in the canner (and if you're using a pressure canner, wait for the pressure to return to zero).
- Remove the jars and place them on a clean dish rag to cool at room temperature for another 24 hours.
- Check the seals, label, and store. Your applesauce should be safe to eat for at least one year.
Notes
Lemon Juice
Many people add lemon juice for tartness and have for generations, but more recently, Ball Canning did some research and found that many apple varieties aren't quite acidic enough for canning. The new super-sweet varieties are less tart, but older varieties grown in orchards with a lot of nitrogen in the soil make for less acidic apples. They're not always acidic enough; it turns out, so now they're recommending adding lemon juice to all canned apple products. For applesauce, the recommended amount of lemon juice is 1 Tbsp per quart jar or 1/2 Tbsp per pint. That's added to the bottom of the jar before you ladle the sauce into each jar, which helps you get the measurement correct, and helps you not forget to add it before you put the lids on the jars.Applesauce Canning Altitude Adjustments
Water boils at a lower temperature at higher altitudes, so you need to increase the canning time to ensure proper processing. Here are the altitude adjustments for water bath canning applesauce:- For Under 1,000 Feet in Elevation - Process jars for 15 minutes for pints and 20 minutes for quarts.
- For 1,001 to 3,000 Feet in Elevation - Process jars for 20 minutes for pints and 25 minutes for quarts.
- For 3,001 to 6,000 Feet in Elevation - Process jars for 20 minutes for pints and 30 minutes for quarts.
- Above 6,000 Feet in Elevation - Process jars for 25 minutes for pints and 35 minutes for quarts.
For dial gauge pressure canners:
- 0 to 2,000 feet in elevation – 6 lbs pressure
- 2,001 to 4,000 feet in elevation – 7 lbs pressure
- 4,001 to 6,000 feet in elevation – 8 lbs pressure
- 6,001 to 8,000 feet in elevation – 9 lbs pressure
For weighted gauge pressure canners:
- 0 to 1,000 feet in elevation – 5 lbs pressure
- Above 1,000 feet – 10 lbs pressure
Autumn Canning Recipes
Keep your canner running this fall with these seasonal canning recipes:
- Pear Butter
- Pear Jam
- Pickled Green Tomatoes
- Canning Pumpkin
- Canning Sweet Potatoes
- Caramelized Onion Jam
- Butternut Squash Soup Base
Ashley, I have to say, your sites) are often my go-to. I am not able to homestead or use many of the wonderful skills that you teach, but I do canning, I garden , make tinctures, etc Your articles contain the most complete, generous information I can find, so that every question is answered before I know I would have had it! Even things I cannot do are fun to read about, and I have tried a few new things . I enjoy your writing style and just had to let you know how much you have encouraged and helped me- please keep it up, all of it!
I’m so glad Janet! Thanks for putting a smile on my face tonight =)